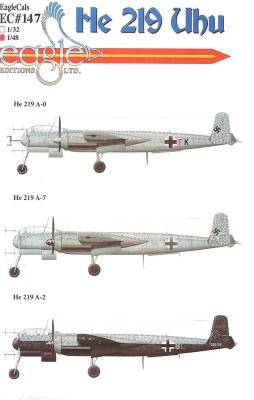
The Tamiya He-219 is the standard for 1/48th scale models of this airplane. However, marking options have been a little sparse for this kit. Eagle Cal has released a new sheet that covers the three basic paint schemes seen on the Uhu. This set is released in conjunction the Eagle Cals 1/32nd scale decals covering the same aircraft. The 1/48th scale decals cover the A-0, A-7, and the A-2 versions. To build the A-0 and A-2 versions, the modeler would be advised to get the Vector resin conversion set, also available from Eagle Editions.
all 2013
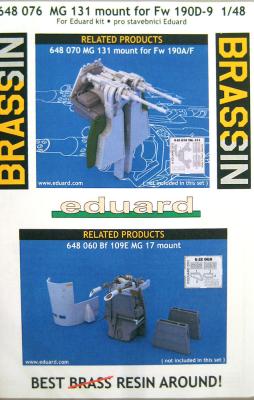
Designed for their Fw-190D-9, this beautiful upgrade set from Eduard is for those who want to show off the detail under the forward cowlings. Featuring six light and dark grey resin pieces, everything is perfectly formed and blemish free. The guns are hollowed out at the ends and the cooling slots are opened as well. There is also a small fret of photo etch that holds seven pieces of nickel plated parts – six cowl fasteners and one windscreen oil cleaning pipe. The oil cleaning pipe will require the most care, as it is very, very thin.
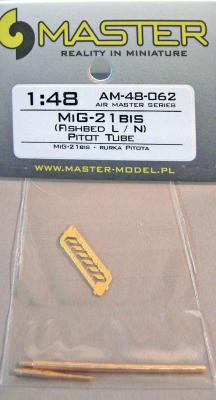
The Eduard MiG-21bis is a very nice kit right out of the box; however, the pitot tube could be better. There are limitations that plastic can’t overcome, not even with the best injection molded technology. Even so, the pitot tube sticks out so far on the MiG-21 that it’s bound to be broken off in handling. Besides, you can get a scale thickness with brass that you couldn’t get any other way.
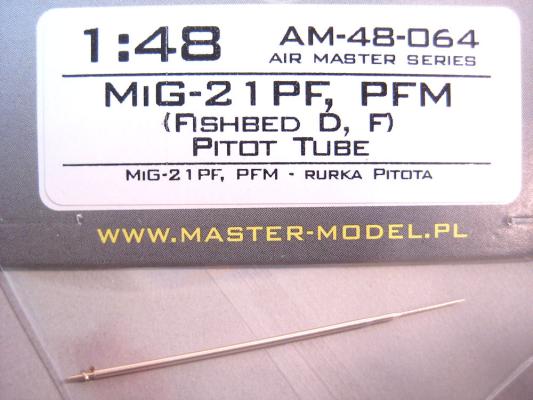
The MiG-21PF and PFM are represented in model form by the Academy kit. This pitot tube is quite simple compared to some of the others in the MiG-21 family.
The set is simple in that it has a single turned metal barrel. The pitot tube is scale thickness, but the thing I like the best is additional strength of the brass tube. The instructions are quite basic and show the proper angle of the pitot tube in relation to the fuselage. A simple .6mm hole in the kit will prep the model for the turned metal pitot tube. Then, it is just as simple as inserting the pitot tube. Painting instructions are included.
This pitot tube is typical quality from Master Model. Its strength and scale thickness make this a required addition to your MiG. Just be careful you don’t poke yourself with the tubing.
Highly recommended
Thanks to Master Model for the review sample and IPMS/USA for the review opportunity.
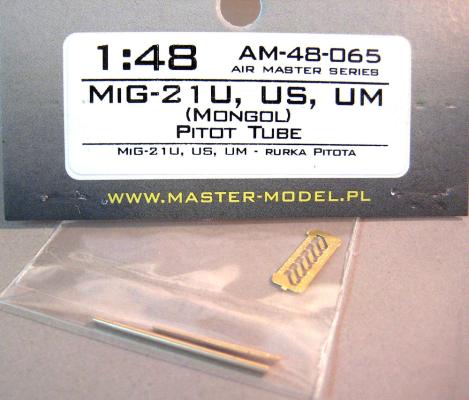
The two-seat MiG-21U, US, and UM family each has a uniquely shaped pitot tube with guide vanes. Master Model represents this pitot tube quite accurately.
This set comes with two turned metal barrels and a fret of six vanes. You only need four vanes. The metal barrels are designed to be slipped into each other. The absolute crazy thing is the small mounting holes for the vanes that are drilled in the outer metal barrel.
The instructions recommend that you add the outer portion with the vanes after the model is completed to avoid damage. Sounds like good advice. The vanes are very small. Foresight is appreciated – Master Model includes two extra vanes just in case the carpet monster needs to be fed.
Master Model produces the best pitot tubes in the industry. Between the strength and the scale thickness, you will immediately see the need for these pitot tubes on your MiG-21.
Highly recommended
For those who have been longing to add an early F-102A to their collection, or just a more modern release of a Delta Dagger in 1/72 scale, I would highly recommend gazing in the direction of this new release by Meng. The kit goes together well with only a few minor seams needing a light application of your filler of choice, and will not challenge modelers with some experience in dealing with small parts. Options for this kit include open or closed canopy as well as weapons and landing gear bays, and extended and retracted missile rails. There are also AIM-4C and D Falcon missiles to select from when arming your plane. This was my first experience with a kit by the newcomer Meng, and I will have no hesitation in purchasing their kits in the future.
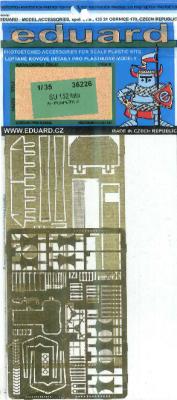
Eduard of the Czech Republic had released a 1/35 scale photo etched (PE) upgrade designed for the Trumpeter SU-152 Late, kit #05568. This upgrade consists of two PE sheets packaged in a sturdy, cardboard-supported bag with a two-page instruction sheet.
I used Trumpeter’s SU-152 Early kit, #01571, for a few parts since I was already doing a review of it. There are only a couple differences between the early and late SU-152 and this kit would work on either quite well.
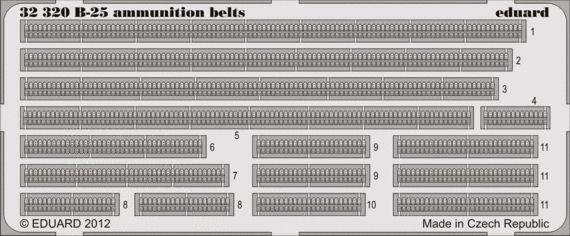
The set consists of one photo etch sheet. The PE parts are an unpainted natural metal (silver) color. This set is kind of interesting. You use the kit parts and these simply wrap around the existing belts, providing a very good looking ammo belt tray combination. The instructions are quite adequate in explaining the bending and placement of the details.
The down side of this beautiful set is that once the plane is completed, it is hard to see all the work you have done. The new details are a little difficult to apply. I found if you glue the sides first, than wait a little bit for the glue to set, then you can bend the top down to fit. Also, the bottom of the belts are not detailed. This is especially noticeable in the forward bombardier’s compartment.
HIGHLY recommended. One should have experience working with photo etch and using ACC glues or epoxy.
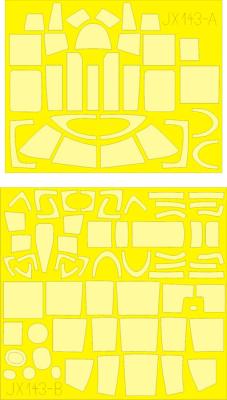
The set consists of two paper tape sheets. These are pre-cut to fit the clear parts on the Mitchell. If you were only going to buy one detail set for the B-25, this would be the one you would have to get. The masks are designed to fit each clear piece on the model. Once they’re applied, you can leave them on for the duration of the build and let them be the last thing to remove before showing off your masterpiece.
I used two of these sets to do my plane. You only get enough to do the outside of the clear parts and I wanted to show the framing on the inside, too. They are easy to apply and can very easy to line up. A little burnishing is all that is needed before your first coat of paint. Try not to go too heavy on the first coat; you might get some seepage under the masks.
The instructions are quite adequate in explain the placement of each mask. The downside of this beautiful masking set is you only get enough to do the outside.
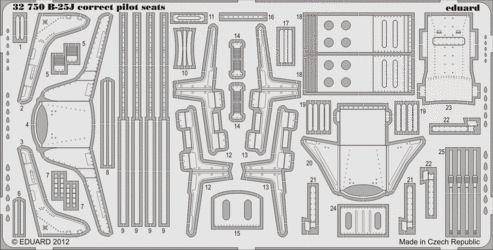
The set consists of one photo etch sheet in an unpainted brass color. You get parts to build complete new seats for the pilot and copilot. I thought the kit seats were nice, but these are really nice. Once completed and painted, they simply dropped in.
The instructions are quite adequate in explain the bending and placement of the photo etch parts. The seats really call out for the additional Eduard Seatbelt Set, 32746…which I would highly suggest getting.
The down side of these beautiful seats is that once the plane is completed, it is hard to see all the work you have done. If you do add the additional seat belts from Eduard, their placement and attachment are a little fuzzy and you will have to figure it out.
HIGHLY recommended. One should have experience working with photo etch and using ACC glues or epoxy.
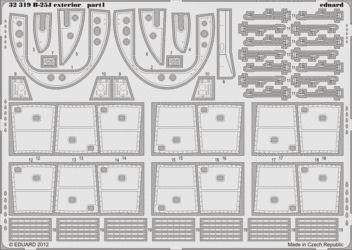
The set consists of two photo etch sheets, both unpainted brass. You get parts to add details to the main gear areas of the engine nacelles. These consist of new ribs and frames. Also included are details to enhance the already very detailed engines. There are parts to detail the inside of the engine cowling access doors and engine cooling doors. You also get framing detail for these access hatches.
The instructions are quite adequate in explaining bending and placing the details. They also tell you what you have to remove on the existing parts so they will fit.
The down side of these beautiful detail sets is that once the plane is completed, it is hard to see all the work you have done. But I know they are there and if you look real real close you can see them.
HIGHLY recommended. One should have experience working with photo etch and using ACC glues or epoxy.
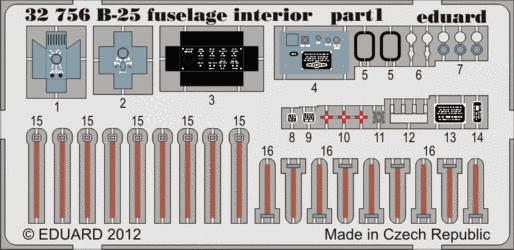
The set consists of three photo etch sheets. Two of these are unpainted brass color the other is pre- colored for you. You get parts to replace and also detail the upper turret and the rear gun position. Also included are parts to replace the front and rear entry hatches and ladders. Additionally, there are new shelves for the waist gunners’ ammo boxes and new ammo boxes to sit on them. The final parts are new gun barrels for the many machine guns (13 in all).
The instructions are quite adequate in explaining the bending and placement of the details. They also tell you what you have to remove on the existing parts so they will fit.
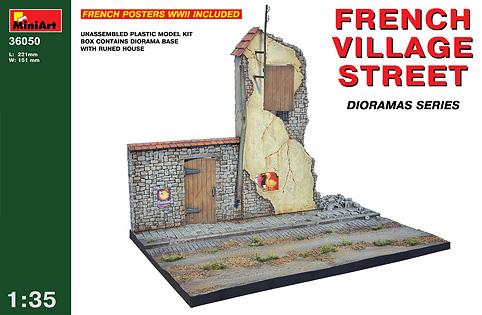
MiniArt is a Ukraine company that was established in 2001 and released their first kit in 2003. They have released many of these diorama series kits over the years.
Upon opening the box, you will find several vacuum formed sheets that make up the base and the structures, with a couple sprues of injection molded parts and sheet of posters. This has been the norm for MiniArt in their “Diorama Series” kits.
This was the first vacuum formed kit that I have ever worked on, so there was a learning curve for me. If you have never worked with a vacuum formed kit, this is a great starter kit for you to practice on. MiniArt also provides step by step instructions on how to assemble their kits at https://miniart-models.com/wp-content/uploads/2016/06/36050_instr.pdf
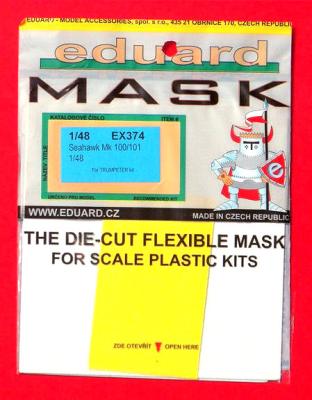
The package says this mask set is designed for the Trumpeter Seahawk Mk. 100/101. However, it also can be used for masking the canopy in the Trumpeter Seahawk FGA.Mk.6 kit (if you are unable to find Mask set EX220), since these kits share the same clear parts. With a little adjustment here and there, set EX 374 may also be usable for masking the canopies in Classic Airframes1/48 scale Seahawk kits.
Like other Eduard mask sets, this one is made of Kabuki tape (similar to Tamiya’s masking tape) and contains precut masks for the kit’s windscreen, canopy, gunsight, and wheels. The masks will adhere well to any flat or curved surface, so masking is easily accomplished, and the masks can be removed after paining is completed. A simple instruction sheet is included to guide the masking process.
Background
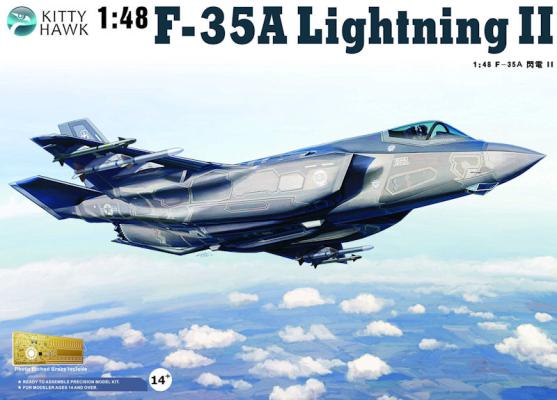
The absolute latest in American manned fighter aircraft, Lockheed Martin's F-35 Lightning II is slated to replace aging F-16, F-18, and AV-8B aircraft in the lightweight fighter attack role in the US Air Force and US Navy in the next several years. The land-based F-35A will replace the F-16, the vertical-takeoff F-35B will assume the Harrier's role, and the carrier variant F-35C will take over for the F/A-18. Several other nations, including the United Kingdom, are expected to purchase variants of the F-35 for their air arms. This fifth-generation fighter employs many advanced features, including low-observable (stealth) technology, to ensure its effectiveness in the 21st Century combat environment.
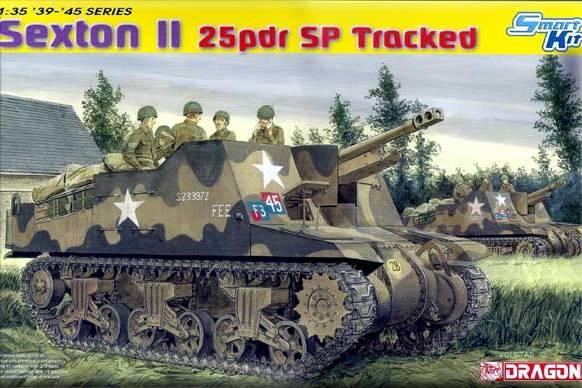
Dragon Models has released the Sexton II Self-Propelled Gun in 1/35 scale. Out of the box, the detailing looks absolutely stunning, even for Dragon. The engineering and detail of the on-board stowage, radio equipment, driver’s compartment, and surface texture is as good or better than any release I’ve seen. Their excellent 25-pdr Mark II main weapon has been pulled from a previous release, and the chassis contains all the good stuff from their equally superb Dragon Models M4. The Commonwealth makeover of the U.S M7 Priest sports over 150 new parts, including a completely reworked driver’s compartment and transmission, radio sets, ammunition lockers, etc. An engine is not provided, but everything that is exposed is brilliantly represented.
History
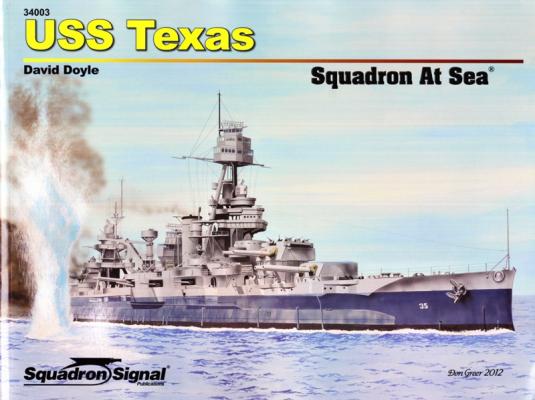
The USS Texas was commissioned 12 March 1914. The USS Texas served in both World Wars and many other conflicts during her service in the United States Navy. Her first call to action was immediately following her commissioning, when she was stationed of the coast of Vera Cruz, Mexico as a show of force.
During World War I, the USS Texas’ main duty was convoy escort. In 1919, there was even a movie shot on the Texas starring Chester Conklin. In 1925, the USS Texas was brought in for modernization. This was completed in 1926. After this time and up to the beginning of World War II, the Texas spent time operating in both the Atlantic and the Pacific.
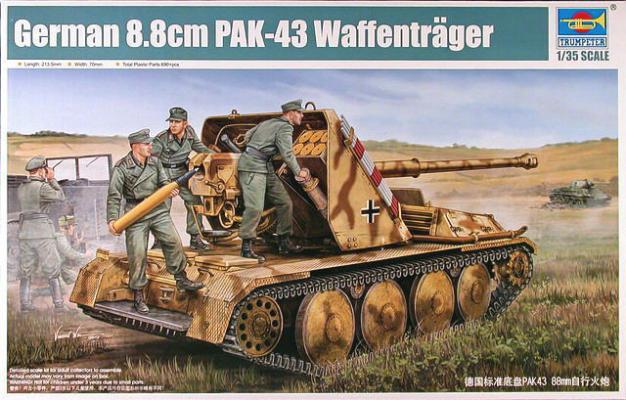
Upon receiving this kit, I was thinking why was Trumpeter making one of these? I didn’t know anyone else made one until doing some research, and I found a few companies did. ARK models from Russia makes a Waffentrager, along with Alan Models. Whether or not this is the same mold, I can’t say. Upon opening the box, you get 10 sprues of orange plastic (very similar to that which ICM uses), 10 sprues of gray plastic link-to-link tracks, 5 PE frets, a steel tube, an aluminum barrel, and a sheet of decals. A 16-page black and white instruction booklet, with easy-to-follow directions, and a painting reference sheet with one scheme are also included. The color reference has call outs for Mr. Hobby Vallejo, Model Master, Tamiya, and Humbrol paints.
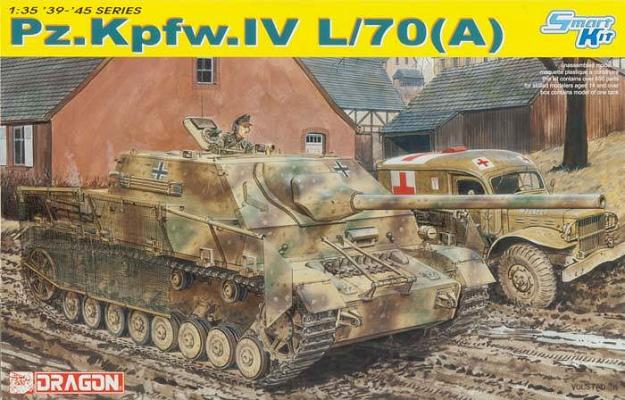
Upon receiving this kit in the mail, I looked over the artwork on the box top to see which paint scheme I thought would be cool to do. I noticed a camouflaged scheme that had a blue pattern. Immediately, I questioned the blue color. I checked the instructions and yes, there it was – sky blue color callouts. The other thing that I noticed, aside from the standard Dragon instruction, was there were nice decals, 23 grey sprues, 2 clear sprues, a PE fret, and 2 bags of magic tracks. The instructions show quite a few sprues with the majority of unused parts (which I included pictures of). I was still wondering a few days later which scheme to do. I was really intrigued by the sky blue scheme. At this point, I decided to post on Hyper scale about its validity. Tom Cockle, one of the technical consultants for this kit, shot me a reply saying no, it was a fake, and added this kit was missing a sprue C. Upon this, I contacted Dragon care and finally got my part around New Years.
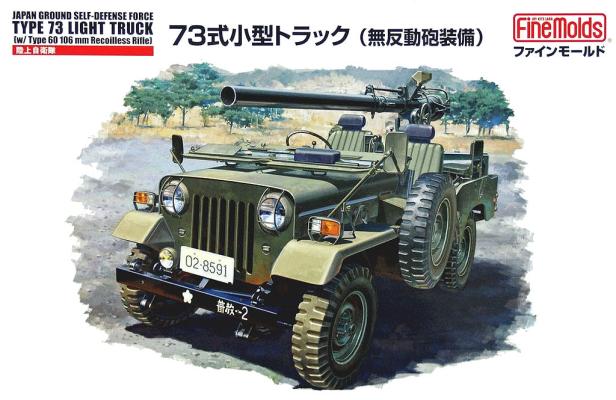
The Mitsubishi Type 73 light truck was based on the Jeep CJ-3Bs. Mitsubishi produced these under license from Willys. Production began in 1973 and ended in 1997 – a pretty good run, I’d say. This light vehicle can be outfitted with a variety of weapons such as anti-tank pods, anti-tank missile launchers, light & heavy machine guns. and the recoilless rifle.
The Kit
This kit is made up of 4 sprues of green and 1 of clear injected plastic, the body, and 1 decal sheet. The parts are flash-free and show no noticeable sink marks. There were a few pin marks but nothing really major, as they were mostly on the underside. The decal sheet gives you markings for multiple vehicles and was printed cleanly.
Unlike my last review sample of SAC products, this time the USPS did not wreak havoc on the package and all but destroy the contents! They delivered an intact and fully usable set of landing gear.
What you get in the package is a full gear replacement in white metal for both main gear legs and the tail wheel. As you can see from one of the photos, the SAC gear has simplified things by making the compression scissors one piece versus two pieces.
Detail is crisper on the metal gear than on the kit’s plastic parts, as has come to be expected from SAC. The replacement parts are a drop fit with no issues whatsoever. They worked flawlessly and added considerably to the look of the finished model.
Moebius has issued this model of Catwoman with the Bat Pod from the 2012 movie The Dark Knight Rises. The kit comes in two builds – the Bat Pod, which is all styrene, and Catwoman (who was played by Anne Hathaway), which is in six resin pieces. The styrene parts are black, crisp, and free of any imperfections. The resin is absolutely flawless.
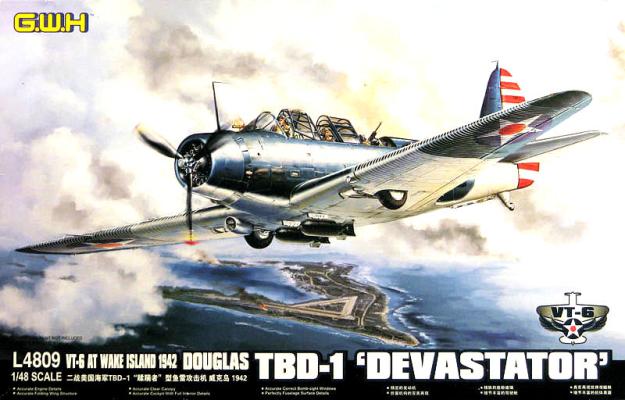
For decades, the venerable Monogram TBD Devastator was the only kit of its kind available in 1/48 scale, lauded in its heyday for its cockpit and surface detail, as well as the option to pose the wings in either the folded or extended position. Now, Great Wall Hobby has delivered a new Devastator, and like the original release, this second edition is a quantum leap past the old benchmark kit. When first seen, the GWH Devastator was derided as a mere copy of the Monogram version, but close examination reveals that the new kit is several steps beyond its aged predecessor.
Years ago, Eduard produced a photo etch set for the Monogram Devastator that really breathed some life into that venerable old kit. With the release of the new Great Wall Hobby Devastator, once again Eduard comes through with a PE set that pushes detailing well beyond the already superb lever that the kit itself provides. I had hoped to receive this set in time to use it with the GWH Devastator that I was building for IPMS review. As it turned out, the Devastator build was nearly completed before this set arrived. Nevertheless, here’s a rundown of what you get.
This new Big Ed set is a combination of four photo etch sheets and a complete set of vinyl canopy and wheel masks. The Flap sheet has supports, bracing, and flap parts for both the upper and lower wing. This is especially helpful, as there is a noticeable gap created with the joining of the kit’s lower wing to the fuselage. These parts should hide that opening completely.
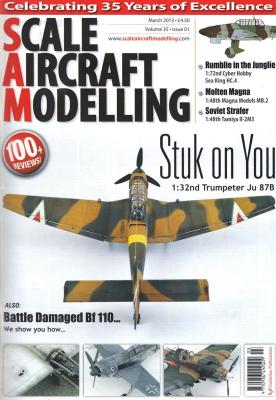
This issue represents a milestone for SAM. This is the inaugural issue for Volume 35. Thirty five years of providing a high quality publication to the modeling community is a momentous event and SAM deserves a “Well Done” for that remarkable achievement.
Even if this issue were not the launch for Vol 35, it would have caught my attention immediately. There, on the cover, is one of my favorite modeling subjects. In any scale, the Ju-87 has always been an enjoyable project for me, and in 1/32nd, by Trumpeter, well, it just doesn’t get any better than that. In 9 pages of richly detailed text, Editor Jay Laverty shares the tools and techniques he used to produce an excellent model of the Ju-87B-2.
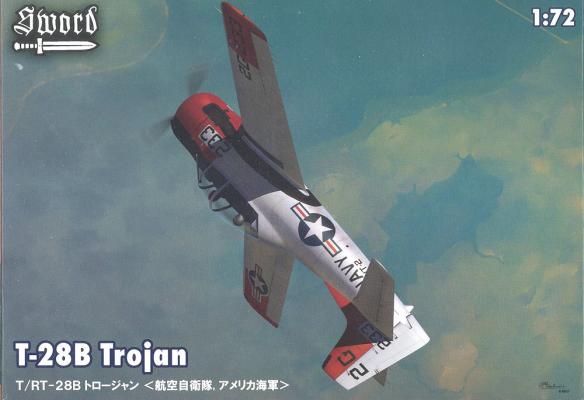
When Steve Collins and Dick Montgomery announced that the 1/72 T-28B was available for review, I jumped at the chance. I have seen T-28’s flying, at Keesler AFB, Mississippi, when I was there in 1967, and my Guard unit flew T-28s in 1957-58 between the F-51s and the F-84s. Alas, both of these were T-28A’s, not B’s. But when I saw the back of the box, I immediately knew I had to build the one from VT-27, as it was based just down the road at Davis-Monthan AFB in Tucson, Arizona, in 1983. Some day I’ll find out what the Navy was doing flying out of DM.
THE AIRCRAFT
The North American Aviation T-28 Trojan is a piston-engined military trainer aircraft used by the United States Air Force and United States Navy beginning in the 1950s. Besides its use as a trainer, the T-28 was successfully employed as a counter-insurgency (COIN) aircraft, primarily during the Vietnam War. T-28s were built from 1950 to 1957.
History Brief
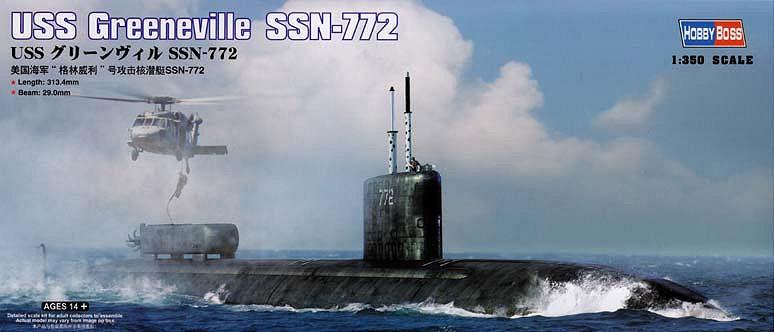
Our subject is a Los Angeles Class submarine, the USS Greeneville, SSN-772. It was named after the city of Greeneville, Tennessee, home of President Andrew Johnson, and is the only US Navy ship to have borne that name. She was ordered on 14 December 1988 with the contract going to Newport News Shipbuilding and Dry Dock Company in Newport News, Virginia. Her keel was laid 28 February 1992, she was launched 17 September 1994, and commissioned on 16 February 1996. The Greeneville had a few bumps and mishaps early in her career but is still serving proudly today.
Our model features an ASDS Advance SEAL Delivery System. It is basically a midget submarine that rides piggyback on larger submarines and is primarily used for covert and clandestine operations by the US Navy SEALs.
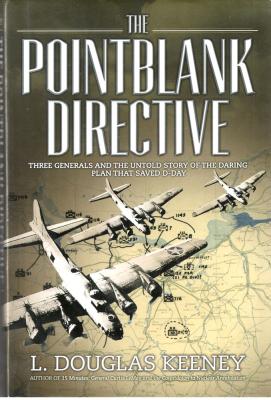
Thank you to Bruce Herke of Osprey Publishing and the IPMS Reviewer Corps for allowing me the opportunity to review this in-depth and sobering history of the Army Air Corps’ operational role in the D-Day invasion. Author L. Douglas Keeney provides compelling descriptions of the challenges, dangers, and slim survival odds of European air operations.
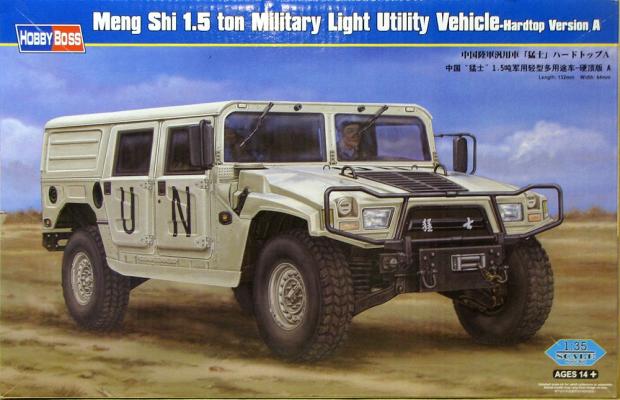
Hobby Boss continues its run of tanks and vehicles from the Peoples Liberation Army (PLA). When you look at the cover art for this kit, the vehicle bears a strong resemblance to the iconic HMMWV. Well, this was based on said vehicle. It’s manufactured by the Dongfeng Motor Corporation for the PLA. I don’t know if this means Hobby Boss will also begin producing the HMMWV line, but their catalog indicates several variants of this vehicle in the works. The kit of approximately 170 parts includes six sprues and several body parts, one small sprue of clear parts, a fret of photo etch, four tires, and decals. As with most Hobby Boss kits, it includes two color profiles, one for a UN mission and the other for the PLA. The PLA version has no markings. The parts look great, with a fair amount of detail, though there was a small amount of flash on some of the parts.
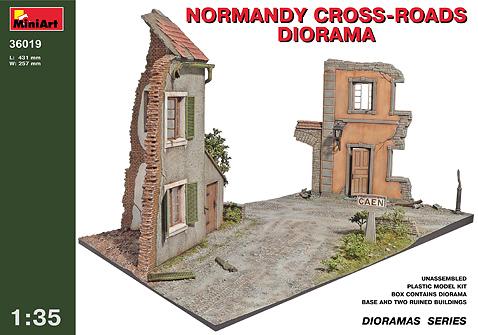
Another addition to MiniArt’s ever-expanding portfolio of World War II diorama shells is their Normandy Crossroads kit, depicting a crossroads in the ill-fated city of Caen, ravaged by Allied aerial bombardment in a vain attempt to dislodge entrenched Nazi defenders in June and July of 1944.
History
The Fiat G.91 was the winning design in a 1953 NATO competition for a light fighter-bomber. In 1957, it was decided to develop a light attack fighter reconnaissance version of the basic design, designated the G.91R. This version, used by Italian, German, and Portuguese squadrons, had three camera systems fitted in the nose. Variants of the G.91 were produced throughout the 1960s.
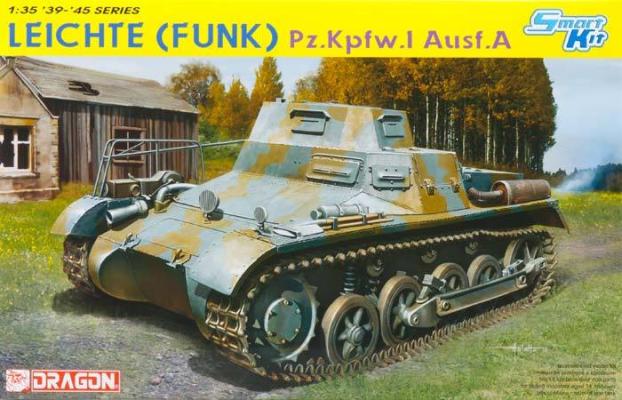
Well, being an armor builder, I decided to try the Dragon Leichte Funk Pz.Kpfw.I Ausf. A, or, as I simply call it, “The Funk Wagen”. This was the first armor kit I have ever built that doesn’t have a gun. This review should be titled, “The Good, The Bad, and The Ugly.”
History
The M1 Abrams tank has been in service since 1980. Since that time, it has been upgraded with multiple improvements. The first M1's where fitted with the 105mm rifle gun. An upgrade to the 120mm smoothbore gun resulted in the M1A1 in 1985. By 1992, the M1A2 was produced that possessed upgrades in its optical, fire control, and data link systems. The end of the Cold War meant new M1A2 production was halted at just 62 tanks, but 566 existing M1A2s were upgraded to the M1A2 standard between 1994 and 2001. Upgrades continued after 2001 with the M1A2 SEP (Systems Enhancement Package).
Dateline: February 11:
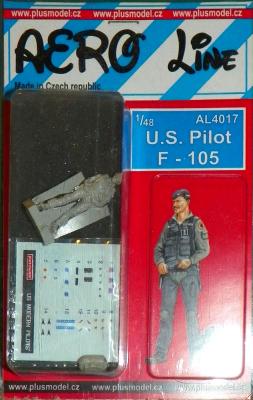
Review package from IPMS/USA (Dick Montgomery) arrives. After looking at the items, I realized there was an item in the box that I had not wanted. I immediately fired off an email to the Review Delivery Man…
"Dick,
I got my package today and I think there may be an upset reviewer out there! Inside my KODAK carousel box were the three Plusmodel items and an AERO line 1/48 F-105 pilot. Send me an address and I will mail it tomorrow to the rightful owner."
His quick and concise reply…
"Mark,
Well now....I was under the impression that you said you'd review those items assuming that no one else asked for them. There is no one awaiting them...they were meant for you."
DOH!!!!!! I have learned a VERY valuable lesson today! I need to be more SPECIFIC when volunteering to review items!!!! I have learned my lesson, OBI-WAN!
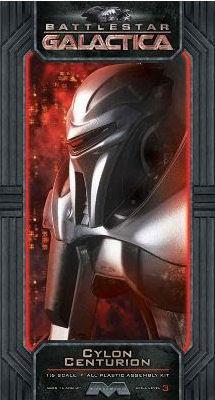
This is the latest in large-scale figure kits from Moebius Models. Parts number is actually unknown (I forgot to count and it isn't listed on the box), but it consists of 13 sprues molded in light grey and the clear eye lens. The instruction manual is styled after printouts in the re-imagined Battlestar Galactica series with the cropped corners, rounding out this excellent kit from fans, for fans.
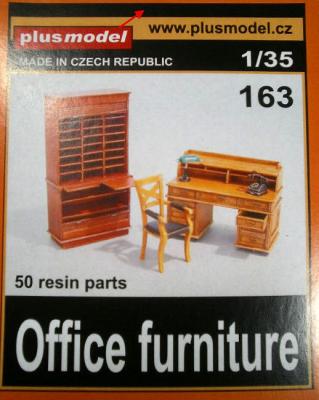
Plusmodel is one of my new favorite model companies from the Czech Republic. This kit consists of 50 parts which completely surprised me with the thinness and extreme quality of the resin castings. Every part was cast perfectly – no bubbles, warping, or unsightly defects in any way. These are all signs of a well-thought out casting process.
The furniture built extremely easily; all the parts fit together with little to no trimming or sanding. I wanted to go the extra mile, however, and experimented with India Inks for the wood grain. There is no wood grain texture on the parts – what you see is done entirely with paint and ink. I added a 1:35 gangster figure from another great resin company, Evolution Miniatures, from Brazil. I scratchbuilt the diorama entirely from plastic, using Grandt Line O-Scale window castings, and painted everything with Badger Minitaire acrylics, some Vallejo Acrylics, and Dr. PH Martin's Bombay India Ink for the wood grain.
History
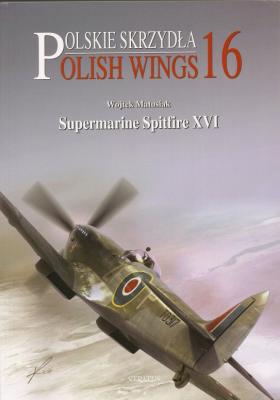
Numerous experienced Polish pilots served in England, and although they were not technically part of the RAF, they served in special units and distinguished themselves in combat. By the time that the Spitfire XVI was available, the war was nearly over, and although the type was not generally flown in combat (one Polish pilot flew Mk. XVI’s with No. 602 Sqdn.), numerous Polish units operated these aircraft in the immediate postwar years. With the disbanding of the Polish Air Force in Britain in 1946-1947, about 500 Poles joined the RAF and served with various units. The Spitfires were eventually scrapped, and of several that were given to the Polish government after the war for museum displays, none survived. The Communist Government wanted to de-emphasize the role of Poles in the RAF during the war, as there were also Poles flying with the Soviets.
The Kit
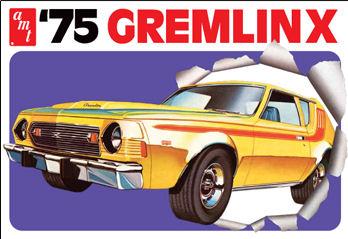
The kit for the AMC Gremlin X is a reissue. It can be built two ways – either stock or as a pro-stock dragster. This kit has a lot of detail and is very nicely done, very true to the real Gremlin X. The model is nice and heavy and durable.
The instructions are well drawn and easy to read. The instructions have all the parts numbered, but the parts are not numbered on the part trees. You will have to figure it out by the drawings.
The Build
Construction begins with the motor, which can be constructed stock or as a drag motor. Whichever way you choose, it’s highly detailed and true to the real thing.
The Kit
The kit is for a 1940 Ford Sedan Delivery, custom designed and built by Gene Winfield. The kit can be built three ways – stock, street, or strip. The kit comes with enough parts to build two motors and come with a motor stand to place one motor on. The motor can be built three ways, too.
The instructions are well drawn and easy to read, but provide no color scheme to follow. It lets you paint it your way.
The Build
Before beginning, wash all the parts in soapy water to get any mold release agents off them. You begin construction with the motors; there are enough parts to build two. The interior is constructed next, adding both seats and the dash. Next, add the tires and rims by fastening them to the steel axles provided. The interior has enough room to add other accessories, should you desire.
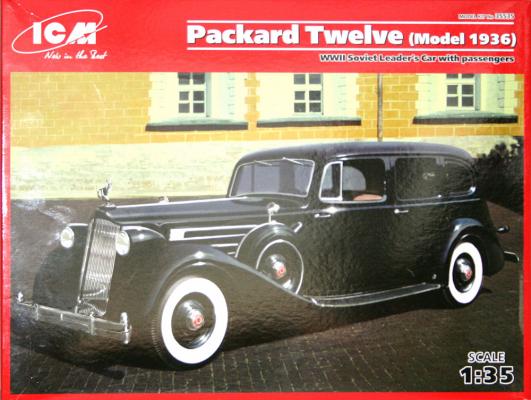
The kit represents Prime Minister Josef Stalin’s personal Packard V-12. I found it difficult to get information on how this car was acquired. It was rumored that we (the US) gave him dies to make the car, but it’s unknown how true that is. I was able to get a few pictures, but my computer was giving me a fit, trying to get on a Russian site (not ICM’s), so I stopped.
The V-12 engine was a very durable engine. Packard had modified these to adapt them to marine use in our PT boats. Rolls-Royce licensed Packard to build the V-12 framed Merlin, which powered many British and Canadian aircraft, including our own P-51 Mustang, for better performance at high altitude than the Allison engine.
I like this kit, and in the hands of a modeler with greater ability than mine, this car could really sing. There are some problems that need to be addressed, though.
I feel I have to start this review by saying that Eduard, as always, has come out with a fine product and once again has set the bar. I cannot remember any product from Eduard that I reviewed that had nothing but the best to say about it. Minute flaws, yes, but overall always highly recommended.
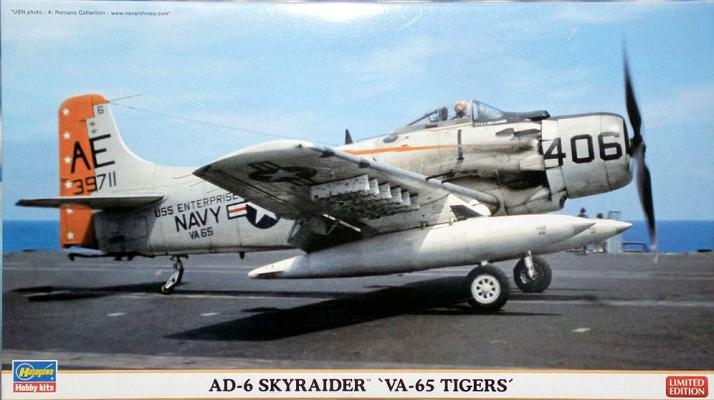
Good news – Hasegawa has re-issued its Skyraider kit, too long absent from the hobby store shelves. Their first boxing comes with decals for an aircraft of VA-65 from the USS Enterprise – featured on the box art – plus optional markings for the CAG aircraft of VA-165 aboard the USS Oriskany. You’ll see two models in an accompanying photo, but note there’s only one model in the box – I thought it’d be a nice comparison to show off the alternate decal markings provided in the kit by building a second A-1, pulled from my kit stash. There’s only one set of common markings in the kit (insignia, wing walks, instrument panel, etc.) so I used these items from the second kit’s sheet.
Comparing the sprues, the re-issue is identical to the first release I built when this nice kit first appeared on the market many years ago. The clear parts are packed in their own separate poly bag to prevent scratching them.
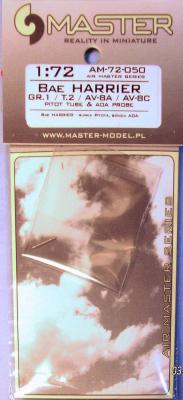
This detailing set covers the Harrier GR.1, T.2, AV-8A and AV-8C, so there have been many companies that have produced various of these models in 1/72 scale over the years. In all cases, the plastic Pitot tube, while small, is still larger and less defined than the turned metal Pitot tube that Master-Model has gained a deserved reputation for making. This detail set also includes the Angle of Attack (AOA) probe, which may or may not be in many kits.
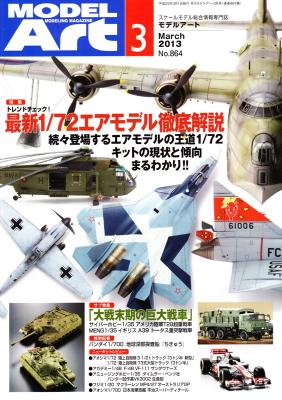
Model Art Modeling Magazine is a Japanese publication that is released monthly. The text is mainly in Japanese with some English subtitles throughout. One attractive feature about these magazines is the high quality of the photographs and the models that are used.
The March issue of Model Art Magazine is slightly different from their normal monthly issues. This issue consists of new kit reviews. They review a little bit of every type of kit to encompass all modelers. For instance, they review the Italeri 1/72nd scale Sunderland Mk. I and the Trumpeter 1/48th scale A3D Skywarrior as an example of some of the aircraft that were reviewed. For the AFV folks, there is a review of the Meng 1/35th scale A39 Tortoise and the Cyber Hobby 1/35th Super Heavy Tank out of the 4 AFV kits that were reviewed in this issue. For the ship folks, there are two reviews, and one review for the car guys – a Vodafone McLaren Mercedes MP4-27.
Auto Modeling is a quarterly release from Model Art Magazine. The magazine is chock full of pictures of builds in progress, line drawings, and photos of the actual cars themselves.
This issue focuses on F1 series racing from the 60’s. Included are several articles written about the champion machines of this time period. Also included is what appears to be an article about the drivers from this time period. Unfortunately for most of us, the article is in Japanese.
Included is a new kit review article. These show the actual model under construction to completion. As with the rest of the issue, this is accompanied with a multitude of photos. In this issue, they cover one motorcycle, two cars, and some type of racing spaceship.
Even though the majority of the text is in Japanese, I think that fans of F1 racing would still enjoy looking through the pages at the wonderful models illustrating the articles.
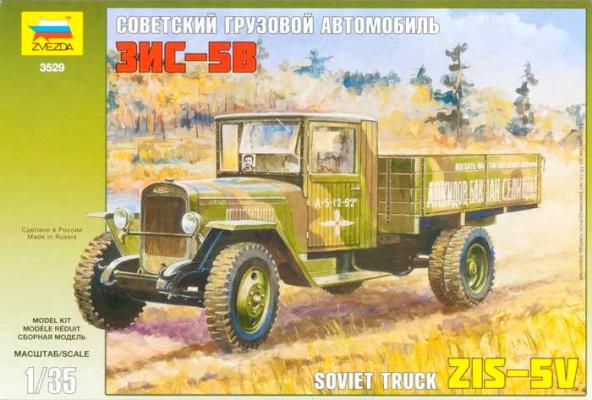
Initial construction of the ZIS-5 truck began in 1933, and ultimately the Soviets produced a million examples of this cargo truck. Wartime shortages of raw materials necessitated much of the truck body to be made from wood. The normally stylish/rounded fenders were simplified to the simple, squared-off examples represented here. I’m sure many of these trucks made the grueling winter crossing of Lake Ladoga to keep Leningrad supplied during the three-year siege by the Germans.
History Brief
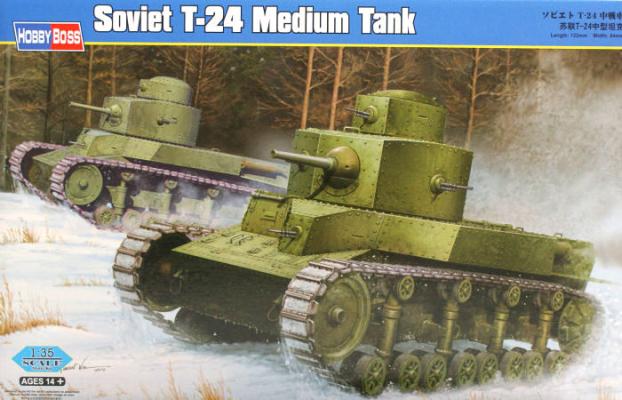
The T-34 was a Soviet medium tank built in 1931. Only twenty four tanks were completed. None of these tanks would ever see combat; instead, they were used as training aids or in other capacities. This was the first tank produced at the KhPZ factory in Ukraine. The same factory was later responsible for the amazingT-34 and T-54 Soviet tanks.
The T-24 was a well-armored tank for its time; its main armament was a 45mm gun. In addition, there were four ball-mount 7.62mm DT machine guns, one located in the top turret, two more in the main turret, and one in the hull. The T-24’s problematic engine and transmission ruined any future hope to put the tank in service. However, the suspension system was a success and was used in the Soviet Union’s first purposely-built artillery tractors.
Thank you to John Tintera of Osprey Publishing and the IPMS Reviewer Corps for allowing me the opportunity to review this very intriguing aspect of U. S. Navy history. Author Linda Kush is a superb writer, bringing an excellent balance of engaging stories to historical facts.
The Rice Paddy Navy is the unofficial name for the 3,000 or so USN sailors, officers, Marines, and a few other branch members detailed to the Sino-American Cooperative Organization, also known as SACO. Author Kush’s father was a SACO veteran, and this is the first description of this little known operation since the memoirs of the commanding officer, Captain Milton “Mary” Miles, were published in 1967.
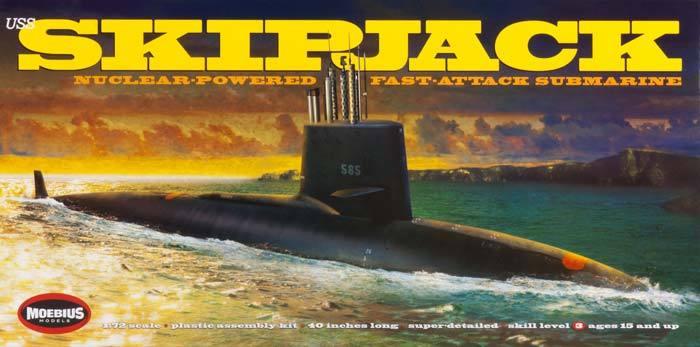
When I received this kit for the review, the box wasn't as big as I’d expected, and upon opening it I also discovered the kit was double-boxed. There’s a nice colorful outside box of typical smooth cardboard and a second inner box of fine white corrugated board. The reason for the smaller-than-expected box is that the hull comes in four pieces – top and bottom front half and top and bottom rear half. They were packed very well with a light foam between the pieces, then sealed in a plastic bag. One side of the box states that the model is 40 inches long and the other side says it’s 42 inches long. I measured the completed model at a little over 42 inches in length.
I really liked the way Moebius handled their instructions. All the parts are named as to what they are, besides having part numbers assigned to them. As a young modeler, this is how I learned lots about the subject I was building.
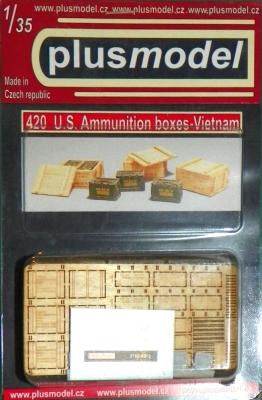
This is a neat set! You get enough resin ammo cans, laser-cut wood, brass wire, and decals to make three crates. You can also build the crates empty and use the ammo cans separately to fill an even wider scene or vehicle load. The laser-cut wood is well defined and even has engraved sections describing what is contained inside.
Construction began with removing the resin ammunition cans from the pour lugs; a small swipe of a sanding stick and they were ready. Like all resin, it is best to give the parts a good soap and brush cleansing to ensure all mold release agents are removed. Remember that resin particles are hazardous and you should always complete these tasks using water to keep the dust down and wear a cheap doctor’s mask to keep the particulates out of your lungs.

