Published on
Company
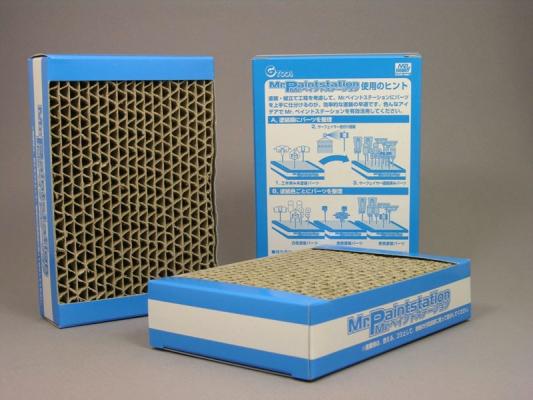
Flightpose
MSRP
$12.99
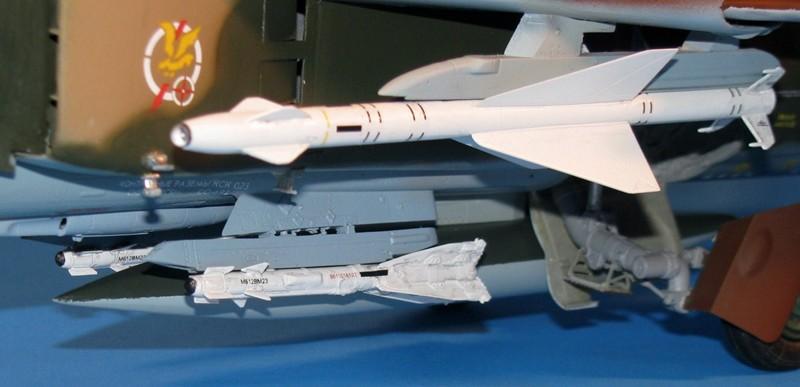
One of the long time problems modelers have had is what to do if they want to pose an aircraft in flight- after all, that's their natural habitat, in the air. Another problem we modelers have had is how to show off the underside of our exquisitely detailed airplanes or the like while they sit on their gear.