
United Air Lines DC-4
I would like to express my sincere thanks to Minicraft Model Kits for providing this kit to IPMS/USA and to them for allowing me to review it.
In the mid-1930s United Airlines decided they needed a larger plane than the DC-3s they were using. They contacted Douglas Aircraft to develop such a plane. Douglas designed and built a large aircraft they called the DC-4E (E for experimental). It flew for the first time on June 7, 1938. More than twice the size of the DC-3 (138 ft. wingspan and 97 ft. long) the cabin had a wide pressurized cross-section, a tricycle landing gear, and triple vertical stabilizers similar to the Lockheed Constellation. With its four Wright R-1820 engines developing 1450 hp each, it could potentially fly nonstop from Chicago to San Francisco.
Testing and operations projections showed the DC-4E to be costly to build and complex to maintain. In general it was not economically attractive. United and Douglas revisited the requirements and came up with a revised design that was smaller, simpler and used the Pratt & Whitney Twin Wasp R-2000's.
Soon Douglas had 60 orders from United Airlines, Eastern Airlines and American Airlines. However, before the first plane left the production line, America joined World War II and the military took ownership of the DC-4s. The first “smaller” DC-4 flew on February 14, 1942 in U.S. Army Air Corps markings. During the war years a total of 1,241 DC-4s were built for the Air Corps as the C-54 Skymaster and the R5D for the U. S. Navy. A C-54, nicknamed the "Sacred Cow", was modified to accommodate the special needs ofPresident Franklin D. Roosevelt. It became the first presidential aircraft and is now on display in The PresidentialGalleryat The National Museum of the U. S. Air Force in Dayton, Ohio.
After the war the DC-4s were turned over to the airlines for commercial use. However, even larger airliners were coming along and theDC-4's were soon assigned to secondary routes and sold to smaller carriers. Later in their life they were converted to freighters, fire sprayers, and various other uses. In fact, a number of DC-4's are still flying today.
The Kit
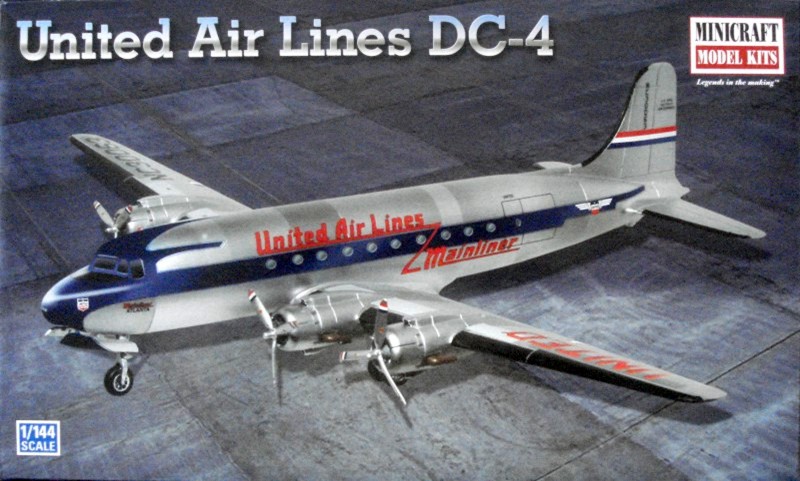
The kit comes in a cellophane box measuring 12-1/2” X 7-1/2” X 2”. The art on the box top is very nice and comes in handy when painting and decaling the model.
The instructions are broken down into nine easy to follow steps. The painting and decaling diagrams are clear and easy to read. Color callouts are generic.
The parts are molded in white and the windshield and light lenses are clear. There are not many parts in this kit, but they are nicely molded with engraved panel lines and a minimum of flash or ejector pin marks. The best of all is that the parts fit together with little or no filler. Since I finished the kit in polished aluminum, the nice fit made the surface preparation easier.
The Build
The build was very straightforward. I did not encounter any difficulty in matching the fuselage halves, wing halves or mating the fuselage to the wing. It took a little time to smooth the join lines to perfection. These were not the fault of the kit, but you simply cannot use Alclad unless the seams have disappeared. The horizontal stabilizers fit well enough that I did not have to use any filler. The most effort was expended mating and smoothing the clear cockpit area with the rest of the fuselage.
Don’t forget the weight in the nose to keep this model from being a tail setter. I found that a bullet shaped fishing sinker is a perfect fit for this.
Finishing
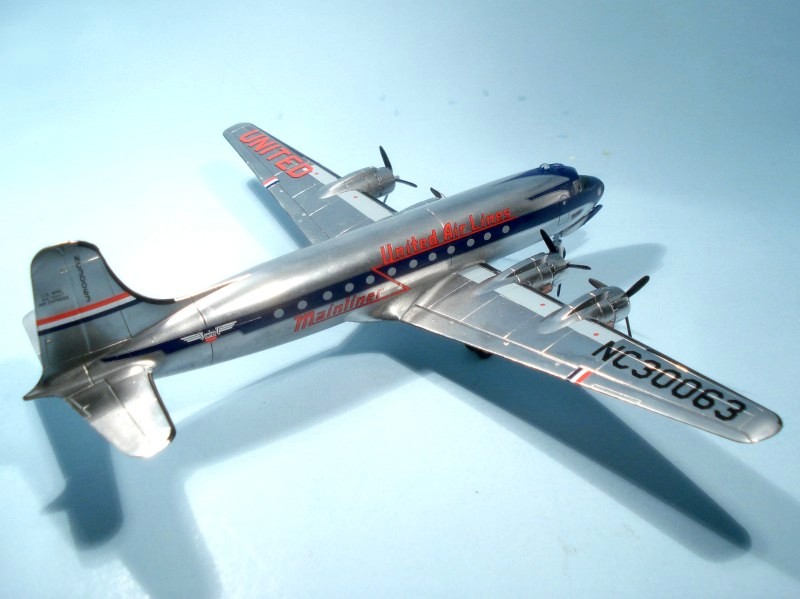
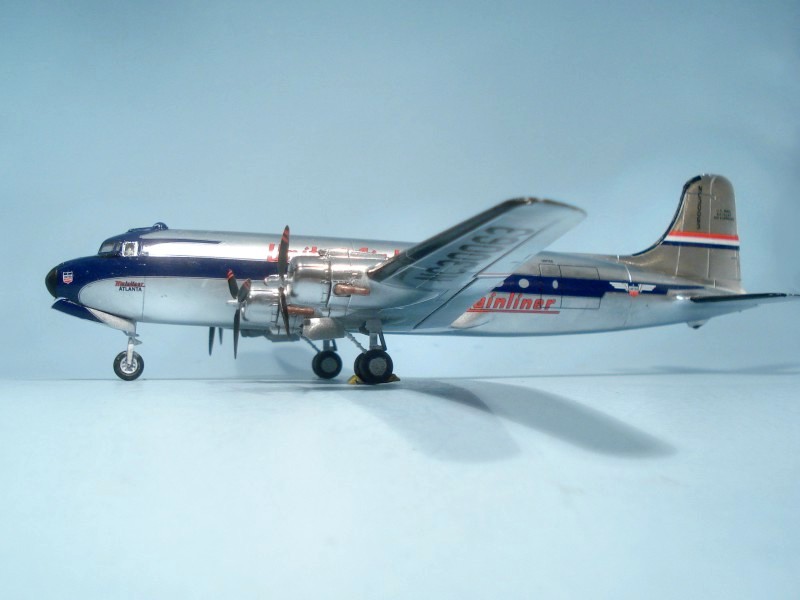
Finishing this kit as depicted on the box and called for in the instructions took more time than it did to build the kit. The plane is finished in polished aluminum from top to bottom and from nose to tail. Most of us know that to get the finish you want, the surface has to be sanded and polished and be blemish free. The good parts fit facilitated this process. I used Krylon gloss black for the base coat followed by Alclad polished aluminum. (black.lpg)
The decals are easy to work with and slide off the backing after a few seconds of being wet. The register of the decals is perfect. Some of the decals are large, running from cockpit to tail. Be careful placing these. The decals are not thick and require gentle handling. A number of decals are provided to complete the complex paint scheme around the cockpit. These take a little time and care to place correctly.
Two different aircraft can be modeled with the decals available. One is the “Atlanta” and the other is the “Yellowstone”, each with a different set of registration number. The name and numbers are the only difference in the two aircraft.
Assessment
I can easily recommend this kit to the novice modeler as well as to the expert. The parts fit together very nicely and the beautiful decals are easy to apply using a little care. This was my first 1/144 scale build, but it will not be my last.
Thanks again to Minicraft for making this kit available for review.


Comments
Add new comment
This site is protected by reCAPTCHA and the Google Privacy Policy and Terms of Service apply.
Similar Reviews