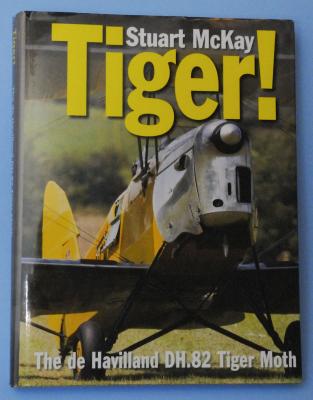
Stuart McKay has updated his out-of-print seminal 1999 edition on the Tiger Moth, Midland Publishing’s 272 page tome, “Tiger Moth, De Havilland’s Legendary Trainer”. If you ask, just who Stuart McKay is, I would have to answer that he is Mr. Tiger Moth. Stuart McKay has been fond of Tiger Moths since his teenage years and is the founding Secretary of the de Havilland Moth Club (Since 1975) and is the editor of the de Havilland Moth Club.
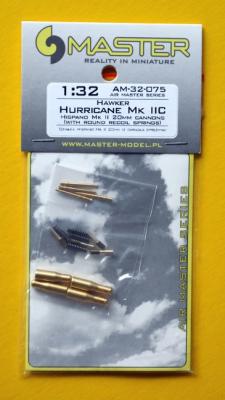
Master Model continues to offer modelers the opportunity to add exceptional turned metal parts to their models. A number of model builders who add aftermarket gun barrels to their aircraft models are finding Master Model’s excellent multi-piece sets offer a high level of detail without a great deal of work.
This set mirrors those that Master Model already markets for builders in 1:72, 1:48 and 1:24.
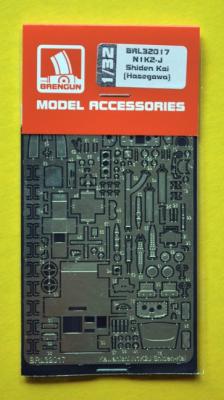
Brengun offers 1/32 model builders a way to add a higher level of detail to the already nicely detailed Hasegawa N1K2-J Shiden Kai (Allied name: George). Set BRL 32017 provides about 122 parts on a single photo-etch fret and two on a printed acetate sheet that can be combined to enhance the cockpit and exterior details of the aircraft. The photo below of the instruction sheet shows where the details are to be installed.
As can be seen in the photo below of the fret, each of the photo-etched parts is impressive. The detail is very crisp and well etched on nickel-plated metal to add considerably to the cockpit’s detail.
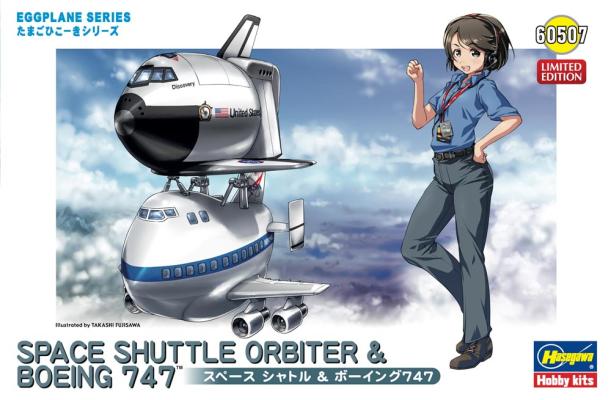
From the kit's Hasegawa web page:
Returning to roost
Moving the space shuttle is one jumbo task, fortunately, the eggheads of Boeing hatched the B747-one of the largest commercial aircraft ever to spread its wings. The bigger birds made dozens of flights yoked together with the shuttles. Had the shuttles scrambled on their own, they would have risked frying their engines or cracking flight surfaces. After the space shuttle program was put on the shelf, the 747s ovoided their due date by serving the shuttles to their final roosting places. Limited edition kit features a shuttle carrier and shuttle with decals for Discovery, Atlantis, and Endeavour.
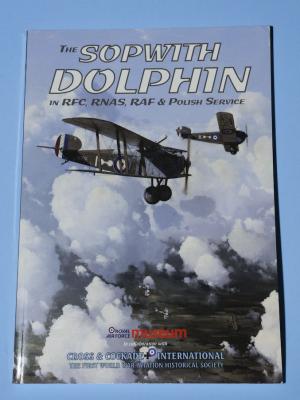
This is Cross & Cockade International’s fourth book in their series of WW1 aircraft. The first was Nieuports in RNAS, RFC and RAF Service (2007). The second was the Royal Aircraft Factory Fe2b/d and Variants (2009). Somehow the third (Although still yet to be published) will cover the Airco DH 2.
This tome was developed in cooperation with the Royal Air Force Museum and it shows. Many of the some 300 plus B&W photos and details were pulled from the archives of the museum where they are nicely reproduced on the slick paper of this monograph. The front and back covers, as well as the inside covers feature six color paintings of Dolphins in action. The final chapter on the RAF Museum’s restoration of a composite Dolphin (now C3988 at Hendon) alone has nearly fifty color photographs.
A bit of explanation here. I try to do full-build reviews with photos taken through most of the process. When I hooked my memory card into the USB port on my computer, it said, “there are no files”. And there weren’t. It had erased my photos, so all my pictures are GONE. It did the same to another memory card. I am quite unhappy.
On with the review.
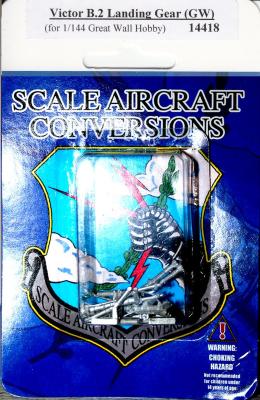
Scale Aircraft Conversions does white metal landing gear for a lot of aircraft kits. Some are necessary because the kit parts aren’t correct. Some you need because the plastic kit parts aren’t strong enough to hold the model. And then there’s this case. I finished the Victor kit, and it was a tail sitter. OK, I glued it to a piece of foamcore board, and the glue held the nose down. When the opportunity came to get the SAC gear, I jumped at the chance.
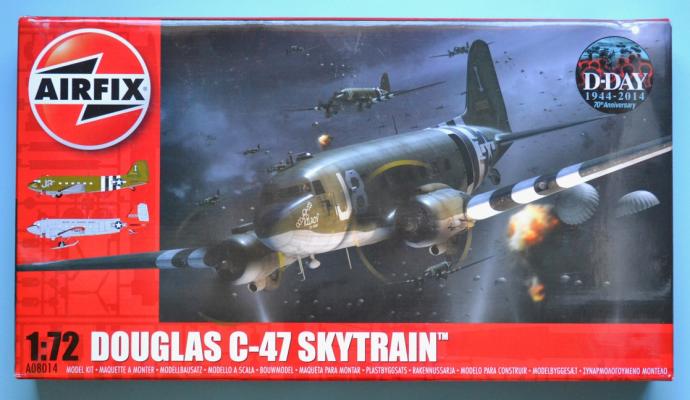
In 2014, Airfix tooled a new 1/72 scale Douglas C-47 Skytrain (or Dakota as it is know in the UK) that virtually eclipses Airfx original C-47 kit that was introduced in 1960 and released in various forms eleven times since then. The new kit is superior in all respects (with maybe two exceptions, which will be explained further on) and clearly demonstrates the strides Airfix has made in improving the detail and accuracy of their recent offerings.
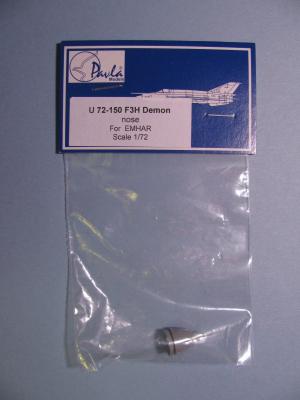
If you are looking to improve the appearance of the nose on your 1/72 scale EMHAR F-3H Demon, I would direct your attention to this new release from Pavla Models. Recommended for the EMHAR kit released in 1991, this replacement nose is a clear advancement over the old plastic nose provided in the kit. Modelers with some experience in using resin parts should have no issues with utilizing this part.
As I stated in another recent review, from my perspective, Pavla Models continues to quietly add new items to their product lines in order to add detail to existing kits; many of these lines are intended for aircraft modelers, but there are some AFV items as well. Pavla Models provides replacement canopies that are vacuum-formed as well as cockpit sets, ejection seats, and general detail sets for aircraft.
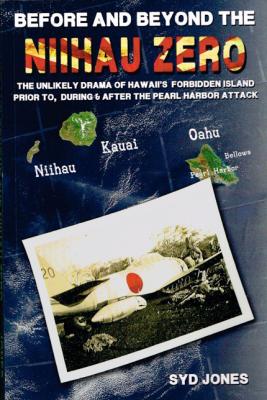
If you believe you know a lot about the Japanese attack on Pearl Harbor but don’t know about the Niihau Zero, you are in the same boat I was in before reading Syd Jones’ book about this obscure episode. During the second raid on December 7, 1941, a flight of A6M2s from the carrier Hiryu made a series of low level strafing runs on Bellows Field. After making what would be his final pass, Naval Airman1st Class Shigenori Nishikaichi was forced to break away from the group and climb to distance himself from the small arms ground fire that had peppered his aircraft. The Zero seemed to be responding to the controls and he was at maximum power but the cockpit was welling up with fumes. He cracked open the canopy for fresh air and was surprised to find he was alone. There were no American defenders in the air and by now he was far from the action.
The Product
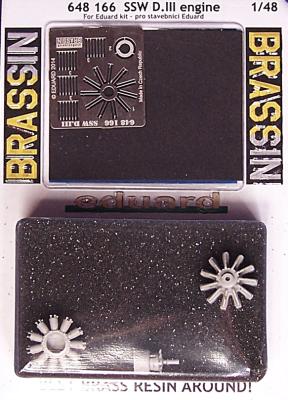
My sample arrived in standard blister pack. Inside I found one photo-etch fret, one resin reducer, one resin carter with cylinders, one resin exhaust manifold and the instructions. https://www.eduard.com/out/media/648166.pdf
The Build
I began by easily removing the pour blocks from the resin parts. Luckily the resin parts didn’t require a lot of clean up and they fit together very well. The photo-etch parts were a bit more challenging, the push rods were the trickiest part of the construction and could have been engineered to be a little more user friendly. They kept falling off because of the delicate glueing points. When set side by side the Brassin engine is certainly more superior to the kit engine and once painted it really looks the part.