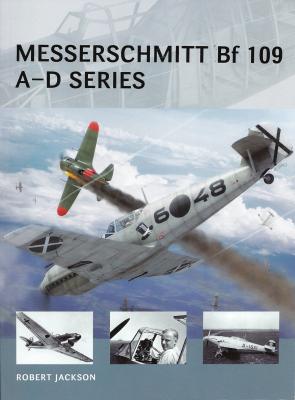
Messerschmitt Bf 109 A–D Series is the third book in the Air Vanguard series I have had the pleasure to review. The Messerschmitt Bf-109 is the Luftwaffe’s most storied fighter of WWII, yet much less has been published on the A-D models. This book covers these early models from development through their use in combat.
From the dust cover -
“Shot Down” is no ordinary memoir of World War II. It reveals the hopes, dreams and fears of a remarkable group of men and people that loved, cared and hid them after their plane was knocked out of the sky over French/Belgian boarder.
Review
WOW what a read! I highly recommend this book to broaden your knowledge of air missions over Europe during WWII!
This book is a memoir of Steve Snyder’s father, Howard Snyder. Howard was the pilot in command of the B-17 Susan Ruthand along with the nine other members of his crew flew missions over Europe while attached to 306th Bomb Group.
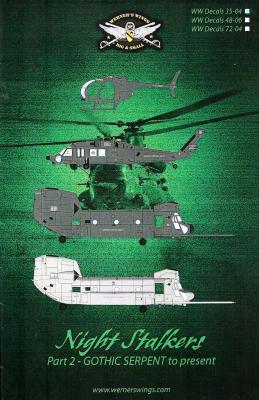
Werner’s Wings is an aftermarket company own by the well-known modeler Floyd Werner. A former US Army helicopter pilot, the majority of his products and detail sets relate to rotary wing aircraft, however, he also has some fixed-wing products (Bf 109s!) and instructional DVDs.
This 1/35 scale decal sheet is dedicated to the helicopters of the 160th Special Operations Aircraft Regiment, covering their operations in Somalia, Iraq, and Afghanistan.
The decal sheet includes markings for 20 helicopters including the A/MH-6, MH-60, MH-47, and some special decals for the inside of Chinooks.
The instruction sheet is printed in full color, and each profile has a short description on the location and history of the airframe, if available.
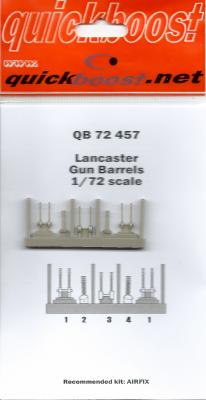
The twin-engine Avro Manchester was used heavily during the first months of World War II. However, it was underpowered and not very reliable, and it fell short of the RAF’s expectation. The Avro engineers got busy and replaced the Manchester’s two 24-cylinder X-block Vultures with four V-12 Rolls-Royce Merlin engines. To accommodate the two extra engines, the Manchester’s wing span was increased. In turn, this caused problems with the airframe, so they enlarged the fuselage and redesigned the tail. Thus was born the Lancaster. It became an instant success, even though its defensive armament was somewhat light, consisting of eight .303 Browning machine guns.
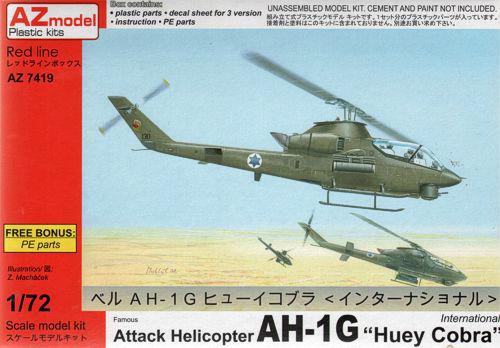
The AH-1G Huey Cobra was delivered to units in 1967, and was first used in combat during the Tet offensive in 1968. The Cobra was used for fire support, escort for transport helicopters, aerial rocket artillery, and in hunter killer teams in conjunction with Hughes OH-6s. Bell built 1,116 AH-1Gs between 1967 and 1973; 300 were lost in combat during the Vietnam conflict. The US Marine Corps used the AH-1G, as well as foreign countries such as Israel and Spain. Israel started to receive their Cobras in 1970, and they were active during the 1973 conflict with Israel’s Arab neighbors. Spain took delivery of their Cobras in 1968, and they were used by both the Spanish Army and Navy.
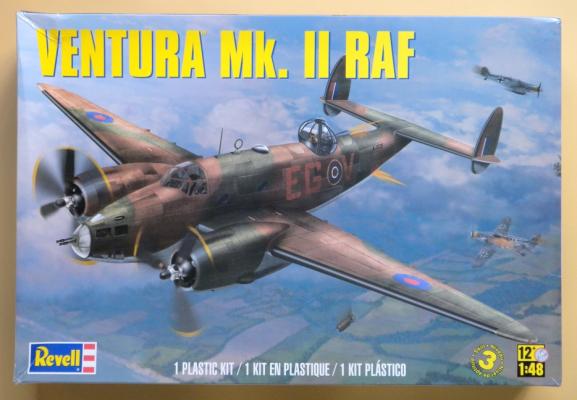
Less than two years after treating the modeling world to a state-of-the-art 1/48 scale Ventura PV-1, Revell has released a second version of the Ventura…the type ordered by the RAF in early 1940. According to Revell’s website there are 142 parts, but I counted 143. A number of them are common with the PV-1 kit, but a number of additional ones necessary to replicate the unique details of the RAF Mk.I and Mk.II are included. Twenty-one parts are molded in clear plastic. They are crystal clear and thin enough that interior details are easily viewed. All of the others are molded in a medium gray. As with the PV-1 kit, all parts are well molded with no flash or severe ejection pin marks to deal with. Recessed details are delicately engraved and a few raised details are nicely represented. Fortunately rivet detail is limited to a few conspicuous ones on the top of the fuselage and around fuel tank caps on the wing tops.
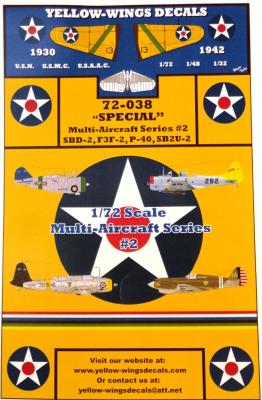
I had a love-hate relationship with this set of decals. This is my first experience using decals from Yellow-Wings, and also from the new Microscale printing process. The colors are excellent and in perfect register, the film around the edges is minimal, they are exceptionally thin and they cover aircraft from my favorite era. However, the thinness lead to issues with the long and thin decals. Additionally, the smallest decals required a perfectly smooth service to be moved about easily, an important issue on a small model like a 1/72 F3F-2. I ended up purchasing a second set of decals to fix several issues; severely torn decals and a set of wing chevrons that were not sufficiently opaque.
The Decals
This 1/72 multi-aircraft decal set is the second from Yellow-Wings Decals. You get four complete sets of decals on one sheet of decal paper for the following aircraft:
Background
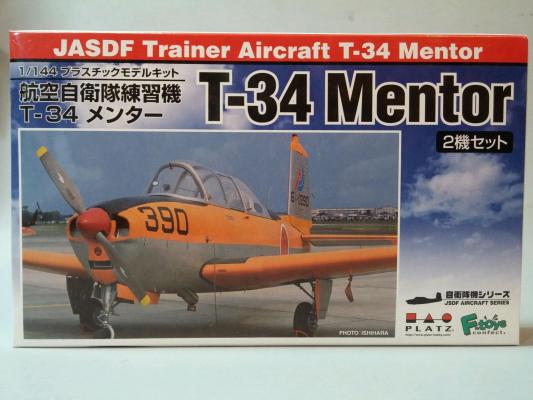
Platz, out of Japan, has been involved in the 1/144th modeling community for a while. They have produced many of their own kits and have teamed up with another Japanese company called F-Toys. F-Toys produce various subjects, among them being 1/144th scale aircraft kits. These kits from F-Toys are typically pre-painted, mostly assembled, and somewhat snap together. Many 1/144th scale modelers will take these pre-painted F-Toys kits strip them down, add details, repaint, and decal them. However, now we are seeing Platz take those same F-Toys kits and produce them as traditional model kits. This T-34A is a prime example of that venture; first it was released under the F-Toys name as a pre-painted kit, and now it’s released as a traditional model kit.
The Kit
Recently, Airfix has upped its game with the release of several 1/72 scale aircraft kits with new tooling and featuring excellent detail. One such kit is their Hawker Typhoon Mk Ib. Despite Airfix’s excellent out-of-box detail, aftermarket detail manufacturers have tossed their hats into the ring to make an excellent kit even better.
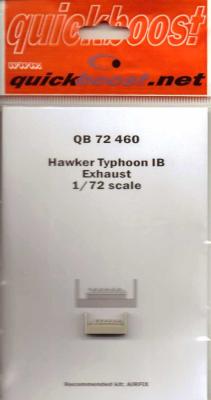
Among them is Quickboost -- bringing their improved engine exhausts. Comparing fairly closely to the kit parts, the Quickboost versions offer the feature of hollowed out exhaust ports – saving the modeler time and stray cuts in the kit parts and fingers from errant drill bits or hobby knives.
Quickboost’s mold quality and fidelity of detail is exceptional, and the hollowed out stacks make a subtle contribution to improving this legendary 1/72 RAF tank killer. Highly recommended for the braille scale modeler wanting to really trick out his Typhoon Ib.
Background
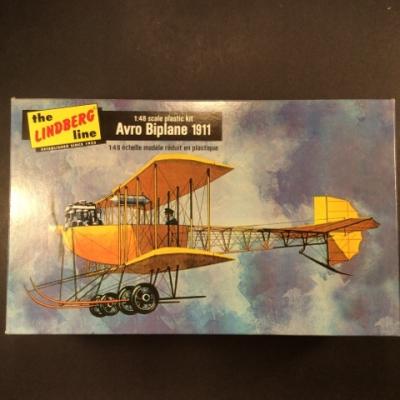
The Avro Biplane was the first biplane design built by A. V. Roe. It was a further development of his previous designs, which featured tri-plane layouts. I remember an Avro tri-plane in this series but its not been reissued. The design shared some common features with the other aircraft of the day. A triangular shaped fuselage was large enough for a pilot and passenger. The increased surface area of two wing surfaces handled the extra weight. Wing warping was used to turn the aircraft. What set this design apart was the 35 HP water-cooled engine built by the Green company. A cooling system helped provide reliable power over long durations, something that plagued other aircraft engines.

