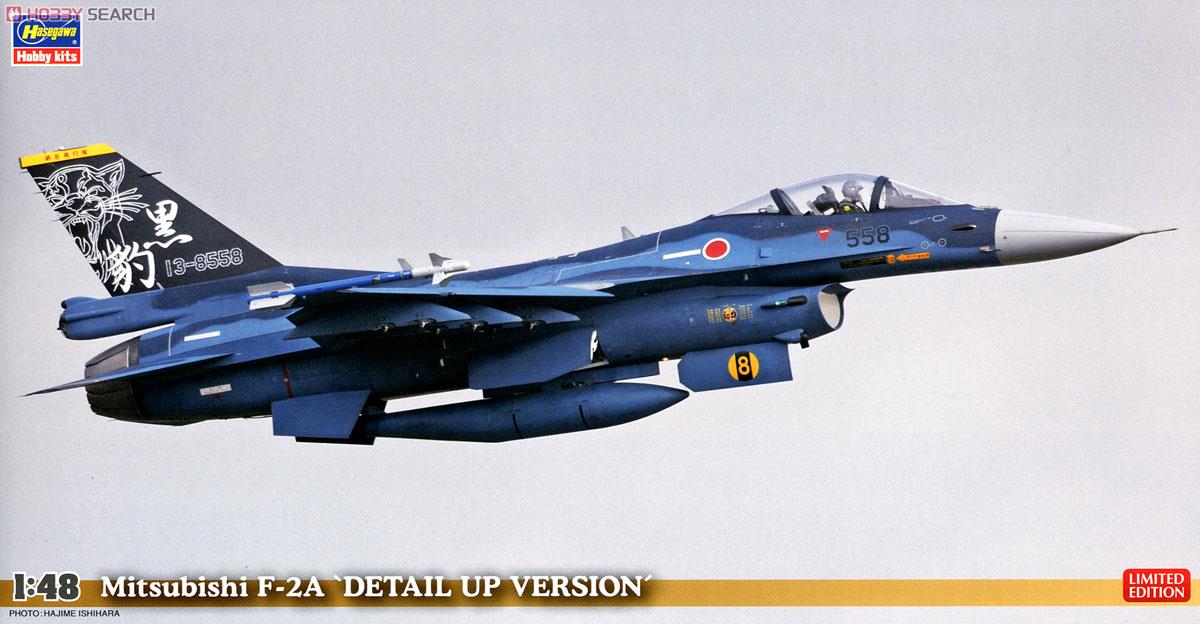
F-2A "Detail Up"
Hasegawa has re-released their 1/48 F-2A, this time as a “Detail Up” Limited Edition, with photoetch parts. The detail set includes seatbelts, landing gear wiring and some details for the underwing pylon stations and air discharging cones in the wings/tail section.
When opening the box you find 12 sprues for a total of 179 pieces. Typical of Hasegawa the underwing stores include drop tanks and, as a nice surprise, some air-to-air missiles (AAM-3, I’ve believe). This boxing has regular Hasegawa printed decals for 3 different versions of the F-2A in Japanese service.
Construction starts with the cockpit and with the air intake. Both subassemblies have good fit and decent detail, but probably the cockpit instrument panel could use a PE replacement, even more considering how visible it is under the clear bubble canopy. I wished the PE fret would have included some instrument panel detail.
The air intake parts have some significant ejection pins that need to be filled before painting. I was a bit surprised by the 4 parts needed to reproduce the air intake, creating a front and a back intake area. Despite my best efforts, the air intake ended up having a seam along one of the interior sides. It is possible to see it, if you look straight into the air intake from the right angle. You might want to consider to paint the parts, do the assembly and then use some filler and do touch up paint work, instead of painting and assembling as I did.
Moving into the fuselage, tail section and wings, this model was a breeze. Everything did fit where it was supposed to and I had to use only very limited putty in one seam between the fuselage and one of the wings and around the air intake/nose gear.
The only heads up you need for the wing assembly is that the instructions are confusing as to which holes to open for the underwing pylons. The F-2A has a total of 8 under-wing positions, but you only have 6 wing pylons. I think six is the maximum number ever used, but based on the ordinance being carried the ground crew decides in which position the wing pylons are set. I ended up having to fill out some holes I drilled out as I was confused by the instructions.
At this point I started working with the landing gear and the photoetch details. Honestly I had so many troubles with the PE parts that I decided not to use them. I was not able to understand –from the instructions- how to bend them and attach them to the main landing gear. I was frustrated by the detail parts, instead of feeling like I was improving a model.
I have to add the instructions include several pictures of how the landing gear looks after the detail parts were added, but my problem was how to go about installing them, in particular, where and how to bend them to conform to the shapes of the landing gear.
At this point I had hit a few issues with the model, namely: visible injection pins and seams in the intake, confusing instructions for the underwing pylons and not able to make sense of the landing gear details parts. Despite that, I was still looking forward to finish the model, instead of boxing it.
A word of caution: the jet exhaust assembly is added to the tail area and there are some gaps on the left and right of the exhaust and the fuselage. I’ve added some plastic pieces to fill in those gaps, but based on an internet search for images, it seems those gaps are supposed to be there. The pictures weren’t the best and all the captions were in Japanese, so I am not really sure. Check your references.
Painting was easy and fun (I like naval aviation models). I did the painting with enamels and I’ve applied a coat of Future before applying the decals. That is where I hit another glitch. Despite having a nice and shiny surface, some of decals did silvering (stencils for the most part). Despite repeated treatment with more Future and decal solution, there are a few spots were you can see the silvering in the decals.
The model was moving quickly towards the final stages. Assembly of the landing gear is straightforward and once put together in the wheel bay is very sturdy. The landing gear covers have very positive attachment points and presented no issues at all.
The instructions calls for the landing gear to be assembled before adding the wings, but you can add it at the end of the assembly, as long as you hold off installing parts Q3 and Q4, which “sandwich” the attachment points for the main landing gear.
So, in conclusion: The seam intake needs work and care. The instructions are confusing in two areas, the underwing pylons and how to use the detail parts. None of these issues are difficult to overcome and hopefully this review is giving you a heads up of where to expect problems.
On the plus side, the overall fit of the fuselage, wings and tail section is outstanding. The clear part fit is excellent and the landing gear is very sturdy once assembled and in place.
I would recommend this kit to the intermediate-experienced modeler, mainly due to the intake seam work and the challenge making sense of the instructions for the wings and detail parts. I would suggest using aftermarket decals to avoid silvering (there are options in the market already).
Despite having some struggle and frustration with this model, I do feel happy to have it in my display case and I would probably build another one, now that I know where the problems are.
I would like to thank Hasegawa USA and IPMS/USA for the review sample.


Comments
Add new comment
This site is protected by reCAPTCHA and the Google Privacy Policy and Terms of Service apply.
Similar Reviews