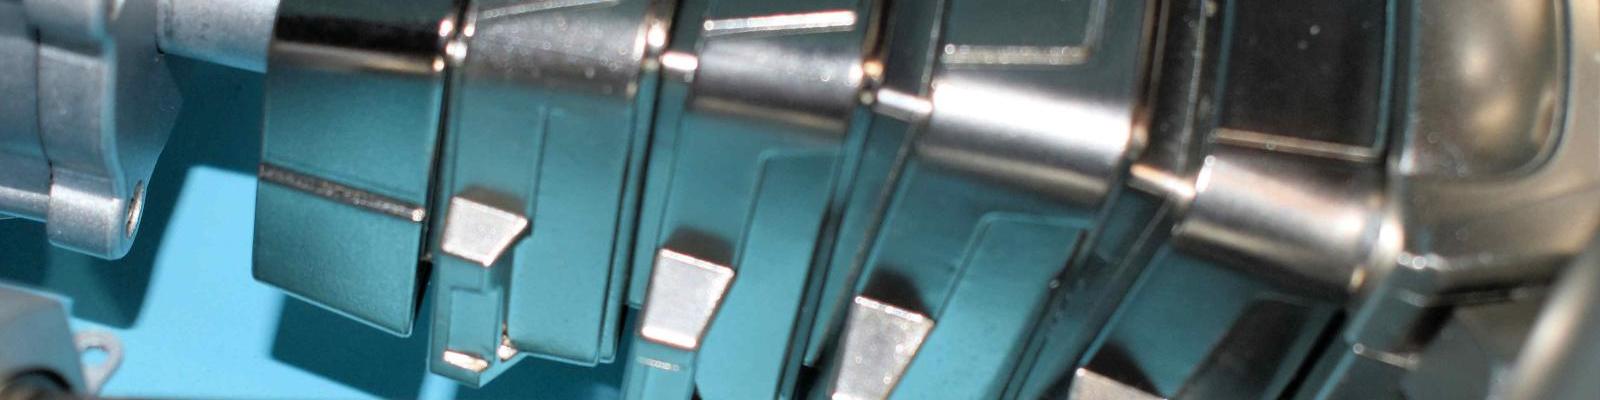
The kit includes six resin bombs, resin tailfins, photoetch for the nose fuse and rear arming vanes, 1 decal sheet, and instructions.
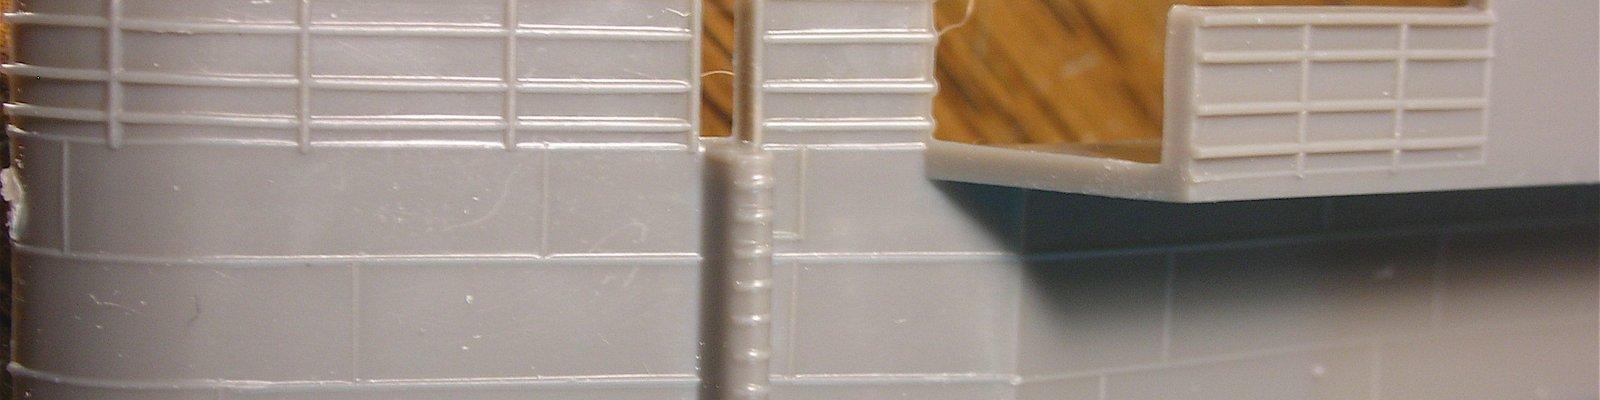
I compared the Brassin bomb to a 500 lb. bomb from Revell’s B-17F Memphis Belle. The two bombs are very close in size and shape, however the Brassin bomb has much thinner tail fins and greater detail with the flanges on each of the fins. The nose fuse on the Brassin bomb has a more accurate projection, and the suspension lugs have nice definition. The Revell bomb only includes a slot for attachment without the suspension lugs. The rear arming vanes on the Brassin bomb are obviously much greater detail, as they are not included with the Revell bomb. The Brassin bomb has only very slight mold seams, which are easily corrected, compared to the larger glue joint and sprue attachments on the Revell bomb that need more extensive cleanup.