
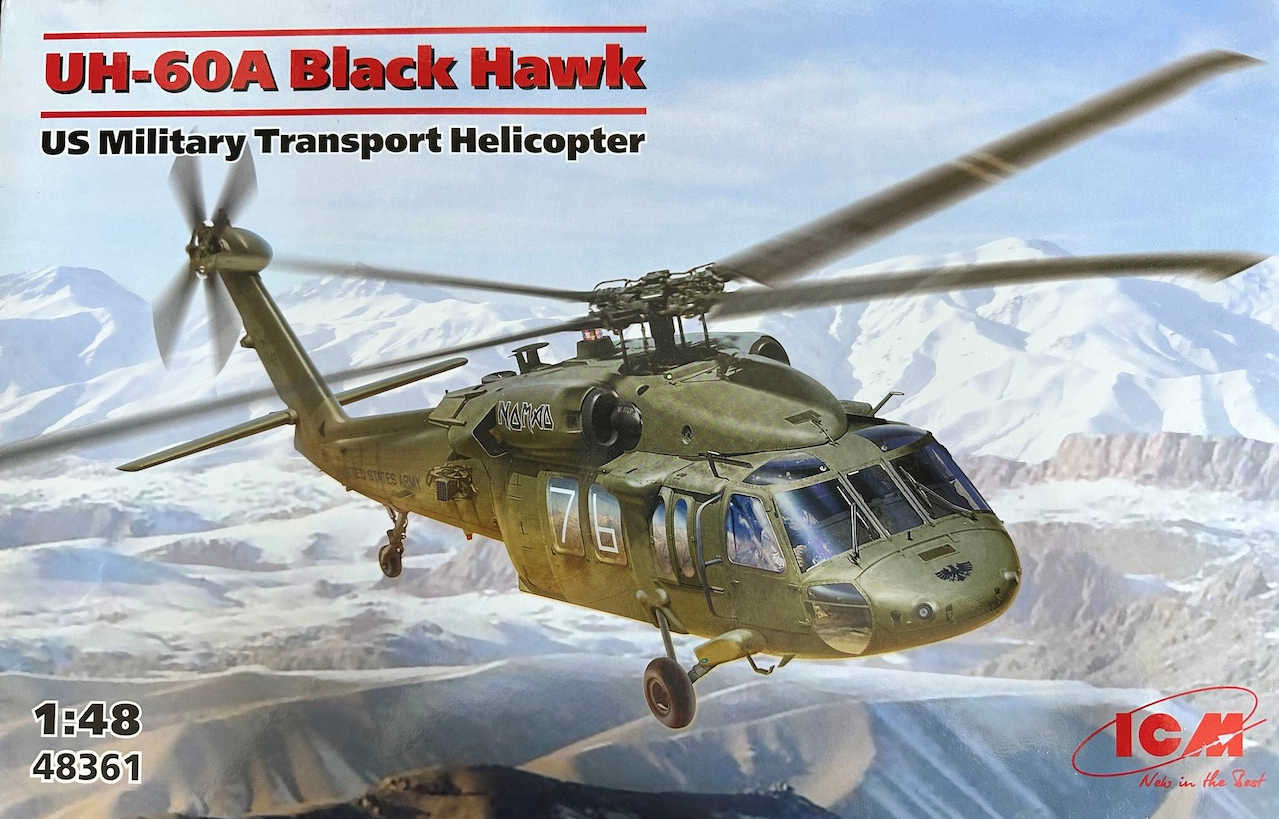
UH-60A Black Hawk
The UH 60 Blackhawk line has become a staple of military forces around the world. It’s hard to think of a mission this helicopter doesn’t perform including troop carrier, rescue, special ops, electronic warfare, maritime patrol and anti-submarine duties. This release from ICM covers the first version of the Blackhawk the UH 60A troop carrier which entered service with the United States Army in 1979. Having built several ICM kits, this one lives up to the standard that they’ve established with finely molded details, excellent fit and reasonably good references in the instruction sheet and on the box. Decals are provided for three versions, a Blackhawk serving with US Army in Afghanistan in 2005, another serving with the Kentucky National Guard in 2009 and the subject of this build that served with the Montana National Guard 2013. The instructions are typical of ICM kits, very thorough with a parts diagram showing all the runners, including the parts that are not used. There’s also a paint guide, but it only lists ICM brand colors. However, cross reference charts are available online to make it easy to find the colors you need if you don’t have the ICM paints.
There are 96 steps in the assembly process. Being a helicopter, you have a lot of antennas and small details to install that are easy to miss if you don’t carefully follow the instructions. I found it, especially helpful to scan the QR code on the bottom corner of the first page of the instructions which gives you an animated 3-D rendering of the assembly process. This was especially helpful in assembling the seats in the cabin area. The first 26 steps of the instructions deal with assembly of the cabin area. This is followed by two diagrams showing the location of holes that need to be drilled so that parts installed on the exterior can be done later, I would suggest using the parts themselves as guides before you drill so you know they will fit. Even though the fuselage is assembled in halves with upper and lower caps. Everything fits nicely and the joints are largely hidden. I found the exhaust assemblies, particularly nice in the way that they’re done, make sure you close the gaps on the exhaust and the shrouds that cover them since there are no joints on the real helicopter. The next assemblies involve installing the glass, mounting the landing gear and installing various antennas lights and cable cutters. There is another template to lay out drilled holes for the antennas that go on the upper rear fuselage. Again I would suggest using the kit parts as a guide to make sure the hole spacing and size. The main rotor and tail rotor are assembled next. Both are designed to be removable when the model is complete, Thanks to ICM for making the box large enough to hold the completed model with the rotors installed.
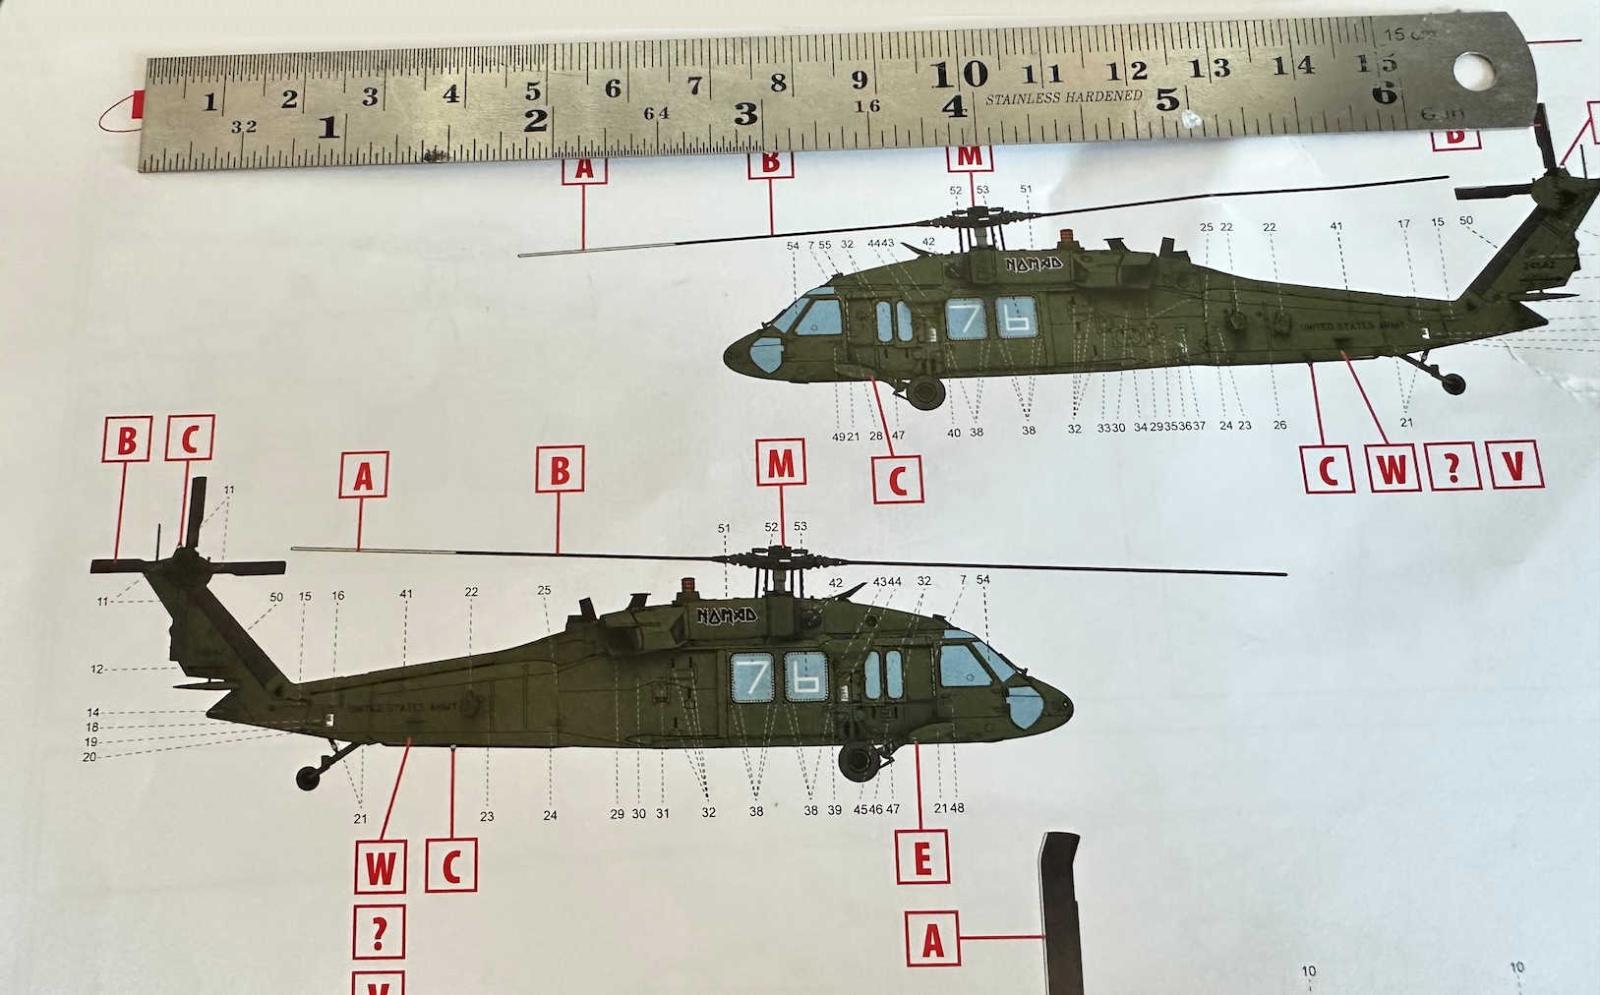
Since I didn’t have the paint in the ICM line available, I crossed referenced Tamiyas XF-81 Dark Green for the overall fuselage color. I varied the shades by adding touches of gray and tan and spraying it on different areas of the kit to break up the monotone look of the finish. This was followed by a coat of Alclad gloss clear coat to assist the decals the in laying down. The surface of this kit, just like the real thing, has a lot of rivets and I was concerned about the decals laying down over them. I did a couple of test decals using spares on the sheet, However, when I put them on the kit, I did it find I some silvering over the rivet areas, especially on the fuselage markings. After several sessions piercing the decals and brushing them with Tamiya extra strong decal set, I got most of it out. It would have been helpful if the stencil diagram was done on as a line drawing instead of on the small color diagrams provided. I needed a magnifier and even than it was difficult to pick them out. The instructions call for the rotors to be painted black. I rarely paint anything pure, black or pure white, so I diluted the black with some gray and shot the blades with a semi-gloss finish. A note about masking the glass. Templates are provided in the instructions to cut masking pieces to shape, but you won’t need them. The glass parts are molded with prominent lines that allow you to overlay them with tape and burnish the tape into the lines. Cutting on those lines with a scalpel produces a perfect mask. When the decals were dry, I overcoated the entire model with testers dull coat. While I’m no expert on the UH-60, I did have an opportunity to see some up close at the recent Nellis Air Force Base open house. I noticed the area behind the engine exhaust left a black sooty deposit on the fuselage and the rear rotor. I tried to duplicate that with Alclad burnt carbon. You could also use pastels to achieve this effect. Once the flat coat was dry. The remaining details were installed.
Since I don’t have many references on this subject, I relied on what ICM provided in the instructions and the box art. The shortfalls I saw where as follows: this kit has 13 seats and no seat harnesses, the area under the fuselage near the tail wheel does not have rivets like the real thing, and stenciling diagram being hard to see.
In conclusion, this kit is another winner from ICM. It includes plenty of detail where it counts. The quality of the moldings and the fit of the parts are typical of what we’ve come to expect from this manufacturer. It’s a big model when complete so clear the display shelf! If this version isn’t what you’re looking for, ICM has produced several other kits of this subject depicting various other roles. While this is not a beginner’s kit, it’s certainly within the reach of anyone at or above an intermediate experience level. I highly recommend this kit.
Thank you to ICM for another quality product and IPMS for allowing me to build it for you.


Comments
Add new comment
This site is protected by reCAPTCHA and the Google Privacy Policy and Terms of Service apply.
Similar Reviews