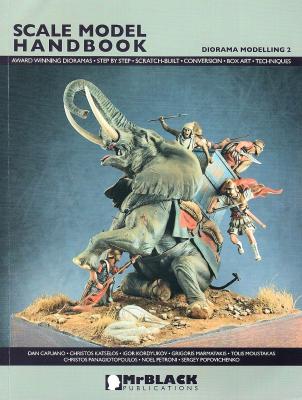
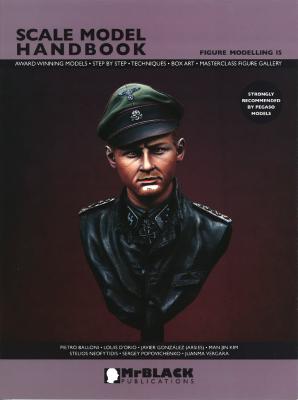
Mr Black Publications is a fairly new company that publishes several series of Hobby Modelling and History books and magazines. This Scale Model Handbook series covers figures, but other series are devoted to other areas; i.e. armor, aircraft, dioramas, etc. This book contains a unique collection of work that is aimed at all levels of modelers. This issue features seven well known artists who describe their techniques for sculpting and painting their figures or busts. The book itself comes in a nice clear re-sealable cover for protection. The 52 pages include the covers. The inside covers and the last two pages are devoted to figure advertisers. If you visit the product web site, you will find additional photos of the contents.
Welcome to the IPMS/USA Reviews site!
Introduction: The primary organization of the IPMS/USA Review website is by IPMS/USA National Contest Class. Within each Class there are sub-menus by kits, decals, books, etc. The Miscellaneous Class is for items that are not class specific or that cross two or more classes.
IPMS/USA Members: We encourage you to submit reviews, both here and to the Journal. To volunteer for membership in the IPMS/USA "Reviewers Corps" and submit your own reviews, please read the Guidelines For Submitting Product Reviews.
Manufacturers, publishers, and other industry members: IPMS/USA is pleased to offer your company the opportunity for product reviews. All product reviews are performed by IPMS/USA members, and are posted in the publicly-accessible section of our website. With very few exceptions, we perform full build reviews of new kit releases, aftermarket products, and supplies. If you would care to provide product samples for review, please contact John Noack, IPMS/USA 1st VP.
To learn more about IPMS/USA, please see our About Us page.
This book uses seven dioramas to illustrate several aspects of modeling dioramas and figures, such as scratch built, conversion, figure sculpture & painting, etc. They book covers several popular modeling scales such as 1/35, 1/32, and 1/24. The dioramas cover many historical periods including Roman Empire, the 17th Century, and World War II.
The book is 8-1/2 x 11 inches and printed on matte paper. There are over 450 photographs. Many are low contrast and printed against a dark background, making it hard to discern details. The color intensity is also fairly low so the colors do not pop out.
Contents
1. Elephant Down! Zama, 202 BC - 54mm (1/32)
Eduard has produced a 1/32 scale version of the Mk.84 2000 lb. general purpose bomb and it’s the largest common bomb used in the military. Looking through my kits, there isn’t a good representation of this weapon in this configuration (there are plenty of laser guided versions) so this is a welcome option for modelers.
Inside the package you will find parts to make two bombs. There are two front bomb halves and two rear fin sections. Also included are three different fuse options, a set of small photoetch rings for detailing the rear fin section of the bomb and a set of decals. Also included is a nice set of instructions in color. The decals come in either white markings or yellow. More on them later.
This is an extremely detailed, highly accurate, and well-engineered kit. It will take a lot of patience and only very experienced modelers should undertake this little beauty due to the large number of minute, sometimes microscopic parts. With 759 parts in a model that’s less than 6” long, the kit packs a lot of tiny parts in a dense model of the Cat D7. The fit of the parts is phenomenal. The many pipes and levers, layers of body parts, and even the articulated treads all came together nicely.
The kit is part of MiniArt's WW2 Military Miniature series. Previous versions of the kit include:
There are now (according to Hannants) three kits of the Vickers Valiant available in 1/144 scale. The oldest is the Welsh Models vac form kit, followed by the Anigrand. The newest is from Micro Mir.
This installation is on the Anigrand kit, because I don’t have a Micro Mir kit yet.
Installation
Installation instructions show 2 steps. I’ve expanded that to 4
- Cut off the plastic probe at the indicated spot. I then used a sanding stick to get a flat surface which I could drill.
- Drill a .25mm hole. Test fit a couple of times to be sure it’s deep enough. (NOTE the instructions call for .4mm. I think that’s a little too big.
- Use CA glue to hold the brass part.
- Paint the finished installation.
Then the other pitot tube, on the other wing. Follow the same 4 steps.