
AH-1G Cobra
The AH-1G Cobra was the first helicopter specifically designed for air to ground attack missions. They first saw action in Vietnam. The type went on to serve several nations, including Spain and Israel (the subject of this model).
I picked the model up at the Review Corp get together at the IPMS National Convention in Omaha. Phil had gotten it straight from Special Hobby.
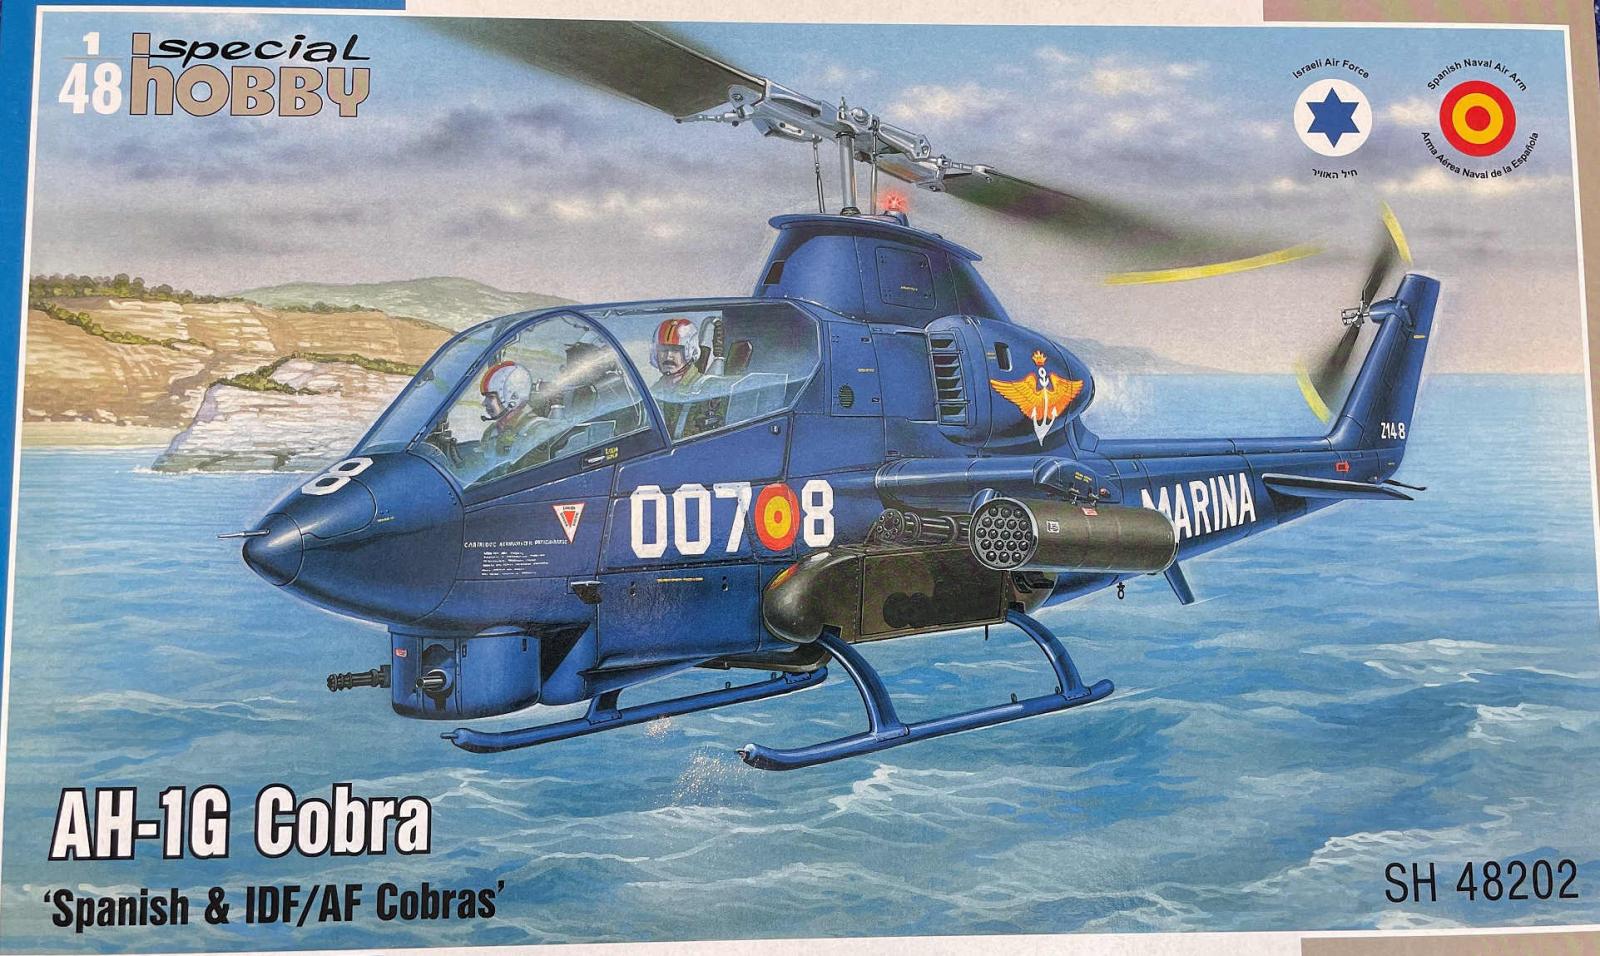
The kit was presented in Special Hobby’s standard strong, top opening cardboard box with an attractive painting of the helicopter on the cover. Inside, ten sprues were contained within one clear plastic bag. The clear parts were protected inside their own bag. A decal sheet and glossy, color instruction sheet was found in the bottom of the box.
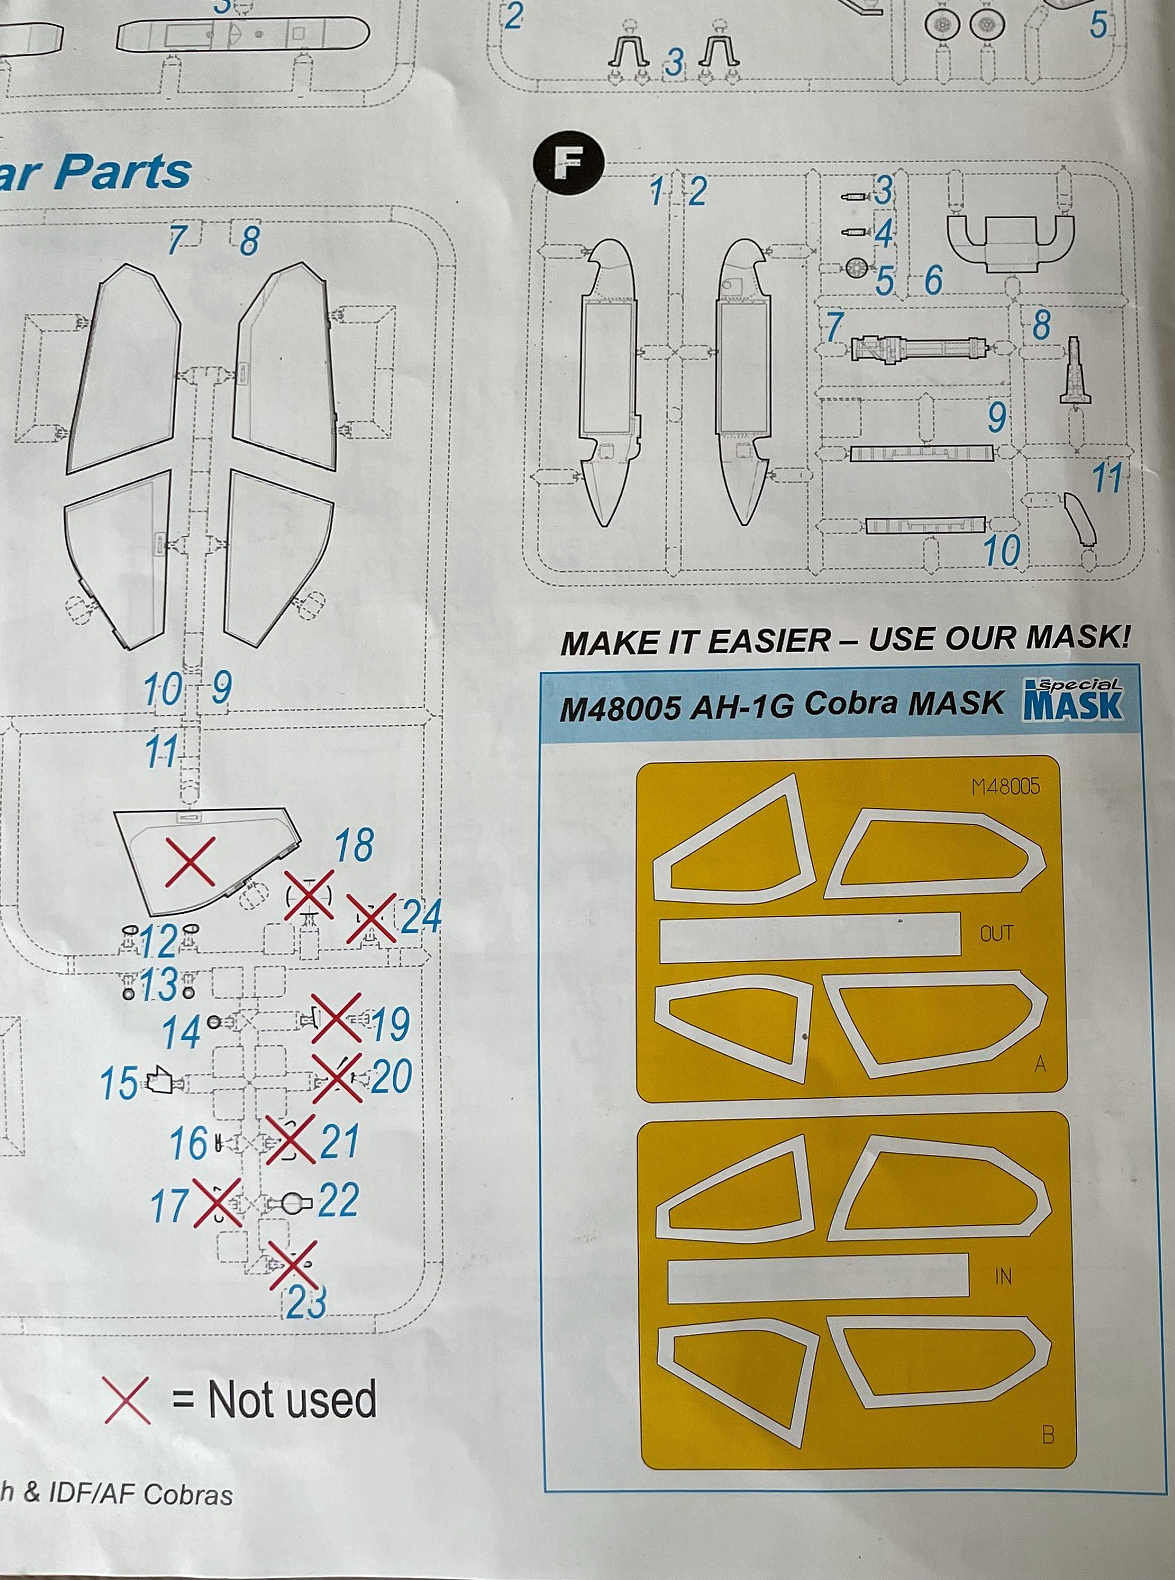
The instruction manual showed a parts sprue layout, and each step was presented in a legible and easily followed manner. Colors were highlighted where needed.
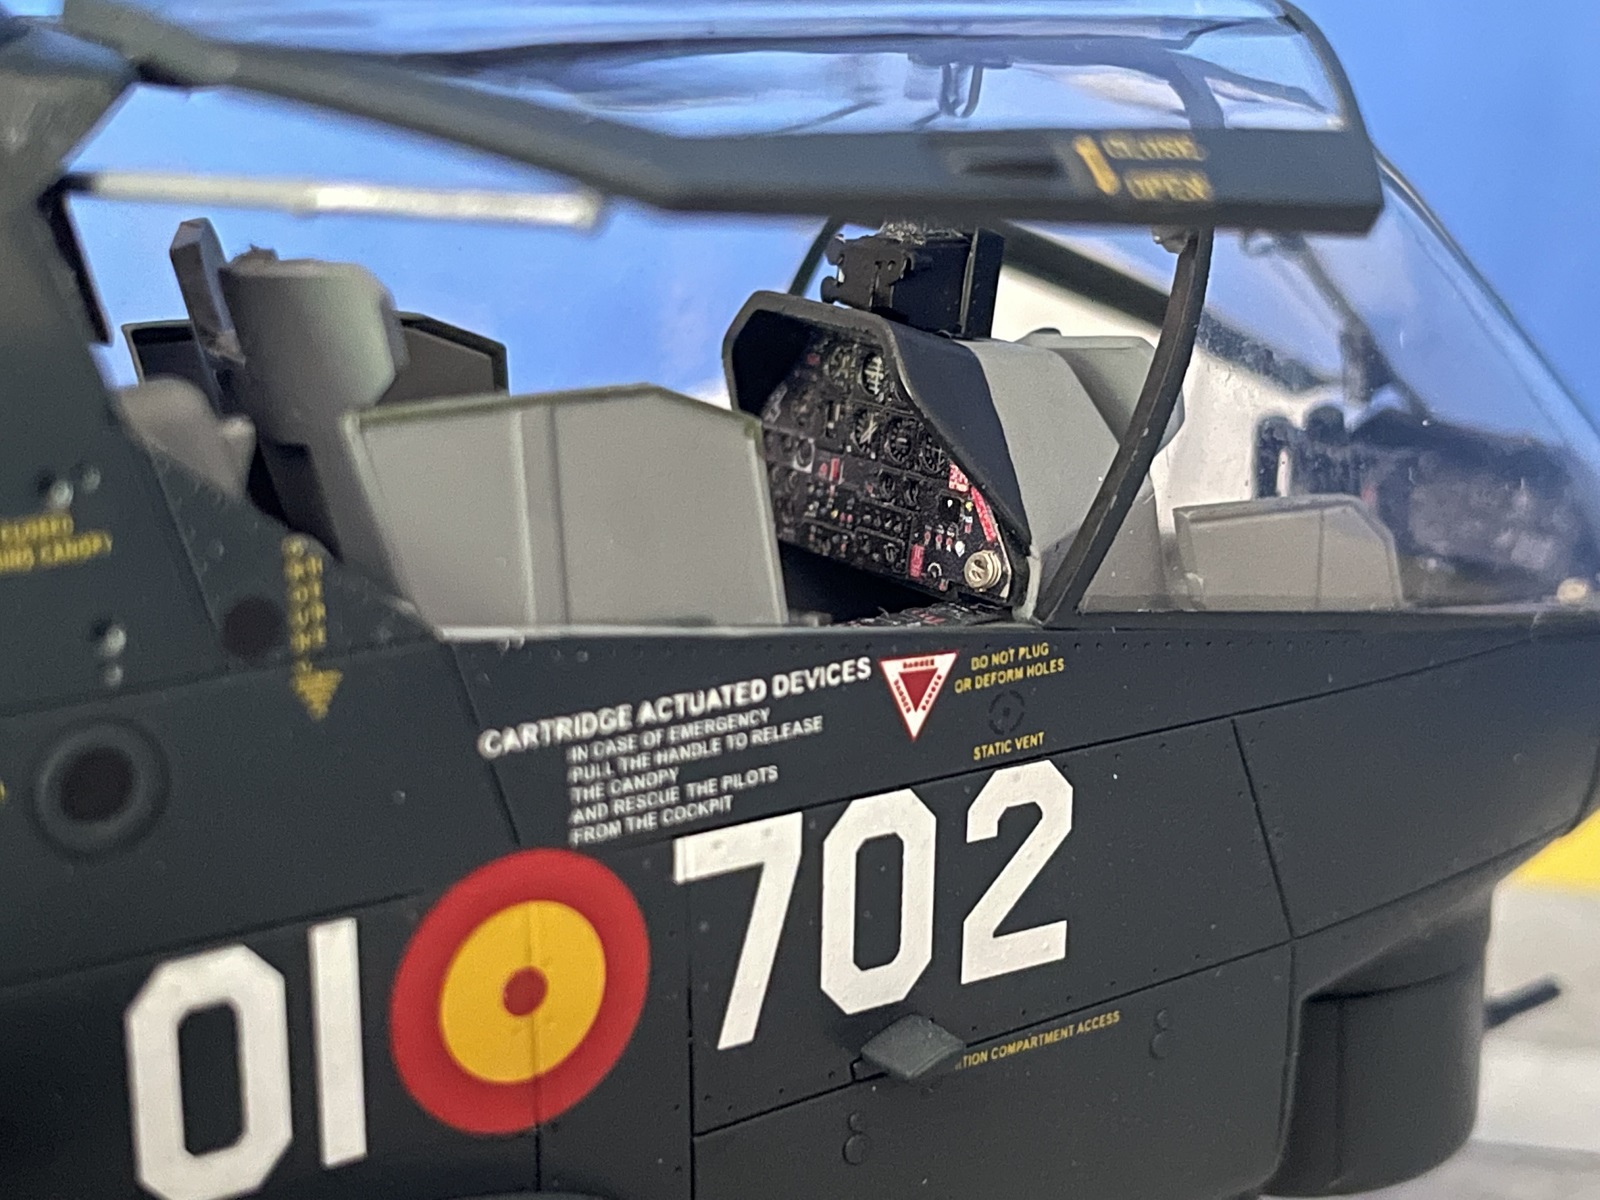
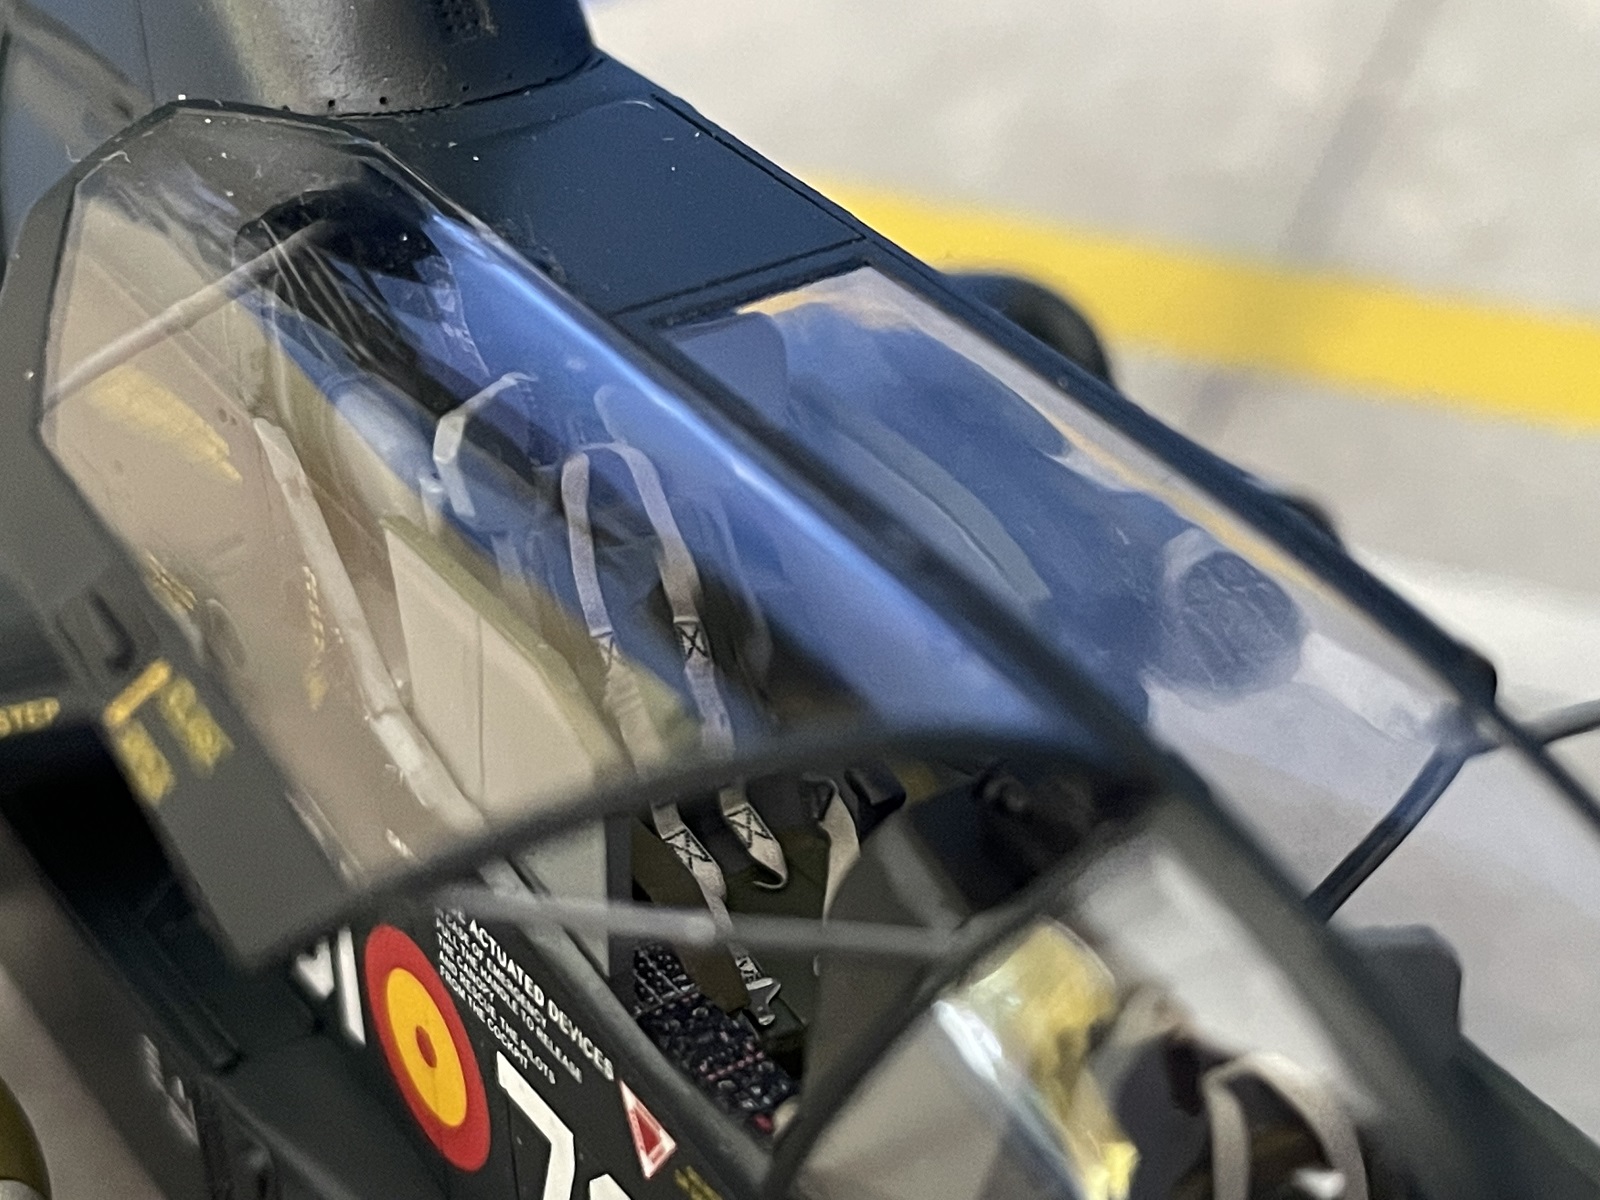
Construction started in the cockpit, and everything fit great. Decals were provided for the instrument panels, but the raised detail on the side consoles had to be painted. I would have liked a set of photo etch harnesses included for the two nicely detailed seats, but Eduard had a nice colored photo etch seat belt set which I used. I also bought the Eduard cockpit photo etch set. A thoughtful inclusion In the Special Hobby instruction manual was a printed set of interior and exterior canopy masks that could be transposed onto tape, cut out and used, but I had also purchased the Eduard mask set.
Several holes needed to be opened on each fuselage side to attach the sponsons and two in the forward belly. Make sure the instructions are followed before closing the fuselage halves as there were several items that needed attaching on the inside. I added some weight in the nose as directed, but no amount was specified. I added enough to keep it sitting squarely on its skids. The fuselage fitted together well and sandwiched the cockpit tub and a bulkhead containing the main rotor transmission assembly. I attached the belly panel which contained some good panel and rivet detail. Two holes needed opening in this part also. The fit was pretty good all around but left gaps on either side of where the landing skids attached.
The Special Hobby instructions suggest attaching a nose half and tail half to each fuselage side first, but test fitting both of these showed they could be assembled first, seam sanded and joined to the fuselage afterwards.
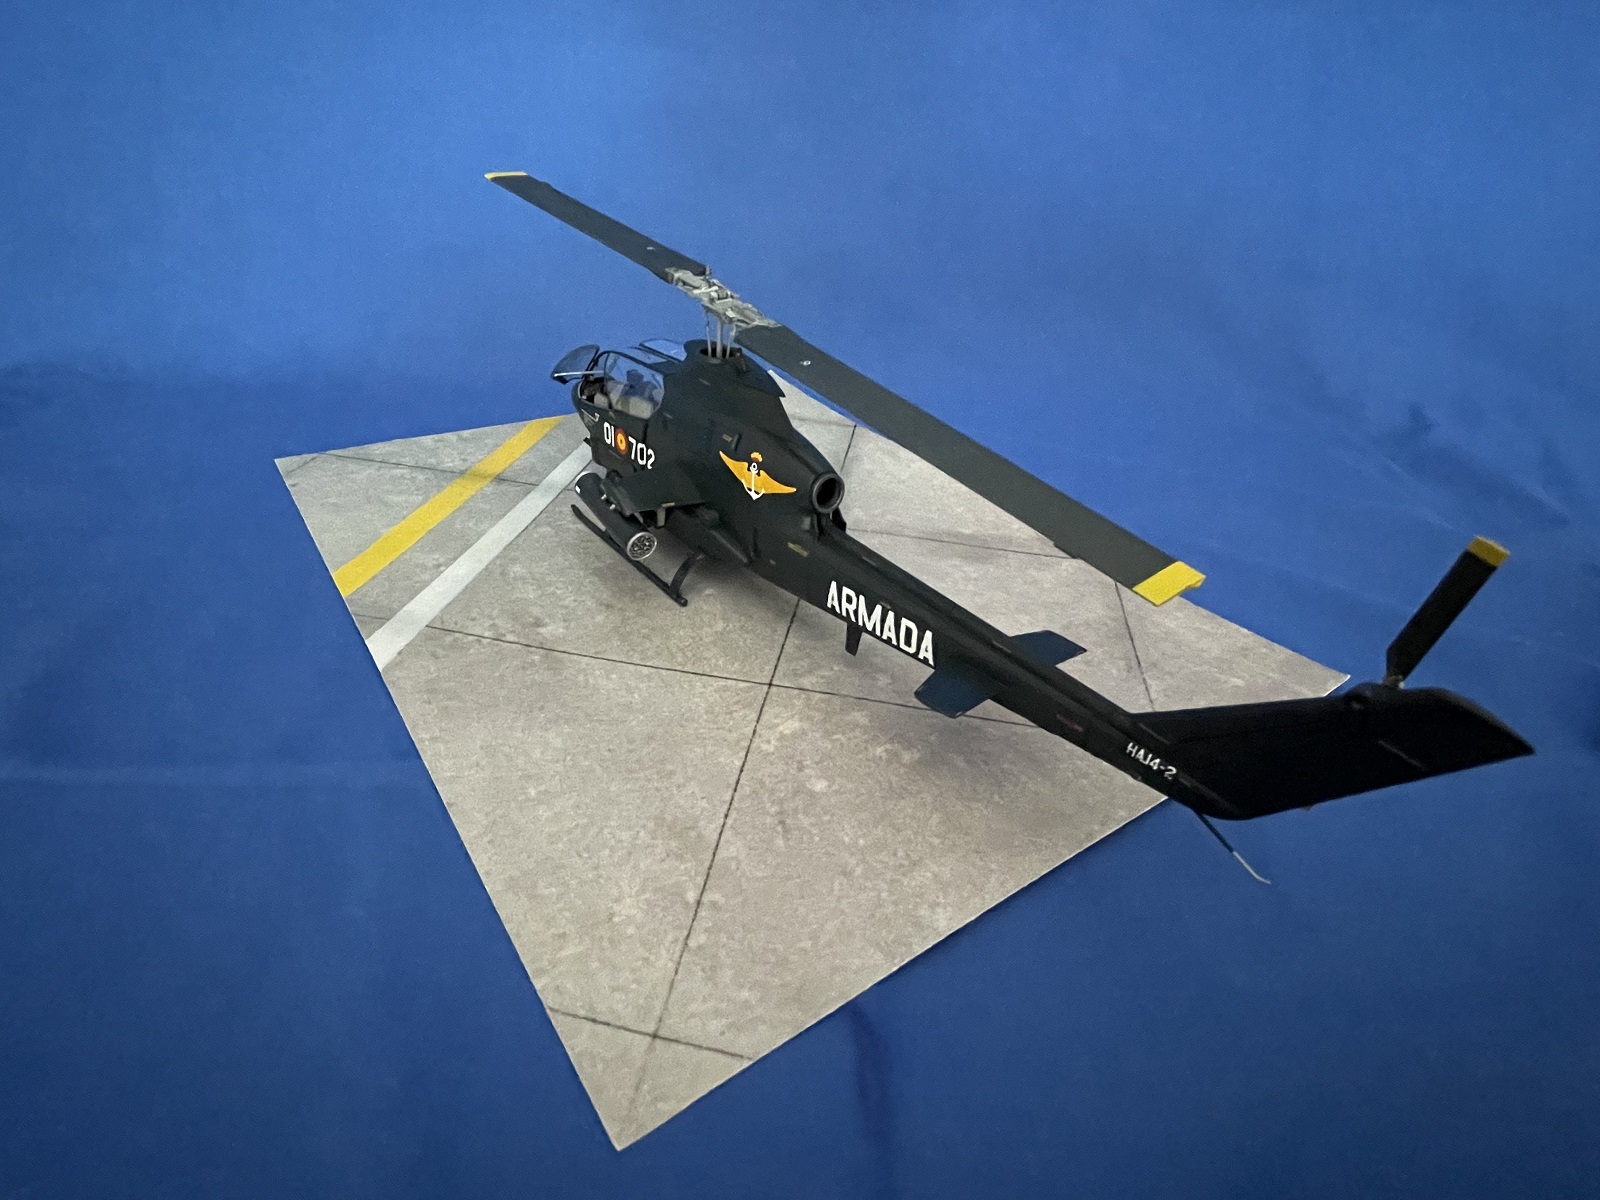
I originally wanted to build the first Spanish option “007-8”, which had its sponsons still painted in the original olive drab color, but the fit showed some gaps between the sponson and fuselage sides. As I intended to paint the sponsons green before attaching them to the airframe, I decided to build the second, all blue version and clamped the sponsons tightly which resulted in a good fit.
Above the sponsons were two stub wings that held the weapons pylons. These fit nicely together and perfectly to the fuselage sides. The weapons pylons also build nicely with separate weapon mounting hardware that I painted aluminum and left off until the end of the build.
Attaching the landing skids, I found the stubs were a little long but after trimming them, fit fine. I also broke three of the attachment stubs during subsequent handling. I drilled holes and inserted short lengths of wire to add strength to the skids.
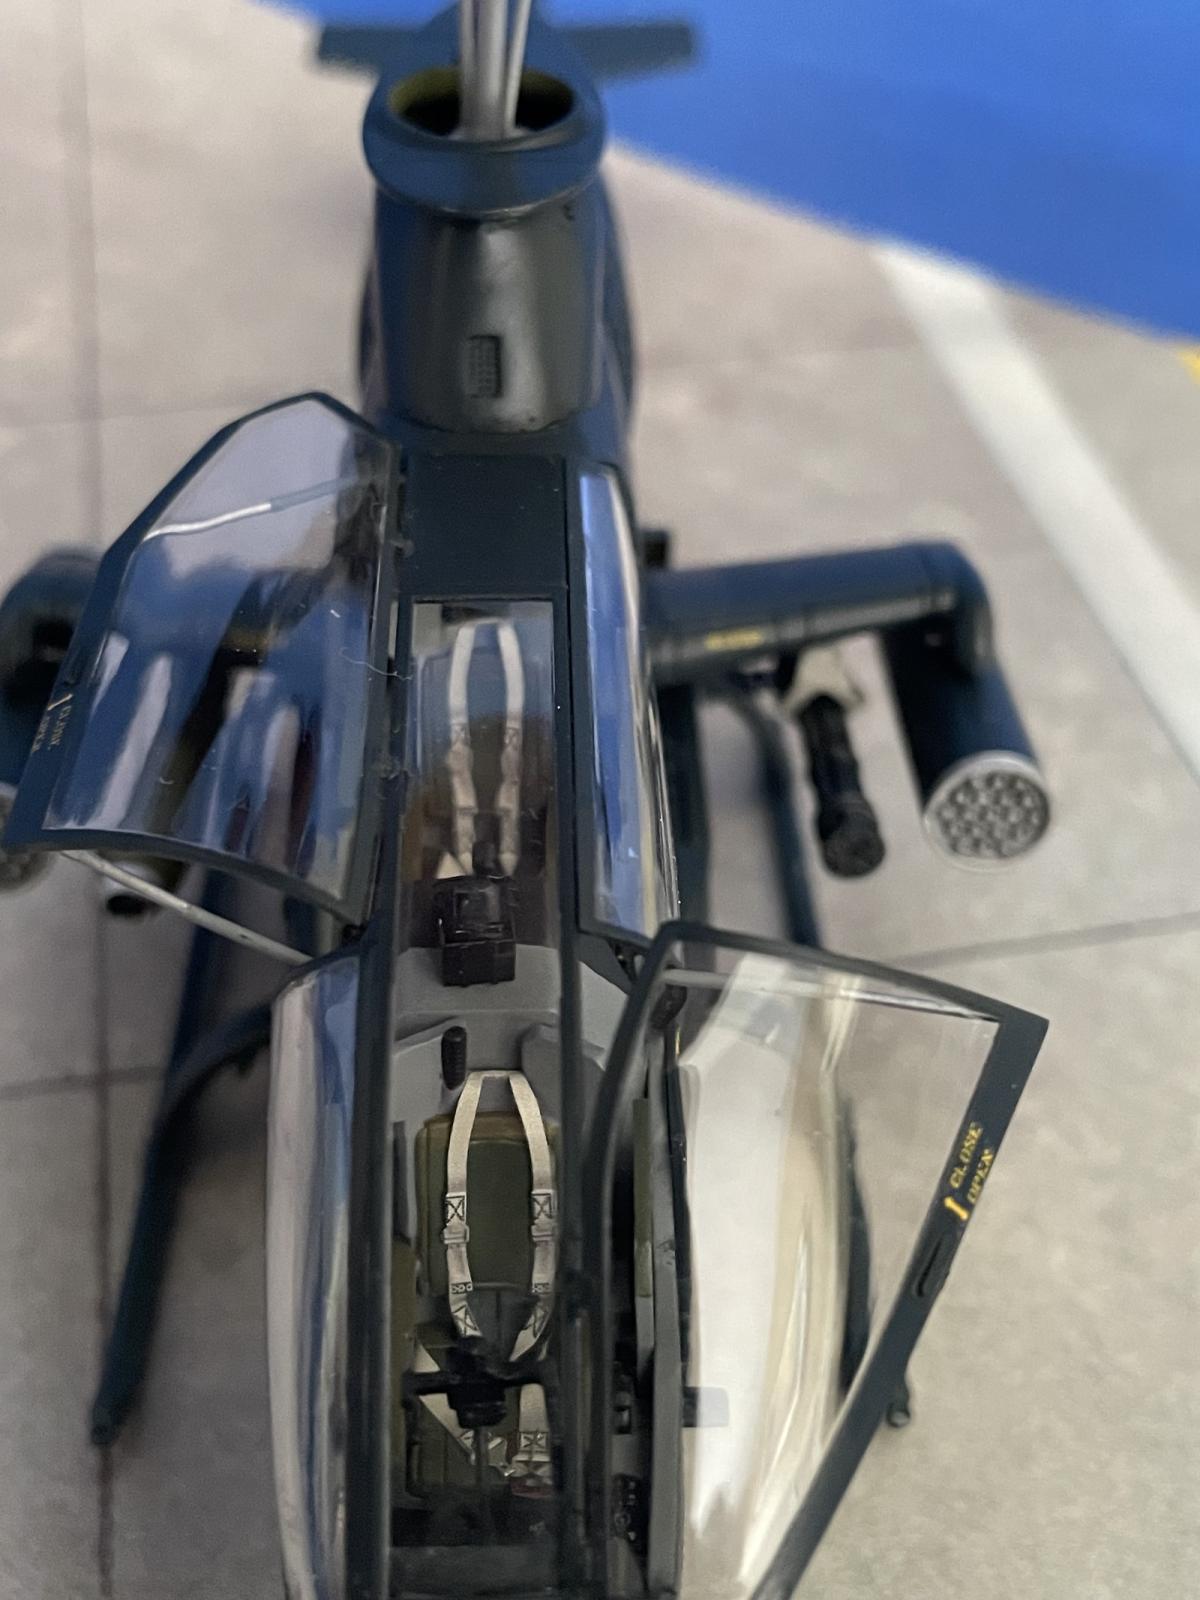
I treated the canopy and other clear parts to a Future Floor Wax dip, even though they were beautifully clear. The canopy was made up like the real aircraft with a single center part that formed the windscreen and roof and four individual side windows, two being the hatches for both pilots – The rear on the right and the front on the left side. I discovered that I could get a better fit if I attached the fixed side windows first and aligned them to the fuselage sides, then slot the roof/windscreen part between them. Once I had all the windows aligned, I ran Tamiya extra thin cement along the joints.
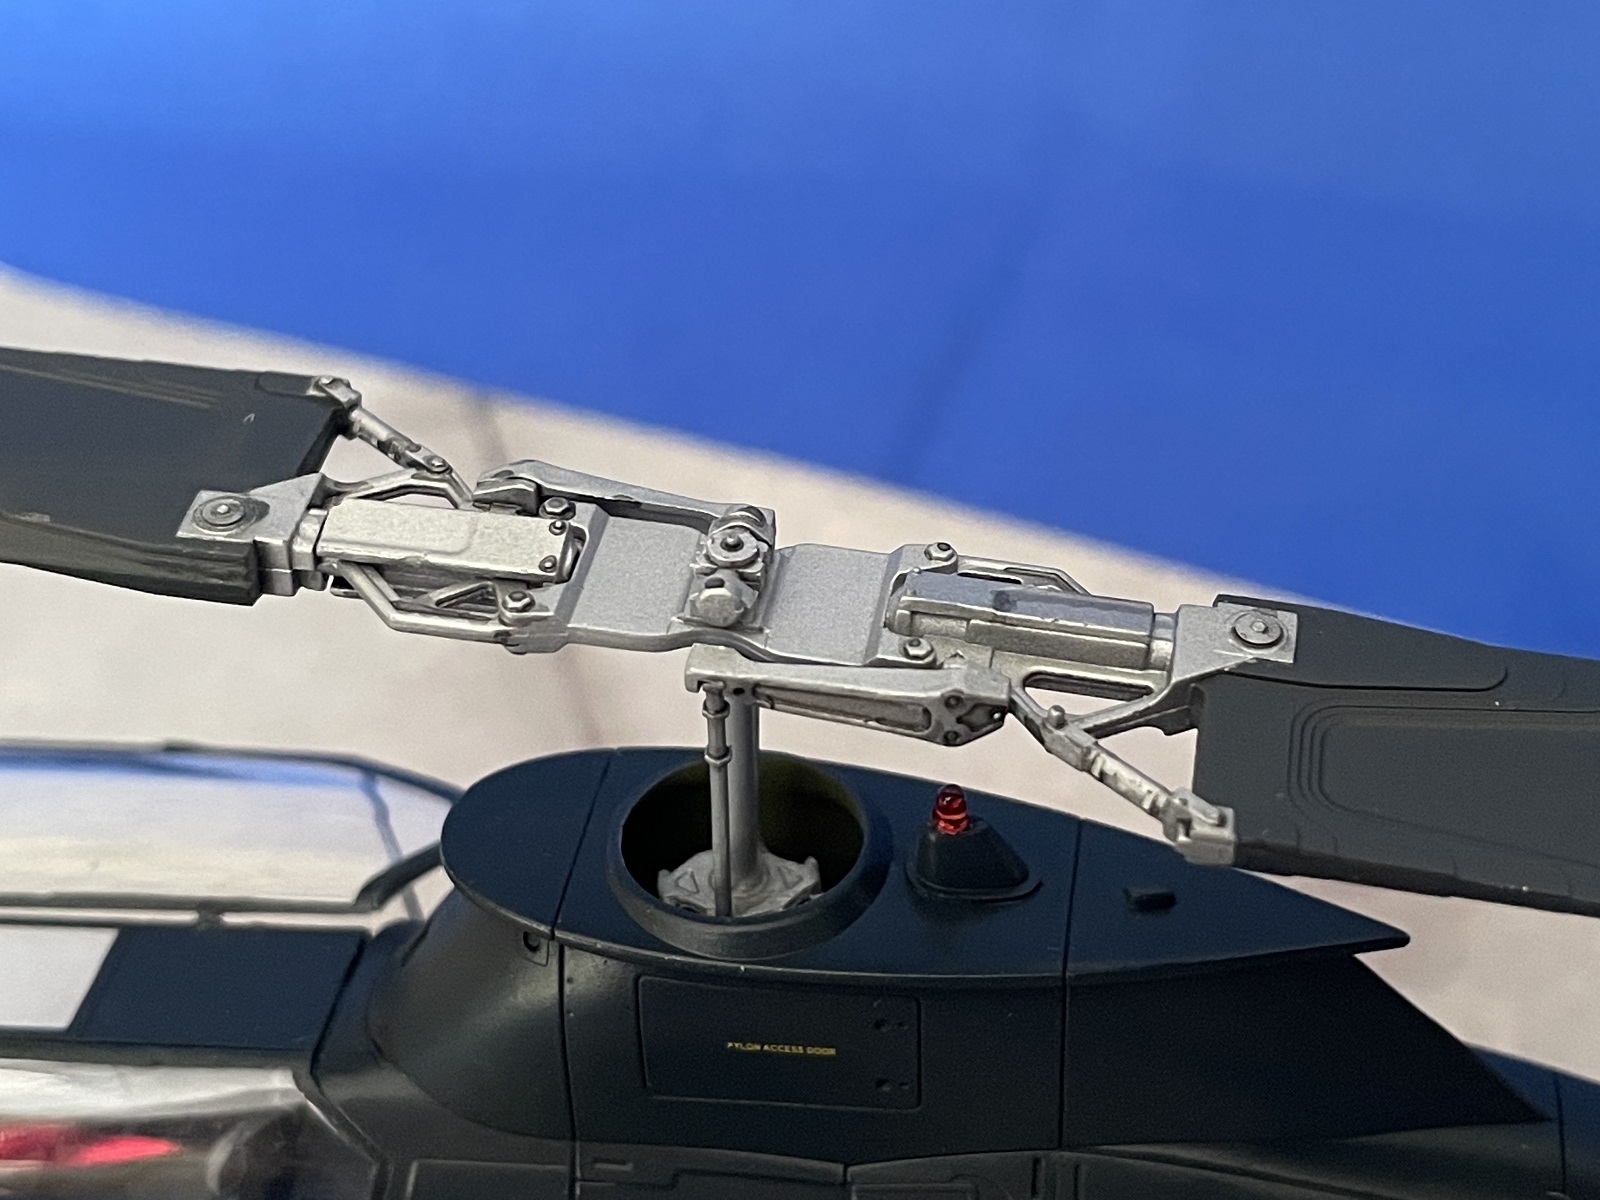
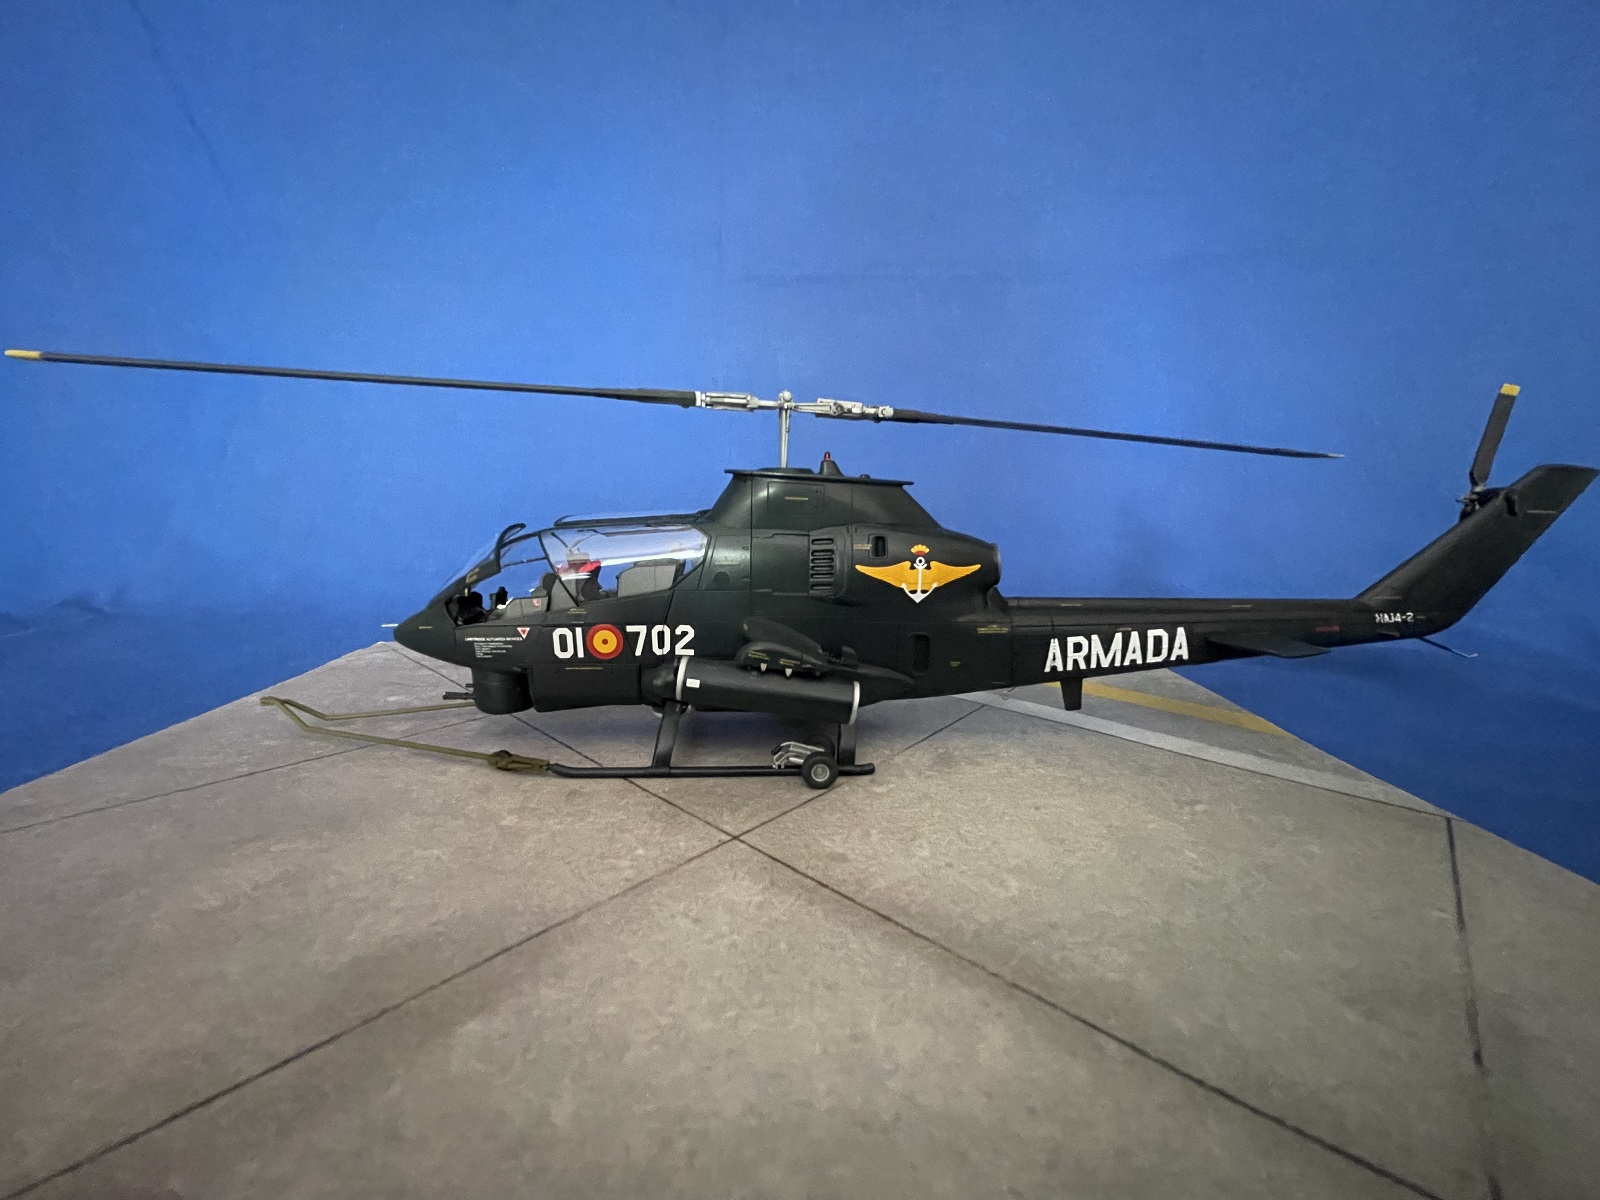
With the fuselage essentially built, I turned my attention to the main and tail rotors. Both were one piece each which made, especially, the main rotor a lot stronger. Several parts were added to the hubs, including the spindly main rotor shaft and cyclic control rods.
I sprayed the rotor blades tire black, followed by a fairly extensive masking job to paint the main rotor hub. It was easier to paint the tail rotor hub by hand. I painted this aluminum; however, I misread the paint color as they should have been light grey.
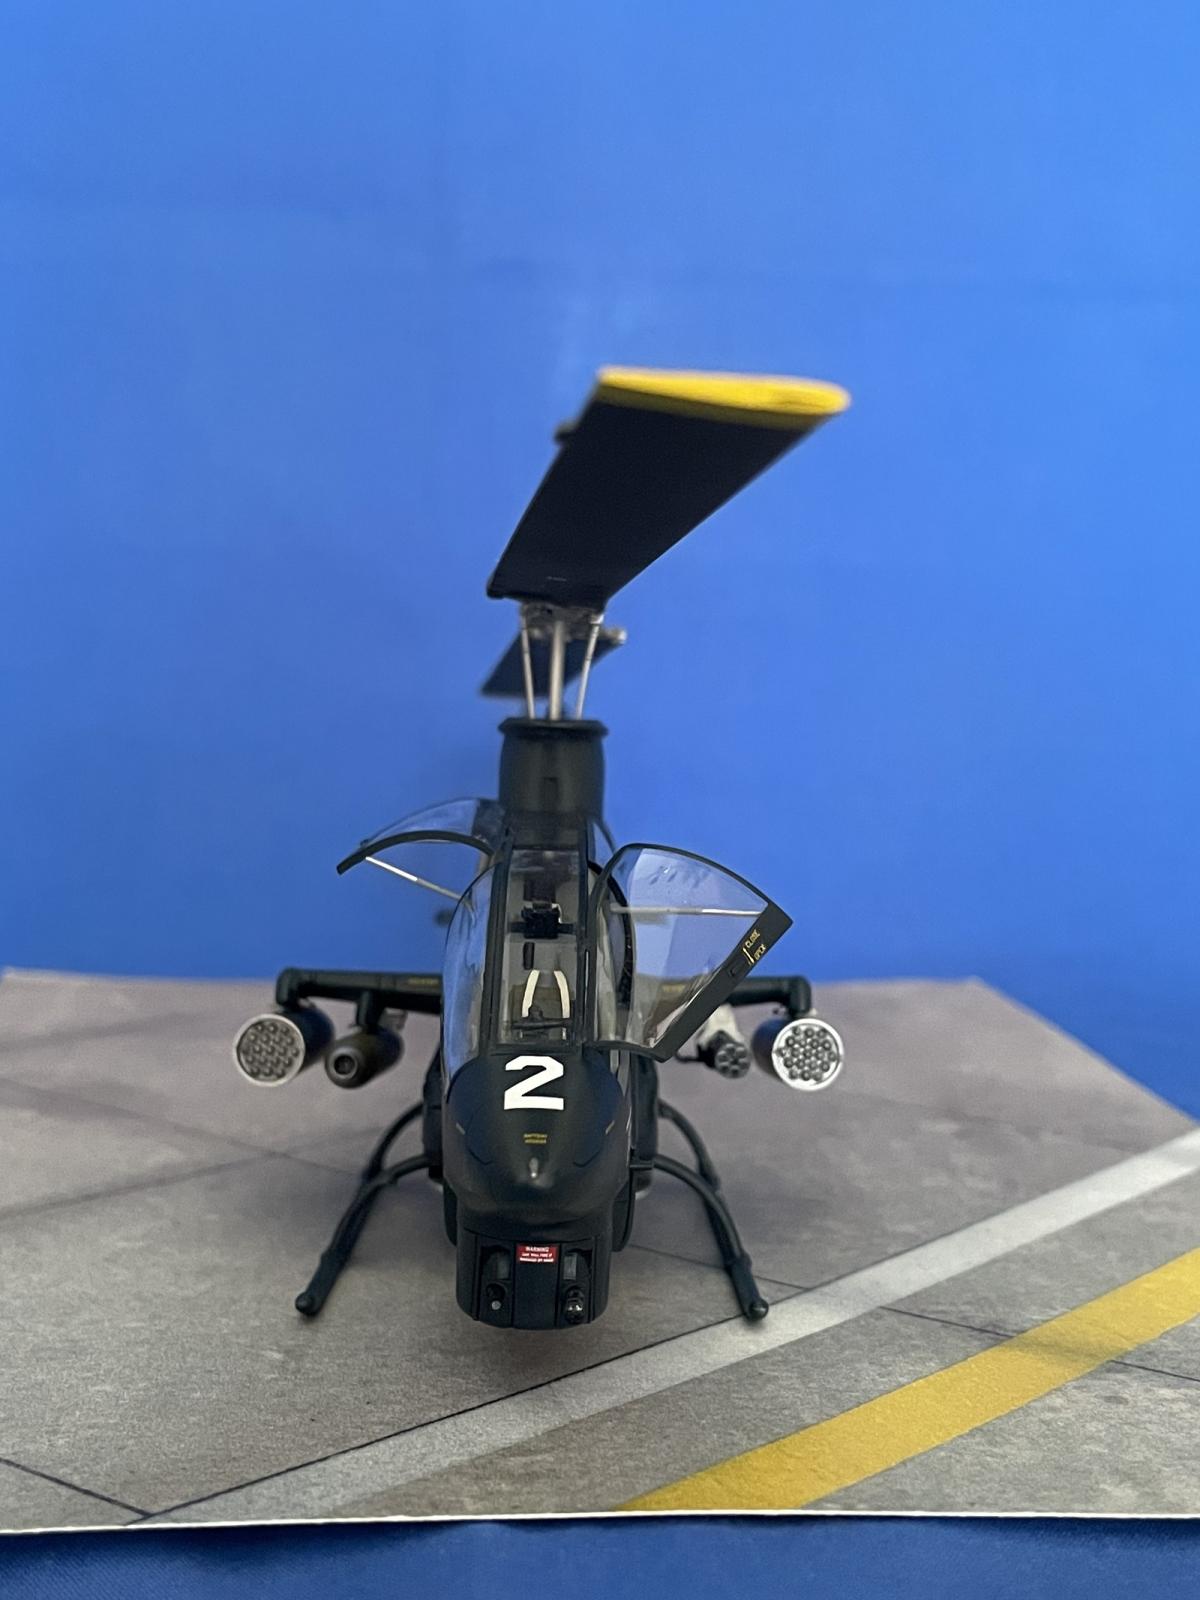
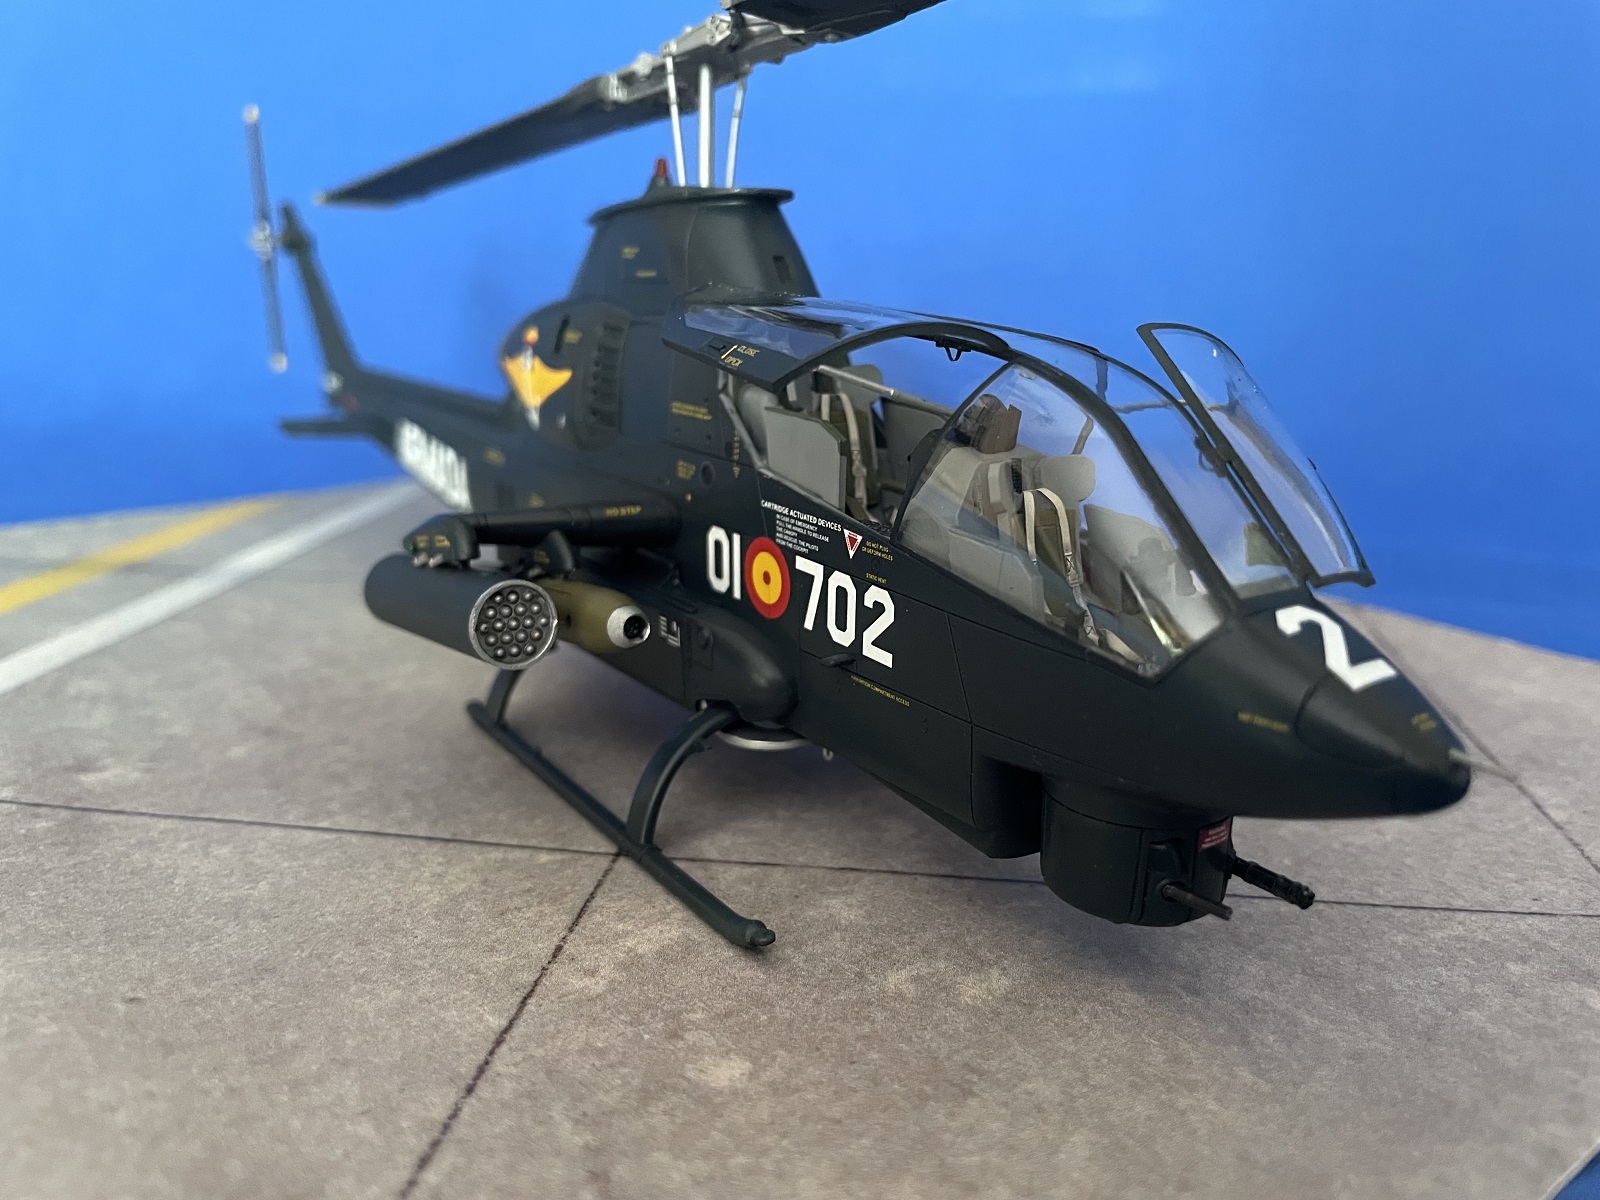
The weapons include an M35 Gatling gun and rocket launches that mounted to pylons under the stub wings, plus a smaller gatling gun and machine gun located in a turret under the nose. All the weapons were nicely detailed, and while the M35 Gatling gun had shallow indentations indicating the barrel ends, I drilled them deeper to add depth.
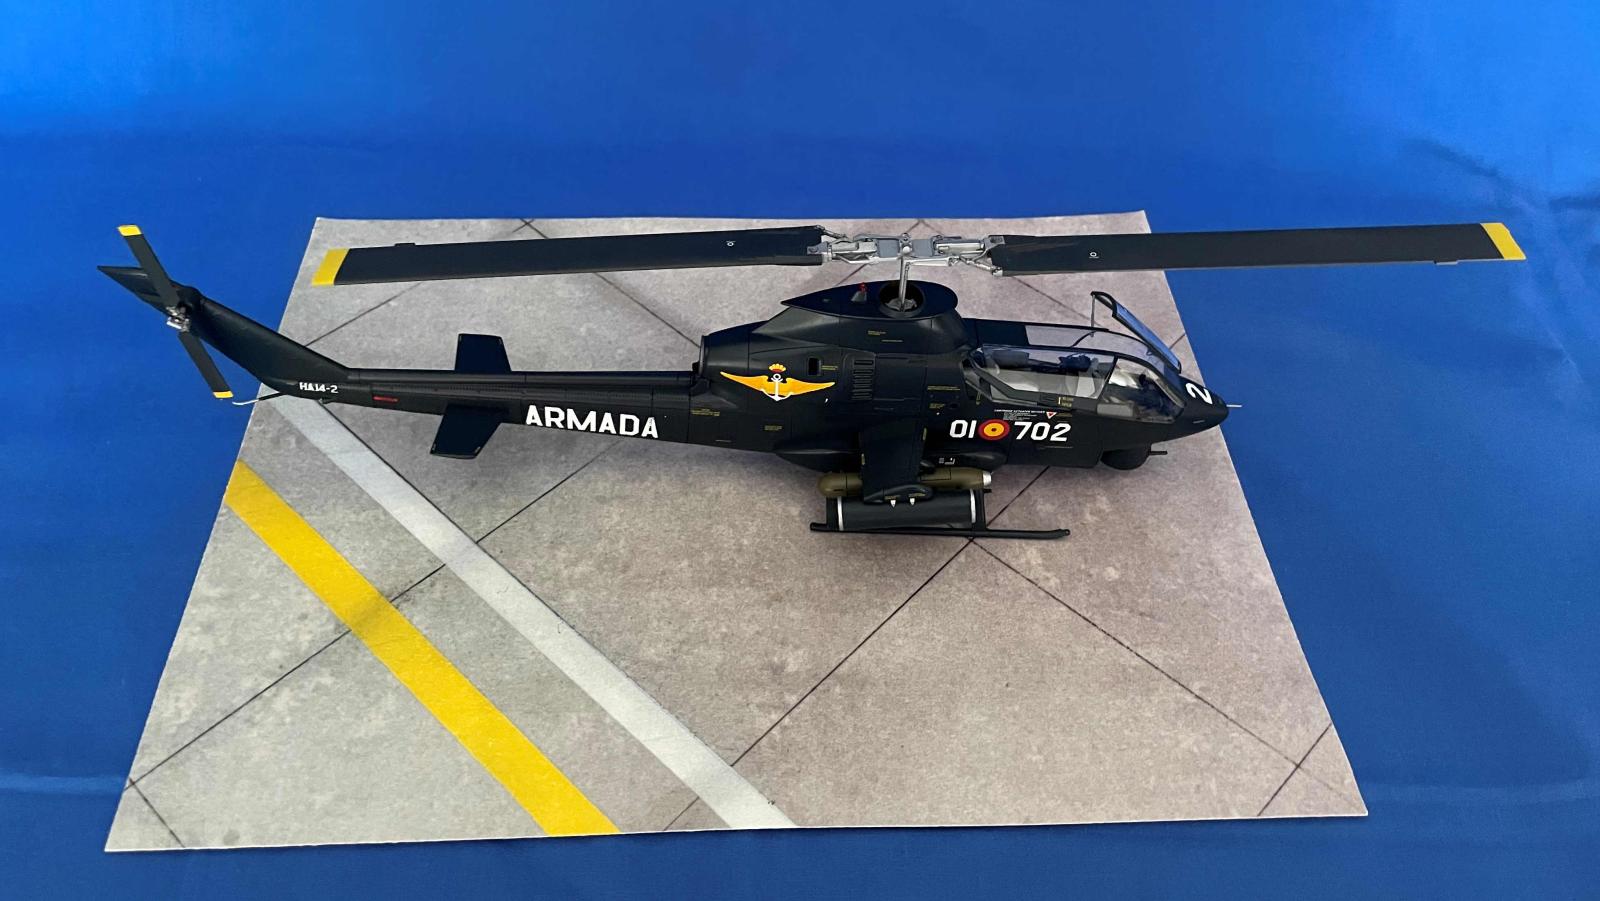
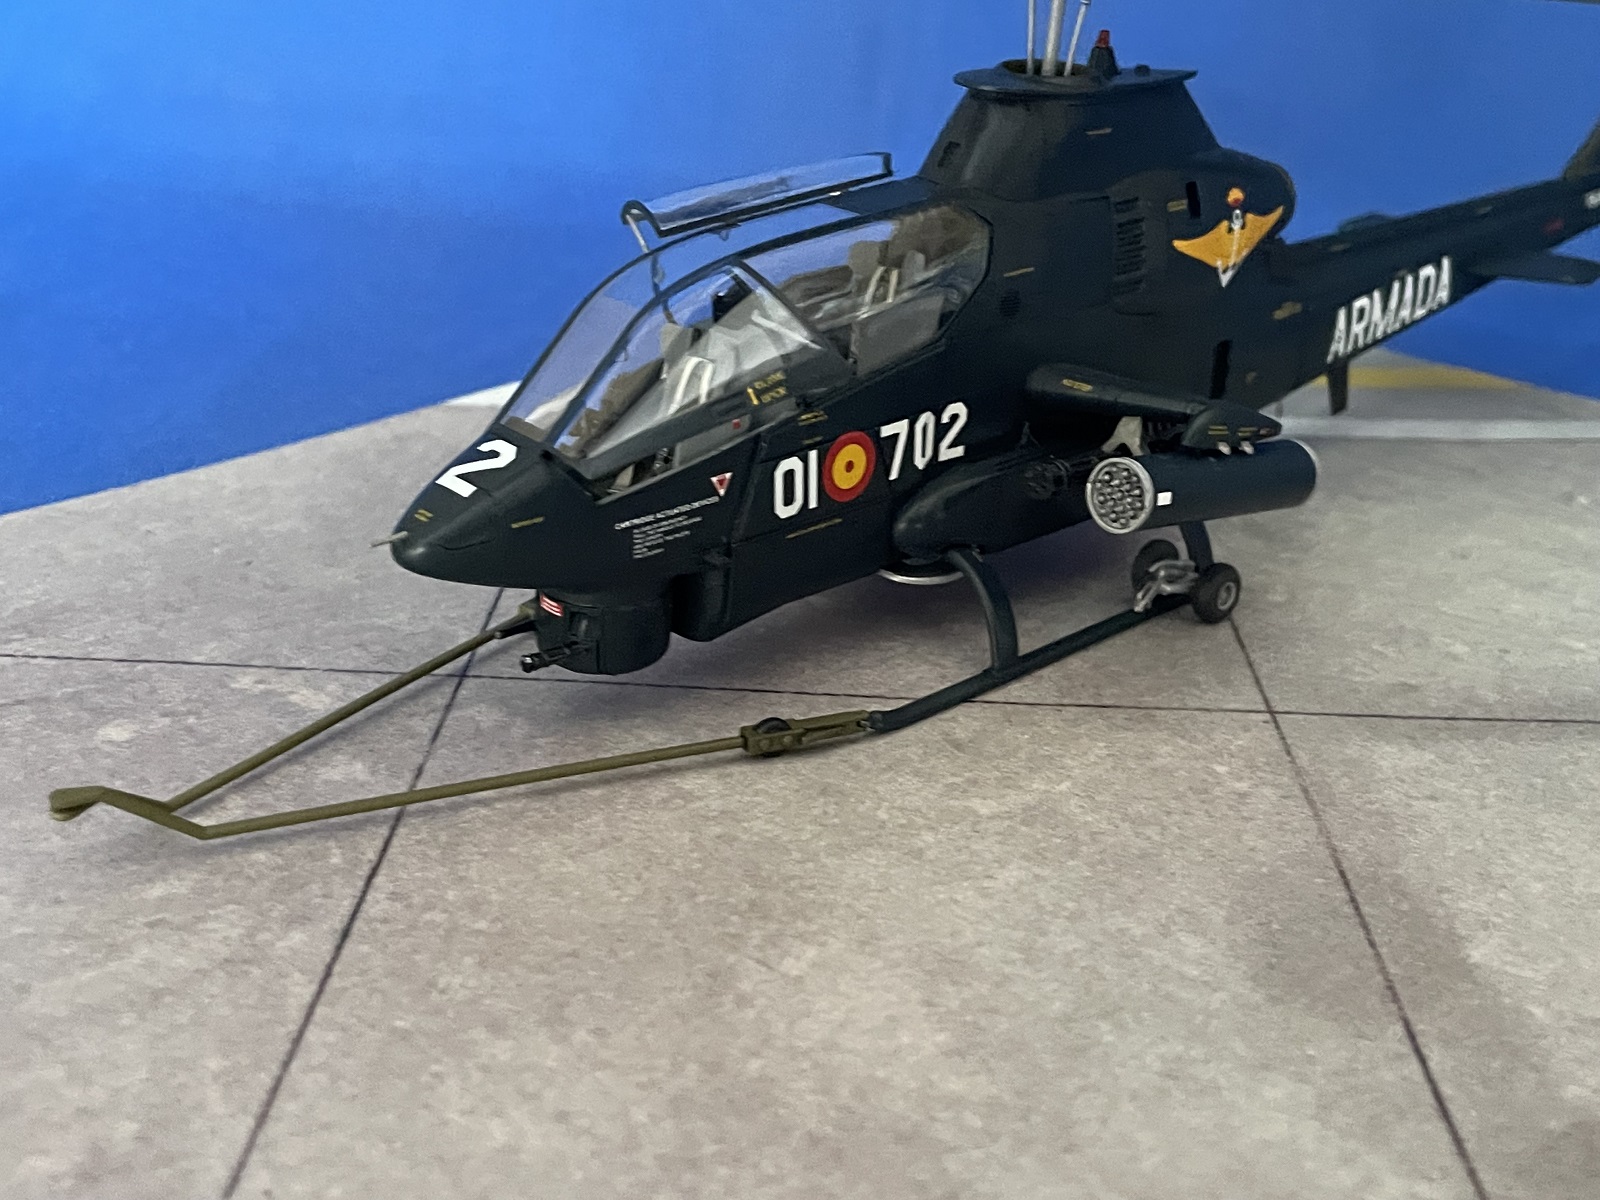
Following seam sanding and masking the canopy, I painted the model ModelMaster enamel dark sea blue. This, to me, gave a good interpretation of how the Spanish helicopters were painted. A gloss coat followed, and the Cobra was left to dry for a few days.
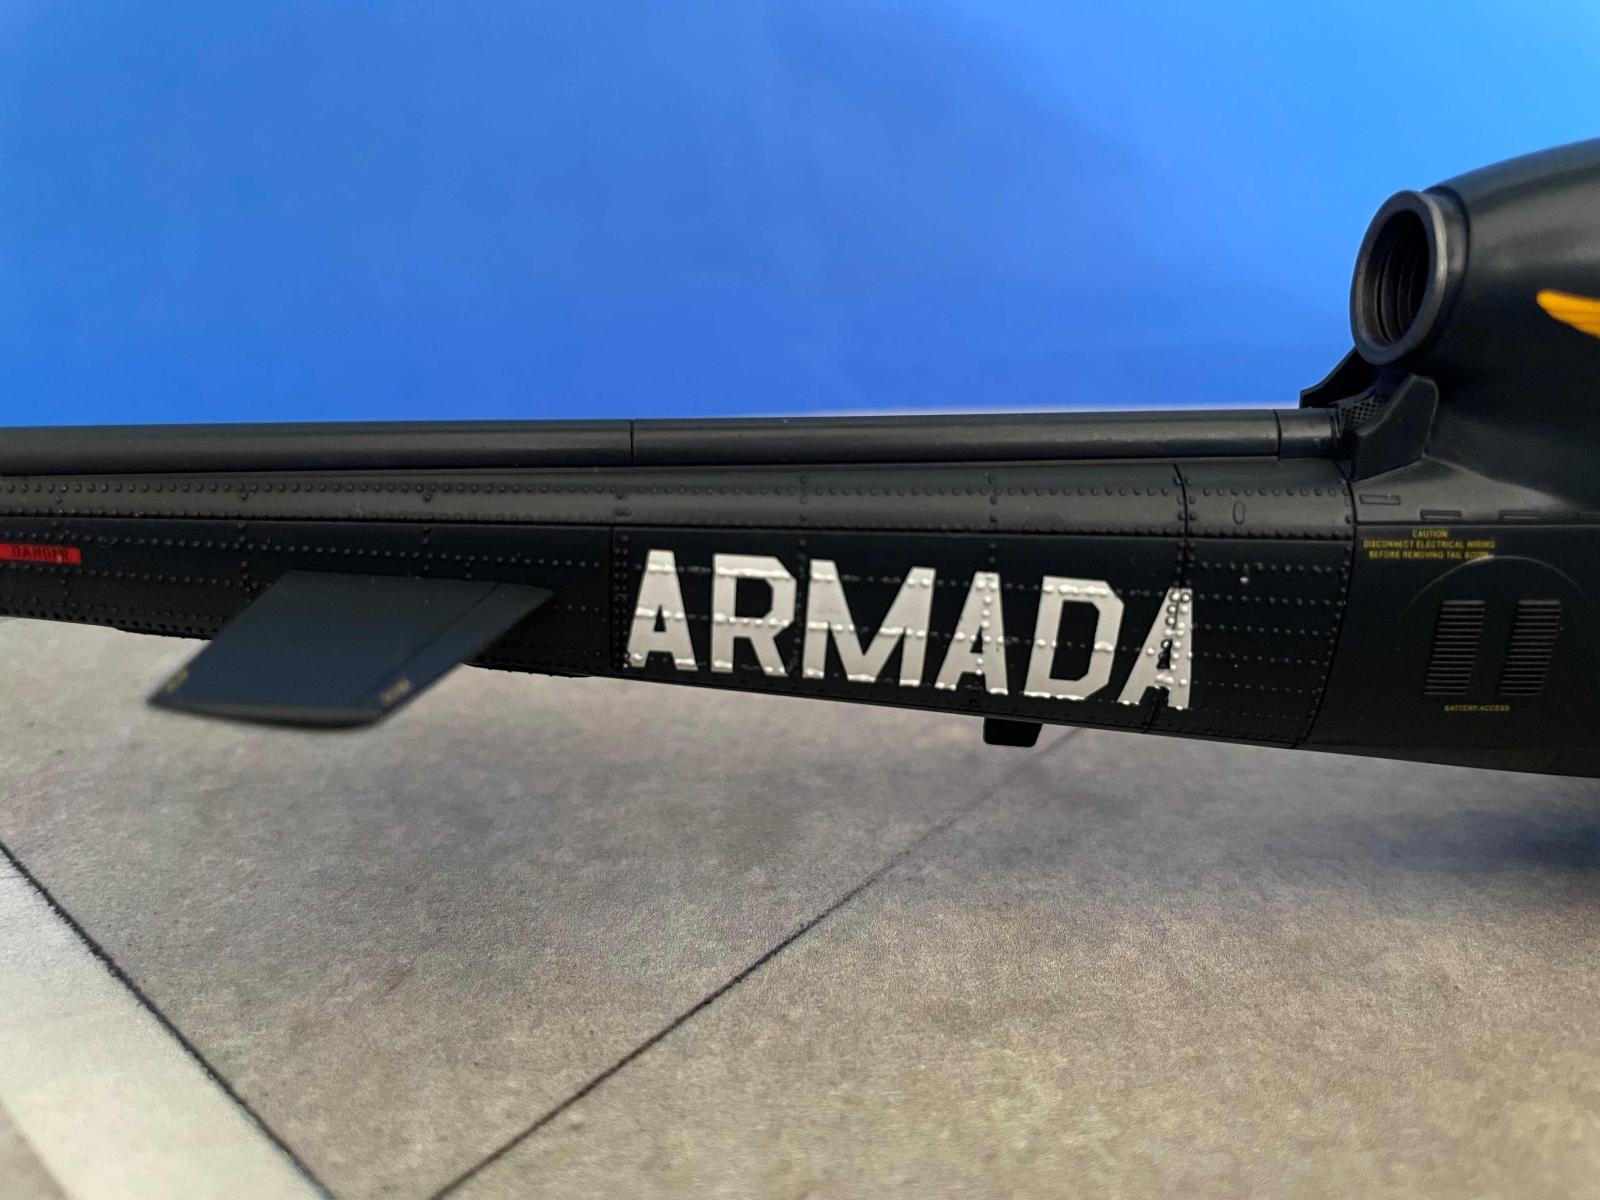
The Cartograf decals were strong and slightly thick, but worked flawlessly as expected from Cartograf. I only had to “work” the decals applied over the raised rivets along the rear fuselage and tail boom. Copious application of Micro Sol, pin pricking and gentle persuading with a que tip bedded them down. After checking for any “silvering”, I applied another gloss coat to seal in the decals.
Researching pictures of these aircraft online showed the Spanish Cobras were kept in good condition and the blue paint appeared in most pictures to be either gloss or semi-gloss. I did not see any paint chipping so I simply ran a black wash through the panel lines, followed by a semi-gloss coat and a light final flat coat to take the edge of what still looked a bit too glossy paint.
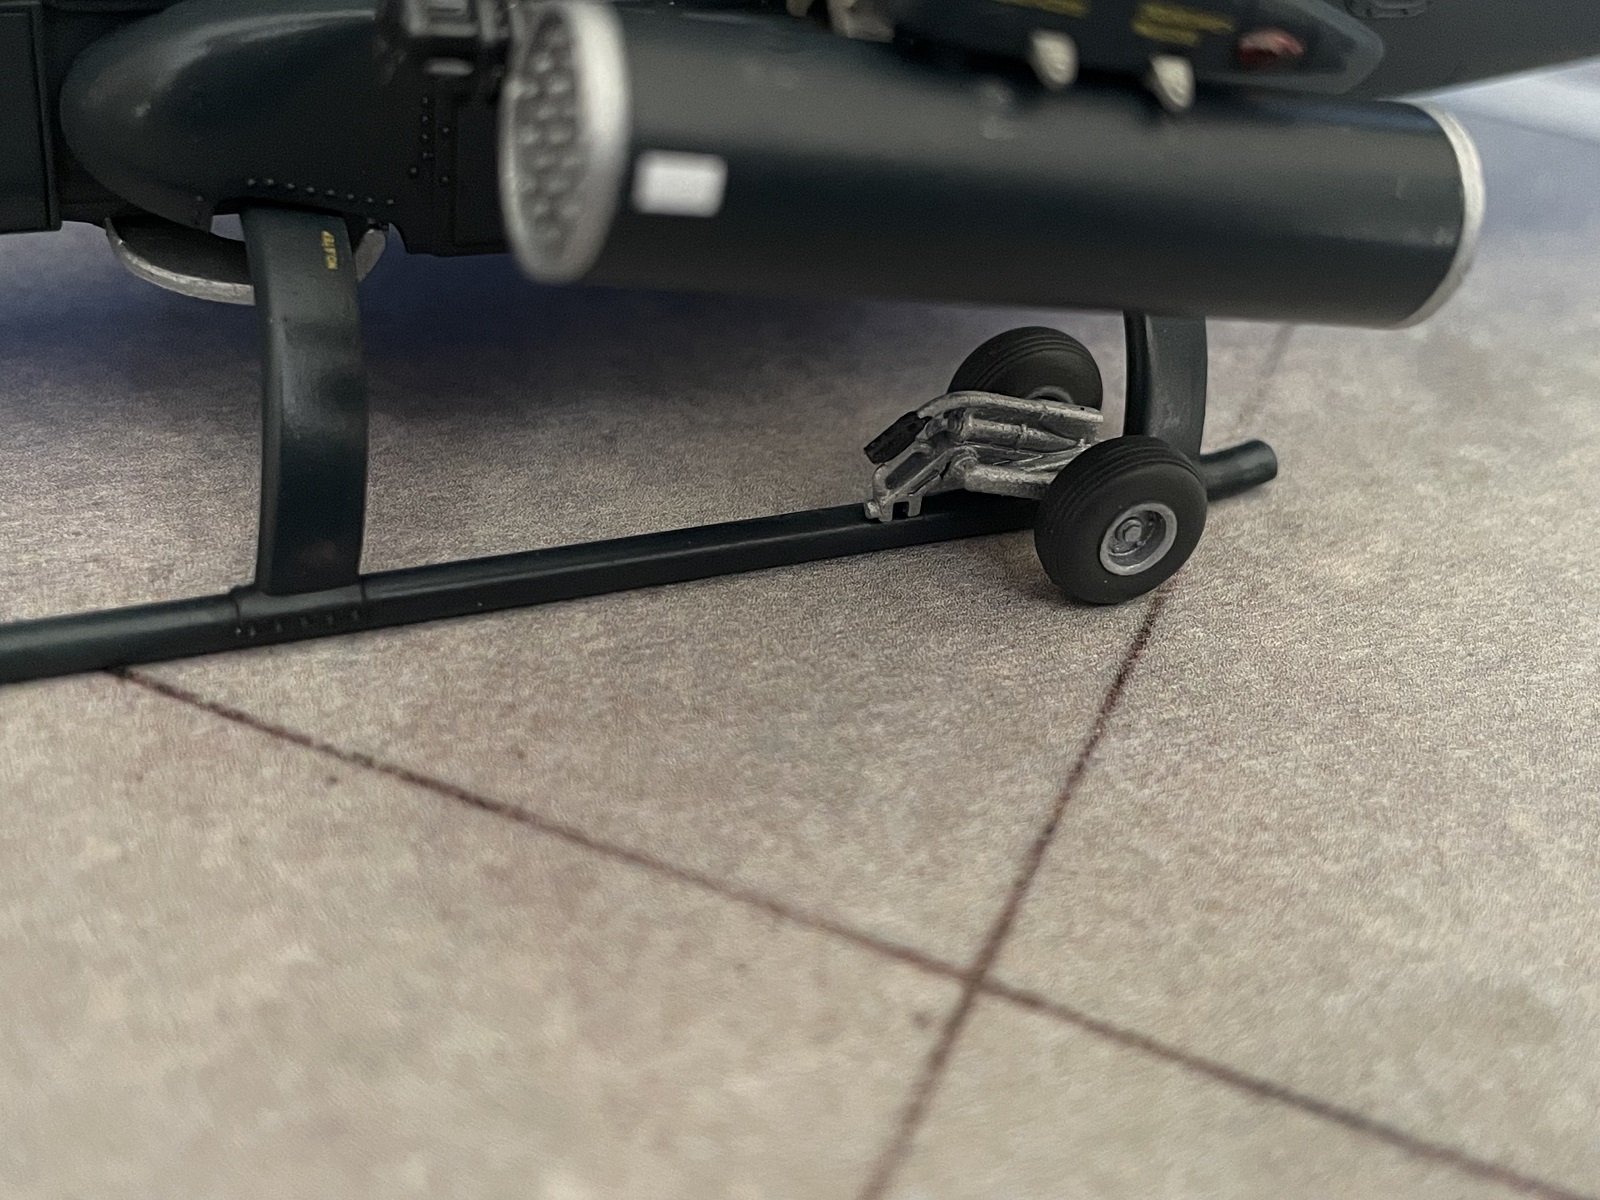
A really great addition to this kit was the towing gear, which consisted of wheel assemblies that mount to the rear of each skid and towing bars that attached to the front of the skids. This would add interest to a diorama. I drilled small holes in the front of the skids where a pin would be inserted to attach the towing bars.
The final assembly included attaching the open canopies, which were a little fiddly lining up the support rods and open canopy windows in the correct position. I added position lights and slotting the tail and main rotor assemblies into the tail and main rotor transmission. The weapons were mounted to their attachments and a blade antenna glued to the underside of the tail boom. Under the nose, I located the nose turret.
Overall, I found this to be a most enjoyable, fairly quick build of the AH-64G Cobra. I think this model could be tackled by most modelers, and a little patience handling assemblies like the canopy.
Thank you to Special Hobby and the IPMS USA for the privilege of building and reviewing this important Helicopter


Comments
Add new comment
This site is protected by reCAPTCHA and the Google Privacy Policy and Terms of Service apply.
Similar Reviews