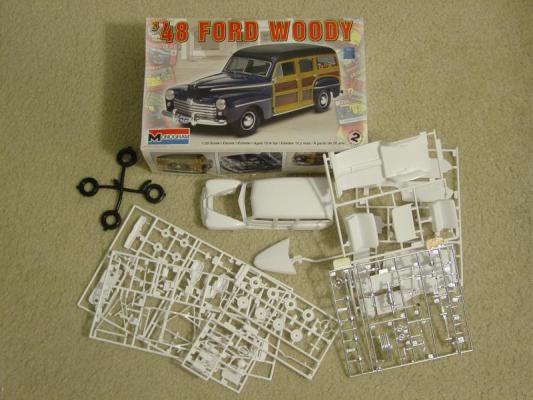
Revell has been kind to auto modelers in re-releasing past Monogram car kits that have been out of production. This time the reissue is of the ’48 Ford Woody with Monogram’s name on the box top and on the instruction sheet. With 127 parts molded in white plastic, clear plastic and a sprue of chromed parts you can only assembly a stock Woody. You’ll use all the parts with none left over, except for a few decals.
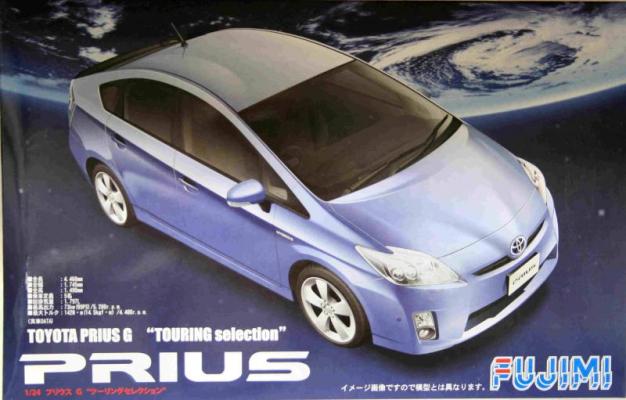
The Toyota Prius has made its way from a government incentive driven experiment to a very successful mainstream product offering. As such it really deserves to be noticed for its place in history. The Prius body styling and the kit subject matter in general, however, may only appeal to the Prius enthusiast.
The Fujimi kit represents the 2009 model year of the 3rd generation Prius and is an all new kit. White, clear and chrome trees are all individually bagged. Also included are soft rubber tires, a small decal sheet and window masks. Part count is just over 80 pieces and the build up is fairly simple. The result is a curbside model with no open elements.
The Kit
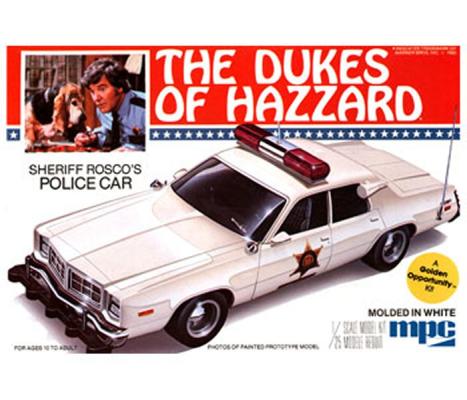
The kit is molded in a white styrene and also has a generous sprue of chrome parts, and rubber wheels. There is also quite an arsenal of weapons included, (M-16, Thompson sub-machine gun, M1, shotgun, pistol, and a grenade launcher). I guess Sheriff Rosco always wanted to be on a SWAT team. This kit depicts the Dodge Monaco police car and is a very good representation of that vehicle. It also includes a nice engine that could be detailed if you wanted to. One problem is that the hood of the car has no hinges to open so you will have to just lay it next to the kit to show off the engine compartment.
The Build
I don’t normally build car models but my son does, and he especially likes vehicles from different movies and TV shows. When he saw this up for review he wanted it for his collection, so I agreed that we could build it together.
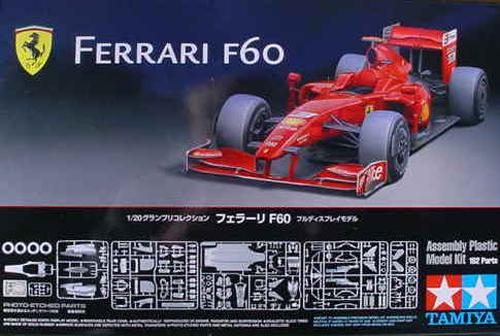
Upon opening the box you will find 9 baggies containing 182 parts, one tree of P.E. parts, a couple of small sheets of decals, a 10 page instruction booklet, and a decal placement flyer. Parts are molded in three colors; black, red, and chrome. The chrome parts have an aluminum tint to them, making them much more realistic and appealing to the eye than the typical “chrome” parts found in most car models.
Kit instructions
Before beginning this project it is important to study the instructions and illustrations, and become familiar with the part number and paint color codes. Having given that admonition, once these codes and the associated symbols become familiar to the builder the instructions become very clear and easy to follow. The illustrations are well drawn and precise, with a sense of perspective that aids the builder in part location and placement.
Background
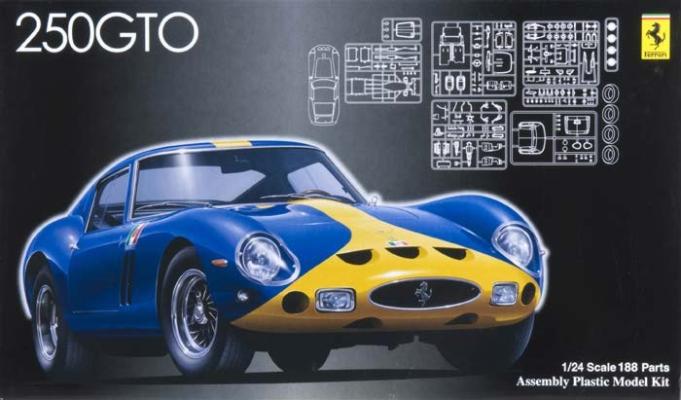
In 1962 and 1963, Ferrari produced a small number of cars that were essentially racecars for the street. FIA rules at the time required that at least 100 examples of a car had to be built in order for it to qualify for racing in the GT class, but with a little sleight-of-hand and a few other tricks, Ferrari managed to get by with building only 39 vehicles in a couple of variations. These cars have gone on to become legendary and highly desirable, to the point where collectors today will pay several million dollars to get their hands on one. Over the years, several kits of this vehicle have been produced. I still have a 1/24 scale slot car that I can remember my Dad purchasing and building in the mid-1960's, and I also have a kit (still unbuilt) that I purchased over 20 years ago. Fujimi has recently brought out an all-new tooling of this car in 1/24 scale; let's take a look at it.
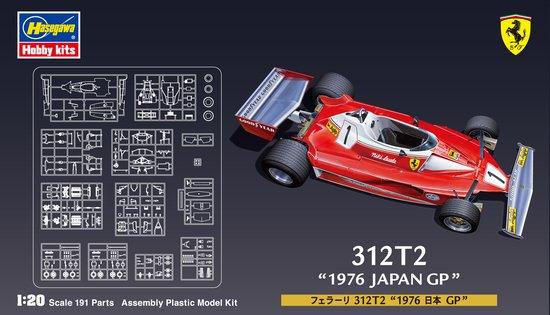
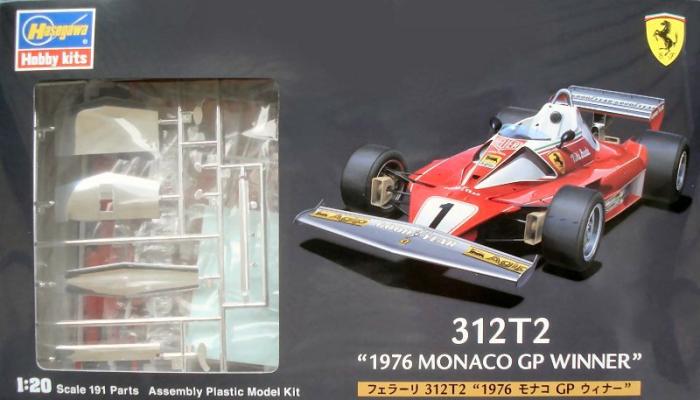
I really am an airplane modeler normally but I have not been able to resist these F-1 race car models. This time around IPMS was kind enough to allow me to build the 1976 Ferrari 312T2 of Niki Lauda. After a steady decline, Ferrari built the 312B3 in 1974 and had some success but was hampered by reliability issues. The 312T and T2 were built to address the B3s problems. Based on a flat 12 engine producing 485 HP coupled with a transverse mounted (hence T in name,) transmission the 312T was driven by Lauda to four first place finishes and the overall championship in 1975. For the 1976 season the 312T2 was introduced with Niki Lauda and Clay Regazzoni driving. The major design change for the 1976 season was the relocation of the engine air intakes to the area in front of the cockpit to comply with F-1 racing rule changes. The 1976 season was marred by a terrible crash that almost claimed Lauda's life.
I would like to thank Dragon Models USA for submitting this item to IPMS for review and IPMS for allowing me to review it.
Background
The Ferrari 312T was designed by Mauro Forghieri for the 1975 Gran Prix season. Over the next six years the 312T series won 27 races, four constructors' and three drivers' championships The car was powered by a flat-12 cylinder engine which produced approximately 510bhp. The "T" in "312T" stood for transverse. This was the mounting configuration of the gearbox which improved the car's handling characteristics over its predecessors.
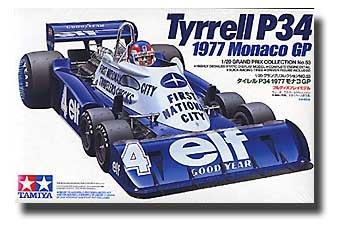
Back in 1976 Ken Tyrrell ran a Formula One Race team. He employed an innovative car designer named Derek Gardner. Up to this point in Formula One or Grand Prix as it is called, many designers tried some pretty radical designs in the hopes of gaining an advantage over the other competitors. Mr. Gardner came up with one of the wildest designs and it worked. This was the Tyrrell Project 34 six wheeled car. He felt that by reducing the drag on the front end the car would have an advantage in front line speed. By doing this he put four small (10") wheels on the front thereby reducing the drag and still keeping the grip. This car ran for 30 races between 1976 and 1979 and achieved a win in the process at the Swedish Gran Prix.
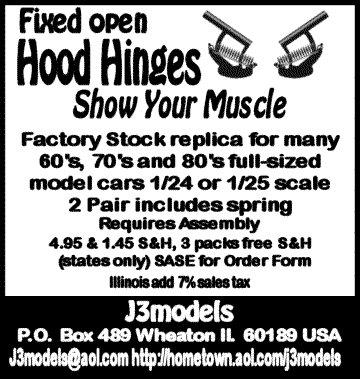
Those of us that like to display our automotive models with the hood open generally face two problems. The first is, of course, having an accurate-looking hinge mechanism, and the second is keeping the hood open. It’s just about impossible to build accurate-looking hood hinges that are also strong enough to do the job they are supposed to do: they’re fairly complicated mechanisms with springs and multiple pivot points that just can’t be accurately reproduced in plastic. Well, J3 Models has a solution to this problem in their fixed open hood hinges.
Each hinge consists of a piece of photo-etched (I assume) metal representing the hinge itself, and a spring which attaches to the hinge to produce a fairly good replica of a hood hinge in the open position. There is a large horizontal surface available to attach the hood to, and another large surface that can be glued into the engine compartment to hold the hood in the open position.
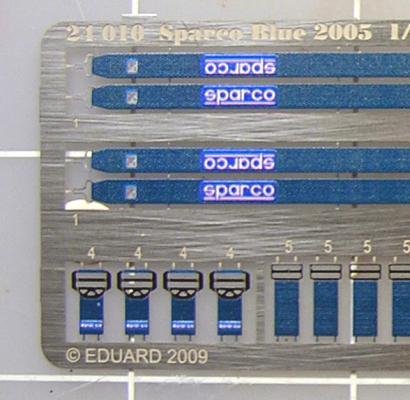
Having recently gotten back into car modeling, more specifically Group "C" type cars, I jumped at the chance to review this pre-painted (blue) 5-point Sparco harness set. As with most high speed racing endeavors, the rules require some very stout driver to seat retention systems (seat belts), but these are poorly represented by either molded-in details or by decals. Eduard has come to the rescue with these excellent looking seat belt/harness sets.
I had to do a little research and stash cross-referencing to see what Group "C" car model that I had that would use the blue harnesses. After a short search, I found that the 1988 Le Mans winning Jaguar XJR-9LM (the Tamiya kit) used this color harness. The belts have a very nice texture to them and the colors are quite brilliant. As can also be seen in the photos, the lettering is very sharp and clearly printed.