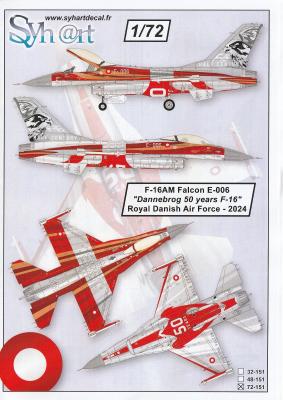
Syhart Decal has provided IPMS/USA reviewer corps with a wonderful decal set for the F-16AM Falcon, tail number E-006, with acolor scheme for the Royal Danish Air Force in “Dannebrog 50 Years F-16” special paint scheme in 1/72nd scale. Looking online for E-006, this F-16 variant will be an F-16A Block 20 MLU.
In the Package
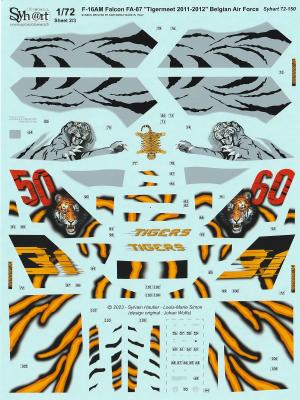
There are three decal sheets provided with all the colorful anniversary colors on the two larger sheets. The third sheet is smaller and has the stencils. Markings represent how the F-16AM Falcon flew in 2024 at air shows.
A bonus is the addition of 3-D printed parts for the forward wing probes and ventral antenna under the engine intake for increased accuracy in the build.
The information sheets show all sides of the airplane. Because of the large swaths of decals, a color-coded placement guide is a nice tutorial to locate them. Exterior paint information is also provided in FS color codes and color descriptions.