


CBU stands for Cluster Bomb Unit, which is a type of bomb, or munitions, that dispenses smaller bombs across a designated area.
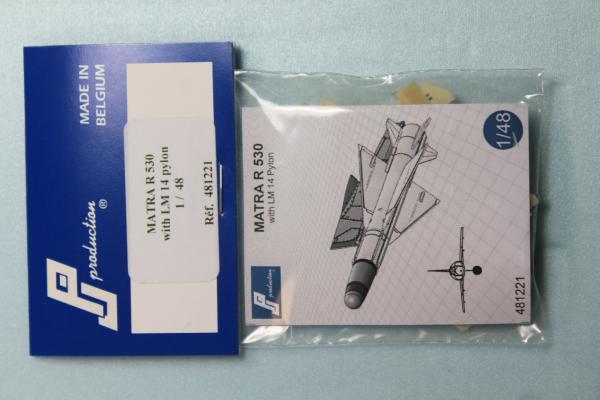
Eduard has created a resin armament set that covers one of the more unusual bombs, especially a type that is not seen very often on aircraft and not included in most aircraft kits.
This simple kit consists of 12 parts cast in resin. Assembly is straightforward, consisting of detaching, sanding, and then gluing the tail fins (Parts R31) to the main bodies (Parts R30).
Each bomb is painted olive drab. Care must be taken with the decals, as they are both thin and fragile. Once the decals are applied, a very convincing miniature version of the CBU is ready to load on a 1/48 aircraft.
Many thanks go out to Eduard for providing the review sample.