
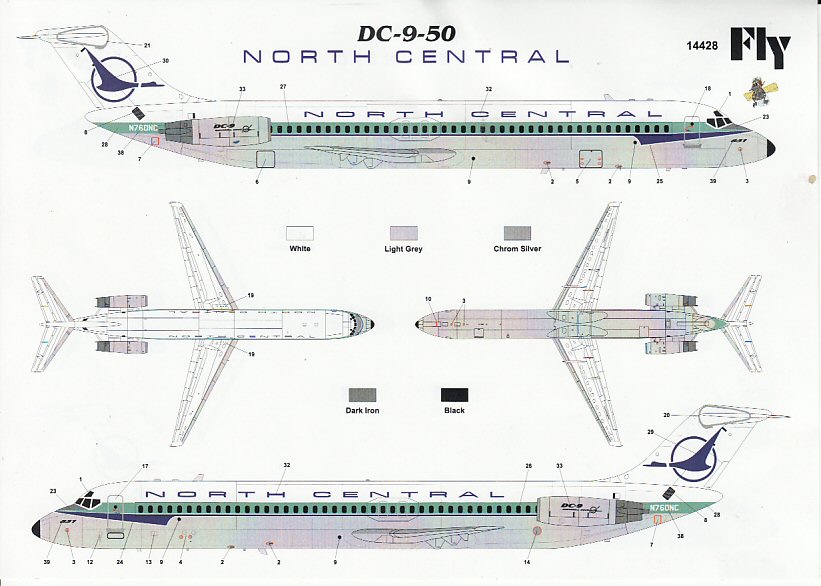
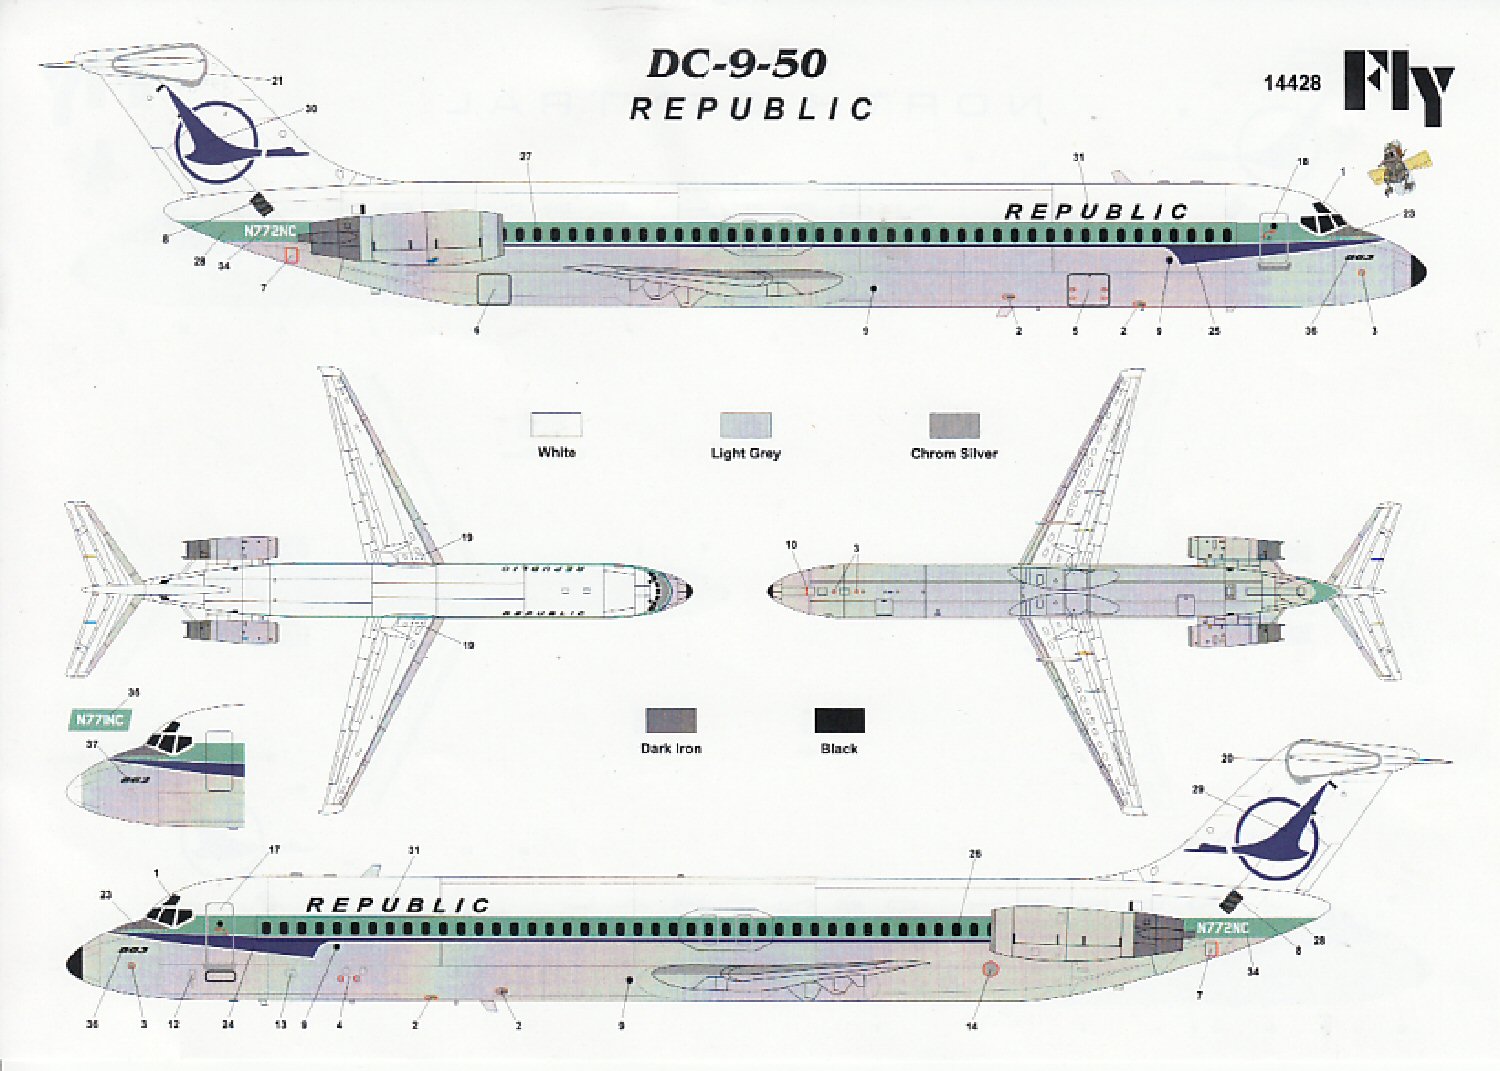
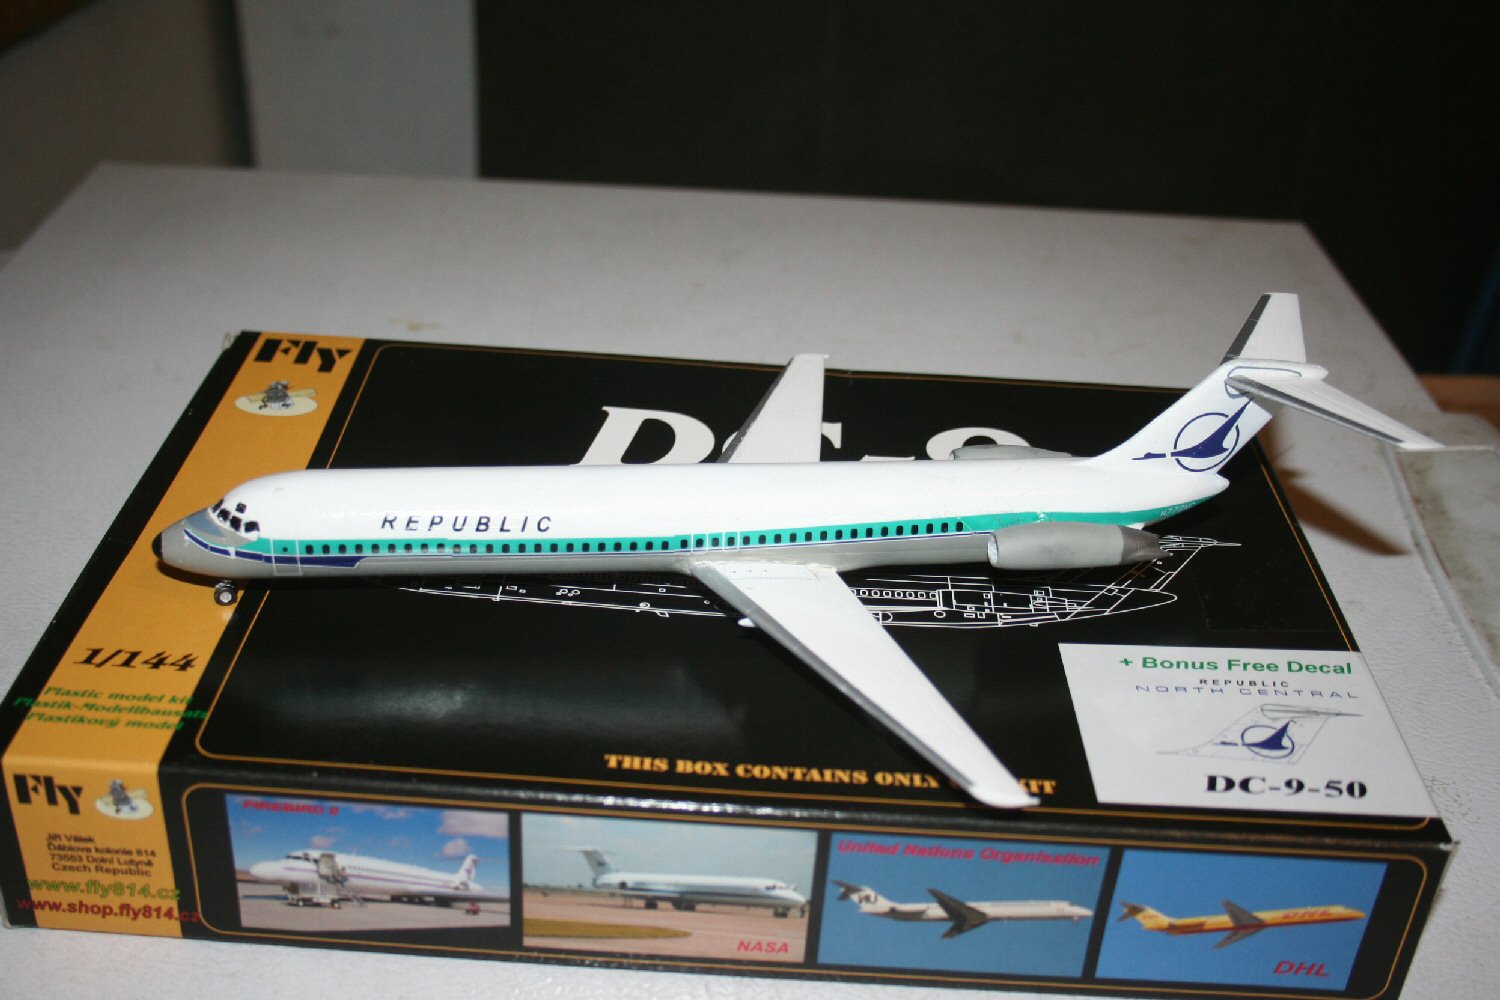
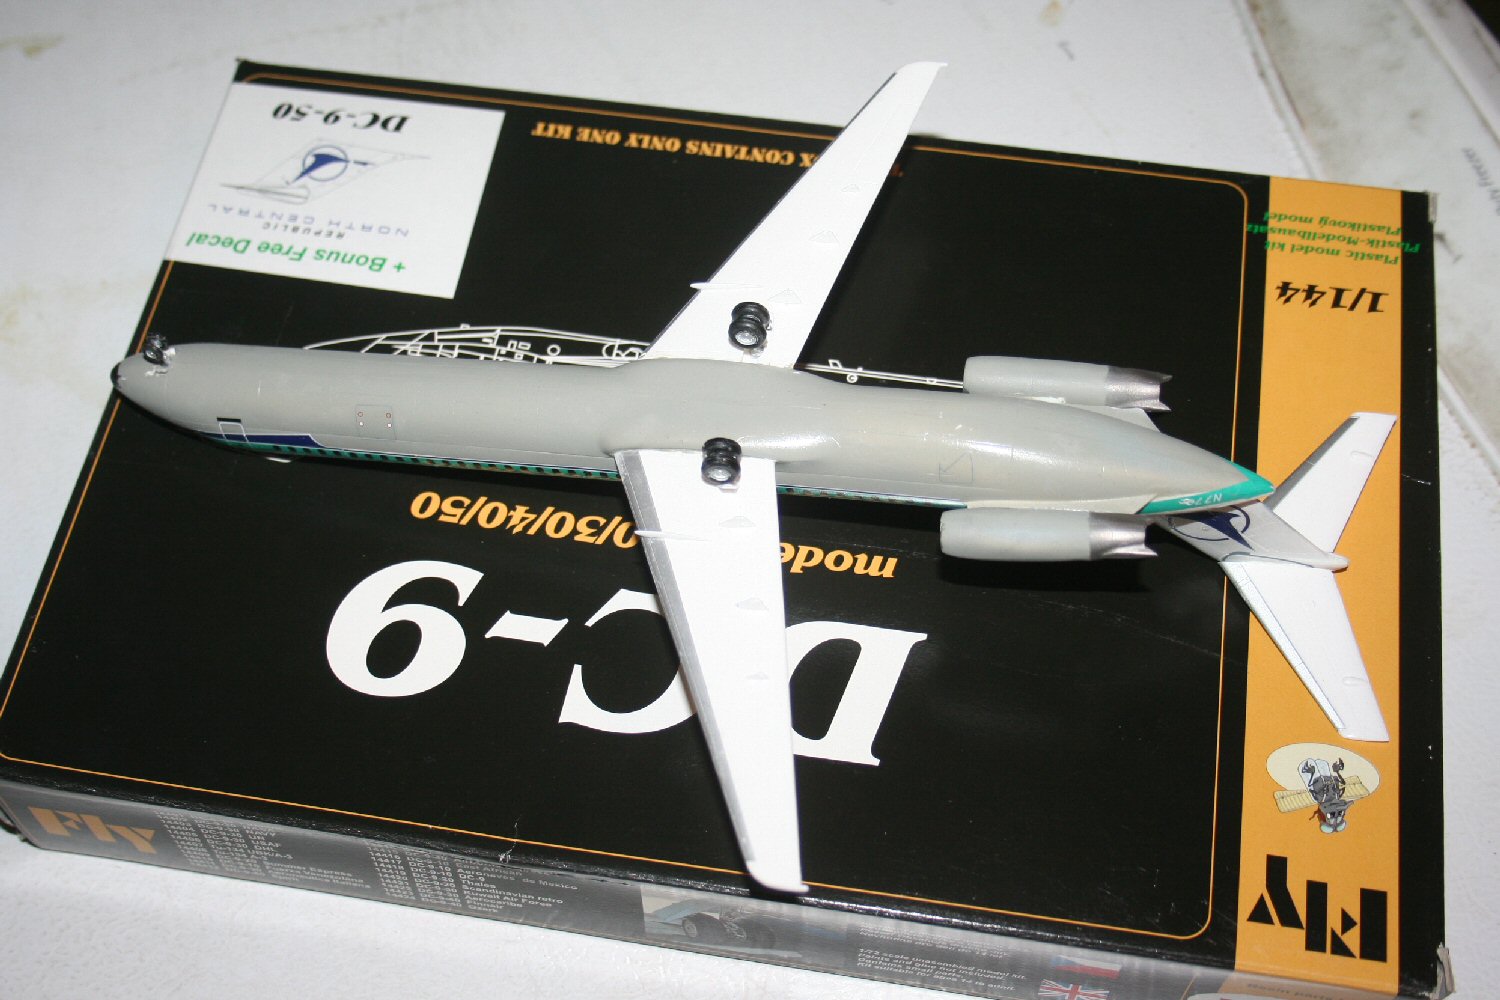
DC-9-50
Fly Model is a new company to me, but you’ll probably hear from them more in the future. They offer a number of interesting and off-beat models in all the popular scales. They have a 1/32 Hurricane Mk I, a 1/32 Westland Wessex, a 1/48 BAC Jet Provost, three different 1/72 Messerschmitt Bf-108s, and about 25 different 1/144 DC-9s. This list only scratches the surface. You might want to look at their web site. They have an interesting resin kit of an “Abstosswagen” in 1/35. It took me some looking, but it’s a railroad flat car for hauling tanks. Never heard of that before!
The DC-9-50 Kit
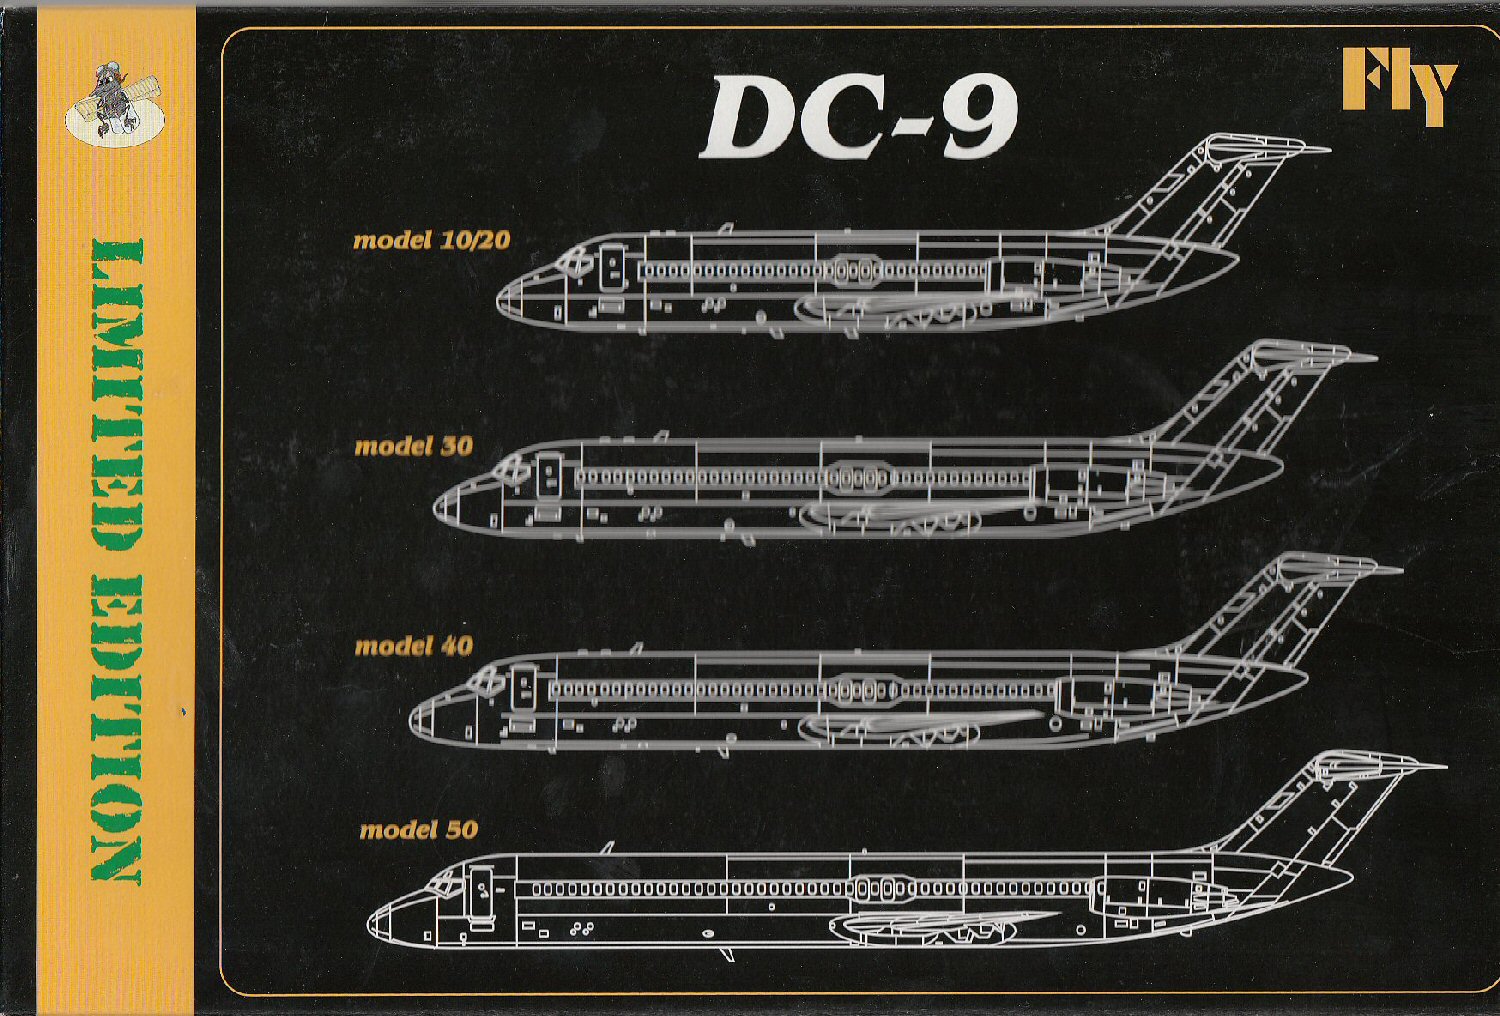
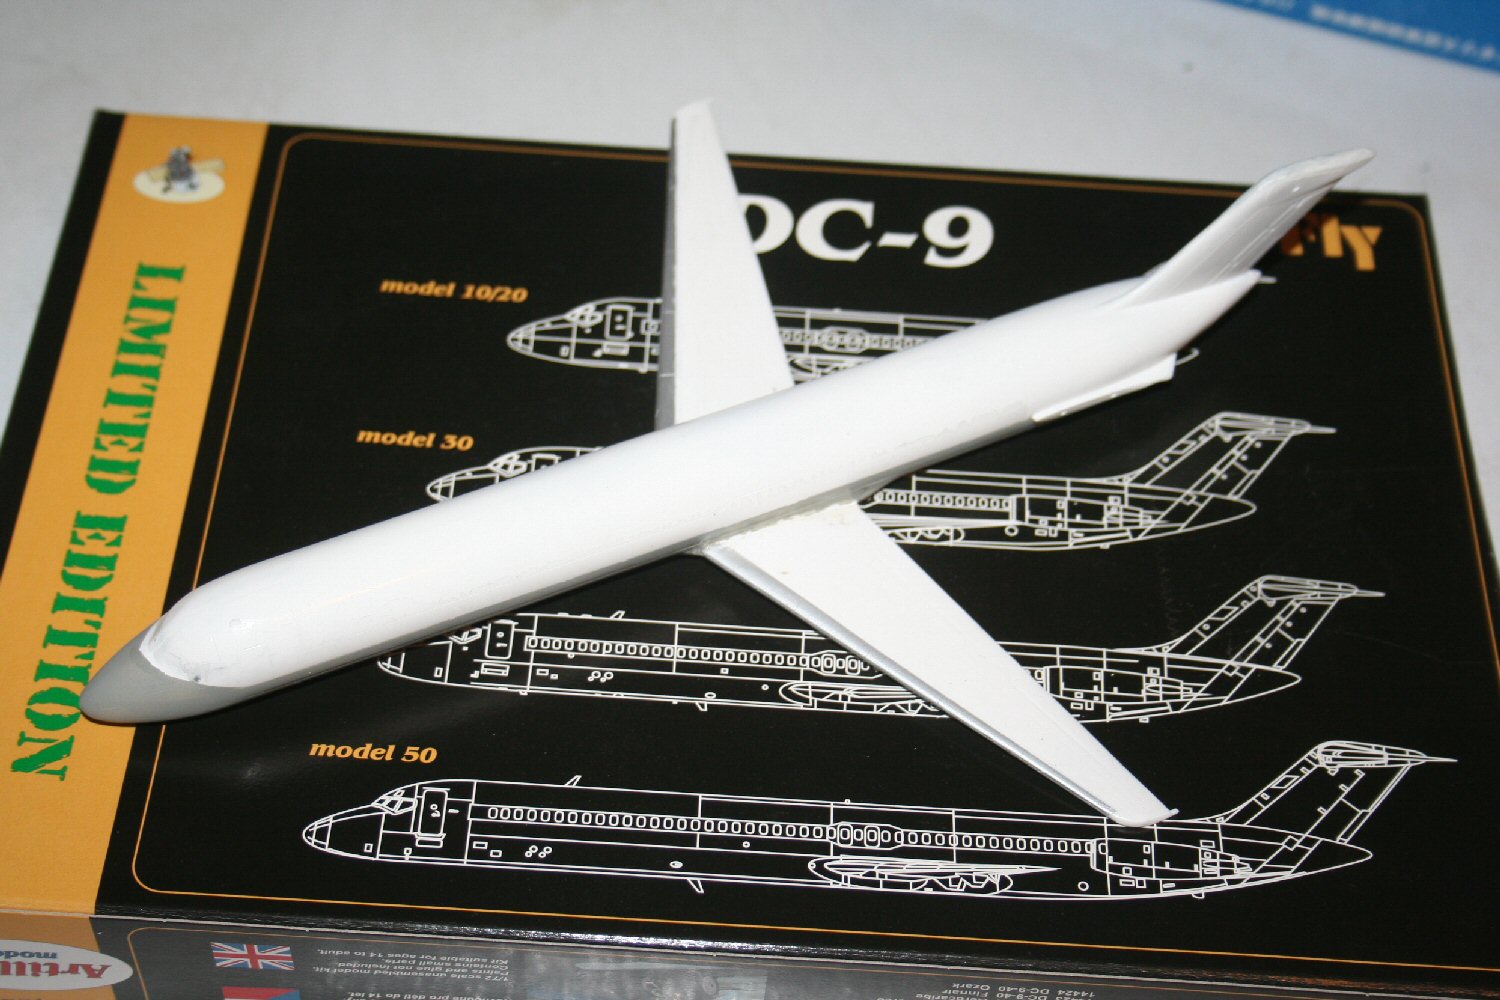
The kit comes in a pretty plain black box labeled DC-9-10/20/30/40/50 with a sticker which tells you which version of the DC-9 and which markings are included.
The sprues for the -50 are a little confusing at first, until you look at the instructions. You get one sprue with all the parts you need to build a DC-9-30, and a second sprue with the DC-9-50 fuselage and engines. If you’re getting the -10 you will also get a different fuselage and resin wingtips. I guess that this is how Fly manages to keep the price as low as it is. You only get one set of wings, horizontal stabilizers and landing gear, so you only build one plane. On the other hand, I now have the basis for another plane in the spares box.
Construction
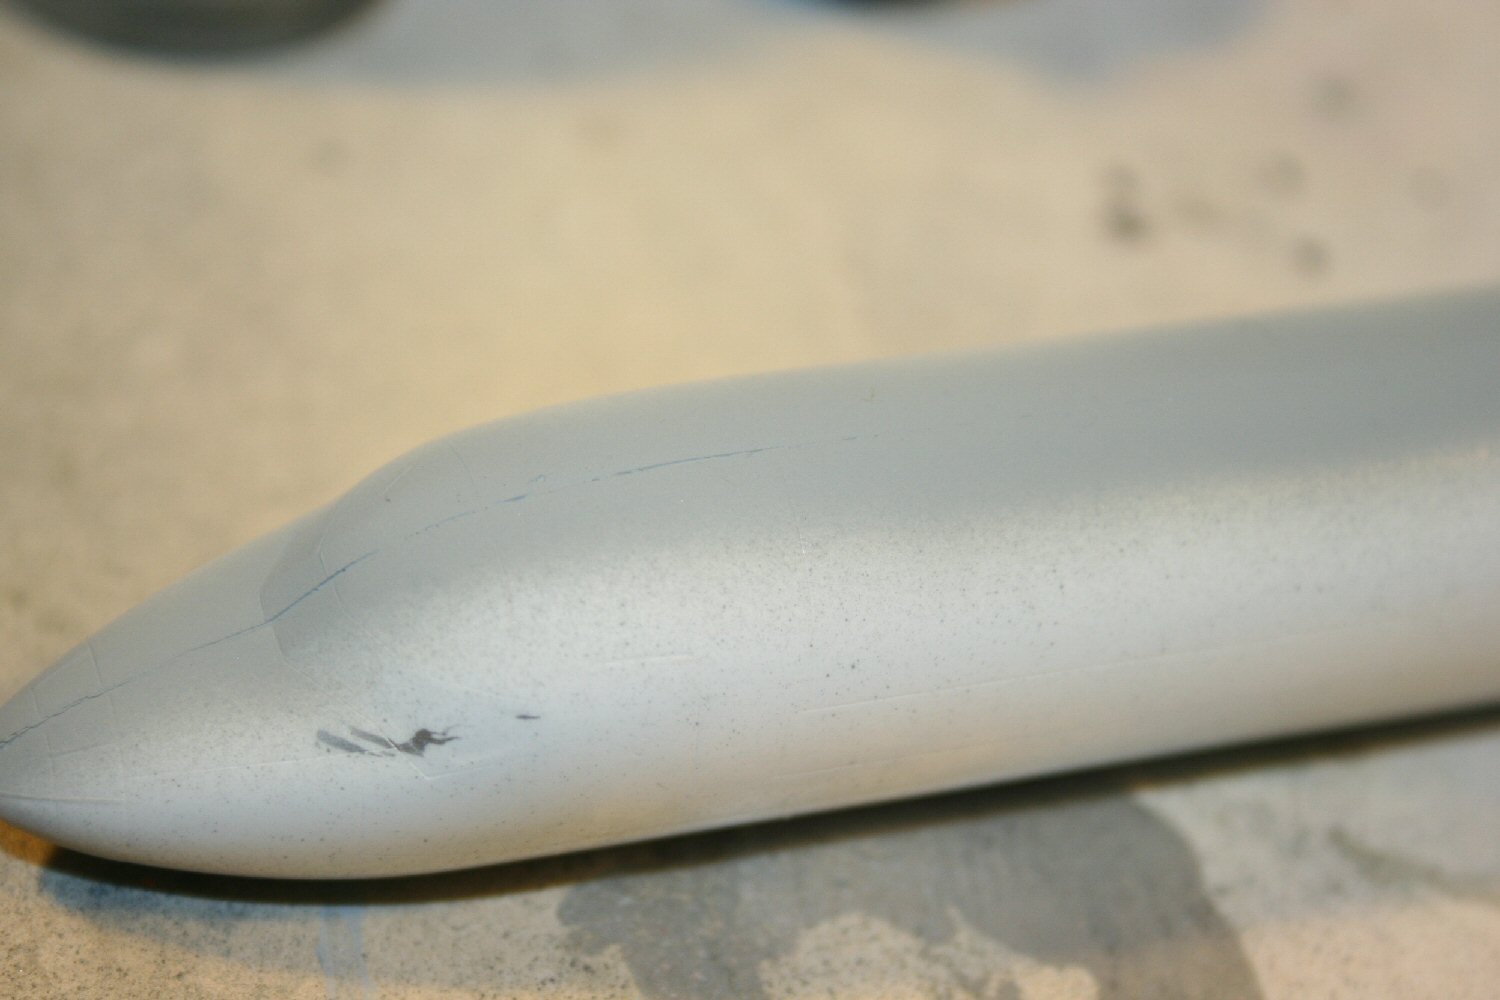
I started with the nose weights. I used 10 grams of metal discs, super glued into the fuselage front. Since a US cent weighs 2.5 grams, I used 4 of them. So where else can you get nose weights for 4 cents? 10 grams might have been a bit of overkill, 7.5 probably might have worked, but Fly doesn’t specify, and I wasn’t going to take a chance after I glued the fuselage halves.
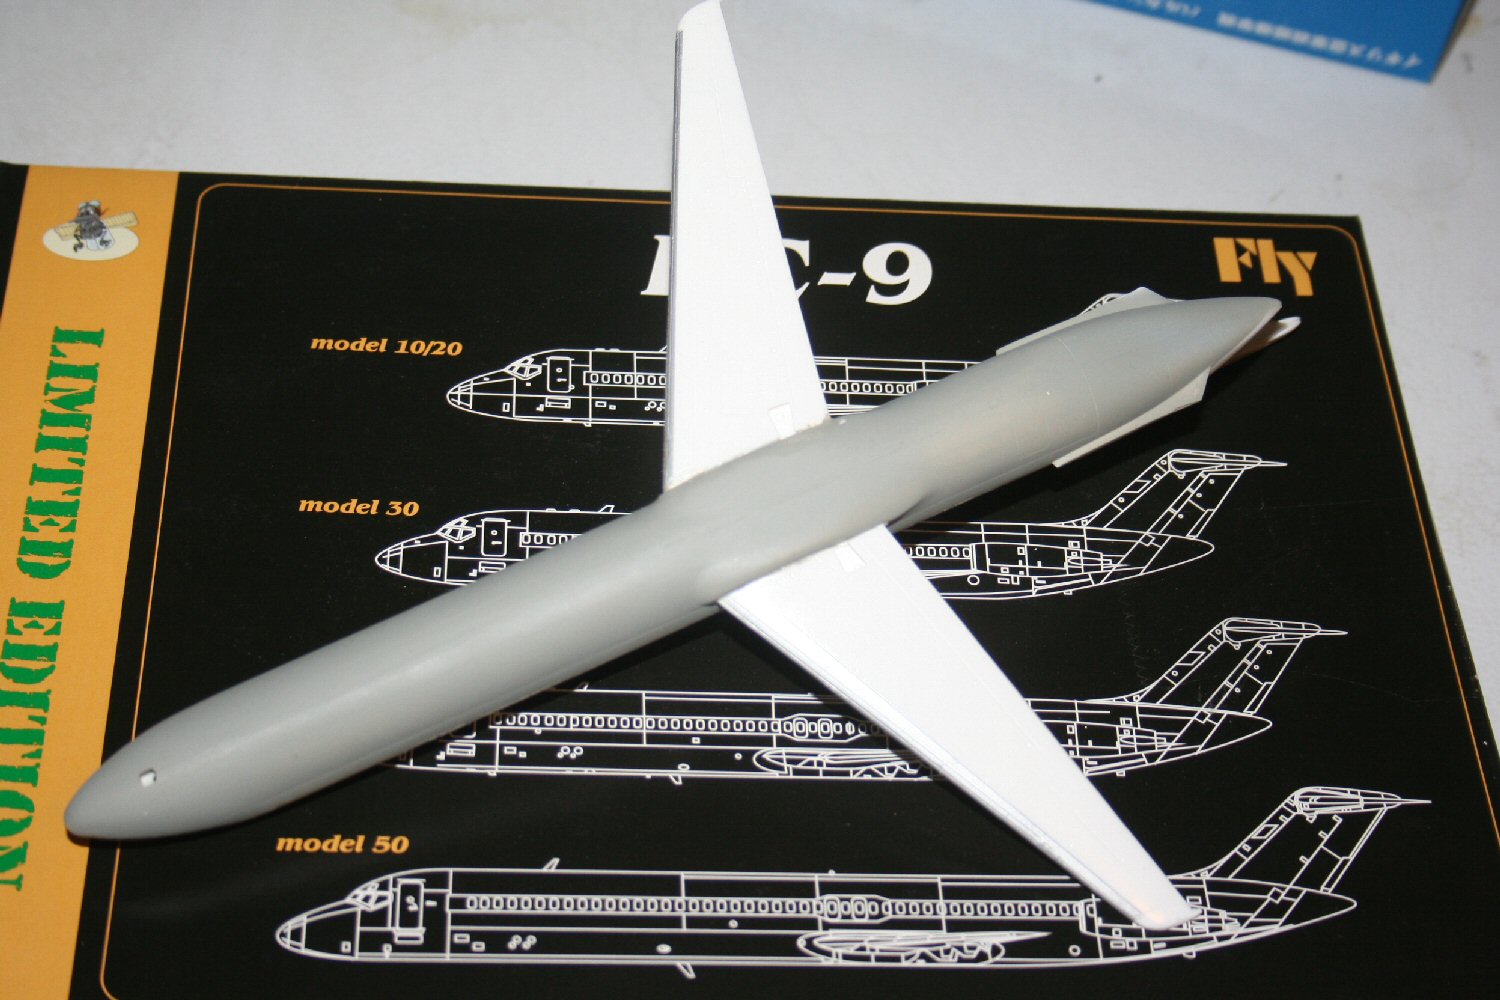
There are no locating pins or holes, so it’s strictly by guess and feel. I think I did a pretty good job, but there was still a seam most of the length of the top. A little work with a scraper and a fine grit Flex-I-File took care of this. I then painted the top of the fuselage gloss white.
While the gloss paint was drying, I took on the wings. The wings are 2-piece, top and bottom. There’s a mold plug on the wing tops, outboard, and it prevents the parts from meeting. These were pretty easy to take care of, using a #10 X-Acto blade. The wing halves then behaved nicely, and went together with no problem. I did need a little touch up with a sanding stick on the leading edges. I then masked and painted the leading edges with gloss aluminum, along with the horizontal stabilizers. So much easier when they’re not mounted.
Next I did the engines. You need to be careful to pick the correct ones from the sprues. Hint: they’re the ones on the same sprue as the -50 fuselage. There are nice locating tabs on the inside of the nacelles, so the intake and exhaust turbines fit and align nicely. Painting was the same gray as the fuselage with Burnt Metal on the rear halves of the nacelles. I held off putting the engines and wings on until after I finished the decals.
Back to the fuselage. I painted the bottom of the fuselage medium gray. Pretty easy. I had to paint the cockpit windows gloss black because, although the instructions show a decal, none was provided. I put a coat of Future on the fuselage after removing the mask to get the decals on. I discovered that the decals had to be put on pretty early in the build because the markings on the vertical stabilizer have to be applied before the horizontal stabilizers can be put on. The stabs cover the front and rear of the decal. Also, it was a lot easier to put the side decals on without the wings or engines in the way.
Decals
The decals were not my favorite part of this build. They were nicely printed, on register, but they were very thin. The side stripes come in 3 sections. When I got the first of these out of the water and attempted to put it on the fuselage, it tore into three sections. And because they were thin, I had trouble with them wanting to fold around the decal paper, leaving part of the marking on the front, part on the back. My fix was to put the paper back in the water and work with the decal there while straightening it out. This worked, but I still had to be very careful. I should have put liquid decal film on all of the markings to make them easier to manage.
Construction Continued and Completed
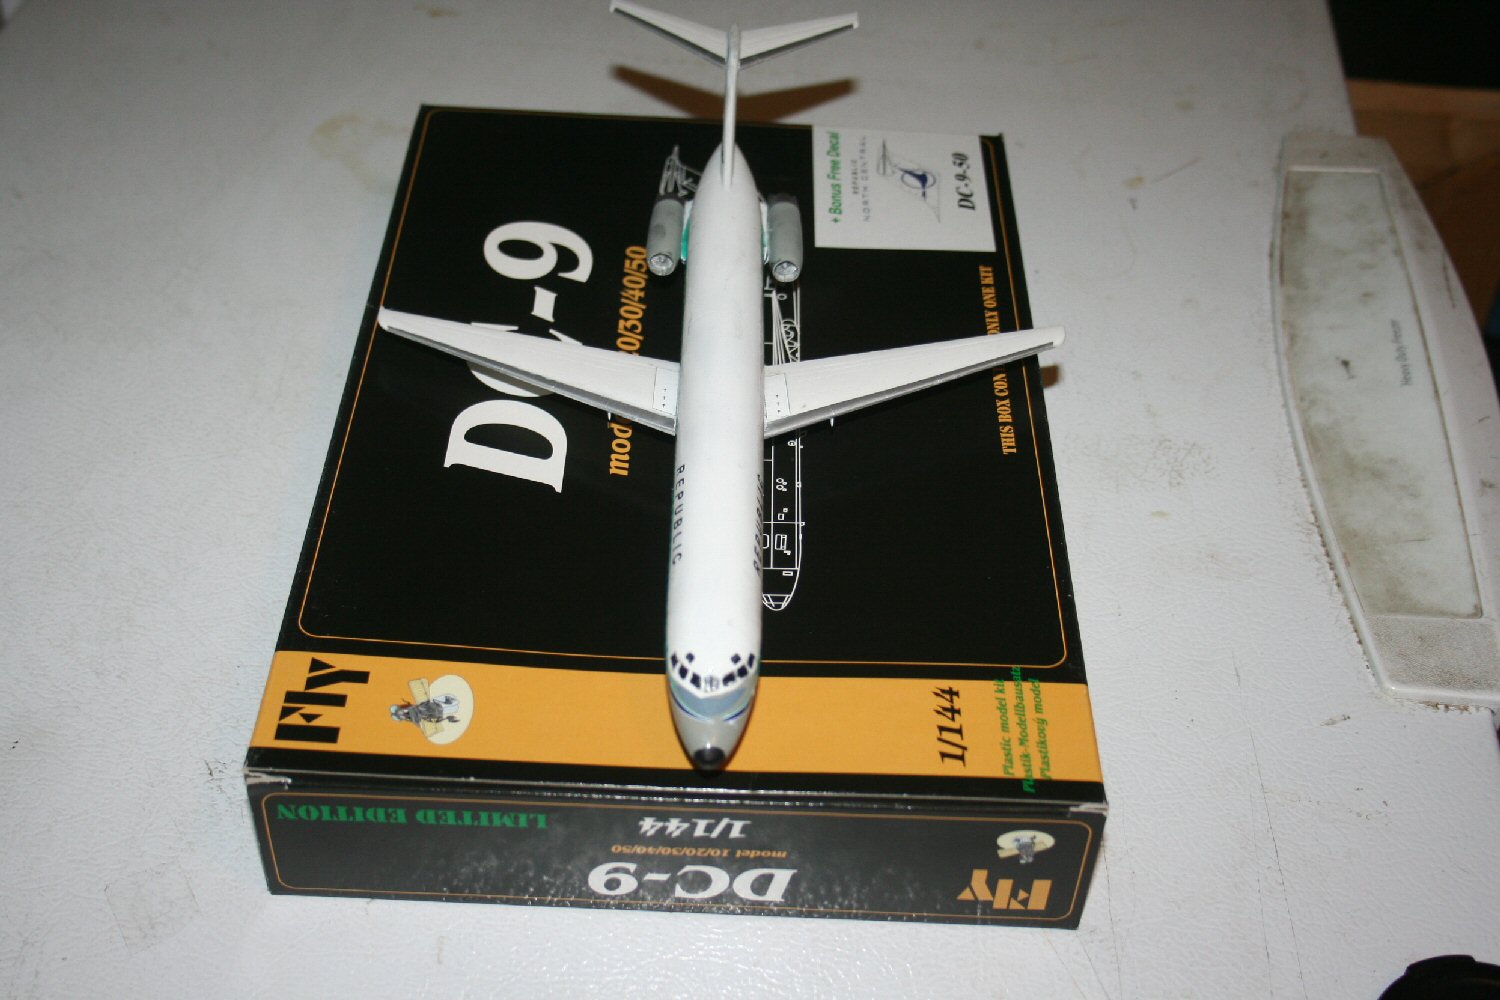
I put the wings onto the fuselage next. I had to work with the wings some because the tabs at the wing roots were too big for the slots provided. After I got them in, I had to work with the wing roots and the top and bottom of the wing to get a good fit, because I didn’t want to put putty on that paint job. Then I put the horizontal stabilizers on, after working with the locating pins and the holes. The holes were too small and too shallow for the pins. The pins and holes also were a mismatch on the engine/fuselage mounts. I ran into the same thing with the small parts under the wings. The holes had to be enlarged and deepened for the pins to fit. I used CA glue on the landing gear, because there was no way to figure out if the holes and pins were OK up inside the wings and fuselage.
The final assembly was putting the landing gear doors on. They fit fine, almost trouble free.
Overall Evaluation
Recommended. Even though I had problems with the pins and holes, and the decals had problems, the general fit and assembly was pretty good. There were some problems, but I was able to mostly overcome them through skill and cunning, or just plain old luck, which is more probable.
I guess my best recommendation for this kit is that I just went out and spent my own bucks on the DC-9-40 from Fly Models, because I want one in Ozark Airlines markings.
Thanks to Fly Models for providing the review kit, and to IPMS USA for letting me build and review it.


Comments
Add new comment
This site is protected by reCAPTCHA and the Google Privacy Policy and Terms of Service apply.
Similar Reviews