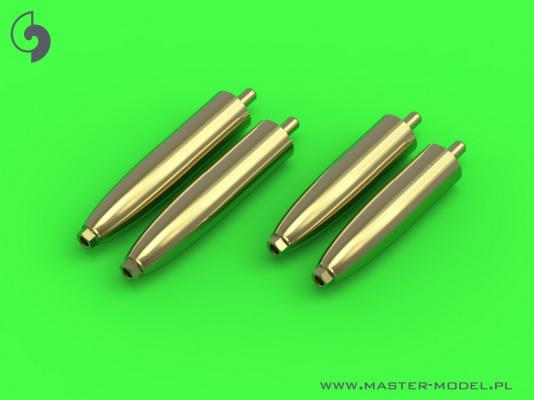
The Hawker Tempest was a British primarily used in the RAF in WWII. The Tempest is a derivative of the Hawker Typhoon, intended to address high altitude performance. The updated design had a new thinner laminar flow wing. Having diverged considerably from the Typhoon, the aircraft was renamed, Tempest. The plane proved to be one of the most powerful fighters of the war and the fastest single-engine propeller-driven fighters at low altitude. Entering the service in 1944 the Tempest was used as a low altitude interceptor, particularly against the V-1 flying bombs and as a ground support aircraft, in operation Market Garden ( D-Day). Later targeting the German rail infrastructure and Luftwaffe aircraft factories. The Tempest was effective in low-level interception role, including the M-262.
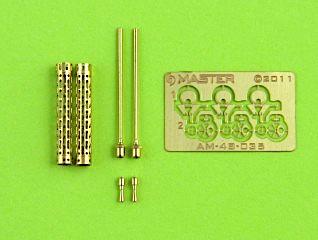
Master Models’ Spandau product consists of a beautifully etched and rolled set of cooling jackets, 2 exquisitely machined barrels, two tiny muzzles, and a sheet of 3 pairs of photo etched jacket ends – the front incorporating a ring sight, the rear having a bracket. MM considerately includes a spare set of these, which, amazingly, I did not have to use – no sacrifices to the carpet gods this time.
I’m currently building the Eduard DV, which includes PE parts for the Spandau. I think that you will agree with me that while Eduard’s photoetched parts are excellent, the incorporation of the machined brass parts in the MM set really adds to the appearance of the finished weapon.
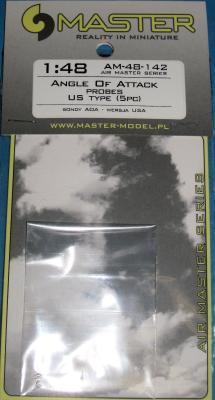
Angle of Attack probes are used on all aircraft. They measure the angle between the wing and the airflow which is what controls the lift generated by the wings. Without going deep into it, it lets the pilot know when a stall might be coming. Master Models from Poland, known for their excellent metal parts, has made a set of replacement AoA probes for modern jets. There are five pieces included in either the 1/48th or 1/32nd sets. One of the great things about these sets is that they can be used on multiple air frames. The instructions list F-4, F-14, F-15, F-16, F-18, F-111, Draken, Viggen, Gripen and many more. And with the number of parts, you can do multiple kits.
1/48th scale
- Mfr Stock No.: 48142
- Direct Link: https://www.master-model.pl/product/am-48-142.html
1/32nd scale
The A-37A/B (sometimes referred to as an OA-37A/B) was developed from Cessna’s T-37B trainer. With upgraded engines and eight hardpoints for ordinance, the original concept for the A-37A was ground support of troops. The A-37B had provisions for air-to-air refueling, and the ability to carry slightly more ordinance.
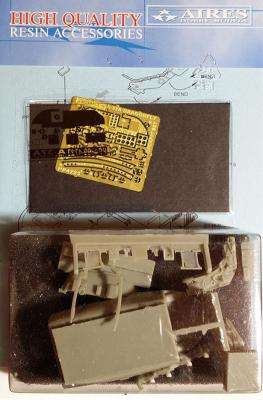
Aires has come up with an excellent replacement for Monogram’s kit cockpit. This kit has resin, printed film, and photo-etched (PE) parts The details in the Aires kit’s ejection seats alone make this kit worth it, but when you add in the instrument panel, Aires’ aftermarket kit really makes the Monogram kit come alive.
One nice feature of the Aires kit is that four control sticks are provided when only two are required. This nice touch gives you some spares in case one column is lost or broken.
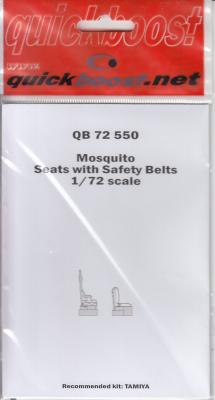
Quickboost has added the seats for the Mosquito to their line of resin aircraft accessories. This latest addition is molded in a grayish resin, smooth, seamless and bubble free. Both seats are molded in one piece and are easy to remove from the mold block.
The package states that it is for the Tamiya kit but it would probably work well with any of the Mosquito kits. I compared it with the Tamiya kit. Talk about a noticeable difference, the detail on the Quickboost parts is outstanding. From the photos, you can see that the Quickboost seats have the belts molded on and I can’t believe the amount of detail on them. The seats that come in the kit are so plain and flat while the Quickboost seats just pop out at you.
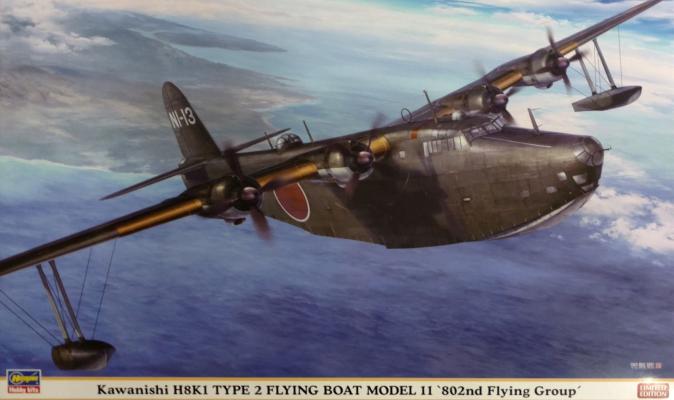
When I heard about a new Emily I was excited, as I had built the 1972 issue which had fit problems and a canopy that was too wide. I had sanded off most of the raised detail and scribed in new ones, but overall I remembered it as a tough build.
However, the price of 149.95 for Hasegawa’s new issue seemed steep, and as I had already built one Emily, thought I would pass on another. But! when I was availed of this review opportunity, I was all in to try another.
This one turned out to be an almost easy build. Molded in light gray plastic with a four-piece fuselage having a separate bow section, it all comes in a nice sturdy box with good instructions. The only exception was the many decks in the nose section which weren't depicted quite clearly. The kit also includes a complete set of crew figures with separate heads and arms; they’re well-done but I elected not to use them.
History
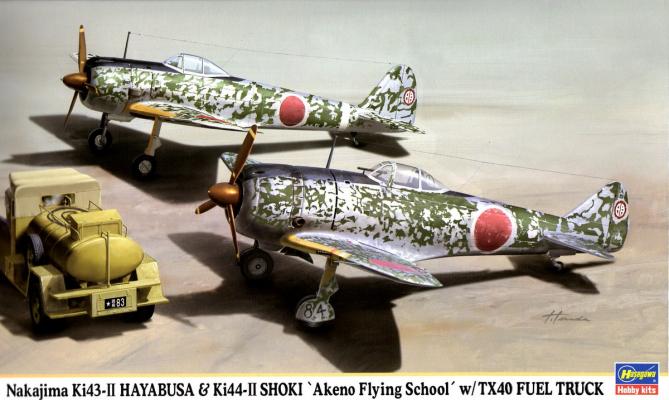
This Limited Edition kit from Hasegawa allows the modeler to produce an interesting diorama related to the Akeno Flying School as it existed in December of 1943. The Akeno Flying School was located on the island of Honshu, south of Nagoya and east of Osaka. It was called the Supreme Flight Training School for the Imperial Japanese Army. Lots of photos of aircraft that were used during training at Akeno include many fighters from the Ki-27 to the Ki-100. By December, 1943, Japan was seriously in need of new pilots. A series of conflicts with opponents across the area of operations had ground down the Japanese Army Air Service and replacements were desperately needed from schools like Akeno. This limited edition kit combo features two aircraft, a Nakajima Ki-43 Hayabusa and a Ki-44 Shoki, plus a TX40 Fuel Truck. Also included are several figures and a small four wheeled push cart.
Frederick A. Johnsen recently retired from a lengthy career at the U.S. Air Force Flight Test Center and NASA's famed Dryden Flight Research Center, both located on the historic desert site known as Edwards Air Force Base. During his time there, Johnsen amassed a wealth of knowledge related to the Golden Age of Flight Test Research at Edwards. He has written numerous books about aircraft and aviation history, including: Thundering Peacemaker: The B-36 Story in Words and Pictures (1978); Bombers in Blue: PB4Y-2 Privateers and PB4Y-1 Liberators (1979); Darkly Dangerous: The Northrop P-61 Black Widow Night Fighter (1981); F4U Corsair with Rikyu Watanabe (1983); B-24 Liberator (Warbird History, 1993); Douglas A-1 Skyraider: A Photo Chronicle (1994); B-24 Liberator: Rugged But Right (1999); Lockheed C-141 Starlifter (Warbird Tech V 39, 2005); Captured Eagles: Secrets of the Luftwaffe (2014).
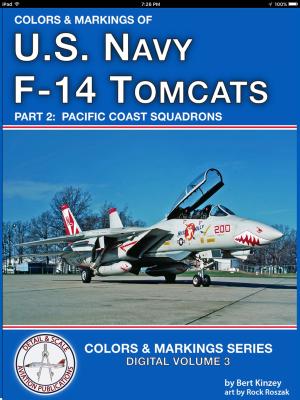
Thank you to Bert Kinzey and Rock Roszak for bringing another tremendous digital resource to the modeler. Thank you to the IPMS Reviewer Corps for allowing me to test out this new and exciting method of researching colors and markings of my favorite jet of all time, the F-14 Tomcat. A very significant plus of this updated version is that the entire history of all the Pacific F-14 squadrons, including TOPGUN/NSAWC and evaluation squadrons, is now available in a single publication.
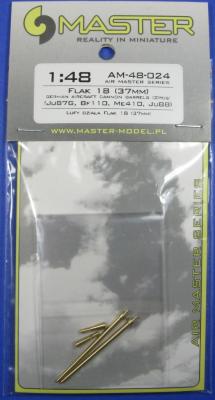
Master Model from Poland specializes on brass and resin drop-in replacement parts. In this case there are 4 parts: two barrels and two flash hiders for the Flak 18 used in Ju-87G, but also seen in Bf-110, Ju-88 and other airplanes.
The turned brass parts mean that no mold line is present and that alone is enough of a reason to consider upgrading your kit. Another reason is the beautiful perforated flash hiders and the hollow gun barrel end, which adds realism to the airplane weaponry.
Assembly is straightforward and simple. First you superglue the flash hider to the gun barrel. Then you remove the plastic gun from the plastic part and make a small hole (1 mm in diameter) to mount the brass gun barrel.
I would personally leave the barrel off the model until the very end. Not only that means less masking (for painting), it also ensures the barrel won’t get knocked off the model during handling.

