
USS Carl Vinson
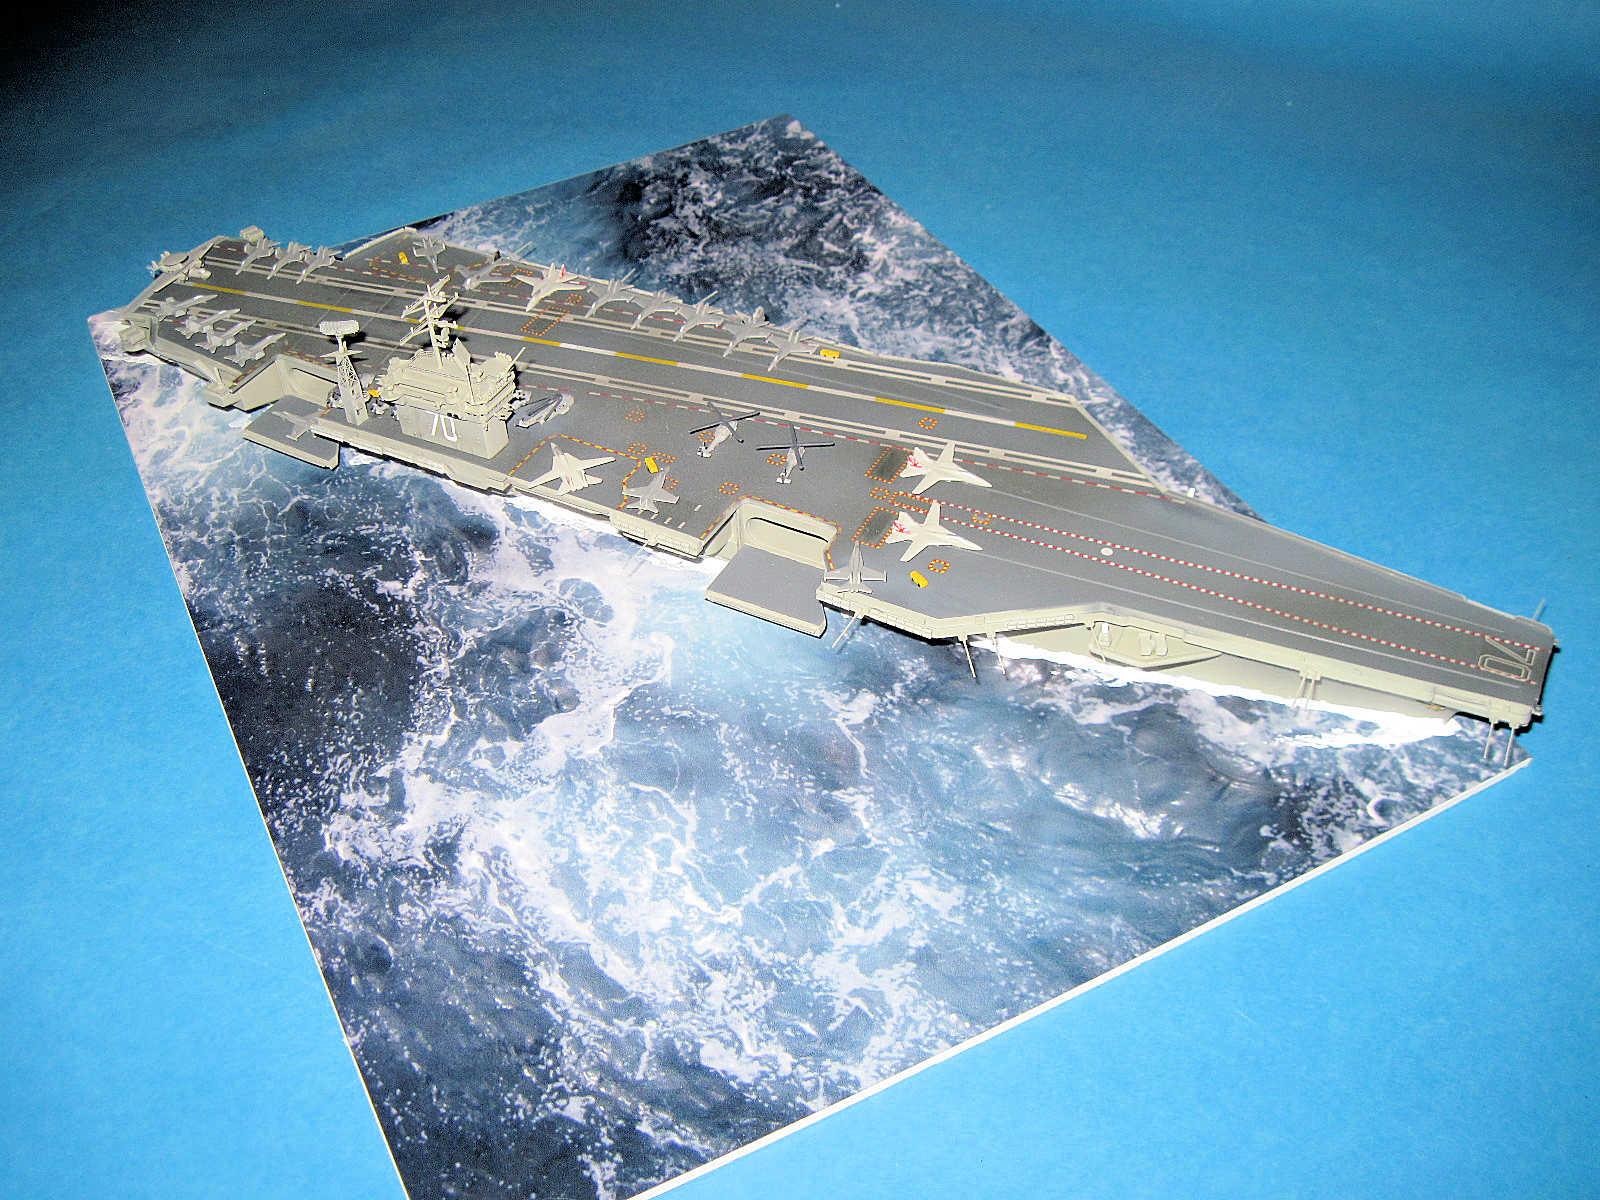
I wanted to build one of the new USN Super Carriers and since I wanted a water line model, I added Coastal Kits 1/700 water base that was reviewed previously.
I broke the build into separate parts- hull, air wing, flight deck Italeri has released several versions of the US nuclear carriers in 1/720 scale and this latest rebox release represents CVN-70, the USS Carl Vinson which is notably as the carrier to dispose of Bin Laden’s body along with supporting the current war on terror. I am big fan of the carrier too as most know as my son was stationed on her for five years.
Inside the box, there are 207 parts molded in gray plastic with a large decals sheet printed by Cartograf. The air wing for the ship consists of four- F-14’s. one E2C Hawkeye, one SH-3 Sea King, six SH-60’s, two A-6 Intruders and twenty one F-18C’s. More later one those. There is an option for full hull or waterline also. There is a little flash around some of the smaller parts but it is very minimal.
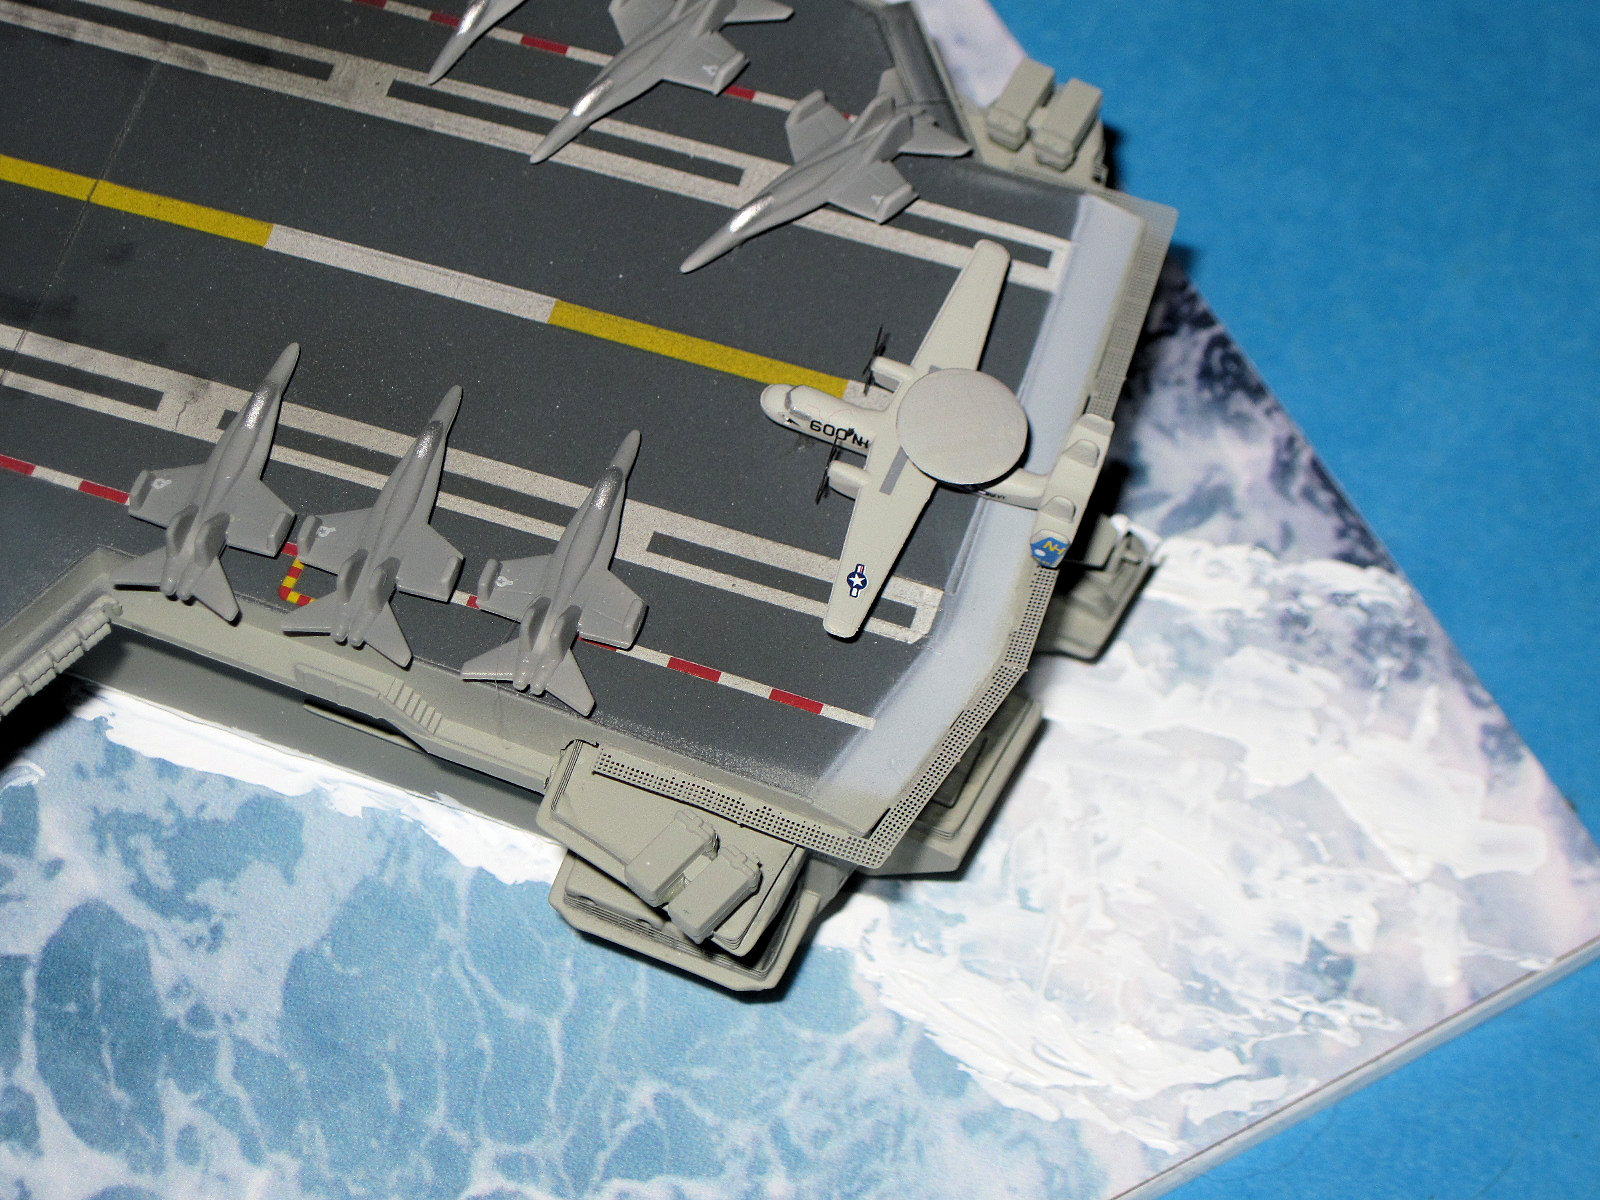
In addition to the kit, I added the Gold Medal Models set for and island and parts. Starting with the deck, it requires only a little sanding near the attachment points and does a nice job representing the real thing. I painted the actual deck area with FS36118 Gunship Gray as back is too dark and the decks wear a lot. I include a shot to show this color. It gets even lighter during a deployment due to the sun baking down on it. I used Xtracolor for its glossy properties as there are a lot of decals to add. The decals are superb and there are a lot of them. They reacted well to setting solution and when done really liven up the deck I flat coated the deck two times and weathered slightly using pastels. At this time the nets were added from the photoetch set (they are not in the kit plastic). The life rafts were added last and the entire deck flat coated again and set aside.
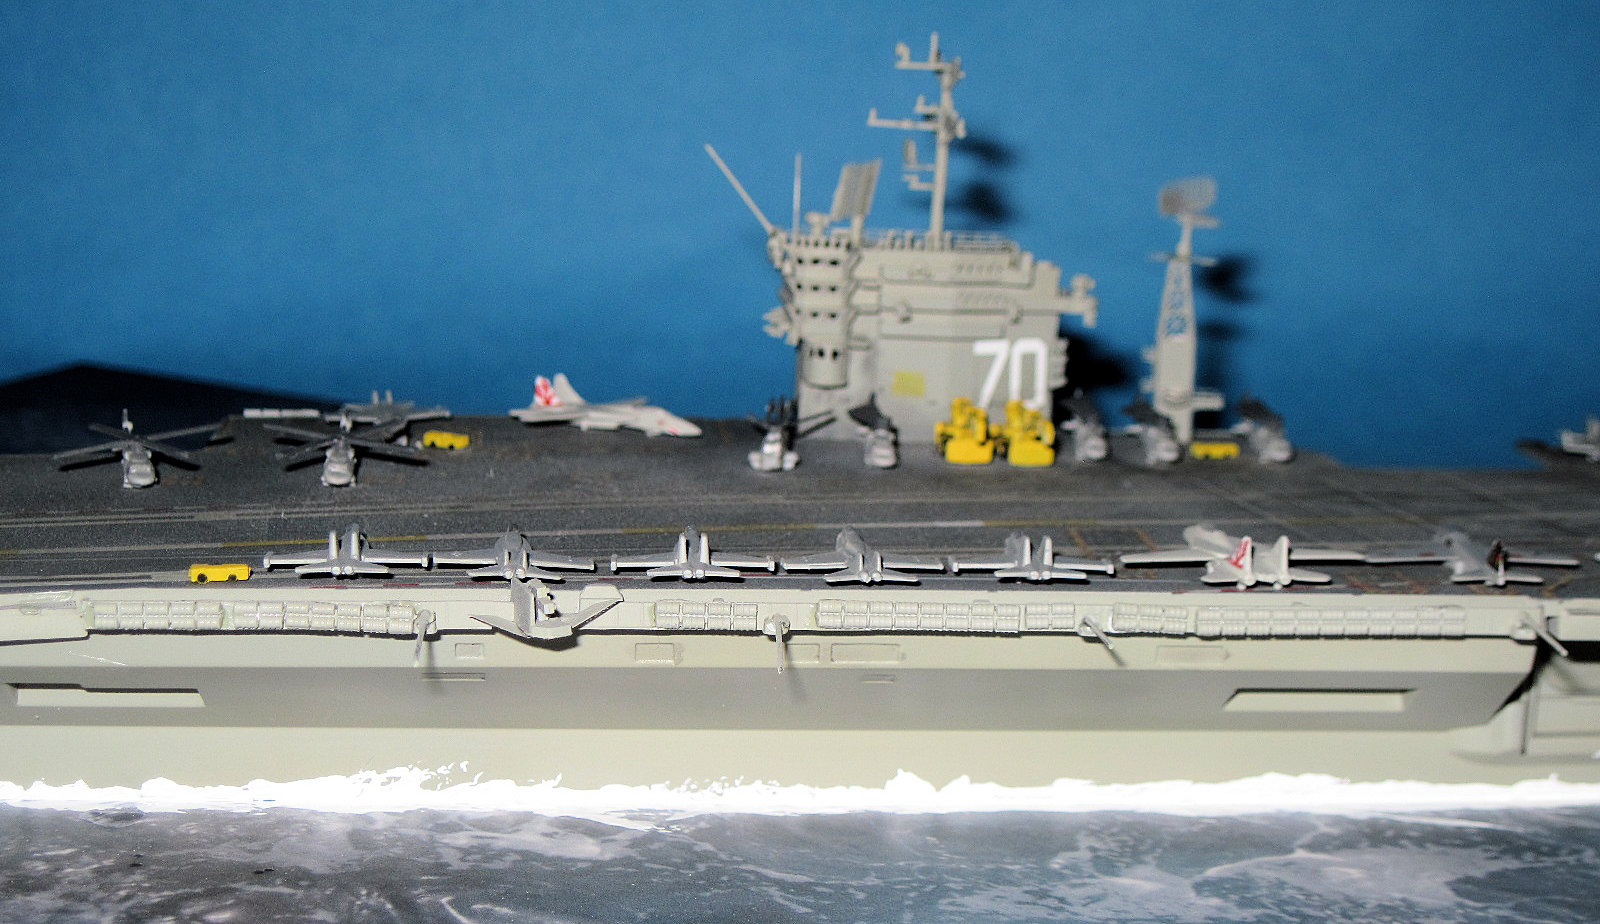
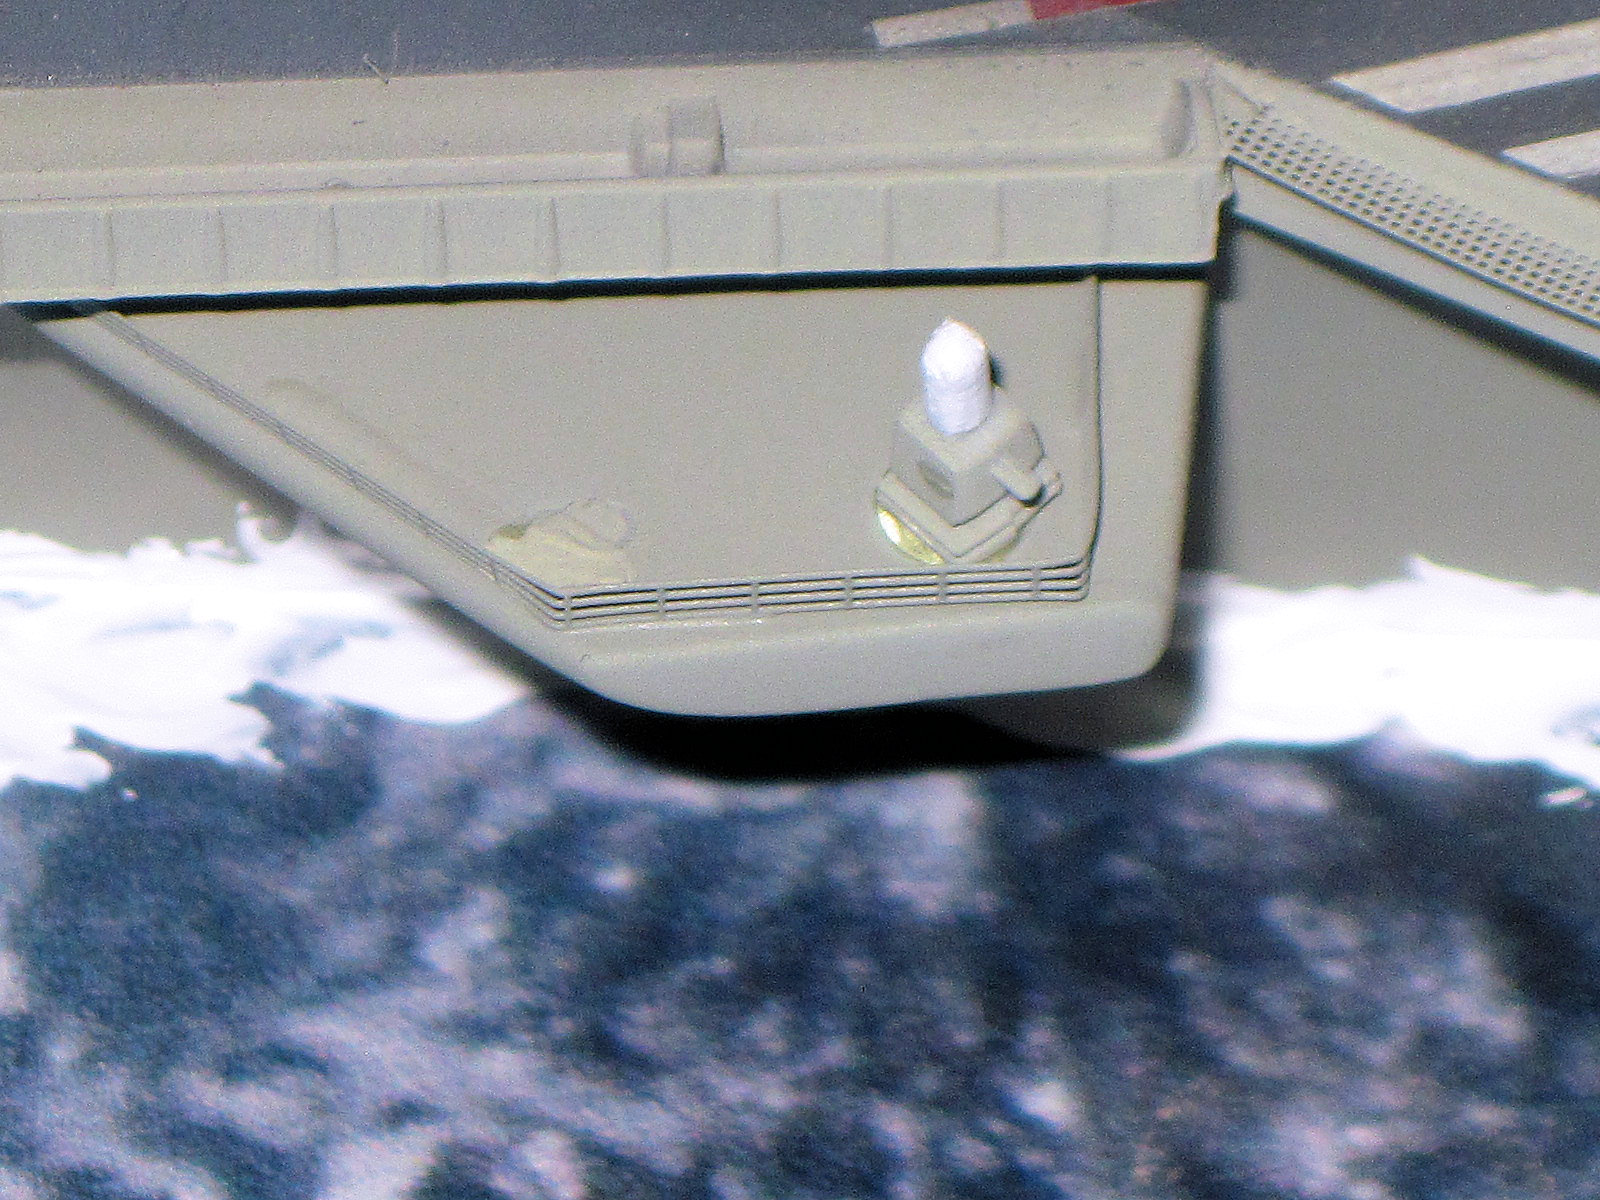
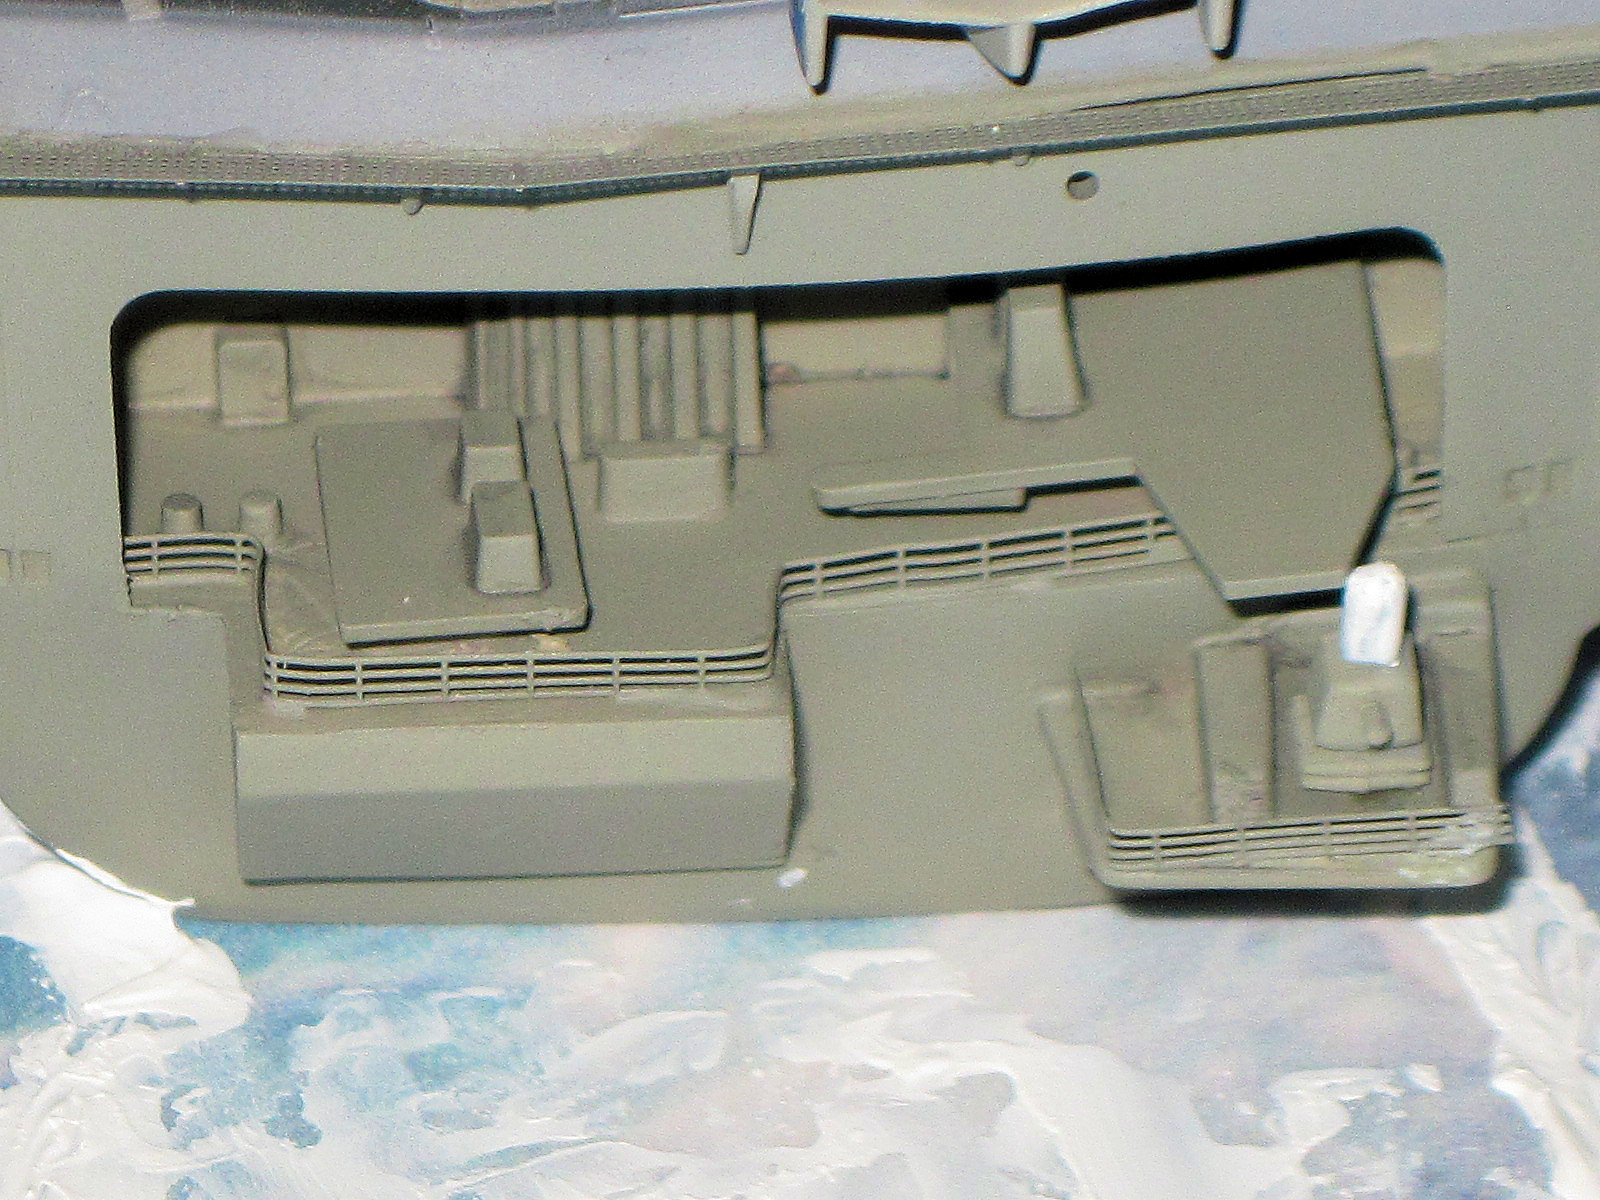
Next, I worked on the hull. The kit offers you the choice of waterline or full and I opted for waterline version where you add plate 4B. There is a bunch of sponsons on the sides that need added and you will need to check your references. Also, the aft jet engine test area is also added. The sponson fit required some filling and sanding. Once I was happy with that, I added the photoetch railings. I did leave off the CWIS and Sea Sparrow mounts until later. Once the hull was painted, I glued it to the base. I used a mix of white Liquitex paint and get to replicate the water line. I painted the anchors gold and added some weathering and flat coated the base. Lastly, I glued the deck into place and sat everything aside to dry.
I made the airwing and deck tractors next. The helicopters had separate blades and there were some photoetch replacements used also as they are much more to scale. There is not much assembly and in whole, the planes look the part. That being said, the F-18’s with folded wings are very thick winged and benefit from sanding the wings thinner. Painting was next, and I painted the planes in the more modern scheme with gloss Xtracolor. The directions call for the canopies to be silver. Decaling was next and there are a bunch and they are small but settle well and liven up the flight deck. The tractors are the correct part and were painted yellow and add to the business of the flight deck. After things have settled, I flat coated these in preparation for adding to the flight deck.
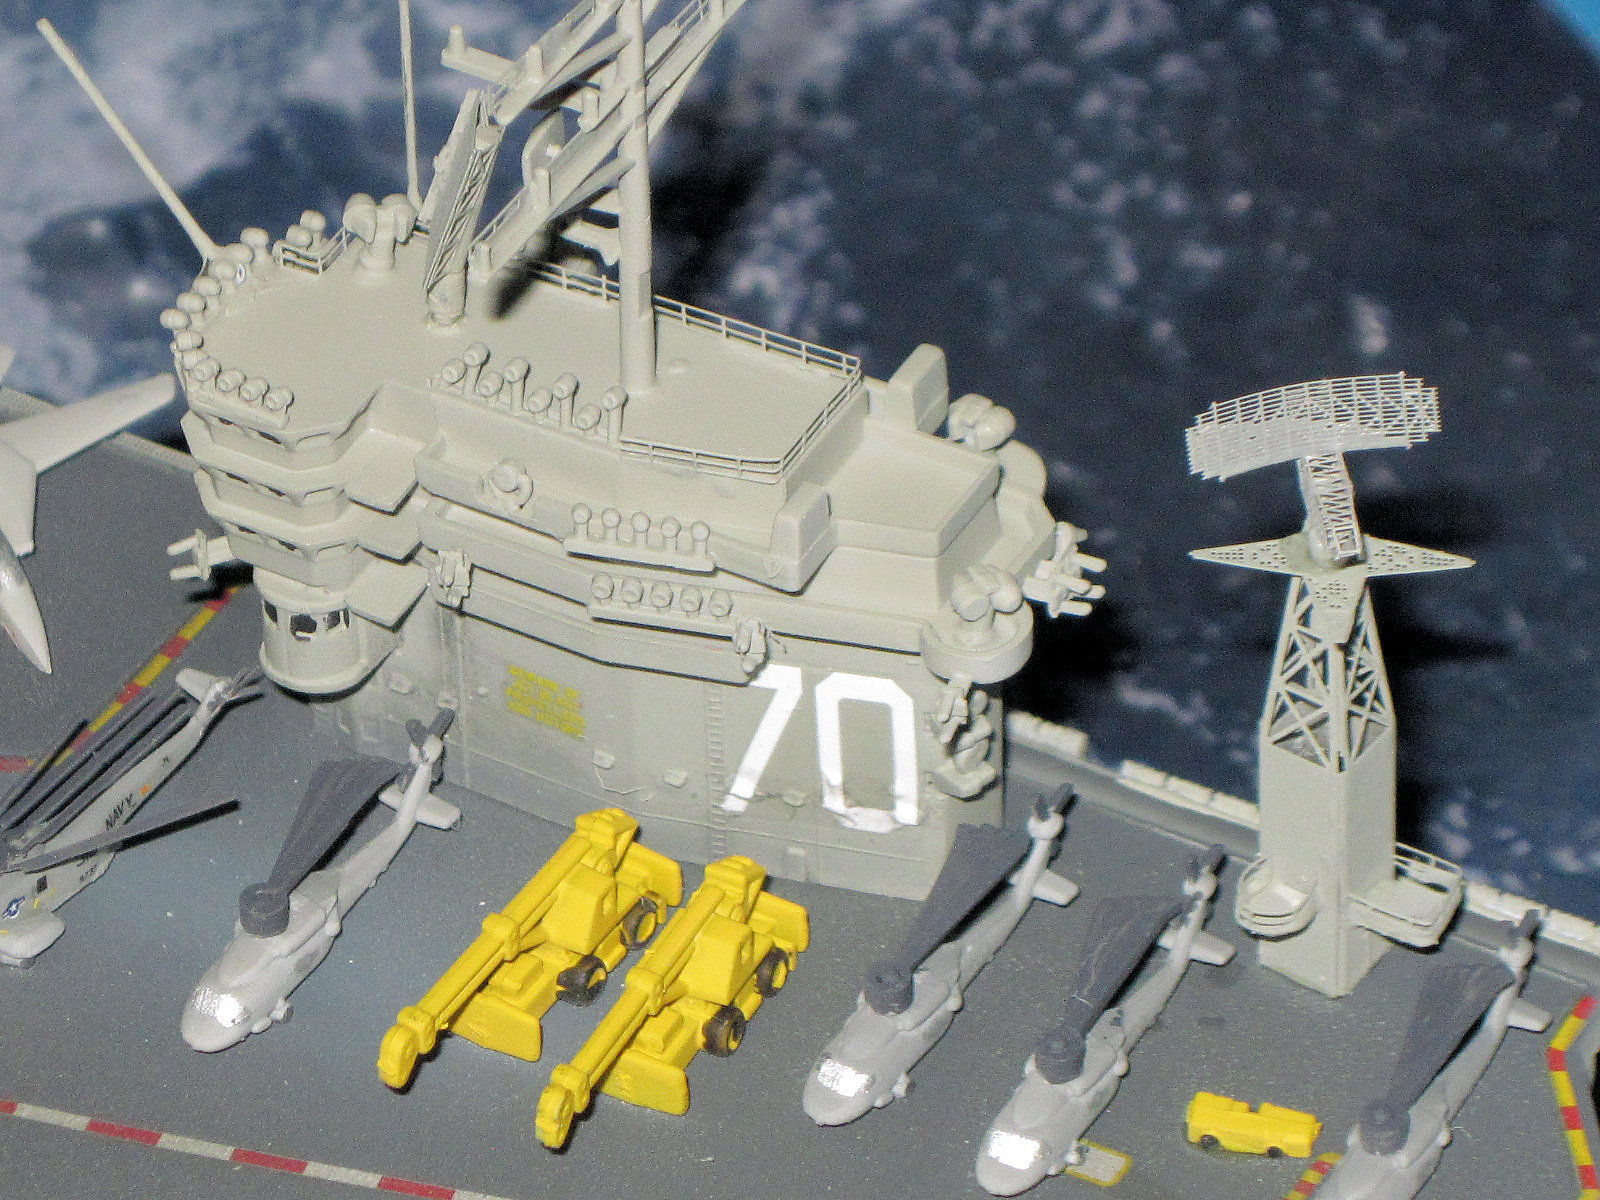
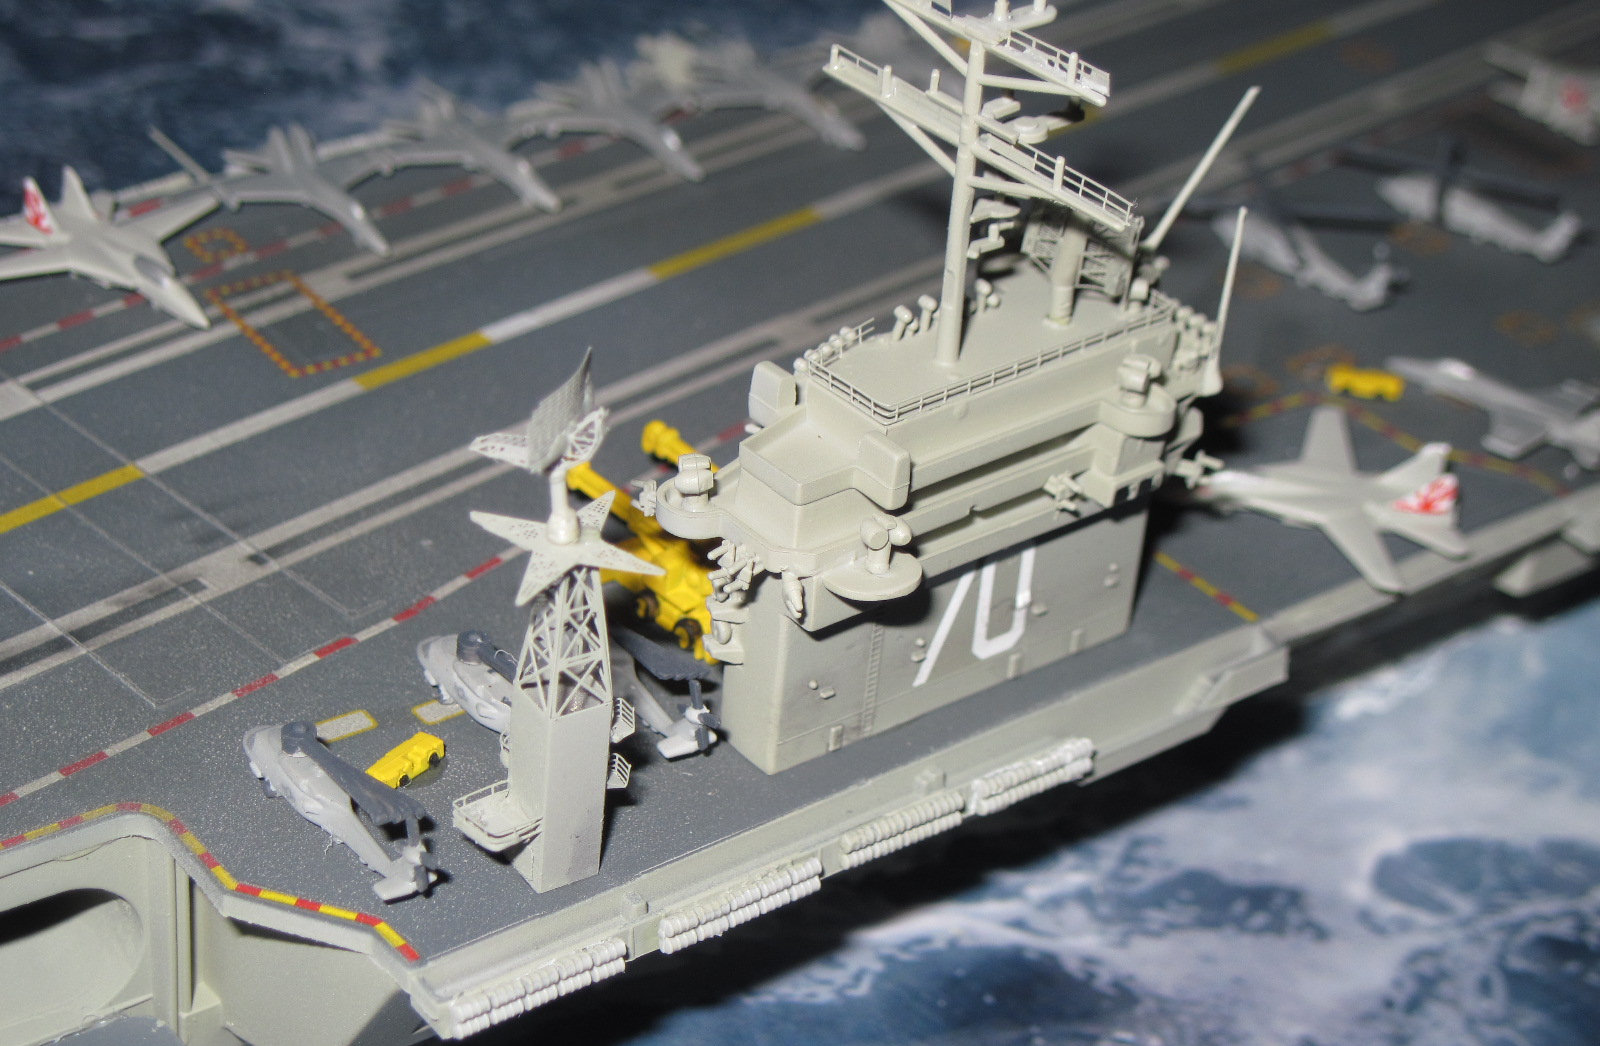
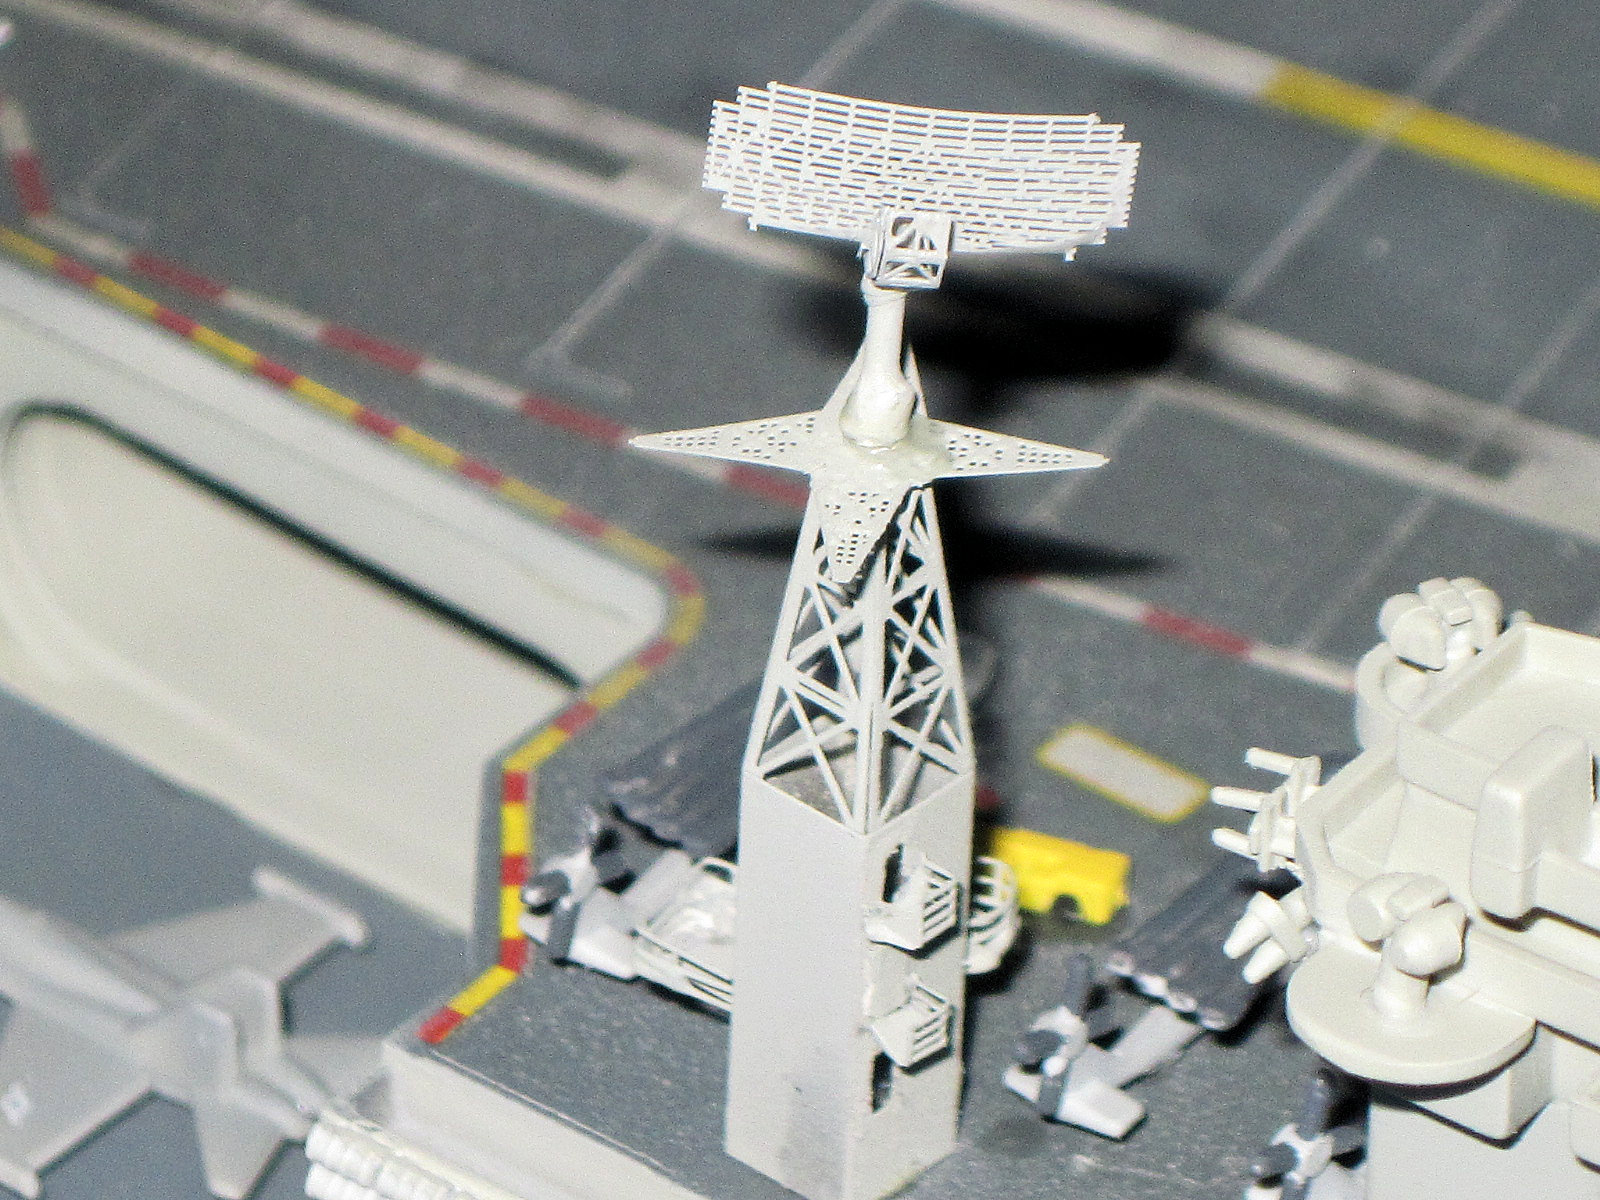
The island/radar tower are next. One PE sheet, there are a bunch of options for the radar mast and the modeler would need to do research to pick the one needed. I chose the one I needed which has an open lattice top. The kit has this part and it is nice for injection molding, but it cannot replicate the open lattice or railings. The island itself was build per the kit with some railings added from photoetch. The mast was built and added with its photoetch. The next step is to build the needed radar antennae’s and nit case I use the PE for an SPS-49 and SPS-48 radars. Lots of tiny parts but looks better that the plastic parts. All the subassemblies are painted and the windows on the bridge colored black and then assembled and flat coated.
The bridge and island were glued into place and then the aircraft and deck tractors. All of this was hit with multiple flat coats and done!
This was a lot of trepidation with the photoetch and in the end, mostly unwarranted. The kit is great OOB and the addition of $12 worth of PE really makes her stand out. Recommended to all fans of the nuclear navy and naval aviation.
My thanks to MRC Academy and IPMS/USA for the opportunity to build this nice kit.


Comments
Add new comment
This site is protected by reCAPTCHA and the Google Privacy Policy and Terms of Service apply.
Similar Reviews