

Dave Morrissette
Reviews By Author
|
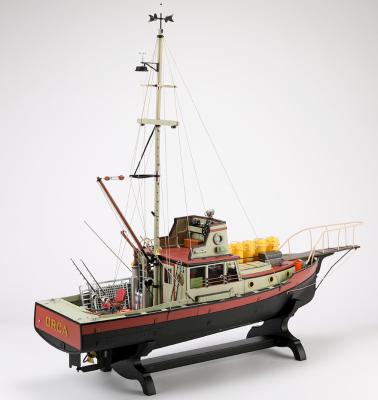
Orca, Part 1: Packs 1-3Published:
Jaws is one of the most iconic movies ever and started the summer blockbuster trend. I remember watching it in the theater with my mom 50 years ago. Besides the actors and Bruce the shark, one of the iconic things in the movie is the Orca, Quint’s boat. There were actually two of these. The first was an actual functioning boat bought by production designer Joe Alves and was a lobster boat called the Warlock. It was heavily modified and painted to become the Orca. The second Orca was a sinking version used for the final scene in the movie. Enough history, Agora Models has issued a 1/16th scale version of the Orca as a 50th anniversary version. Agora uses a business model where you can buy the entire kit, a Collectors Edition which comes with extras or you can buy… more |
|
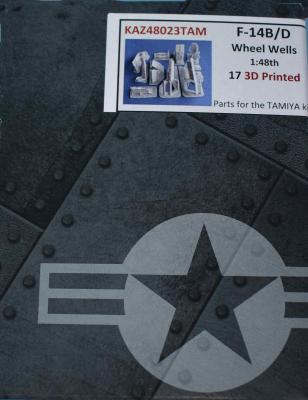
F-14 B/D Wheel WellsPublished:
The Tamiya 1/48th scale F-14D is a great kit and deserves all its accolades. That being said, with the limitations of molding technology, there is always room for improvement one of those areas is the wheel wells. Theya re good but they myriad of lines and detail is just not possible with plastic injection technology. In comes 3D printing technology and the game changes for aftermarket. Kazan Model Dynamics has released sets in the past adding massive detail and their current catalog includes upgrades to F-16, F-14, P-38, F-4B and other sets. This review covers the landing gear bays and gear doors for the Tamiya F-14B/D. The set includes 17 resin printed 3D parts and a one-page instruction sheet. Printing is good with a few print lines that needed sanded out easily. … more |
|
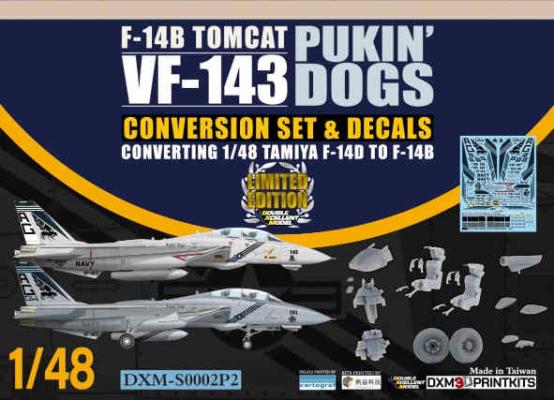
Superset Converting the F-14D to A F-14B VF-143 Pukin’DogsPublished:
DXM Double Excellent Model) Is a hobby company out of Taiwan and has been making decals for a while. They have now branched out into conversions also to augment their decals. This set is a conversion of the Tamiya F-14D kit inot an F-14B kit and includes two options, early or late and these sets can also be bought with decals which contain a couple options each. You can get the conversion by itself or with a specific set of decals and they are listed below:
For this review, we… more |
|
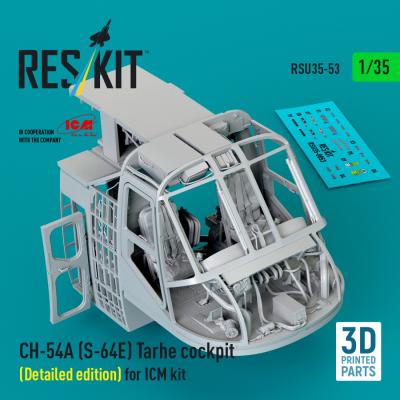
CH-54A (S-64E) Tarhe cockpitPublished:
Reskit has issued a 3D printed cockpit for ICM’s 1/35th scale CH-54A or S-64E Tarhe. There are versions of this from Reskit primarily with and without 3D printed instruments like the ones I reviewed last in my Reskit F-111E review. This set does not include the printed instrument panels but does includes more than 30 3D printed parts. Also included are acetates for the instrument panels, decals and small printed sheet for magazines that can be added. These are all packaged in a well-padded box containing the parts and their supports and boxes. On review, the detail is outstanding down to the smallest thing. There are options instrument panels and instrument package for the S-64E version. For those that have never used a 3D printed part, your first thing after… more |
|
T-800 Terminator, Part 6 - The FinishPublished:
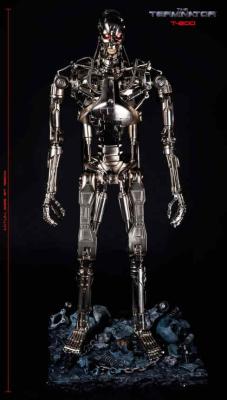
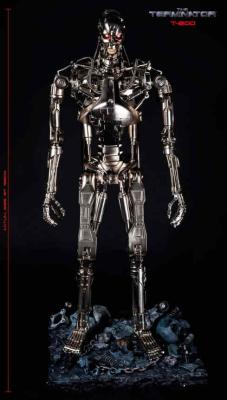
Following the base and paint modifications, the rest of the build is finishing the model and taking the pictures. To finish the build, you need to finishing the left arm and leg; these are built the same way of the previous right arm and right leg. I did paint and modify most of the cylinders in the arm and leg as per the previous sections. Once these are attached, we need to build the torso. The torso is constructed from the inside out with plates being added. The connections of the “hydraulic” lines also occurs. The parts are precut and glued in place and I used the recommended super glue here sparsely. These are attached to the head and shoulder section. The plate sections are heavy plastic or metal. The process continues with the back and cylinders being added. Follow… more |
|
T-800 Terminator, Part 5 - Modifications and ChangesPublished:
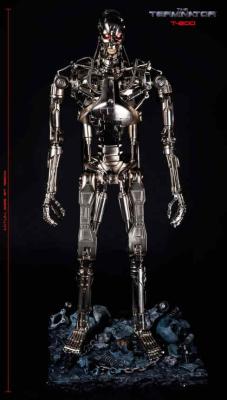
In this second to last part, I want to go over some of the modifications we can do to the Terminator. First, let me say, these are not needed as the kit is fantastic by itself. That being said, I can never leave well enough alone so here we go. Looking at the kit, there are parts of metal and plastic. I wanted to deal with plastic parts and when they are made, they are molded and have faint seam lines and then are chrome plated over that. My first step was to use sanding sticks and progressively finer grits to get the seams removed. Polishing the parts will produce a finer finish. The only difficult part to this is getting through the really good chrome plate. Once the seams are good and smoothed, I used a primer to prep the pats for painting. I like Tamiya Super Fine. It dries… more |
|
T-800 Terminator, Part 4Published:
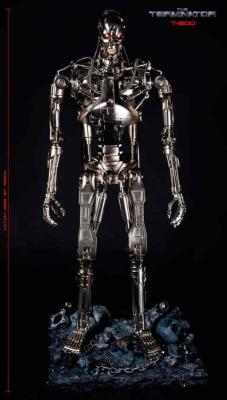
This is a little out of order but I was building side by side and wanted to get the base finished to hold him when is done as the T-800 will weigh around 17-18 pounds. With the base (which is steps 108 to 120), it comes pre-painted in a gray and rust and looks nice. Needless to say, I could not leave well enough alone. The base also includes the sound chip, the battery pack that supplies it and four colored spot lights. The base comes in four large plastic parts with many different parts to add to the top including a skull, bones, springs and various rock and metal bits. Underneath, there were four LED lights that will need assembled, a multipart battery pack and the wiring to power it all. I wanted the base to have a more dirt based, scorched earth look. I started by assembling… more |
|
F-111A/E Cockpit with 3D DecalsPublished:
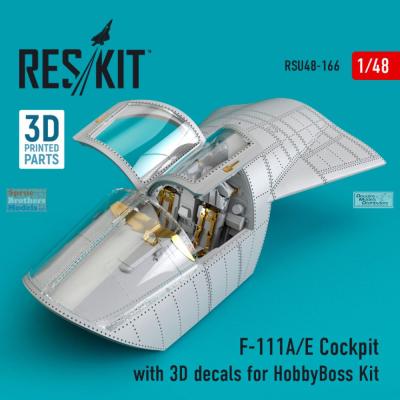
HobbyBoss issued a new and more modern F-111 kit a while back (2010 I think) replacing the aging Academy kits. It had a lot of features and for styrene, a decent but simplified cockpit. It was missing seat belts, detail on the instrument panel and other parts. Reskit for Kyiv, Ukraine to the rescue with a magnificent, highly detailed multimedia cockpit. Opening the box, there are 42 3D printed parts, 4 injection molded parts (the canopy and windscreen), a masking set and a fret with dozens on photoetched parts. Preparation starts by removing the supports on the 3D parts. I warmed mine a little with a hair dryer and used a hobby knife and sprue nipper and the part were free quickly. I used a sanding stick to remove any nubs and we were good. One note here, there are instructions to… more |
|
T-800 Terminator, Part 3Published:
Hi everyone - had to split the build due to technical limitations to the web site. Part three will cover the rest of the build until we run out of parts and then part three will do the fixes and modifications. “He'll find her! That's what he does! That's ALL he does! You can't stop him! He'll wade through you, reach down her throat and pull her heart out!- Kyle Reese” Step 61 and 62 build the right knee and adding it to the upper section of the leg. One note here. This is getting big so allow yourself a larger workspace. As the knee is inserted, you will need to thread one of the upper pistons at the same time- not difficult because everything fits perfectly. This is also tightened with a Allen wrench and can be fixed tightly of allowing movement. Steps 63 through 71… more |
|
T-800 Terminator, Part 2Published:
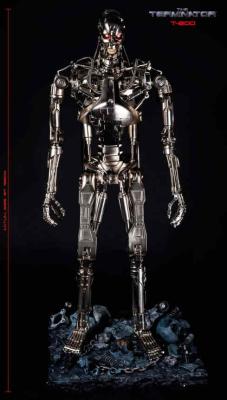
“That Terminator is out there! It can't be bargained with. It can't be reasoned with. It doesn't feel pity, or remorse, or fear. And it absolutely will not stop... ever, until you are dead!”- Kyle Reese Hi model fans! Life is good when a big box arrives from Agora full of parts for the second part of the Agora Models Terminator. I am going to split this into three parts with the first two primarily on the construction of the parts and the last, some of the upgrades and modifications to prepare for the rest of the parts to arrive. Let’s dive in! This part starts with the construction of the spine which consists starting with the connection to the shoulders and parts that allow posing and movement. The instructions are clear and uses plastic… more |