
UH-60A Black Hawk and Crew
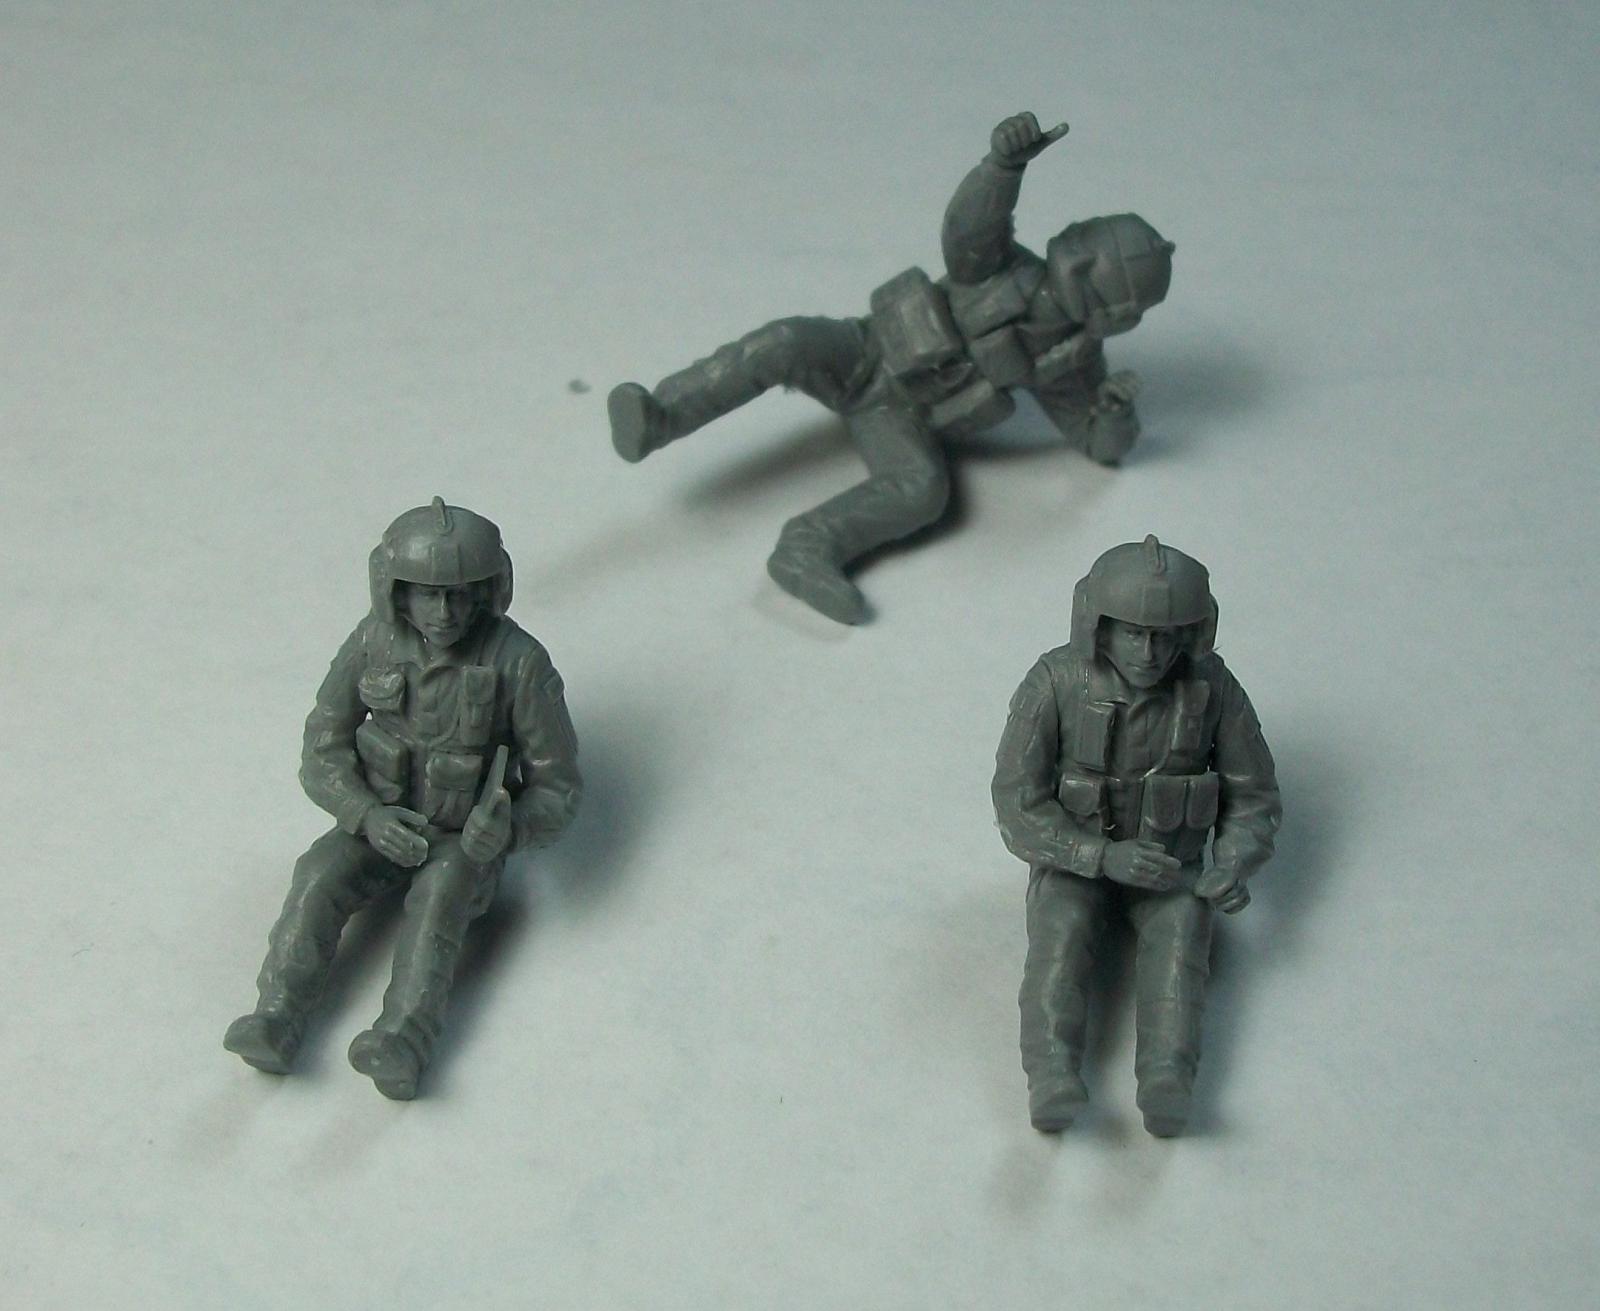
ICM has provided this beautiful new release from the Black Hawk Range for review, in this 1/48 scale model of the UH-60A which was released earlier but this one comes with a three-man crew set. The crew set is also available as a separate kit (kt number 48130).
- 15 x grey sprues
- 1 clear sprue
- One decal sheet
- One instruction guide for the UN-60A
- One instruction sheet for the crew
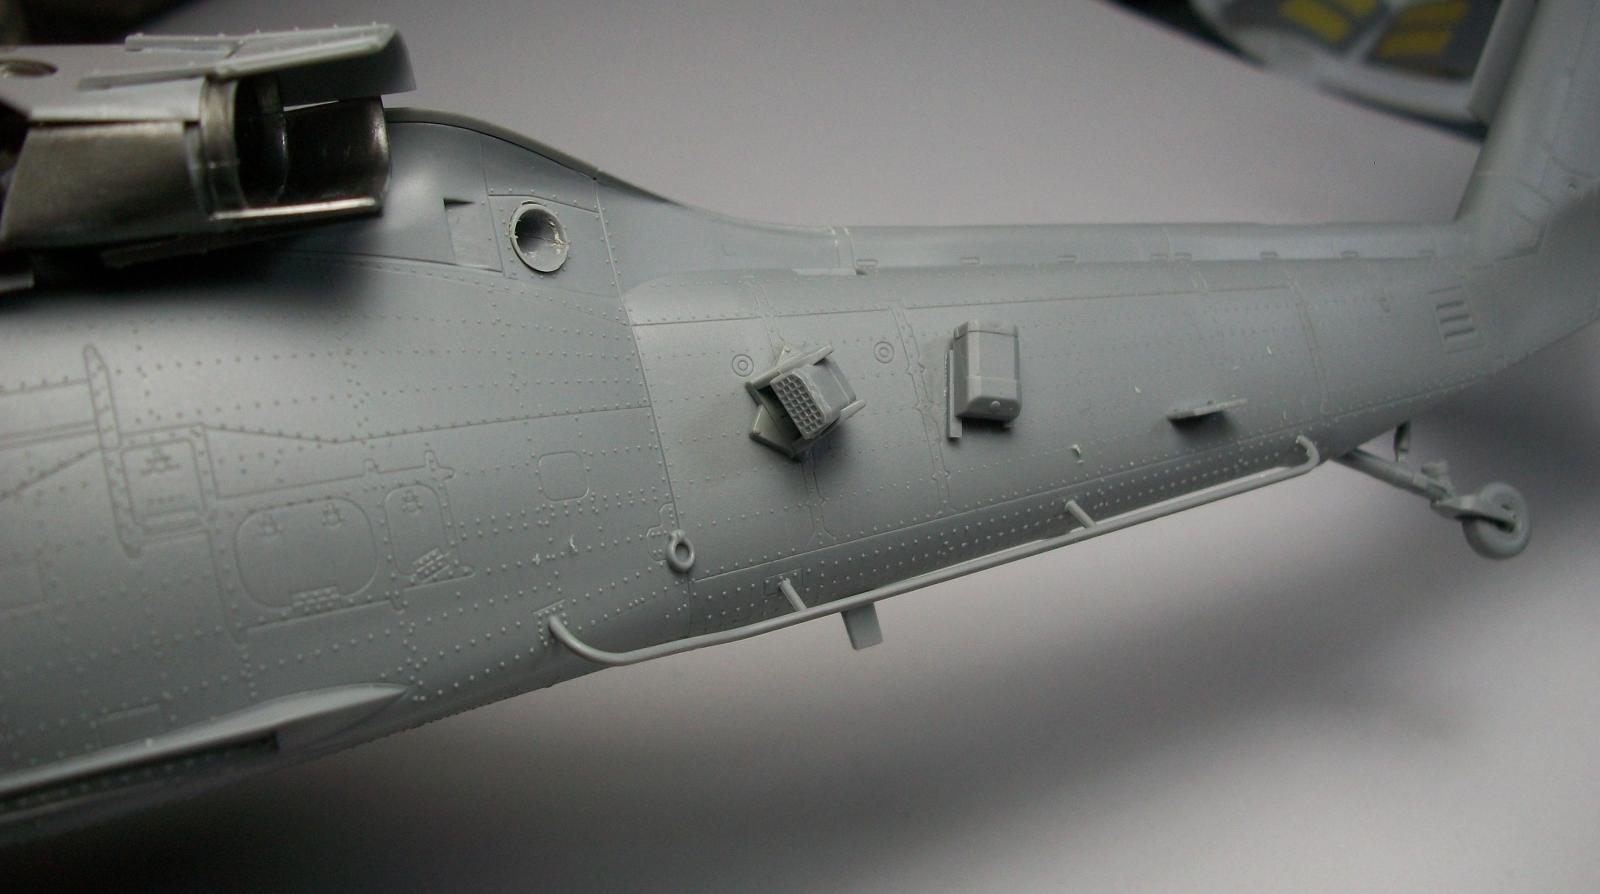
The detail quality is excellent in every way with this kit; crisp and detailed molding has become the norm for the ICM kits.
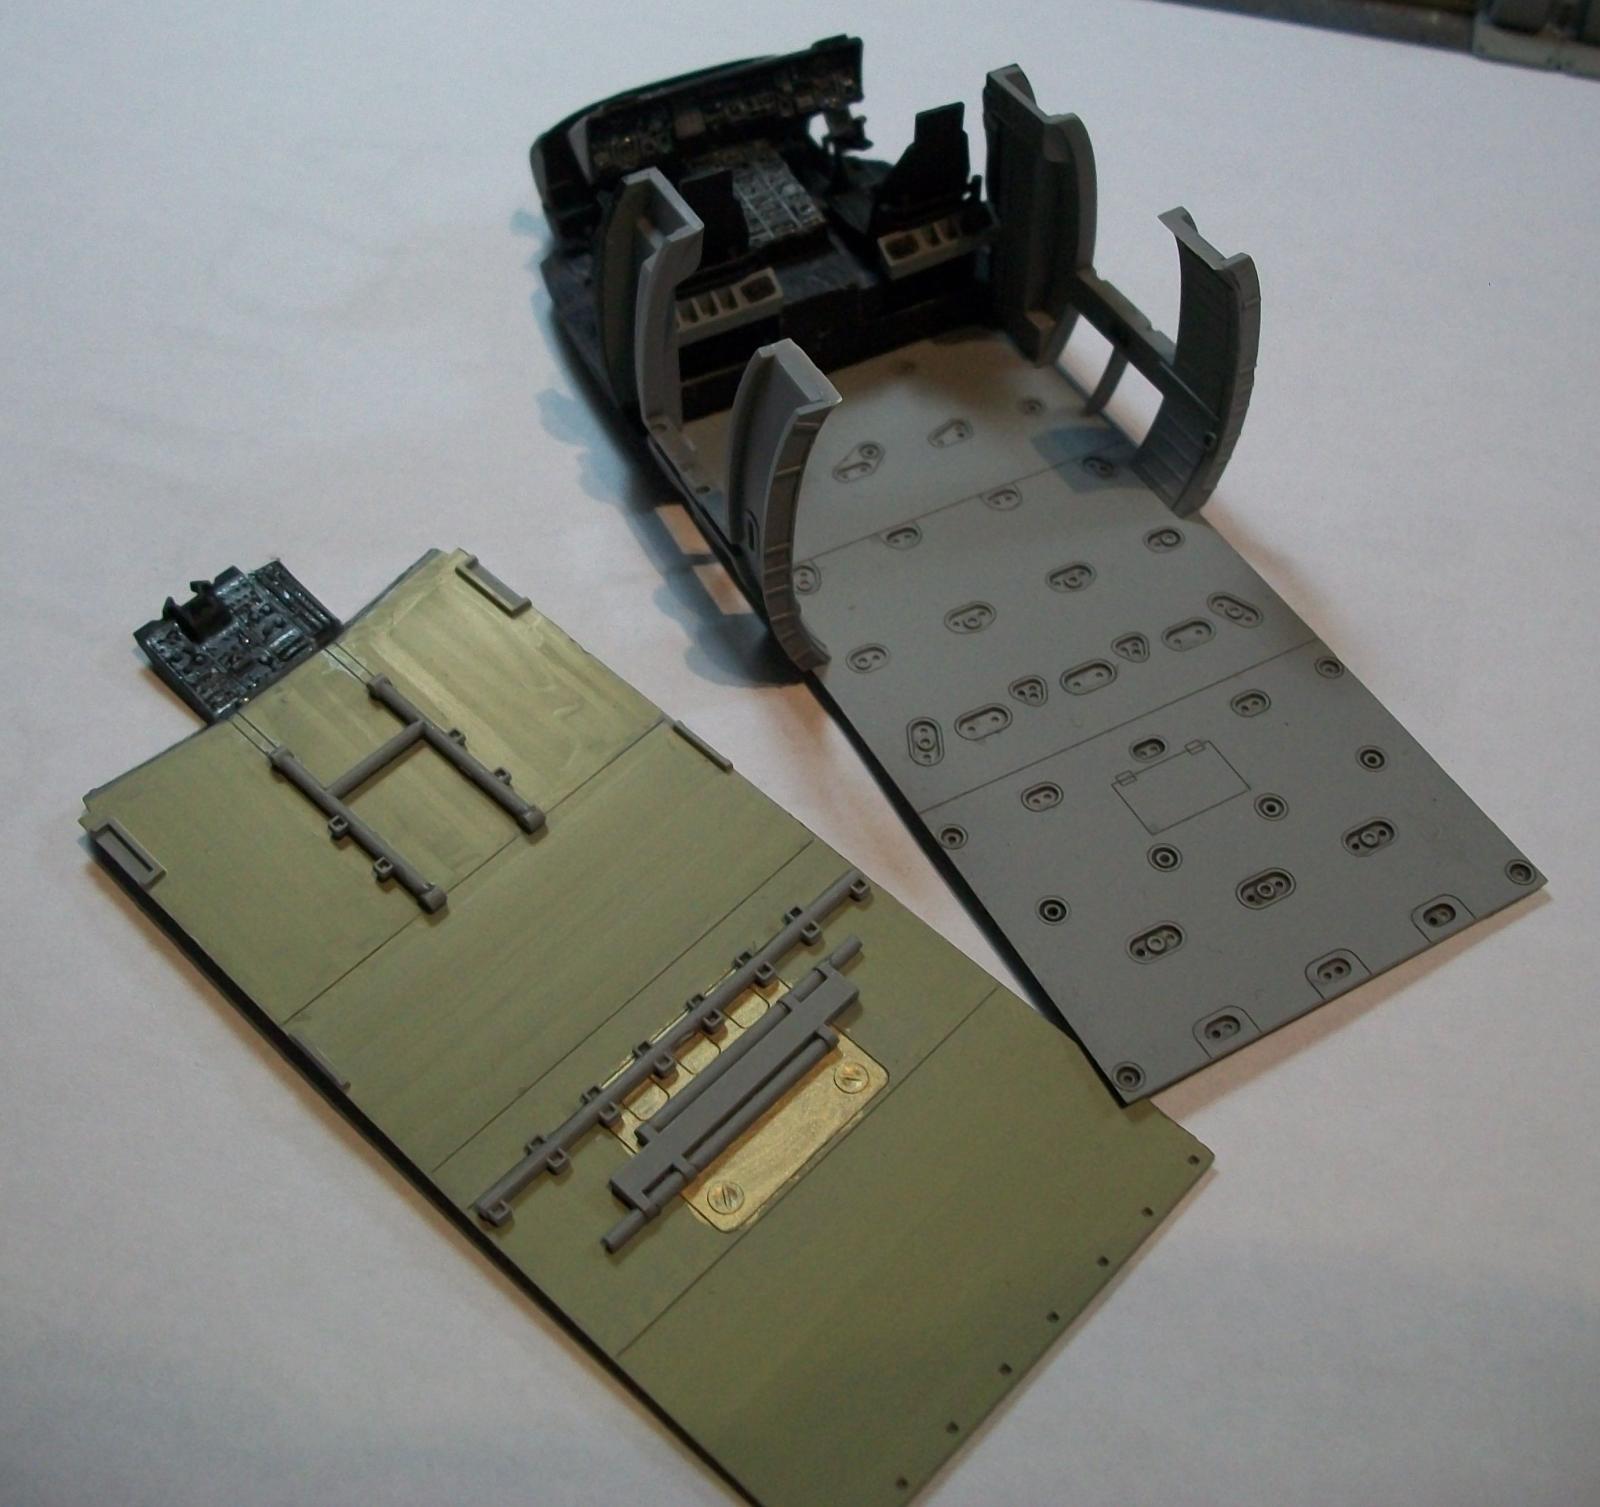
I repainted all the interior parts before commencing the build.
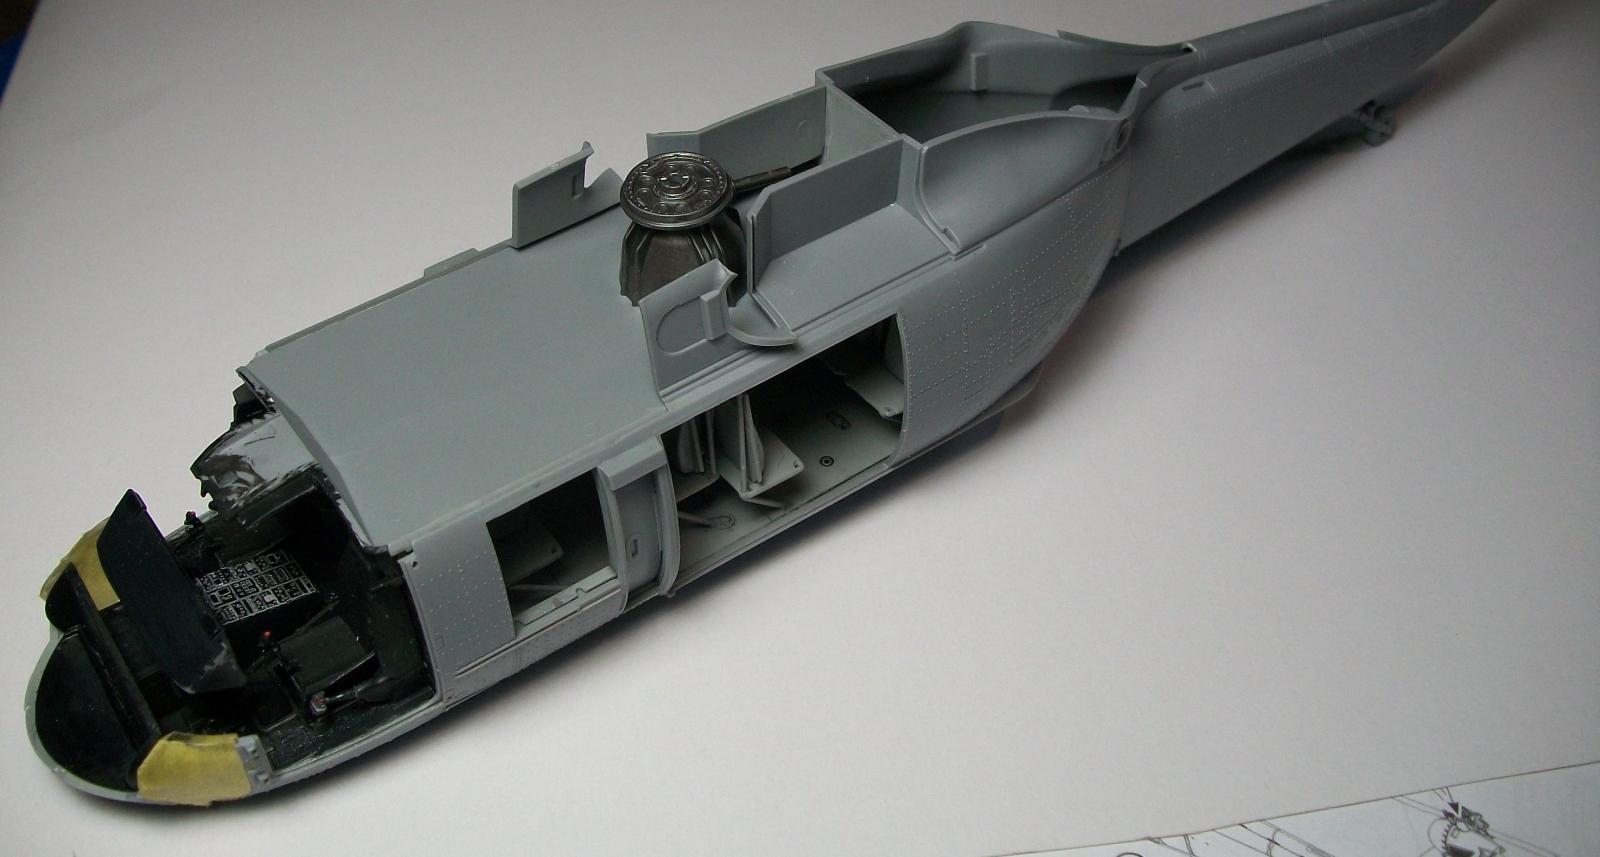
The assembly starts at the Interior stages 01 to 26. The only item in the interior assembly I need to point out is steps 19 to 26. This is the seats assembly and it’s a little tricky and you need to take care line up the supports. I also would have preferred colored decals to 3-D ones to improve the details of the instruments.
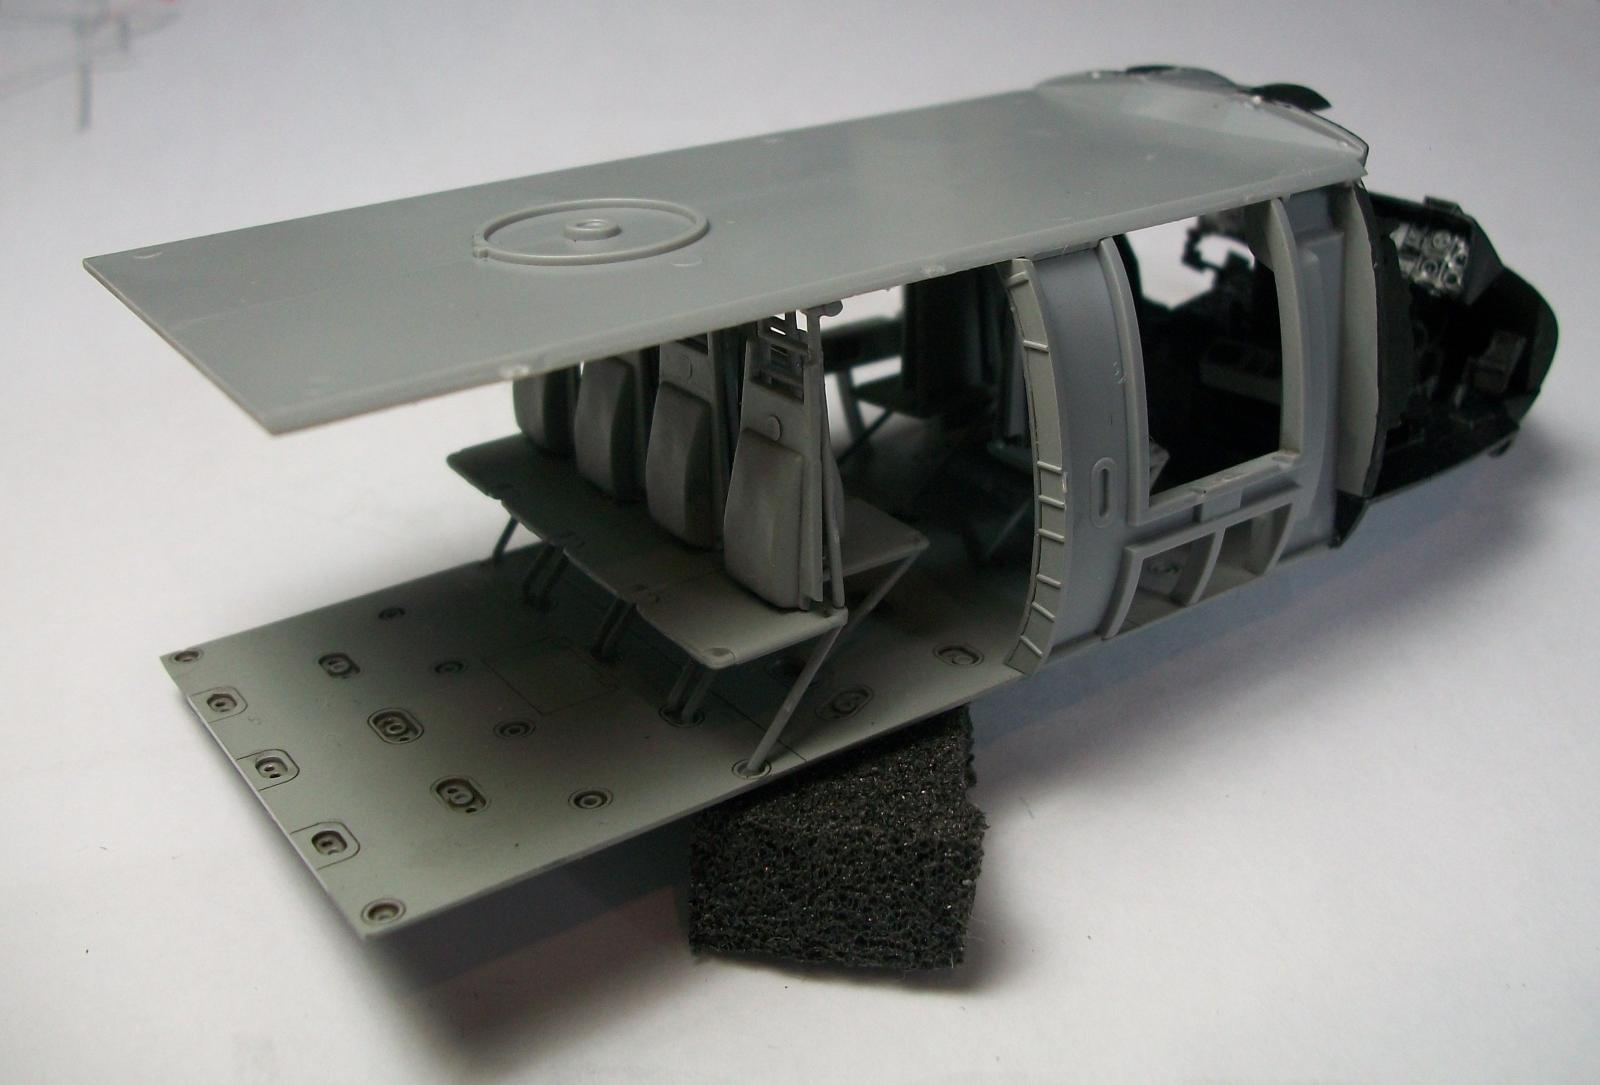
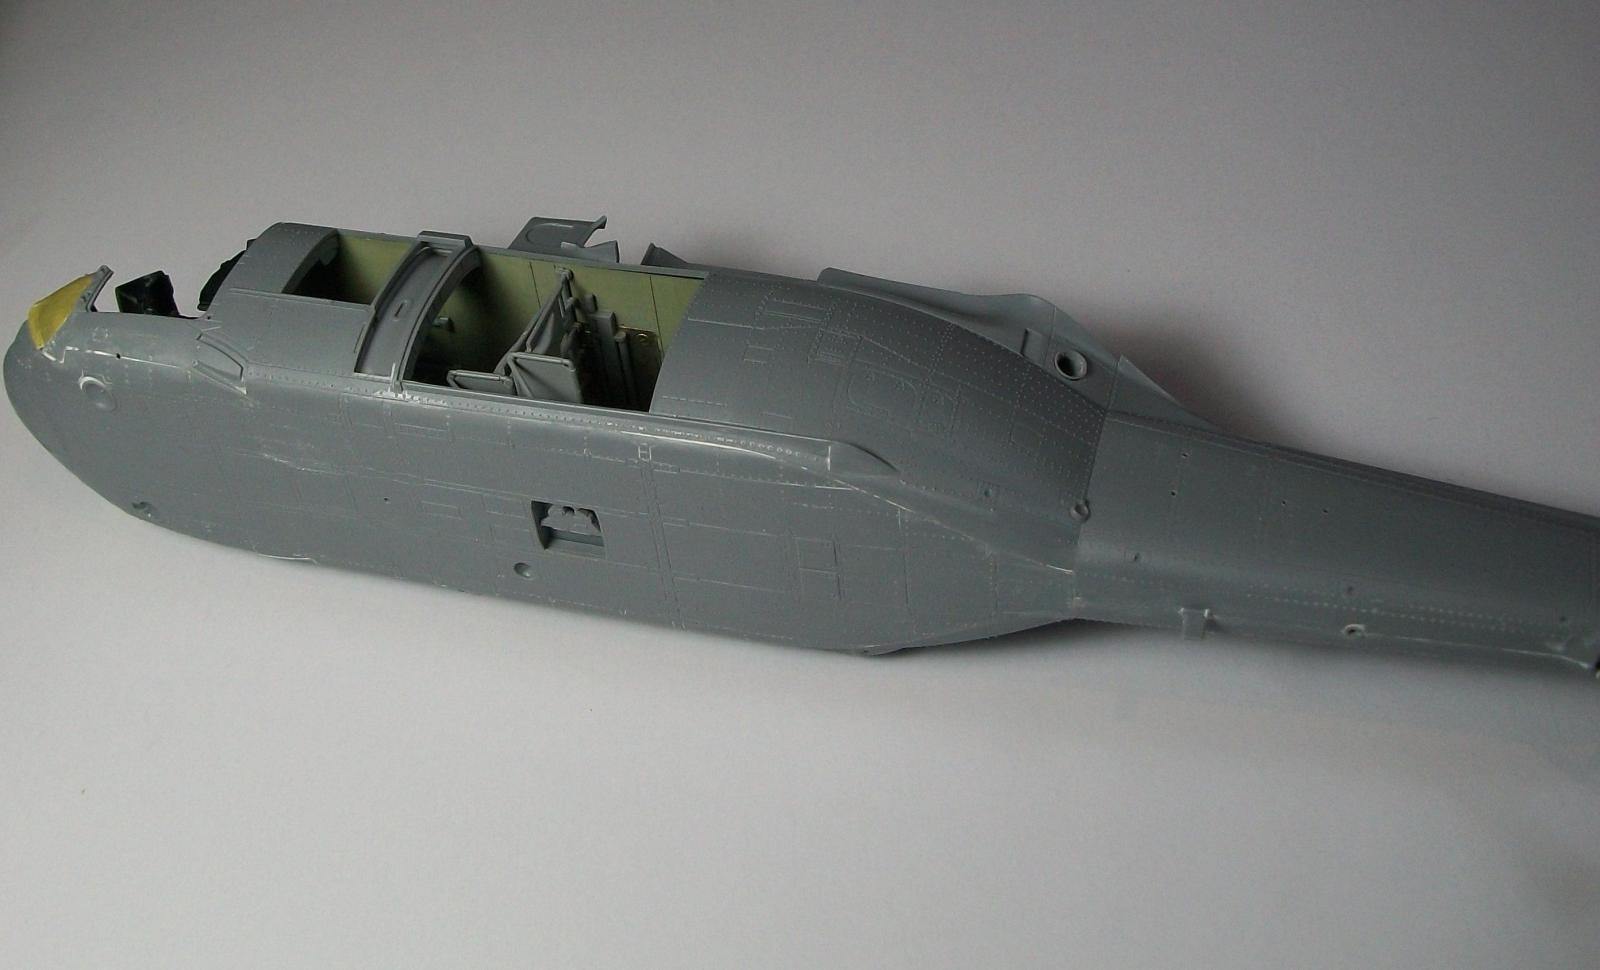
Stages 27 to 38 is the main fuselage assembly. This is all easy and no real issues. I did find some fit and alignment issues when added the fuselage underside assembly 38. This could have been my error. I did have to do a bit of filling and sanding.
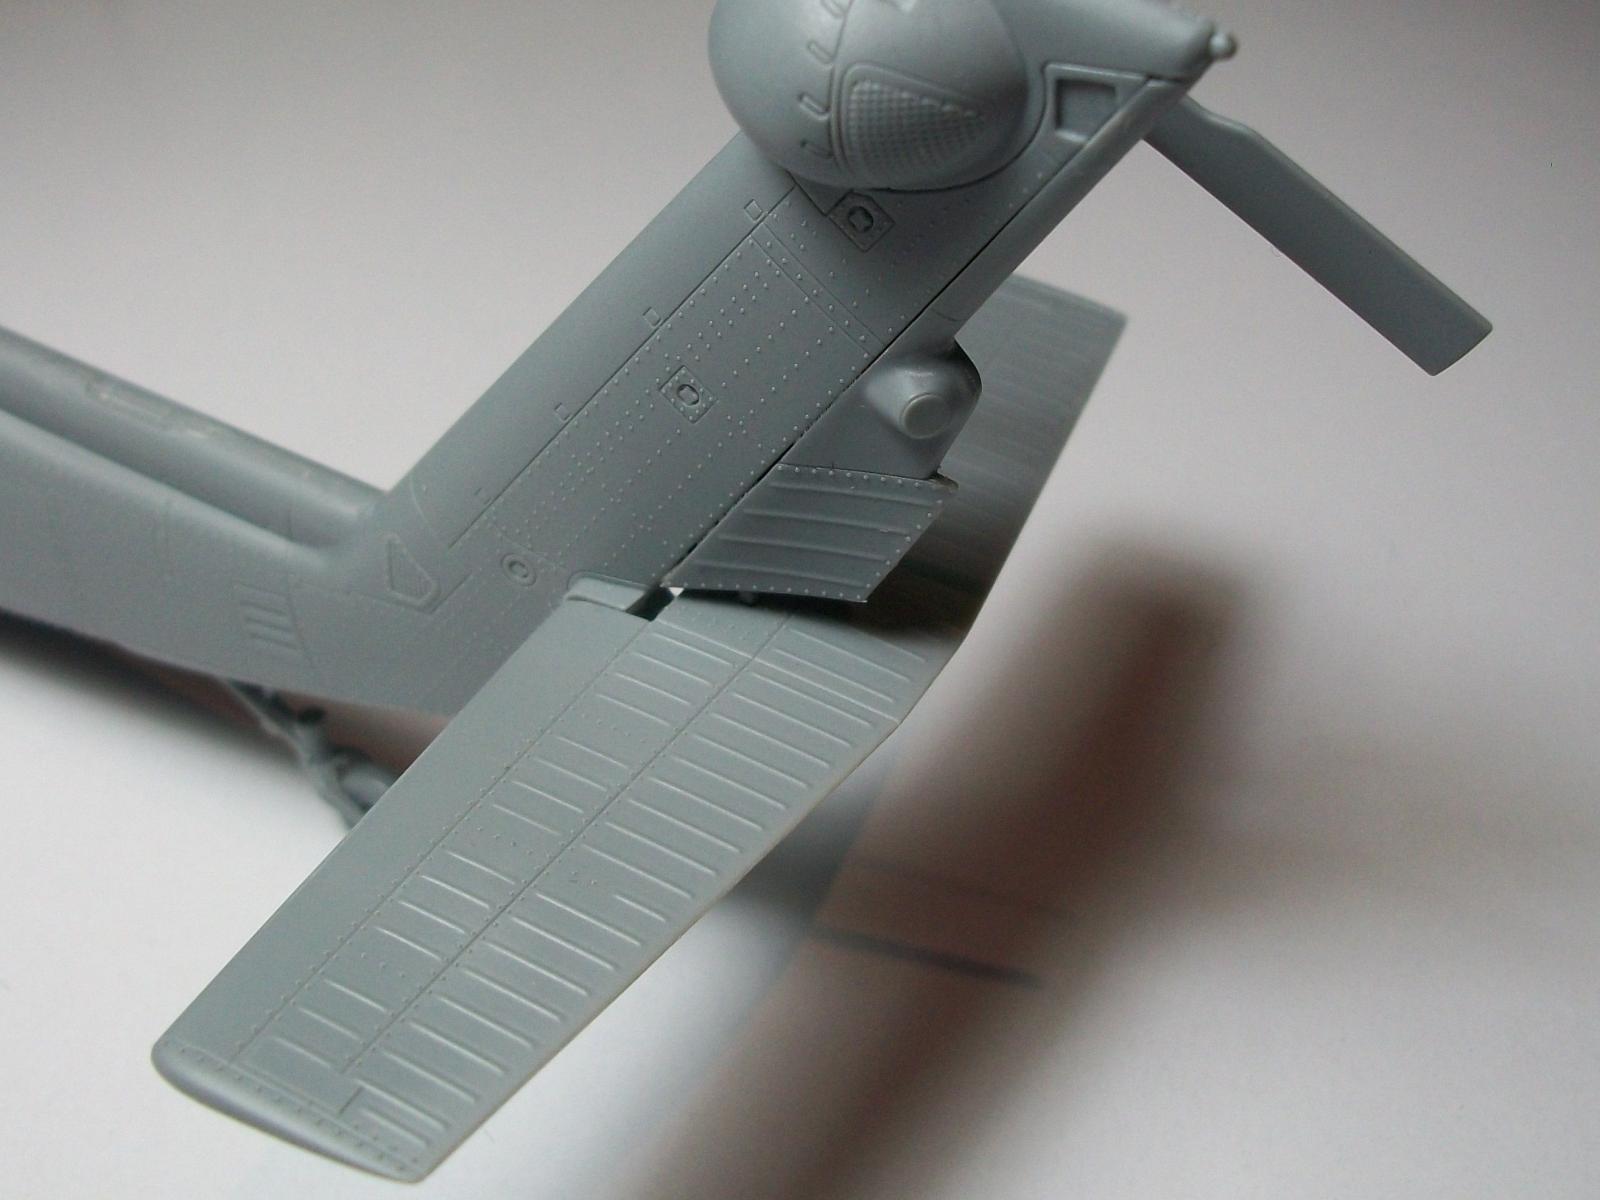
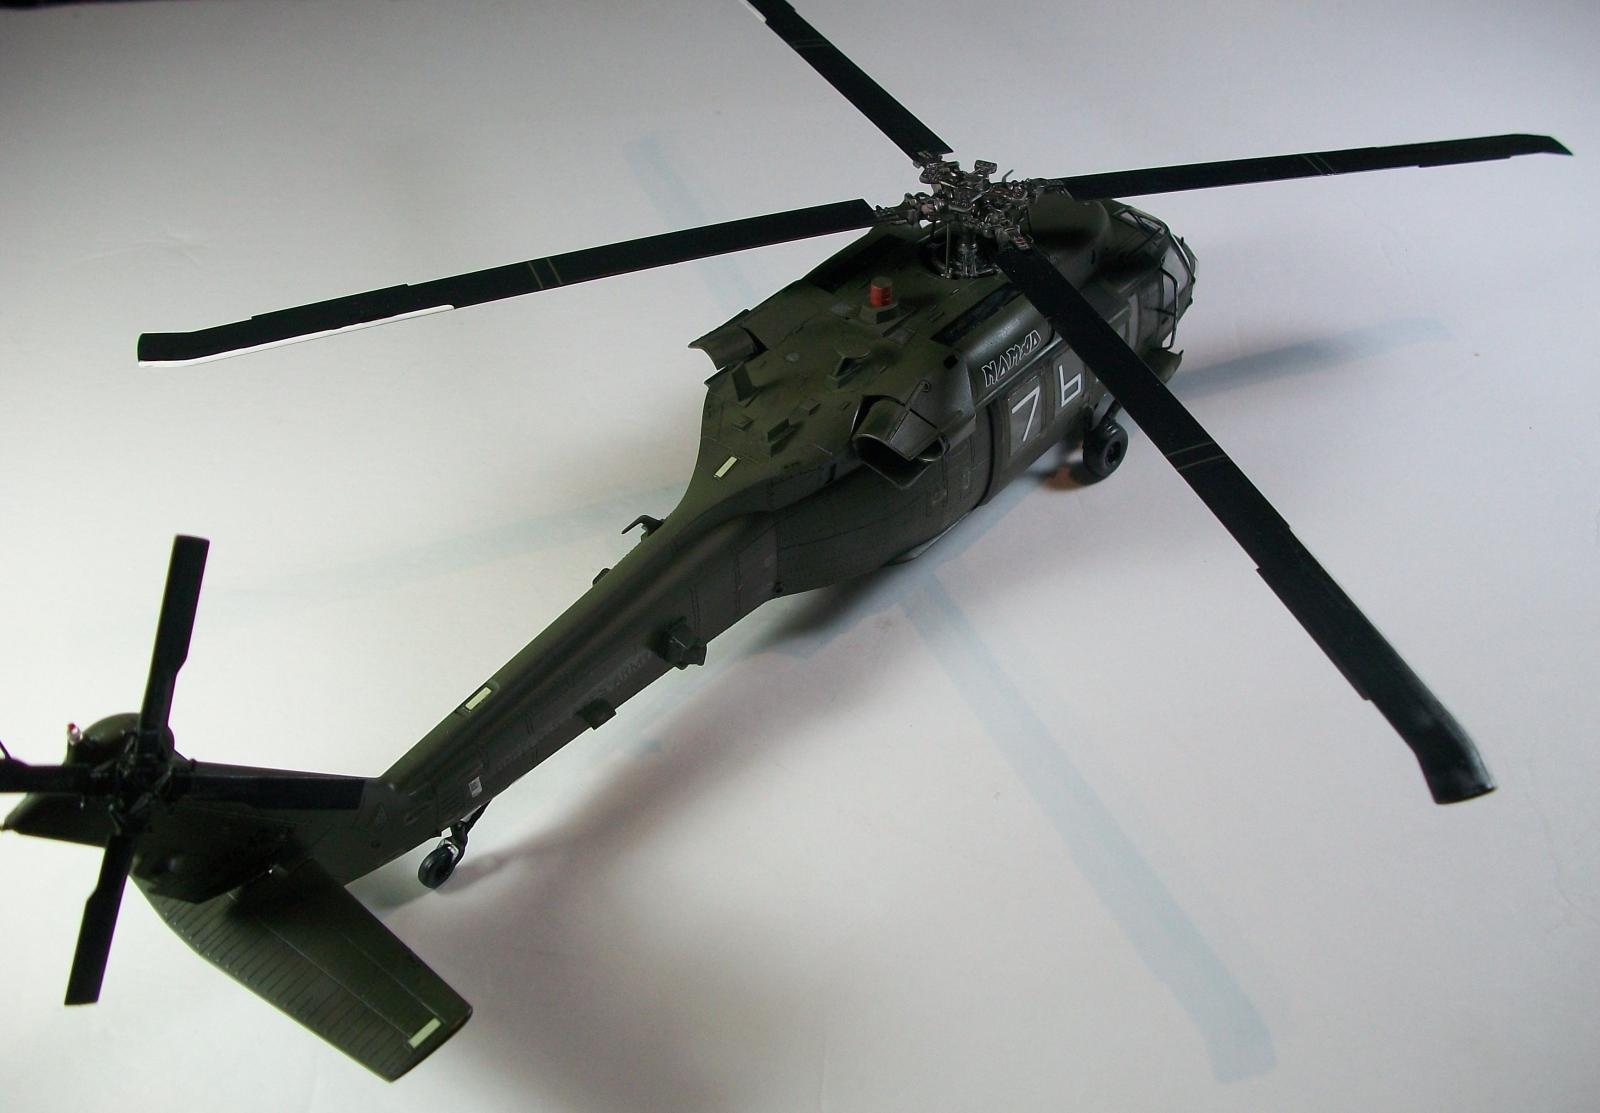
Stages 39 to 41 is the tail assembly
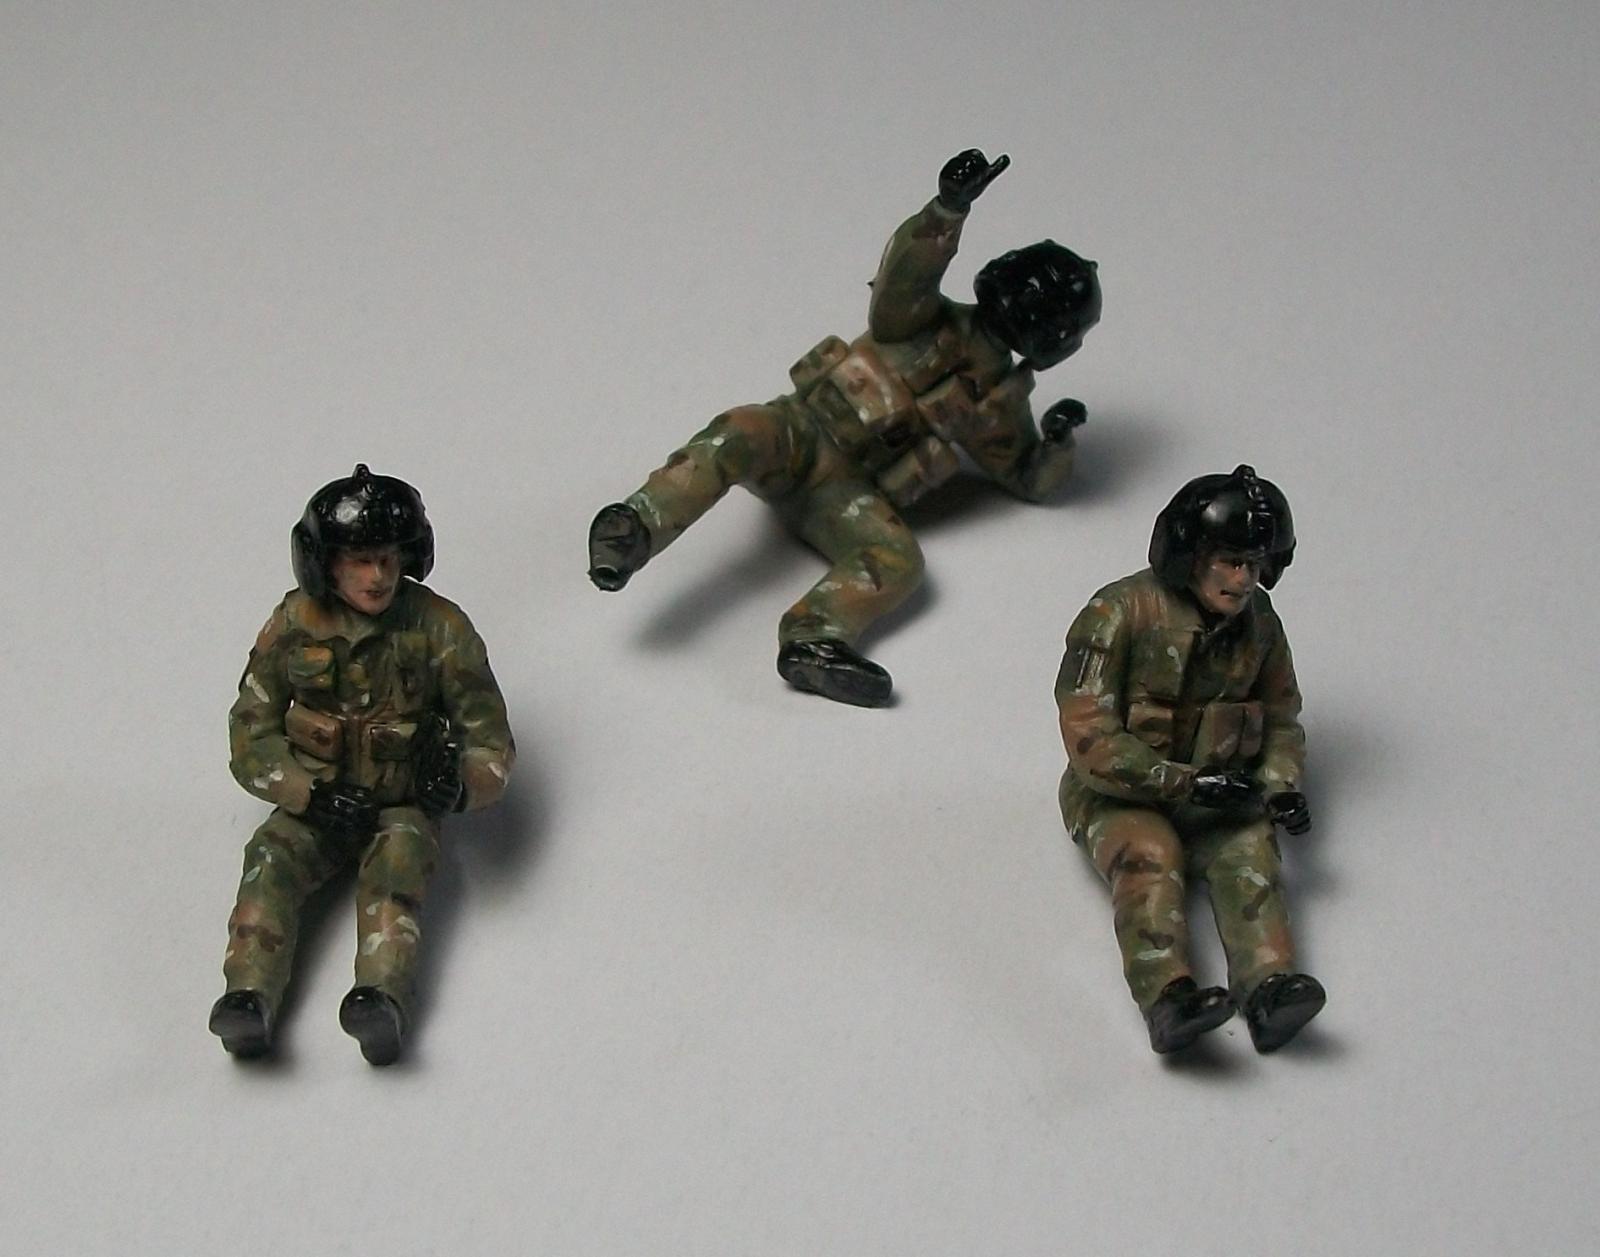
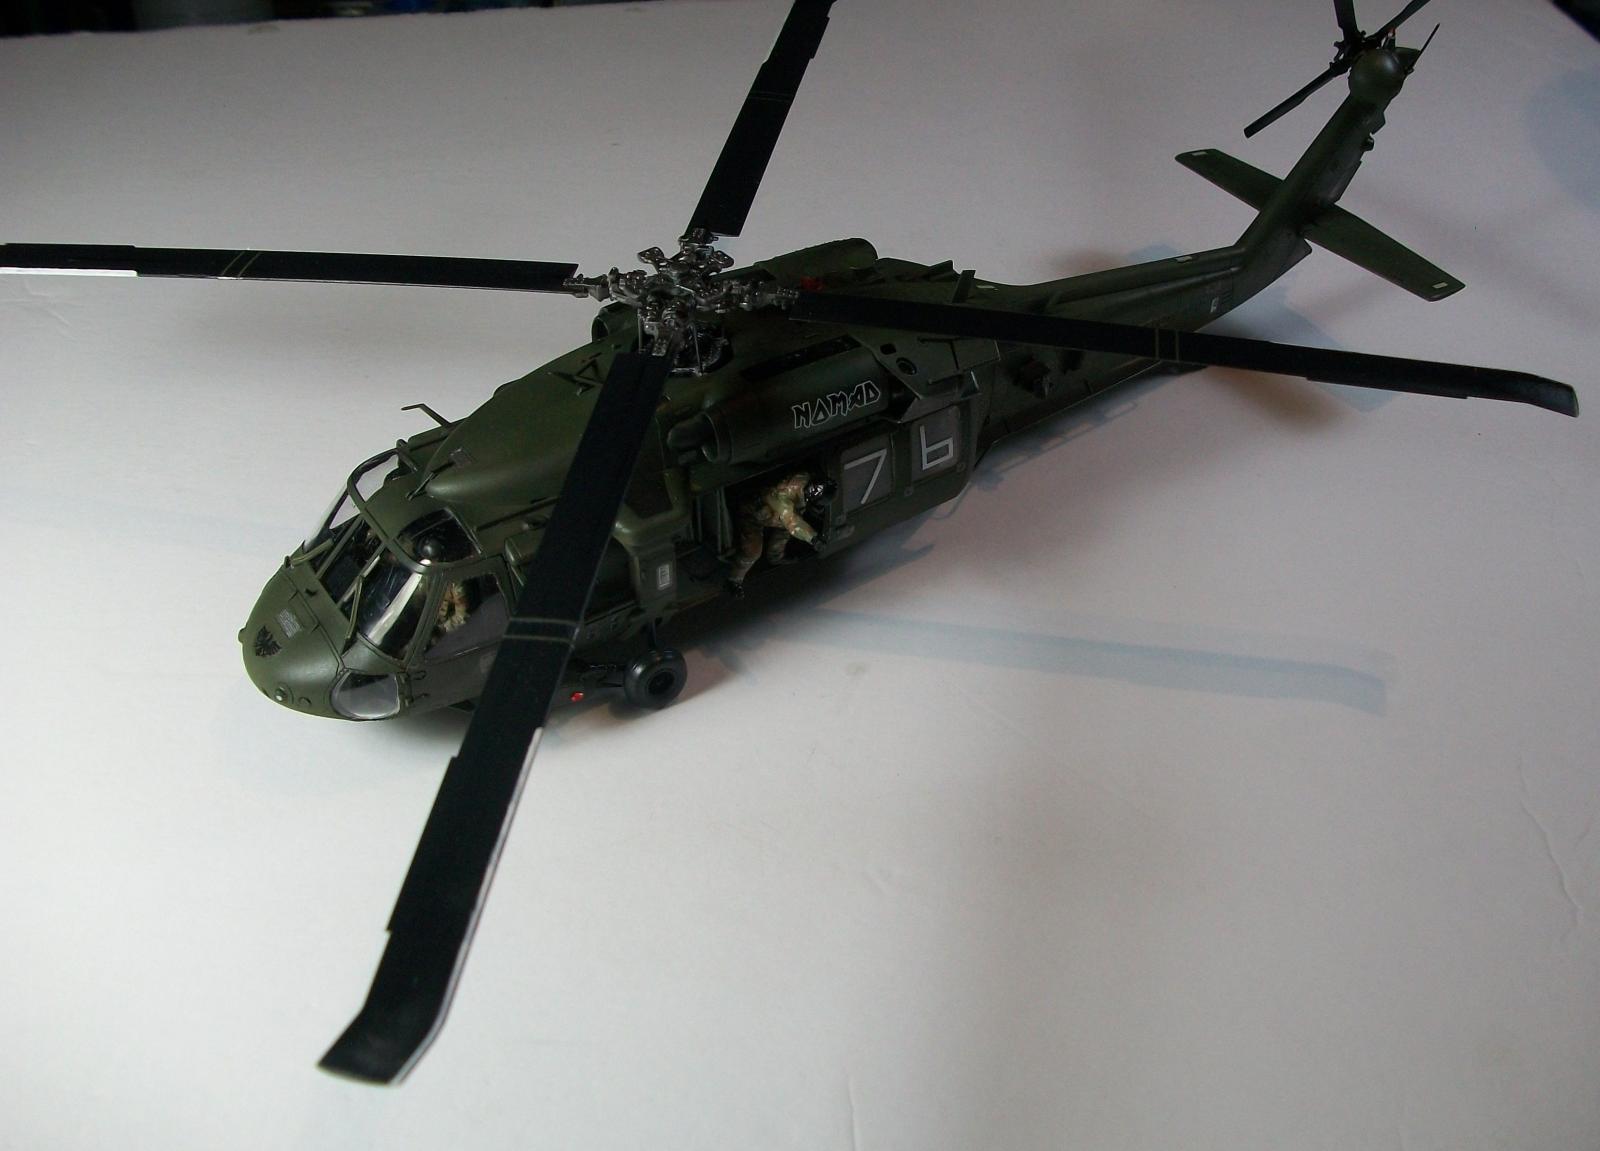
Stages 42 to 47 close up the cockpit areas so after stage 43 you need to build and complete the crew figures, two need to be installed before stage 44. The figures were painted in the Multicam camo, and this was a first for me and I used a couple of online videos to guide me. They came out to an acceptable standard for me.
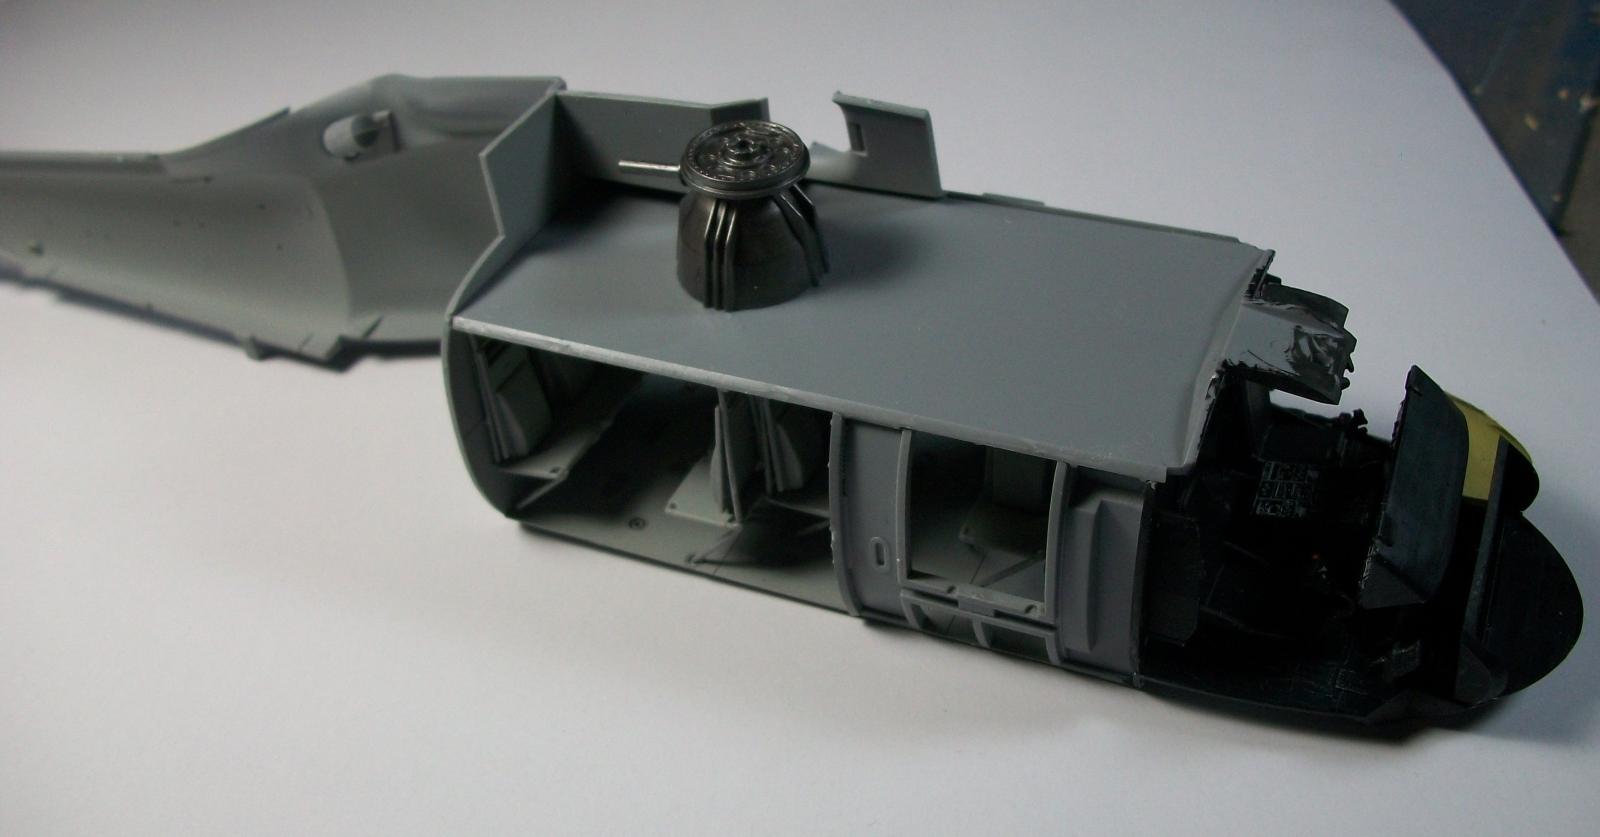
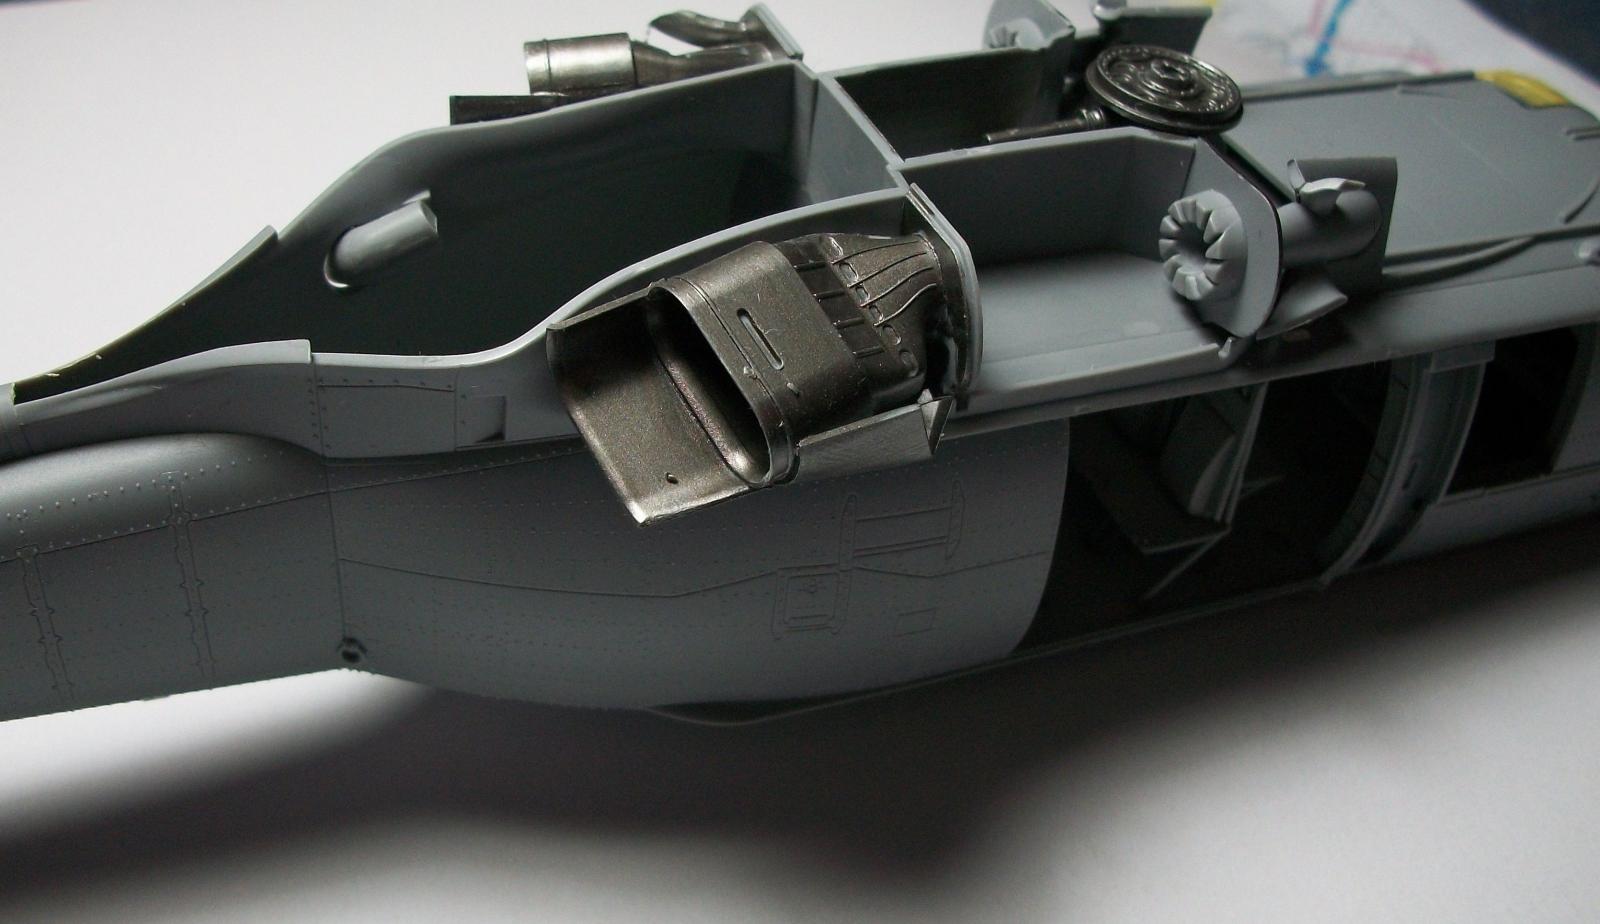
Stages 48 to 61 is the install of engine / exhaust parts and top of fuselage. This was without major issues. The items I would point out are as follows – at stage 60 be careful with part D1 as its very delicate and can snap when removing from the sprue. Alo the fit of the sub-assemblies 58 and 59 are difficult at stage 61.
Stages 62 to 90 are additional external parts to the fuselage. There as no issue here and it went very smoothly.
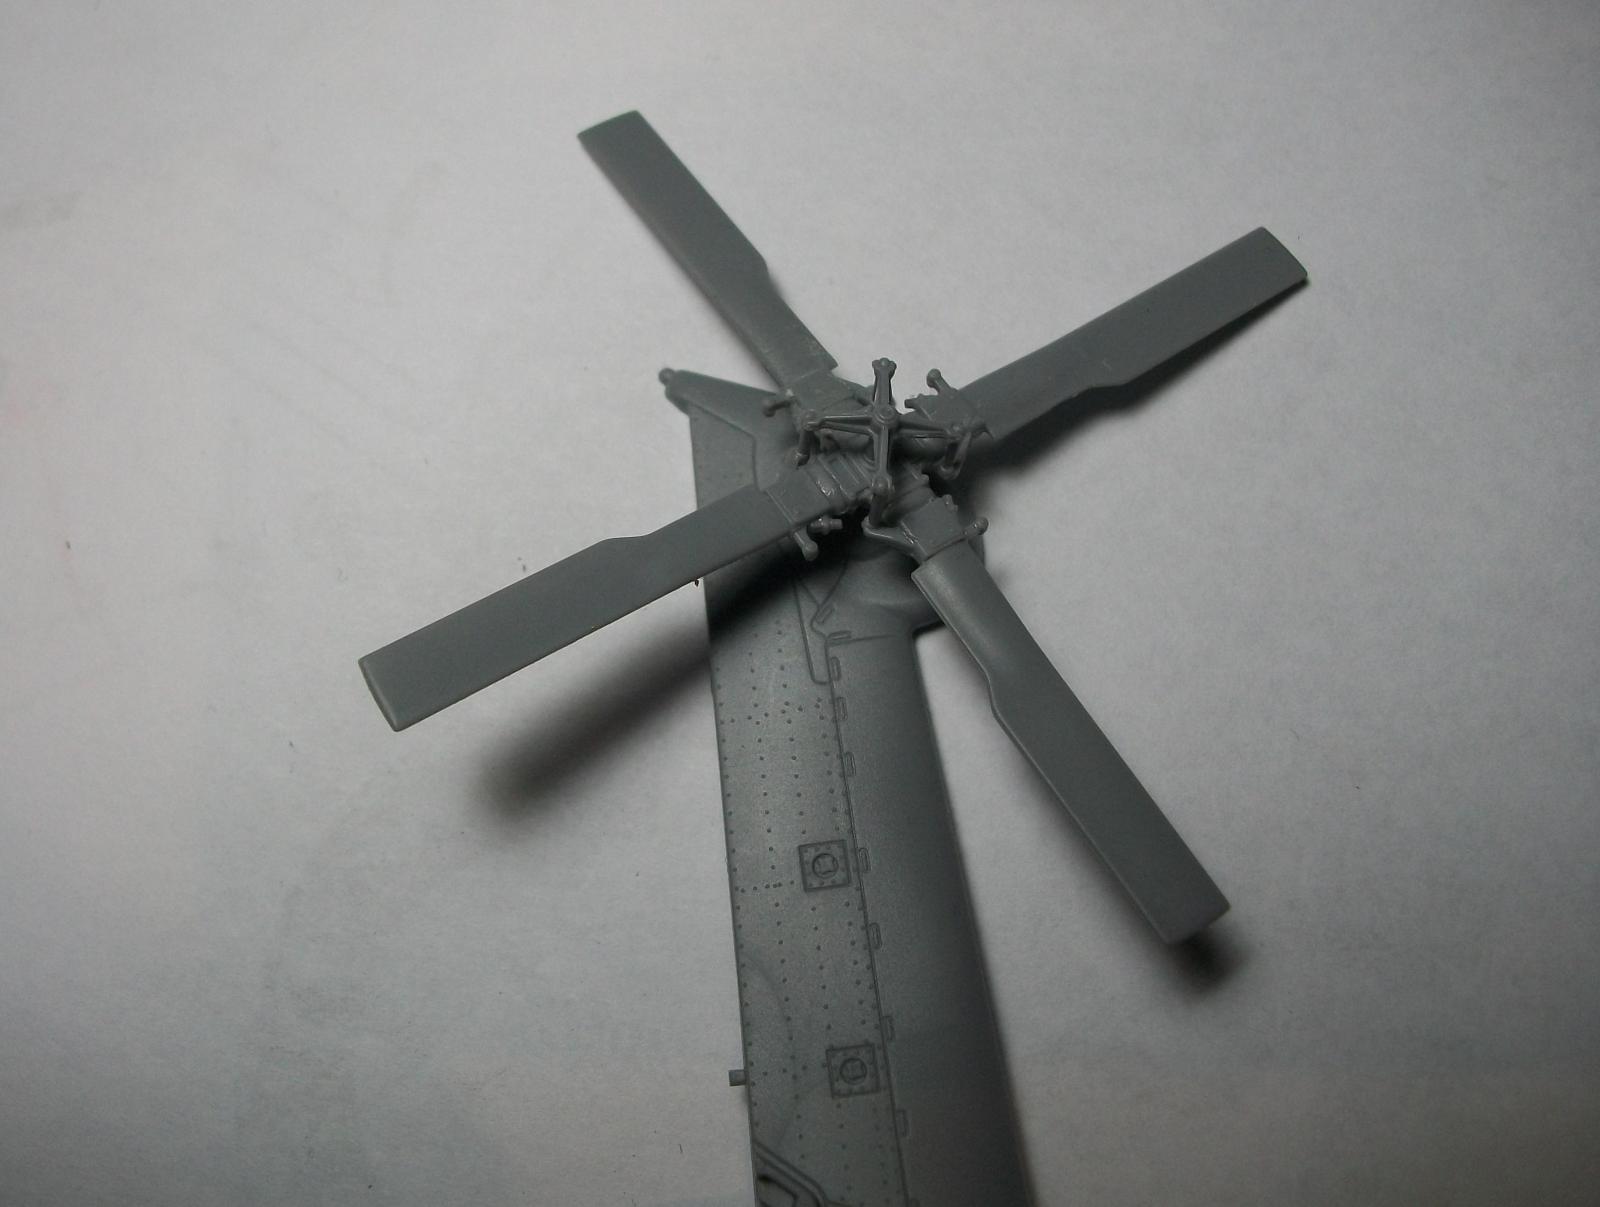
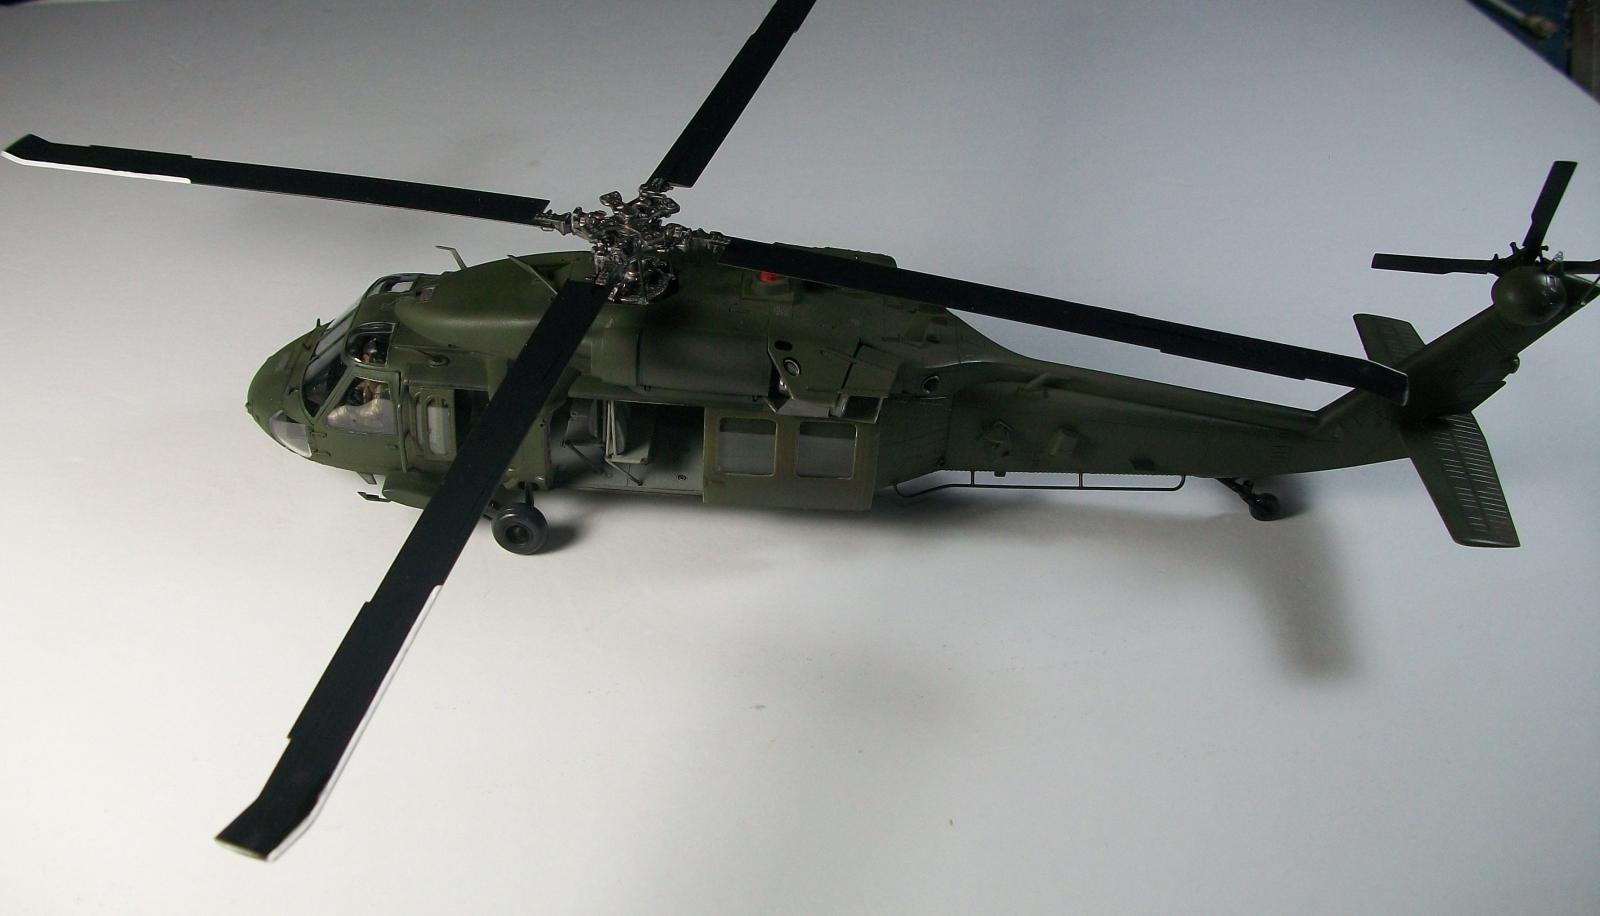
Stages 91 to 96 Are the final assembly of the main rotor and placement on the Black Hawk.
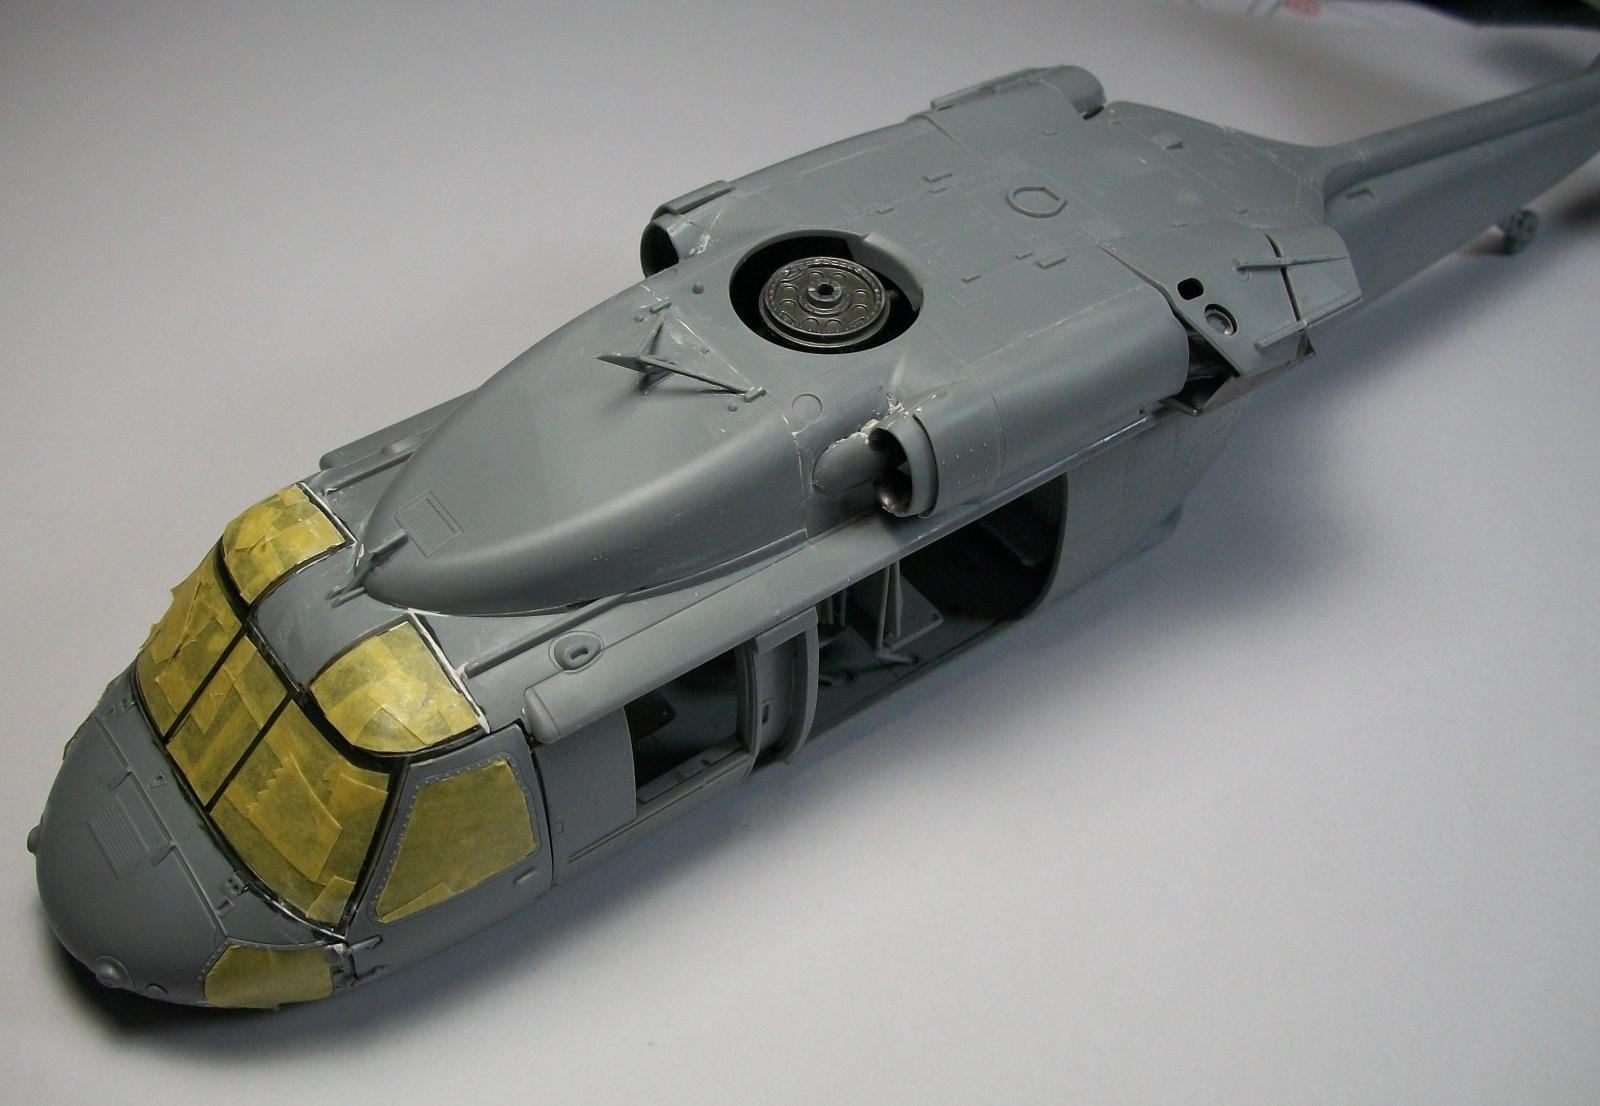
The instruction guide does give mask templates on page 17 and show the placement. I did use a few of these, but mostly I just used Tamiya tape strips.
For the final painting I used the suggested ICM paints as I had them.
I selected Version 2 for the decals. Now I have never had issues with the ICM-provided decals before but for some reason these did not want to settle on to the plastic and did silver. I use a lot of additional setter and solvent to get them to at least look better. This issue may have been not enough clear gloss varnish on top of the matt ICM paint.
In conclusion this is an awesome kit and I really enjoy building it, I have longed liked the Black Hawk and in 1.48 scale looks great.
Thanks go to ICM for providing this kit to review and IPMS/USA for allowing me to review it for them.


Comments
Add new comment
This site is protected by reCAPTCHA and the Google Privacy Policy and Terms of Service apply.
Similar Reviews