
T-800 Terminator, Part 3
Hi everyone - had to split the build due to technical limitations to the web site. Part three will cover the rest of the build until we run out of parts and then part three will do the fixes and modifications.
“He'll find her! That's what he does! That's ALL he does! You can't stop him! He'll wade through you, reach down her throat and pull her heart out!- Kyle Reese”
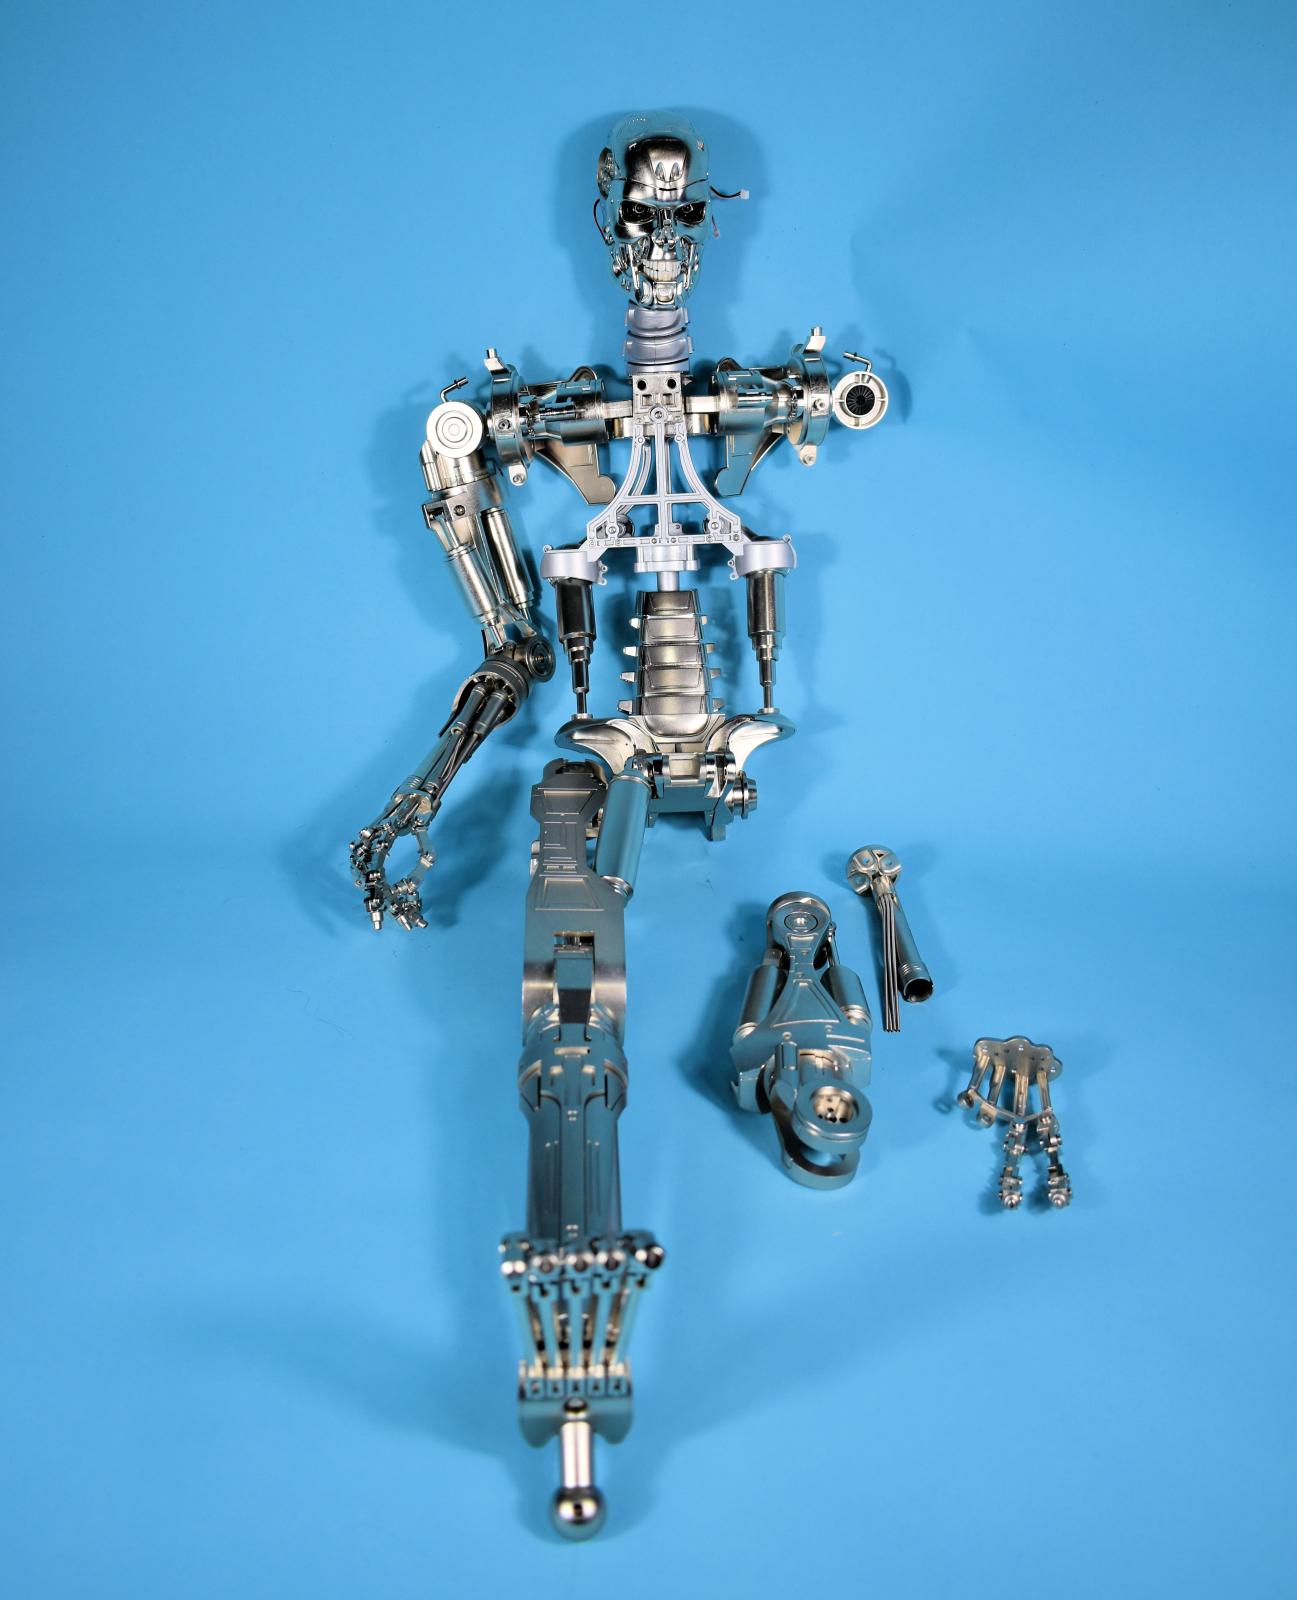
Step 61 and 62 build the right knee and adding it to the upper section of the leg. One note here. This is getting big so allow yourself a larger workspace. As the knee is inserted, you will need to thread one of the upper pistons at the same time- not difficult because everything fits perfectly. This is also tightened with a Allen wrench and can be fixed tightly of allowing movement.
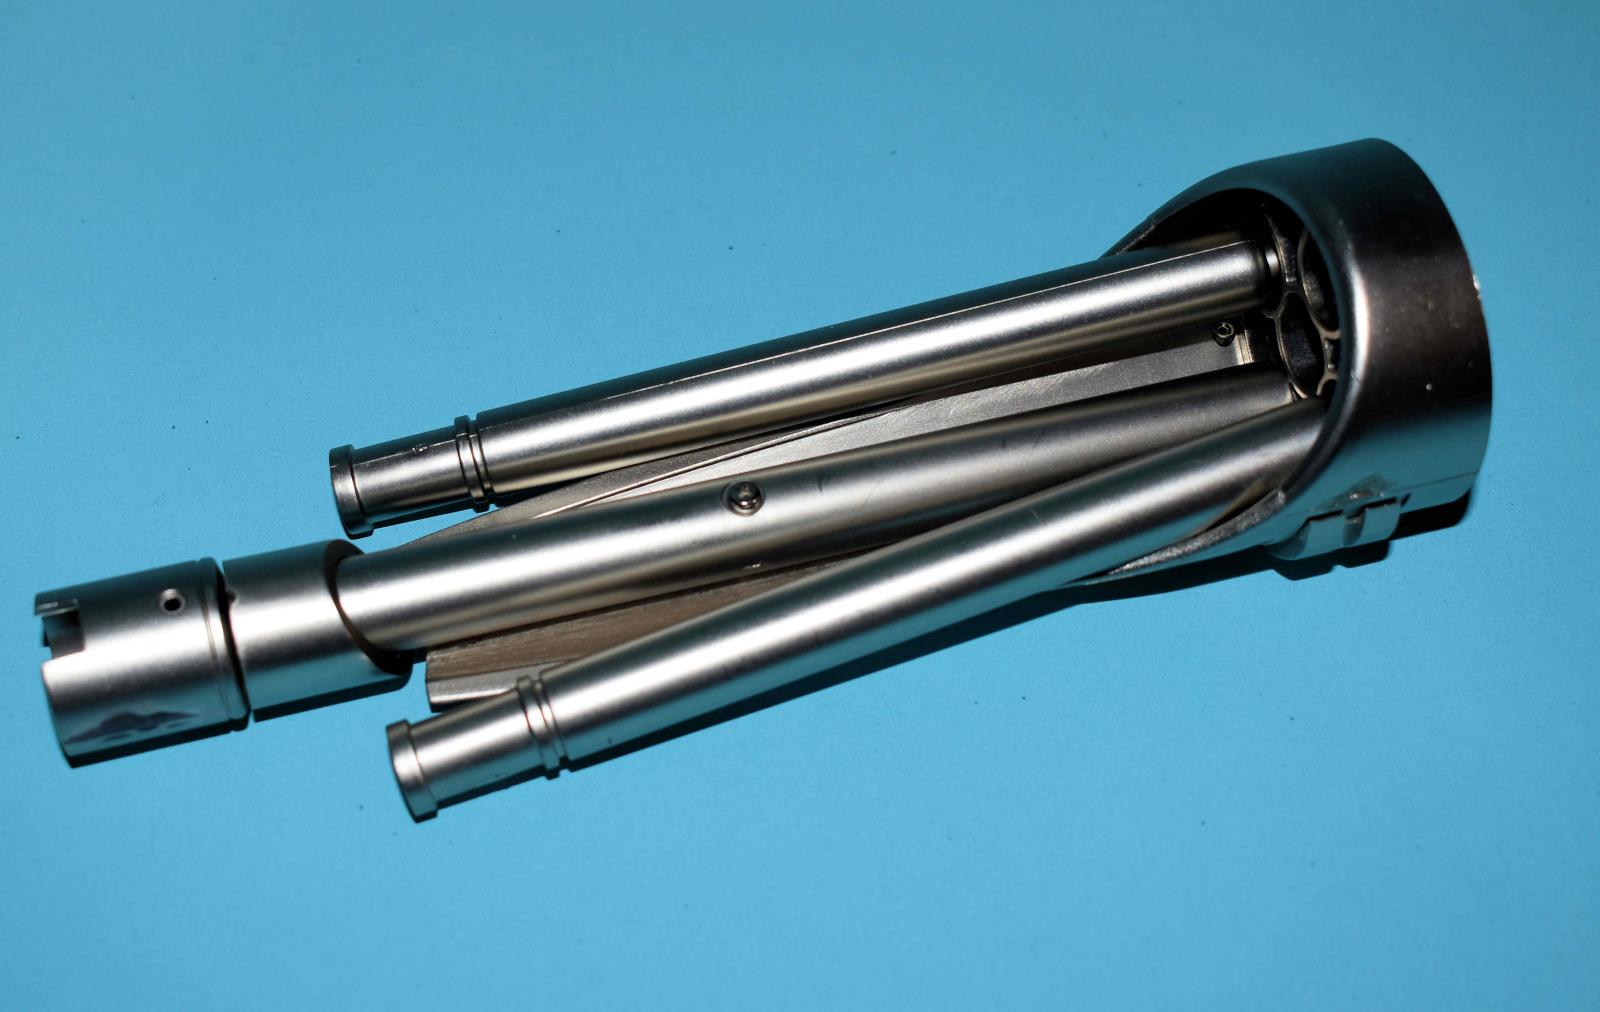
Steps 63 through 71 construct the right lower leg and foot. In Step 63, note that the first piece when attached does have a specific location for the main support. The two side supports (skeletal) are added, note that these are loose fits. Once this is assembled, the front section is slid over the top but must be aligned correctly. Once in place, the shin piece is added and screwed into place. I said this in part 1 of this review but if something isn’t fitting or aligned, stop, back up and see where the error is. The instructions and fit are precise. Also, there are tabs and alignment points noted in the instructions. By Step 67, you adding the finished shin to the knee joint and tis requires reaching between all the added points. This is a great time for a longer than average smaller Phillips screw driver.
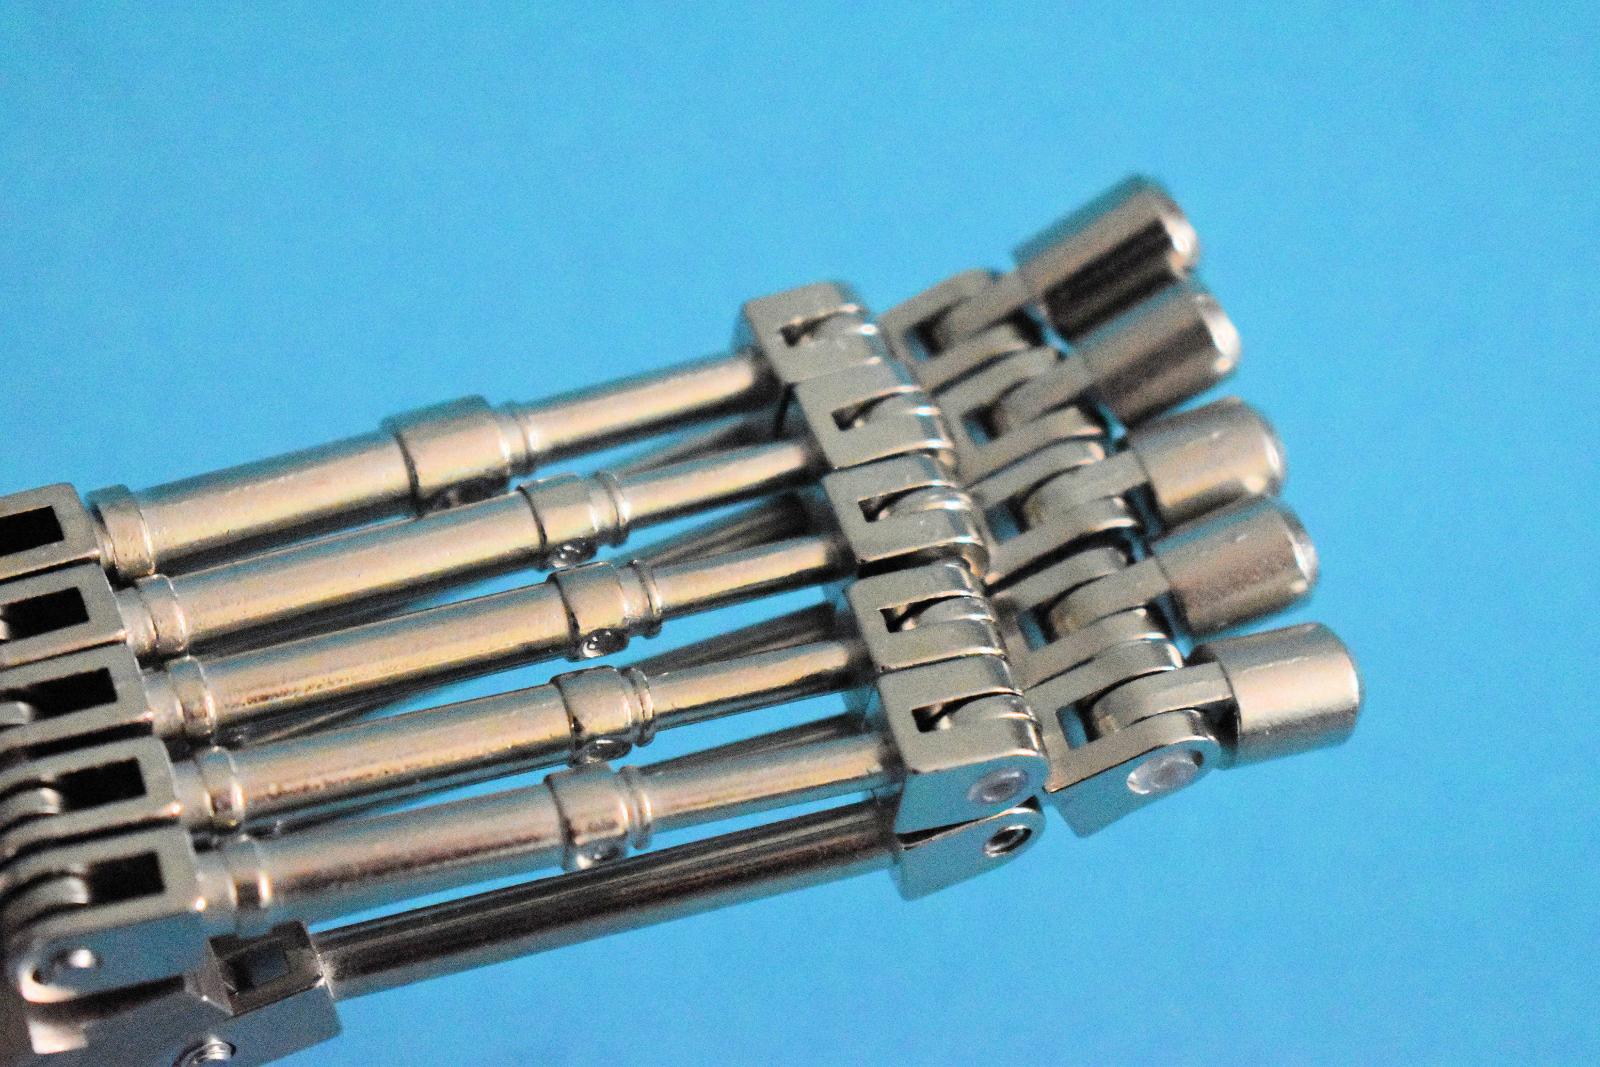
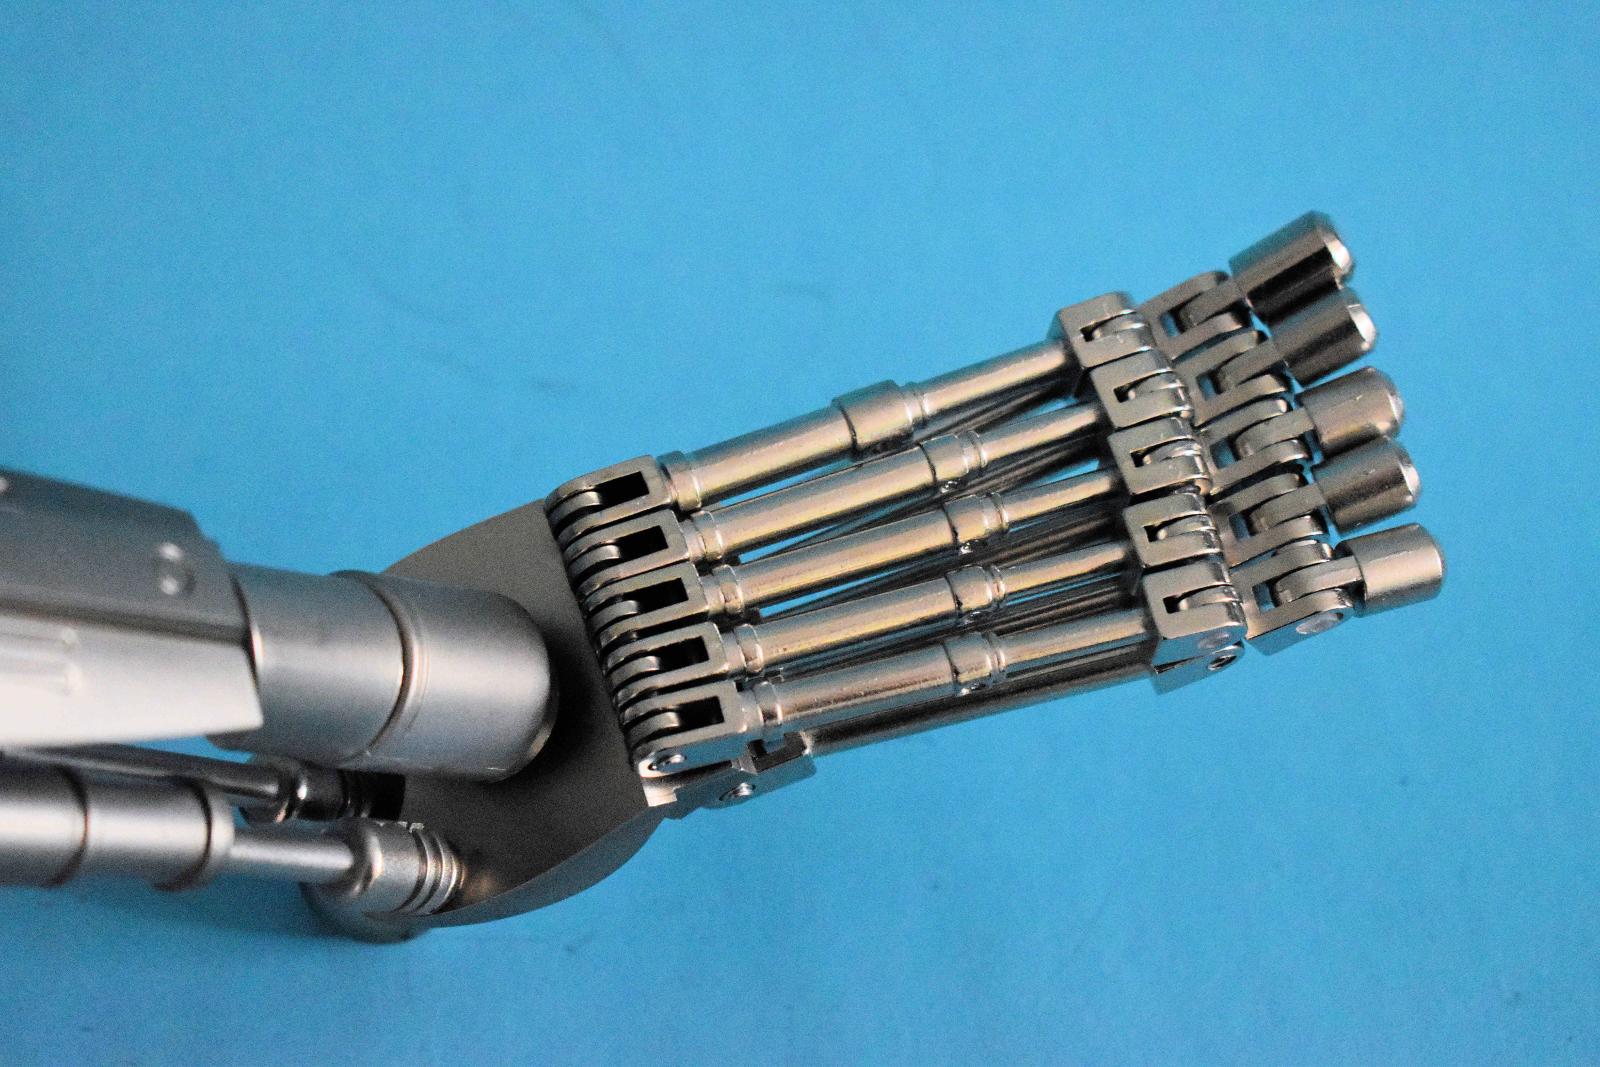
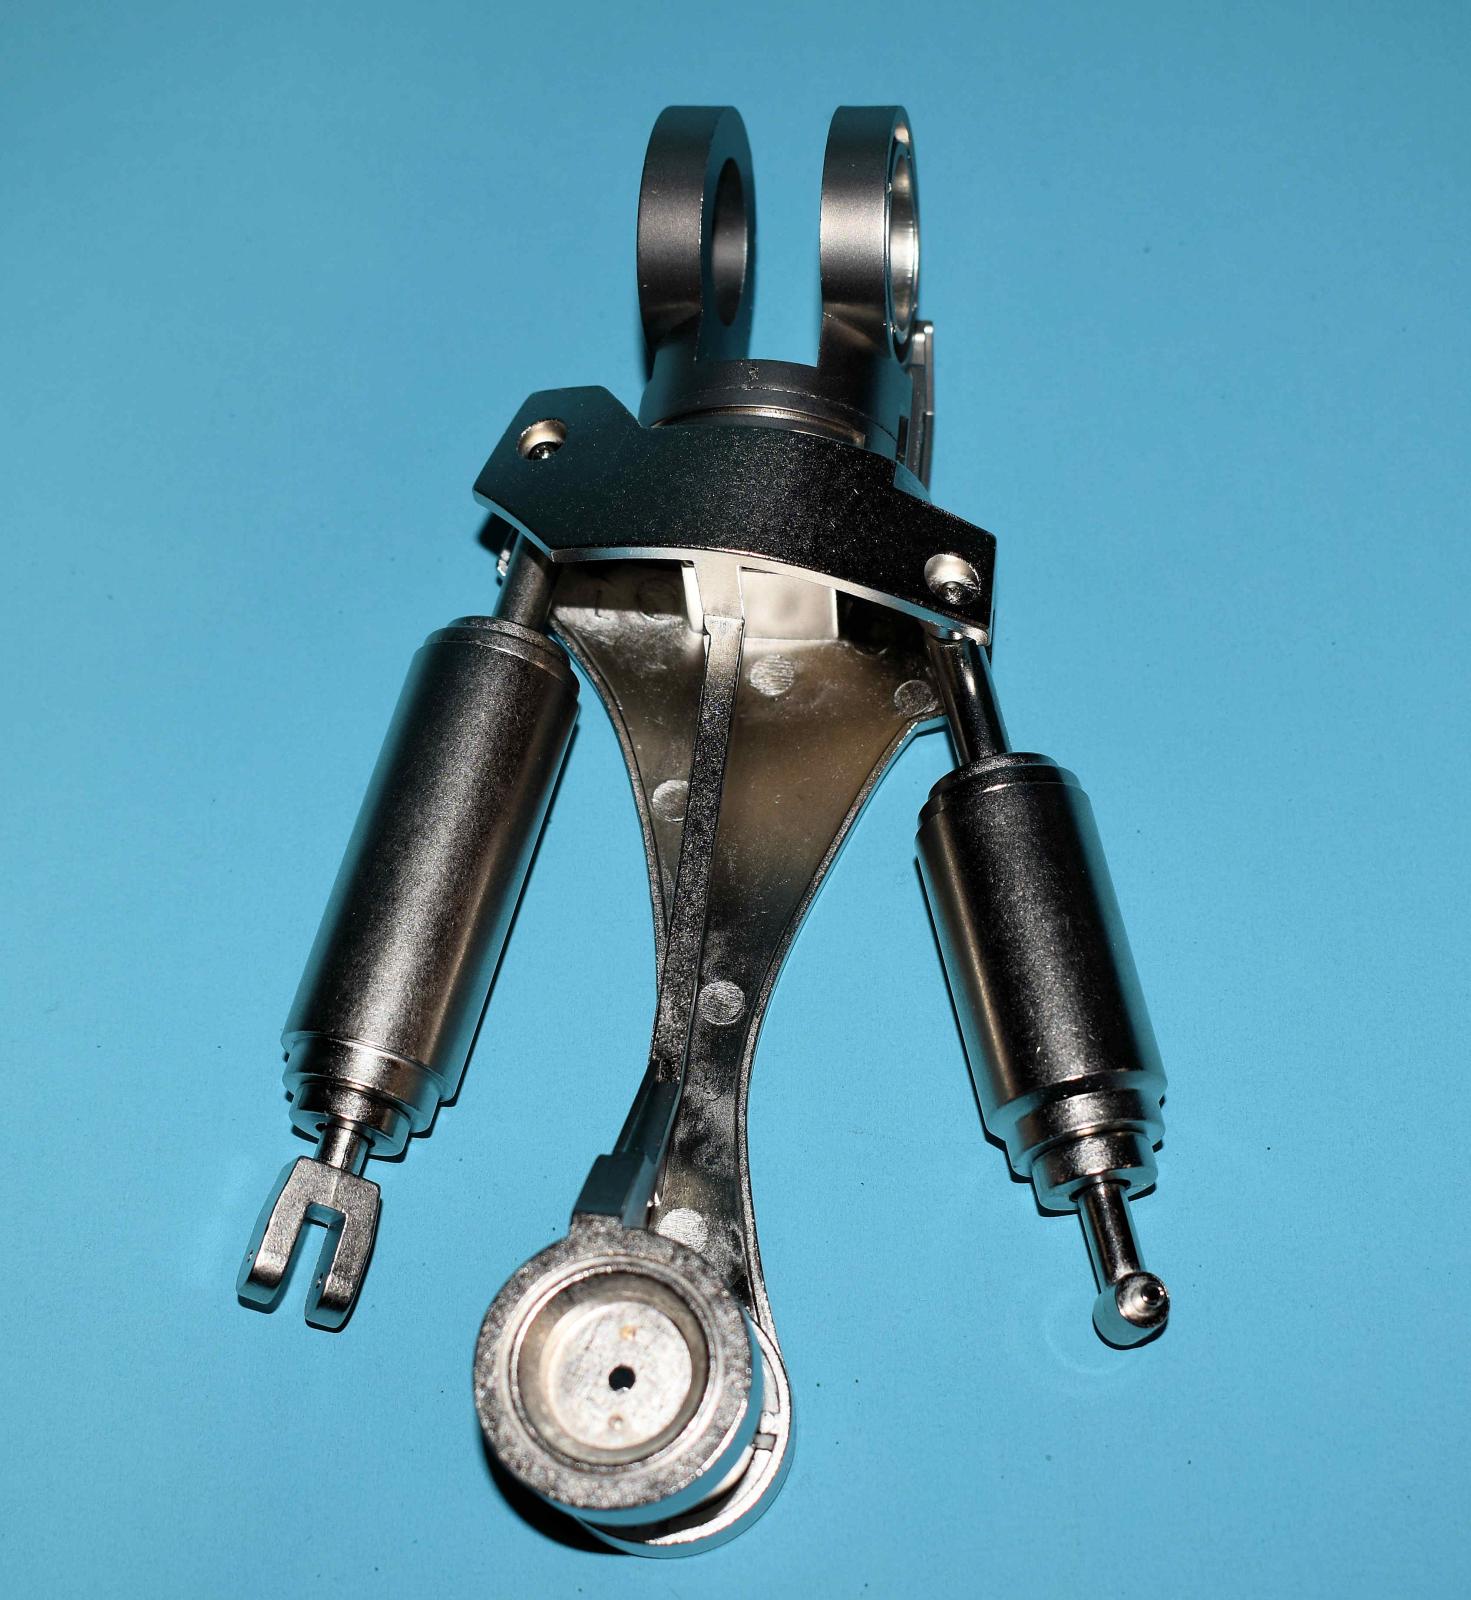
Step 67 and 68 are construction of the ankle joints and its attachment to the lower leg. This involves adding pistons and aligning them so the ankle will be articulated. Add the moving piston cylinders with the rubber grommets to the cylinders and push fully in the tube. Screw in the ankle joint and add the cylinders. The heel is added next and is screw in place. More on this later. The remaining sections are about constructing the five toes which have a lot of pieces. My first piece of guidance is to watch the parts and keep them straight (follow the instructions and pieces inn the box) as the toes are different sizes There is an “Expert Tip” in Step 71 that will save a lot of hassle and disassembly and is required reading. I actually took a piece of scrap paper and number it like they suggested and I had no issues. By the end of Step 71, our T-800 has a right foot and toes.
Steps 72 through 80 are the start of construction of the upper left arm, part of the hand and forearm. It is similar to the right arm and that is it for this part.
I do want to make a couple points of note. If you would like to look at the instructions, they are all located on the Agora models web site here: https://www.agoramodels.com/us/download-center/terminator-t-800
This also includes two helpful videos on spine assembly and finger assembly plus a posted and the promo material.
Also, I can highly recommend World of Wayne on YouTube as he has a great build of the T-800 and you can find that here:
https://youtu.be/KJjjgqsHETo?si=GWAJf15KxacZWA9w
In the next part, I am going to show some of the modifications while waiting on the remainder of the parts. I have a plan for displaying which was inspired by Agora Models Facebook page where they had a diorama contest. As a teaser, look at the last picture.
My grateful thanks to Agora for first making this kit and effort it to took to design and engineer it and also to allow IPMS USA to review it.


Comments
Add new comment
This site is protected by reCAPTCHA and the Google Privacy Policy and Terms of Service apply.
Similar Reviews