
T-800 Terminator, Part 4
This is a little out of order but I was building side by side and wanted to get the base finished to hold him when is done as the T-800 will weigh around 17-18 pounds. With the base (which is steps 108 to 120), it comes pre-painted in a gray and rust and looks nice. Needless to say, I could not leave well enough alone. The base also includes the sound chip, the battery pack that supplies it and four colored spot lights. The base comes in four large plastic parts with many different parts to add to the top including a skull, bones, springs and various rock and metal bits. Underneath, there were four LED lights that will need assembled, a multipart battery pack and the wiring to power it all.
I wanted the base to have a more dirt based, scorched earth look. I started by assembling the base with the provided screws. I also taped the battery pack in place to make painting consistent I then doused the seams while flat with Tamiya thin glue and walked away for a night. I then used glazing putty and filled the seams generously. Then started the sand, prime and refill routine until I was satisfied with the look of the base. I was using Rustoleum sandable primer also. I started by base coating the entire base with an earth color and then adding a couple more colors of brown around it. I went around all the rocks. Once the earth looked like a good base, I hand painted the rocks using three different colors of gray. Then I touched up the base a little and sealed the entire thing with several flat coats.
To finish the base, I added washes of multiple browns, black and gray. I drybrushed all the rocks with progressively lighter color grays until almost white to add depth. Once where I wanted it, I added a couple coats of flat. I painted the sides of the base flat black and dry brushed several shades of gray. Another flat coat of three was added. Also, please note the two holes through the base. These hold a support stand which holds our cyborg up. More on that later.
The parts that go on the top include rocks, bones and miscellaneous metal parts. All of the rocks have seams on them which were puttied and filled and sanded until good. I painted the rocks using the same method as the built-in rocks and mixing up the colors. Once ready, these were added to the base by gluing them into position. The instructions are great at showing what goes where. The mechanical parts were washed with lots of rust washes’ and rust power glued on in some pots. These were made rusty and sealed. I then took a silver colored pencil and added scratches. These were added to the base to the correct location except the chain. More on the later. Last was the bones which include a large skull, spine and several vertebrae. I wanted this to be more “human” so I sanded and filled all the seams and primed them with Tamiya Super Fine. I base coated the bones with a Tamiya buff. The then added a dark brown wash and then worked lighter and lighter with a final dry brush of almost white. These were added to the base except the skull. This is left loose as the on/off switch is under it.
At this point, I got a towel and flipped the base over and rested it on the towel. It was time to assemble the base parts. I built all four lights and you want to keep them straight as two are red and two are blue. Assembly is easy and I finished these and set them aside. I followed the instructions to build the battery pack and added the C cell batteries. Lastly, the circuit board was added and all the wires plugged into the connecting sockets. The last part was adding the on/off switch and connecting it. I then added all the bottom covers. I Built and assembled the stand which goes through the base BUT did not attach it. More on that later. Last, I assembled the remote control and added the batteries. I flipped the completed base over and turned the base on and built and tried the lights and sound and it worked perfectly.
I left off the support stand so it could be added or removed for different poses. Easy to do and reversible. The base now looks like I wanted in my head. The stock base is great and this is open to the builders’ own looks. It could be done in all grays to look like nuclear ash or sprayed black and dry brushed. There are endless possibilities.
Next, well take a look as some paint and modifications to the kit with things like seam removal and the like being done.
Thanks again to all the great people at Agora for the kit. More soon!
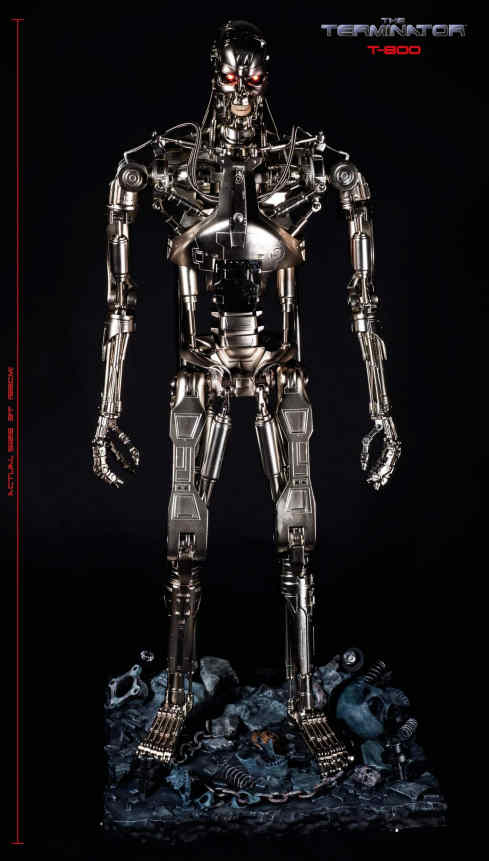

Photo 1- Base as included close up
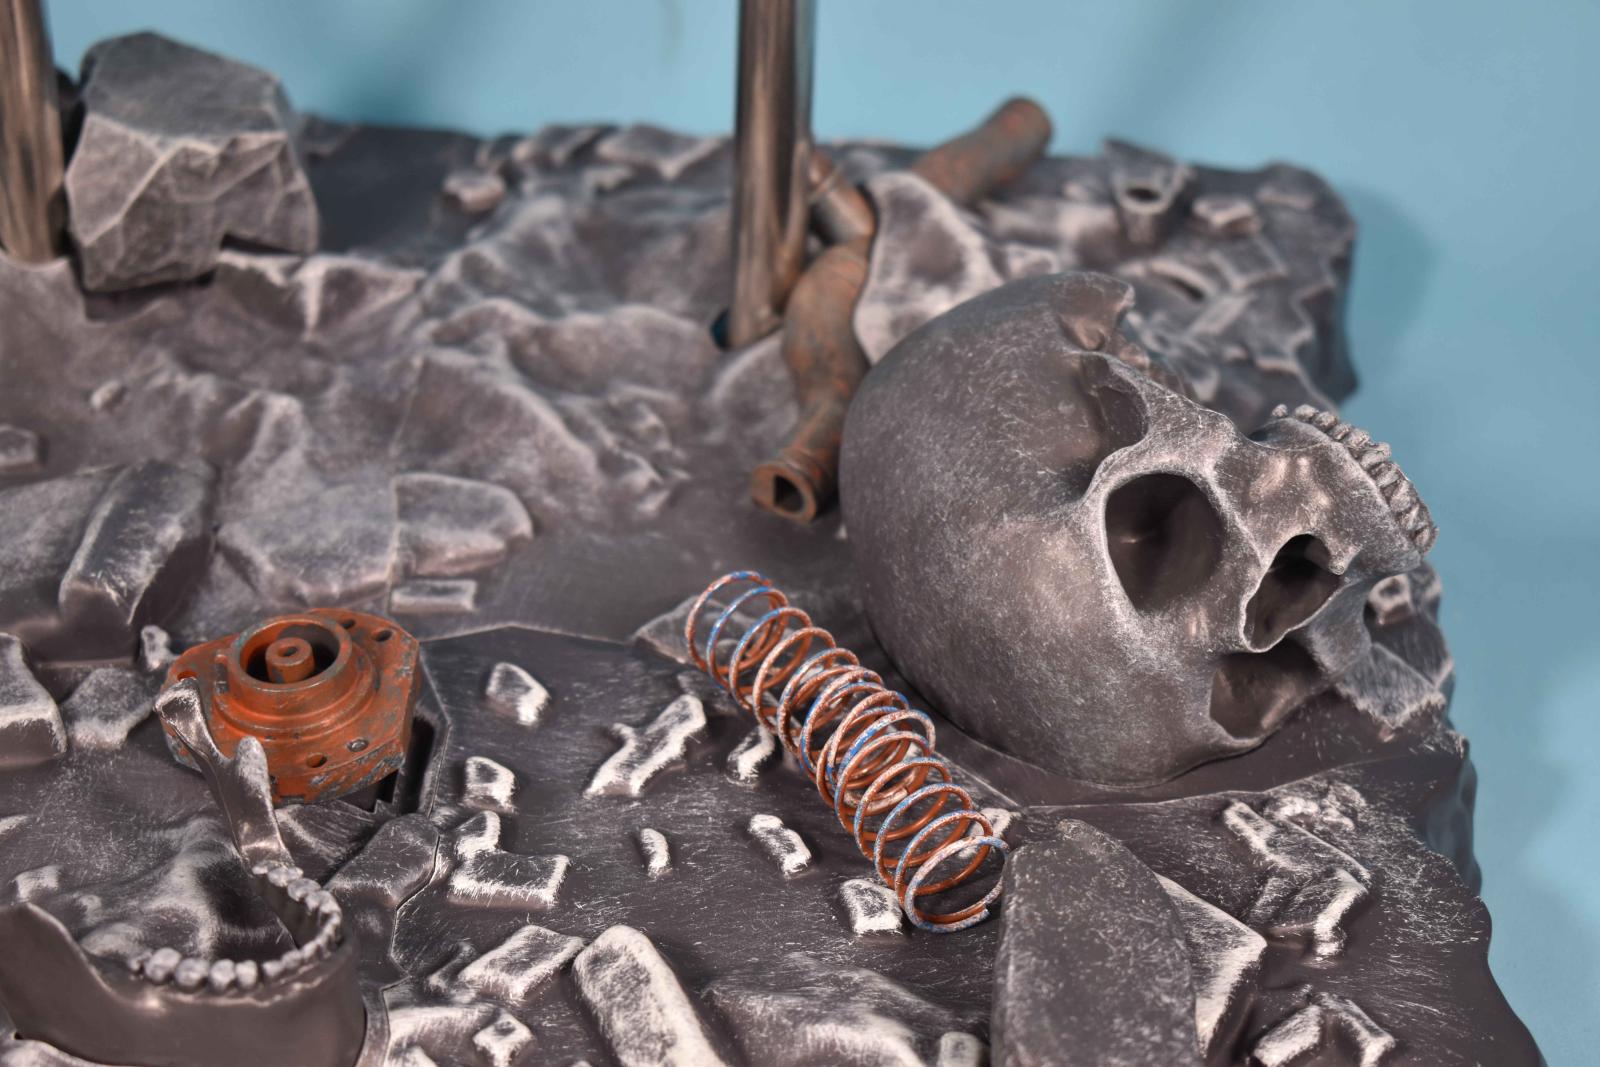
Photo 2- Base Close up unmodified
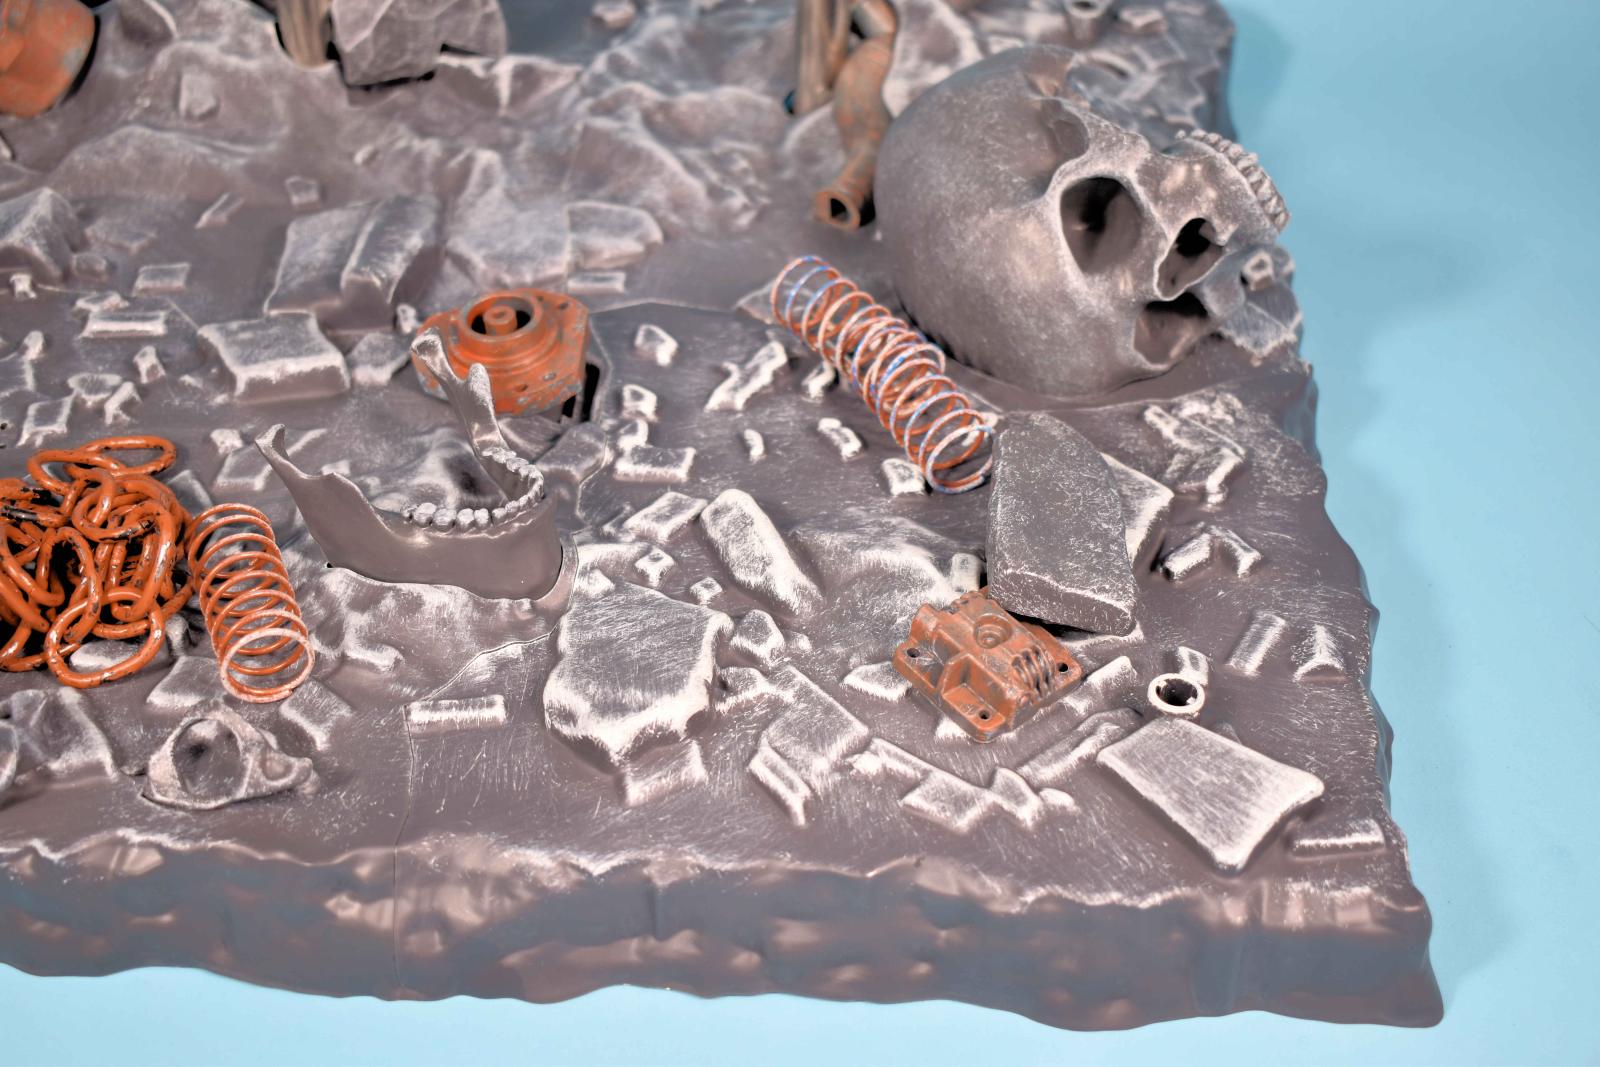
Photo 3- Base Close up unmodified
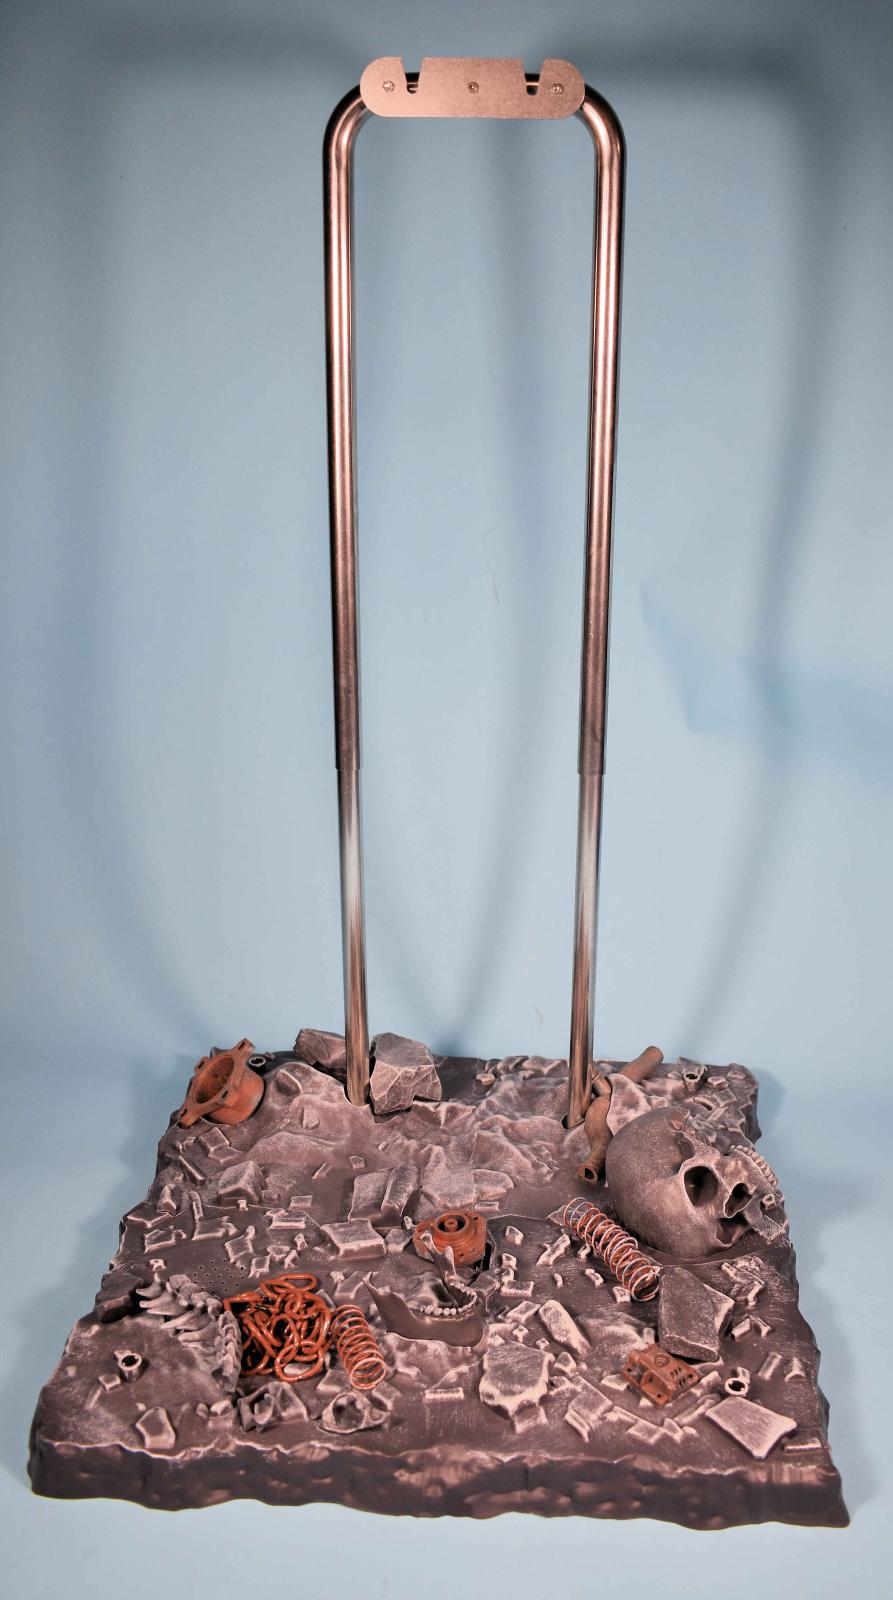
Photo 4- Entire base and support as it comes with the kit
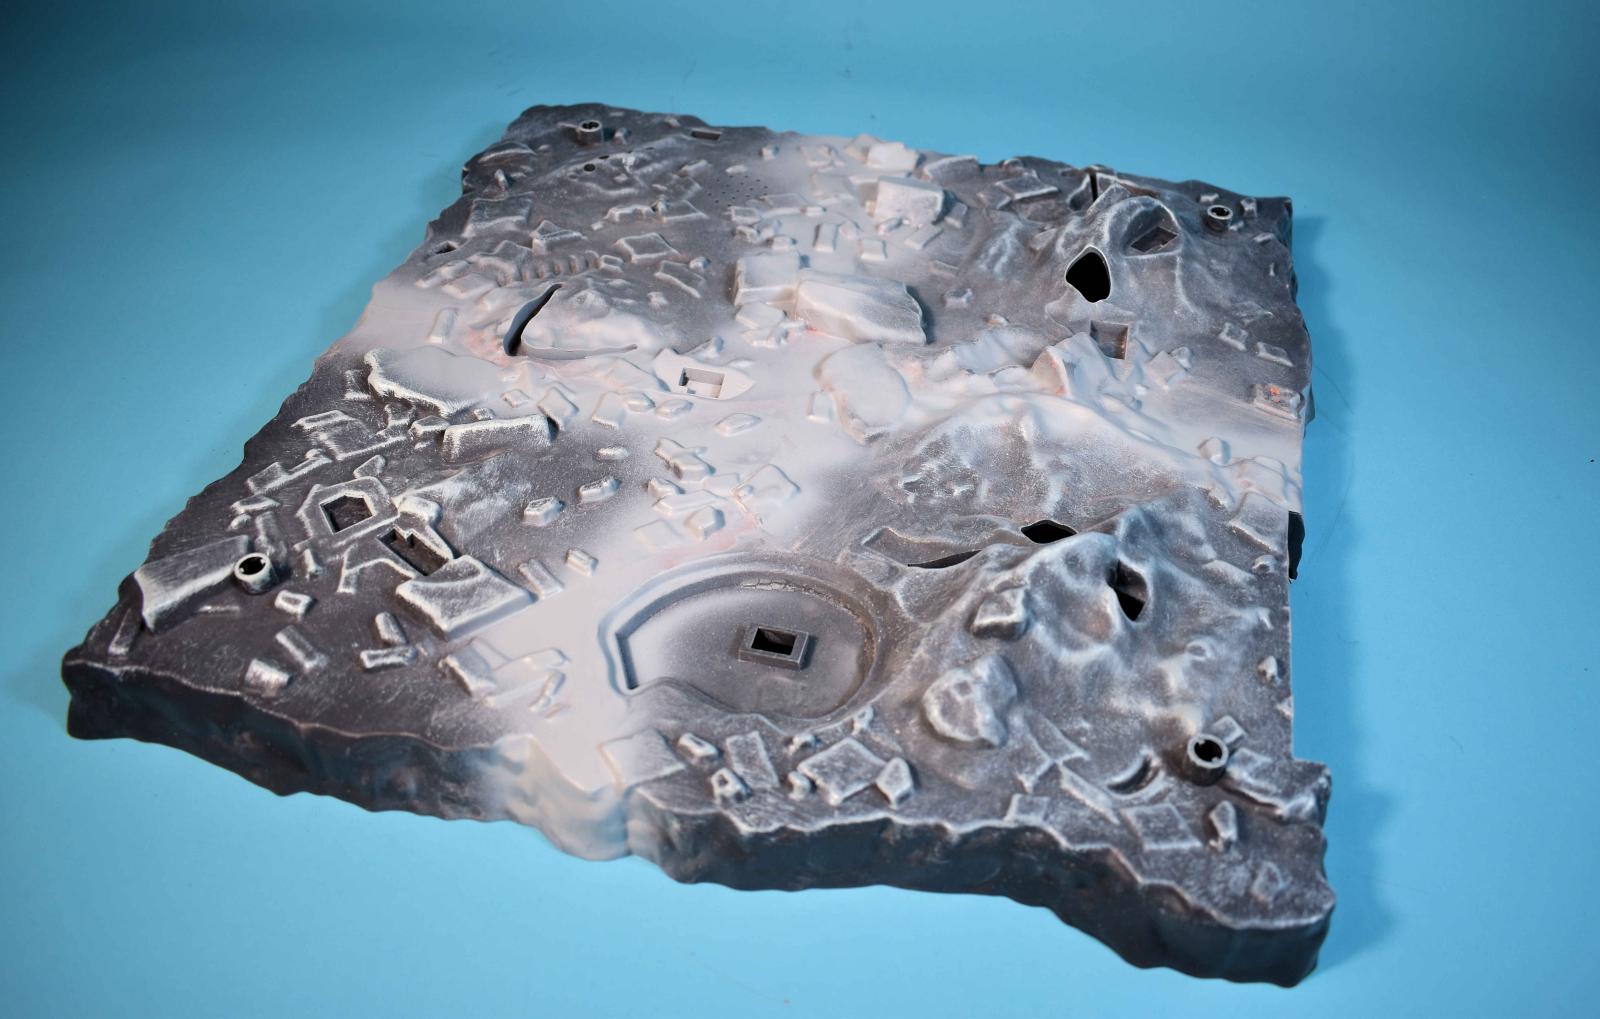
Photo 5- Base assembled and seaming in

Photo 6- Primed Base Close up
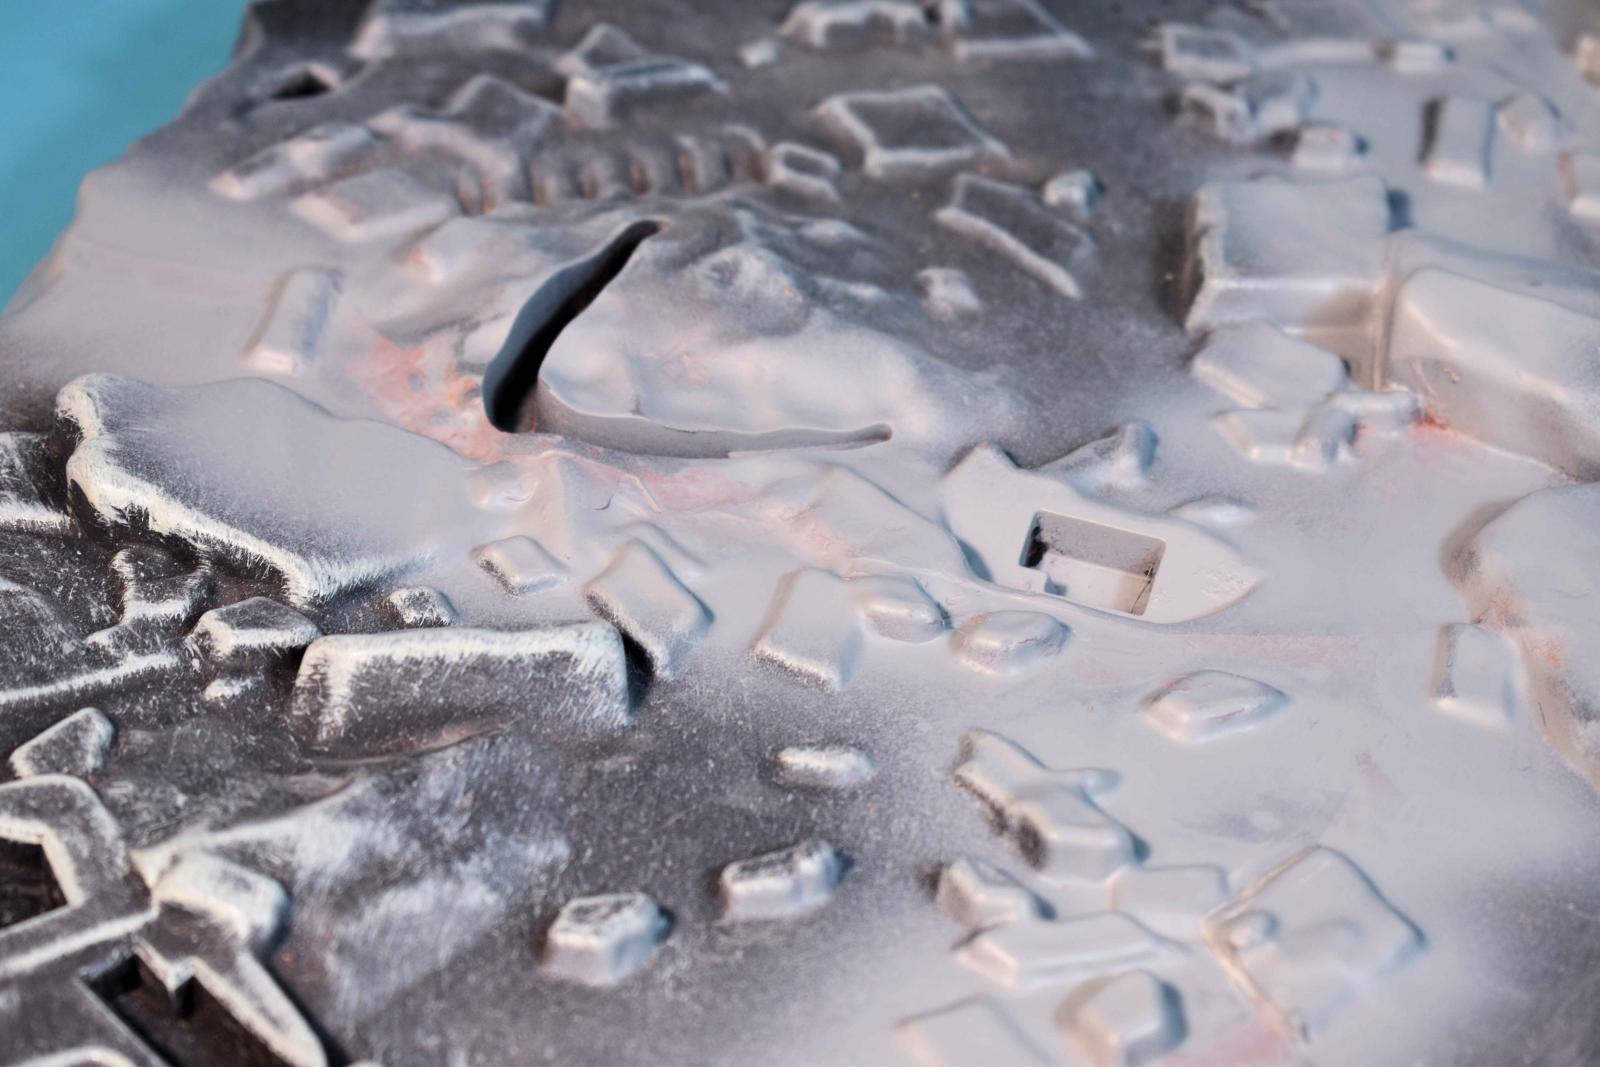
Photo 7- Primed Base Close Up 2
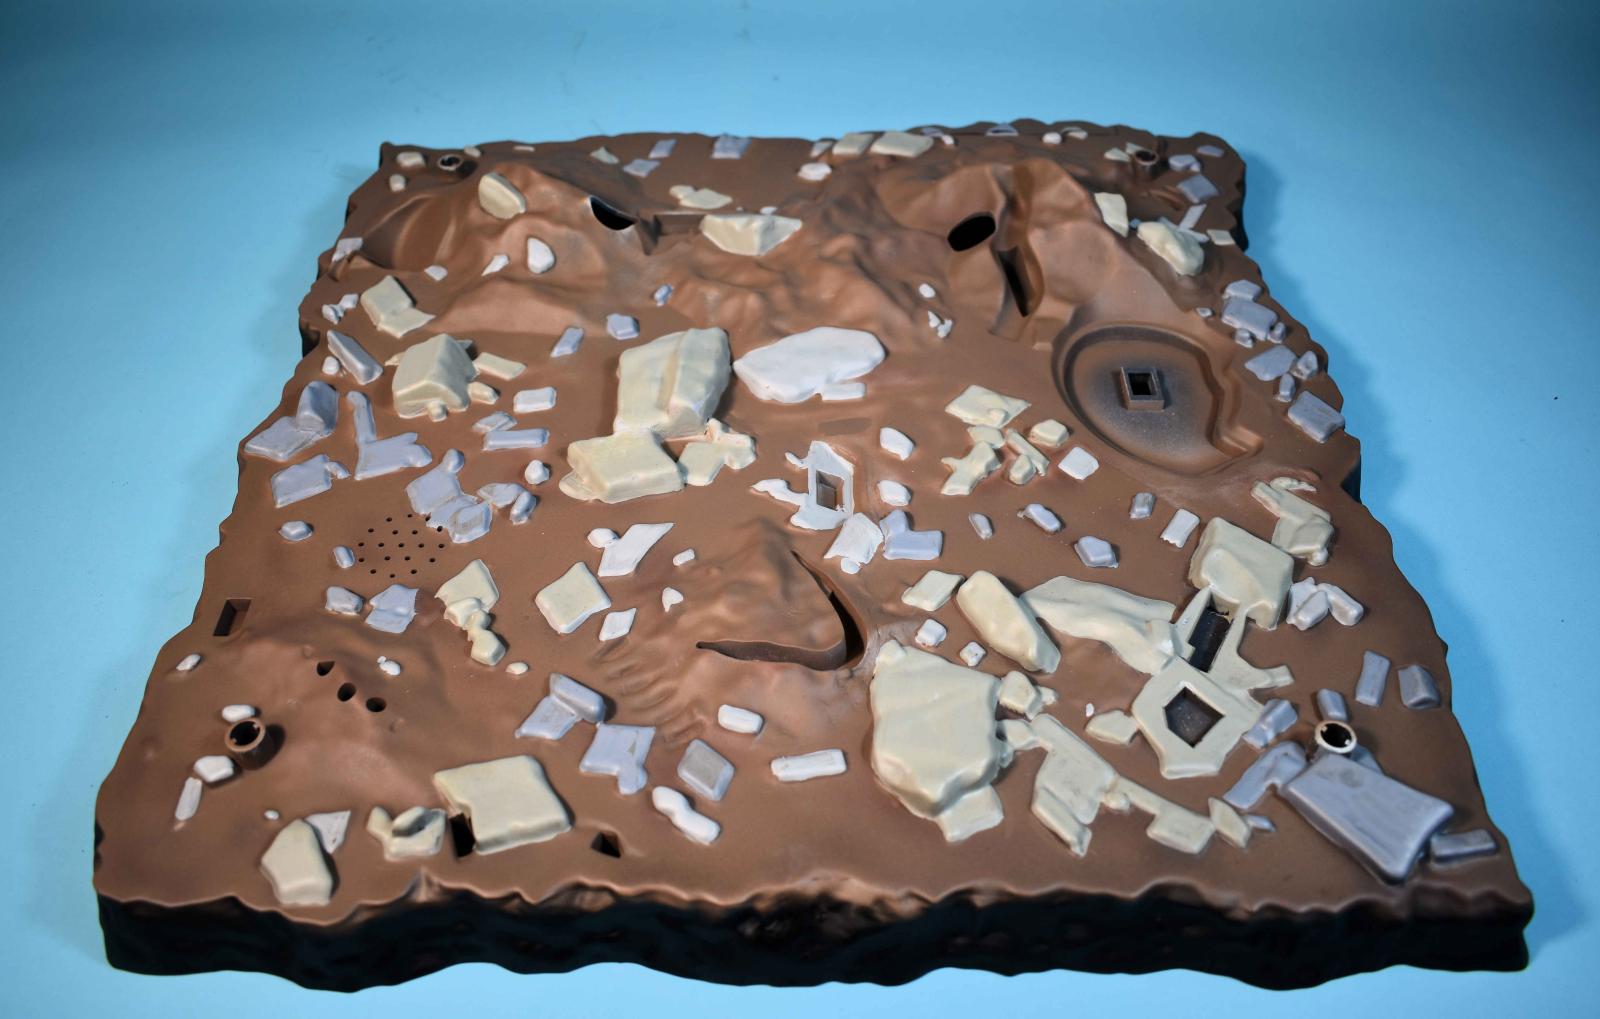
Photo 8- Base Coats Completed

Photo 9 - Base Coats Done Close up

Photo 10 - Base Coats Done Close up

Photo 11 - Base Coats Done Close up

Photo 12- Top Parts Added

Photo 13- Top Parts Added Close up

Photo 14- Top Parts Added Close up

Photo 15- Top Parts Added Close up

Photo 16- Top Parts Added Close up

Photo 17- Top Parts Added Close up

Photo 18- Circuit Board Added

Photo 19- Battery Pack Added
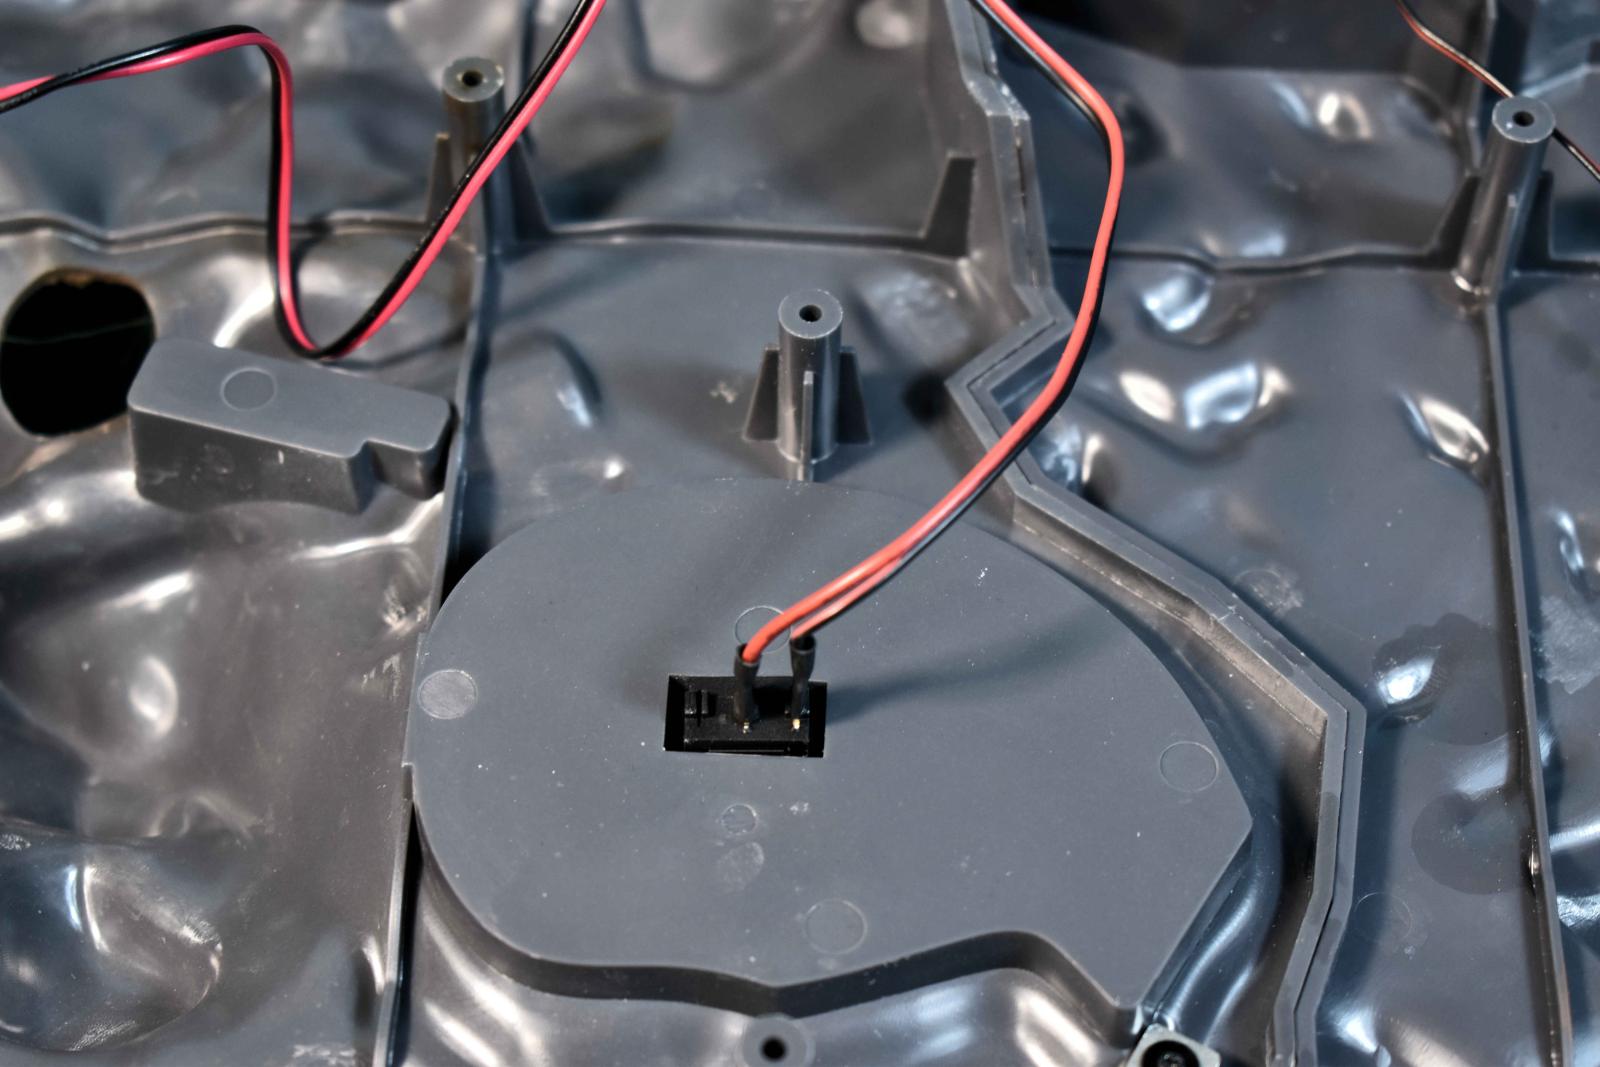
Photo 20- Switch Added

Photo 20- Speaker Added
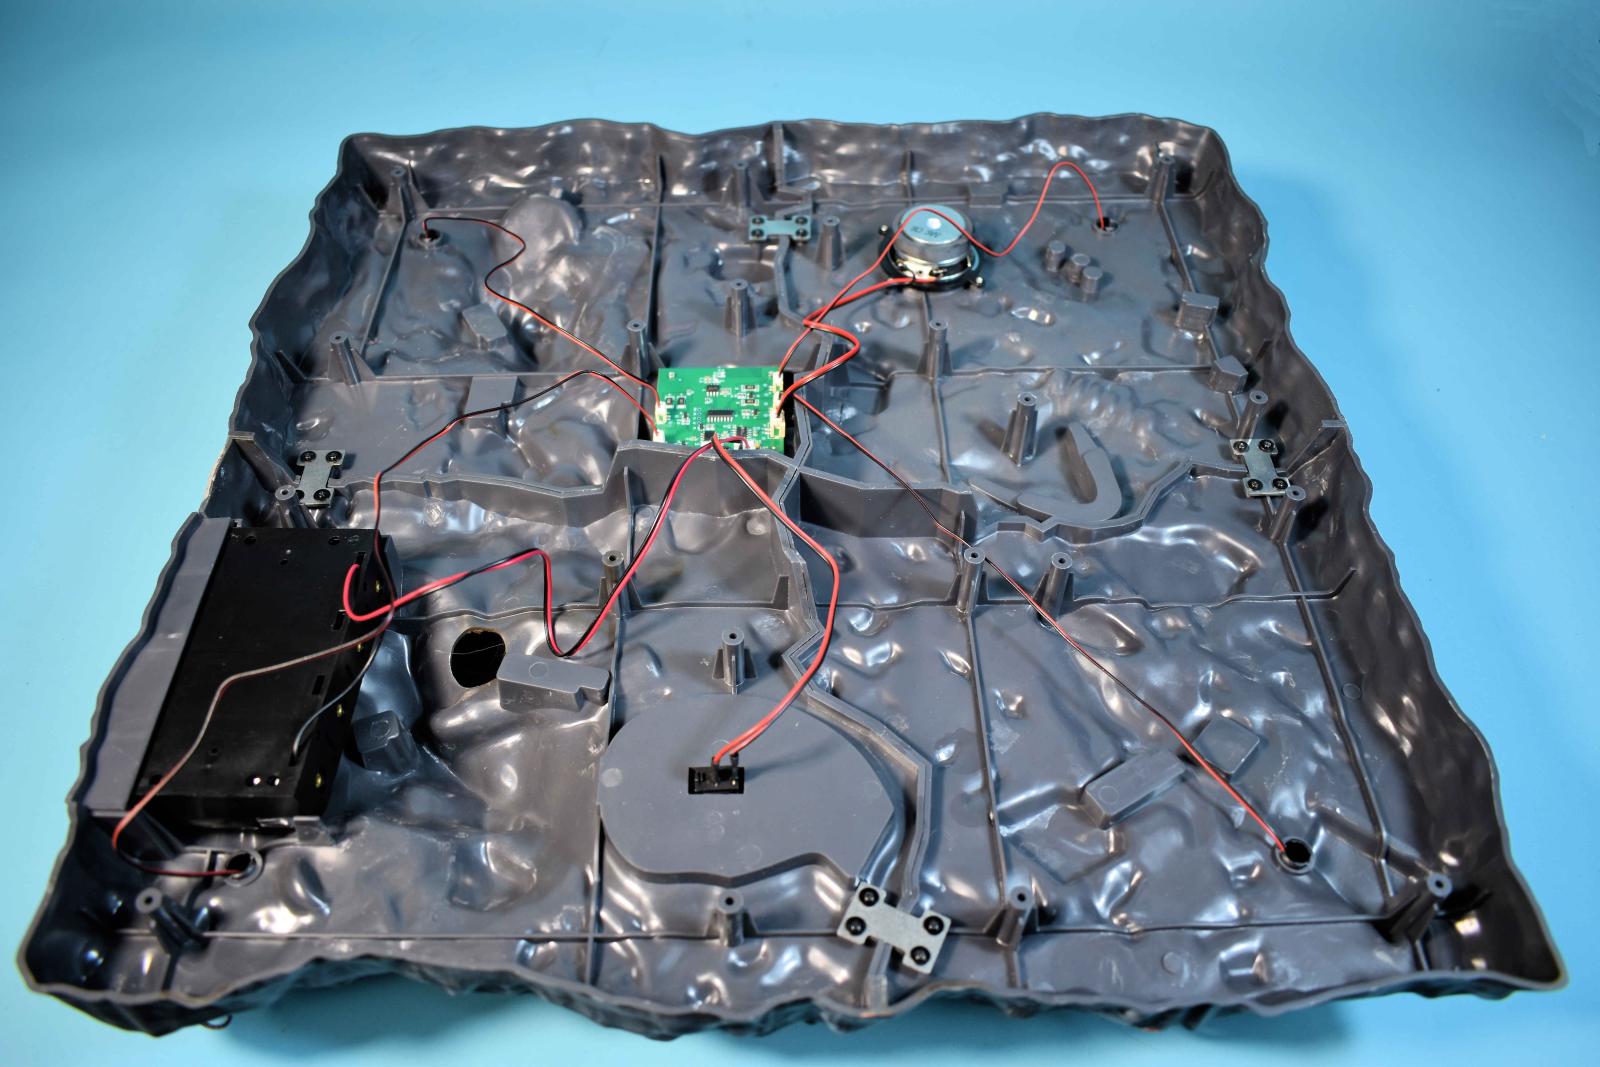
Photo 20a Base Bottom Complete
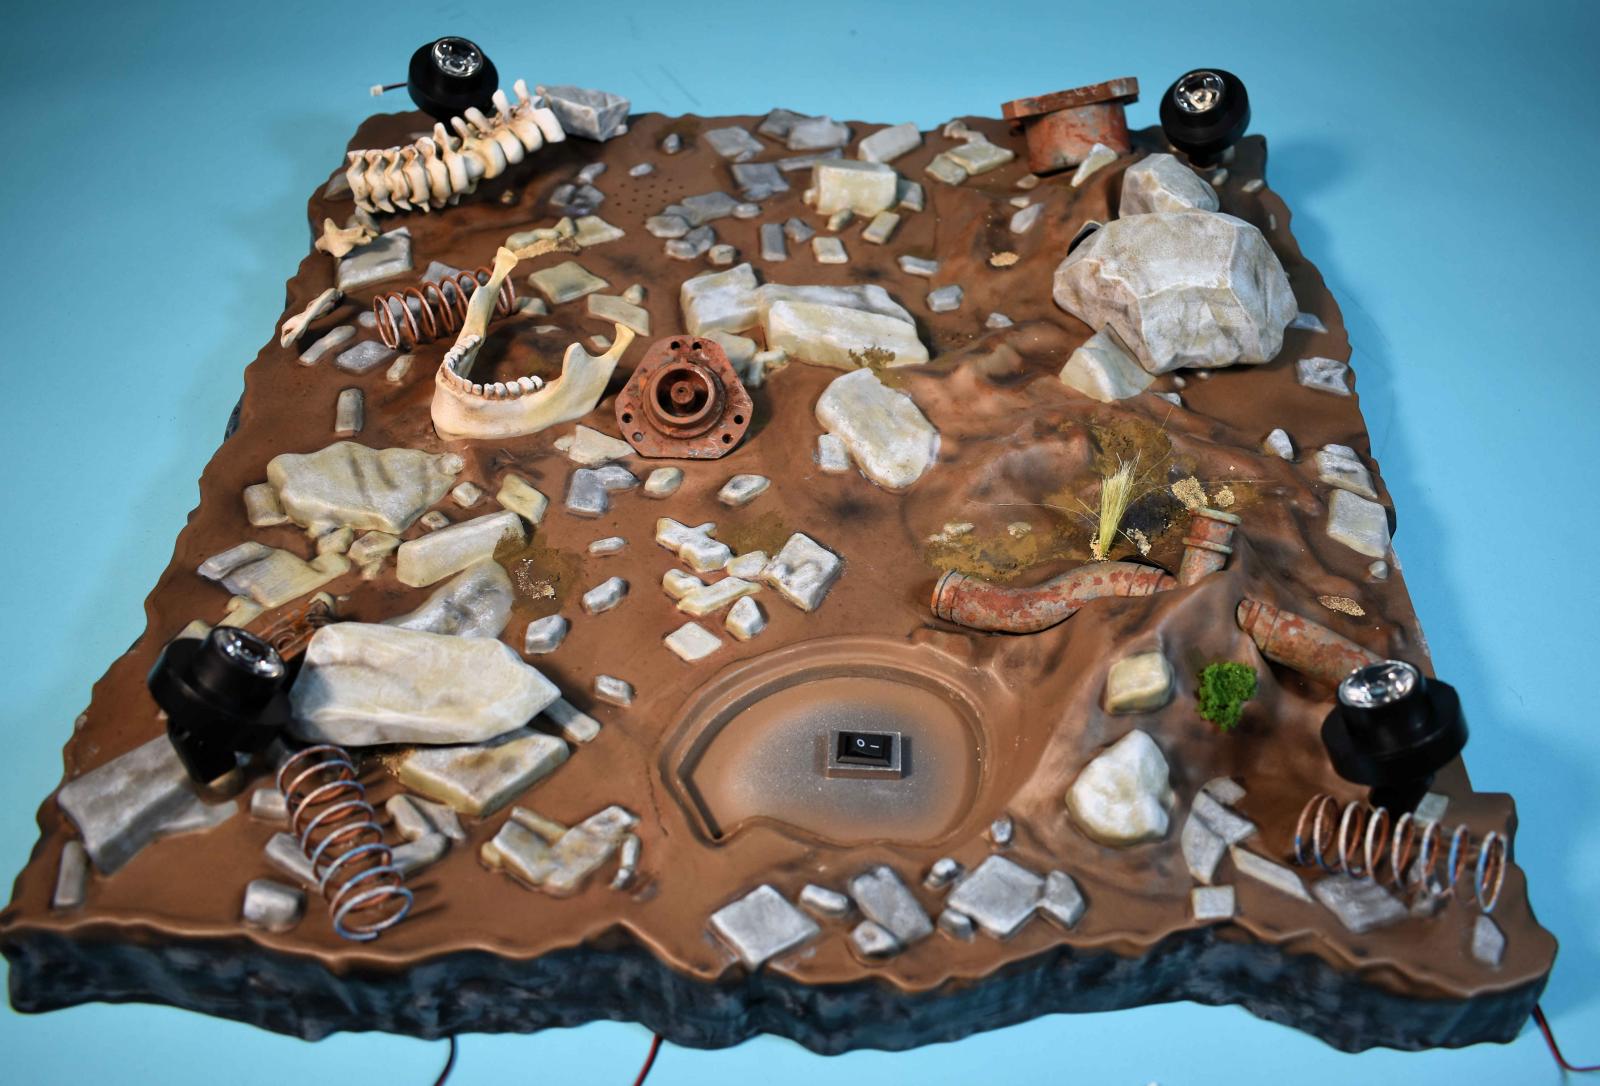
Photo 21- Base Complete
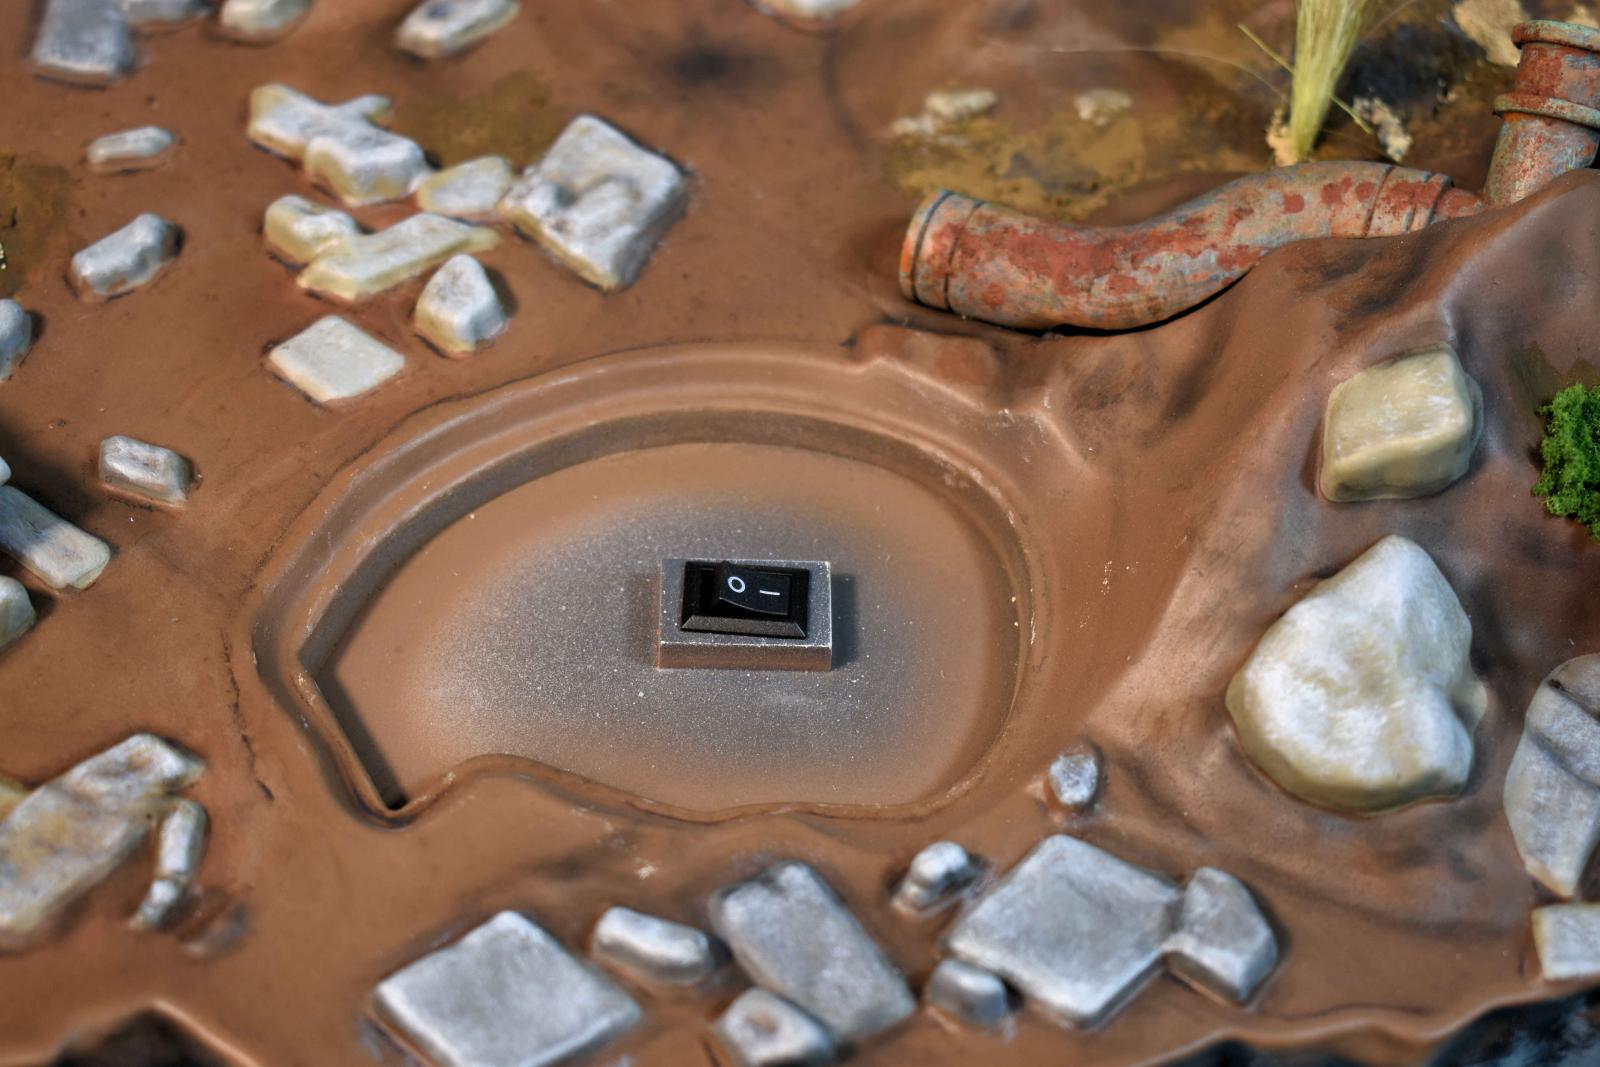
Photo 22- Base Complete Switch Close up

Photo 23- Base Complete Close up

Photo 24- Base Complete Close up

Comments
Add new comment
This site is protected by reCAPTCHA and the Google Privacy Policy and Terms of Service apply.
Similar Reviews