
T-800 Terminator, Part 2
“That Terminator is out there! It can't be bargained with. It can't be reasoned with. It doesn't feel pity, or remorse, or fear. And it absolutely will not stop... ever, until you are dead!”- Kyle Reese
Hi model fans! Life is good when a big box arrives from Agora full of parts for the second part of the Agora Models Terminator. I am going to split this into three parts with the first two primarily on the construction of the parts and the last, some of the upgrades and modifications to prepare for the rest of the parts to arrive. Let’s dive in!
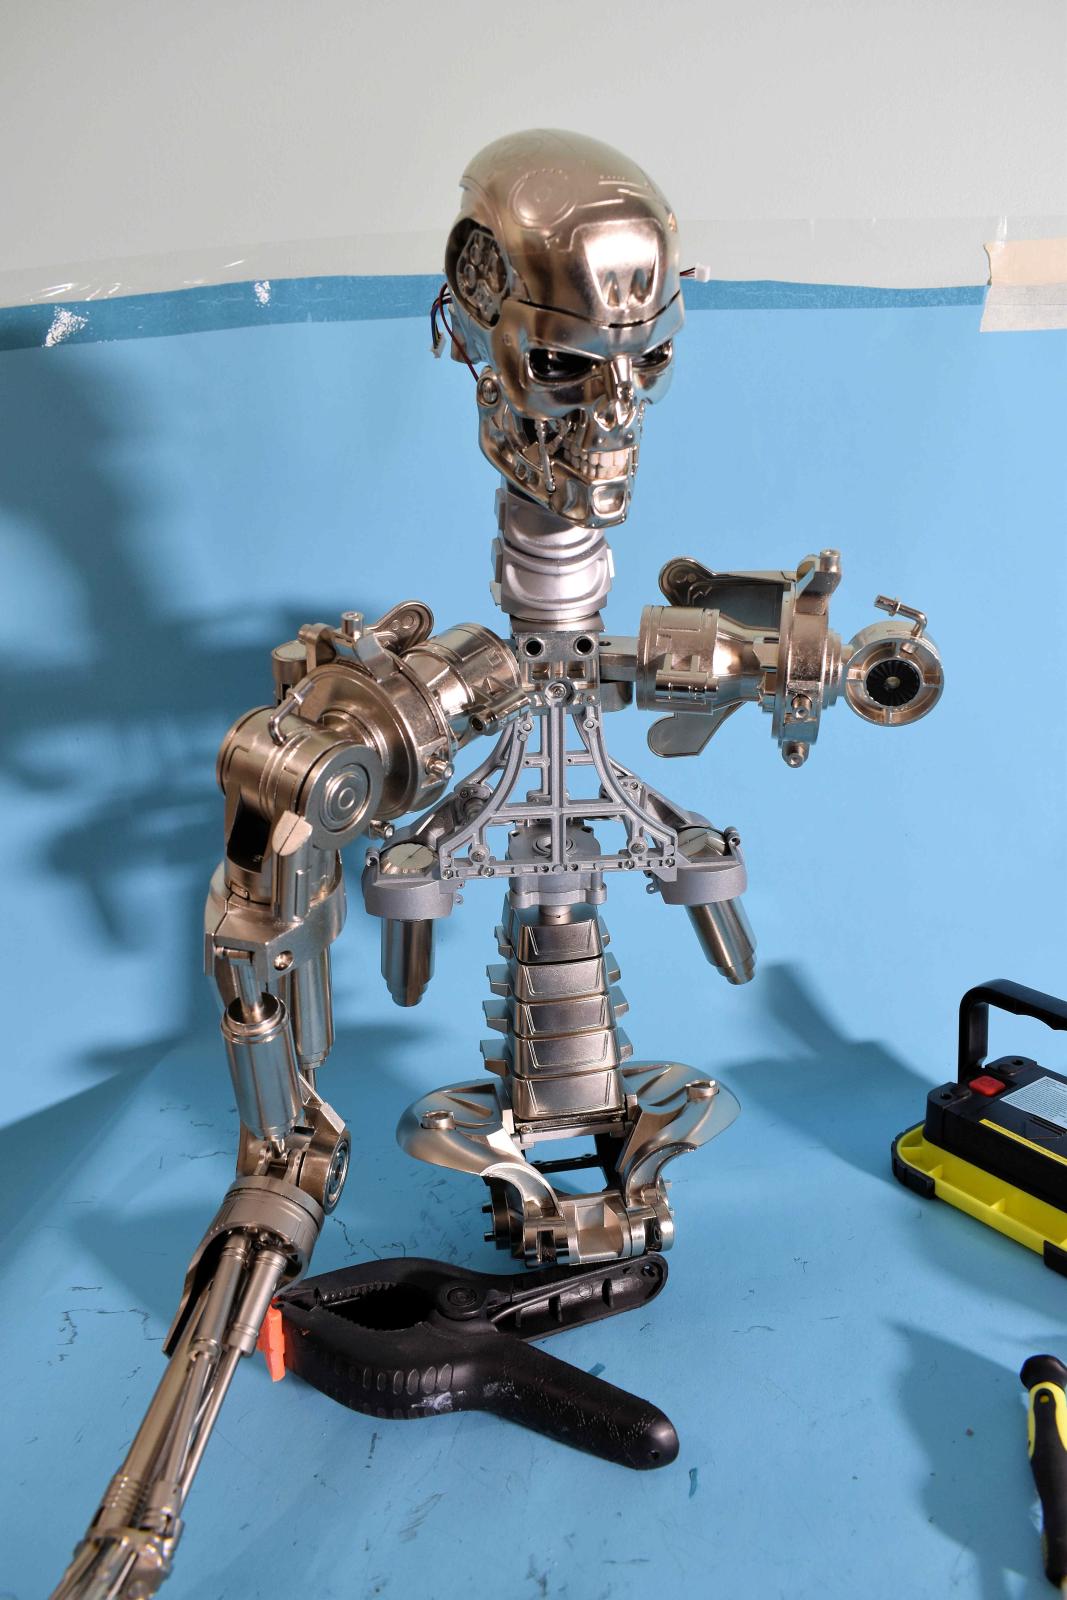
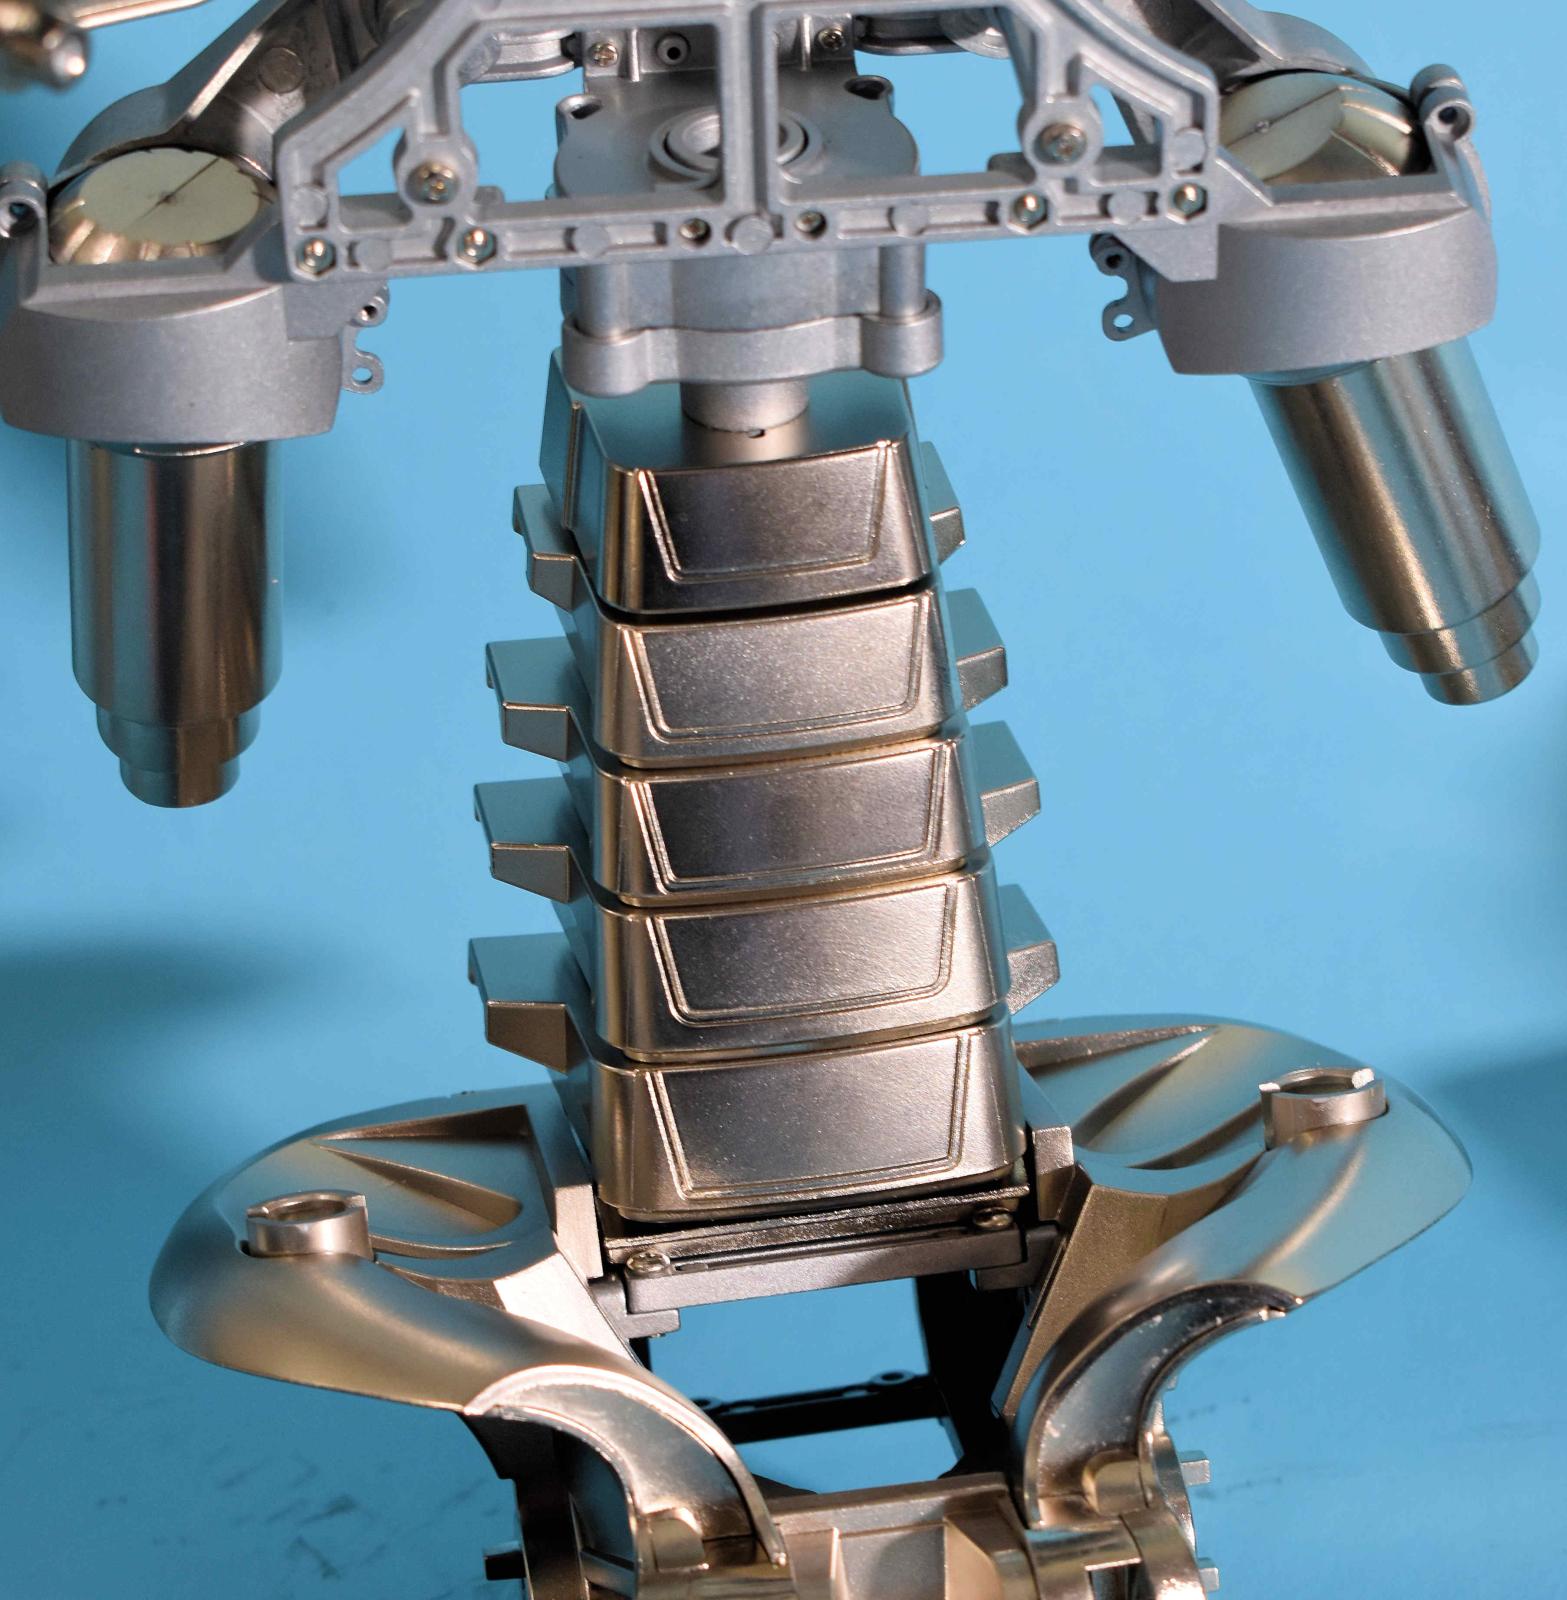
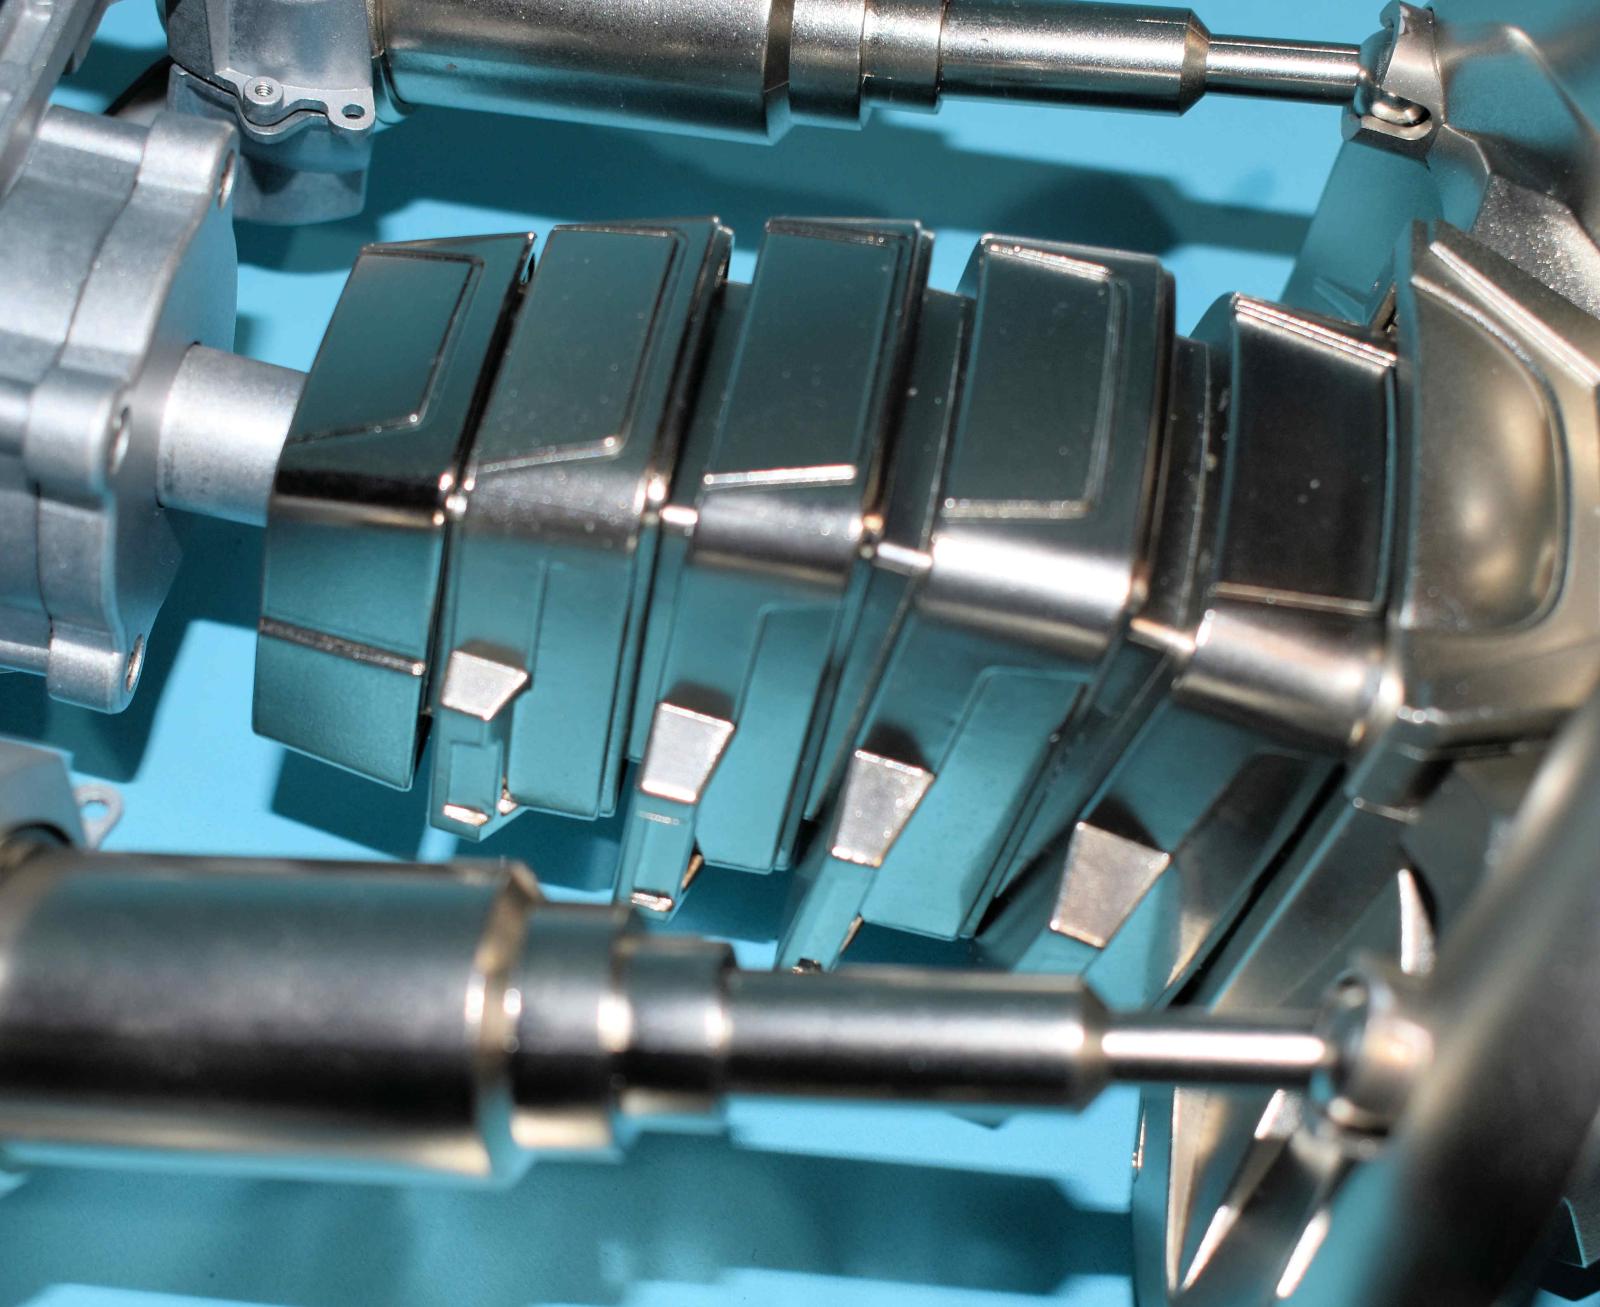
This part starts with the construction of the spine which consists starting with the connection to the shoulders and parts that allow posing and movement. The instructions are clear and uses plastic disks to allow the movement. Each step is packaged in its own box and section. Pay attention on part 41-1and its alignment. These parts are cast and strong and screw un into the chest. A quick note- the design of these parts is phenomenal- the cast parts are super strong and support the model well. The next step is to construct the vertebrae. In this case, pay attention to the five separate vertebrae as they align from smallest on top and largest on bottom. Since the alignment is critical and is tricky, Agora added a YouTube video showing the easiest way to do it and it is located here: https://www.youtube.com/watch?v=O3VkRefGU70
Following this video made assembly super easy and the T-800 now has a spine. One other point, while I vary from following the instructions on the most models, not so with Agora- these instructions are excellent, well though out and following them is the best recommendation from me. The spine is attached to the upper shoulder unit. There is a nut at the bottom holding things and this needs to be tight. I used a good size wrench and snugged things up tightly.
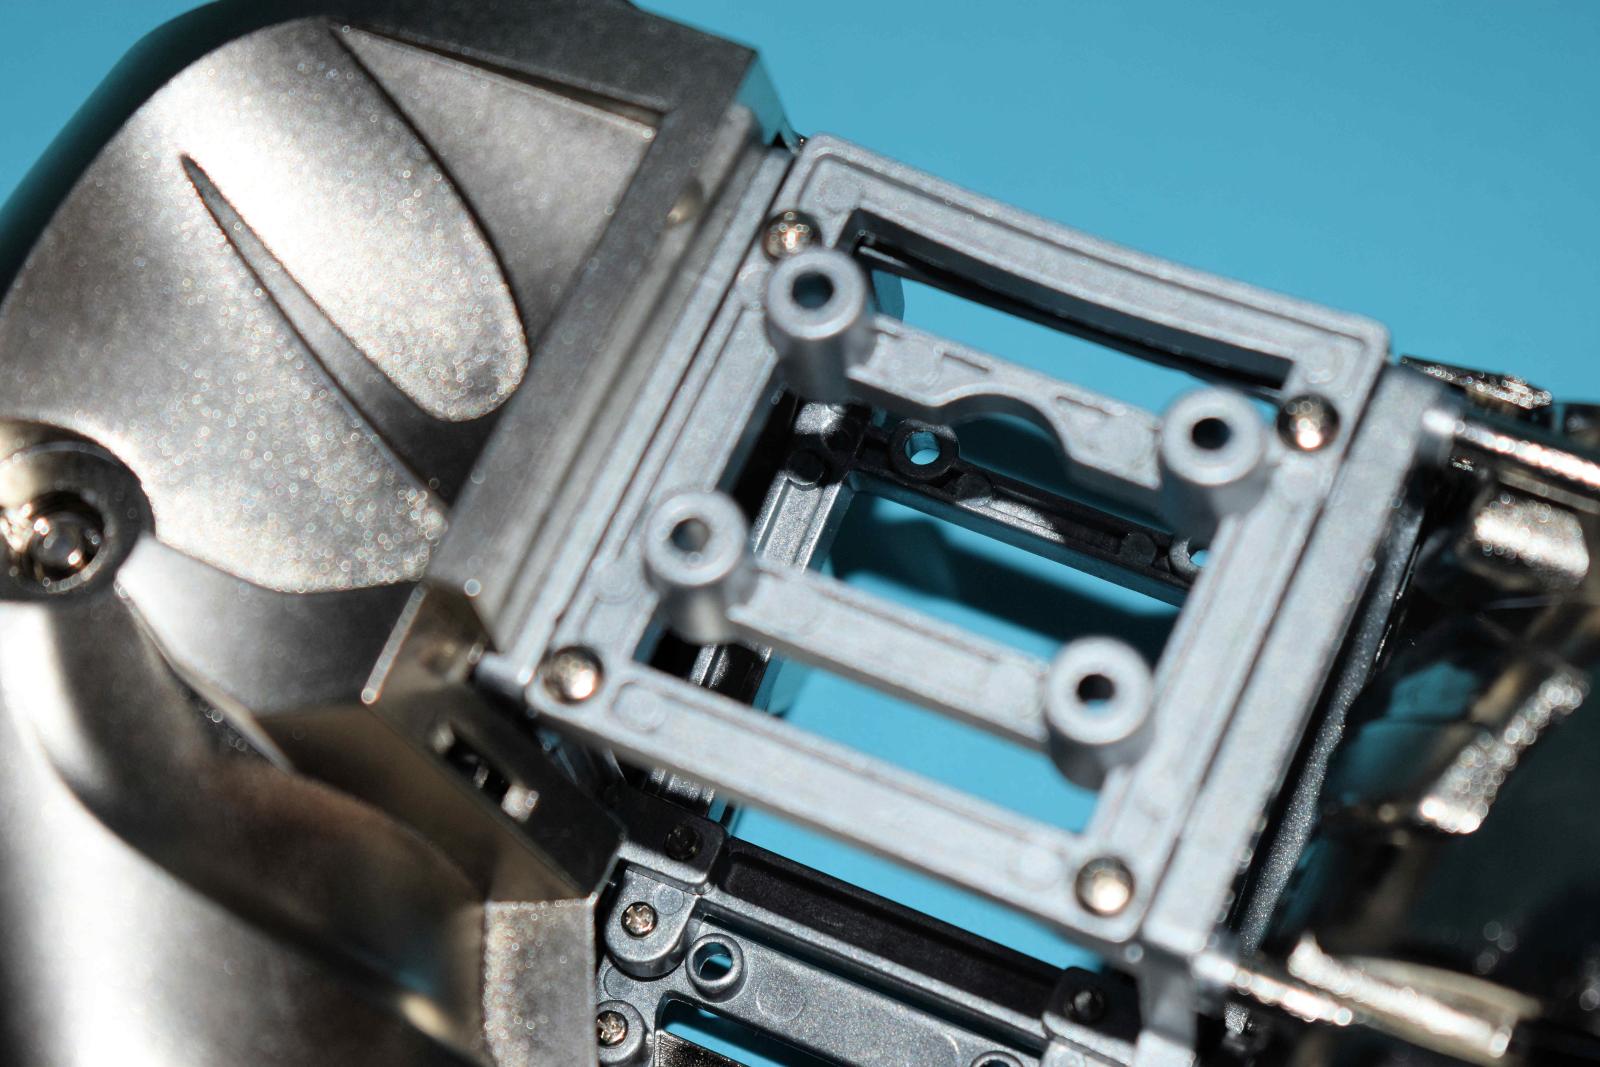
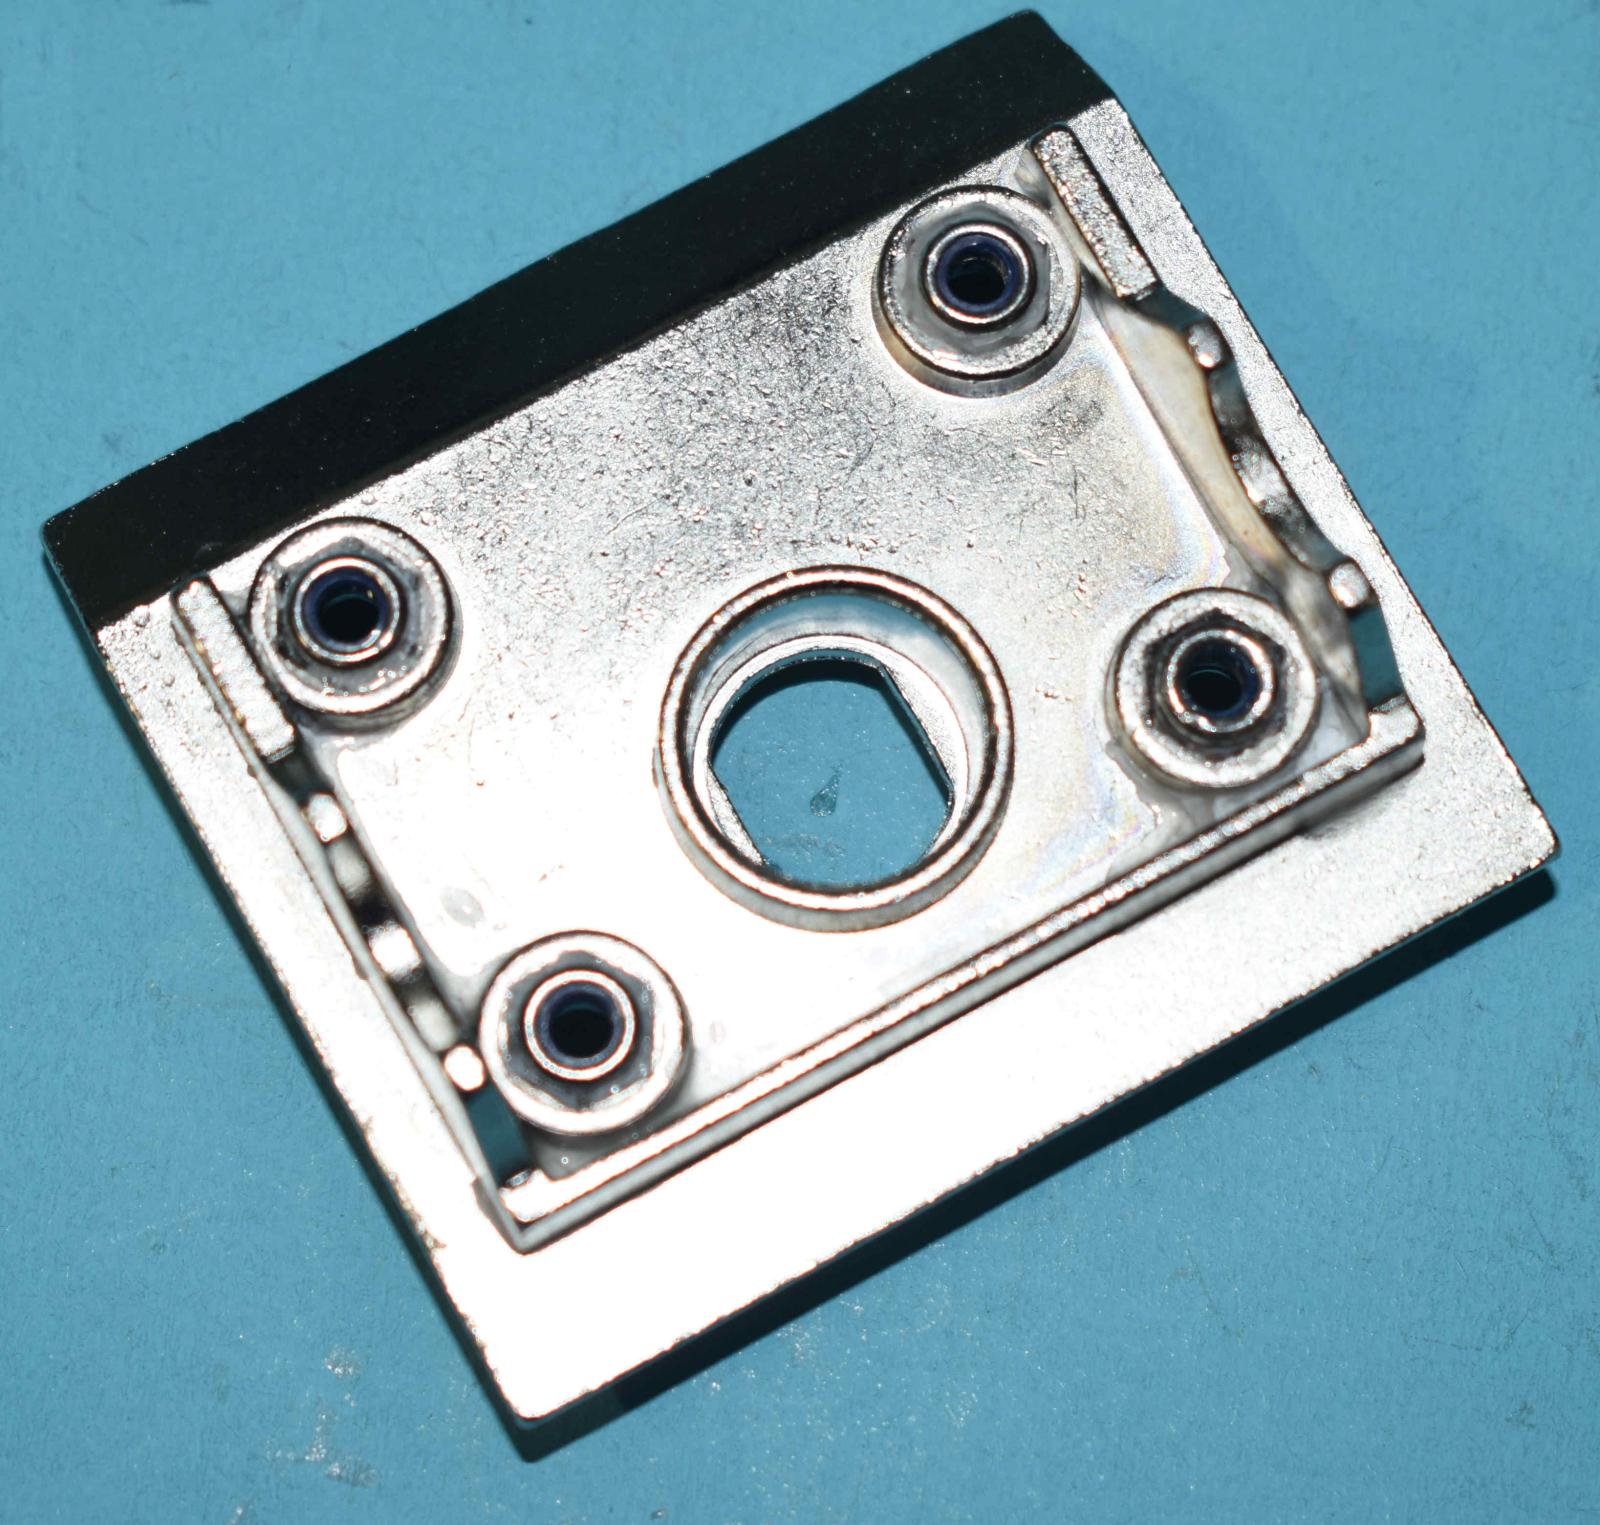
Stages 43 to 50 assemble the pelvis. This is a cast cage which is assembled and these parts are beefy parts for connecting the legs to the torso. You start with making one side of the pelvis where the frame is assembled and then the outer skin is attached. There are small parts also added and smaller details. One thing that happens during these stages is adding small bolts to the sockets on the frame. Make sure you get the correct bolts into the correct holes- these are presorted but I found extra bolts here and there and have a storage bucket going so make sure you keep your parts straight.
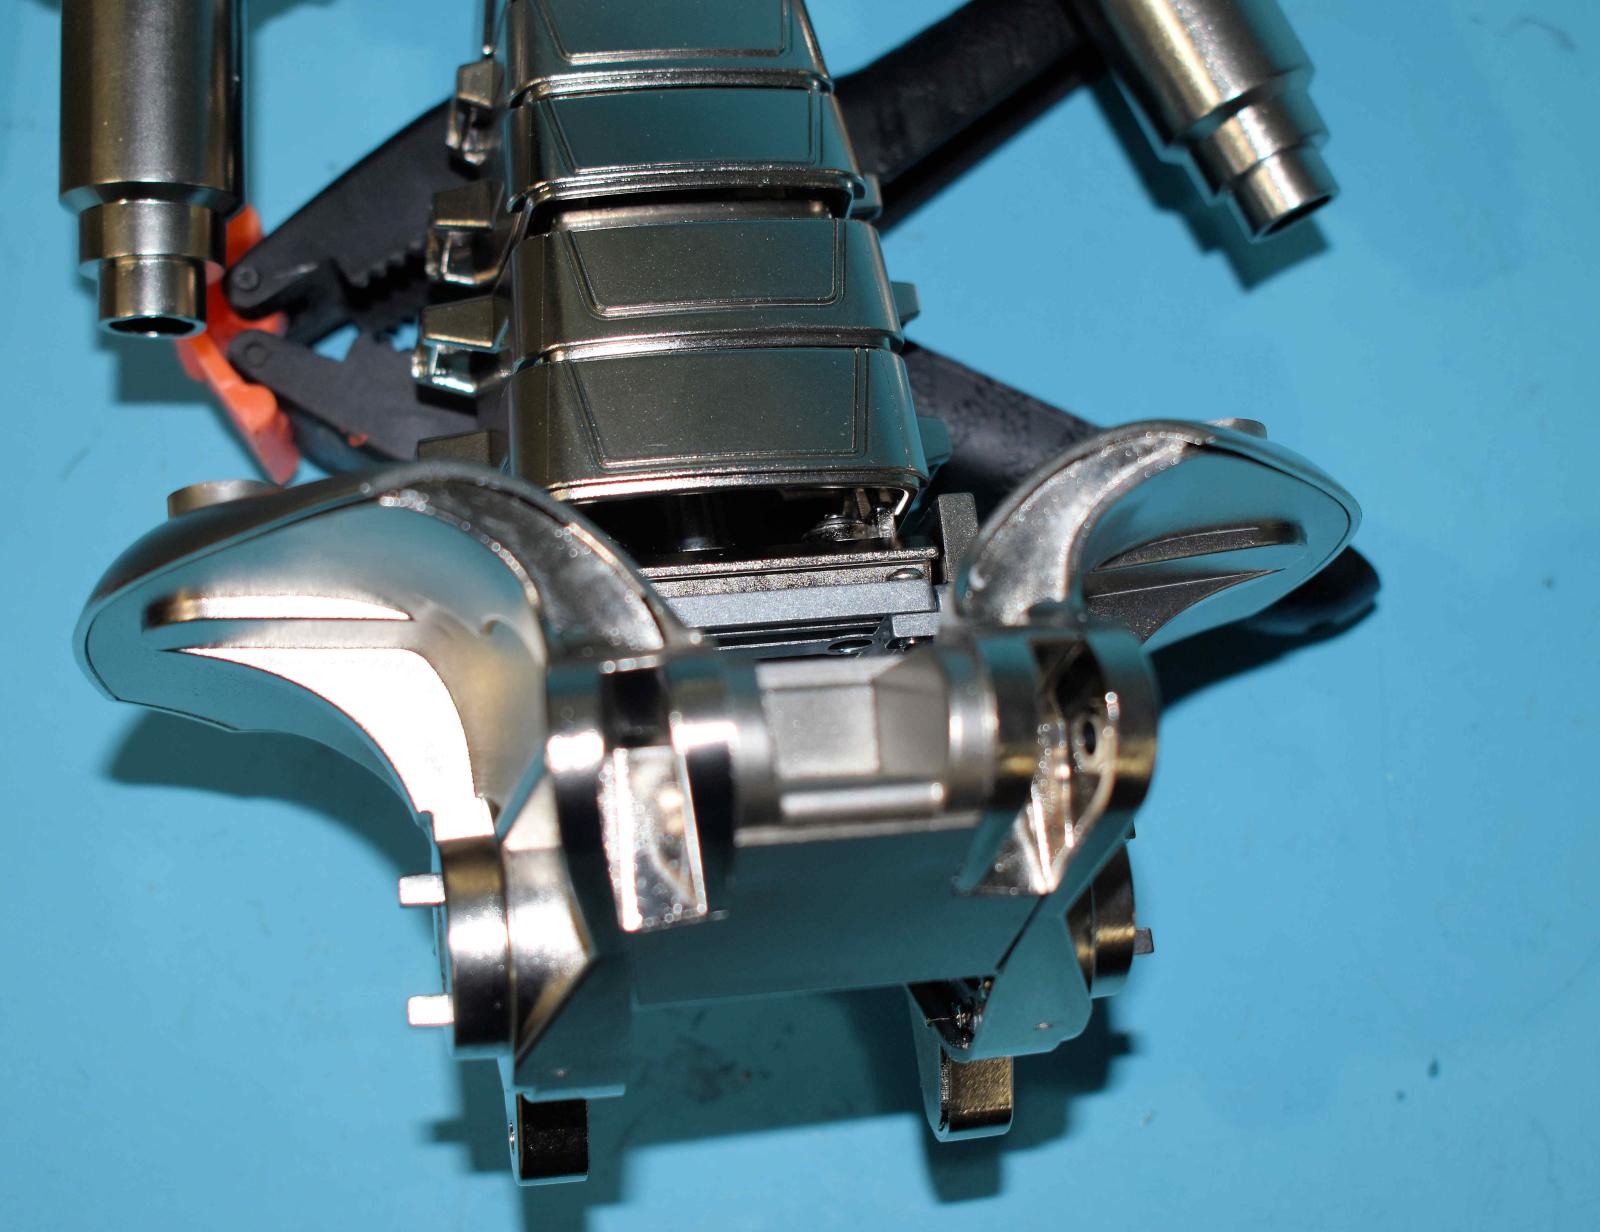
Another word- construction of the kit is very much multimedia. There are cast parts, metal parts, injected plastic parts plus lots of nuts and bolts. Enough about that- in Step 50, you assemble the pelvis to the bottom of the spine. Pay attention to alignment and make sure the all the bolts are tight. This will support a lot of weight. Step 51 adds detail to the pelvis and Step 52 adds the bottom plate to the pelvis and starts connecting the upper cylinders to the pelvis. This continues through Step 54 where the ends are press fit into the pelvis. The pistons are moveable so they allow articulation.
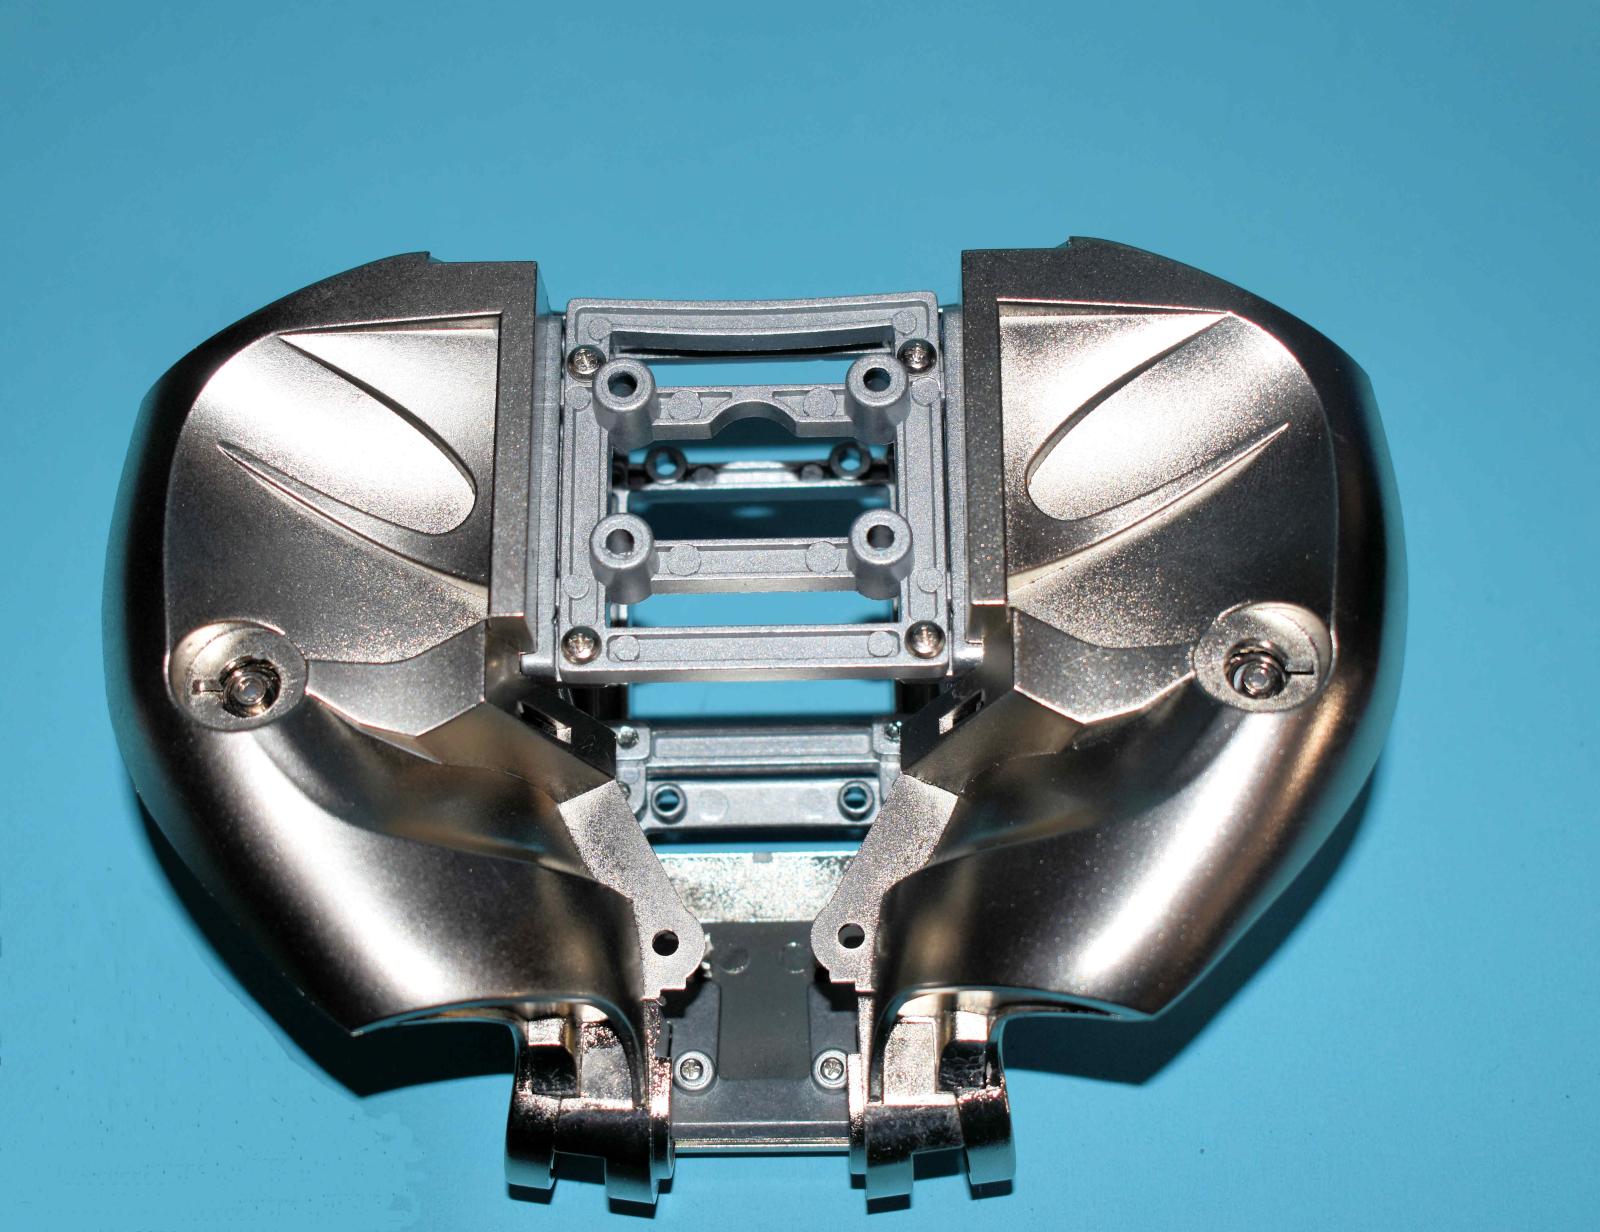
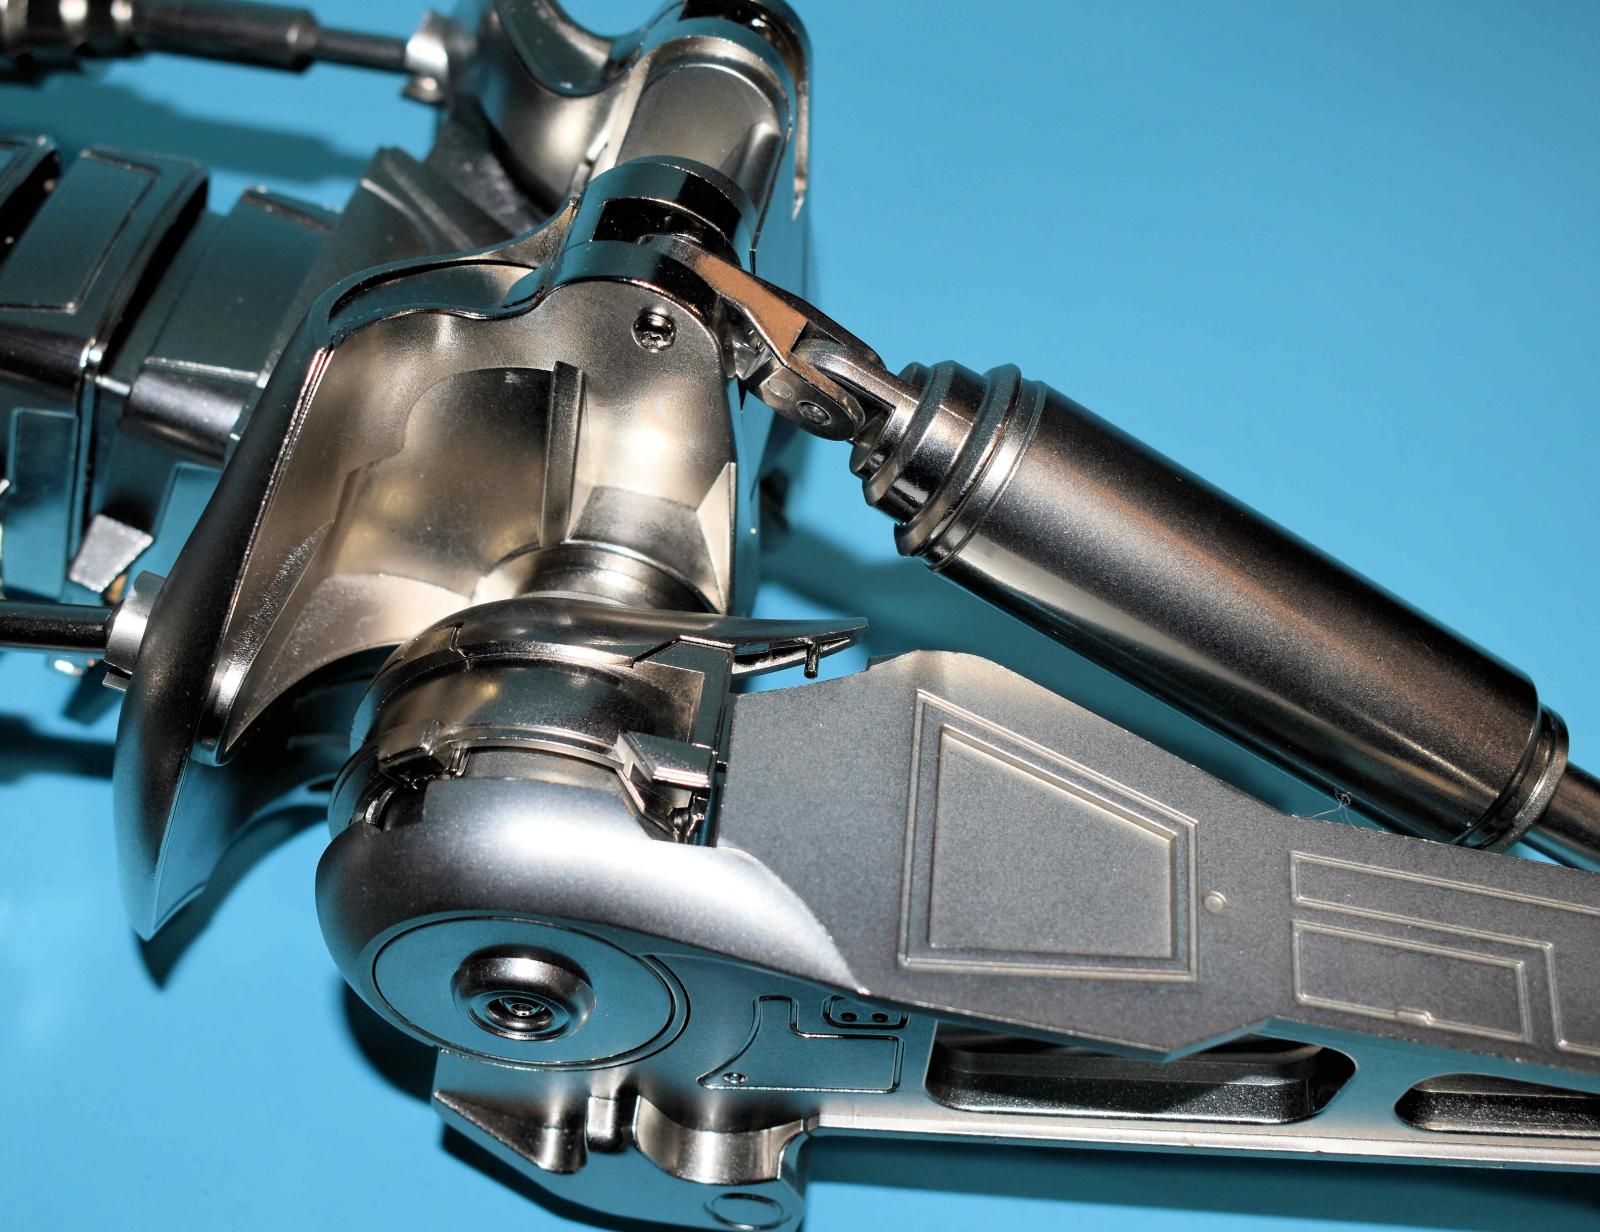
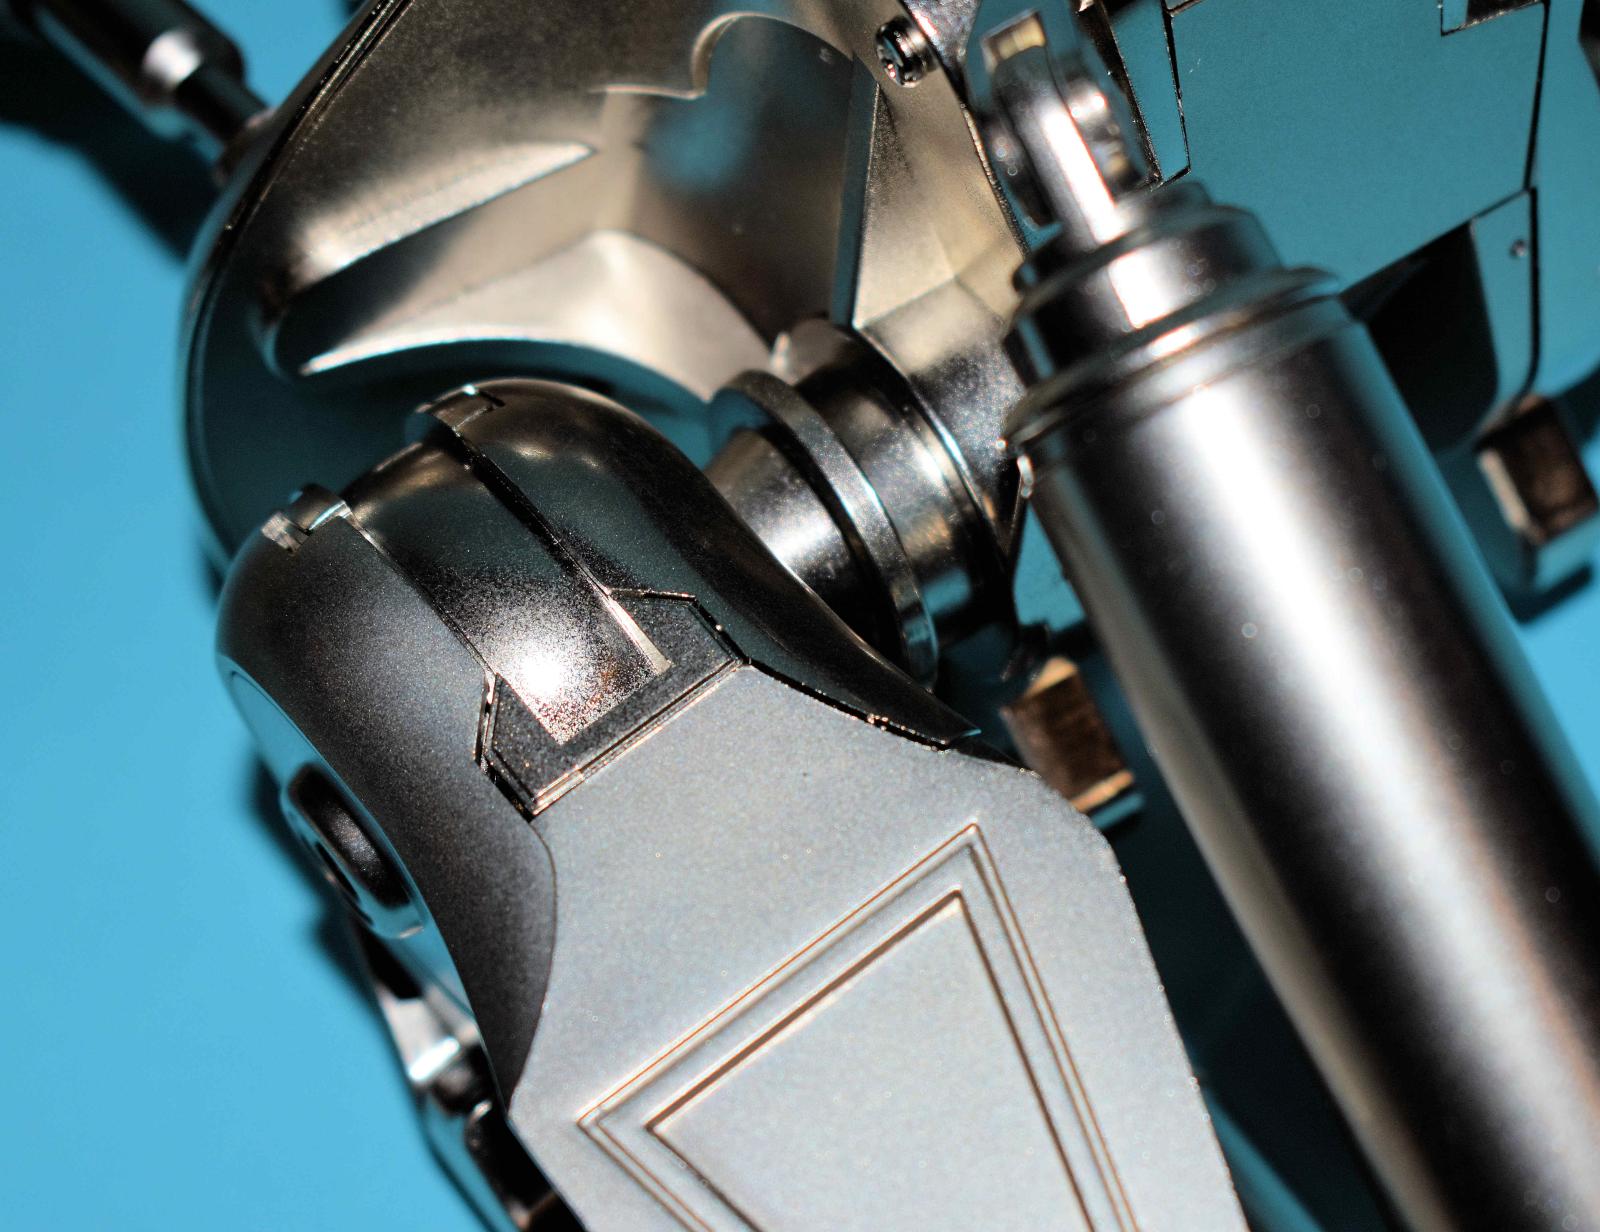
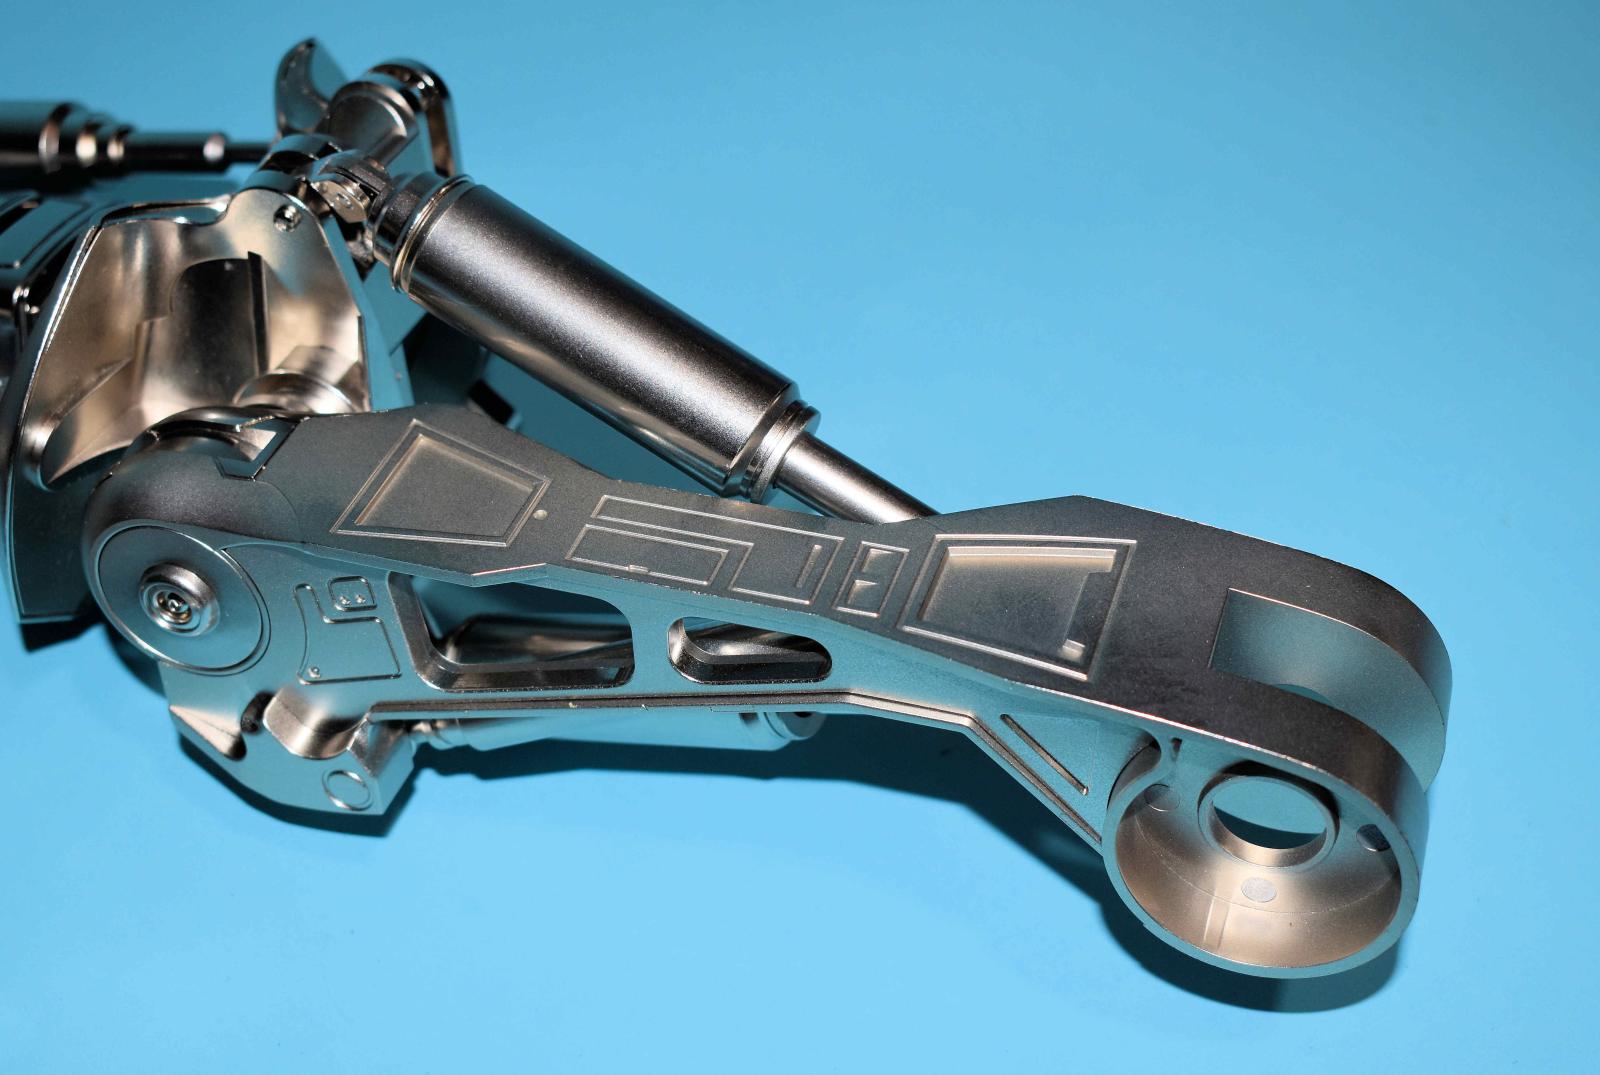
Steps 55,56 and 57 deal with construction of the upper right leg by adding pistons representing tendons and muscles. leg and its attachment to the pelvis. This includes the parts used for articulating the leg which is accomplished with multiple joint parts in rubber/plastic. Also, when attaching the leg, there is a hex nut and included Allen wrench and this allows the builder to adjust the tightness of the joint. The tighter the less movement and this can be adjusted later with a little effort.
Steps 58 to 60 continue to add detail to the upper right leg by adding tendons and muscle groups in the form of pistons. Each piston body and moving part are separate and allow for movement to maintain articulation. Each moving piston assembly ha a rubber grommet allowing tight fit and sliding movement.
My grateful thanks to Agora for first making this kit and effort it to took to design and engineer it and also to allow IPMS USA to review it.

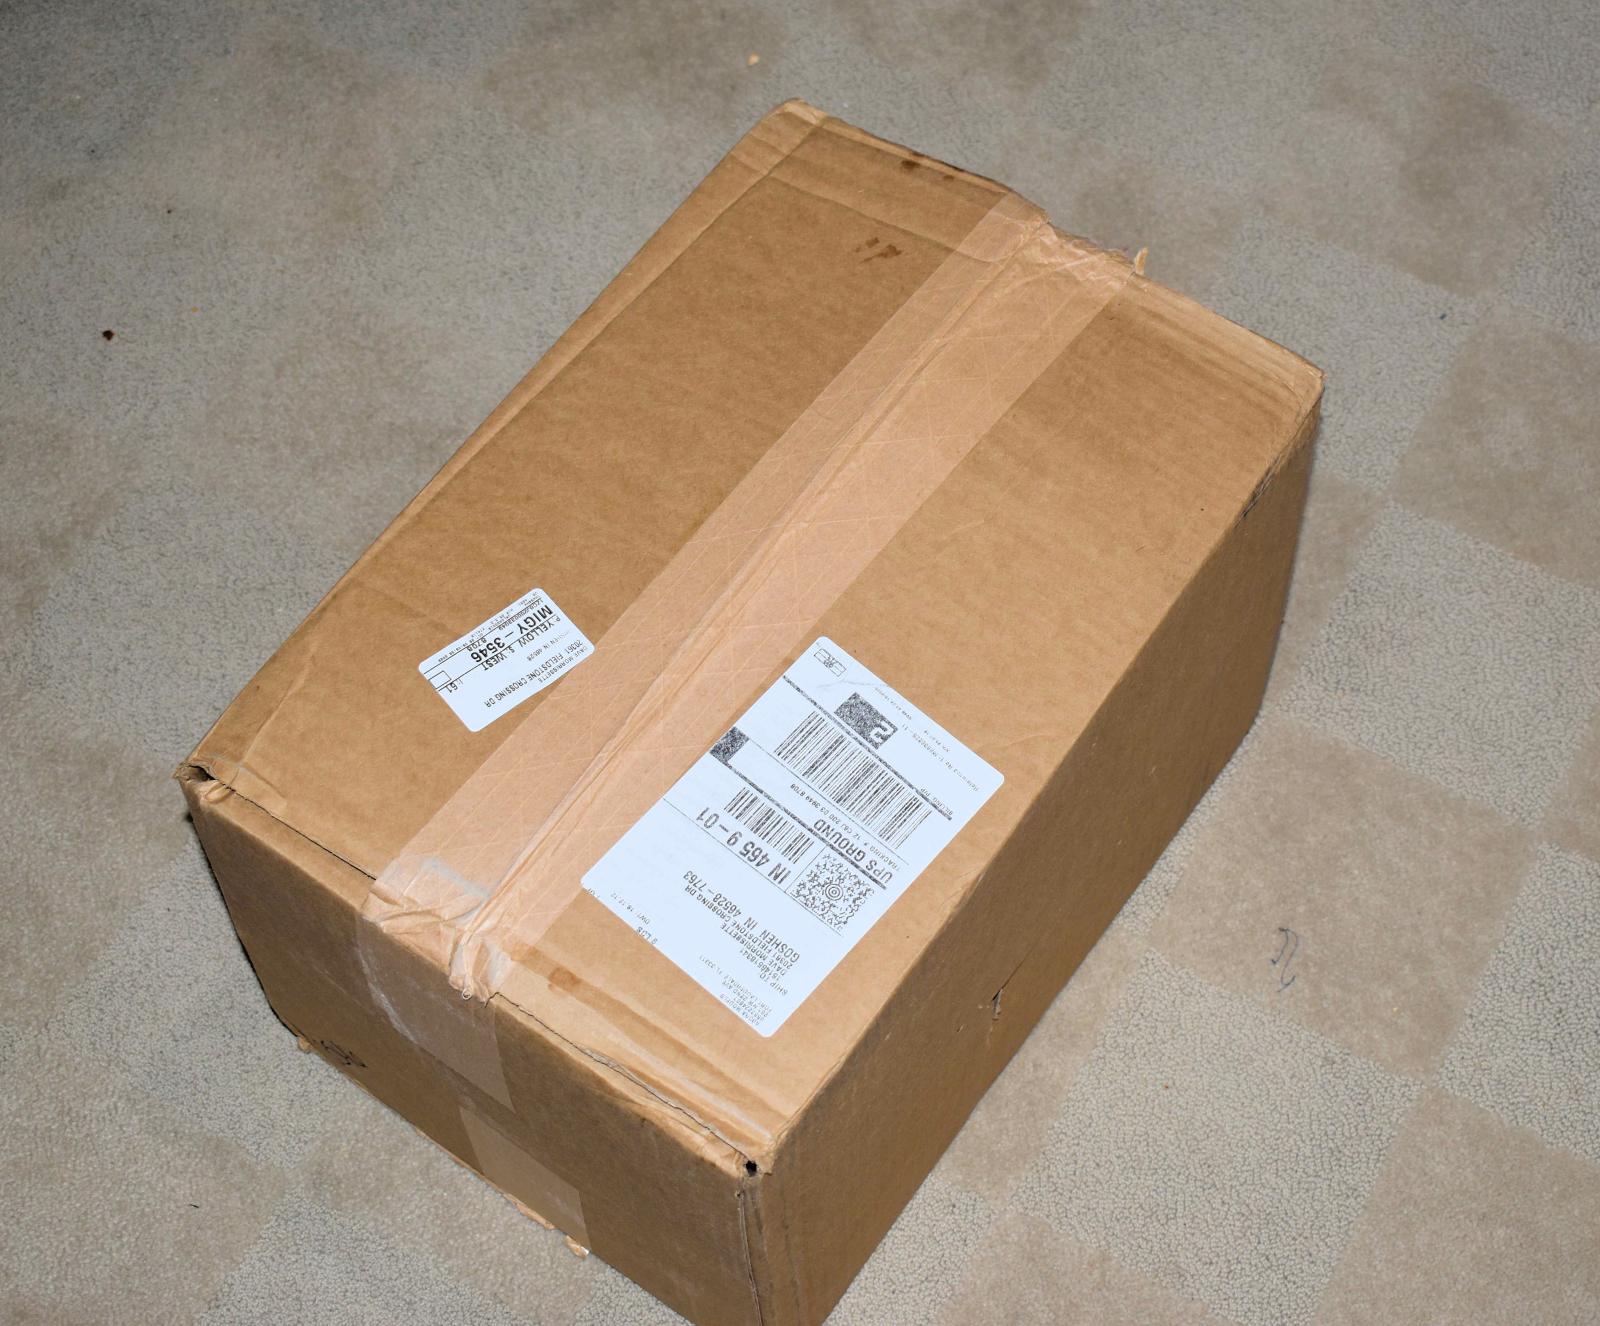
A Box of Fun has Arrived

Spine Parts

Spine Parts Aligned

Spine Parts Assembled

Pelvis Assembled
Solid Pelvis Structure
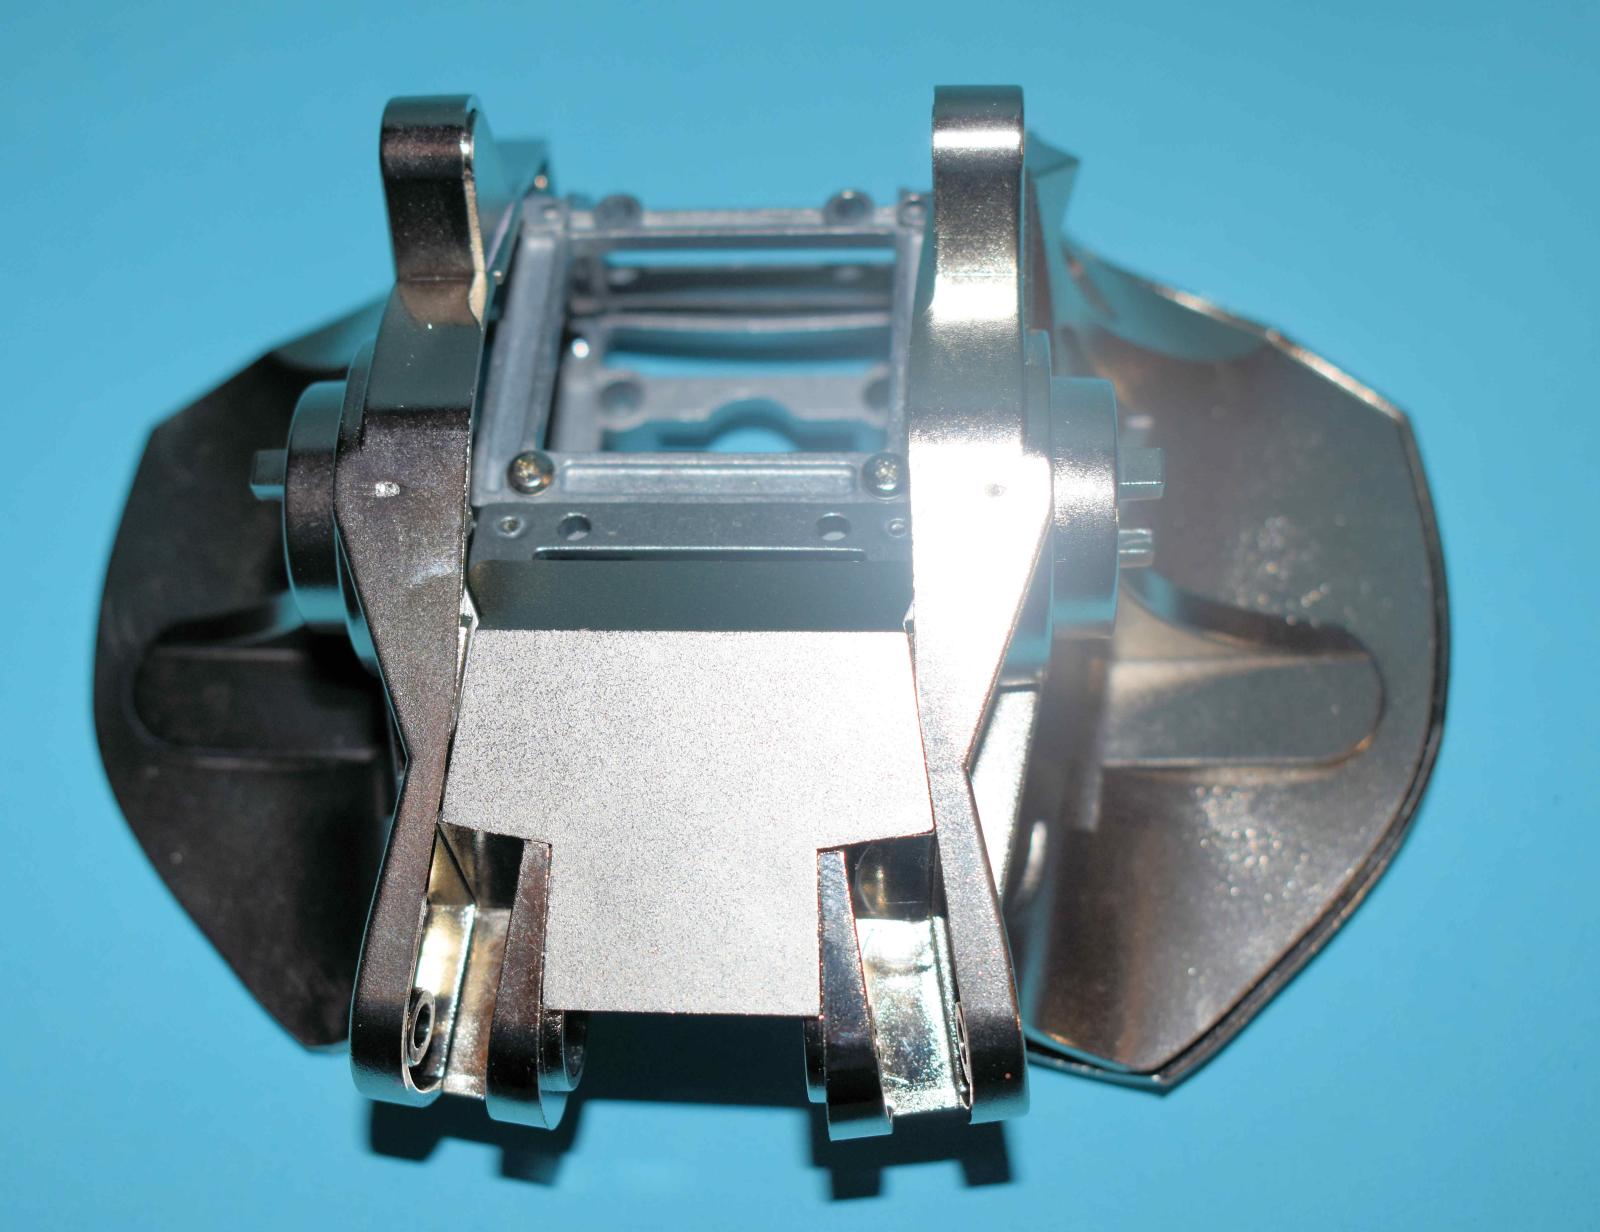
Bottom of Pelvis
Pelvis
Baseplate to Secure the Pelvis

Baseplate secure to spine
Second View of Baseplate

Bolt attachment holding plate in place

Another View of cast structure
Assembly so far
Close up of Mid Section

Cylinders Connecting Pelvis and thorax
Cylinders attached
Hip Joint
Hi Joint Close Up
Comments
Add new comment
This site is protected by reCAPTCHA and the Google Privacy Policy and Terms of Service apply.
Similar Reviews