
Supermarine Walrus MK1
History
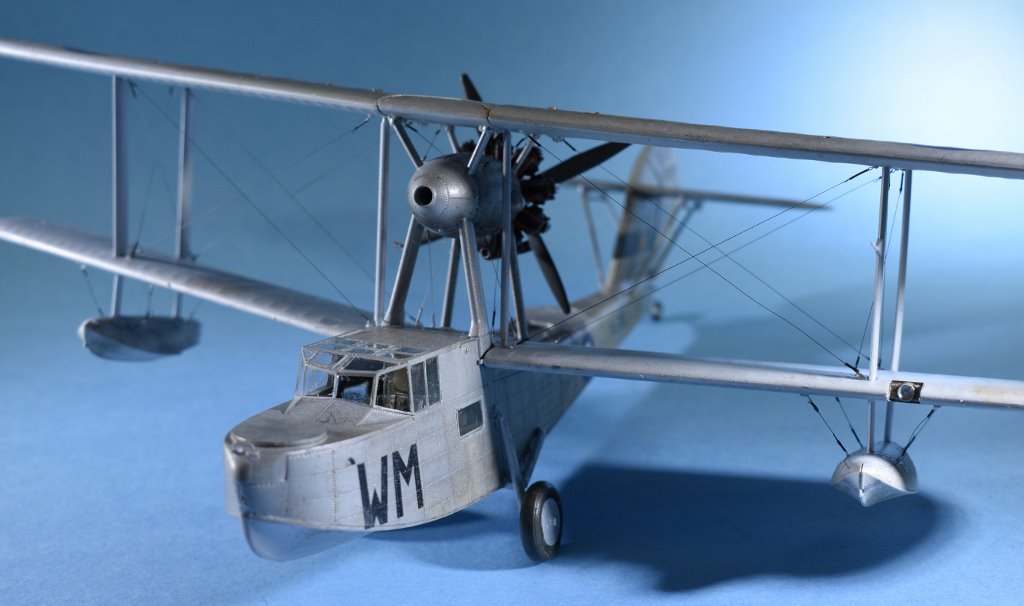
The Supermarine Walrus (originally known as the Supermarine Seagull V) was a British single-engine amphibious biplane reconnaissance aircraft designed by R.J. Mitchell and first flown in 1933. Designed for use as a fleet spotter to be catapult launched from cruisers or battleships, the Walrus was later employed in other roles, notably as a rescue aircraft for aircrew in the sea.
In the Box
- Instructions
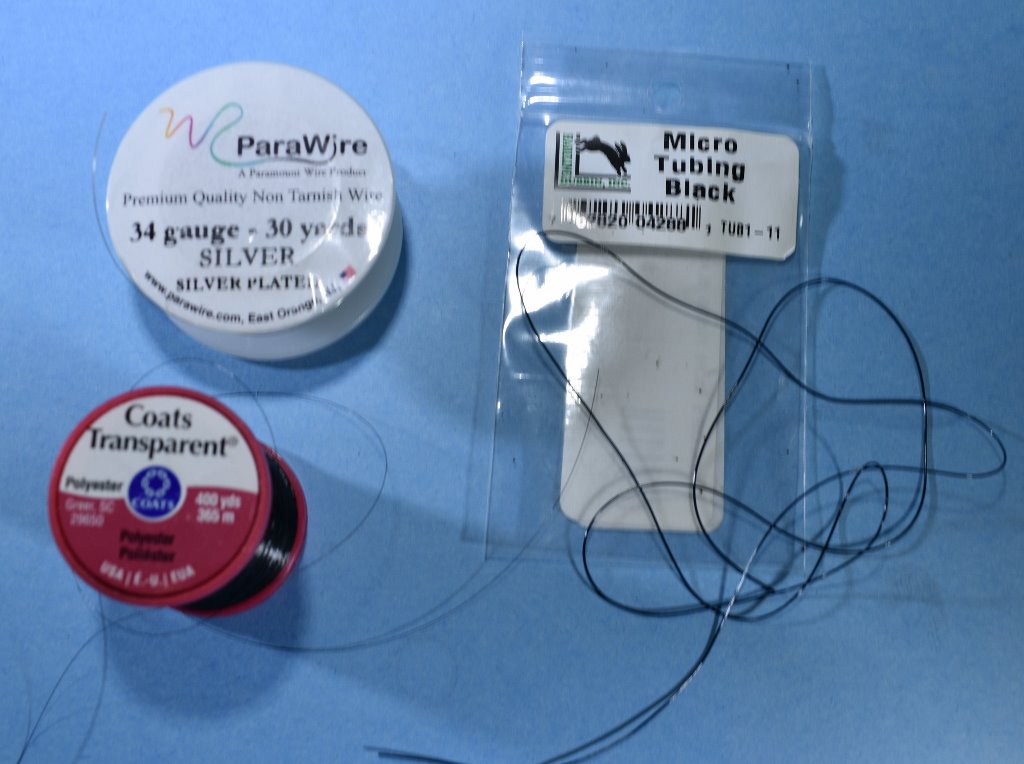
- The instruction booklet was divided into eight pages of clearly marked parts and their construction sequence. Illustrations for the parts and their construction sequence were very clear. Included with one of the paint schemes, is a drawing of how to place rigging lines.
- Sprues
- 5 molded in gray plastic
- Clear plastic
- 1 sprue
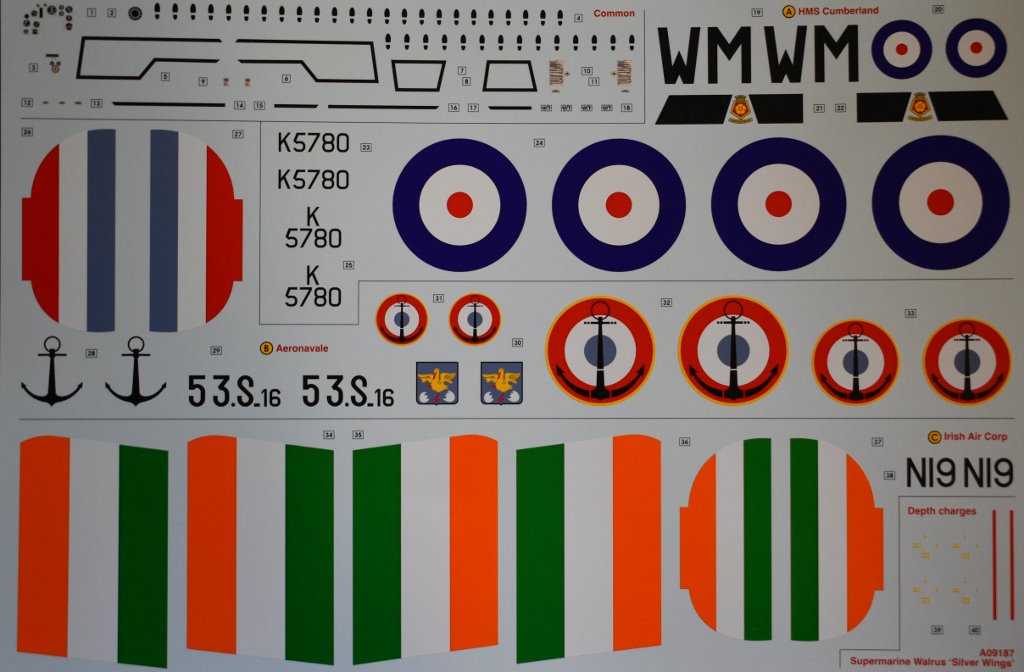
- Decal Sheet
- 1 with markings for three different countries Great Britain, France and Ireland.
Building the Model
Cockpit
The cockpit was assembled along with other parts of the fuselage sides (the whole fuse is in four different sides). I added photo etch seatbelts to the navigator, observer and pilots’ position. There is only one pilot's position so no area for a copilot. Assembly was not an issue, make sure you get the pilots seat frame and bulked slotted firmly in the cockpit floorboard because the top of the fuse interlocks with the bulked and if the seat is not completely down the top of the fuse will not fit.
Canopy Clear Parts
I cleaned the clear parts and dipped them into a 50/50 mix of Mission Models Gloss Clear and Mission Models Paint Thinner
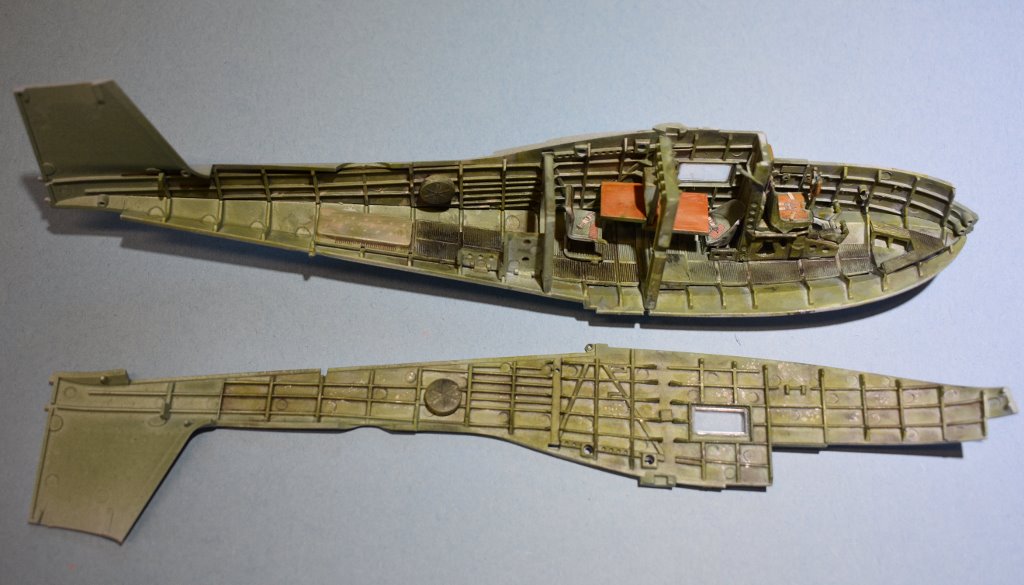
Fuselage
the fuse was assembled in 4 sections top bottom and two sides. I painted the interior with RAF interior Green and weathered it with a wash. There are two table tops in the fuse one belonging to the navigator, so I painted the tops with a yellow ochre and then dotted the tables with Van Dyke Brown and streaked that to give the table a wood grain. When that dried I sprayed the tables with Tamiya transparent orange.
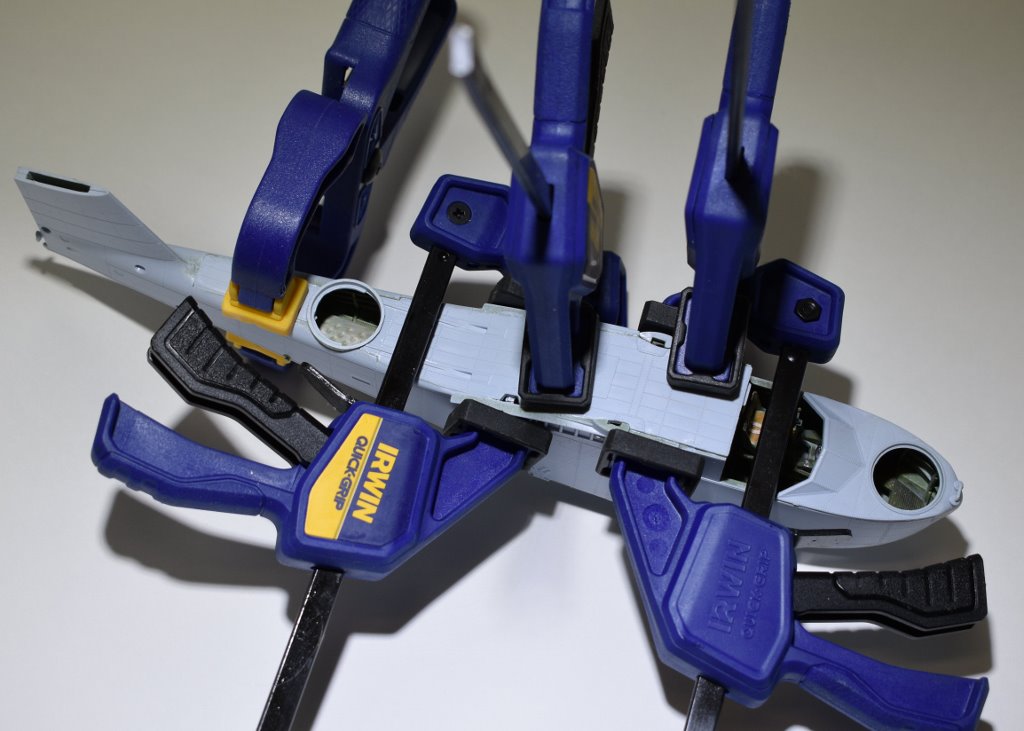
To assemble the fuse and get it straight I used a number of adjustable clamps to hold the four sections together. I started the assembly from the tail and worked toward the nose gluing and clamping as I went.
Wings
The wings went together without any problem again I glued and clamped the wing starting from the tip to the root.
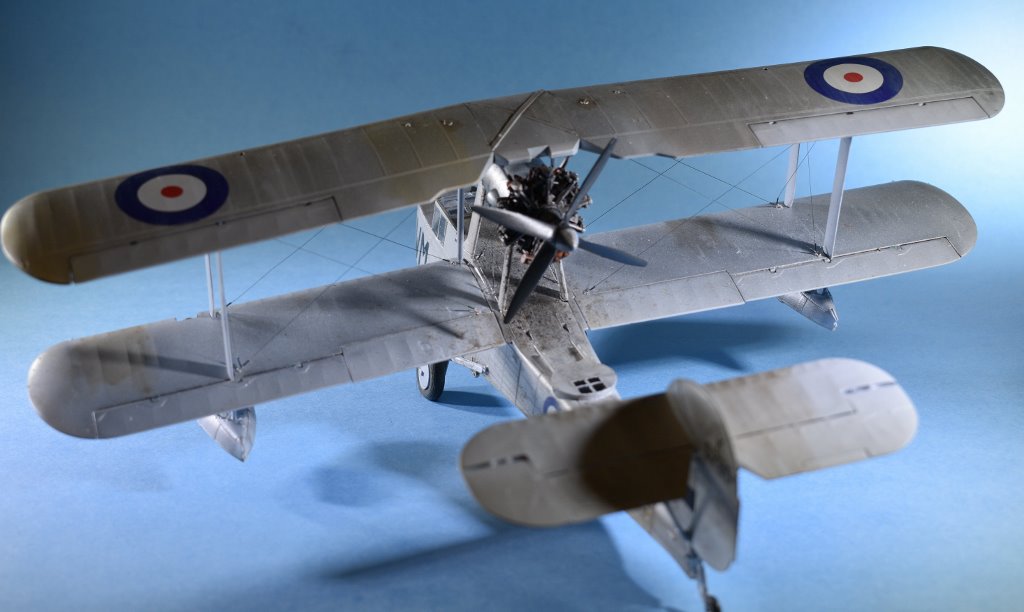
The airplane can be built with wings folded or extended. I chose to build the wings extended. I had a problem with the left side wing in the fact that there are just two small “nubs” that connect the wing to the fuse. When the upper wing was attached to the engine mount the struts on the left side gave the lower wing more support. With the small amount of joining material on the wings to the fuselage, I think the model would be better built with the wings in the folded position.
Engine
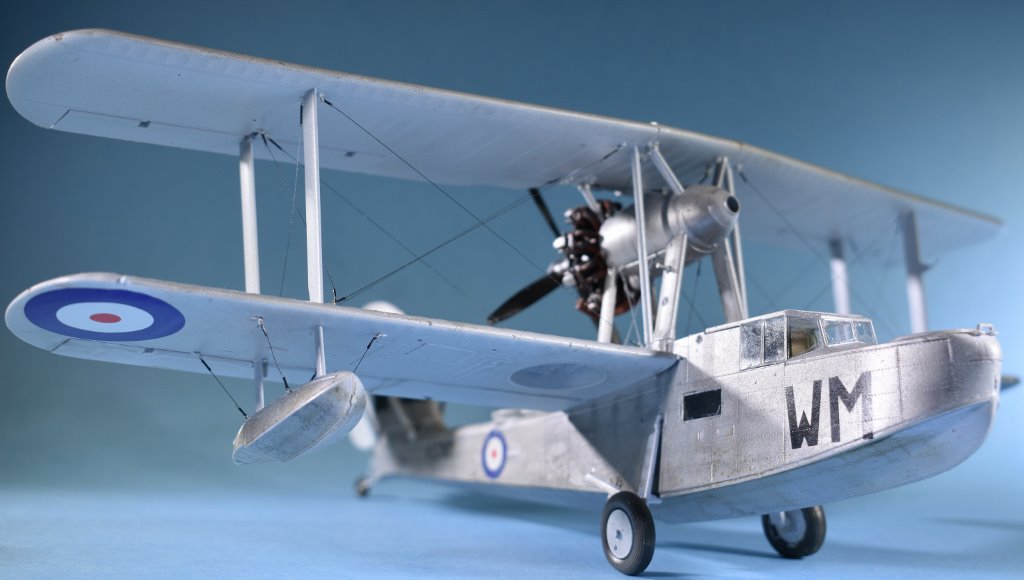
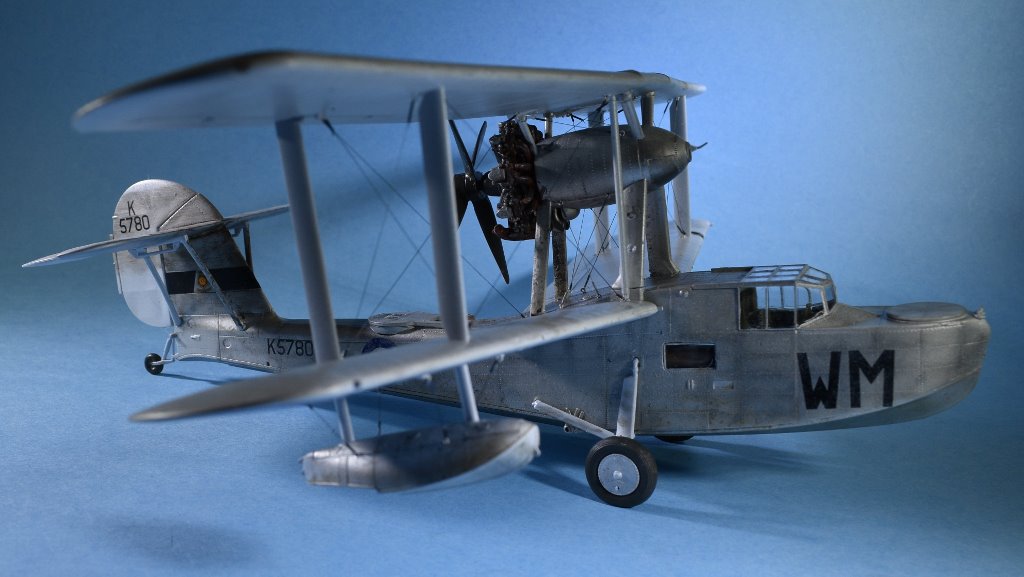
The Engine attaches to a nacelle that sits atop the fuselage and under the top wing and is very detailed. I assembled the engine and painted it silver then clear coated and added a black wash. Once that was completed I painted the exhaust ring in a dark and light rust color then clear coated and black wash.
Landing Gear
The airplane can be built with the landing gear extended for runway activity or the model can be built with the landing gear in the up position for water operations. I chose to build the model with the landing gear extended. The gear attached to the side of the fuselage with little support for the gear attached to the fuse, so the airplane is very brittle when sitting on the landing gear.

Comments
Add new comment
This site is protected by reCAPTCHA and the Google Privacy Policy and Terms of Service apply.
Similar Reviews