
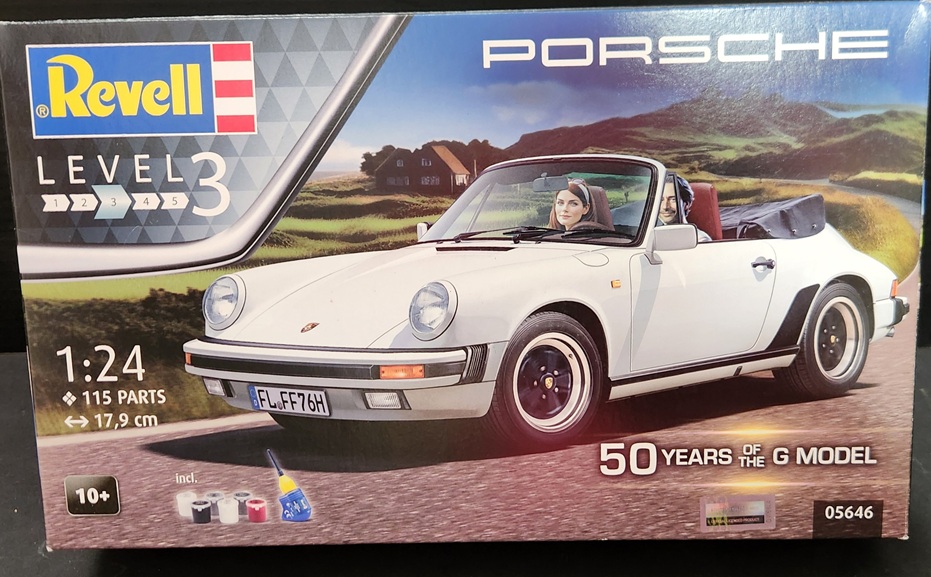
Porsche 911 Carrera 3.2 Cabriolet
The Revell Porsche 911 Carrera 3.2 Cabriolet is a beautiful model kit issued in 2024 by Revell Germany.
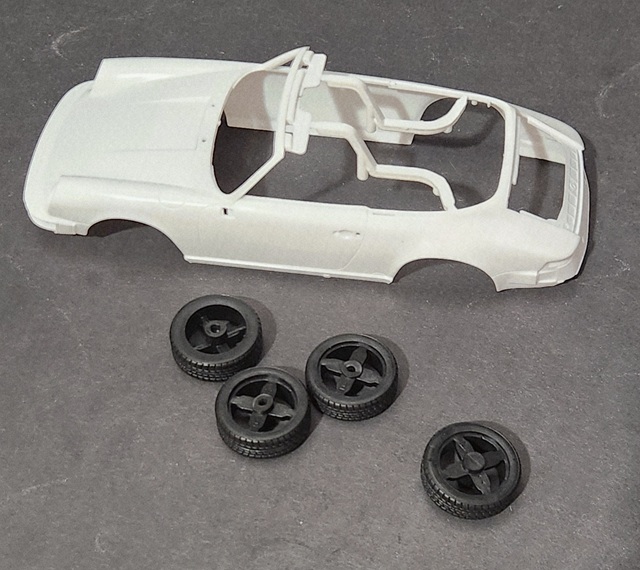
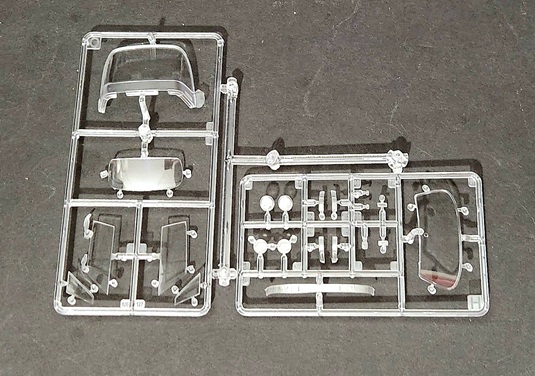
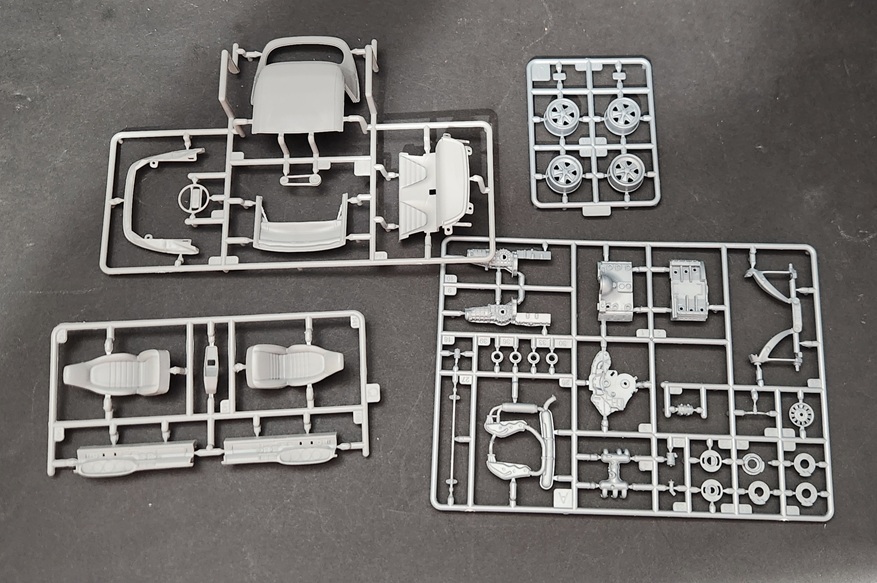
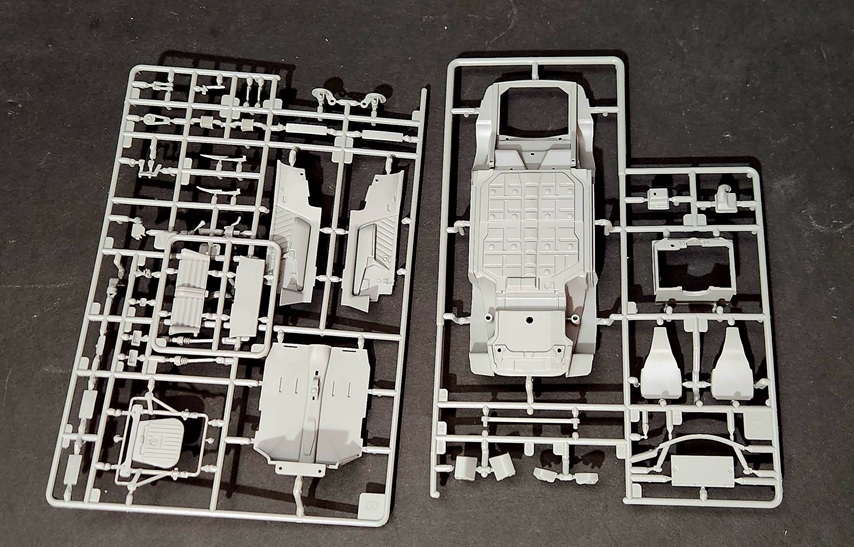
Contained in the box is a bag containing a small sample of Revell model glue and the following Revell colors: 02, 04, 99, 302, 331 and 378. Also sealed in bags are one clear sprue, white sprues B, MD, Q, F, and P, along with silver sprues A and J. The parts are mostly free from flash. There is one set of very nicely molded rubber tiresand a full-mold upper body (N).
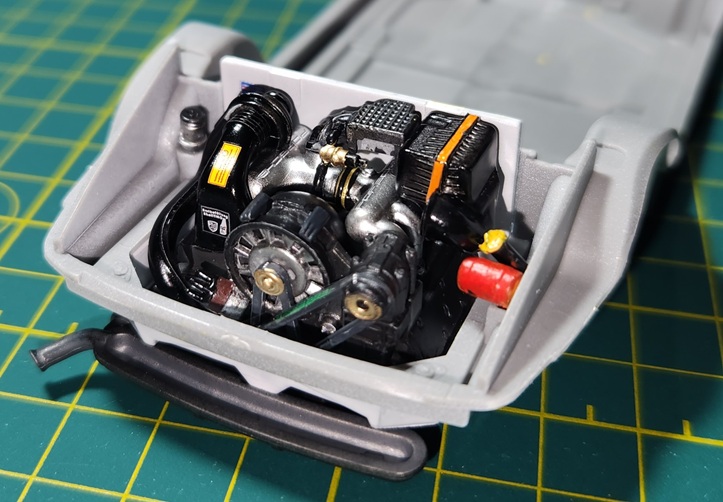
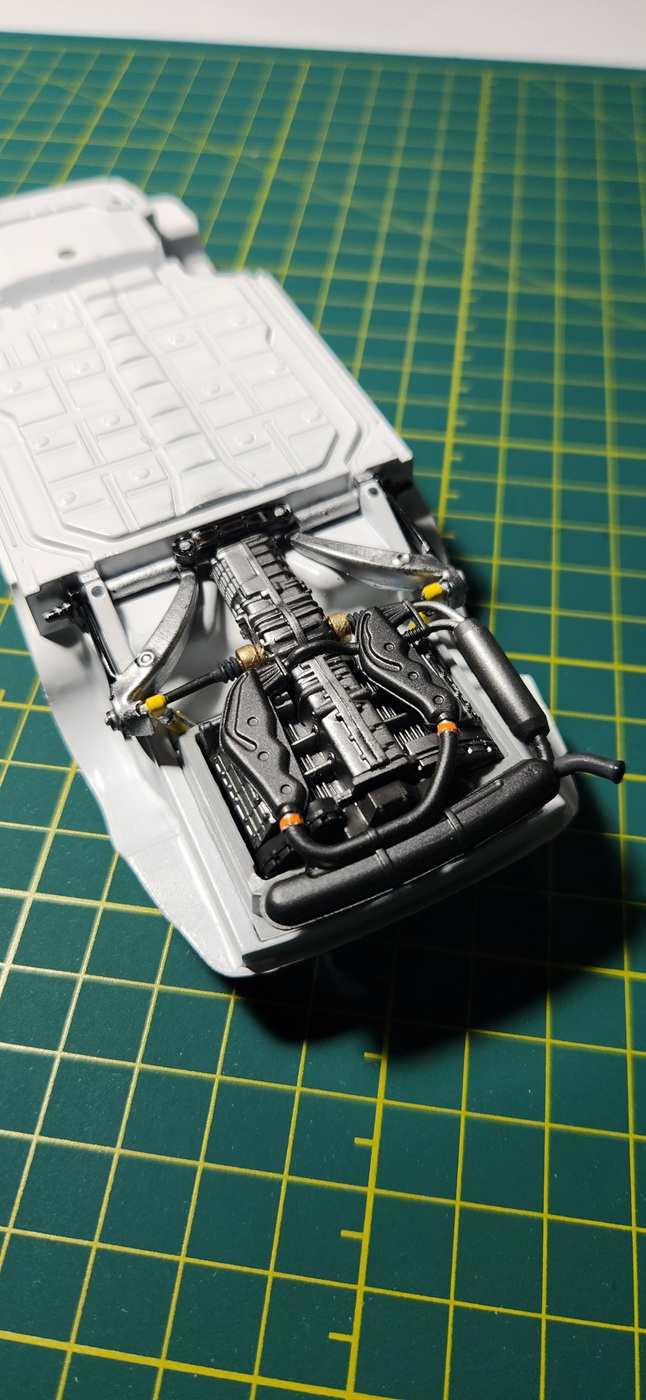
I am not a car model builder, so this project was a personal challenge. I learned and grew through this build and had some great conversation with car builder friends. The build begins with the engine. The assembly process was very straightforward and easy. I had no issues. There are several steps of applying decals (to belts), and this was a little tricky only because of the very small surface. The finished engine looks really nice and is an impressive feature of the model!
Next, is the suspension. Again, the assembly was straightforward with no issues. When working with the disk brakes and calipers, pay careful attention not to add adhesive to the washers. This will prevent the wheels from rotating. I find that with the ability for the wheels to rotate, the attachment points for the brake assembly are a little small. Two of my wheels came off and I had to re-glue them.
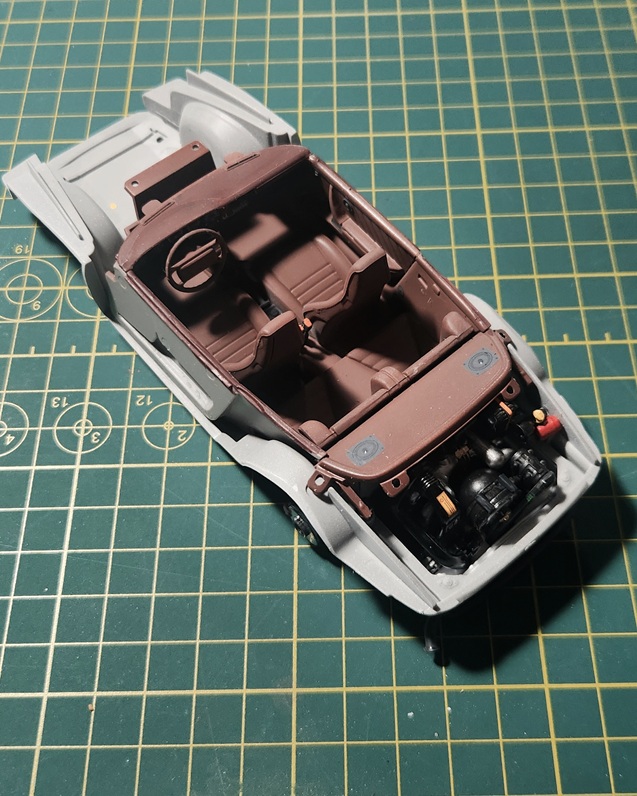
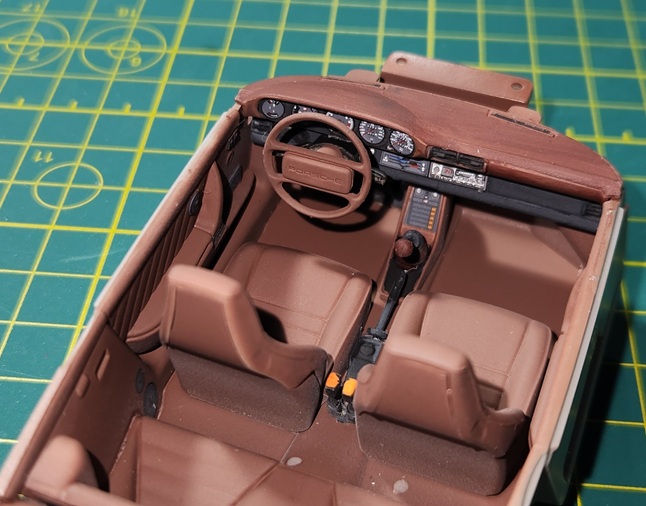
Moving on to the interior, in the early stages (Step 21), you must decide whether to build a right-handed or left-handed vehicle. I opted for left-handed. Depending on your choice, you are directed to drill a set of holes for attaching the foot pedals. DO NOT drill holes on both sides! The seats and side panels fit together very well, and they have very nice detail! The dashboard is very pretty. After painting, I sprayed the dashboard with Future clear to prepare it for receiving the instrument decals. After completing the decals, the dashboard looks really nice!
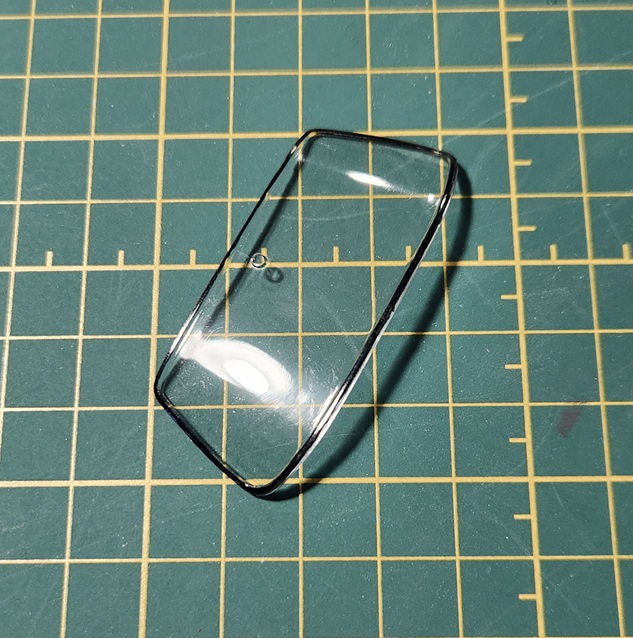
With step 35, you are directed to drill pilot holes on the sides of the front fenders. This is to receive to clear signal light (step 53). Sandwiching the interior between the upper and lower body is very easy, and the fit is excellent. Step 39 shows attaching the headlamps and the clear lens. I opted to hold off adding clear parts until the very end.
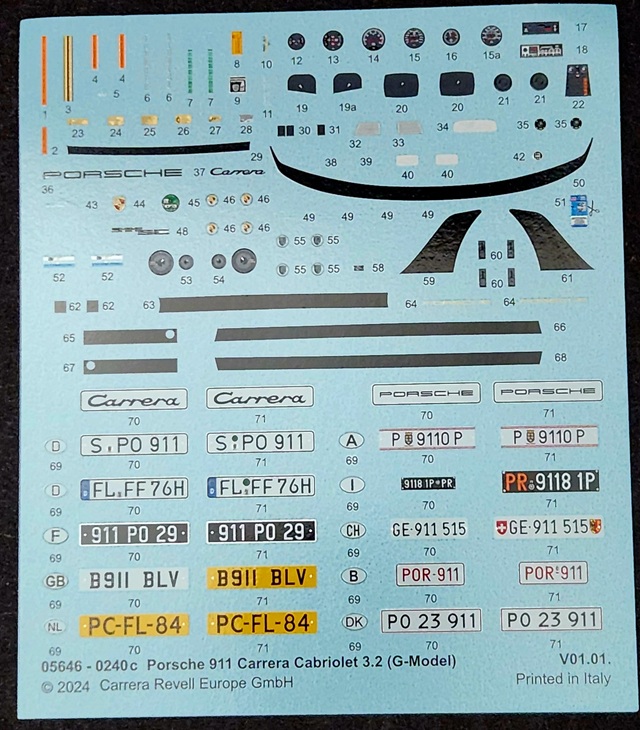
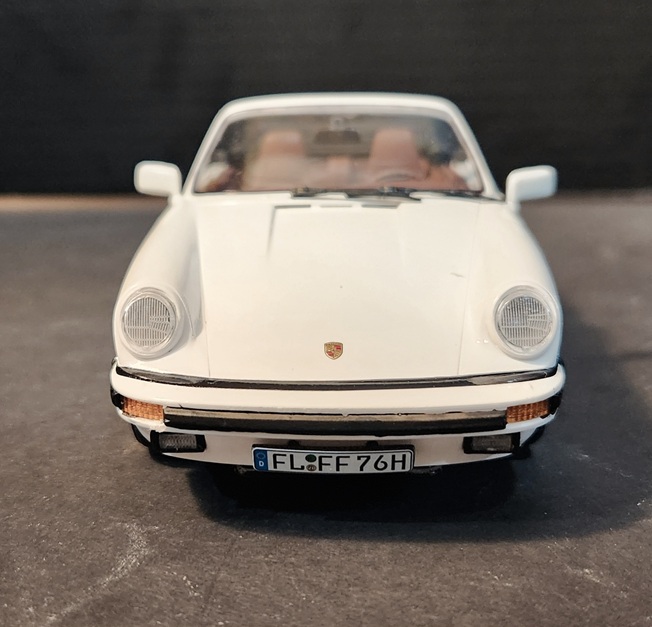
Steps 38 through 43 deal with assembling the front and rear. No issues here. You are provided with several options for license plate decals. Again, in these steps, I did not add clear parts until the end. For painting the clear orange and clear yellow (steps 38 and 42), I used Tamiya clear Orange and Yellow. For best results, airbrush the clear paint as brushing will likely leave brush marks.
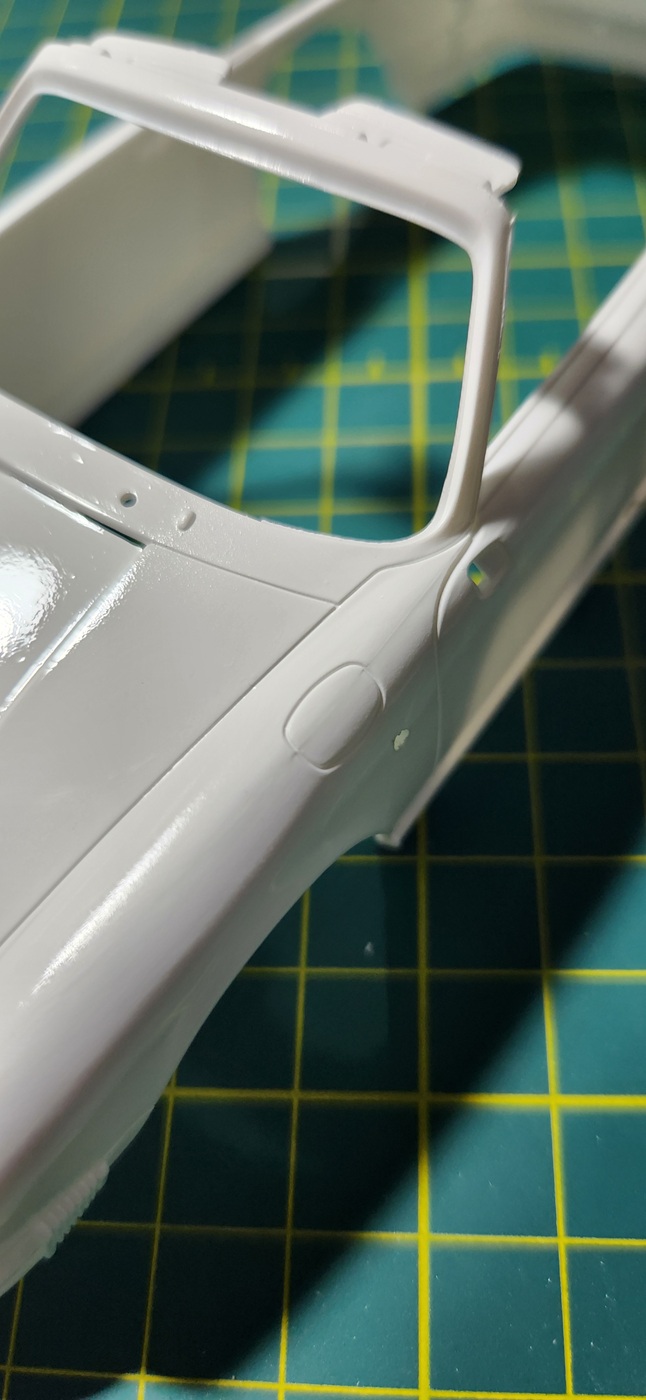
Painting: I primed the body with several light coats of Tamiya white primer and fine-sanded in between. I airbrushed with Tamiya white lacquer and fine-sanded in between coats. It was at this point, that I noticed two seam lines. One is near the left head lamp, and the other runs down the left fender (see photos). After applying several decals, I sprayed with Alclad Crystal Clear. Step 48 indicates to paint a black outline around the windshield (weather strip). I used a black Sharpie instead-I felt I would have more control-and after a few passes, it looked great.
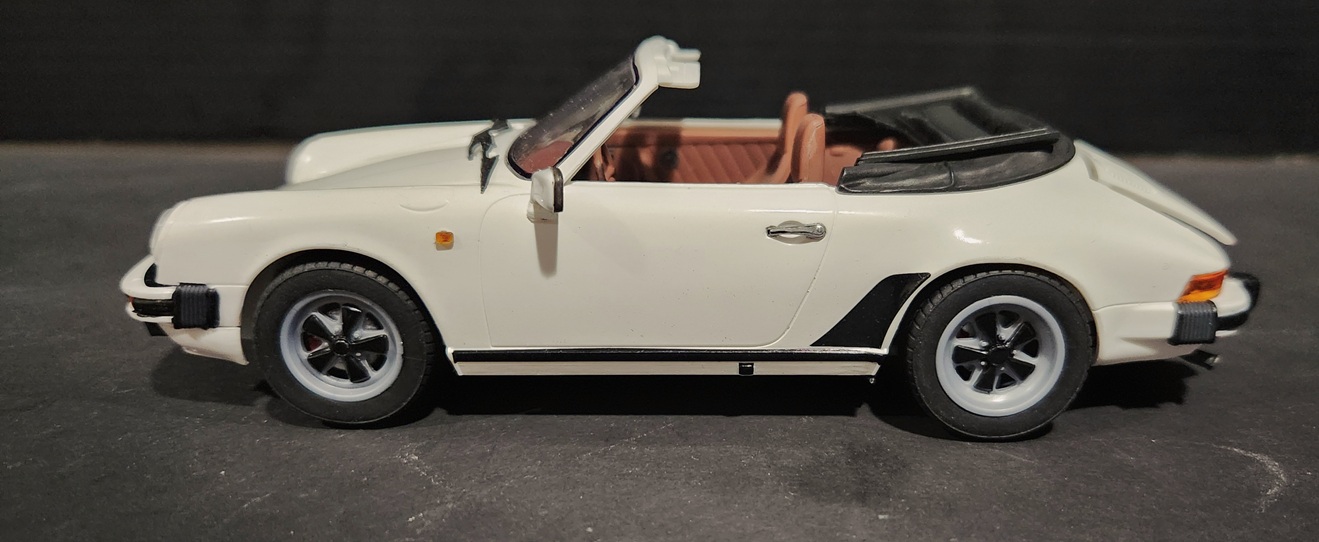
There are two options for the final appearance: open or closed top. I chose the open top, which is finalized in step 51. For the closed top version, side windows are added (step 52), otherwise, they are not used.
The finished model looks really awesome! Although I have not built a car in maybe 20 years, I was very pleased with the outcome. The model kit is excellent, and it was a very enjoyable build. I highly recommend this kit!
Immense Thanks to Revell for providing the sample, and thank you to IPMS USA for the honor of working on this review!
Highly Recommend!

Comments
Add new comment
This site is protected by reCAPTCHA and the Google Privacy Policy and Terms of Service apply.
Similar Reviews