
Marauder Mk. III - WWII RAF/SAAF Bomber
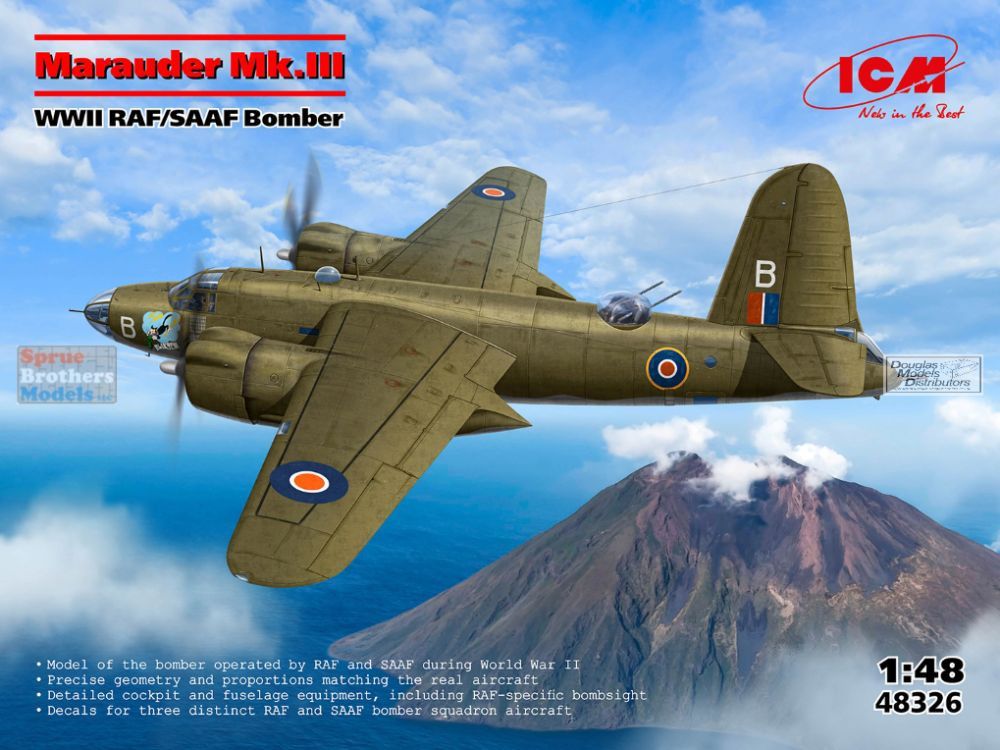
Another review of another ICM kit - and I can’t get enough of them! This time I am working on the ICM 48326 Marauder Mk. III in 1:48 scale. As always, another beautifully detailed kit with many pieces. ICM has some of the best detailed aircraft kits around, and they are always a joy to work on. The Marauder is no exception!
Unboxing
This is a massive kit with 8 sprues molded in their usual light grey, 2 in clear, and 1 decal sheet. The instructions are just as clear, beautiful, and easy to follow as I have come to expect and look forward to from ICM. They have 3 possible paint schemes to choose from on this one, all with a lighter shade of green on the top of the aircraft and beige on the underside, with decals to match the specific color palettes.
History
The Martin B-26 Marauder Mk III represents a successful adaptation of an American aircraft to British operational needs. The aircraft was controversial at first because of the high speeds at take-off and landing. Early on, training accidents quickly gave the aircraft a dangerous reputation and earned it the nickname of “The Widowmaker”.
- A key RAF medium bomber during the critical 1943–44 period
- An example of how early design flaws were overcome through training and refinement
- One of the most efficient and survivable bombers of World War II
Despite early controversy, the Marauder ultimately proved that speed, discipline, and precision could rival sheer bomb load in achieving strategic results.
The Build
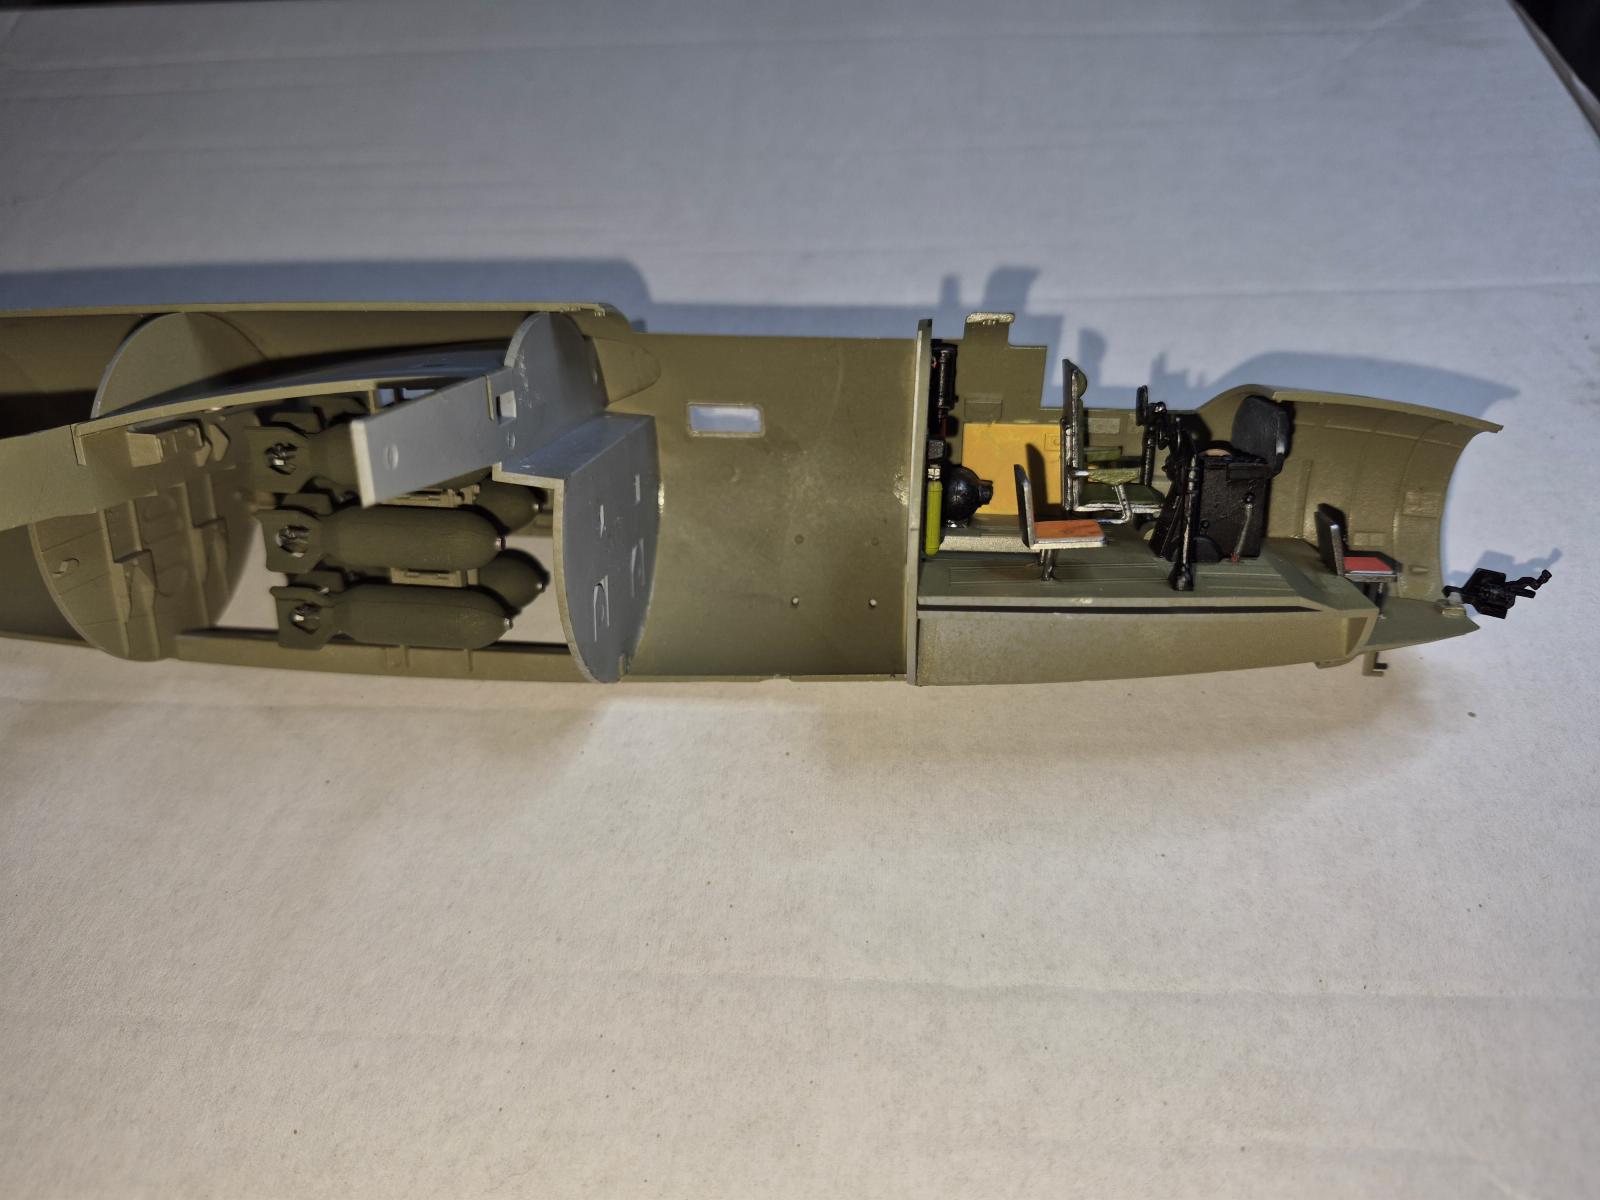
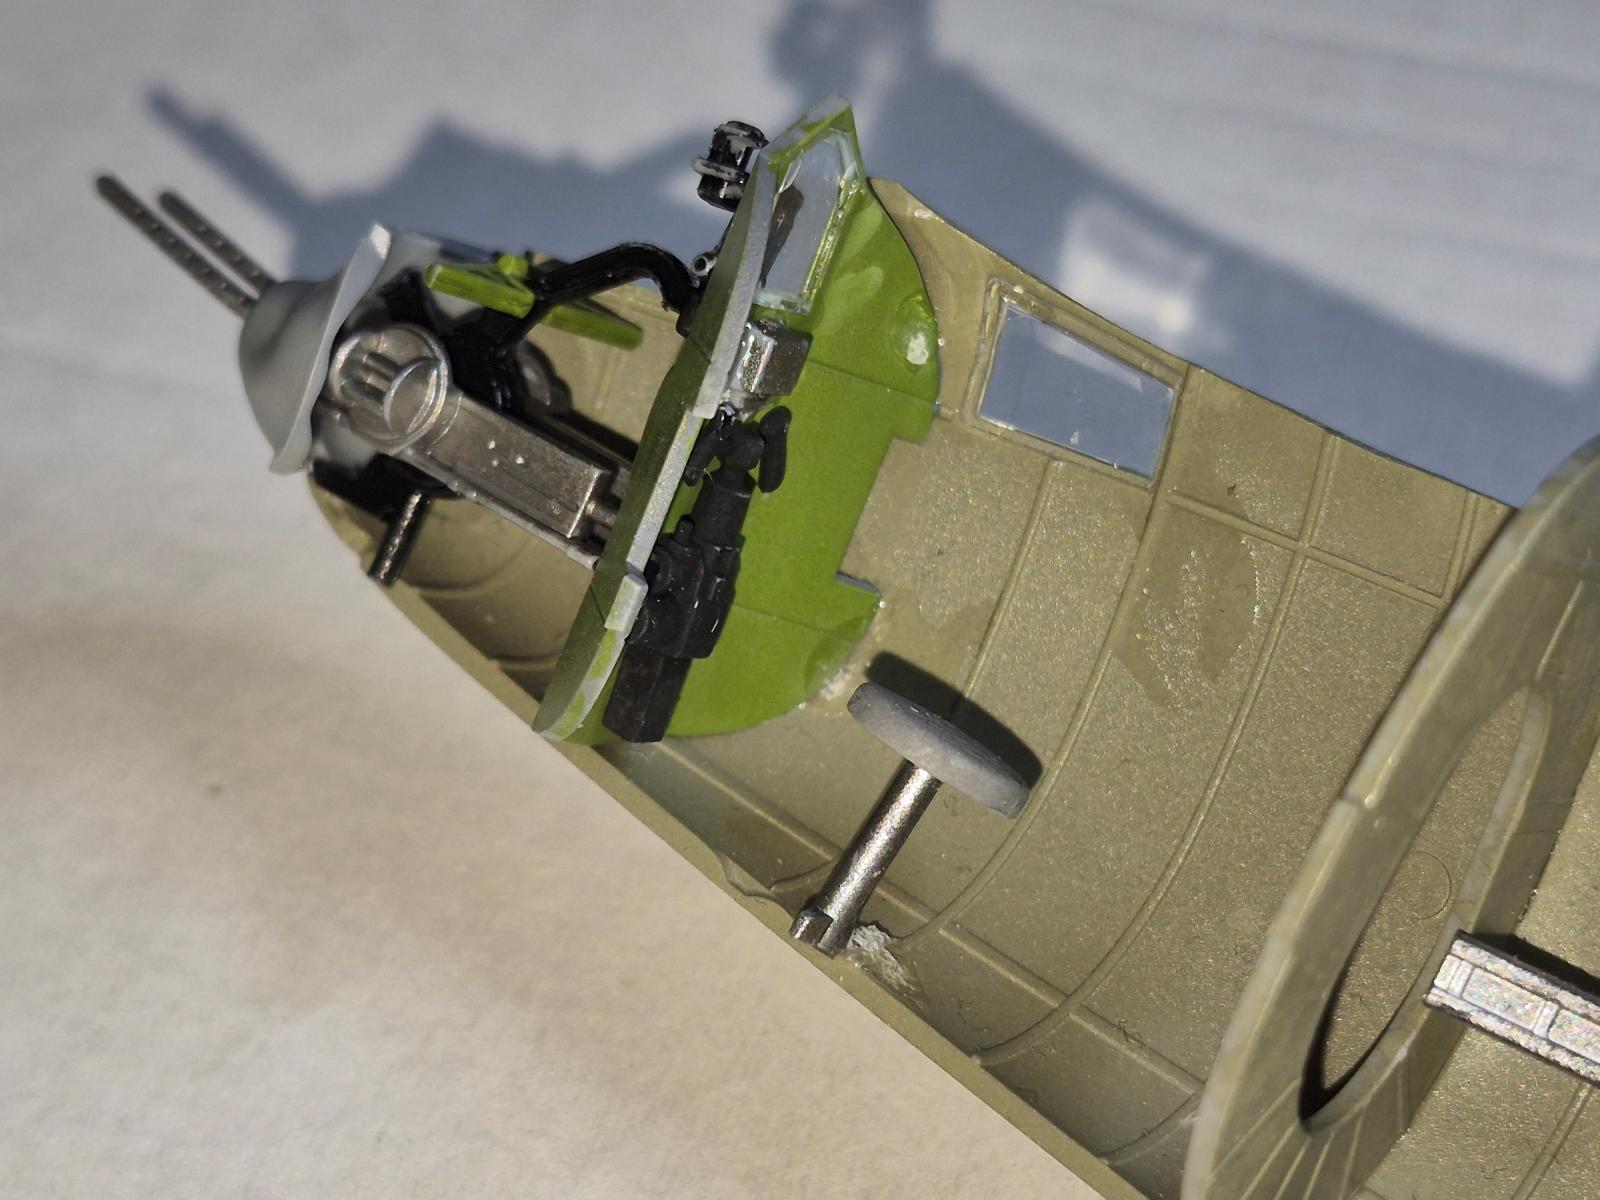
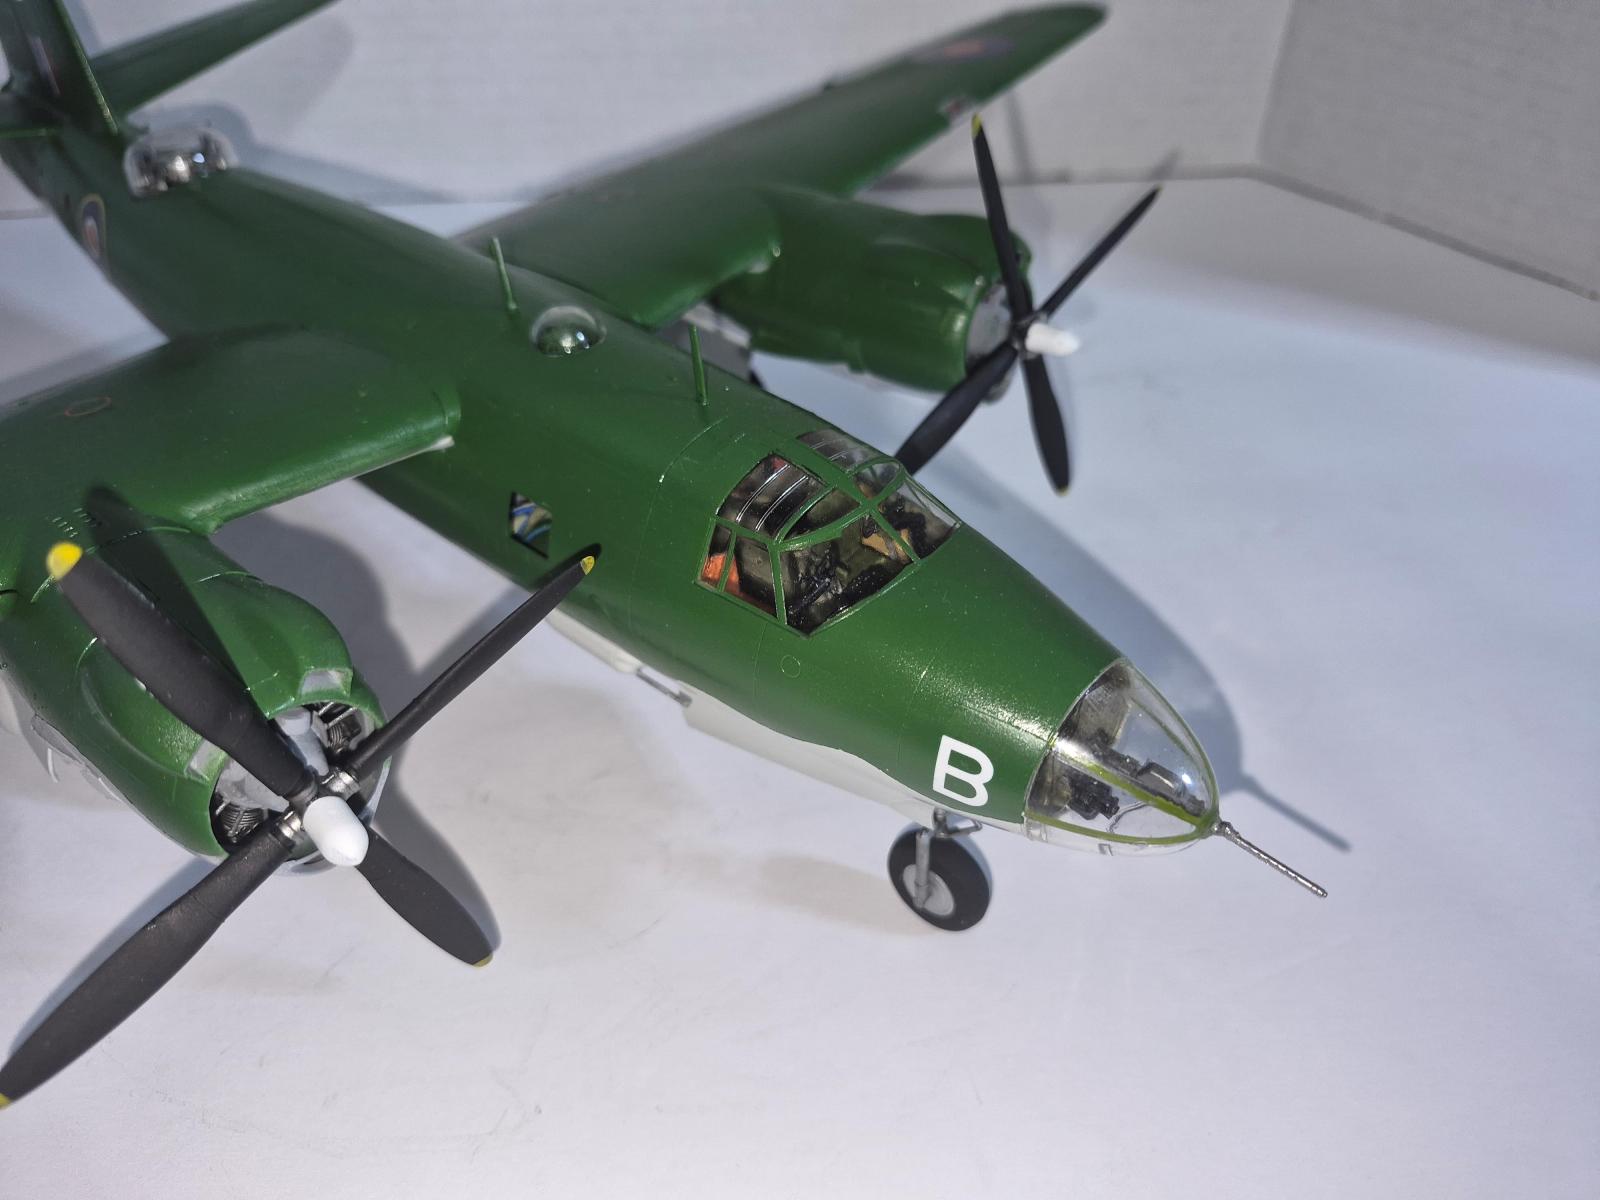
As usual with most aircraft kits, I started with the cockpit and interior of the kit. ICM made a very detailed interior with this kit, as they always do. I experimented with various colors for consoles and various items hanging on the walls to give it some depth and character. Was it historically accurate? Probably not, but I sure liked how it turned out.
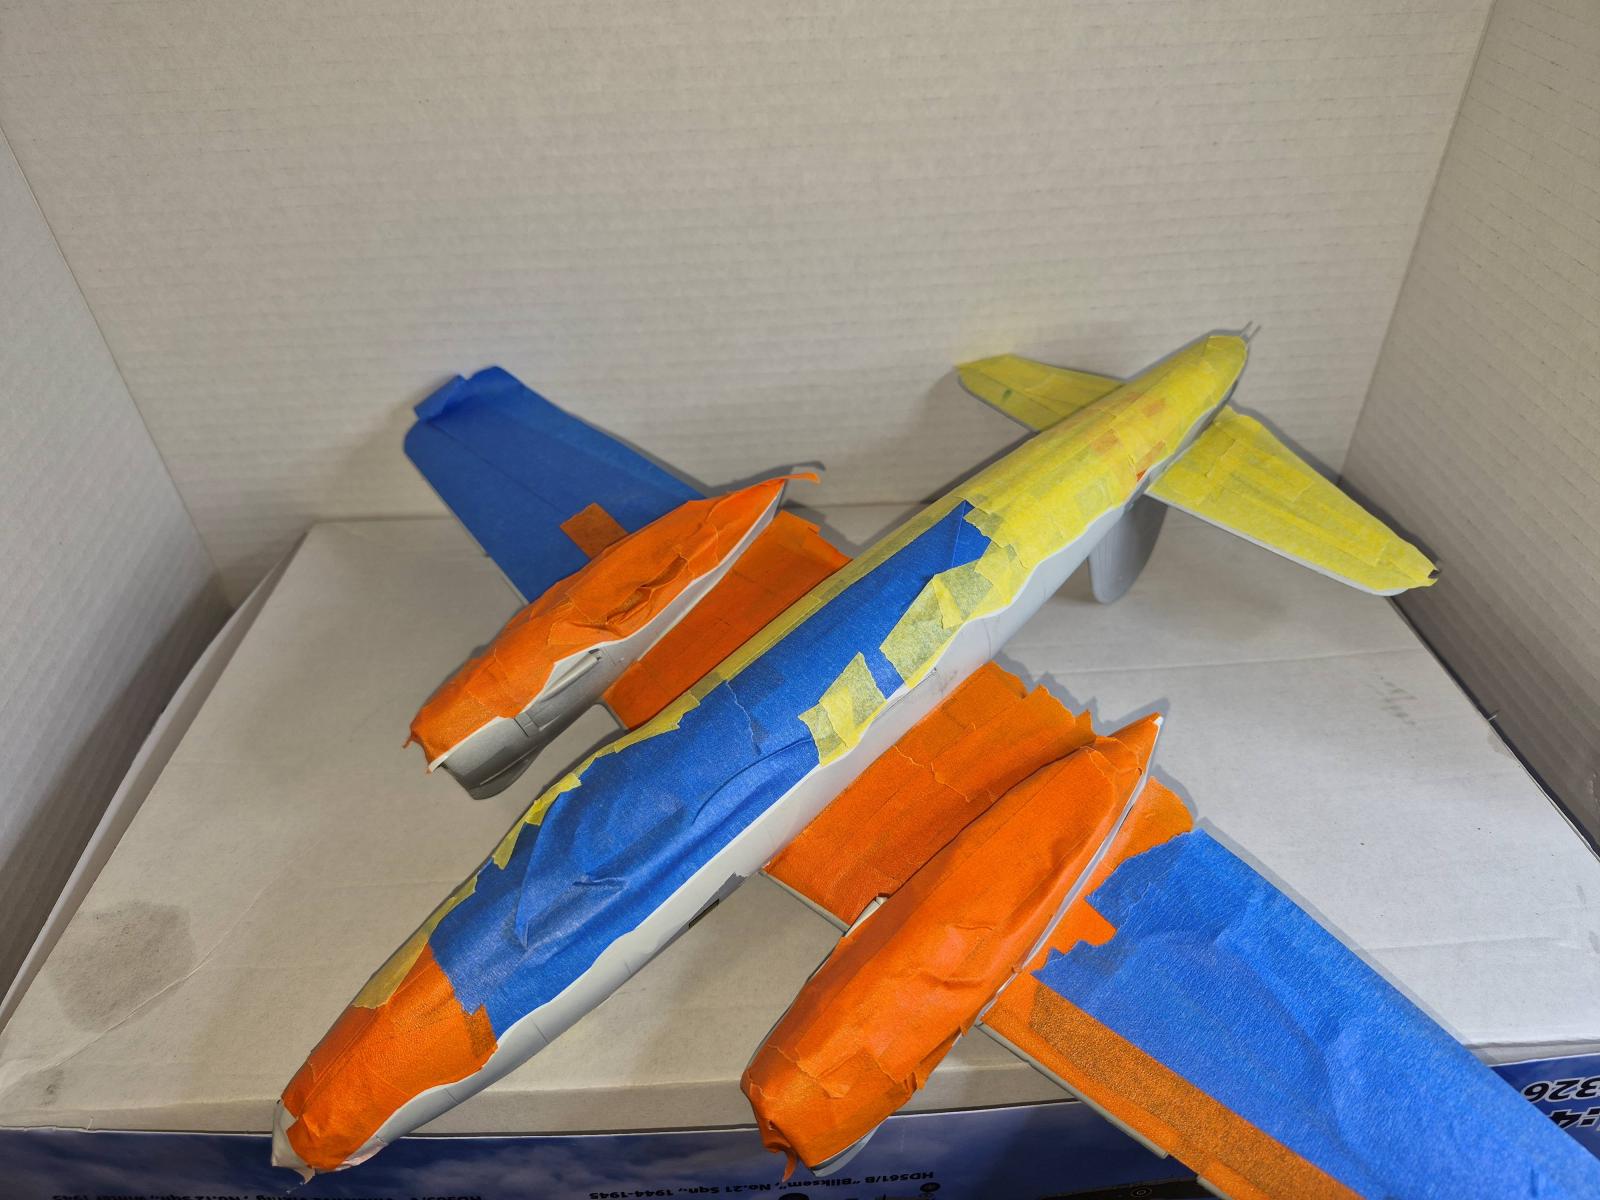
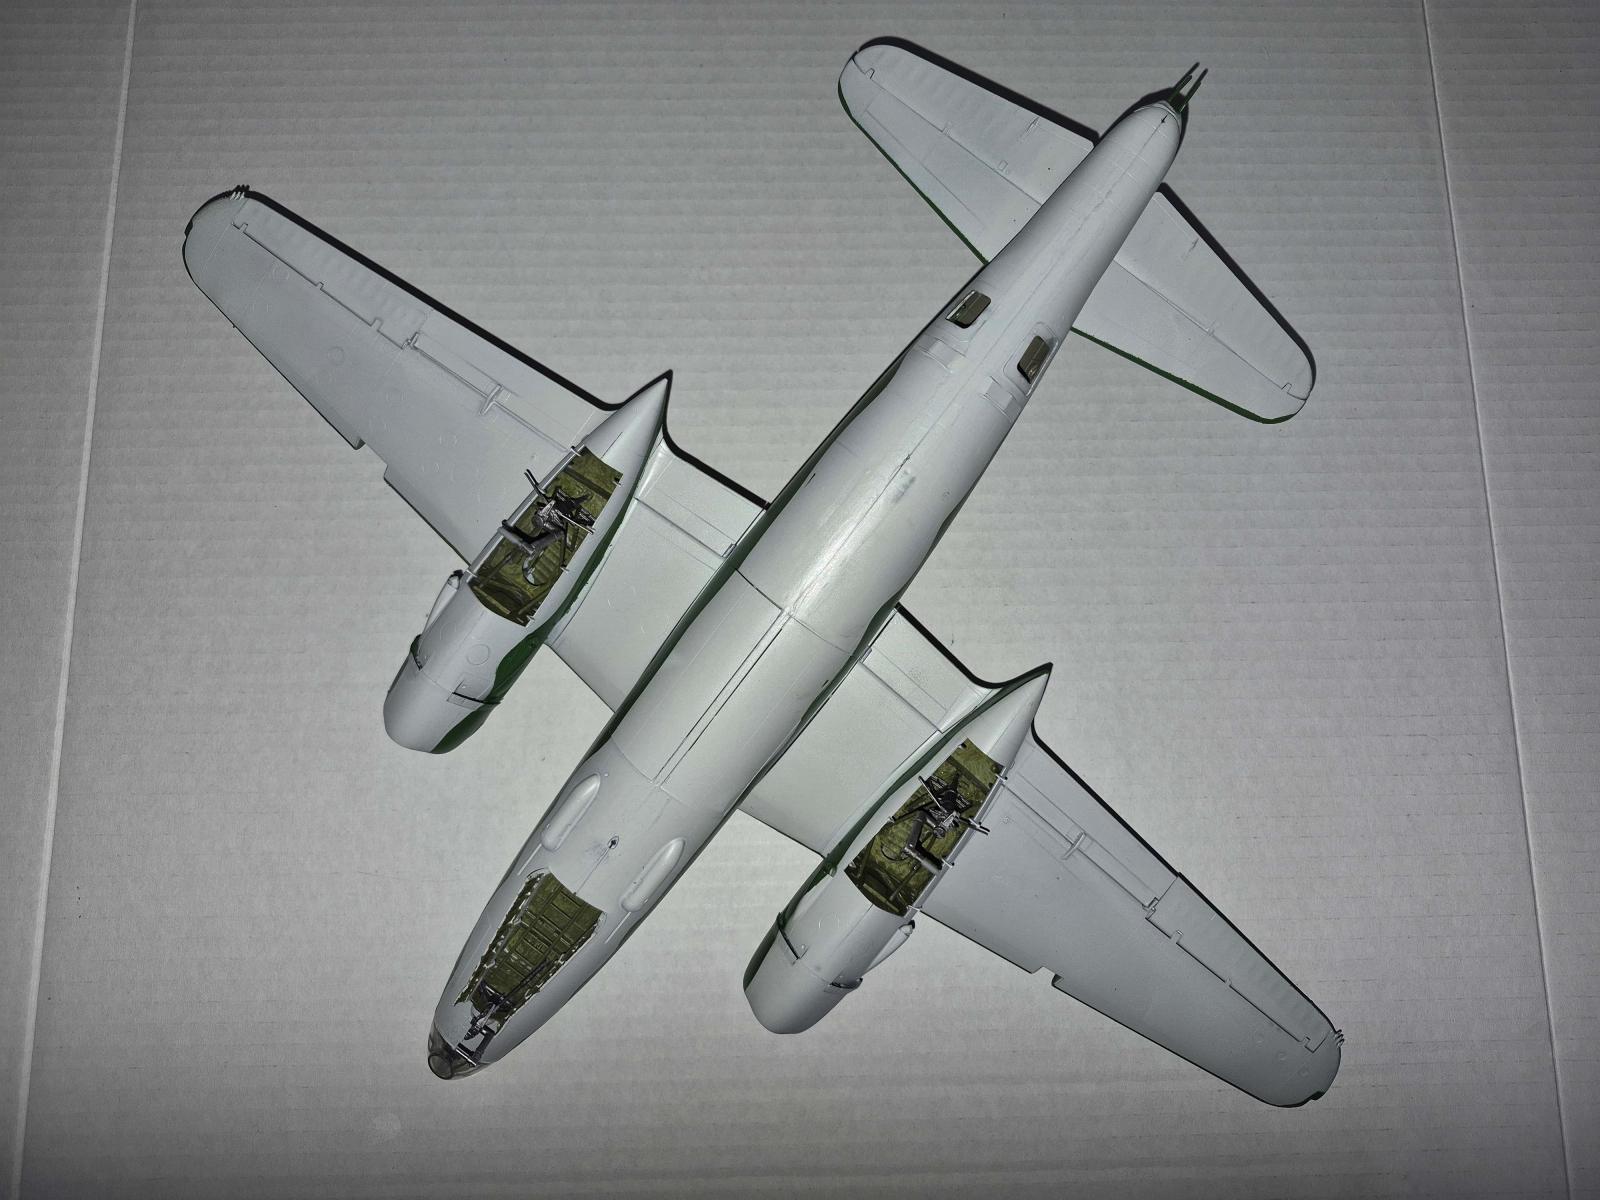
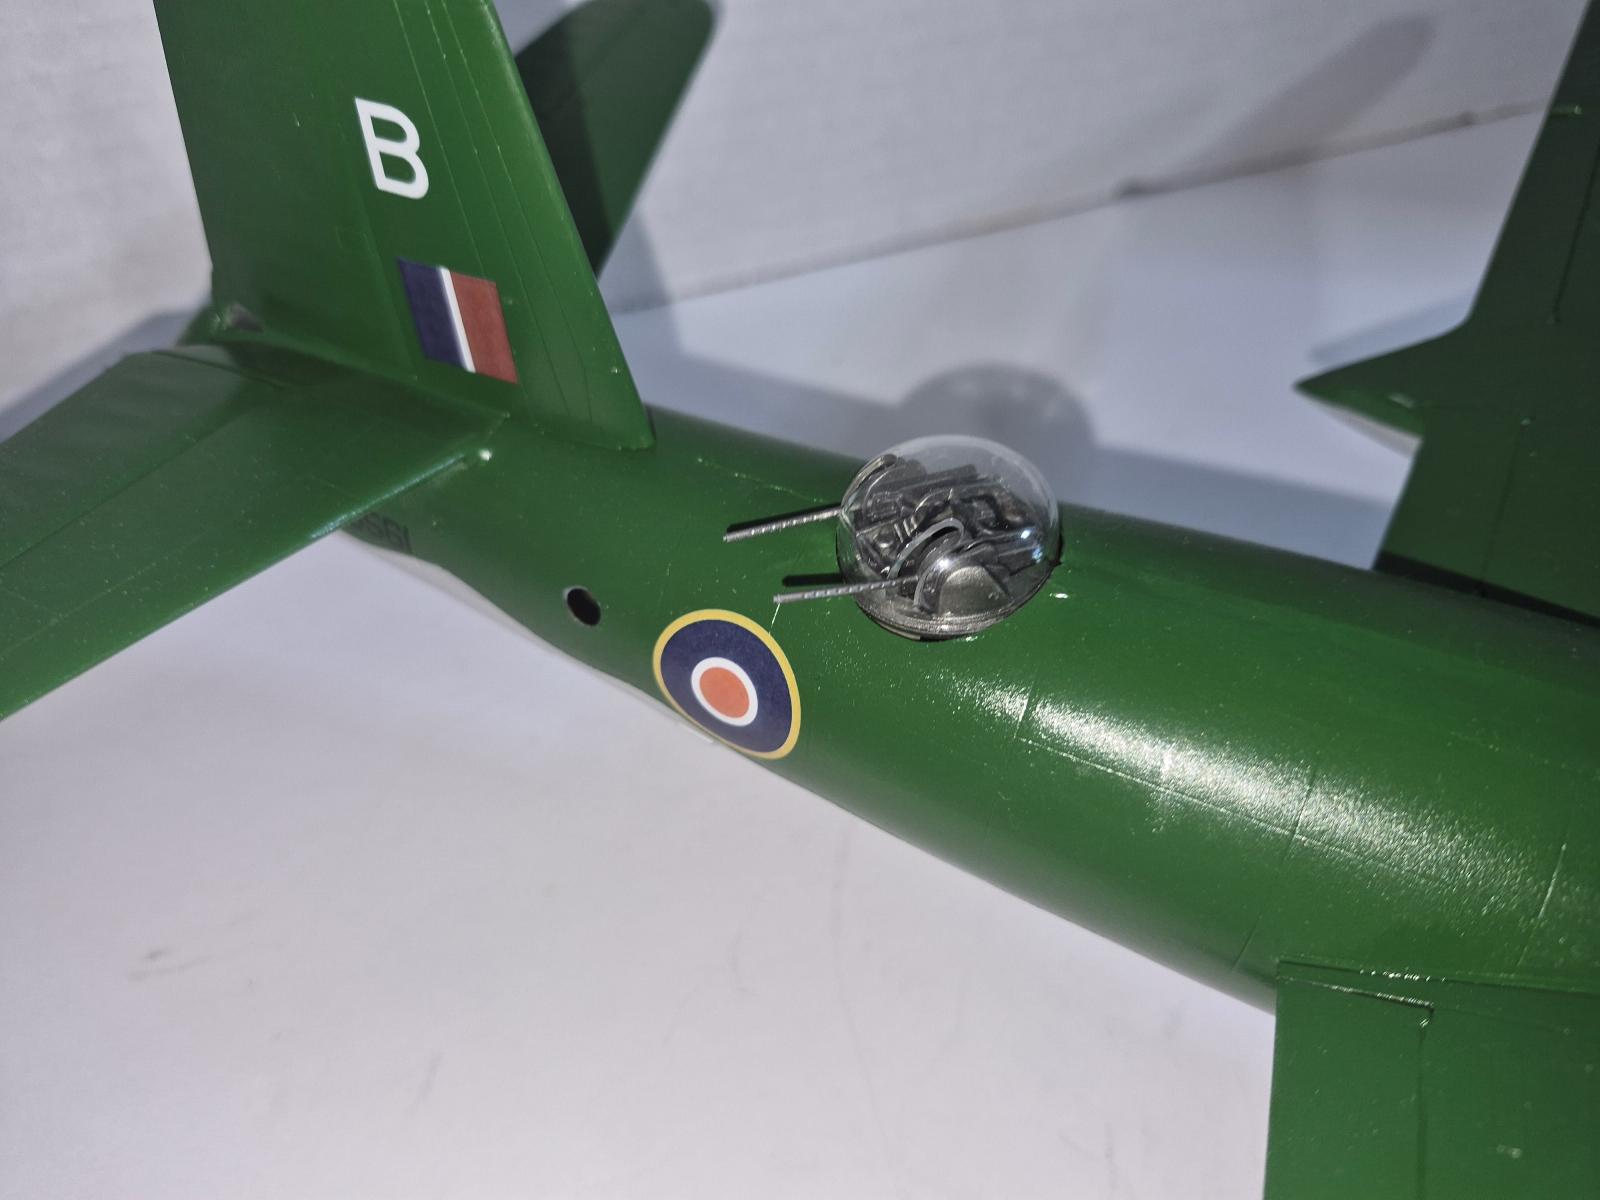
The next thing was assembling the fuselage. I did have some fit issues, as noted below, but was able to fix it to my satisfaction. After the general assembly of the aircraft (minus landing gear) I sprayed the bottom a pale grey. After this, I started to mask this to apply the green. The masking took a while, but I was pleased. I did knock some of my windows into the interior of the fuselage, so be careful with the pressure you apply while masking.
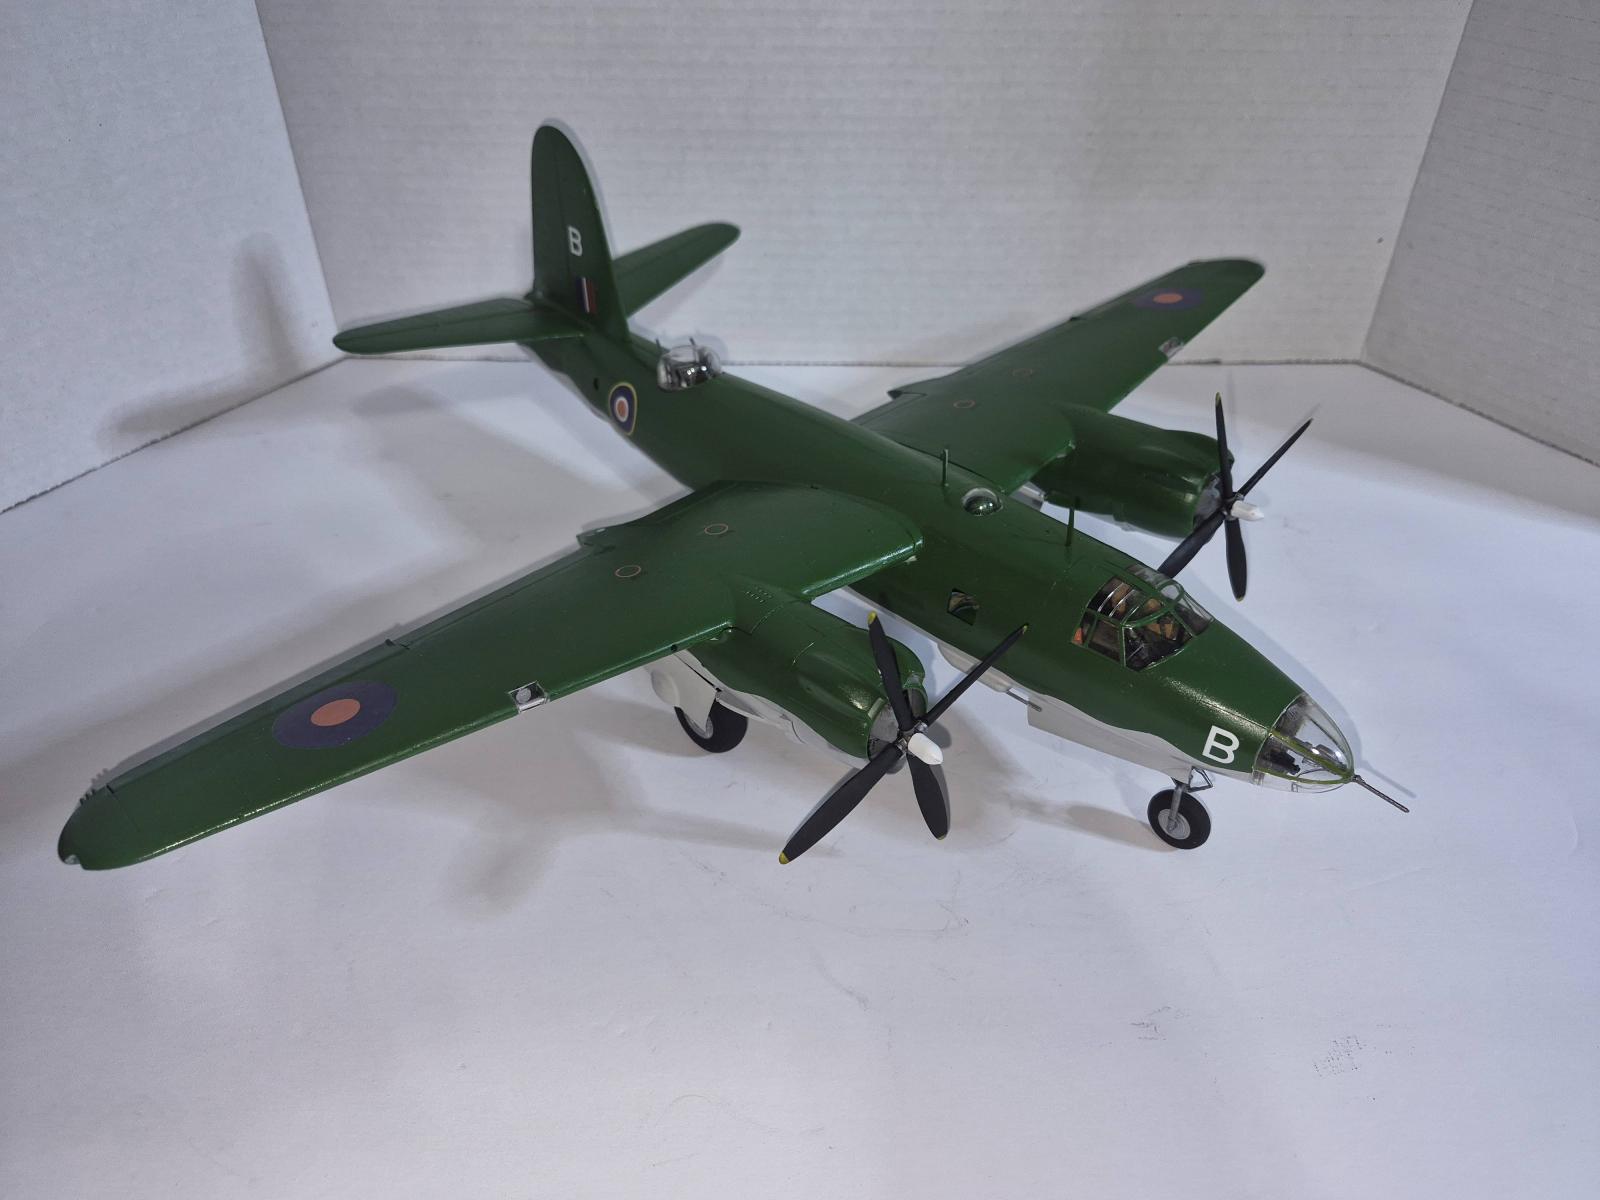
After painting out the model, I started working on the final pieces, landing gear, and other little items to finish.
One thing I really like in this kit is the landing gear doors on the wings. There is a close-up picture of this. The way it was designed makes for a very strong connection that also makes the doors symmetrical to each other. This has always been a struggle for me to accomplish, and the doors tend to break free. I have a lot of confidence in the strength in this kit. Very well done!
Issues (And Solutions)
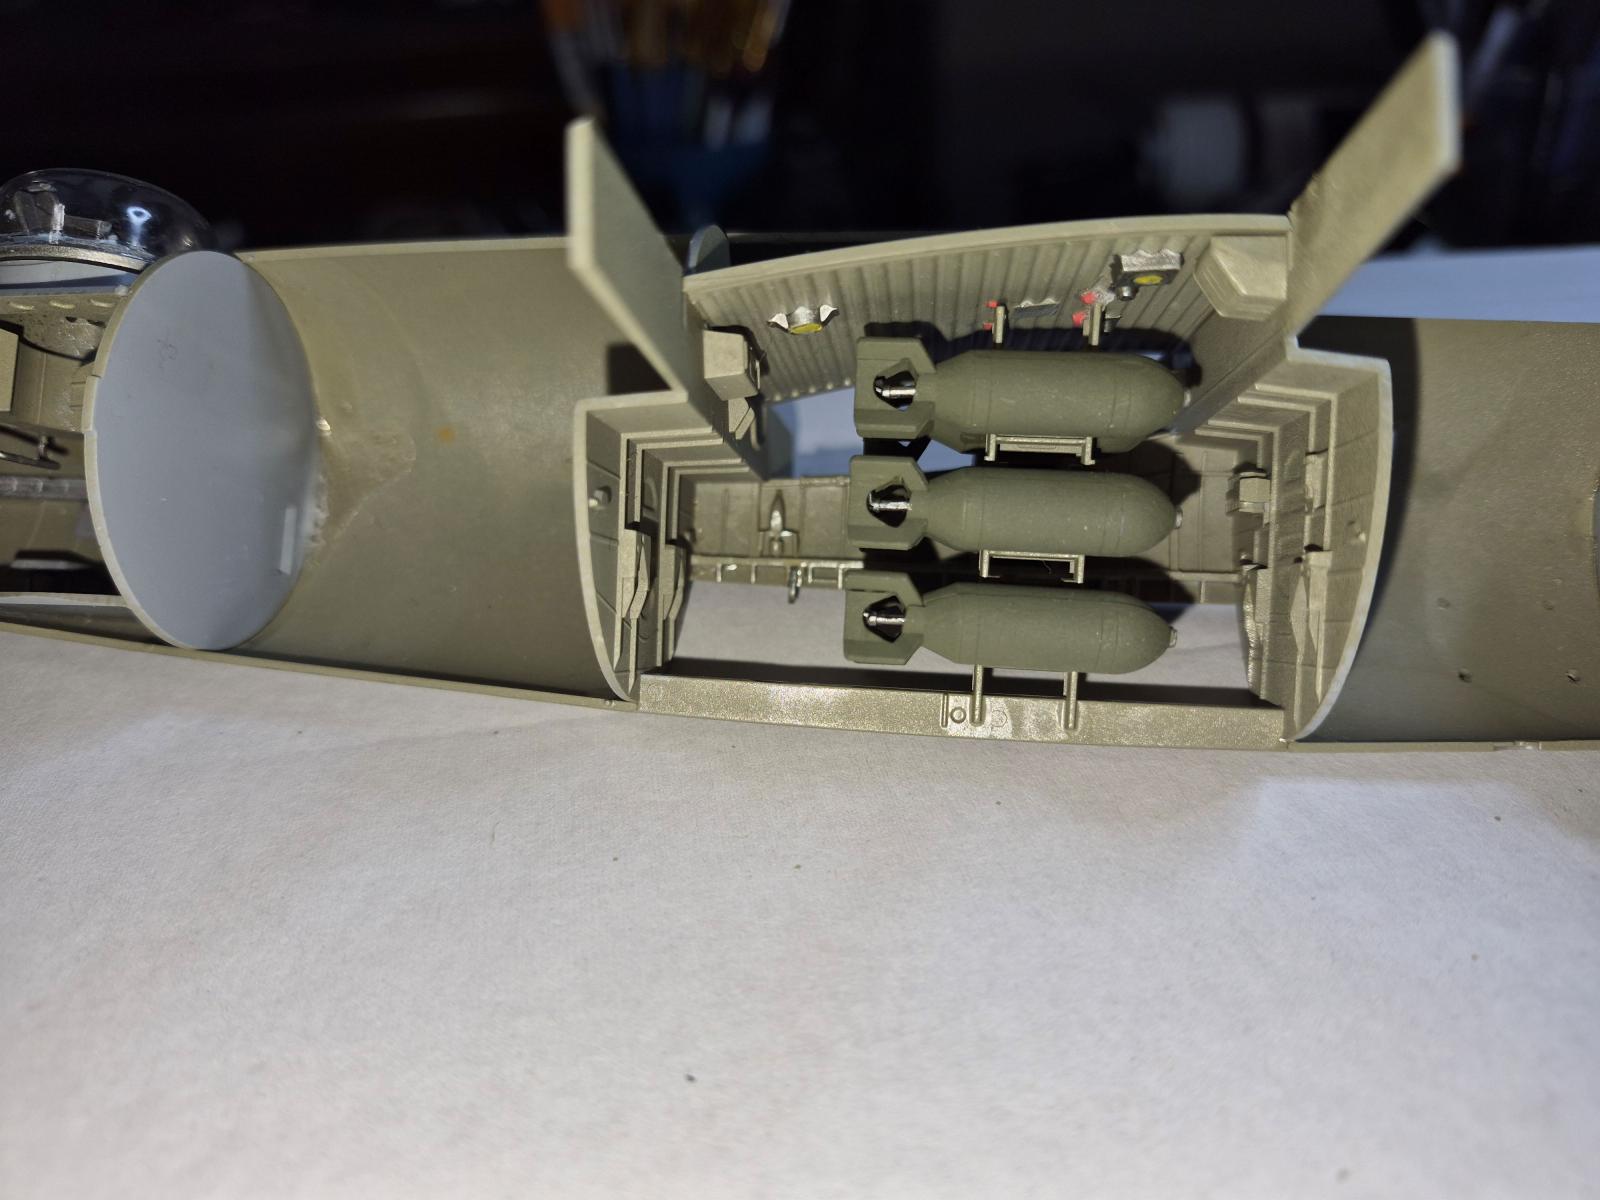
- Step 4 - (Part D41) These are the brackets for the open bomb bay doors, if you choose to build with this option. These parts are longer on one arm than the other, and the instructions are really not very clear, as they appear to be of uniform size in the diagram. Later in the instructions, (Step 56), it appears that the longer arm is to the external face of the fuselage. Short arm inside, long arm outside. That is how I decided to attach these parts, and it worked out just fine.
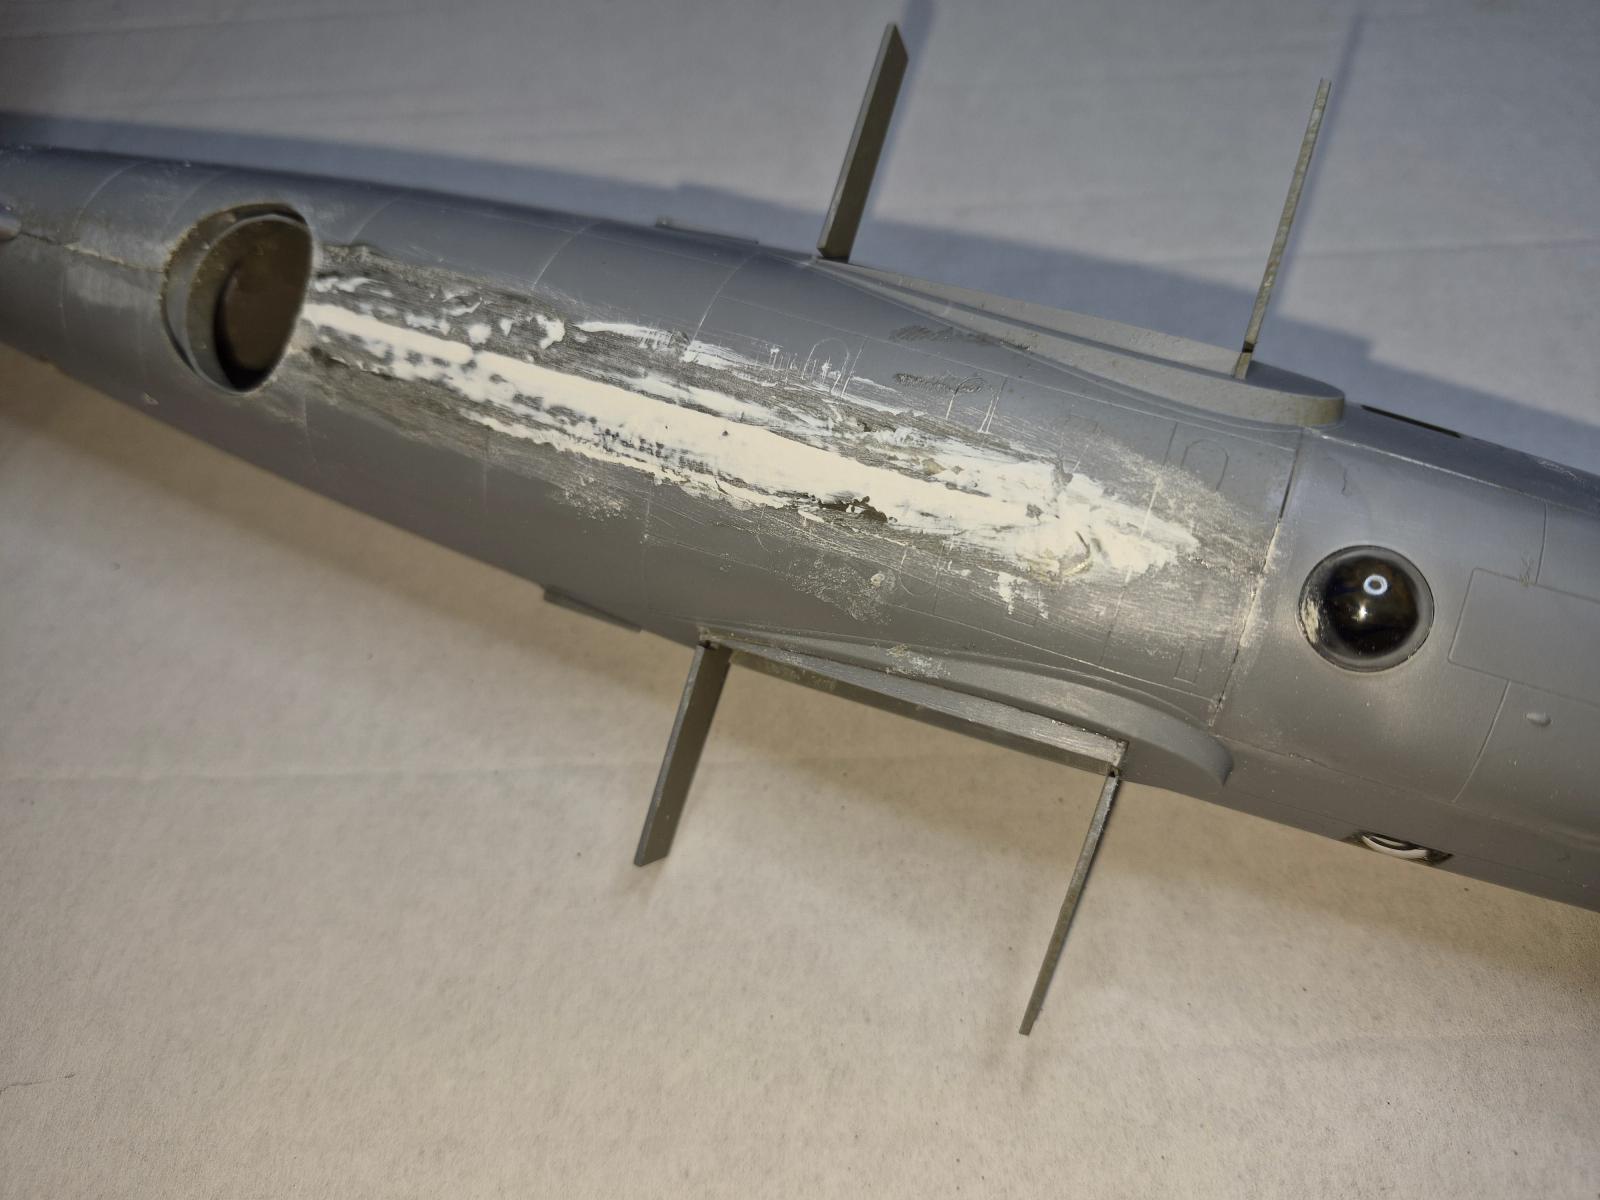
- Step 47 - No matter what I did, I ended up with a very big gap on the top of the fuselage when combining the 2 halves together. I sanded the bulkheads inside the fuselage to allow a little extra space to get the seams to match, but nothing worked. (This is not a jab at the design or manufacturing of the kit at all) I tried a few things to fix this and ultimately, what worked the best was making a big batch of sprue goo and filling the seam with that and after it settled into the crack, smoothed some Tamiya White Putty to fill the slight depression. After I let it cure overnight, I sanded it down to be as smooth and even as the fuselage as I could. I am not an expert at this, but I am pleased with the results.
Conclusion
Another ICM kit that has proven itself to be of the highest quality and enjoyment. ICM has become my chosen brand for kits that look great, challenge my skills, help those skills improve, and most importantly, they are fun to build! Thank you for the opportunity to review another ICM kit.
Comments
Add new comment
This site is protected by reCAPTCHA and the Google Privacy Policy and Terms of Service apply.
Similar Reviews