
Hs 123 A-1 (Late)
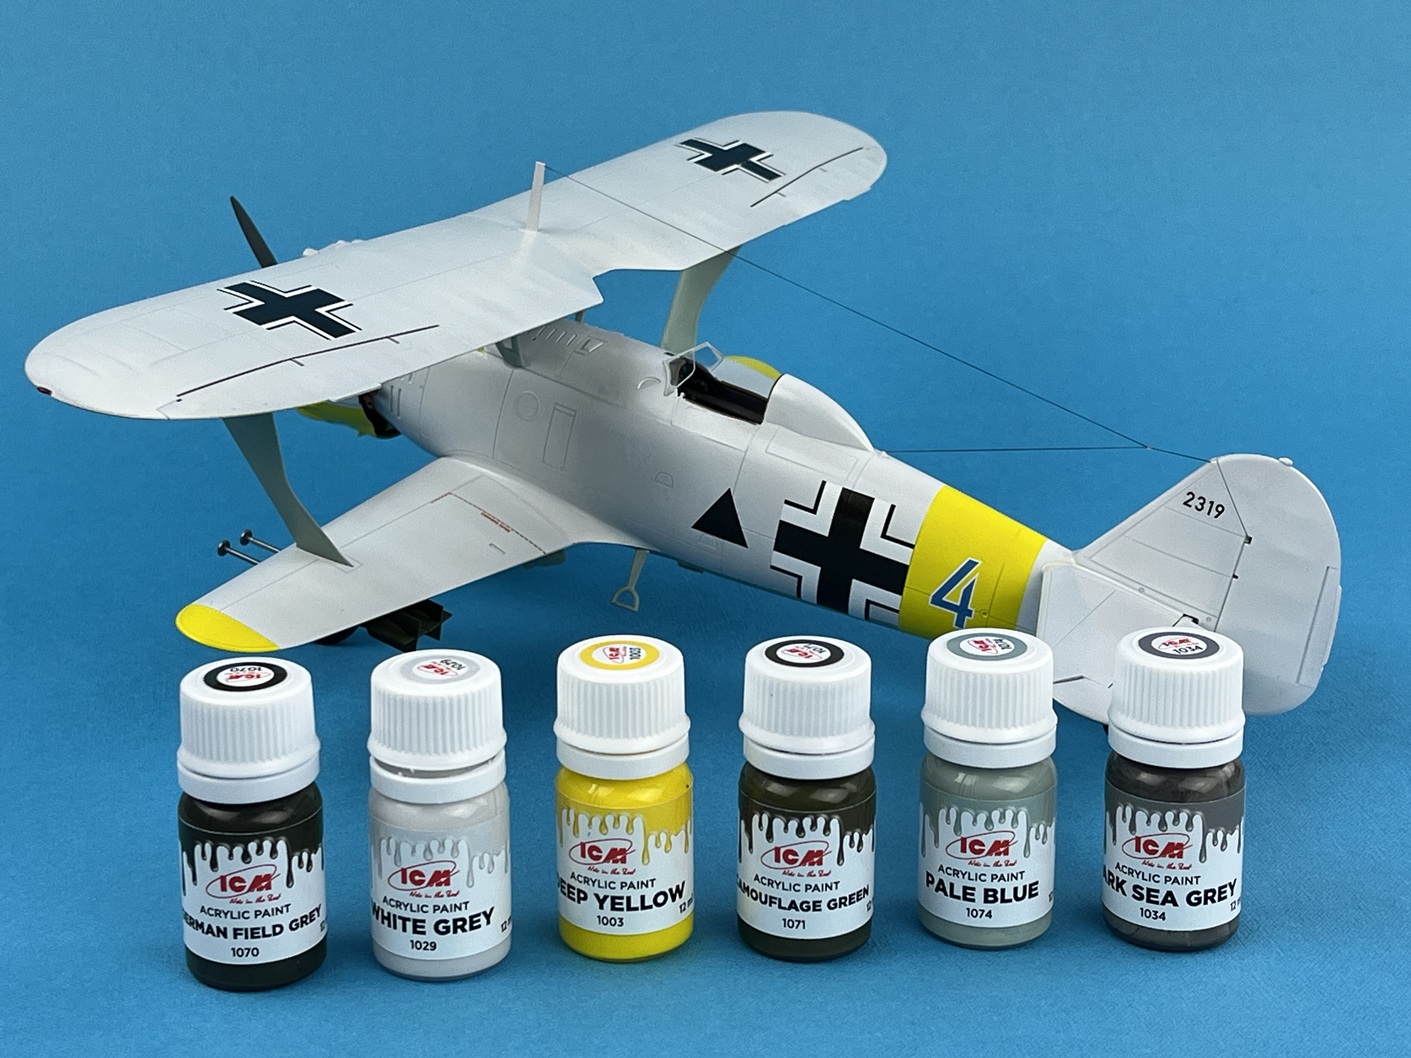
ICM have released several versions of this biplane, and the box art depicts a plane in snow-white camo in 1942 on the German eastern front. These rugged aircraft served in ground support and training roles throughout the war, even after being supplanted by the more modern Ju 87. They were only taken out of service in 1944 due to a lack of spare parts.
I was excited to be asked to do a build review of this kit, as ICM have a reputation for common sense engineering, interesting subjects and excellent fit. This kit is no exception.
ICM also provided a paint set (Item 3095 Luftwaffe Assault Aviation) along with the kit and I tried to use these paints in my build whenever possible. Other IPMS reviewers have commented on the quality of these paints, and I agree they work well hand brushed or airbrushed, except for the White Grey (1029) which requires a white primer coat or more than one coat to get full coverage. I was apprehensive about using such small quantities of paint for large surface areas of a kit in 1/32 scale, but I needn’t have worried, as there was plenty of paint, even when I had to make touch-ups and paint over my mistakes.
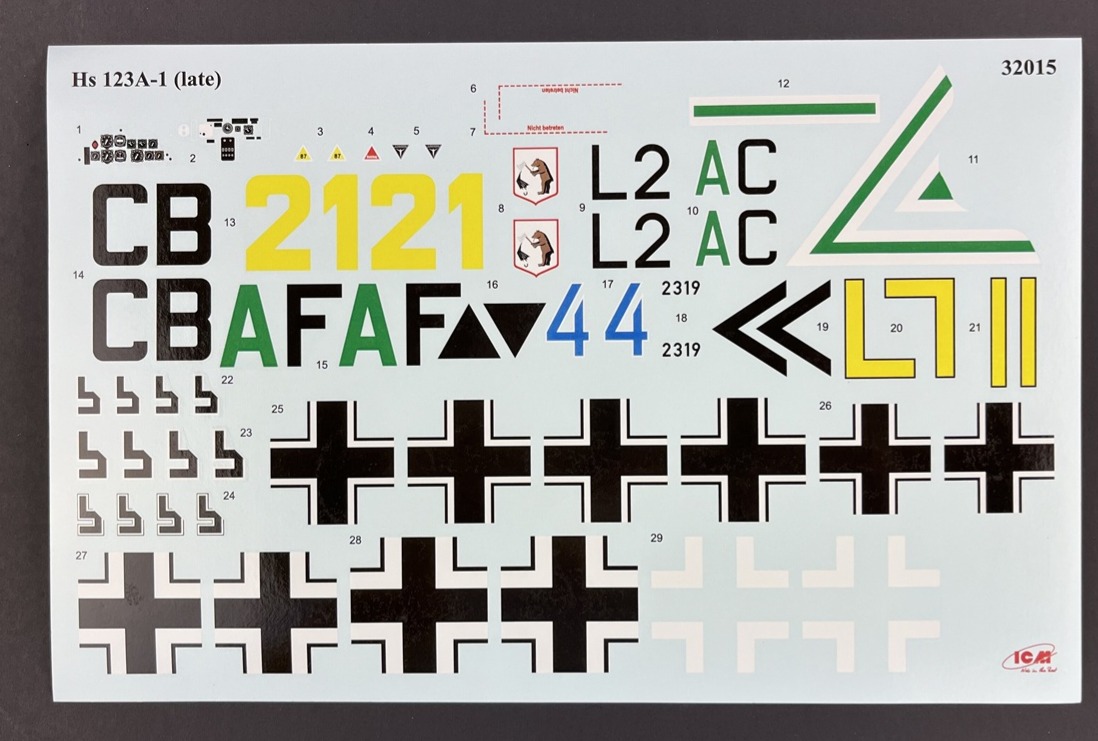
The instruction booklet contains 20 pages with clear drawings of the sprue layout, with unused parts highlighted in red. Assembly steps are clearly illustrated and color call outs are marked with letters in red ink and refer back to the cover of the booklet where all the colors are listed. The modeler will be performing 71 assembly steps to complete this kit. The last four pages are devoted to color profiles and decal placement guides for four different planes in various theaters and at different points during WWII:
- Hs 123A-1, II.(Sch)/LG 2, 2nd (Assault) Group of the 2nd training Squadron, France, Spring 1940
- Hs 123A-1,Flugzeugfuhrerschule A/B 71, Pilot School A/B 71, Prossnitz, Summer 1941
- Hs 123A-1, Erg.St. (Sch.)/LG2, Auxiliary (Assault) Squadron of the 2nd Training Squadron, Eastern Front, Winter 1942
- Hs 123A-1, II./SG 2, 2nd Group, 2nd Assault Squadron, Eastern Front, Spring 1944
Eight light-gray and one clear sprue make up this kit, which is composed of 202 parts; fewer will be used depending on which version you choose the build.
Assembly follows a logical progression from interior subassemblies, closing up the fuselage, constructing the engine and adding wings and landing gear.
I will assume the reader has a basic knowledge of model construction, so I will include part listing errors and tips that may help with some of the more challenging steps in construction.
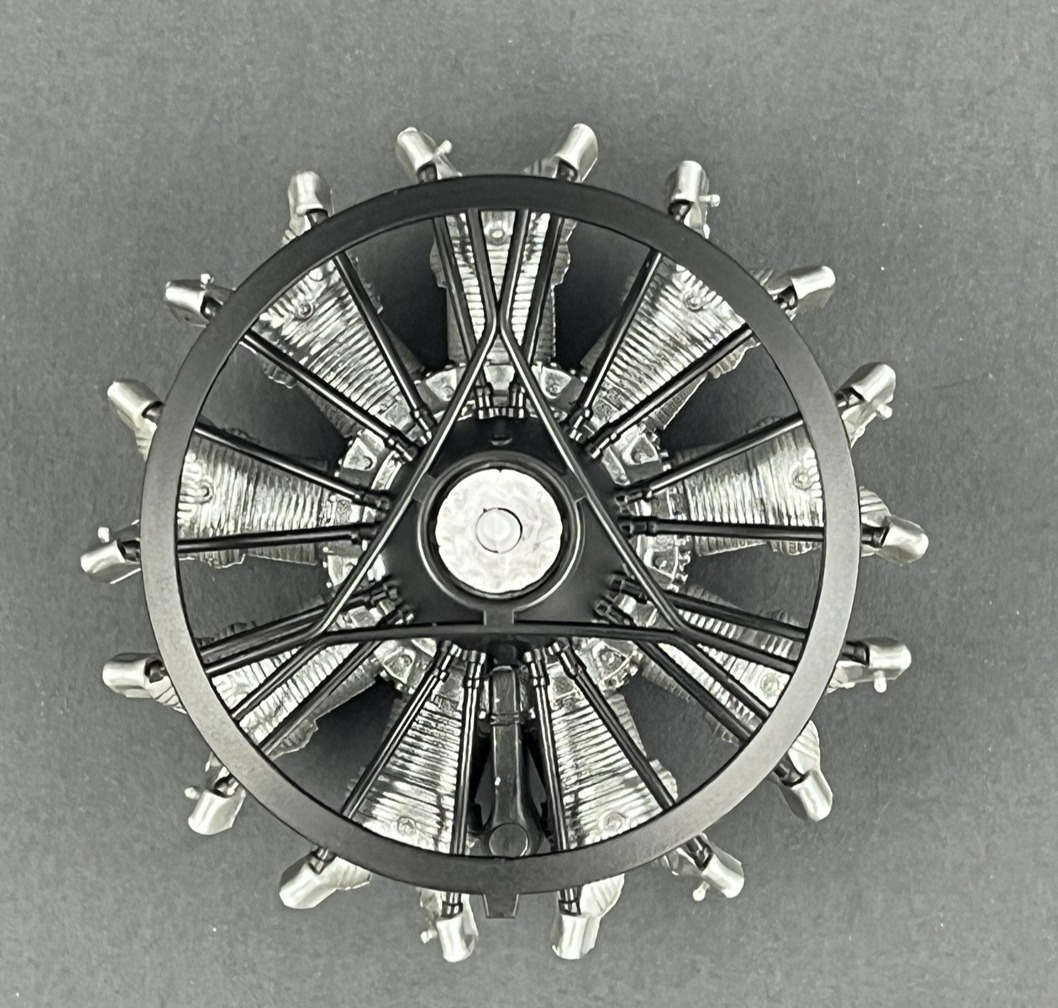
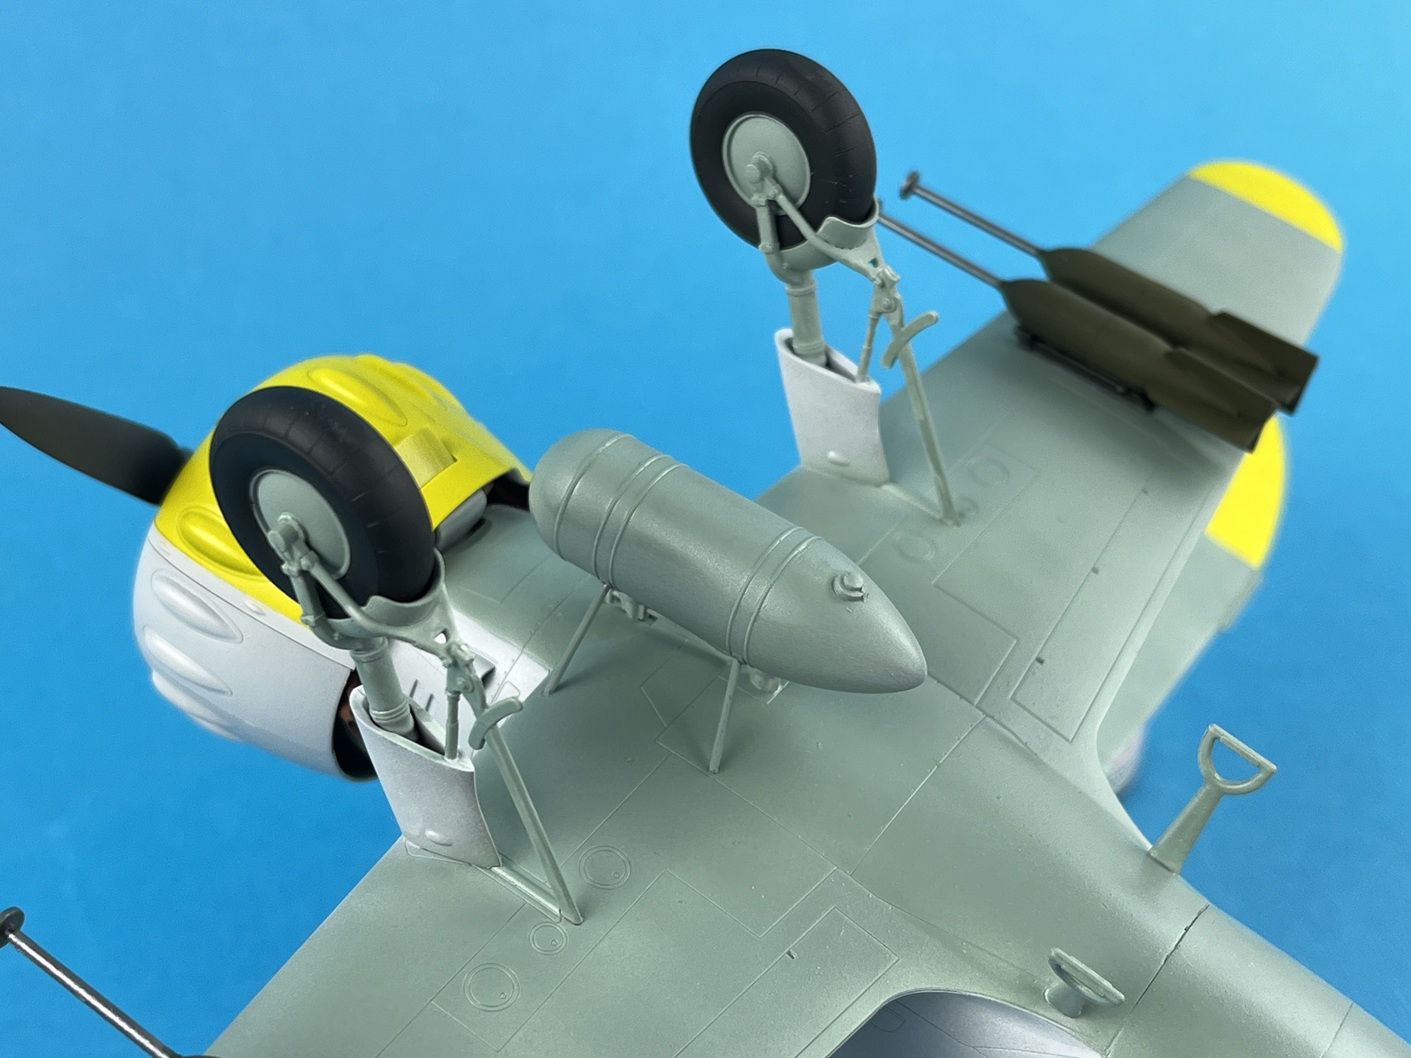
In steps 37 and 38 the bezel covering the hole for the machine gun bullets to pass through is erroneously listed as E20. It is actually F20. Also, this is a good time to mention that once these parts are glued into place, a hole can be drilled through the cowling parts E13 and E14 with a number 51 drill bit to add realism. The cowling in this kit has posed a problem for several modelers, and I can offer some advice to make your efforts a little more fruitful. Since the detailed engine has realistic valve covers, two per each cylinder, these are nice if you plan to build your plane with the cowling removed for engine maintenance. But when assembling cowling pieces over the engine, they interfere with the fit. Cutting them off is best done before mounting the engine and exhausts to the front of the fuselage, in order to avoid breaking or damaging the other assemblies. Removing these valve covers cannot be seen on the completed model. A brief note about the exhaust parts G37 and G31. They need to be mounted as close to the fuselage as possible, otherwise they will interfere with the fit of E29 and E30. In step 35 the bottom of the cowling (E5) mounts to the engine ring as well as the carburetor intake, and a solid placement will make the rest of your cowling assembly process much more satisfying. In my experience, the engine ring which the front of each cowling piece mounts to was not as important as I thought. You are better off to make certain that each successive section of the cowling (parts E4, E6, E-29, E30 and finally F10’s and E13, E14) mates well with the previously mounted and glued part. It is best to allow time to ensure the glue has set before adding the next piece in this puzzle since any shifting will throw off the entire finished product. In my case, I had to muscle and clamp the final connection until the glue set since I had 1/8 inch gap to resolve. Follow my advice and you will be pleased with the final result.
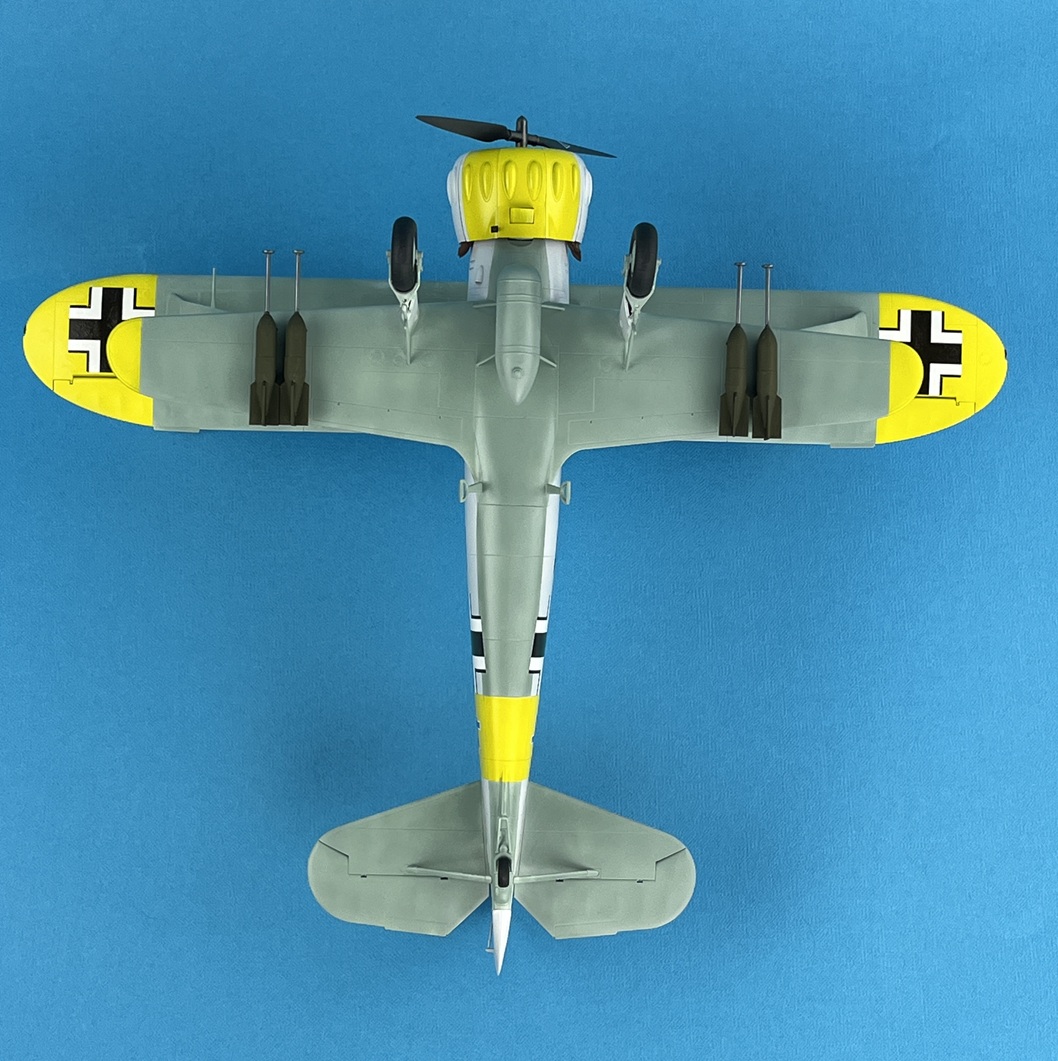
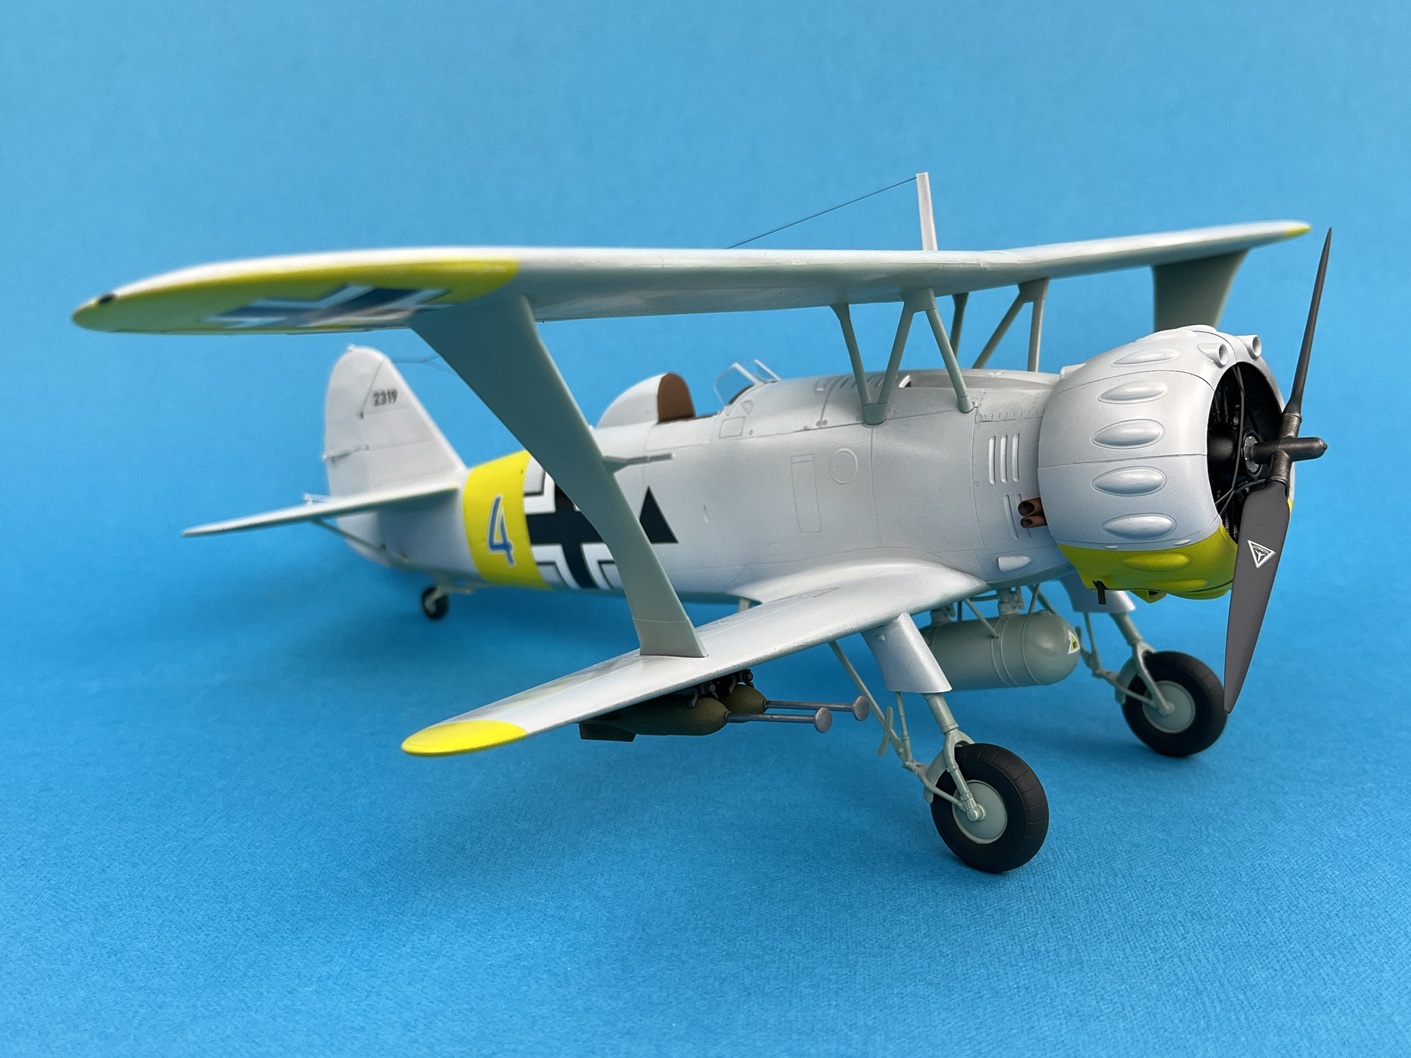
I chose to build version 3 from the marking options since this most closely matched the paint set ICM provided. It is possible to paint all the colors of this version with the 3095 set with the exception of the clear red and green marker lights, silver for the engine and a red lever in the cockpit. I chose to build my plane without the spats since I wanted readers to see the detail of the uncovered landing gear.
Decals moved easily from the backing paper even in cold water, and were easy to maneuver on a wet surface. They were opaque and covered well. No silvering was noted when applied over a gloss coat. I used pledge acrylic floor polish.
Conclusion
Relatively low parts count, excellent fit, ease of assembly, and interesting marking options make this a winner for experienced or novice modelers. There is a handy QR code on the cover of the instruction booklet, that when activated by your phone camera, takes you to a computer animation of the assembly process, start to finish.
Great thanks to IPMS and ICM for allowing me to review these products.


Comments
Add new comment
This site is protected by reCAPTCHA and the Google Privacy Policy and Terms of Service apply.
Similar Reviews