
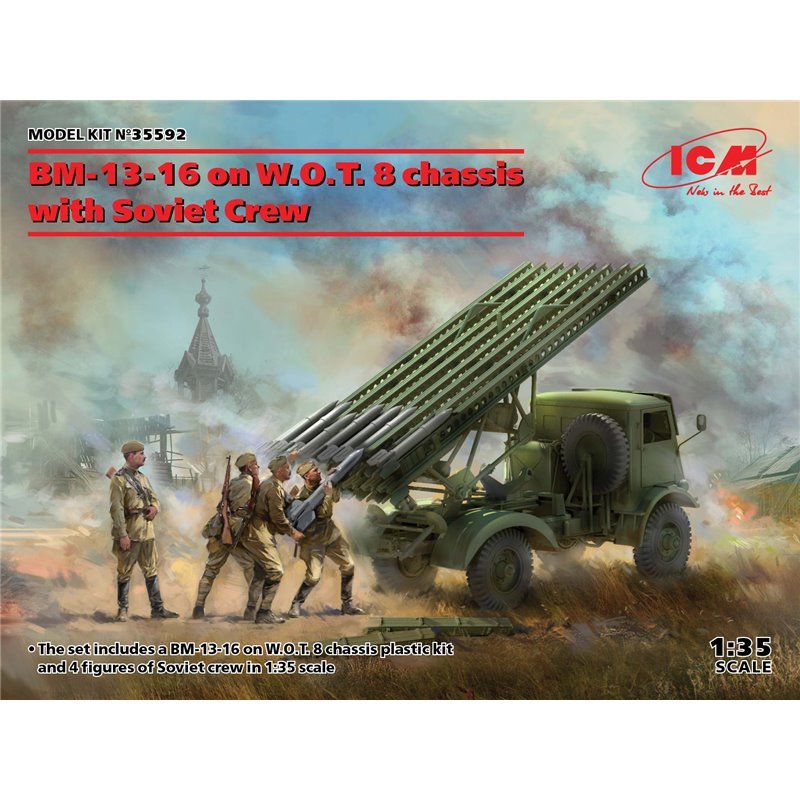
BM-13-16 on W.O.T. 8 Chassis
History
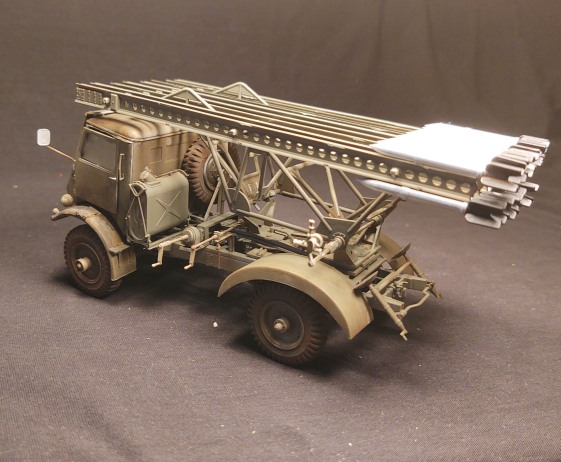
The BM-13-16 was the most numerous example of rocket artillery in the Red Army’s arsenal during WWII. The system included 8 rail guides holding 16 RS-132 rockets. It was a formidable weapon that struck terror in the hearts of anyone on the receiving end. The system was often installed on the chassis of trucks delivered to the USSR under Lend-Lease. In this ICM release, the chassis belongs to the British Fordson W.O.T. 8 4x4.
The Kit
Inside the durable cardboard box are twelve dark green styrene runners, one clear runner, one PE fret, and five vinyl tires. There are no decals included in the kit, which is a shame as it would have been nice to at least have some for the instrument panel dials. There is only one scheme offered in the kit for a Russia 1942 Olive Green sample.
The Build
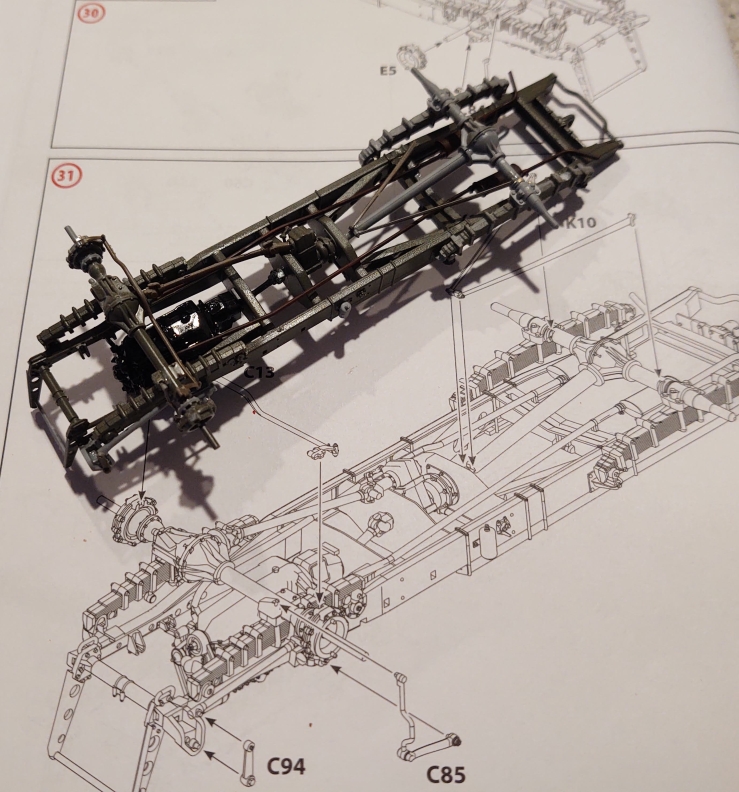
The first 11 steps involve construction of the chassis frame. The assembly consists of a total of 24 pieces and the fit is really quite good. Everything aligns well and the directions are clear. I did have one broken part and it wasn’t fixable due to the very thin piece, so I left it as it was since it wouldn’t be seen.
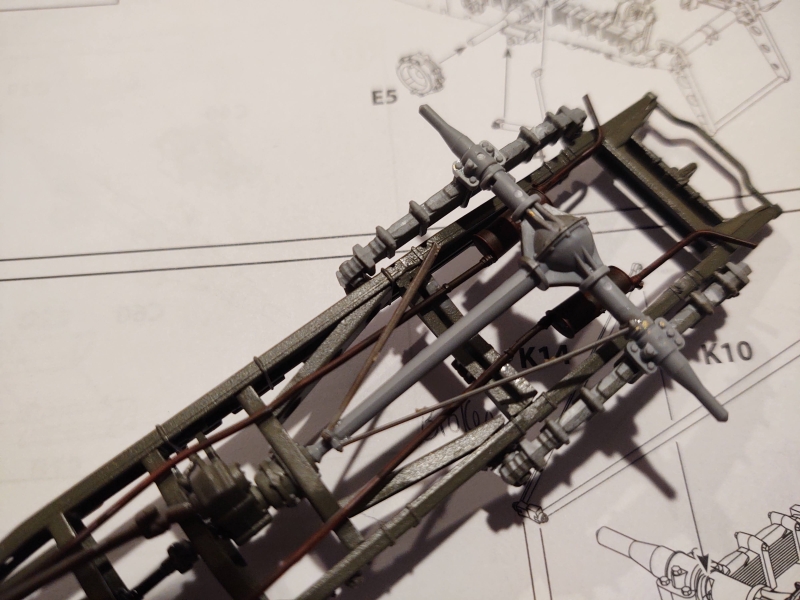
Steps 12-19 involves the construction of the engine and consists of 16 pieces. It looks to be a pretty good representation of the water-cooled Ford V8, but will be completely hidden anyway, so you don’t have to feel obliged to detail it up. The engine, leaf springs, and exhausts are then added to the lower frame. Steps 25-31 complete the assembly of the parts to the lower frame and the wheels are then added. The vinyl tires have some ugly seams that you can either clean up or muddy. One thing to note here was part number K14- a V shaped piece that attaches to the rear axle was snapped in half, but the piece was not anywhere to be found, so I glued what was left in place.
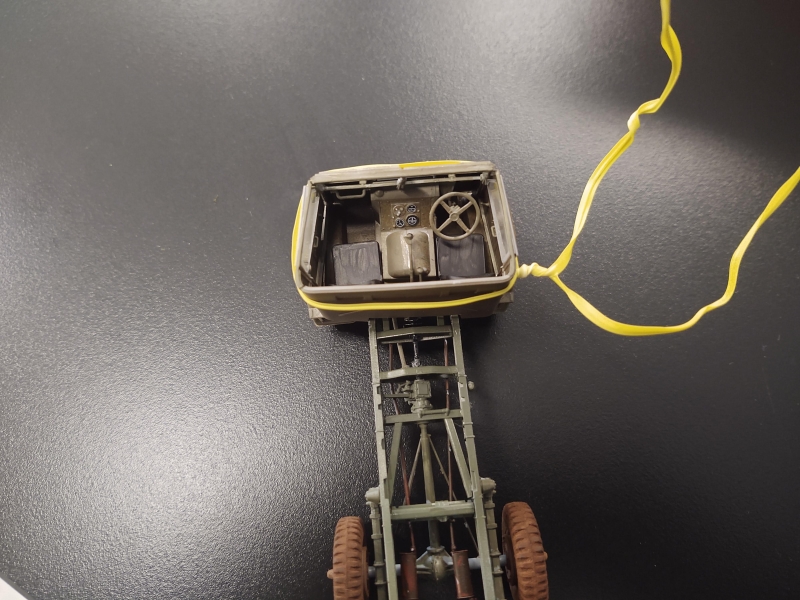
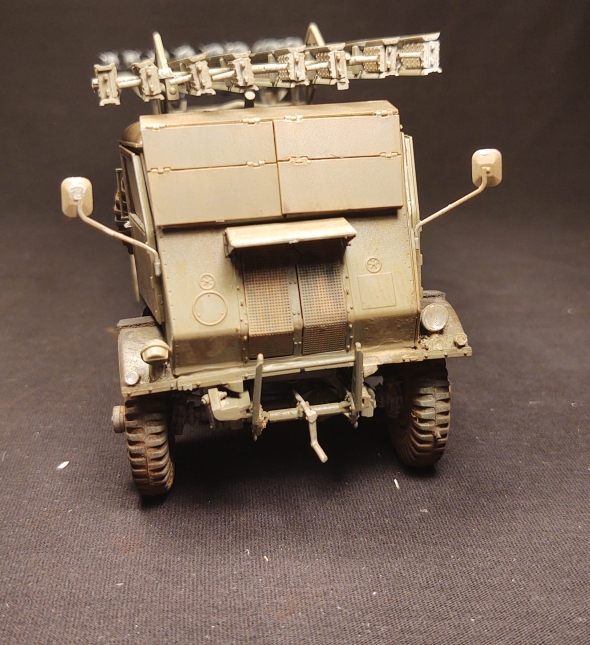
Steps 39-41 involve the front fender and it is attached to the frame along with the radiator and engine air filter. The radiator hoses are then installed. The instructions have you install the sides of the driver’s compartment, levers and pedals, panel, and seat assemblies next. You then move on to the cab front, windows, and such.
If I had it to do over, I would divert from the directions. They would have you add the cab sides, then install it to the frame. From there, more interior details like the steering wheel assembly and front edge. The doors and their windows follow, then the cab rear, and then the roof. Lining all of this up was a nightmare and if I had it to do over again, I might assemble the whole cab together first and then put it onto the frame.
Steps 75-83 involve building the fuel tank and spare wheel sections and attaching them to the back side of the cab.
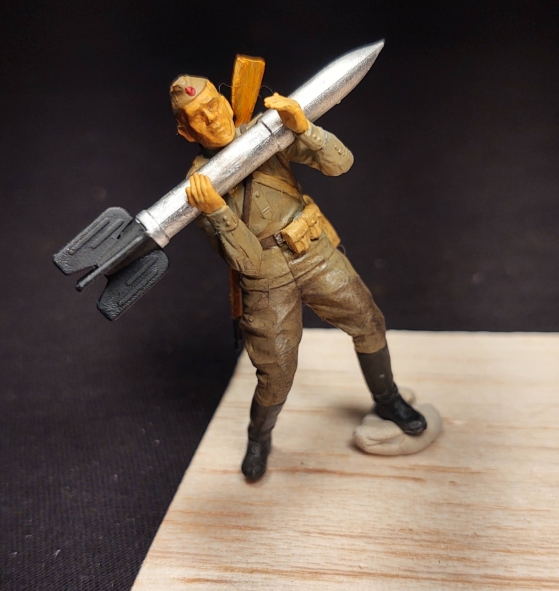
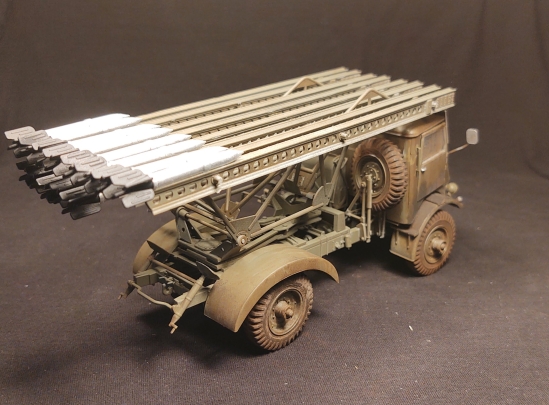
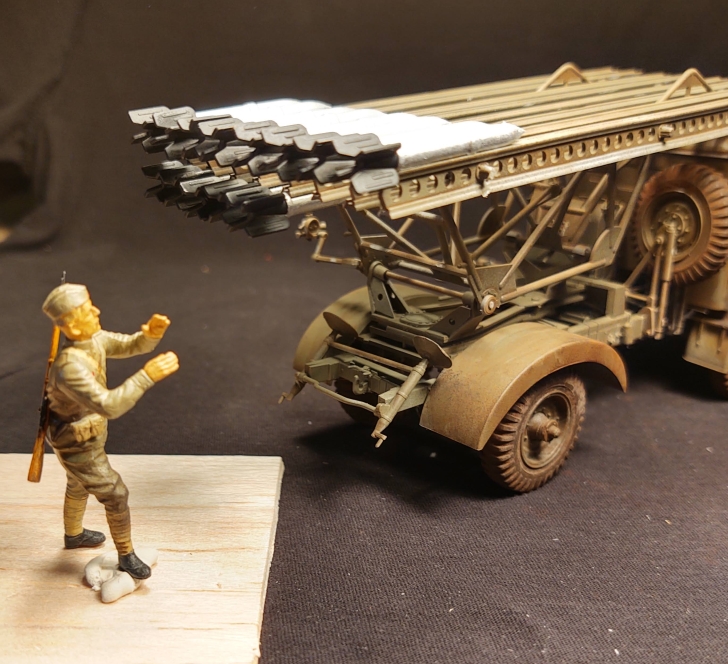
Steps 84-107 center on the rocket rail assembly and look to be intricate- but if you go slowly and carefully it all fits quite nicely. Each of the eight rails involve six parts and then slide onto three long rods. Lining the rails up is made easy thanks to some jigs that align them evenly. It isn’t mentioned in the directions and so I thought it was part of the assembly- but luckily I figured it out before I glued them to the assembly. The frame that attaches to the rail assembly is made up of nine parts and they are tricky to line up but not too stressful. The rails are then held to the frame with U-joins. You can choose to add all 16 rockets or have some being installed by the included crew. One thing that is not mentioned is whether to use the long or short hydraulic arm that raises the rails. I used the short one which kept everything flat, but also made it all too high to use the loading crew included in the kit. If you want to use the figures loading the rockets, I urge you to use the long piece (K22) instead of K11.
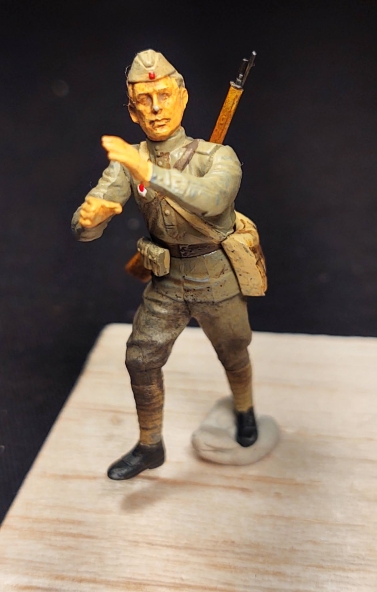
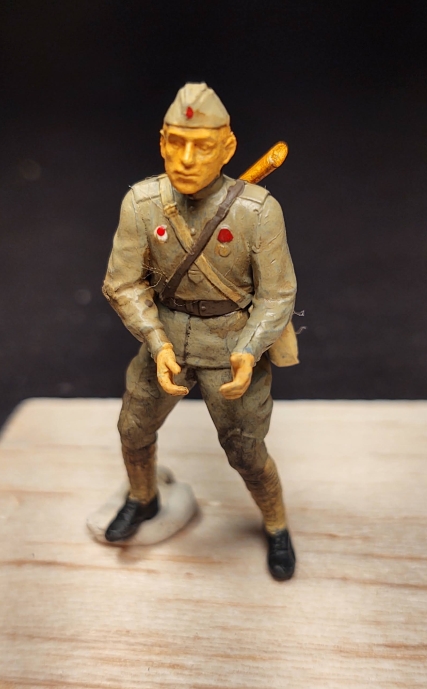
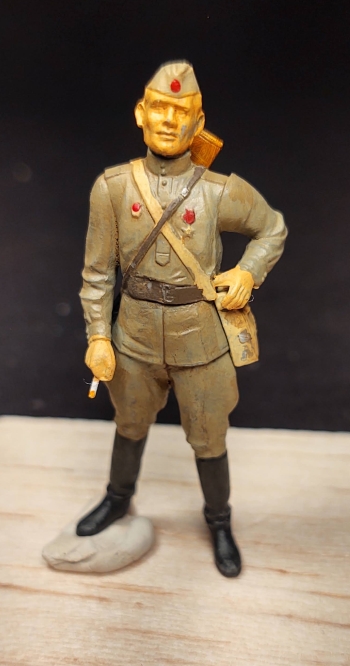
Step 108-116 involves the rear fender assembly that attaches to the frame behind the cab. The rocket rail assembly is then installed to this. More U-joins hold it to the frame, but I chose to glue everything tight. Headlights, side mirrors, hand grabs, and rocket flash guards for the windshield complete assembly, along with some crank apparatus for raising and lowering the rocket rails. 129 steps in total to recreate this rather nice representation of the Lend-Lease based Katyusha.
Conclusion
In the end, this was a bit of a challenging kit-- not for the weak of heart or beginner. As an intermediate builder, I faced some issues with the cab assembly and attaching it to the chassis. However, taking care and time to dry fit everything and carefully align things before gluing made for what needed to be done. It builds up into a nice looking piece and a unique curious addition to my Soviet WWII collection. My thanks to ICM and IPMS/USA for the review sample.


Comments
Builder made an error in constructing the launcher assembly
On this model the rocket launching rails are installed backwards. The wider end with the flat plates attached is supposed to be at the real of the launcher. Those plates are covering the mechanism that secures the rockets to the rail and the electric firing wiring.
[img]https://i.imgur.com/JWkAcNw.jpg[/img]
Add new comment
This site is protected by reCAPTCHA and the Google Privacy Policy and Terms of Service apply.
Similar Reviews