all 2014

Review Author
John Shimek
Published on
Company
AMC Models
Scale
1/72
MSRP
$27.00

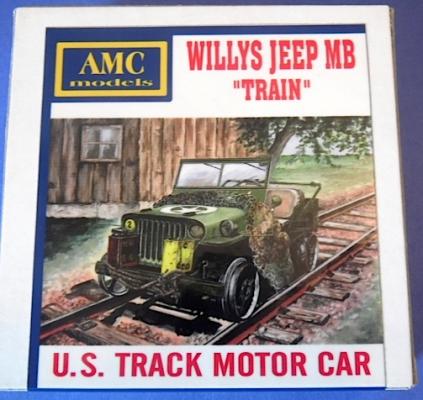
The Willys Jeep is probably the most recognized vehicle during World War II with production equaling 660,703 from 1940 through 1945. This model by AMC models represents a unique variation in its use during the war. It was used to travel on the railroad system with the addition of modified wheels in Europe by some U.S. Army transportation battalions, and in the India Burma theater by British Commonwealth troops.

This model by AMC models is a full resin kit with the addition of a PE windshield screen, grab handles, and clear acetate for the glass. The model comes packaged in a sturdy box with all 31 parts contained in Ziploc bags. There is one decal sheet included of an allied star for mounting on the front hood. Included in the kit is a resin display base of railroad tracks. I

The instruction sheet is one small sheet of double-sided print comprising 5 steps to build the model and suggested painting of the vehicle.

Review Author
Greg Wise
Published on
Company
Hasegawa
Scale
1/48
MSRP
$45.00

History Brief

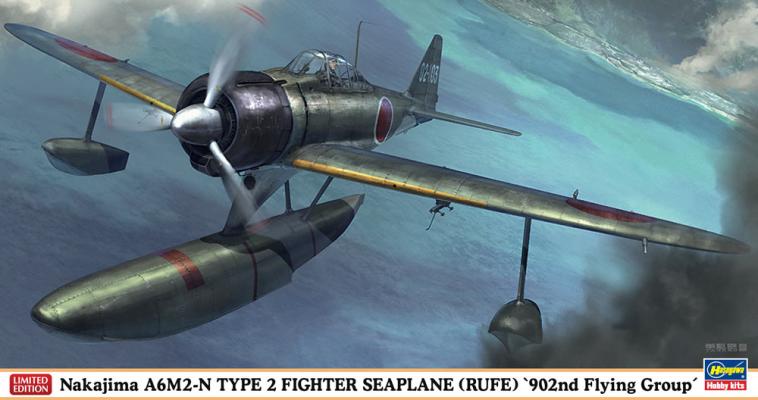
The A6M2-N floatplane was developed from the Mitsubishi A6M Zero Type 0, for the purposes of supporting amphibious operations and defending remote bases. It was based on the A6M-2 Model 11 fuselage, with a modified tail and added floats. This aircraft was the brainchild of Shinobu Mitsutake, Nakajima Aircraft Company's Chief Engineer, and Atsushi Tajima, one of the company's designers. A total of 327 were built, including the original prototype.

The Product

My sample came in a standard size box featuring attractive box art. The contents were well packaged and included; 9 grey plastic sprue, 1 in clear, 1 instruction sheet and 1 decal sheet. This kit has been around for a few years now and has been re-released with differing decal options.

Review Author
Mike Van Schoonhoven
Published on
Company
Ampersand Publishing
MSRP
$9.95

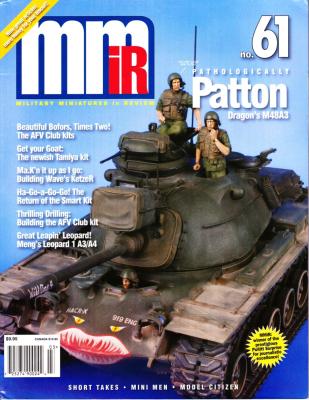
Military Miniatures in Review is an 80-page, full color, perfect bound, bimonthly magazine. Regular features include new product announcements, book reviews and figure reviews.

One of the first things that notice about this magazine is the construction. It has very thick front and back cover with the pages being bound together with glue. All of the photographs are in color and very sharp and clear. One note of interest is they way that the articles are written. They are written as if the person that is writing them is talking to you, some with a little tongue and cheek humor, a somewhat different approach from many of the magazines that I read.

Review Author
Bill O'Malley
Published on
Company
The Bodi
Scale
1/35
MSRP
$21.43

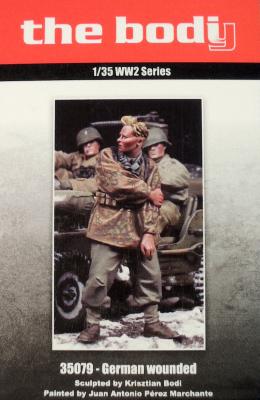
The Bodi’s Wounded German Soldier is a beautifully sculpted figure with a very natural pose and extremely sharp detail. The figure is modeled holding his wounded left arm and stands about 5 ft. 8 in. tall. The box art shows the soldier under the watchful eyes of a U.S. Jeep driver and passenger, also The Bodi figures. The Bodi is a Hungarian company that produces resin figures sculpted by Krisztián Bódi in 1/35 and 1/48 scale.

The kit comes in three pieces - body, head, and left hand. The figure is molded in a medium gray resin with some minor flash at the end of the sleeve and on the back of the figure’s neck. Flash between the two legs will need to be trimmed away. Mold seams are visible on the outside of the leg. The mold seams are not apparent on the upper body, or somehow cleverly concealed in the seams of the figures tonic.

Review Author
Mike Van Schoonhoven
Published on
Company
Eduard
MSRP
$10.00

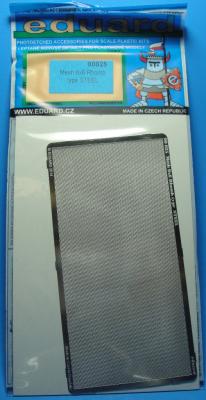
Eduard is well known for their photo etch accessories to help modelers enhance their models. These sets are just another great addition for modelers. The one thing with these particular parts is that you will have to cut and fit them. I used the 6x6 screen and the 1mm Stripes on an Academy M551 turret storage rack to show as an example of what can be done to enhance your models. I chose this particular kit as they used vinyl screen for the sides and the bottom of the rack was solid bottom with a raised screen molded on it.

The 6x6 and 4x4 screens come on one photo etch steel fret. The material cuts very easy with a scissors. I used a template to cut out the shapes that I needed and attached them with Gator Glue. These screens could also be used as screening material over air intakes.

Review Author
Dave Morrissette
Published on
Company
Scale Aircraft Modelling
MSRP
$7.23

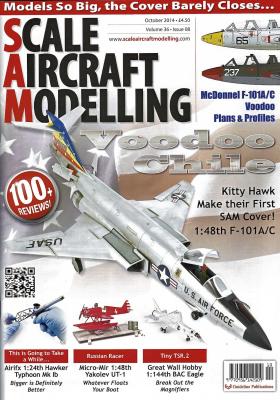
Each issue of Scale Aircraft Modeling has the same basic design and format. That's not a bad thing as it is jam packed with superb aircraft builds and tips. In this issue, there are four feature articles, an Aviation in Profile piece, and five Compact Build Reviews.

The Feature articles for this issue starts with Jay Laverty's build review of the KittyHawk Models 1/48th scale F-101A/C. natural metal finishes are tough but Mr. Laverty does justice to the kit! There are great tips about working with photoetch and preparing for the metal finish as well as using Alclad. This really hit home with me as I am almost done with the IPMS review kit of this aircraft.

Next up is Mr. Laverty's build of the hot new Airfix 1/24th Scale Typhoon. This is a large kit and will be built in multiple parts. In this issue, the cockpit and wing spars are assembled and look fantastic.

Review Author
Pablo Bauleo
Published on
Company
MiniArt
Scale
1/35
MSRP
$89.00

Part 3

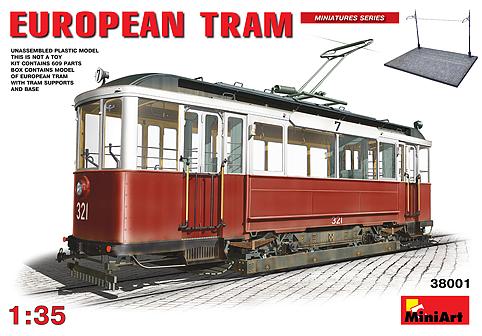
After scratching my head for quite some time I’ve finally came up with a plan to paint and assemble the main parts of the passenger cabin and move forward on the whole plan to complete this model.

First paint and assemble the passenger benches (described in Part 2). Then dry fit and glue the cabin sides to the boarding area sides. That would create two main lateral sides. Mask and paint the sides to your desired color.

Then paint the cabin bulkheads/division from the boarding area, but don’t bother with the clear parts yet.

Review Author
Bill O'Malley
Published on
Company
The Bodi
Scale
1/35
MSRP
$21.43

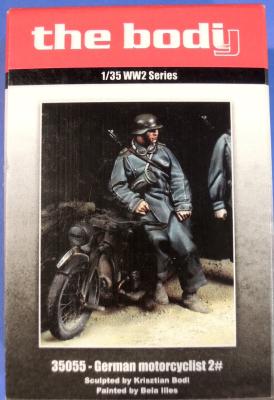
This is another finely sculpted resin figure from The Bodi. The figure is sculpted to be leaning against a motorcycle and has a recess on his butt for the motorcycle seat. The figures body is molded in a full-length leather greatcoat that is pulled back and buttoned around the legs. There is also a recess across the back for the rifle slung across the shoulder. A gas mask canister is strapped under the right arm, but there is no other equipment. The figure does have goggles around the collar.

The body has a pronounced mold seam running up the side of the legs and up the sides of each arm. There is also a seam in the figures jacket running up the arm so make sure to remove the mold seam, not the jacket seam. There is flash between the two legs that will need to be removed. The figures hands are not gloved and have good detail. Straps and the figure’s belt are crisply detailed.

Book Author(s)
Peter F. Panzeri, Jr.
Review Author
Bill O'Malley
Published on
Company
Osprey Publishing
MSRP
$18.95

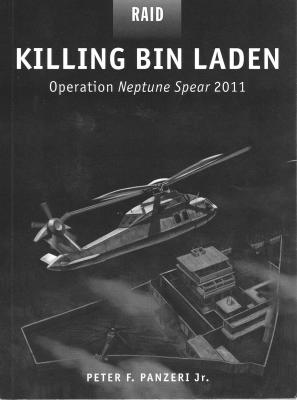
There have been several accounts of the operation to kill Osama bin Laden, including one by a former Navy seal, one by a Navy seal who participated in the raid, as well as the movie Zero Dark Thirty.

In this new book Killing bin Laden - Operation Neptune Spear 2011, author Peter F. Panzeri Jr. has developed another highly detailed account of the hunt leading up to the raid on the bin Laden's compound in Abottabad, Pakistan, and his ultimate death.

Bibliography and Critical Sources

As stated in the book “The most dominant influences on this account are those of the 880+ page Pakistani Abottabad Commission Report for its inclusion of candid raw data, the personal account in interviews of former US Navy SEAL “Mark Owen,” and the abundance of detailed information on Operation Neptune Spear released in 2011 to the producers and screenwriters of the film Zero Dark Thirty.

Sections of the book include:

Review Author
Walt Fink
Published on
Company
Eduard
Scale
1/72
MSRP
$29.95

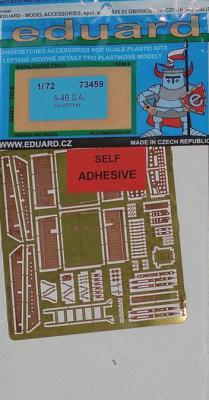
This follow-up review of Eduard’s detail set covers pretty much “everything else” in the set since the cockpit was covered in Part One. I won’t summarize that section here, but have provided the link to it if you’re interested in reading and referencing that one to get the complete picture of this detail set.

A drawback of this entire build had nothing to do with the Eduard set---the Airfix A-4B kit I purchased was damaged---it came out of the box with three of the six tiny little slat tracks broken off, and worse yet, missing from the poly bag to boot. This further complicated the project and caused me lots more heartburn and delay than if I’d had a complete kit.