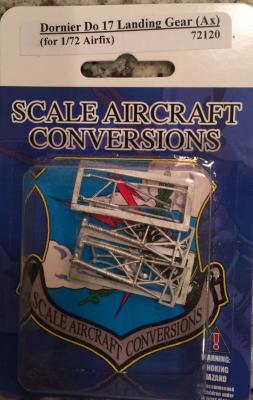
This set (SAC #72120) replaces the main gear legs and retraction struts along with the tail wheel. You have to use the kit main wheels and fenders. You get five metal reproductions of the kit parts in the usual soft white metal. That’s where my difficulty with this set started. Airfix has done an excellent job of reproducing very delicate landing gear parts in plastic. The main gear legs trap the main wheels and the flexible properties of the plastic parts help. It also really helps when you install the gear parts into the finished gear wells. There’s a lot of fiddling once the parts are the bay and again the plastic assisted by snapping back to its original shape. The metal parts on the other hand, bent and were very difficult to realign once the glue set. For that reason, I preferred the plastic parts. This is the first SAC set I’ve used that created more work than it was worth to have metal parts.
Another of the many sets from SAC that I’ve used. Like those this one (SAC #72110) reproduces the kit parts in soft white metal with one exception, the tail wheel part leaves a gap over the tire that looks more refined then the kit part. Test fit the main wheels on their mounts because that is the point the part was cast from. When you cut it from the sprue, it needs some file work to get a good fit. The metal parts in this case have the advantage of allowing slight adjustments once they’re in place. That’s helpful because this aircraft has some strange angles in the gear mounts. In the photos I’ve installed one Airfix and one SAC main gear leg for comparison. This set is a nice addition to a nice little kit.
Thank you IPMS and SAC for the sample.
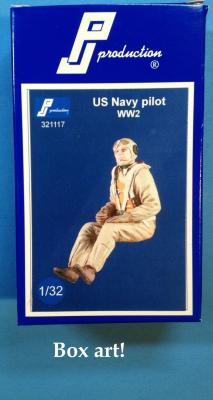
Thank you PJ Production for providing this elegant aircraft accessory pilot figure, and thank you to the IPM Reviewer Corps for letting me review it! I am very appreciative of all you do for the scale modeling community.
The pilot arrived in a small blue cardboard box, with a small plastic bag inside holding both the pilot figure and a casting plug with arms. The light tan resin showed no sign of mold release and the minimal flash was easily removed without compromising the fine surface details. The separate arms allow custom positioning to suit the application, and the arm-torso join surfaces are flat, easily allowing drilling or flexible wire or pin to reinforce the joint. The resin is not too brittle or too soft. Many detail surfaces, such as harnesses and straps are slightly undercut, allowing highlighting washes a good place to pool and do their job.
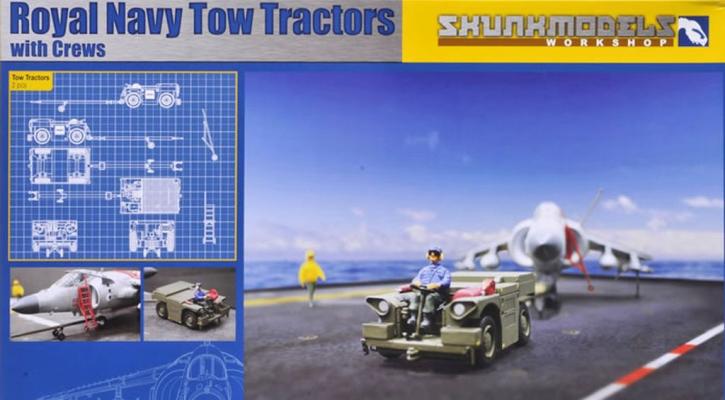
Skunkmodel from China has released a very nice and useful kit: Royal Navy Tow Tractor. I’ve believe this particular tractor has seen service with the Royal Navy since the mid-1960’s until the early 2010s so you have a multitude of aircraft that can easily fit into a diorama.
The box comes with 3 sprues, two of them are identical – one for each Tow Tractor - and a 3rd sprue with a total of 9 figures, although only one of them is a driver. Six of the figures are wearing short sleeve shirts which means only tropical locations for your diorama (i.e no South Atlantic or Artic operations). You still have 3 figures with long sleeves.
History
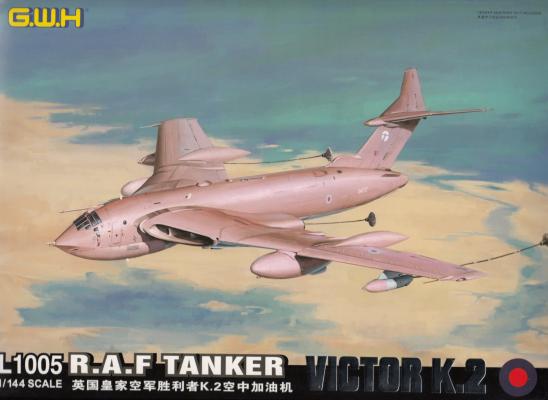
The Handley Page Victor was conceived as a nuclear bomber in the late 1950s. It was the third and last of the “V Bombers”, following the Valiant and Vulcan. As the Royal Navy took over the nuclear deterrent mission with submarines, the V Bombers became aircraft without missions. The Valiant had already been reconfigured as an airborne tanker, but when the airframes became worn out, the Victor bombers became the tanker force.
In 1982 the Victor K.2 tankers participated in one of the most complicated missions ever conceived. Operation Black Buck used 11 Victor K.2s and a single Vulcan B.2 to deliver a bomb load from Ascension Island to Port Stanley Airport in the Falklands, a distance of 3900 miles.
The next, and last big deployment of the Victor K.2 was the 1991 (First) Gulf War, The RAF called their participation Operation Granby. This was the operation to force Iraq out of Kuwait
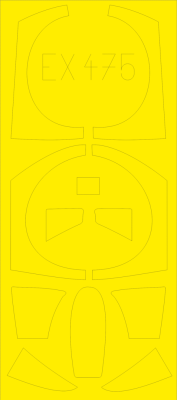
The Academy F-4 series finally brought the Phantom into the present with regards to mold technology. I’ve said it many times I hate to mask canopies. Eduard’s masks are made out of Kabuki tape which makes them flexible and able to conform to bends in the windows. In my opinion Kabuki tape is the premier masking medium.
This set is designed for the Academy F-4D, but it will fit the Academy or Eduard F-4C as well. You will need to use liquid mask to complete this set. There are 12 masks included in the set. This set will ensure that the canopy has crisp edges with minimal work.
These worked to perfection on my recent Eduard F-4D. They were easy to add and easy to remove. They performed flawlessly. If you are careful you can replace them back on the sheet and maybe able to use them again.
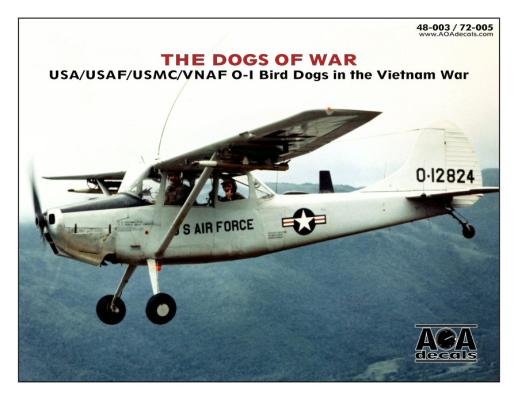
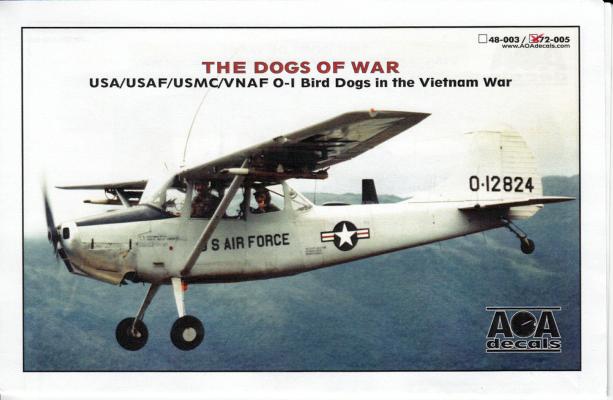
When you mention the Vietnam Air War, most people think of the F-4 Phantom or the F-105 Thunderchief, not some slow-moving, single-piston-engined airplane like the O-1 Bird Dog. But this little airplane played a pivotal role in close air support role over South Vietnam. The Model USA kit has been out for some time, but the markings options have been limited until now. Thanks to AOA Decals we now have plenty of marking options.
This is the fifth set of 1/72 decals from AOA Decals and the second set that I am reviewing. The decals look very nice, clear, and in-register. They are printed by Cartigraf of Italy and work very well. I was very impressed with the ease and smoothness with which they were able to be applied. They came off the sheet well and I was able to move them into place once I got them on. They reacted well with Microset and Microsol making the decals appear as if they were painted on.
There also needs to be a special note about their instruction sheets. There were eight 8 1/2 x 11 sheets detailing everything you would want to know to build one of these options. The profiles were in color and easy to understand. You can tell that a lot of work and research went into this. It’s really nice to see a company put this much care into a product.
The options included in this set are:
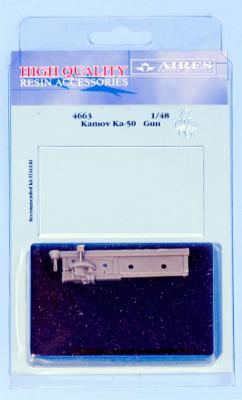
Aires has come to the rescue with a major enhancement to the anti-tank 30 mm 2A42 cannon supplied in the Italeri 1/48 Kamov Ka-50 Hokum kit (tan plastic). Revell has also released the Italeri kit in black plastic with both the Werewolf and Black Shark markings along with more extensive stencils. There are no supplied instructions; you simply swap out the kit provided plastic parts with the new Aires replacements.
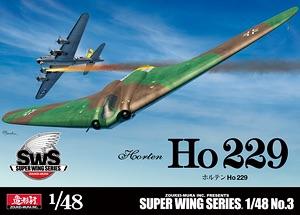
The Horten Ho 229 is one of the most striking aircraft designs to emerge from World War II. It was a German fighter/bomber prototype designed by the Horten brothers in response to Hermann Göring's call for a light bomber that could meet a 3x1000 requirement. Meaning that it could carry 1,000 kilograms of ordinance a distance of 1,000 kilometers at 1,000 kilometers per hour. Because only jet powered airframes could meet the speeds necessary to fulfill the requirement for the cruising speed the design became the first flying wing design to be powered by jet engines.
Zoukei-Mura first released a kit of this interesting aircraft in 1/32 and that kit is still an extremely popular masterpiece of design. However, they have recently been redesigning and releasing some of their 1/32 scale kits in 1/48 scale. The Horten HO 229 is their latest release in this series and it is the first new 1/48 scale HO 229 since the Dragon releases in the early 1990s.