I would like to thank Kagero for this review sample
Welcome to the IPMS/USA Reviews site!
Introduction: The primary organization of the IPMS/USA Review website is by IPMS/USA National Contest Class. Within each Class there are sub-menus by kits, decals, books, etc. The Miscellaneous Class is for items that are not class specific or that cross two or more classes.
IPMS/USA Members: We encourage you to submit reviews, both here and to the Journal. To volunteer for membership in the IPMS/USA "Reviewers Corps" and submit your own reviews, please read the Guidelines For Submitting Product Reviews.
Manufacturers, publishers, and other industry members: IPMS/USA is pleased to offer your company the opportunity for product reviews. All product reviews are performed by IPMS/USA members, and are posted in the publicly-accessible section of our website. With very few exceptions, we perform full build reviews of new kit releases, aftermarket products, and supplies. If you would care to provide product samples for review, please contact John Noack, IPMS/USA 1st VP.
To learn more about IPMS/USA, please see our About Us page.
Contents Description
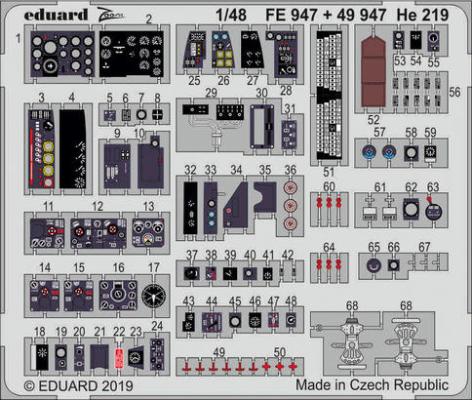
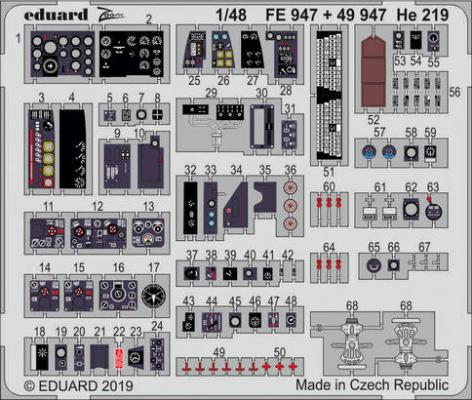
This PE set includes a small PE fret with all of the pilot's instrument panel and side panels along with the rear cockpit (radar operator's position) many panel faces. A pair of rudder pedals is also included. A three-page set of instructions is included that locate each panel face and indicate where the raised detail included on the kit parts must be removed. The PE parts do not include adhesive on the backside, and therefore the modeler must carefully glue each part in place.
I took the plastic kit parts as indicated on the instructions and removed the raised details with a micro-chisel and sanded the rough surfaces with a medium grit sanding pad. Once the surfaces were smoothed, I washed the parts in warm water and a mild detergent, scrubbing the surfaces and nooks and crannies with an old toothbrush. After rinsing the parts I allowed them to thoroughly dry.
Product Description
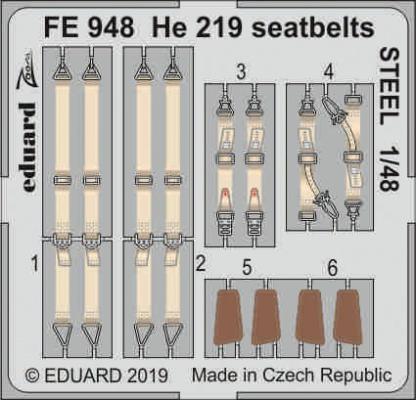
This set consists of a small steel fret with seat belts for the pilot and radar operator. It is small fret, but it does the job.
I removed each part using PE shears and buffed the small spur off with a medium sanding pad. None of the painted surfaces were marred in this process, but nonetheless care is still required to avoid possible damage. I used Gator glue to attach the belts to the seats and allowed the glue to dry thoroughly before carefully bending the parts to fit the contours of the plastic parts. Again, a small dab of Gator glue was use to fix the ends of the belts in place. I feel the Eduard steel belts are a bit easier to bend than the older brass belts and conform to the seat profile quite nicely.
Conclusion
The steel seat belts are a very nice addition to most any kit, especially when the canopies are posed open.
Contents Description
This three-piece PE set includes a small PE fret with all of the pilot's instrument panel and side panels along with the rear cockpit (radar operator's position) many panel faces, plus two frets for parts for the wheel wells and miscellaneous exterior details. A pair of rudder pedals is also included. A four-page set of instructions is included that locate each panel face and indicate where the raised detail included with the kit must be removed. The instrument panels PE parts do not include adhesive on the backside, and therefore the modeler must carefully glue each part in place.
Contents Description
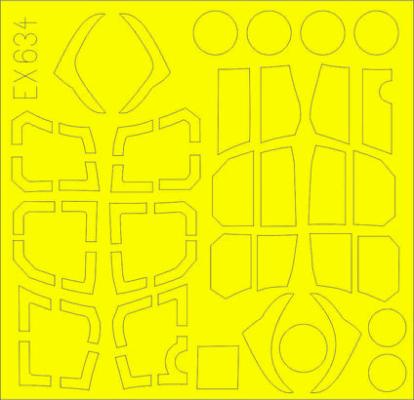
This mask set is provided on a small Kabuki-like tape material that is die cut, and includes an instruction sheet for locating the individual pieces on the clear parts of the Tamiya Heinkel He219A-7 kit. This set also includes masks for the canopy and windscreen interior.
This will be my second Tamiya Heinkel He-219. I used the earlier version of an Eduard mask on the canopies and was satisfied with the results. The original masking set included masks for the exterior surfaces only. I looked forward to see how the new product would perform.
A small instruction sheet is provided with diagrams locating each mask for the multipaned canopy. Where the use of a liquid masking is required is also identified. The instructions walk the modeler through the process step-by-step which can be quite useful when there are many panels to mask.


