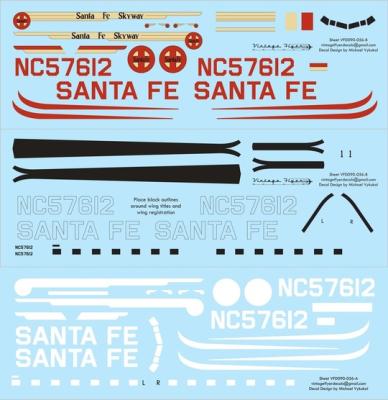
To follow up with the initial review of the decals, here is the completed model with the Vintage Flyer decals applied. As was stated in the initial review, most decals consist of either two or three layers. I did not need to coat the decals with Future or any other sealer as this was already done by Vintage Flyer. Be sure to cut the decals out close to the design to minimize carrier film.
The first decals down were the white backgrounds. These went on the model well but did not seem to snuggle into the panel lines, even after applying decal solvents. Be sure to follow the instructions on which decals go next. In some cases, like the windows, the black decals go next, but that’s not the case with the registration decals.


