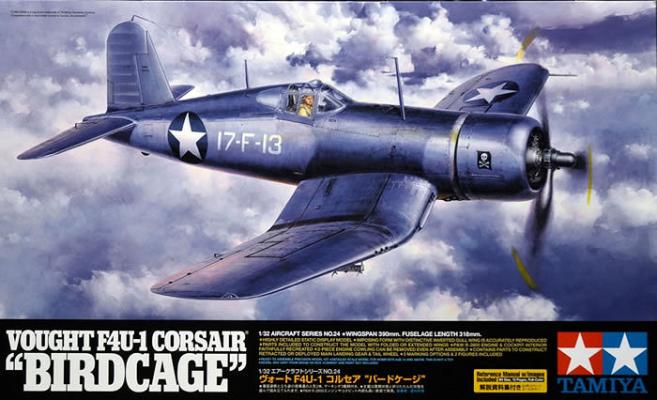
Once I had the fuselage sealed up, it was time to build the engine. The engine is 46 pieces and the fit is excellent. One note – the parts and order of addition is specific. Also, take time and make sure alignment is good. The intake and exhaust pipes coming off the back of the front cylinders needed to be aligned where they slide over the exhaust pipes I mounted to the firewall in part 1. One thing missing was the ignition wires. I used 32-gauge wire and added them based on Internet pictures. Once the engine was complete, the front cowling and rings were attached. These were a little fiddly and support the remainder of the cowling, and need to be glued on firmly. The contact points are small, so make sure things are square and glued tightly. Lastly, there is the choice of open or closed cowl flaps. I chose closed for this one (yes, I WILL build more), and since I was building option A, there were also a few special instructions.
Welcome to the IPMS/USA Reviews site!
Introduction: The primary organization of the IPMS/USA Review website is by IPMS/USA National Contest Class. Within each Class there are sub-menus by kits, decals, books, etc. The Miscellaneous Class is for items that are not class specific or that cross two or more classes.
IPMS/USA Members: We encourage you to submit reviews, both here and to the Journal. To volunteer for membership in the IPMS/USA "Reviewers Corps" and submit your own reviews, please read the Guidelines For Submitting Product Reviews.
Manufacturers, publishers, and other industry members: IPMS/USA is pleased to offer your company the opportunity for product reviews. All product reviews are performed by IPMS/USA members, and are posted in the publicly-accessible section of our website. With very few exceptions, we perform full build reviews of new kit releases, aftermarket products, and supplies. If you would care to provide product samples for review, please contact John Noack, IPMS/USA 1st VP.
To learn more about IPMS/USA, please see our About Us page.
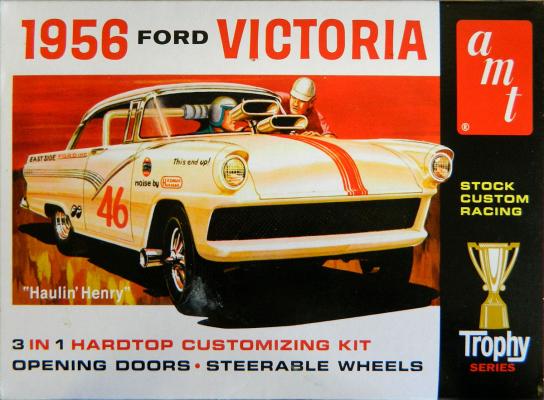
This ’56 Ford Victoria was originally issued by AMT in the 1960’s, then re-released several times after that. Even with Round 2’s mold clean-up process, I have never encountered so much flash on a model before. Literally, every piece had excessive flash that needed to be cleaned off prior to fitting and painting.
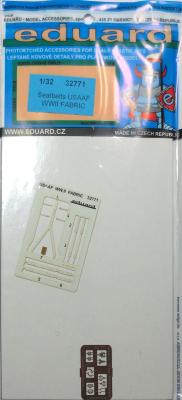
Eduard’s original detail sets consisted of photo etch brass to be assembled and painted by the builder. More recently, they started producing pre-painted seatbelts and other details (still made out of brass). This is the next evolution in the ever-expanding world of Eduard’s accessories line.
Eduard’s #32771 set includes pre-cut belts made out of a fabric material and a photo etched hardware fret that assemble into one set of seatbelts designed for use in USAAF aircraft (primarily fighters). I believe this was originally a product developed by HGW (their logo is stamped on the fabric fret).
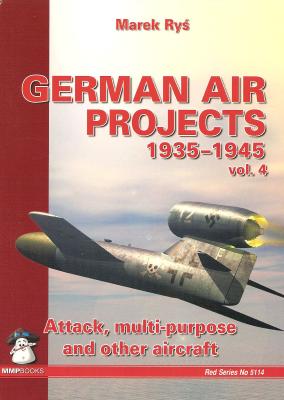
This is the fourth and final volume in MMP’s German Air Projects series that covers Luft46 “might have beens.” This particular volume covers attack, multi-purpose, and “other” subjects. The “other” is essentially an addendum to the other 3 volumes, and covers subjects that were previously omitted, or subjects about which new information has been uncovered. Without the “other” section, this would be a very slim volume! Illustrations throughout the book consist of line drawings and artist renderings – there are no photos in this book as everything is conjecture.
The first 38 pages of the book cover attack and multi-purpose aircraft, arranged by manufacturer. Line drawings accompany many of the sections.
Pages 39 through 64 cover other types of aircraft not previously written about in previous volumes (or those with newly discovered information). Again, many line drawings accompany the text.
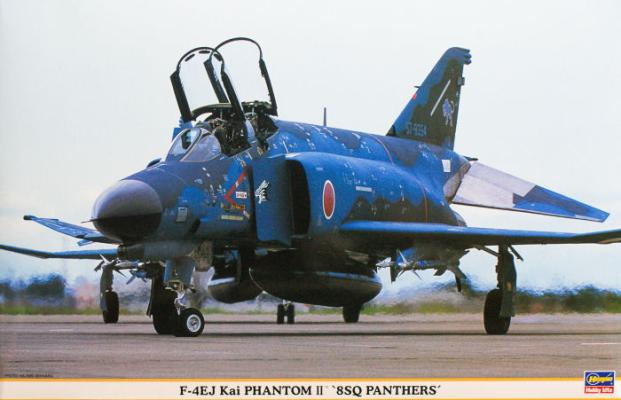
Hasegawa has re-released their “J” mark (Japanese) F-4EJ Phantom II. And that is a great thing, as this model is a pleasure to assemble. The box has 8 grey sprues, one clear sprue (for a total of 132 pieces), and a very large decal sheet with markings for five 8SQ aircrafts, including stencils for one airframe.
Regarding the stencils – they are the proper color. These airplanes were “hand-me downs” from other squadrons and they arrived in a two-gray interceptor camouflage. When transferred to a maritime strike squadron, their stencils were masked off and the aircraft were painted over, leaving a grey surrounding to the stencils –which are black. Only after the airplanes were sent for overhaul at the maintenance shop did they get re-painted and new stencils (in white) were applied. If you look carefully to the box image, you can see the grey surrounding area in the stencils.


