
JGSDF Type 10 Tank
History
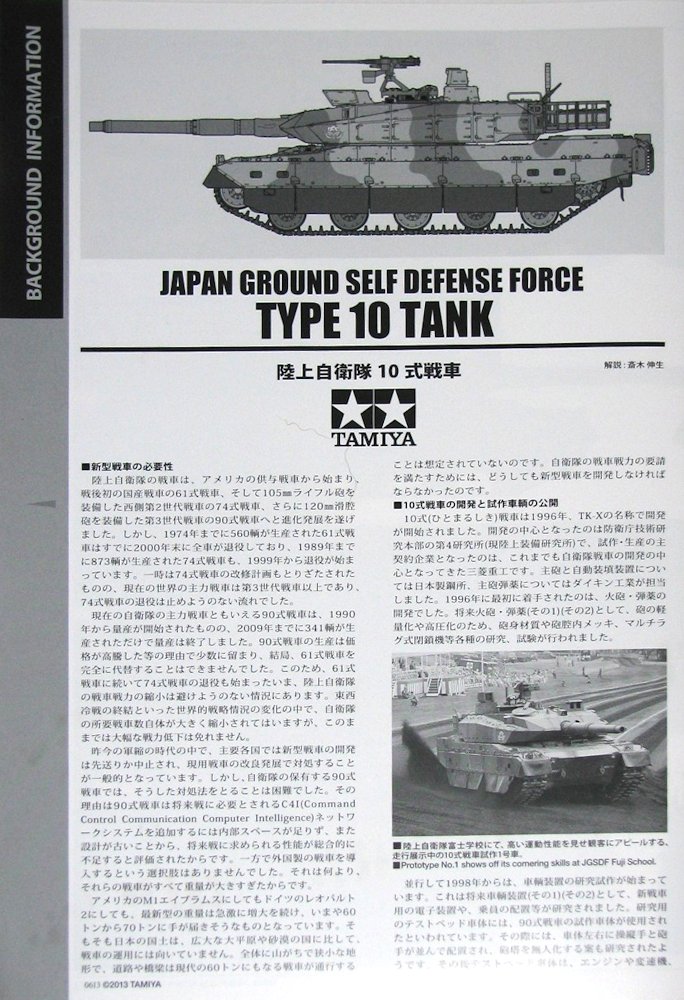
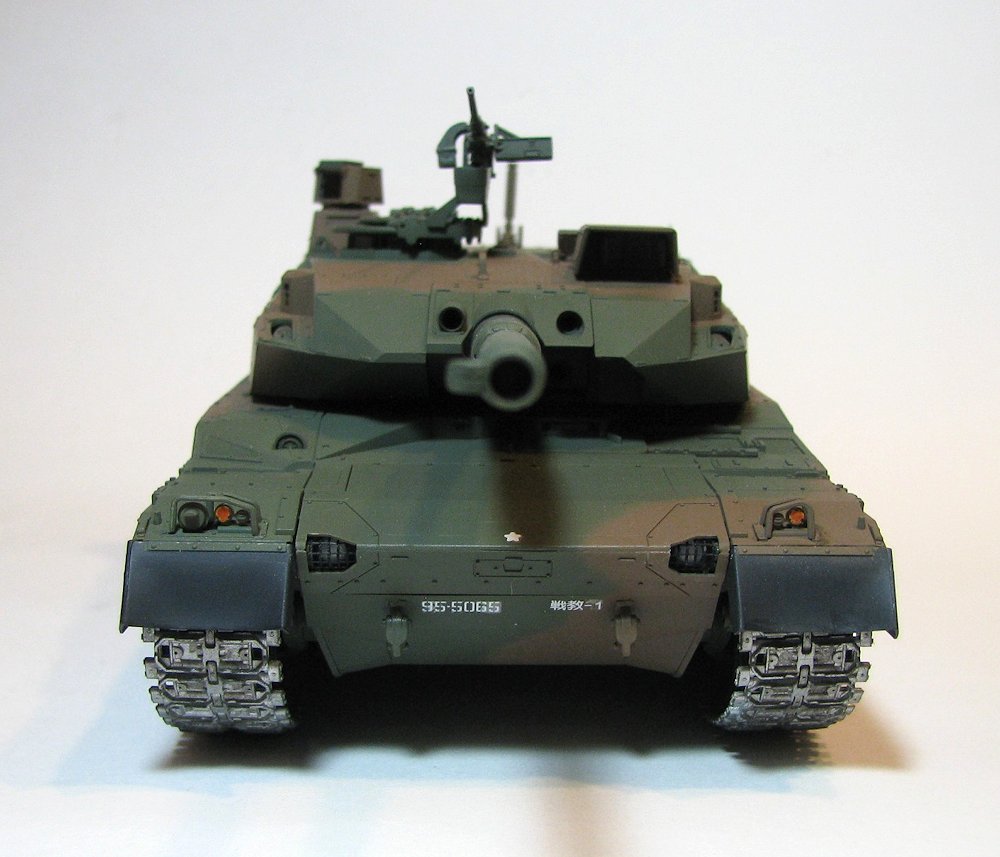
Development of the Type 10 began in 1996. Production of four experimental models began in 2002, and one of these was introduced to the media in 2008. In 2010, two prototypes gave the first demonstration to the public at the JGSDF Fuji School’s 56th anniversary. Although smaller and lighter than the Type 90 that it replaced, the Type 10 is equivalent or better than the older Type 90. Armed with a new 44 cal. 120mm smoothbore main gun that features a lightweight, high pressure barrel that gives it penetration on par with the Leopard 2’s armor-piercing rounds, it can be replaced with a larger 55 cal. 120mm barrel for even better firepower. Because it uses an autoloader, the tank only needs a three-person crew (commander, driver, and gunner). The Type 10’s welded hull and turret have modular ceramic and steel composite armor sections to provide protection against kinetic energy penetrator and chemical rounds, and the modules are individually replaceable in case of damage or upgrade.
- Length: 30.9 ft.
- Width: 10.6 ft.
- Height: 7.5 ft.
- Weight: 44 tons
- Max speed: 43mph
- Max range: 326 miles
- Engine: Mitsubishi 4-stroke liquid cooled turbocharged V-8 diesel
- Armament: 1 X 44 cal. 120mm smoothbore, 1 x 12.7 M2 MG, 1 x 7.62 Type 74 MG
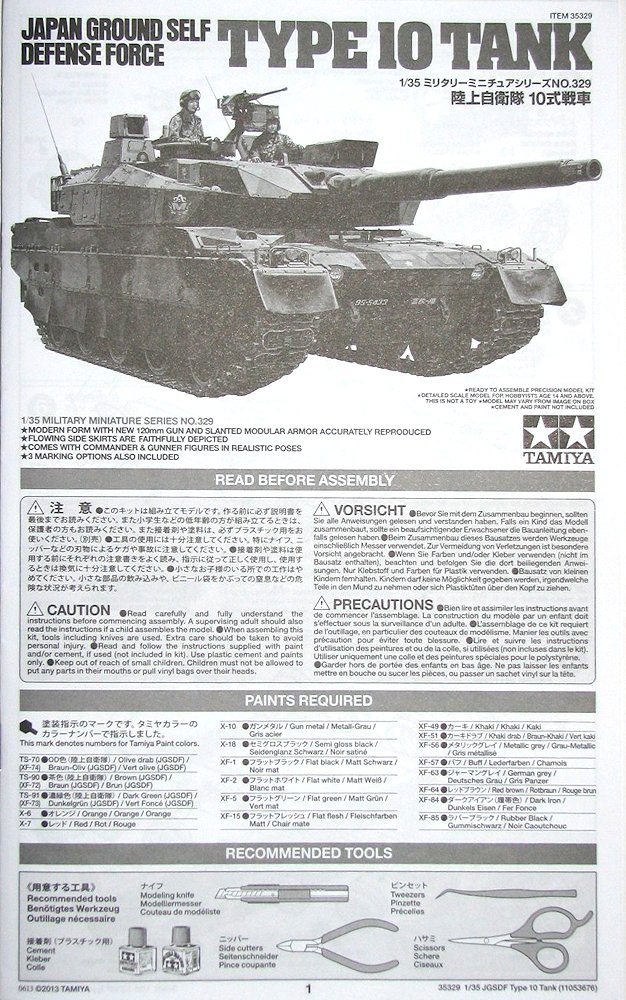
The Kit
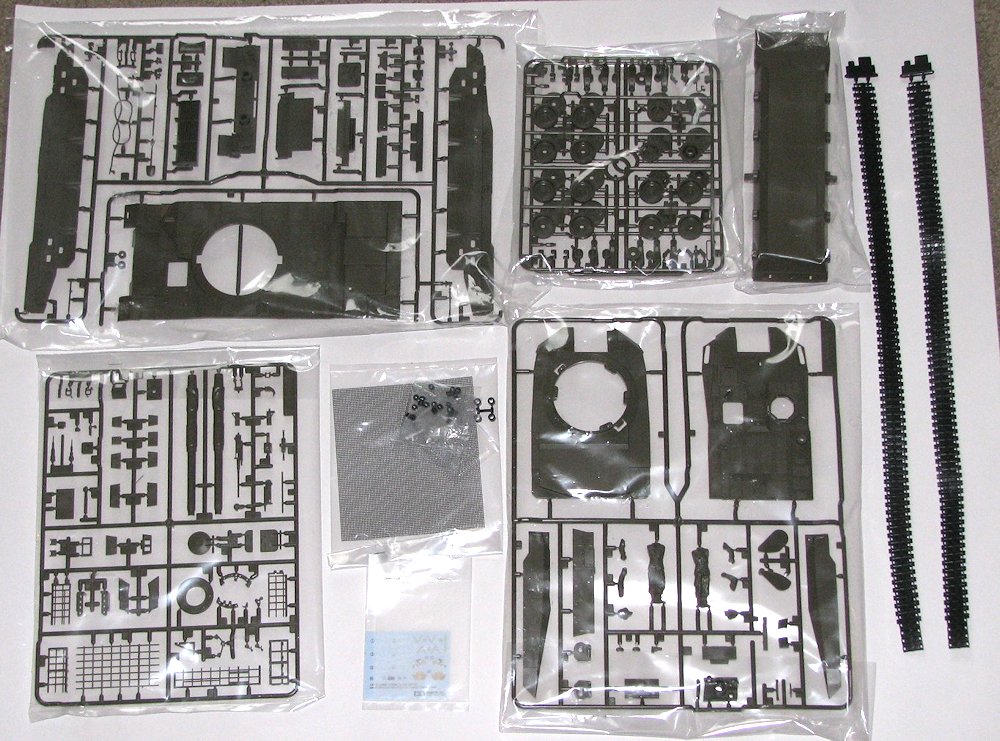
Upon opening the box you are presented with three individually bagged sprues and the lower hull; the two sprues that have the wheels and are both in the same bag. There is a bag containing the two bags of poly caps, a clear sheet, and a piece of fiberglass window screen. The tracks are one-piece vinyl and are surprisingly thin. The decals are in their own little bag and are printed clearly. You also get a 12-page instruction book and an 8-page foldout guide with color call outs on one side and narrative of the tank in multiple languages on the other. The plastic is crisply molded, flash free, and has few pin marks.
Construction
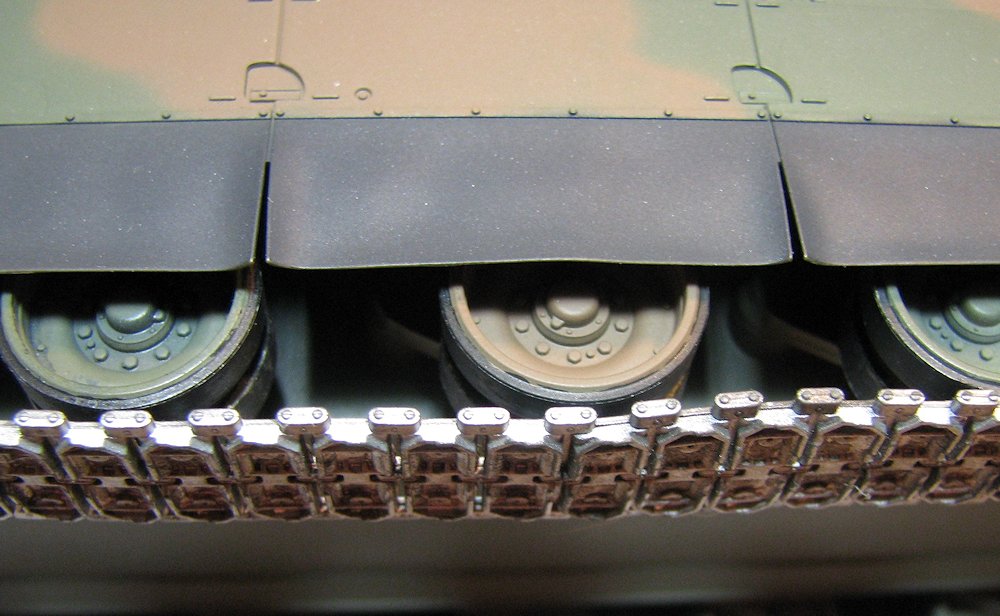
It all begins with the lower hull. Steps 1-7 deal with this, and it’s pretty easy as everything fit just about perfectly. 20 road wheels, 4 Idler wheels, 6 return rollers, and 2 drive sprockets to paint! OH, WHAT FUN!! You may have thought, “Why two bags of poly caps?” Well, the road and idler wheels each have one, as do the drive sprockets. Why? Because the tracks are designed to move! (Remember the old Monogram kits?) Let me say this, or maybe write this…the tracks worked perfectly!! My German Shepherd was looking at me funny as I was pushing this around on the floor and making a growling noise! (Am I the only one who does this?) As I mentioned, the tracks are thin and all it takes is regular plastic cement to hold them together, and they hold nicely.
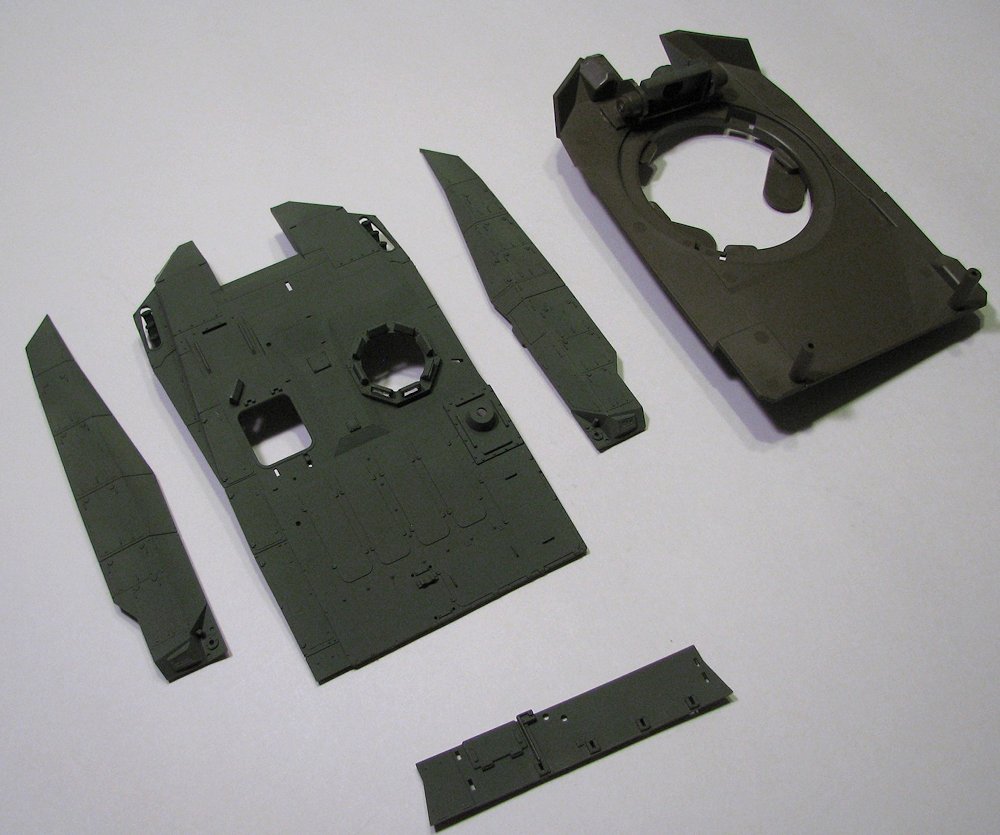
Steps 8-13 deal with building the upper hull, and while it looks complicated on the instructions, it’s not. The hardest part is cutting the clear plastic for the driver’s ports and the screen that’s used for the mesh covering the headlights. Tamiya was so kind as to put a template for both in the instructions to make it foolproof. There is one small fit issue here, with pieces D19 & D22 (the assembly that the headlights fit into) that fit over the front of the tank. I ended up with a small gap on the outer side of the headlights. I thought it was something I did, but saw it on the build on Tamiya site. The main portions of this assembly are the sides and top, and you need to pay attention when attaching them. They fit just perfect, but the attachment point towards the front is minimal and one of mine moved just a bit. Luckily, I caught it before using the Tenax. One thing I didn’t really care for on this kit was that the skirts are molded onto the sides, as it made painting a pain (at least for me). Next, I assembled the upper hull to the lower part and the main gun and mantlet, and all went together easily.
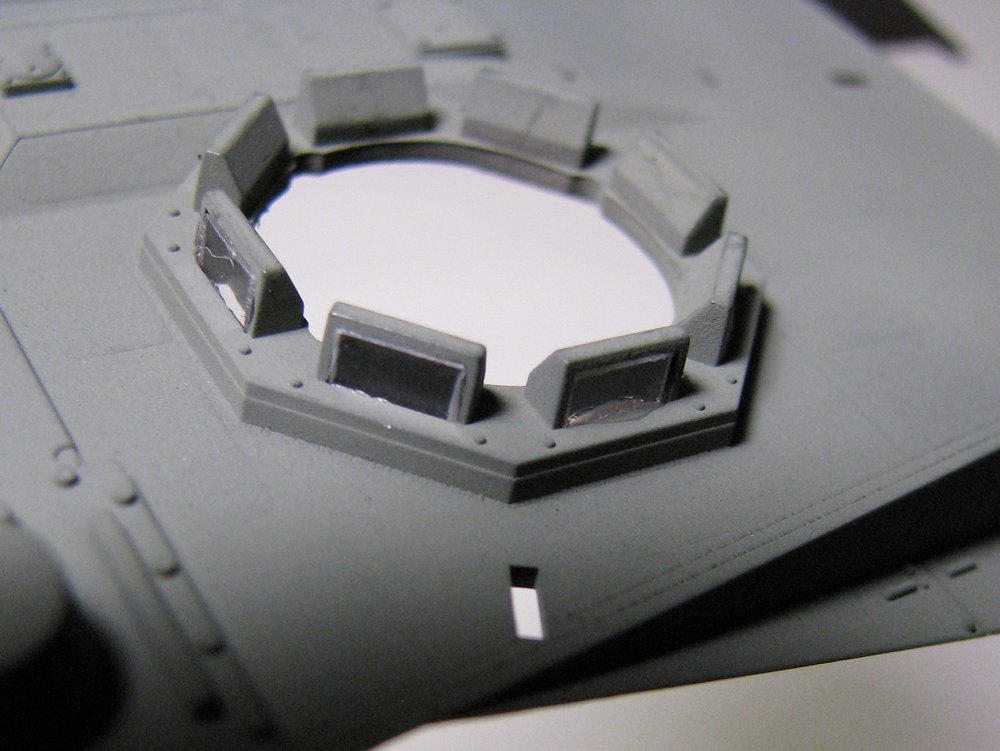
Steps 18-24 deal with building the turret. This is the most complicated and tedious part of the build. The turret itself is made up of five pieces, and before I put those together I had to add the smoke dispensers and clear pieces for commander’s cupola and gunner’s periscope to the upper part, and the base and poly caps for the main gun. Once installed, the turret was ready for assembly and, as with everything else so far, it went together really well. Next, I assembled and add all of the small items to the turret. These include the gunner’s sight(7 pieces + clear film), environment sensor (3 pieces and movable), commander’s sight (6 pieces + clear film), the base for the commander’s sight (5 pieces + poly cap), the commander’s hatch (8 pieces & movable), and a few other small parts. Everything fit well but some of the parts are small and care needs to be taken during removal and cleanup from the sprue. The gunner’s hatch is a split into two pieces with the forward part being glued in either open or closed position and the rear part movable. That is, if you decide to add the figures.
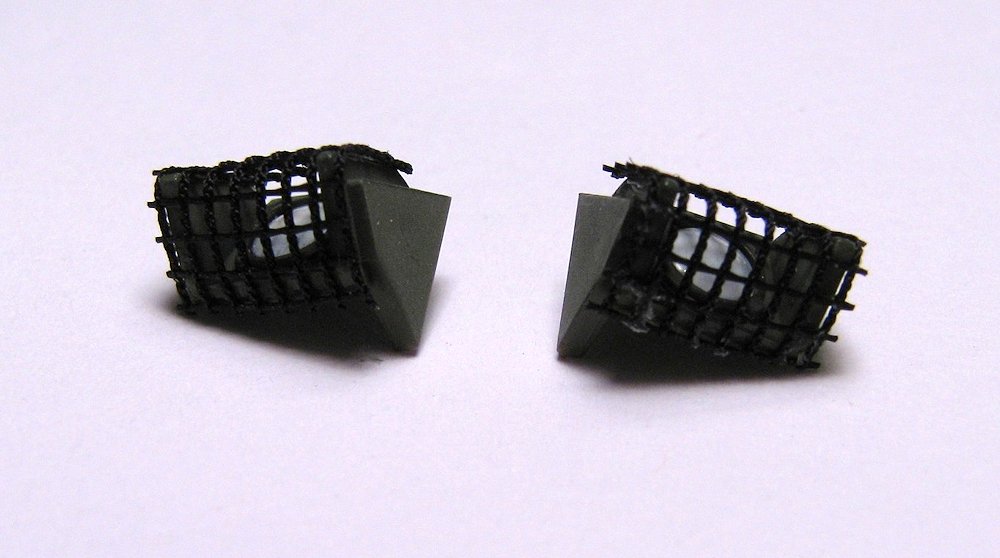
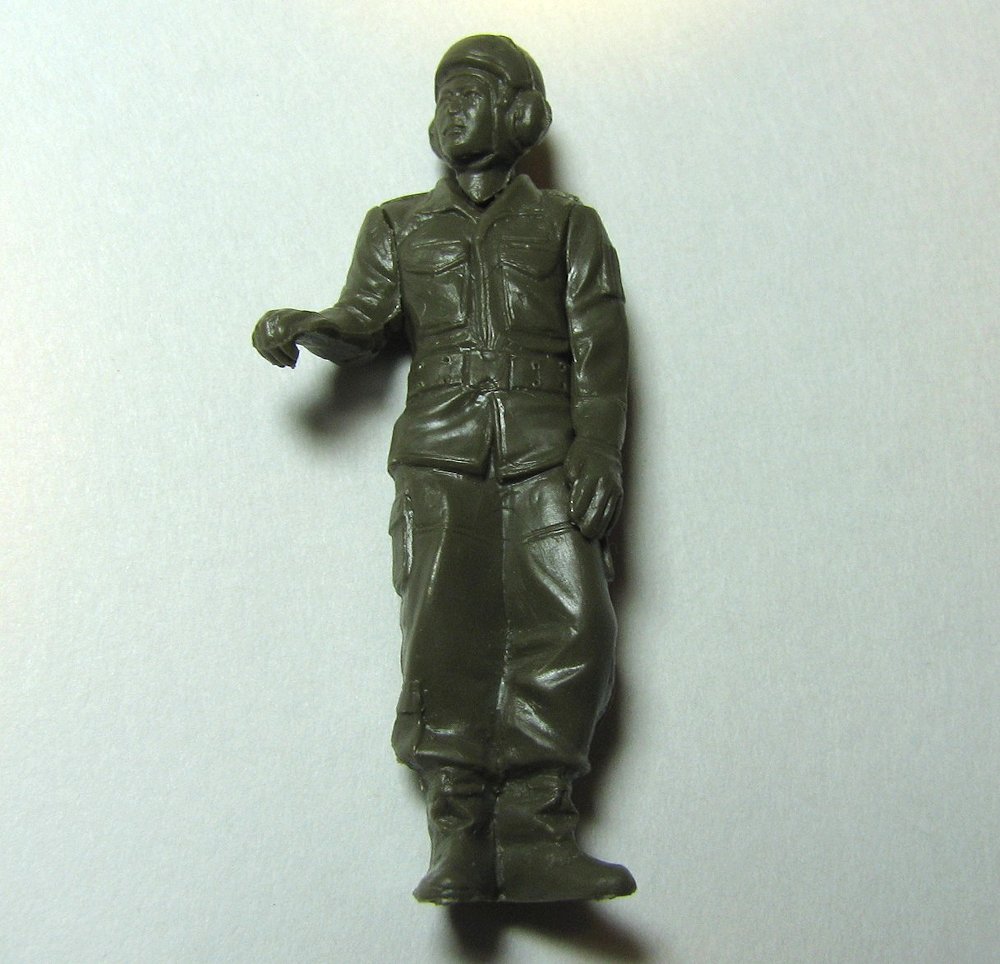
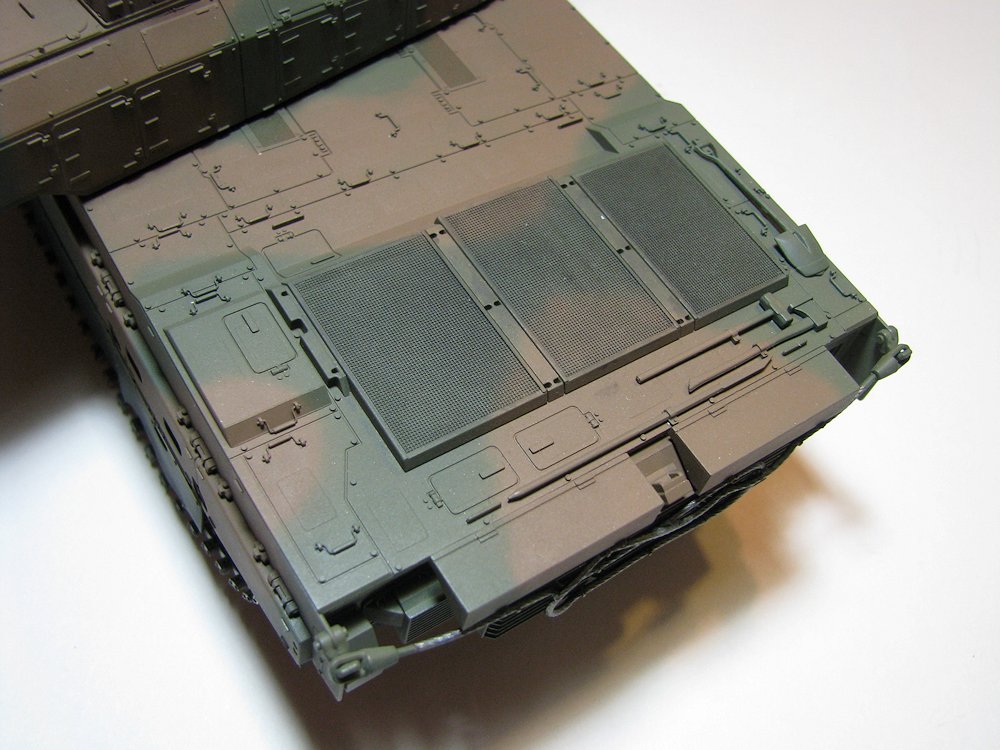
Step 25 is the turret rack and it looks complicated, but again Tamiya made it relatively painless and easy. This is where most of the window screen is used, and they provide a big enough piece so if the builder messes up, there is plenty of extra. The racks are composed of eight pieces, for which sixteen small pieces of screen are required. There is a template printed on the instruction sheet to make it oh, so easy. I used regular plastic cement and it worked fine on these. The final assembly is the M2 Heavy MG (8 pieces), which is nicely detailed and went together easily, but I did have to drill out the barrel. Two figures are provided (commander and gunner) that are molded nicely, and in the instructions there is a template with the pattern and colors for the fatigues. Sorry, folks, but that is just a bit too small for me to paint, so a picture of the unpainted figures is included below.
Finishing
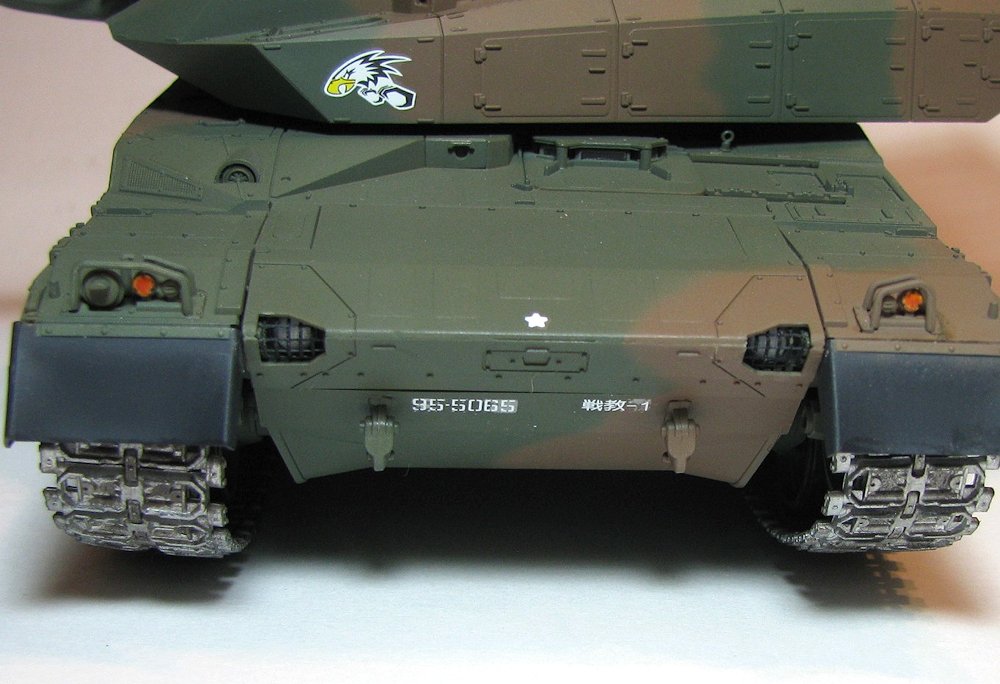
I used Tamiya XF 72 and 73 for the main colors and did a soft edge camouflage scheme. The instructions called for XF-85 “Rubber Black,” and since the only place I could find it was overseas (up to three weeks before it would arrive), I just mixed a little Testors Gloss White with Aircraft Interior Black and it looked fine to my Mk. I eyeball. The tracks were primed with Tamiya AS-12(Bare Metal Silver), then painted with Testors Model Master Enamel Steel. I did give them a light wash of Burnt Umber just to dirty them up a little, as I did not want to weather this much. (Hey, they’re new and are kept pretty clean….so far!) The decals went on smoothly and sat down nicely, but I did add a little Solvaset just to be safe.
Conclusion
I recommend this kit to anyone who wants to add some modern armor to his collection. A very good kit with lots of nice detail that is easy to build.
I would like to thank Tamiya USA for a great kit and IPMS USA for allowing me to build this one.

Color guide and info sheet
Instructions
What's in the box
Turret parts
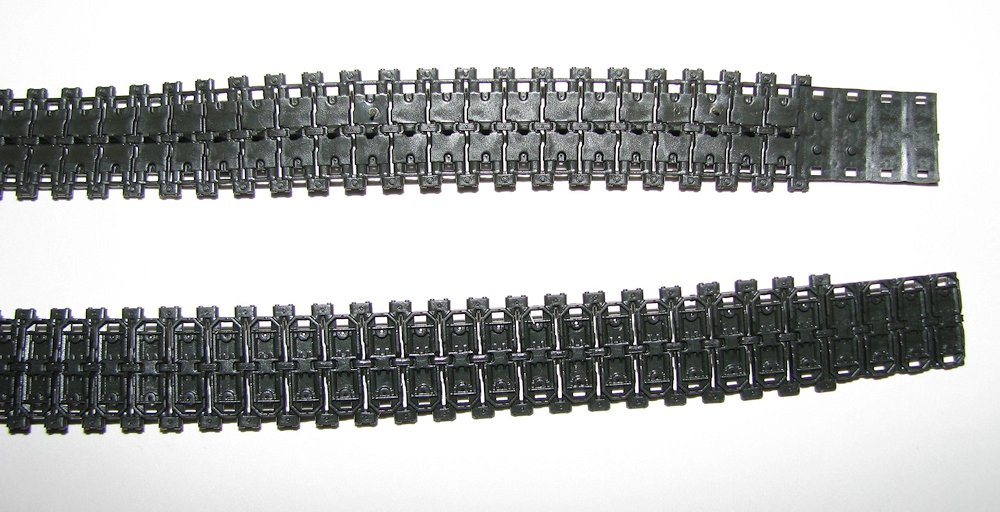
Tracks

Rear deck detail
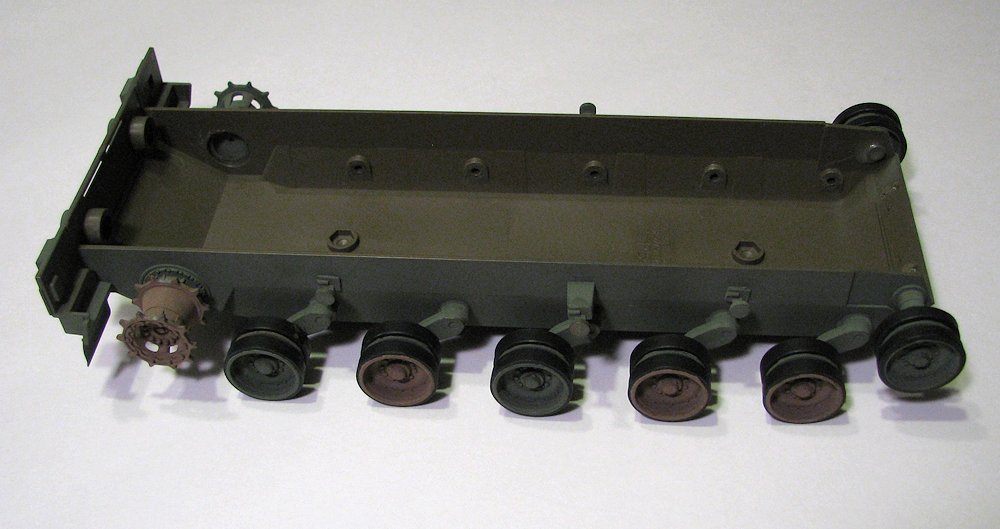
Lower hull
Headlight assemblies

Small turret rack
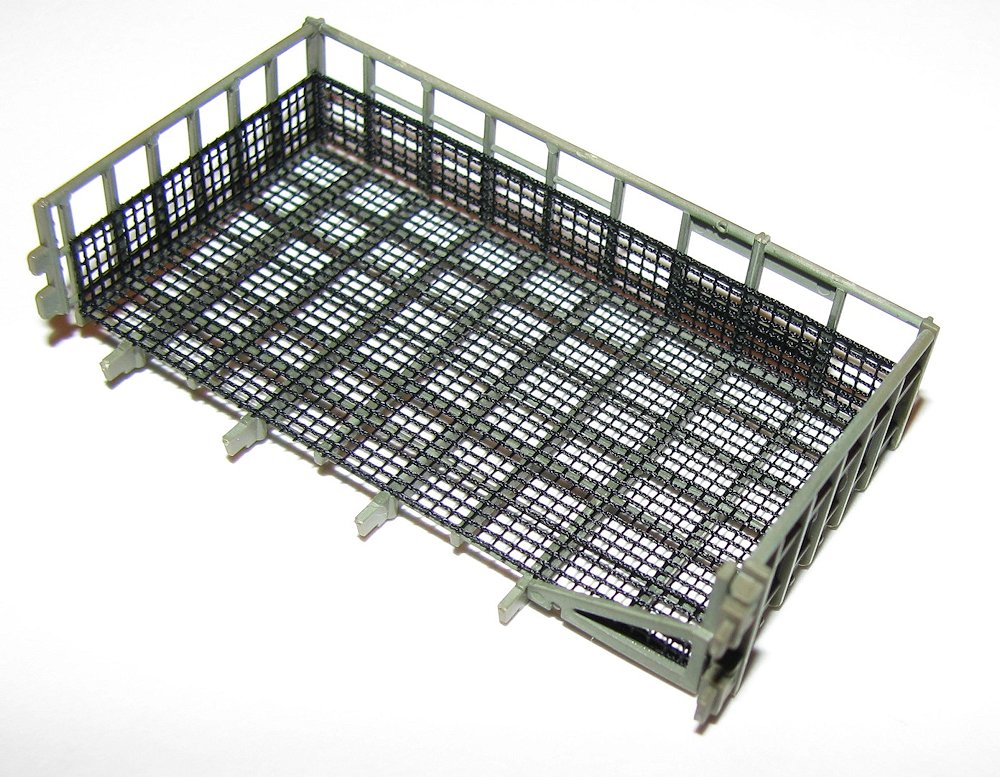
Main turret rack

Finished main turret rack
Commander viewports
Commander figure
Rear deck
Track, wheels, skirts

Machine gun
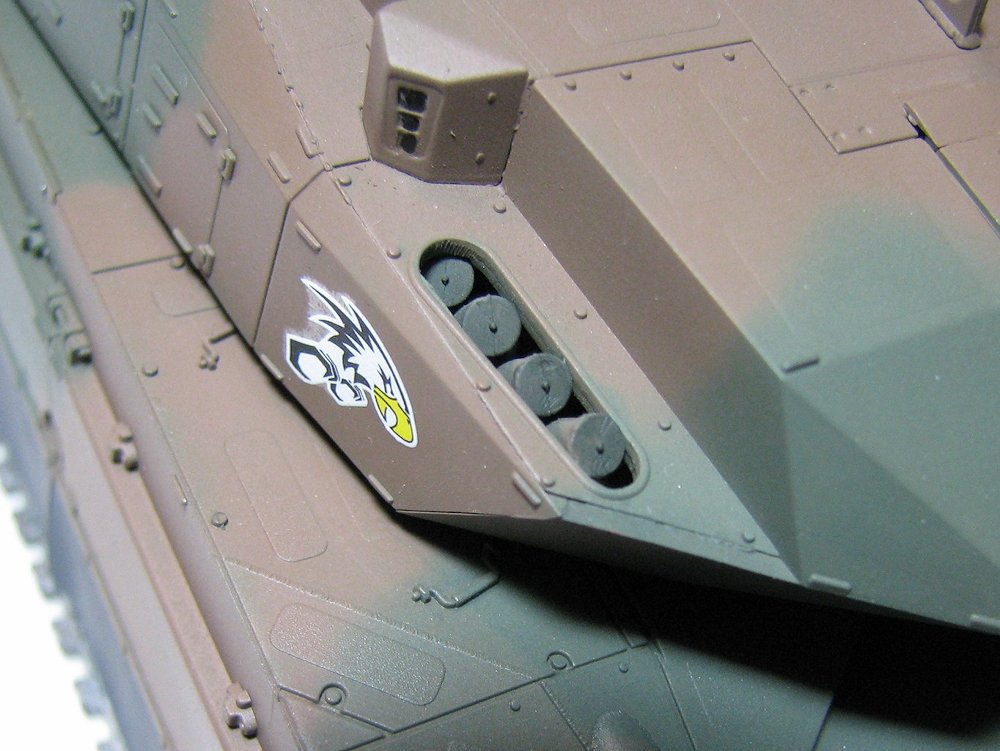
Smoke grenades
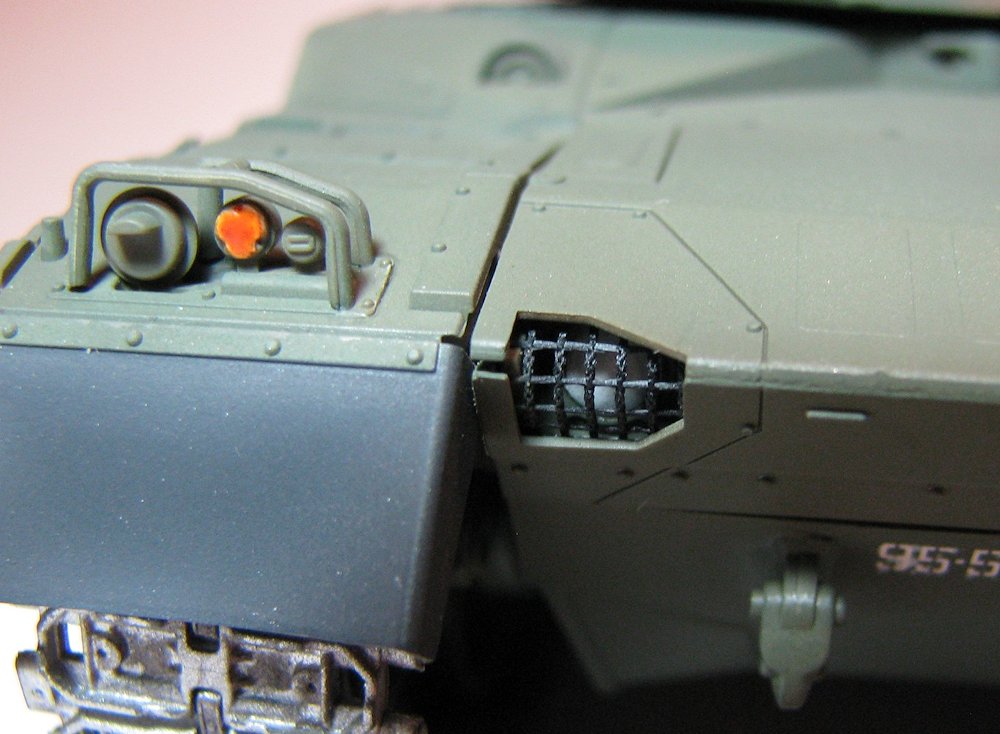
Gap between pieces 19 and 22
Gap fixed, sort of...
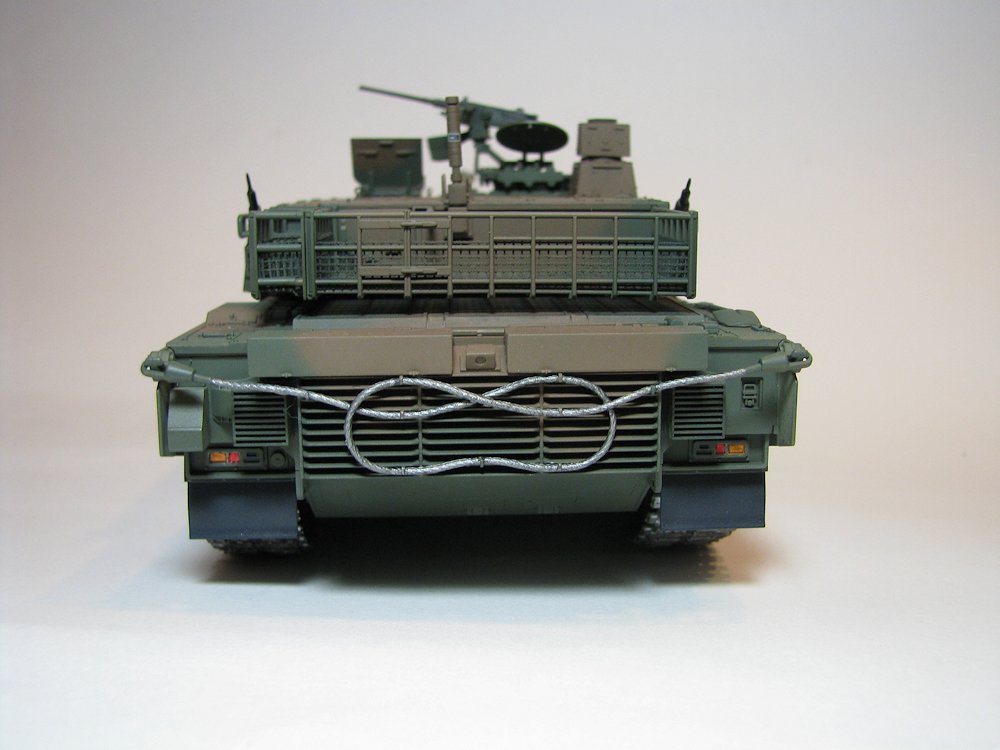
Front
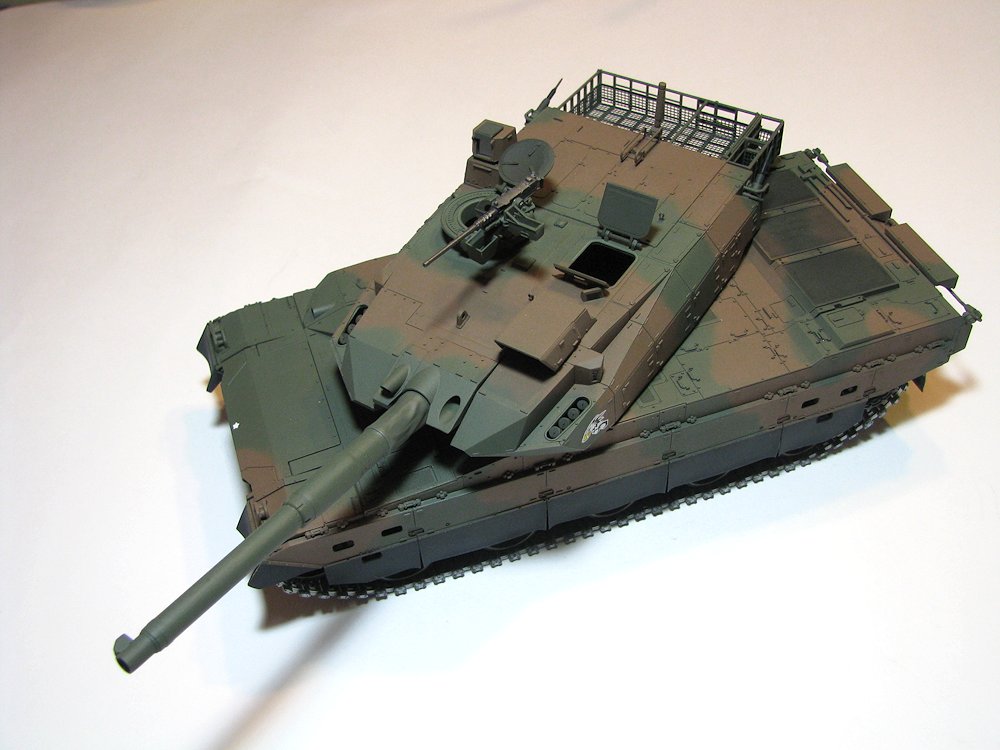
Left front

Left side
Rear
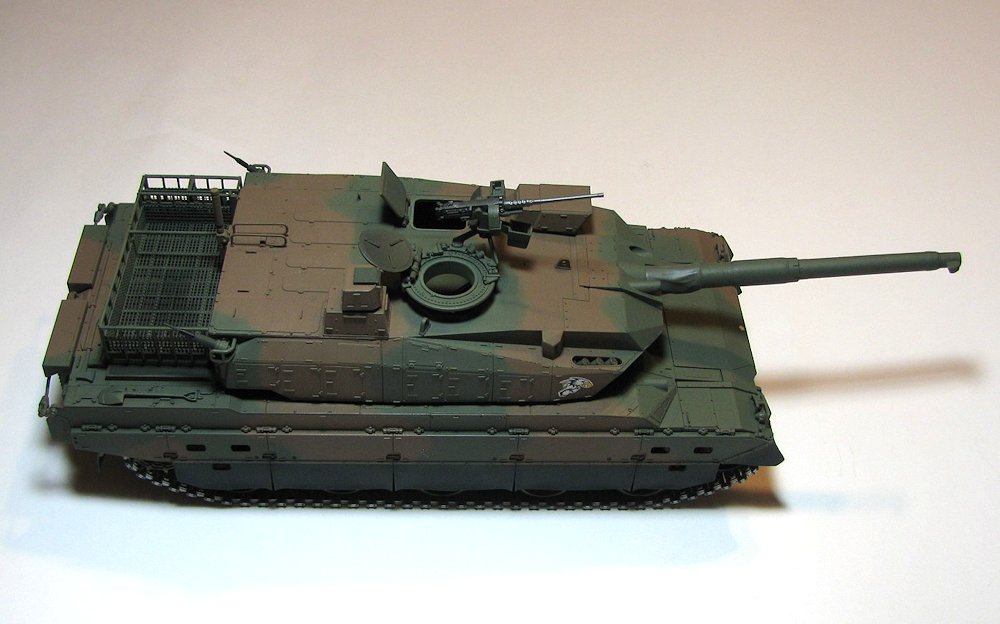
Right side

Comments
Add new comment
This site is protected by reCAPTCHA and the Google Privacy Policy and Terms of Service apply.
Similar Reviews