
F4U-1 Corsair, Part 2 – Engines, Wings, and Things
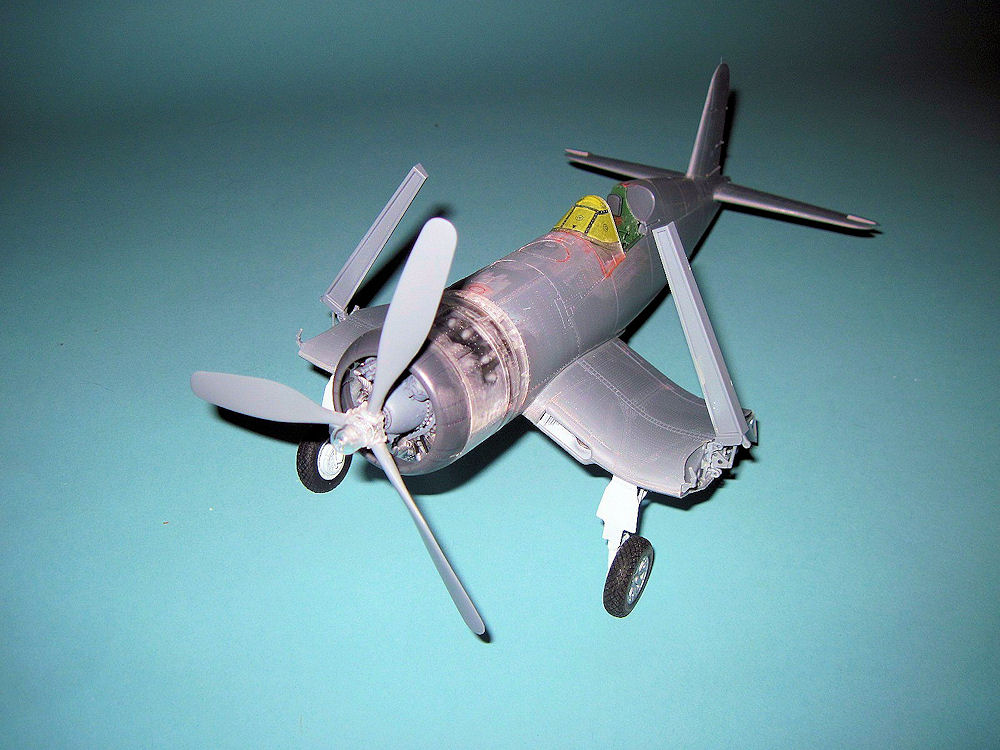
Once I had the fuselage sealed up, it was time to build the engine. The engine is 46 pieces and the fit is excellent. One note – the parts and order of addition is specific. Also, take time and make sure alignment is good. The intake and exhaust pipes coming off the back of the front cylinders needed to be aligned where they slide over the exhaust pipes I mounted to the firewall in part 1. One thing missing was the ignition wires. I used 32-gauge wire and added them based on Internet pictures. Once the engine was complete, the front cowling and rings were attached. These were a little fiddly and support the remainder of the cowling, and need to be glued on firmly. The contact points are small, so make sure things are square and glued tightly. Lastly, there is the choice of open or closed cowl flaps. I chose closed for this one (yes, I WILL build more), and since I was building option A, there were also a few special instructions. Once this was done, the engine and cowling cover weree glued in place. A little finagling, and the fit was superb.
I built the horizontal stabilizers and there is the option of dropped or raised elevators. The nice thing with this is that Tamiya includes tabs so that the elevators are either up or down and are even – no worrying about making them align, as it is done for you. The tail was added at this time, and a note here – all the needed control arms are included as separate items and don't have that built-in look.
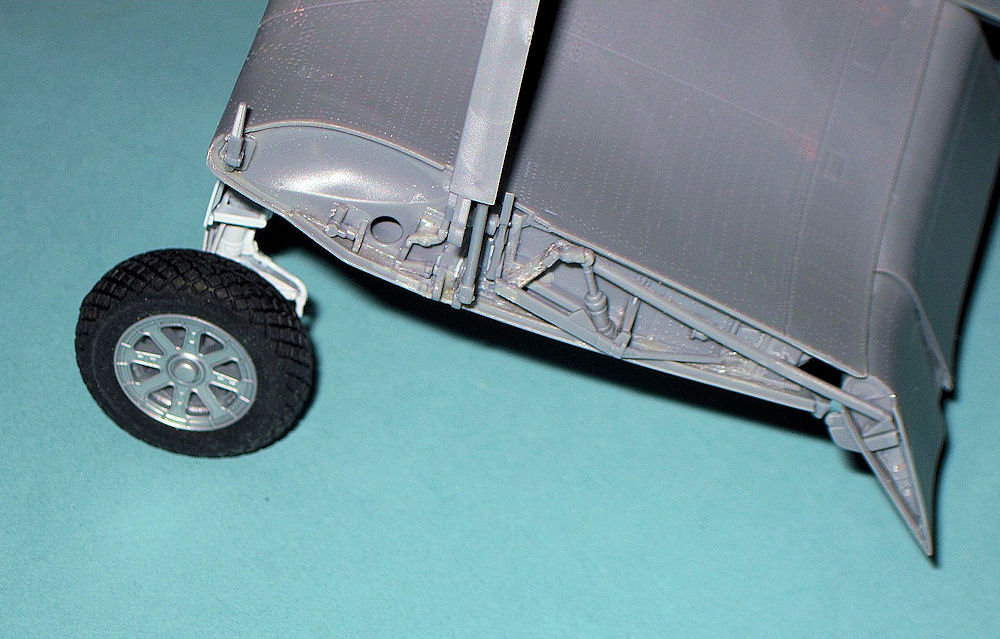
The wheels can be built up or down. If built up, there is also a stand. I elected for down. The tail wheel is composed of seven parts. You can see the attention to detail here. The main frame is two parts and has a seam running through the braces. Instead of making the modeler try to sand this, a small PE piece perfectly covers it and hides the seam. Modelers were definitely involved in the design. The main gear legs are also exquisite and include all the linkages and detail. The main gear also has a solid steel core to help support the weight. All the brake lines are included and fit like a glove.
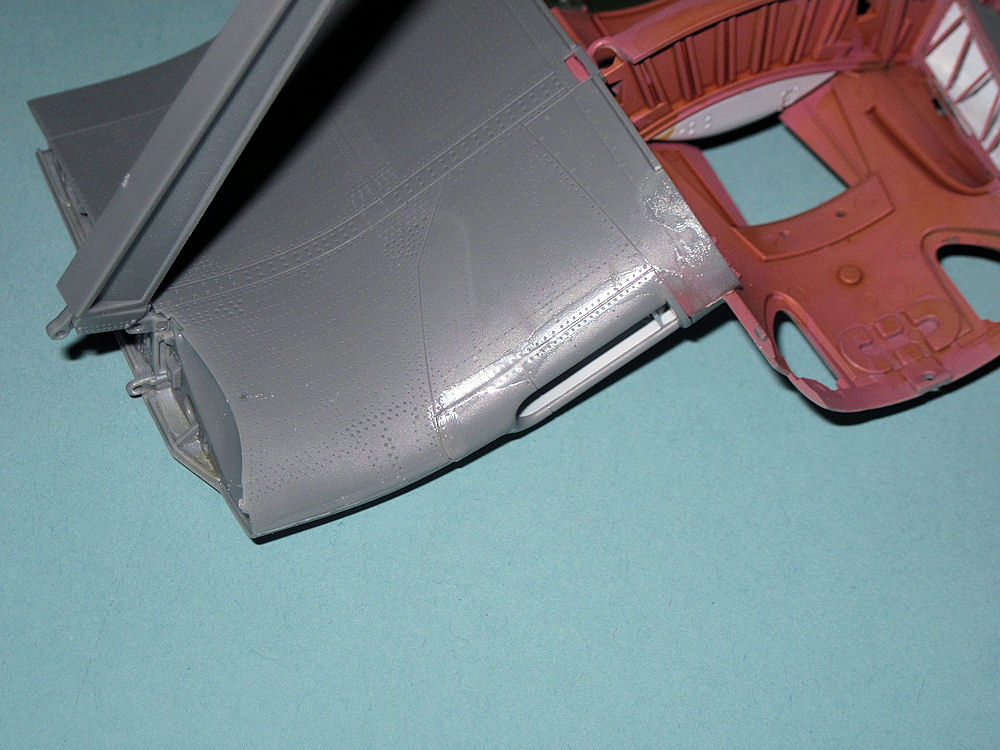
Wing construction started with oil coolers for both sides. These have excellent detail and include PE grilles and all the detail anyone could want. These were added to the lower wing. A note here: there are separate instructions for extended and folded wings. I skipped straight to folded, and there is a beefy main spar which has the needed angles for the wings. Next added were the wheel well sides and outer wing folds, which are glued together before adding. The top of the wheel wells were installed. The top of the wings had the top of the front wheel well added, then the oil cooler fronts. Watch for lowered or raised flaps, as parts are specific, and specific holes have to be drilled. I elected dropped flaps. The wings tops were added and detail added to the wings folds. The wing were glued to the fuselage and the fit was almost 100% perfect. I built the outer portion of the wings with no issues and noted that the aileron control rods are there. Wow! In fact, I haven't mentioned fit, as I have not had any issue to date with any parts – just sand the sprue points off and glue, and it all fits.
In the last part, we'll tie this up and get it painted. I would once again like to thanks Tamiya USA and IPMS/USA for the chance to build this kit. See you soon!


Engine detail 1
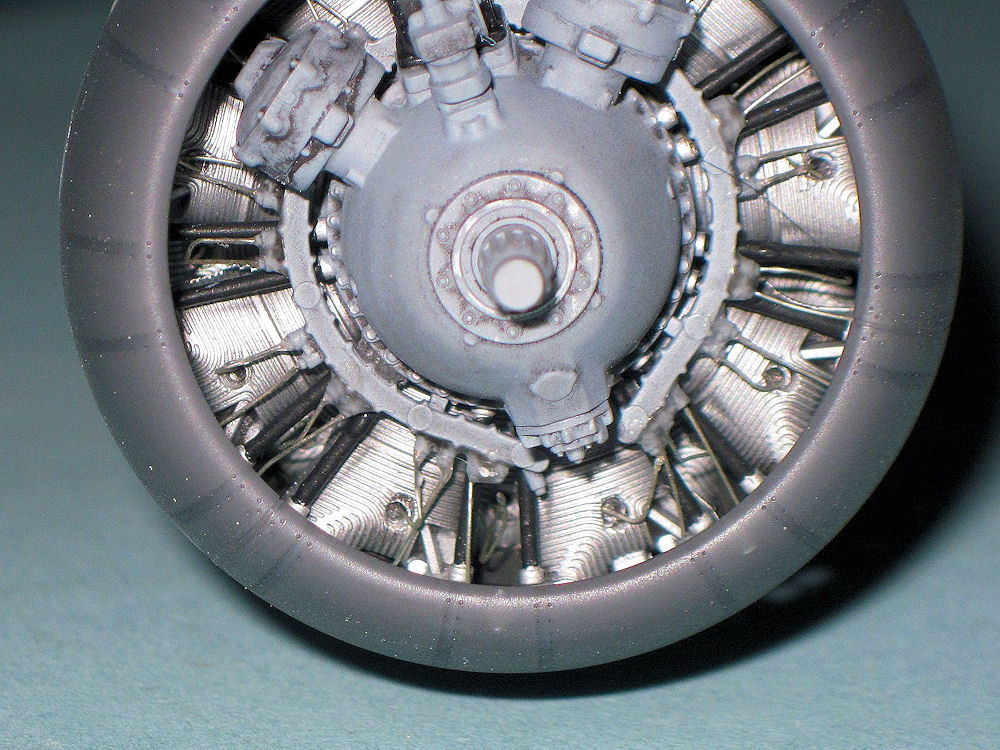
Engine detail 2

Exhaust piping

Internal fuselage detail
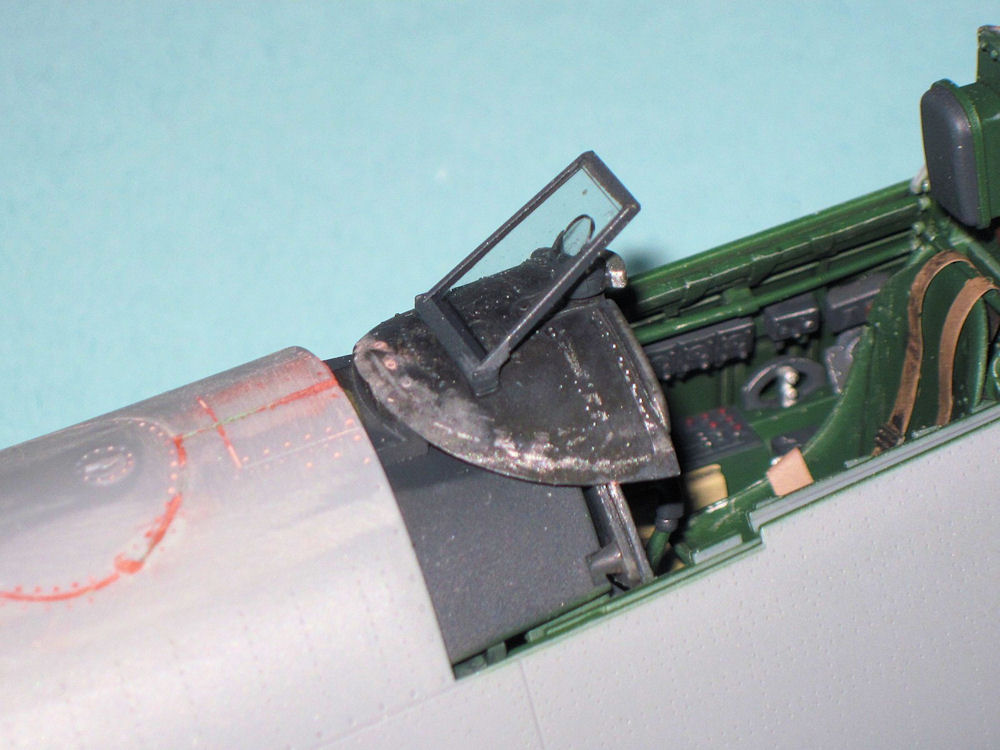
Gun sight and deflector

Tail wheel well

Tail strut PE brace
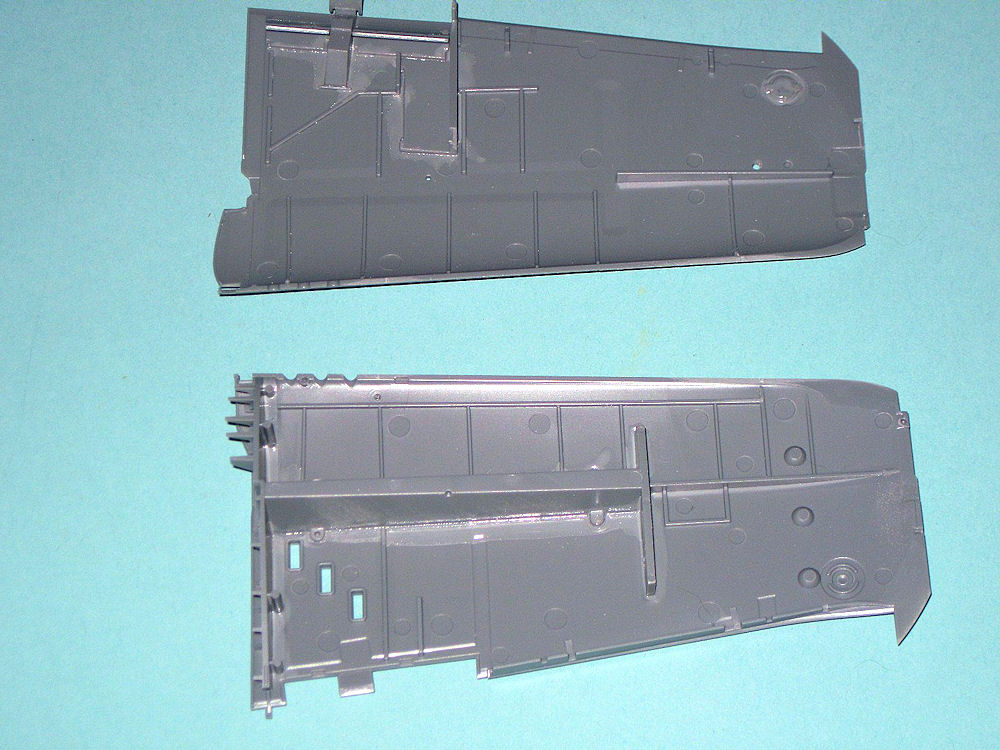
Wing internal details

Wing center structure
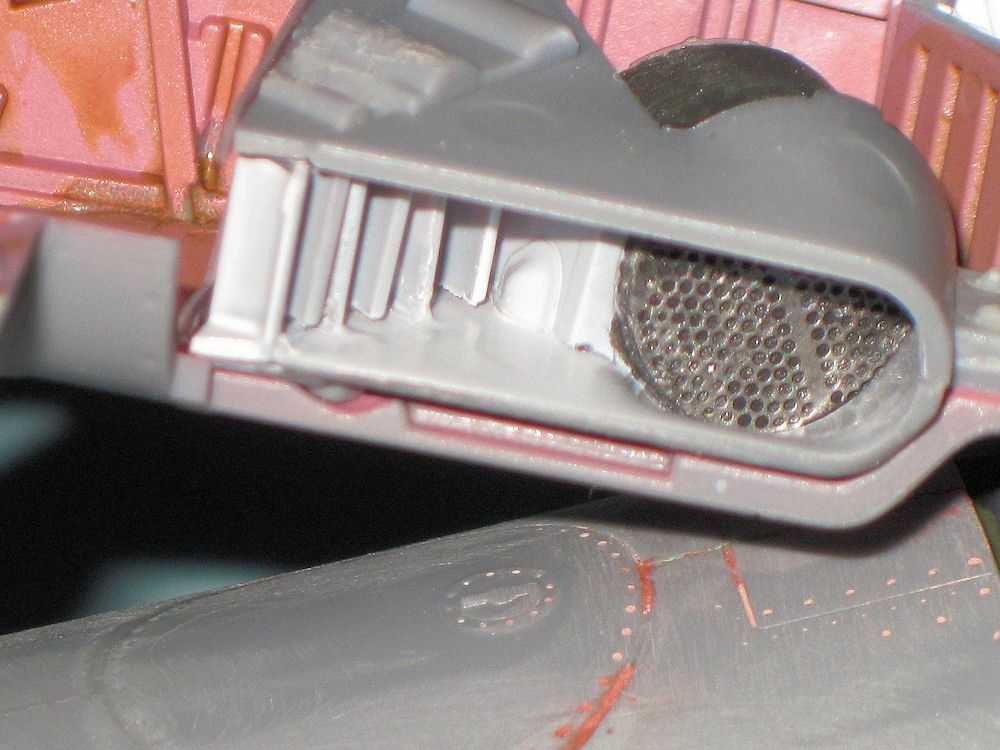
Left wing intake from front

Left wing intake from above
Right wing intake from above

Right wing intake from front
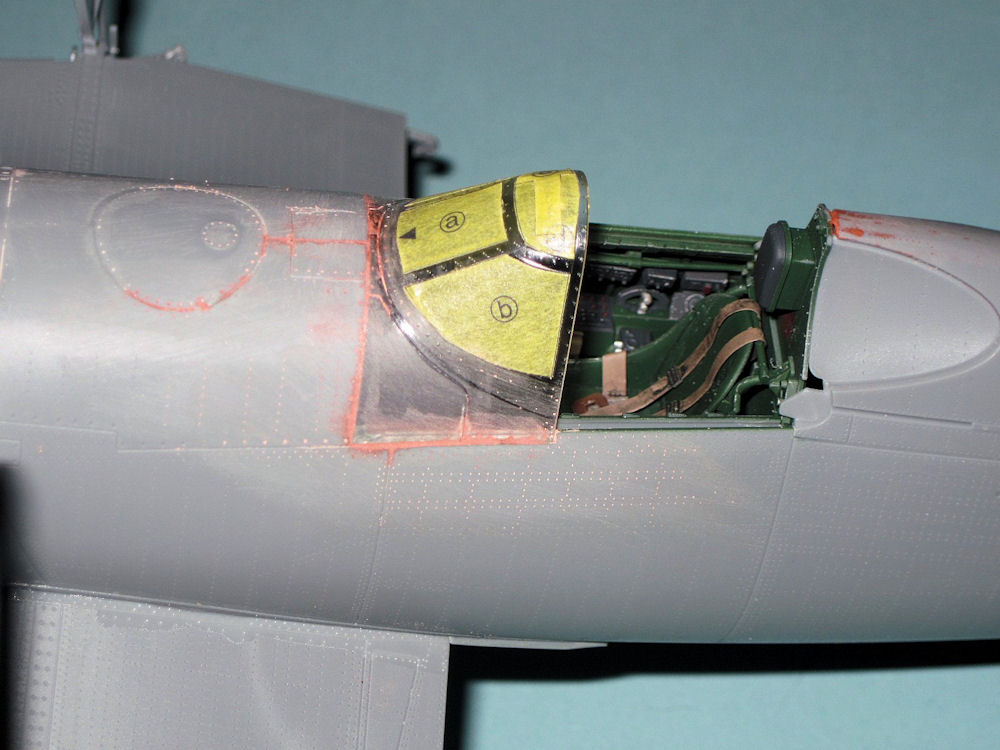
Front canopy masked
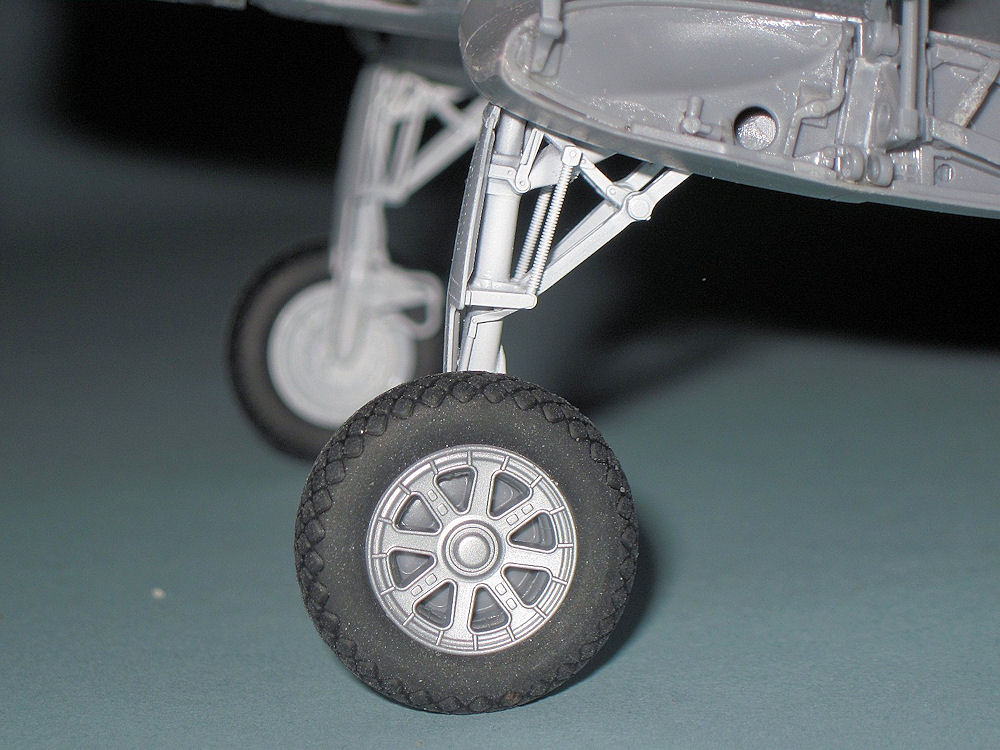
Main gear and wheel detail

Main gear well detail
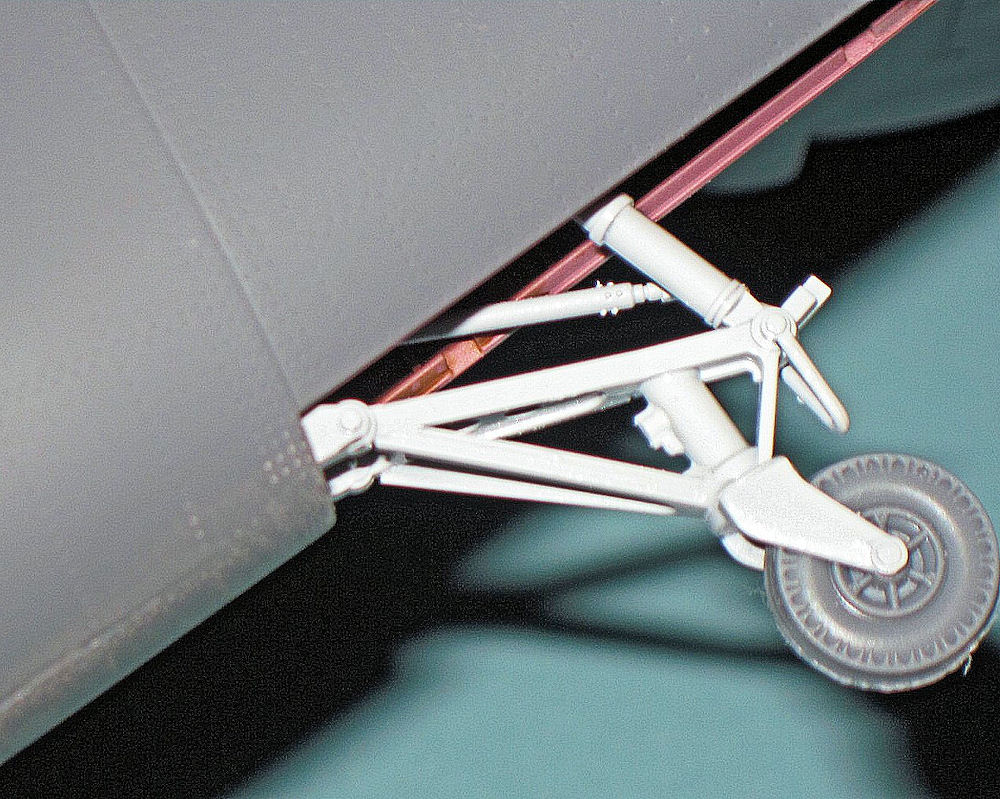
Tail wheel strut detail

Exhaust pipes alignment with fuselage holes
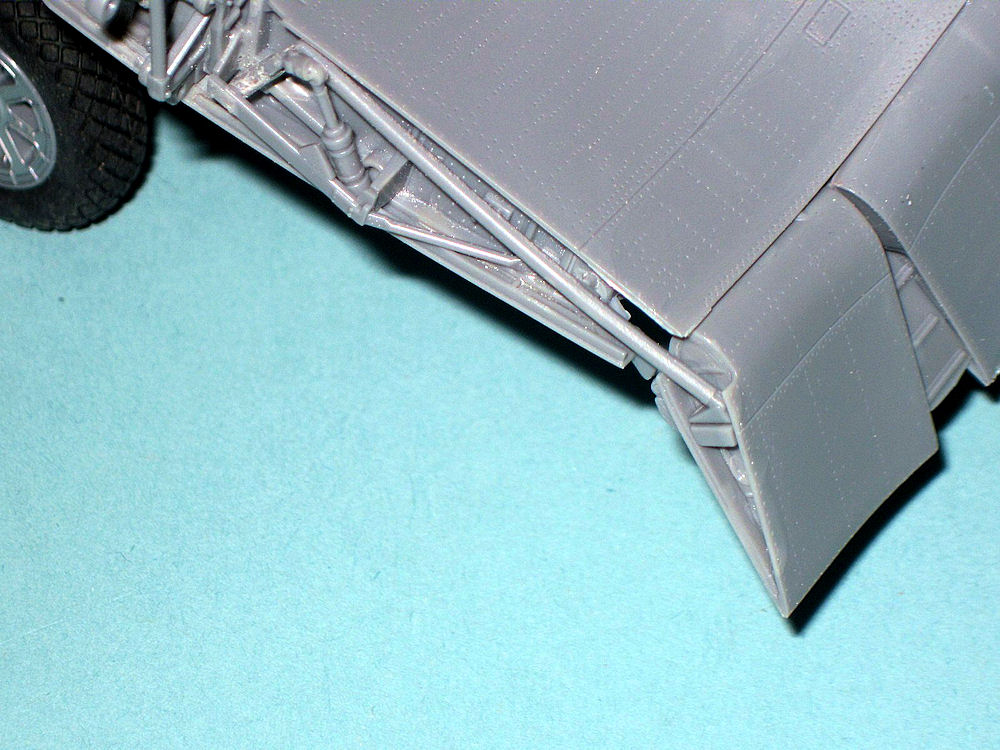
Split flaps
Wing fold mechanism detail

Ready for painting 1
Comments
Add new comment
This site is protected by reCAPTCHA and the Google Privacy Policy and Terms of Service apply.
Similar Reviews