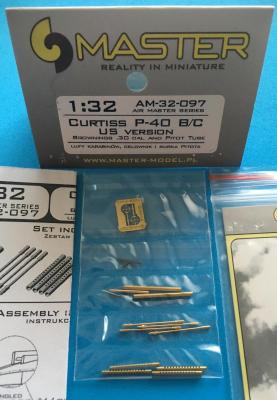
Master-Model released these closely related aftermarket barrel + pitot upgrade sets for the early (i.e. B/C/MkII) 1/32 P-40 tool that exists. The two upgrade sets, designated U.S. Version and British Version respectively, are so closely related that it makes sense to review them both at the same time. I have the Hobby Craft kit (Trumpeter tool re-boxed with AVG decals) and a good friend of mine has the Trumpeter kit which sports the British markings on the box top – so I had a keen interest in looking at these Master-Model offerings and comparing the components to their kit counterparts. My sincere thanks to Master-Model for providing these sets for review through the IPMS USA Reviewer Corps.
What's New
Background
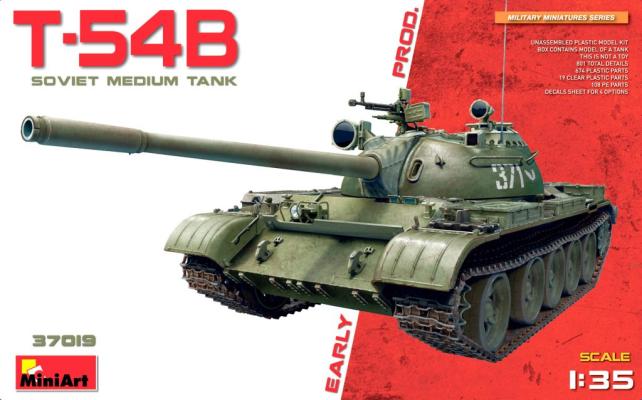
The T-54B variant of the T-54 range of Soviet medium tanks was the last major variant prior to the introduction of the T-55 series. Production occurred from 1957 to 1959, and saw the introduction of a rifled barrel as the main turret armament, together with a two-plane main gun stabilization system which dramatically improved the probability of hitting the target.
This is the third T-54 kit from MiniArt that I have had the great pleasure of reviewing for IPMS/USA. The first, MiniArt Kit #37003, was of the T-54-1 Model 1947, the first production variant of this important Soviet Cold War warrior. The second was Kit #37012, the T-54-2 Model 1949.
About the Item
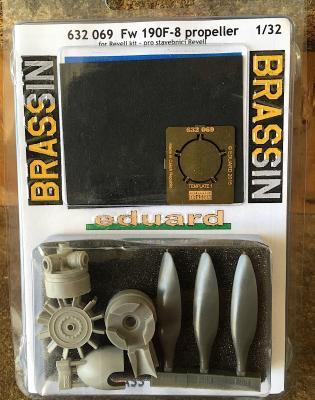
What we have here is a very detailed replacement propeller, hub and mechanism for the recently released Revell FW-190 F-8 Kit.
What’s in the Box?
The box comes with a total of 7 resin pieces of light and dark gray color and one photoetch template. These parts are designed to replace the Revell parts, which are nice, but not nearly as detailed as the Eduard Brassin line of resin accessories.
These propeller parts are in my opinion a must and very cheap quality add-on for modelers who would prefer a little more realism and quality in their masterpiece.
What’s in the Box?
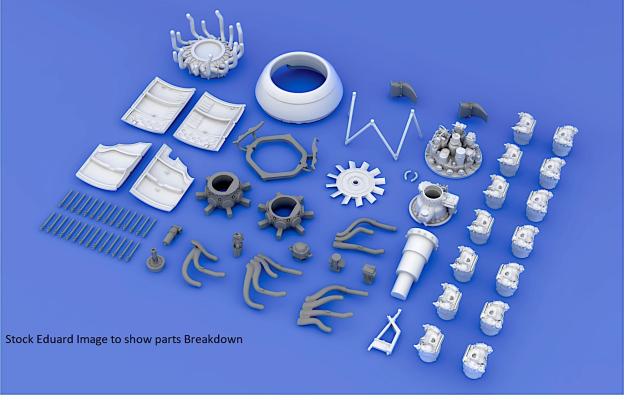
There are a lot of parts in this nicely packed box, about 71 pieces, with the photoetch included in the parts count sandwiched between two foam boards in a typical top-folding rectangular lid cardboard box.
The Build Interior/Exterior
Construction starts the build by separating the cylinder heads from the pour stub, the first of 22 steps covering 8 pages. Keep in mind to cut as evenly and straight as possible to help alleviate any alignment issues when it comes to attaching the heads to the radial block using the alignment tools that are part of the PE fret. I was a little paranoid so I cut them right at the base of the stub and kinda just worked my way up to make sure everything was perfect. The alignment tools were a lifesaver and made my life a lot easier. I definitely think things would have turned out much worse for me and my patience if the tools where not included.
History Brief
The Fw 190F-8 was based on the A-8 Fighter, having a slightly modified injector on the compressor which allowed for increased performance at lower altitudes for several minutes.
Armament of the Fw 190 F-8 was two 20 mm MG 151/20 cannon in the wing roots and two 13 mm (.51 in) MG131 machine guns above the engine. It was outfitted with an ETC 501 Bomb rack as centerline mount and four ETC 50 bomb racks as underwing mounts.
Set Contents
- 1 x 32372 Fw 190F-8 Landing Flaps 1/32
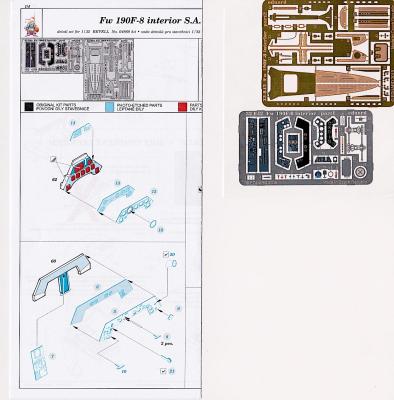
- 1 x 32842 Fw 190F-8 Interior S.A. 1/32
- 1 x 32843 Fw 190F-8 Seatbelts 1/32
- 1 x JX181 Fw 190F-8 Painting Mask
Set 32372: Landing Flaps
Starting with the first photo etch set I commenced cutting the parts from the plastic kit and preparing them for modification, and boy I was not prepared for the work that lay ahead of me. It was very detailed and precise to the very end so close attention is required.
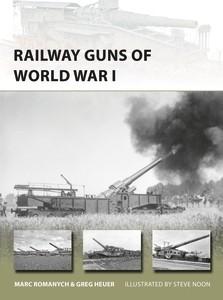
Railway guns are in simple terms huge guns on trains. First conceived and fabricated during the American Civil War in 1862 by Confederate forces, railway guns came into being to rapidly bring large artillery where needed. Traditional methods of dismounting a large gun tube and moving them by horse drawn train was time consuming and manpower intensive. European observers sent to scrutinize took notice of many of the advances made during the Civil War, and improved upon what they saw. Fast forward to World War I and railway guns were again deployed. Most of the combatants deployed railway guns of varying size and with varying results. This book is a basic course on these WWI era weapons.
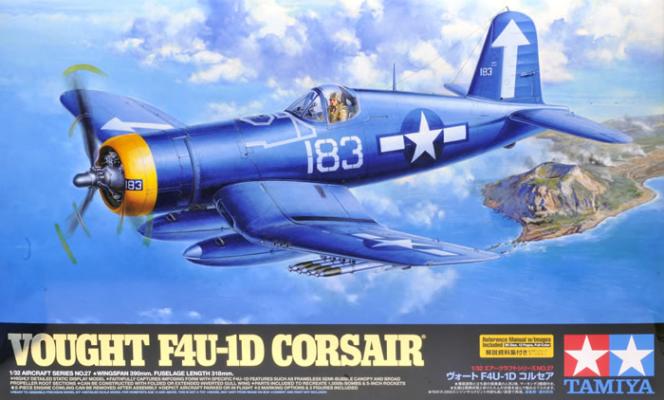
When I was a kid of about eleven living in Lincoln, Nebraska, I used to regularly visit one special park there. That's because not only did they have an open Sherman tank you could crawl around on, but a real live ex-Korean Corsair. I spent many a happy Saturday afternoon inside the cockpit or wandering over the wings of that aircraft, and ever since then I've had something of a love affair with this bent-wing beauty.
As a modeler, I translated this love into 1/32nd scale ever since high school. I've built the Revell kit too many times to mention, the 21st Century Toys version and the Trumpeter version. However, nothing I have ever seen compares to the quality of the Tamiya rendition of this bird.
Introduction
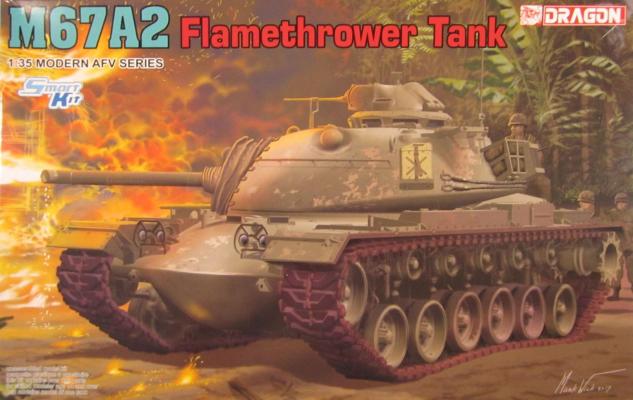
Dragon’s product website states that “Building further on the success of its line-up of 1/35 scale kits of the famous M48 Patton medium tank, Dragon has produced the interesting M67 flamethrower used by the US military. Nicknamed the “Zippo”, it was originally based on an M48A1 tank hull, with the usual 90mm gun replaced with an M6 flame gun connected to an M7A1-6 fuel and pressure unit. The 48-ton M67 was disguised somewhat with its flame gun hidden inside a dummy gun tube. The first M67 was completed in 1955 and a total of 109 units were manufactured for US Marine Corps and US Army service. They were fielded until 1974, which meant they saw combat in Vietnam”.
This is a re-issue of a kit first issued in 2015. It is an excellent kit in the Hasegawa range and is very easy to build as long as you watch the instruction details carefully.
In the box is:
- 2 x black rubber sprues
- 2 x orange sprues
- 1 clear sprue
- 2 x light grey sprues
- 3 x dark grey sprue
- 1 length of hose
- 1 decal sheet
- 4 x poly caps
- 1 mesh sheet
- 2 x springs
- 1 instruction booklet
- 1 collector card
The sprues are extremely well molded with no flash and great detail. The parts are all molded in the correct colors so if the build is done well there is no need to do much painting.
Construction
Stage 1 Assembly begins with the female driver, I left the arms off as these need to be positioned correctly once in the cabin seat.
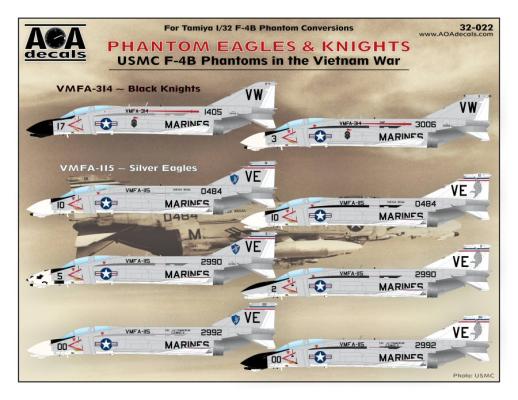
AOA Decals focuses on the Marine Corps and the Vietnam era and for this limited release, the focus is on a 1/32nd scale sheet for a USMC F-4B Phantom from VMFA-115 Silver Eagles and VMFA-314 Black Knights focusing on the 1968-1973 time frame. The set is designed for the Tamiya 1/32nd F-4J using a “B” conversion (not included). I am aware of several B conversions on the market put out by the defunct Meteor Productions, CAM and GT Resin. These are quite extensive conversions but build not great looking final kits.

