
X-15A-2 White Ablative Coating
The X-15 stands in a unique position in the annals of aviation history as one of the most ambitious projects to ever explore the envelope of aerial performance. Flying a total of 199 missions in only three aircraft, it broke every record in the 1960’s, with a top speed of 4,520 miles an hour (Mach 6.7) and an altitude record of 102, 100 feet – records for a manned aircraft that remain unbroken to this day.
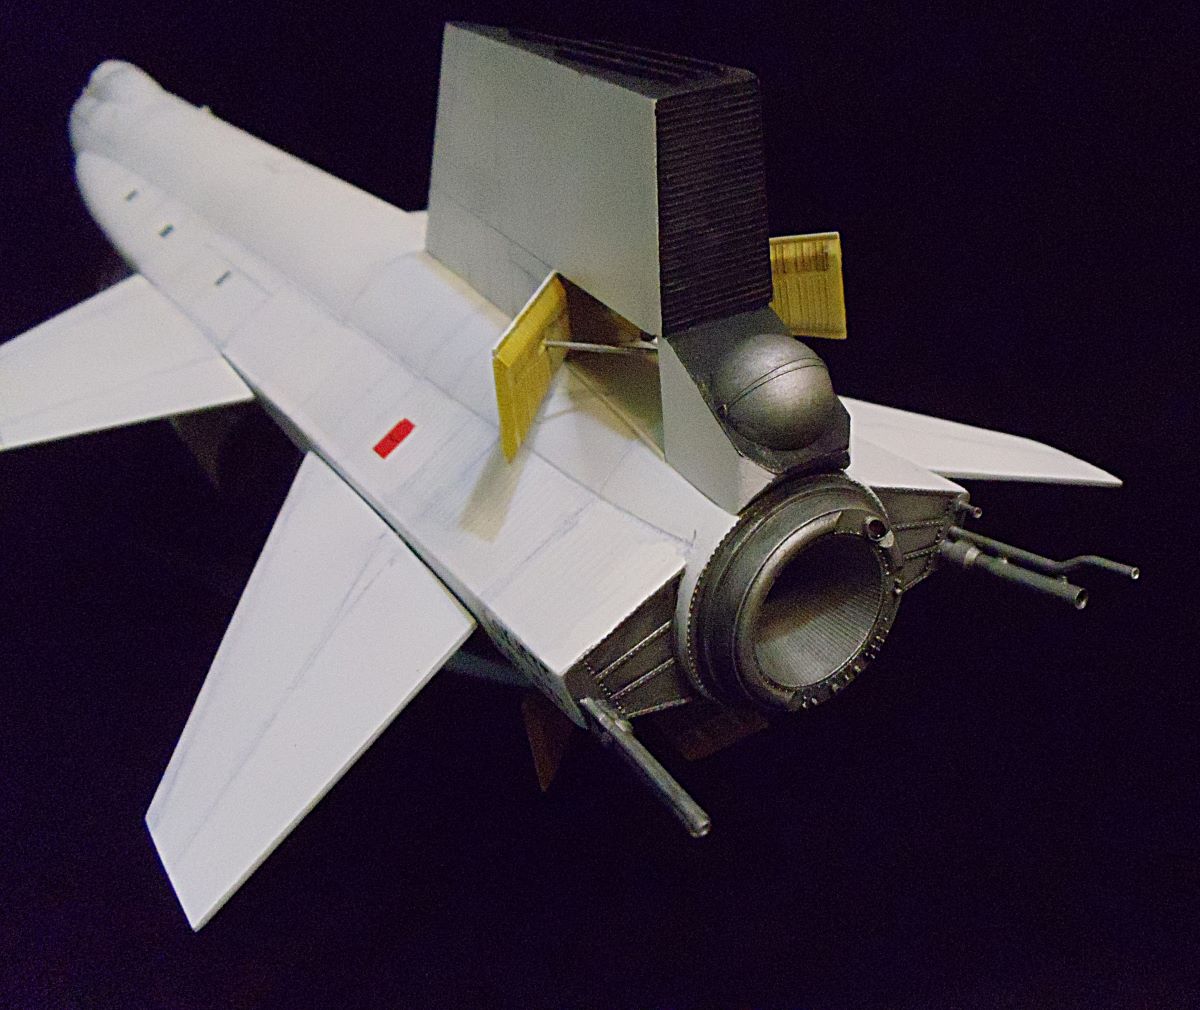
Both aircraft and engine were developed in the mid-1950s but weren’t operational until 1959. Made from a number of heat-resistant alloys and the most advanced developments of its day, the original version used a set of two rockets similar to the Bell X-1 rocket, each with four ventura and delivering 16,000 pounds of thrust. In time, the XLR99 rocket became available, delivering a whopping 57,000 pounds of thrust.
Because of the altitudes for which it was designed, the machine featured a reaction control system in the nose and wings, which could take over when the air became too thin for conventional controls. This meant that the cockpit had several joysticks for different aspects of its flight.
The fate of the three X-15s is clearly documented. The X-15-1 flew its first 24 missions with the dual XLR11 rockets, switching out to the XLR99 when it became available. This aircraft is now on display at the National Air and Space Museum. Both the X-15-2 and X-15-3 used the XLR99 rocket as well. X-15-3 came to an untimely end when it entered a hyperspin on its 65th free flight and never recovered, killing Major M. Adams in the process. The X-15-2 broke its spine on a hard landing, and was used to create the larger X-15A-2. This rocket is now on display at the National Museum at Wright Patterson Air Force Base.
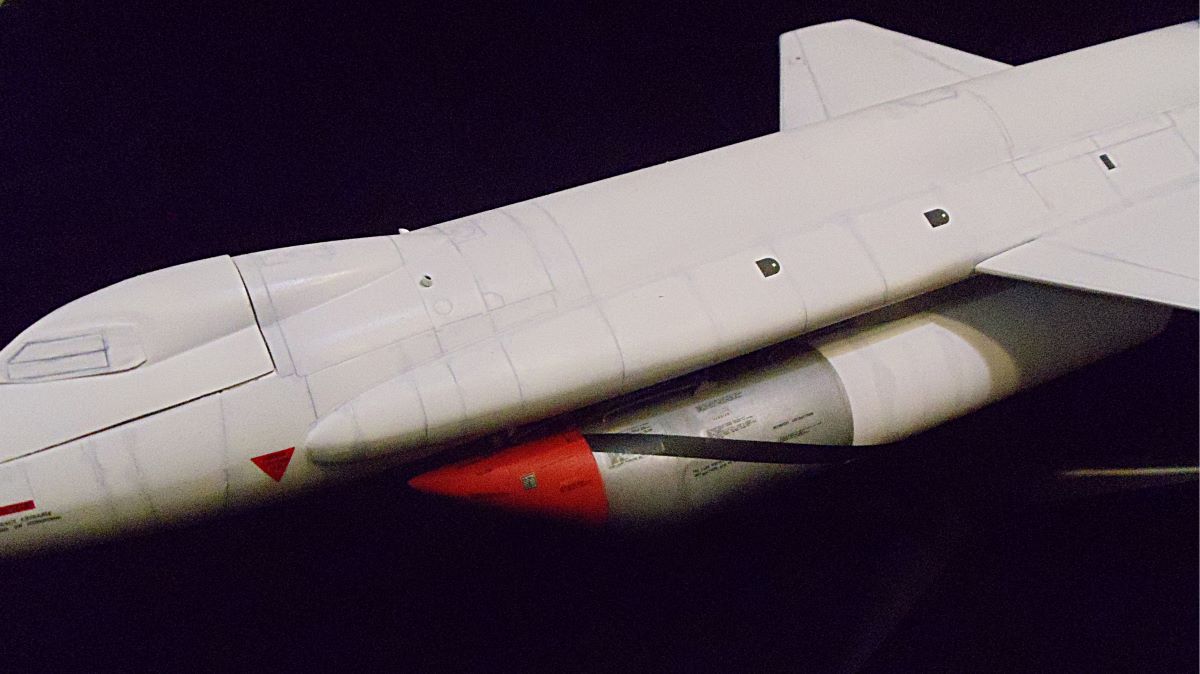
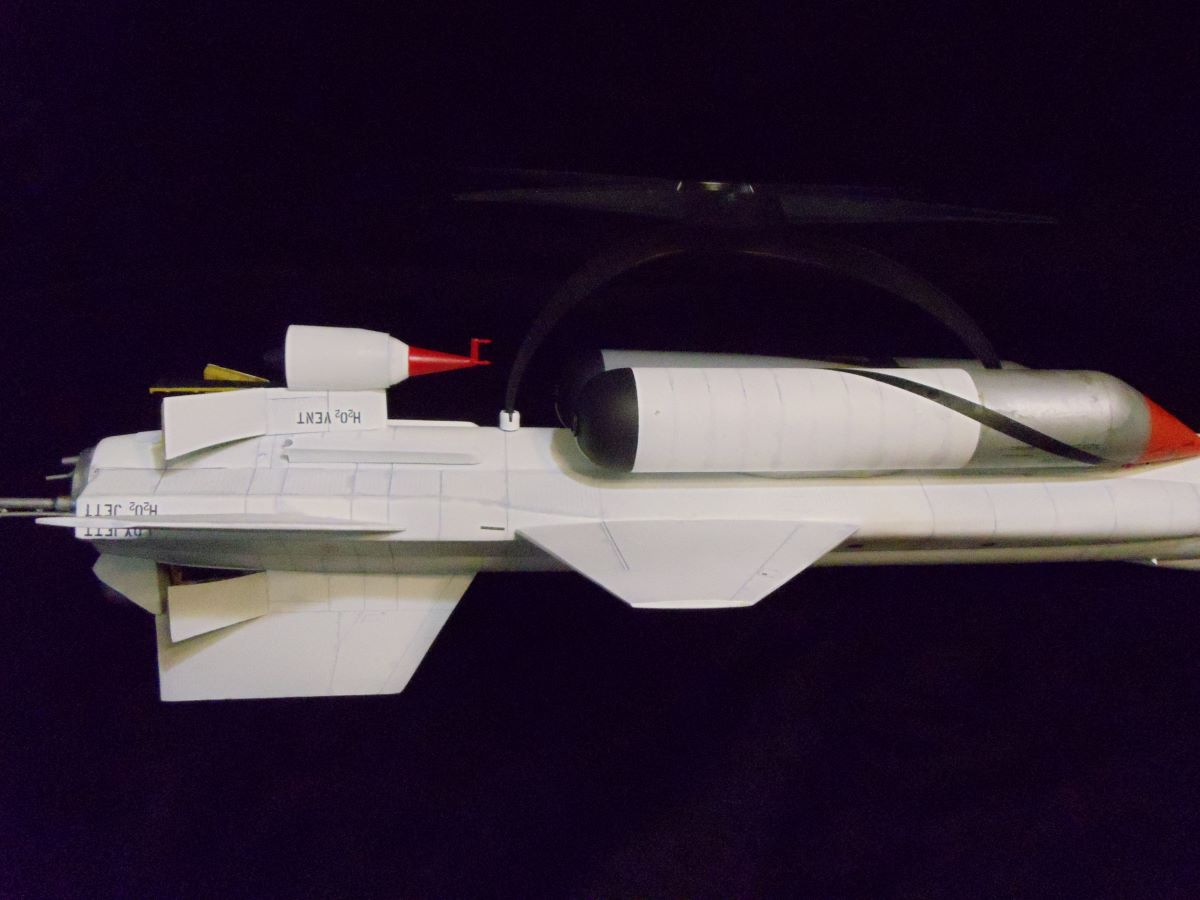
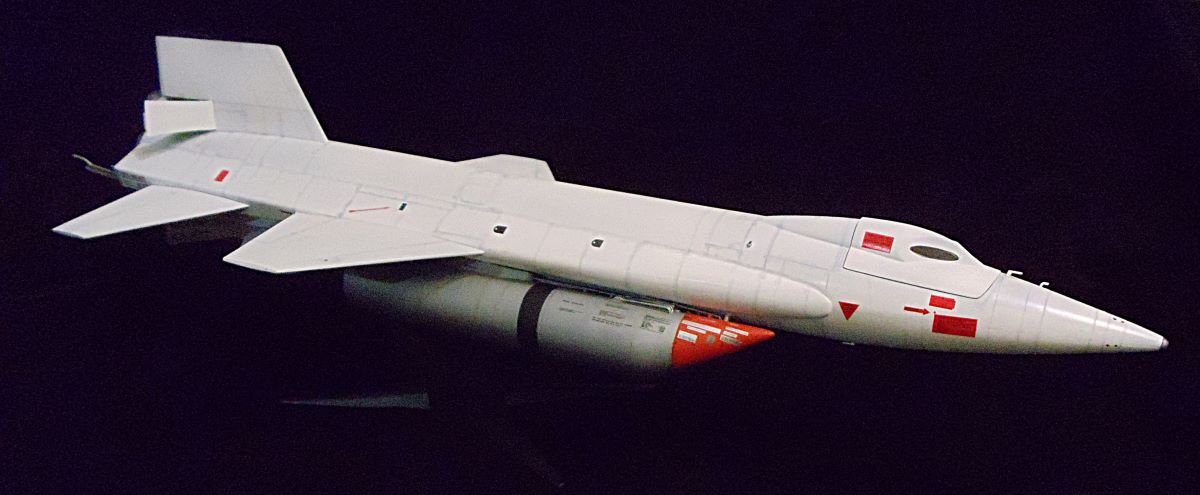
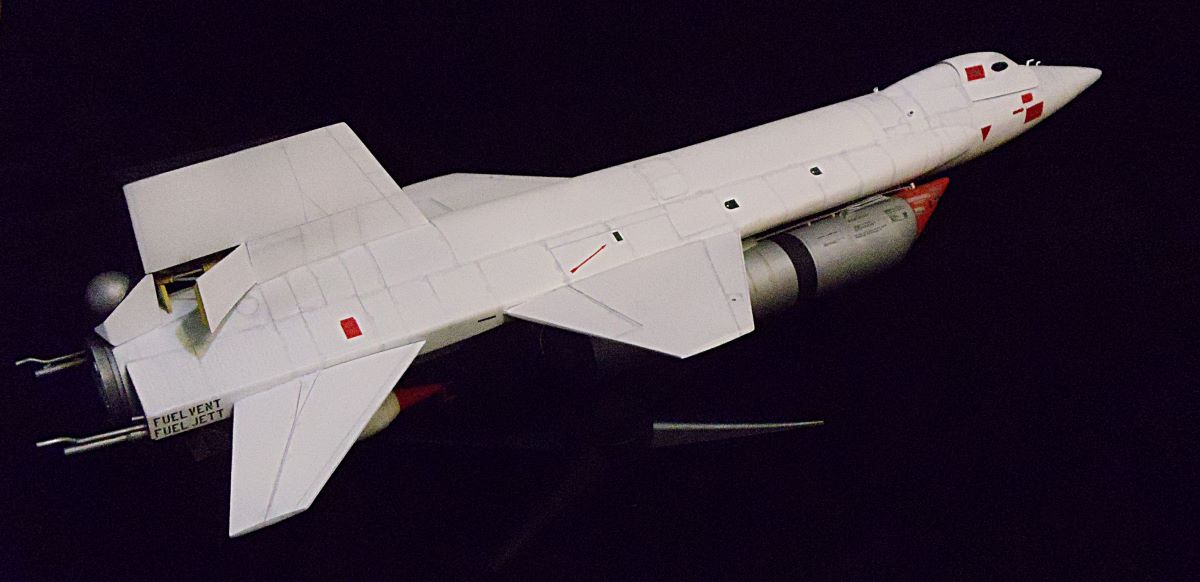
The X-15A-2, the subject of this kit, had the distinction of being able to carry two large fuel tanks externally, making it unique among the three aircraft. It was also the only one to carry an experimental ramjet, although this proved to be something of a disaster. The entire aircraft was also covered in a white ablative coating in an attempt to deal with heat buildup on the surface during high-speed flight.
Special Hobby has released several different variants of this particular craft, this being the most recent. Apparently at one point they also released the X-15-1 with twin XLR11 engines, but this version is extraordinarily hard to come by, which is a pity as they would make nice side-by-side comparisons in my collection.
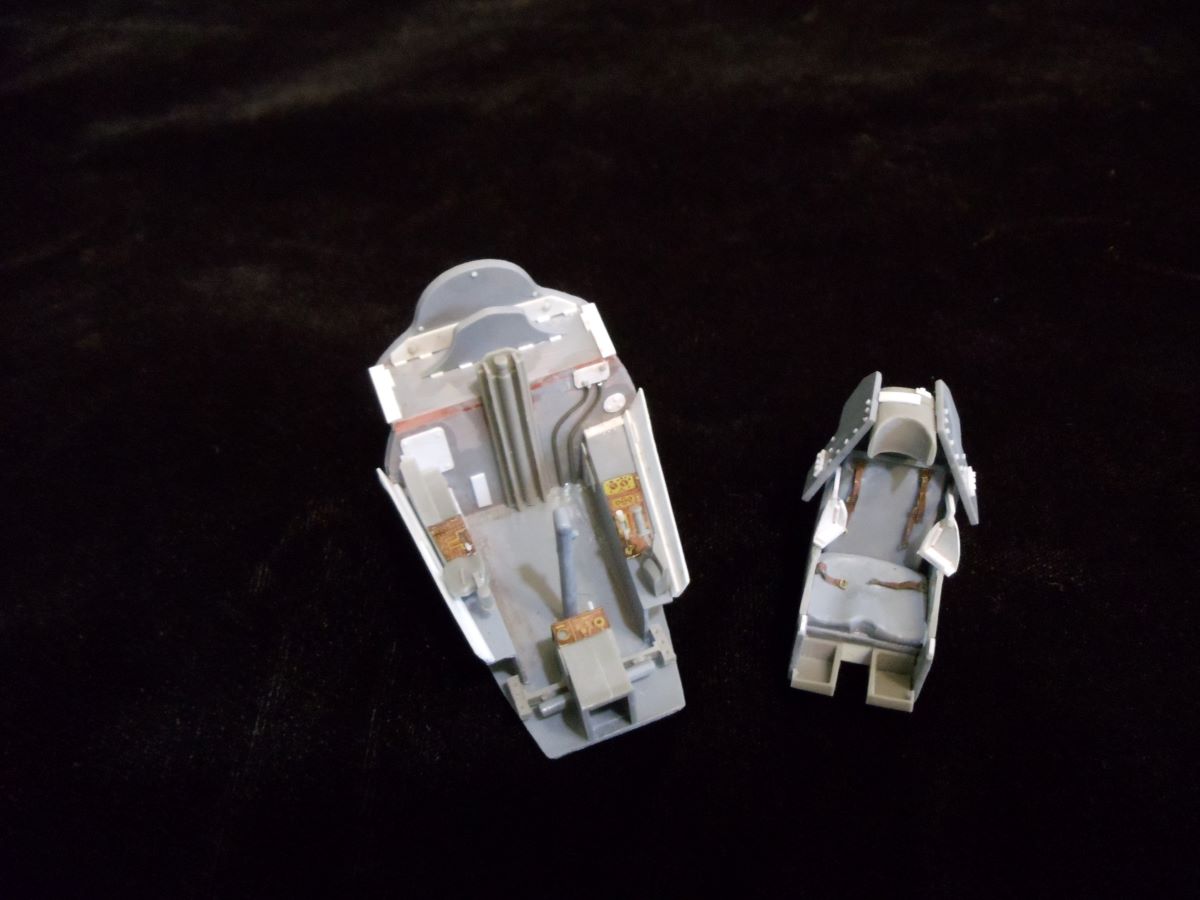
The kit comes with a plethora of resin castings, which contribute to the cockpit and ejection seat, make the carrier dolly, the XLR99 nozzle and other external parts. Photoetch and film are also plentiful, mostly dedicated to control panels in the cockpit. The decals are specific to this version with the white ablative coating and the paucity of fuselage markings is more than made up for by the wealth of stenciling for the external tanks. A clear plastic canopy is provided.
I was unhappy to discover that in the sample kit I’d been provided, some of the resin bits were either damaged or missing altogether. Like some other parts of the kit, a bit of creative scratch-building would prove necessary, but nothing that an average modeler couldn’t handle.
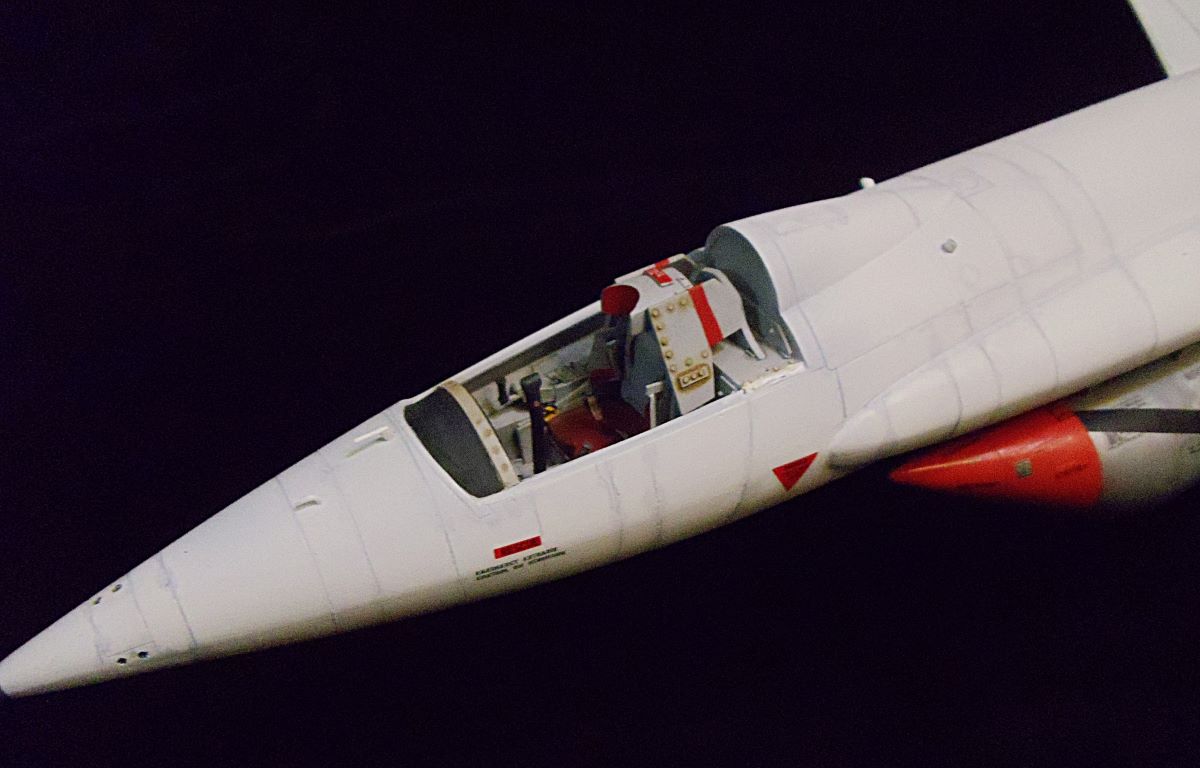
The first step, as always, was the cockpit, and there I almost immediately ran into trouble. The directions on placement of the major parts were exceedingly vague, and the parts themselves provided little in the way of clues. I discovered quickly that this is a good model to have some external references for, because it was only later that I found out how badly I’d screwed up. Fortunately, everything still managed to come together (more or less) and I even added a bit of detailing of my own, since the cockpit as-is looked pretty spartan. Once again, references would have been useful, as I didn’t have a lot to go on at the time. I more or less winged it, but I think it turned out okay.
Right at this point in assembly I had to make a tough decision – how to present the model. Although the kit comes with a beautiful resin service dolly, I really wanted to display it with the most distinctive feature of this variant – the ramjet – which I could only reasonably display if the model was in flight mode. As a note here, the resin parts that come with the kit do NOT display the final ramjet – they instead replicate the ramjet dummy which was initially mounted to see how it affected the aerodynamics. In any case, I finally decided to do it wheels up on the provided base to show this feature, so I closed up the nose wheel bay.
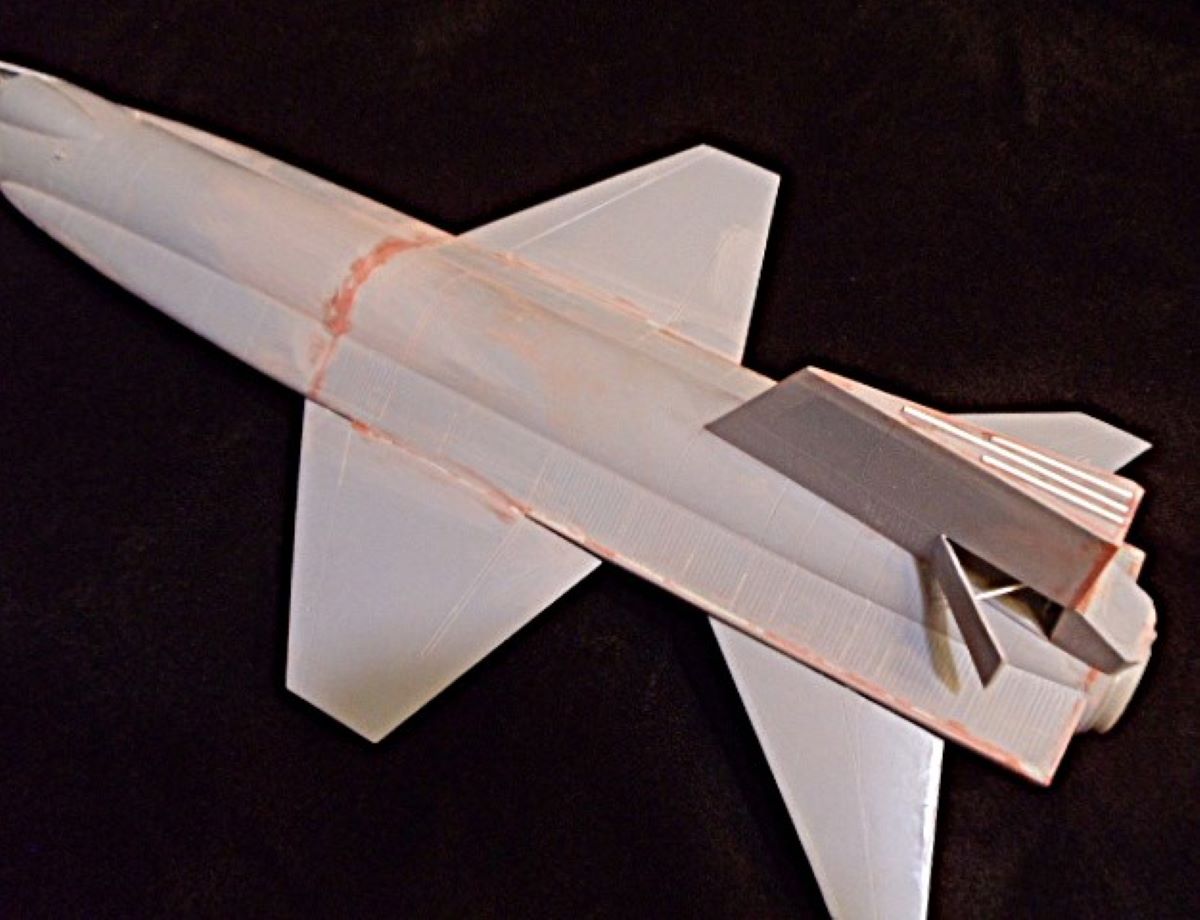
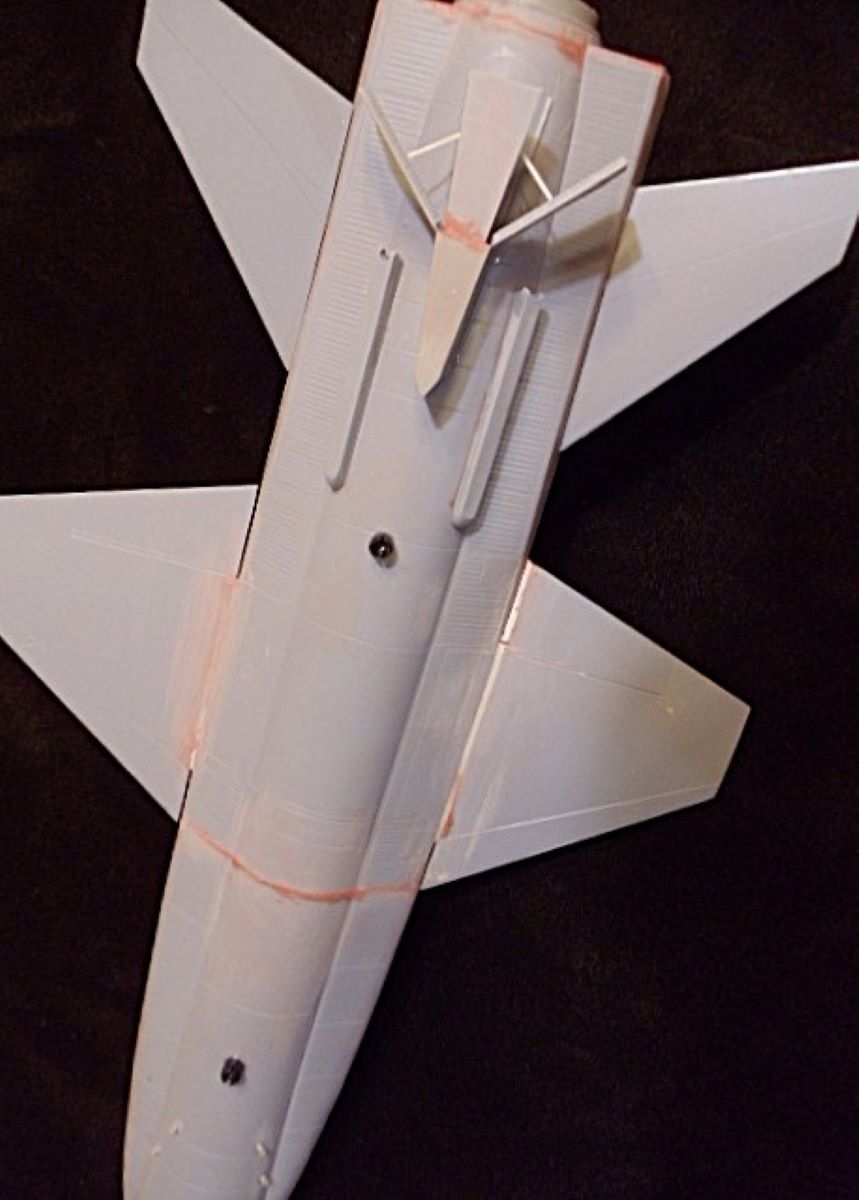
The fuselage is a particular challenge, as it is divided up into front and rear sections. Unlike what the instructions suggested, I found it more effective to make the front and rear sections separately, as it helped keep the panel lines aligned top to bottom. The rear fuselage has an enormous gap at the top that is highly visible and will require patience to fill in order not to destroy the surrounding detail. In retrospect, I would have clamped it together to make a tighter fit. The front fuselage was misaligned enough that I resorted to epoxy putty to fill in some of the gaps. Bringing the two assemblies together demonstrated yet another large gap across the top, which took me some time to fill and sand down to remove the resulting “hump.”
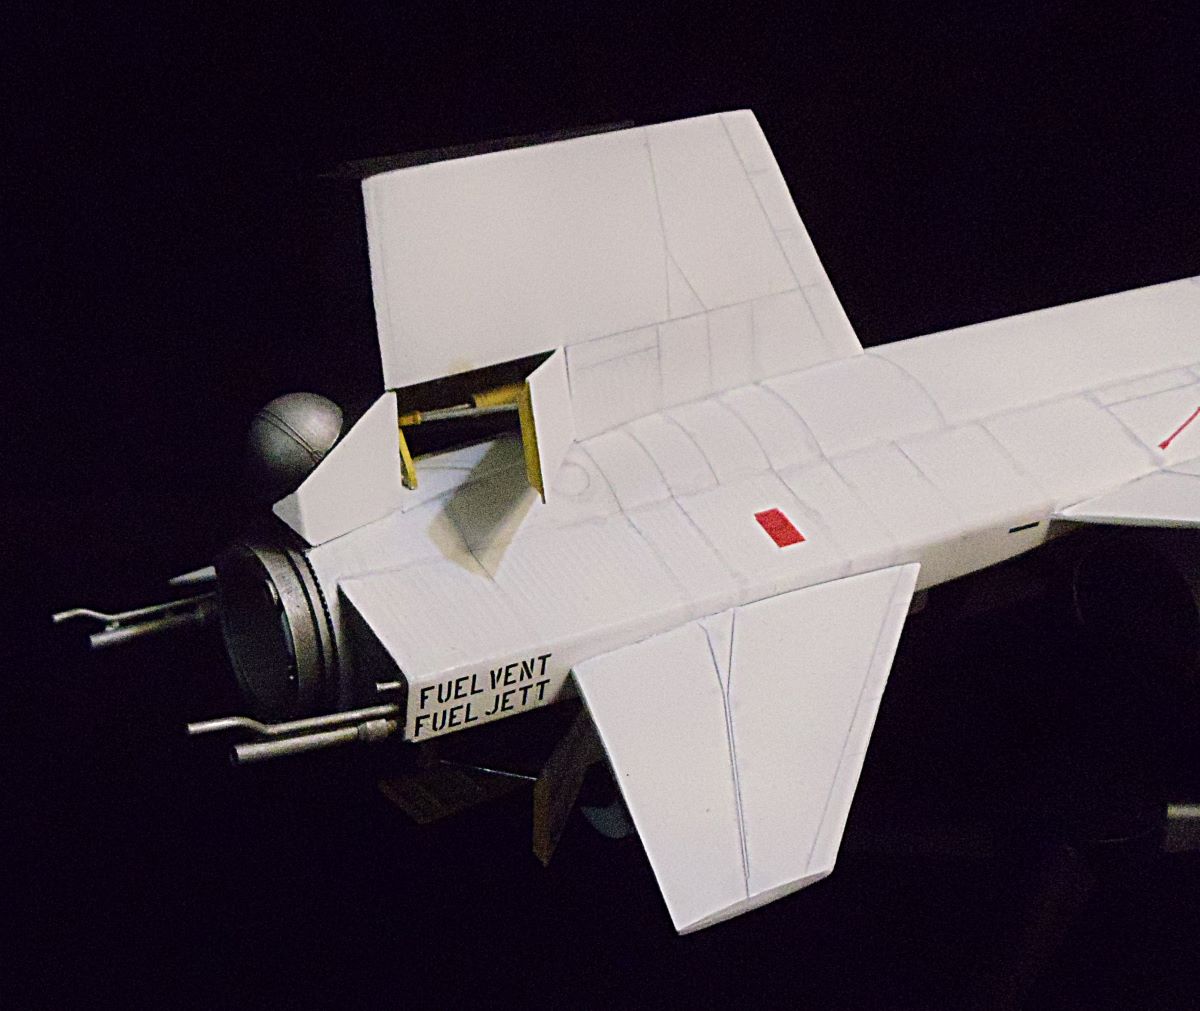
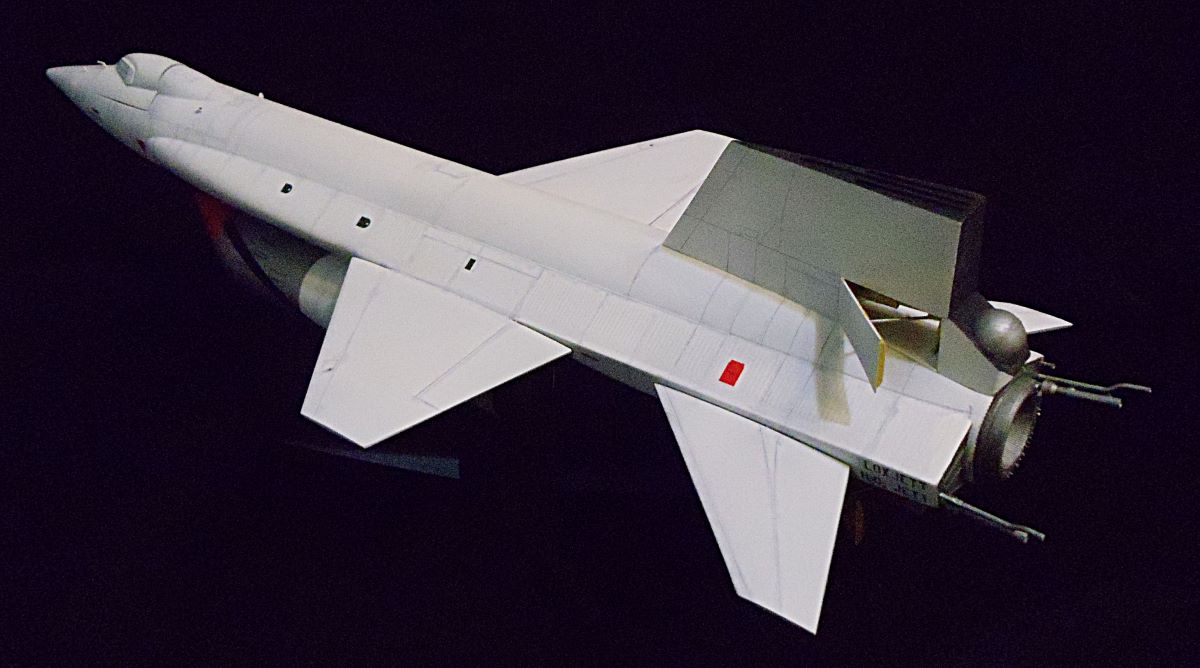
As I was concerned about the relative blandness of this version of the aircraft, I went ahead and opened the airbrakes on the fin assemblies. I’m somewhat embarrassed to say I didn’t realize that the interior of these units was in the same black as the uncoated aircraft. Nonetheless, it does add some distinctiveness.
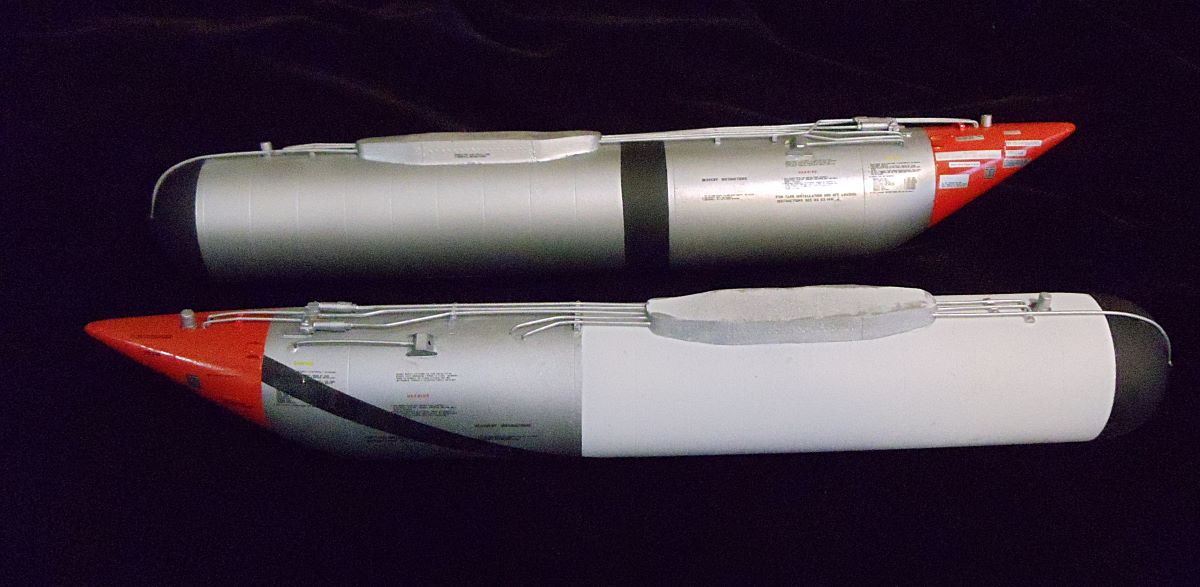
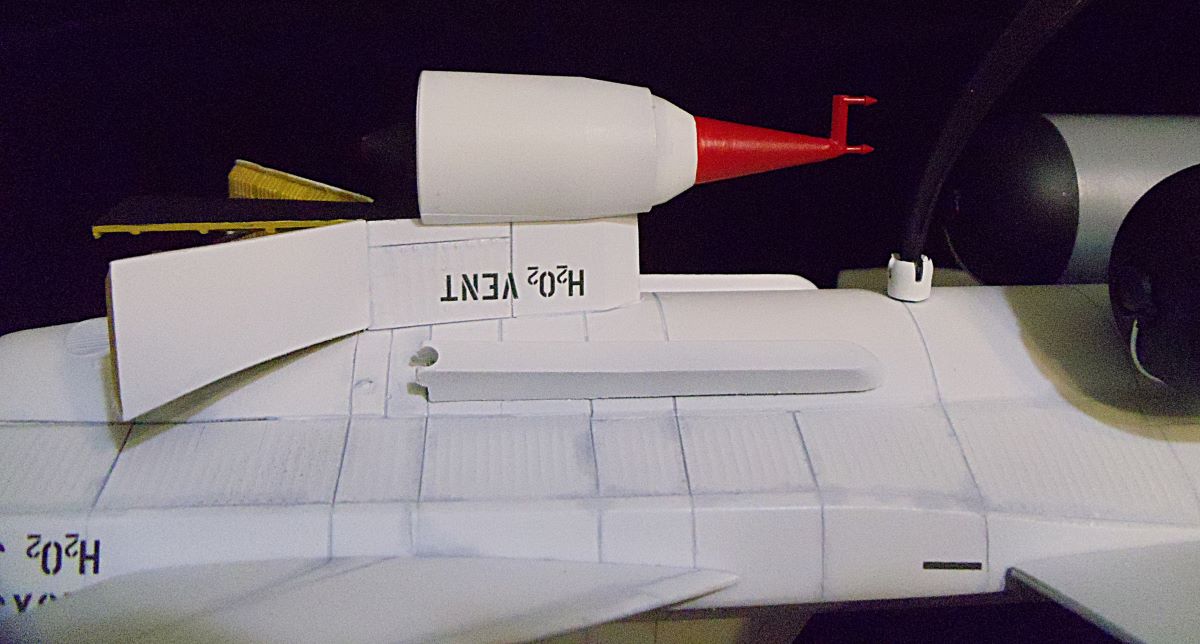
The external fuel tanks are major subassemblies in their own right. Special Hobby provided the kit with wire to replicate the intricate plumbing, but I chose to replace it with Evergreen rod, which I found much easier to handle. By the way – because of the somewhat elaborate paint job on these units, it’s best to do the primary airbrushing BEFORE adding the plumbing. The final result was pretty good, if I do say so.
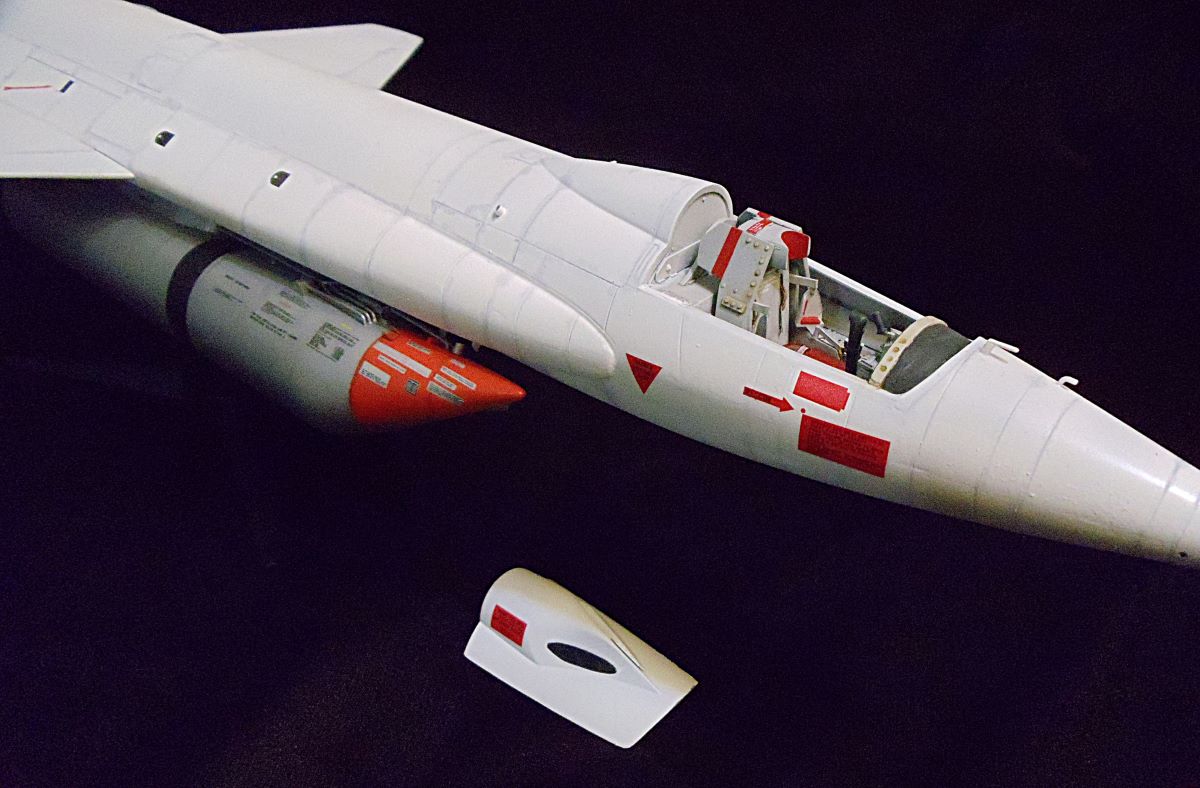
Since I wanted to show this machine “in flight” I decided to leave the canopy free to close, although as you can see from the pictures it isn’t a particularly good fit. Still, if I wanted to show the interior as well this was the only choice. The dump nozzles at the rear proved to be exceedingly delicate, and I knocked these off several times during assembly. I read somewhere that drilling and wiring these was the safest alternative, and I’ll probably do that on the other copies of this kit that I possess.
All of the decals lay down well, although being quite thin they had a tendency to want to stick wherever they were first applied. Be aware of this or you’re going to lose a few. I was happy to find online pictures that showed that the white ablative coating wasn’t actually all that pristine, so I did a little light weathering to add character to the finished piece and break up the monotone.
Overall, I must confess that this is definitely not a kit for beginners, and even an old hand like me found it be quite the challenge. The results, however, demonstrate a strikingly dramatic vehicle. Even in the white it looks like it’s racing along while standing still. I’m delighted that Special Hobby released this kit, although I would have been happier if they’d provided decals for both finishes. I certainly hope they re-release the X-15-1 as well some time in the future, as this is just too mesmerizing a vehicle to leave alone. Fascinating!
My thanks to Special Hobby for releasing this dramatic aircraft and thanks to IPMS/USA for a chance to tackle this demanding subject. Happy modeling, everyone!

Comments
Add new comment
This site is protected by reCAPTCHA and the Google Privacy Policy and Terms of Service apply.
Similar Reviews