
Sea Hurricane Mk IIc
Arma Hobby has released a new 1/48th scale Hawker Sea Hurricane Mk IIc, and it is a great addition to the other 1/48th Hurricanes variants currently available.
In The Box
The kit box is a side open box with all the contents sitting in a sturdier tray cardboard box. The sprues are enclosed in a single plastic bag. In one corner of the box, the 3D parts are wrapped and attached to eliminate any transit movement.
The injected plastic hardness is on the medium side. The recessed and raised molded details are outstanding. It is very evident Arma Hobby put a lot of research into the making of their kits and it shows on the surface detail. The clear parts are thin and with no distortion and it has options for an open or closed canopy.
The 3D parts are tightly nested on a single print and includes the aft belly fuselage, tail-hook, pilot seat (with harnesses), exhaust tubes, and cannons.
Instructions are well illustrated and easy to follow. However, to make a Sea Hurricane variant, special instructions are inlayed at some steps to show you extra work that must be executed. See steps 7 (hole add & fill), 19 (louver removal), 23 (3D part substitution), 29 (MLG door trimming), and 32 (antenna post add). Adding bombs or auxiliary fuel tanks are optional. Also, several companies are listed in the painting guide and will be added help for those who have a large paint inventory.
A die cut masking set is provided for the wheels and canopy (open and closed position).
Decals are printed by Techmod and represent the following aircraft:
- Sea Hurricane Mk IIc – 835 Squadron, HMS Nairana, Sub Lt. A.R. Burgham, early 1944
- Sea Hurricane Mk X – 804 Squadron, HMS Dasher, Operation Torch, late 1942
- Sea Hurricane Mk IIc – 825 Squadron, HMS Vindex, early 1944
Review Process
Arma Hobby has the assembly starting with the wheel well and wings since the cockpit is floorless and sits above it. Painting of the details in the cockpit frame will require a fine tipped brush and a steady hand. The instrument panel is represented with a decal and fits nicely over the raised surface detail. However, a softening solution, like Solvaset, will help settle the decal onto surface nicely. Please note, some parts in the cockpit are TINY (multiple light dimmer switches). Also, the frame structure is scale thin and fragile. So, a pair of precision nippers or razor saw will come in handy (especially when removing the 3D parts from their nest).
An area that will require some attention is the wing leading edge clear lamp covers. They do not quite fit and some sanding is needed to remove some interference. Some tiny gaps were created in the corners when sanded and I fixed this by first coating the clear parts with Future (to prevent crazing from CA fumes) and then filling the gaps with CA and light sanding. Then I followed up with Future to bring back the transparent clarity.
Once the wings and cockpit where done, I did a check fit of the fuselage (held together with tape) and placed it over the wings. This was an amazing experience to witness. The fit at the wing-to-body-fairing was FLAWLESS. It literally “clicks” together and no filler was needed. This re-enforced all the reports of Arma Hobby’s engineering I have read from other reviews.
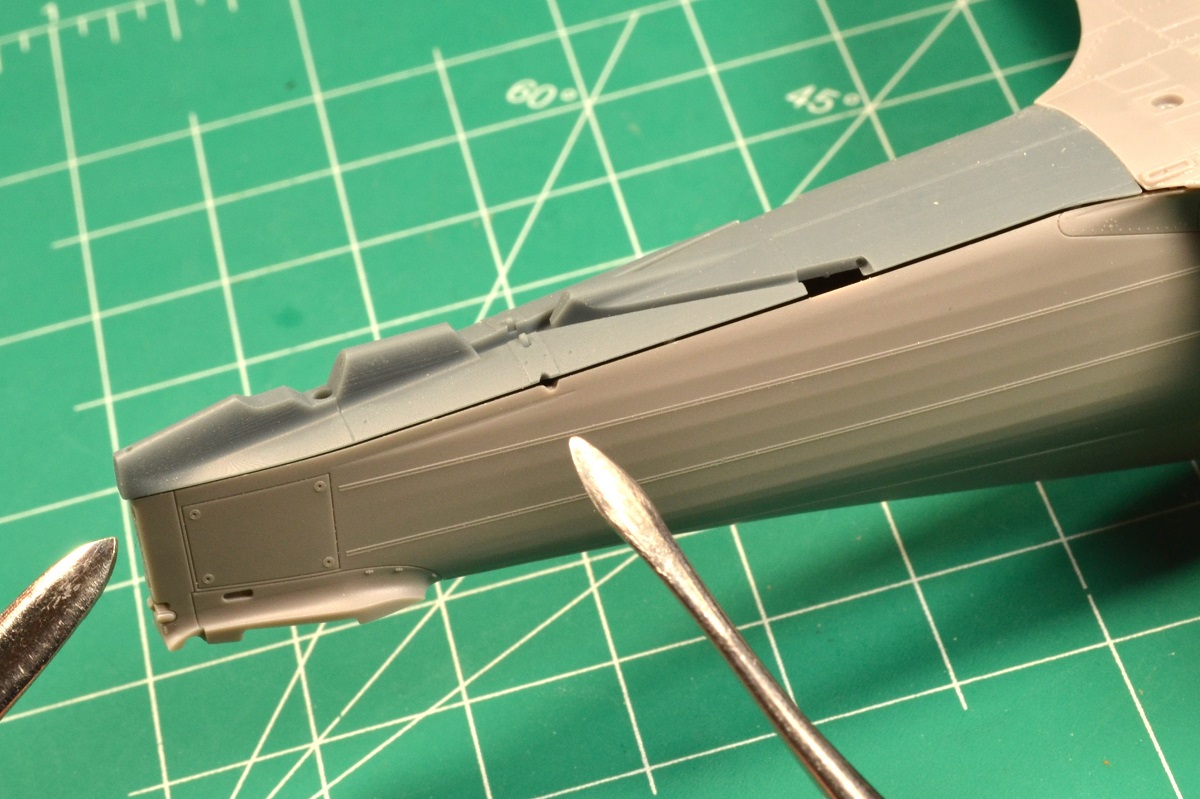
Once the fuselage was glued to the wing, I attempted to install the 3D printed belly fuselage and came across another problem. The 3D part may have stretched during curing, or it is engineered about 1 mm too long. I compared it to a molded sprue part and sure enough it was too long. To remedy this issue, I first sanded the aft end of the 3D part until it was flush. Next, I filled the upper half-circle (trestle hole) using CA and created another half-circle to match the 3D part’s lower half-circle. Lastly, I sanded the aft side of the upper internal locating pins on the 3D part to allow it to fit in the locating semicircles inside the upper fuselage. Some labor was involved but it is fixable.
Additional detail was added in the radiator intake and exhaust. Reference pictures show stiffening rods are very visible. For the intake, I added a single vertical rod. For the exhaust I added four rods. The rods were made from stretched sprue and for the exhaust area, the kit has molded divots to help locate the rods. I also added actuating rods to the tail rudder since rudder-horns and access holes are molded in.
For the main landing gear, the wheel rims are holed to mate with the struts locating pin to create a 4-degree camber. This may seem odd to the Hurricane novice, but when looking at reference material, there is a 4-degree angle for the tires relative to the strut. Also, the tires are flat spotted thus making them dedicated to being on a left or right strut due to the clocking of the flat spot.
When it came time to paint the plane itself, I airbrushed the model with Mr. Surfacer 1000 gray primer. This was followed by Tamiya XF-2 Flat White and XF-19 Sky Grey for the underside. The nose camo is XF-58 Olive Green and XF-77 IJN Gray (for Slate Grey). A coat of clear gloss was applied for decal prep.
Decals were applied and settled down with help from Solvaset. During this process I used a cotton bud to help roll out the decal and a make-up sponge to compress it over recessed and raised surface detail. Once dry, I airbrushed a protective coat of Vallejo Clear Satin.
Next, I subtly weathered using ground up charcoal applied with a soft brush. Lastly, I airbrushed AK Ultra Matt Clear to seal it all in. Any charcoal weathering that was lost from the last clear coat I lightly re-applied.
As I got to the end of the assembly, I decided to use the open canopy option. The provided masking set makes life so much easier and will get you to the paint booth faster.
Lastly, I installed the underwing pitot tube, cockpit entry step, arial wire (Infini Fine Line) and called it good.
Conclusions
This Sea Hurricane is an amazing kit. Due to precise nature of the parts, more patience is needed during assembly to not remove too much plastic when sanding surfaces. Also, some experience with bonding resin parts is an advantage. However, it will satisfy all levels with a great looking Sea Hurricane once done.
I want to thank Arma Hobby for providing this wonderful Sea Hurricane kit and IPMS/USA for allowing me the opportunity to review.
Highly Recommend!

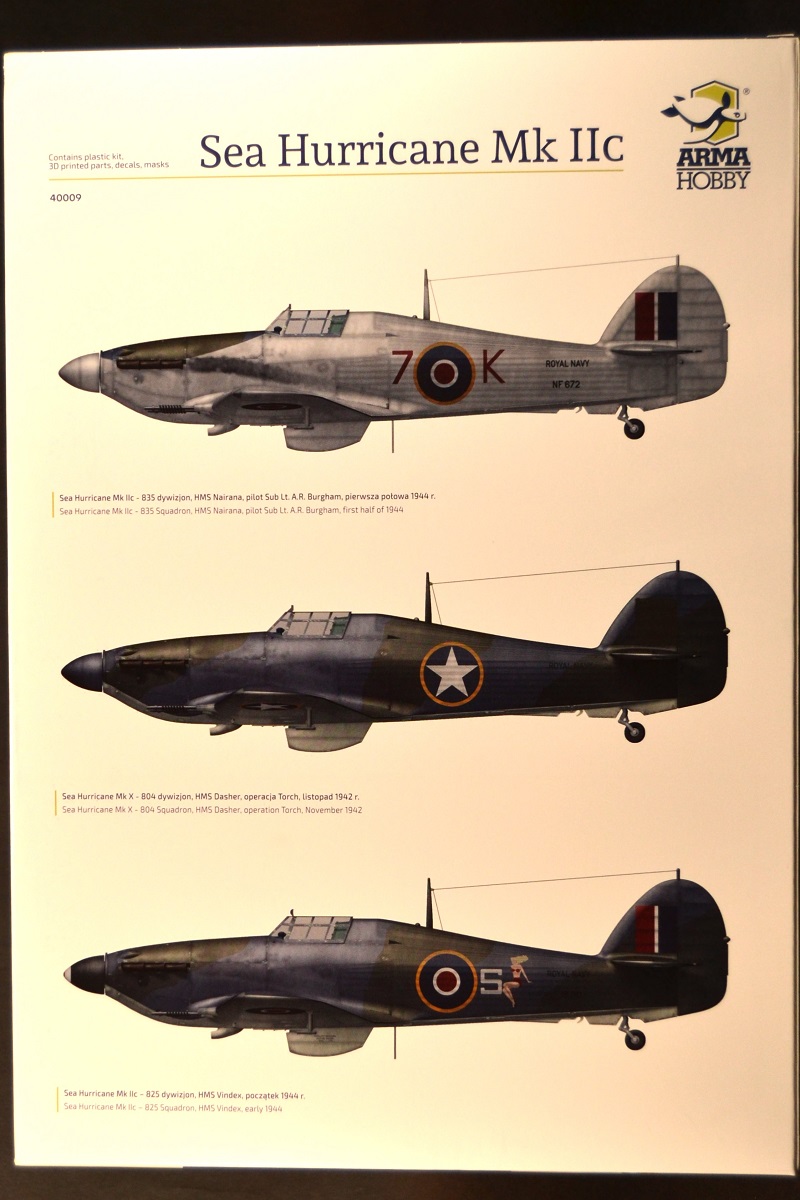
Back of Box (Markings)
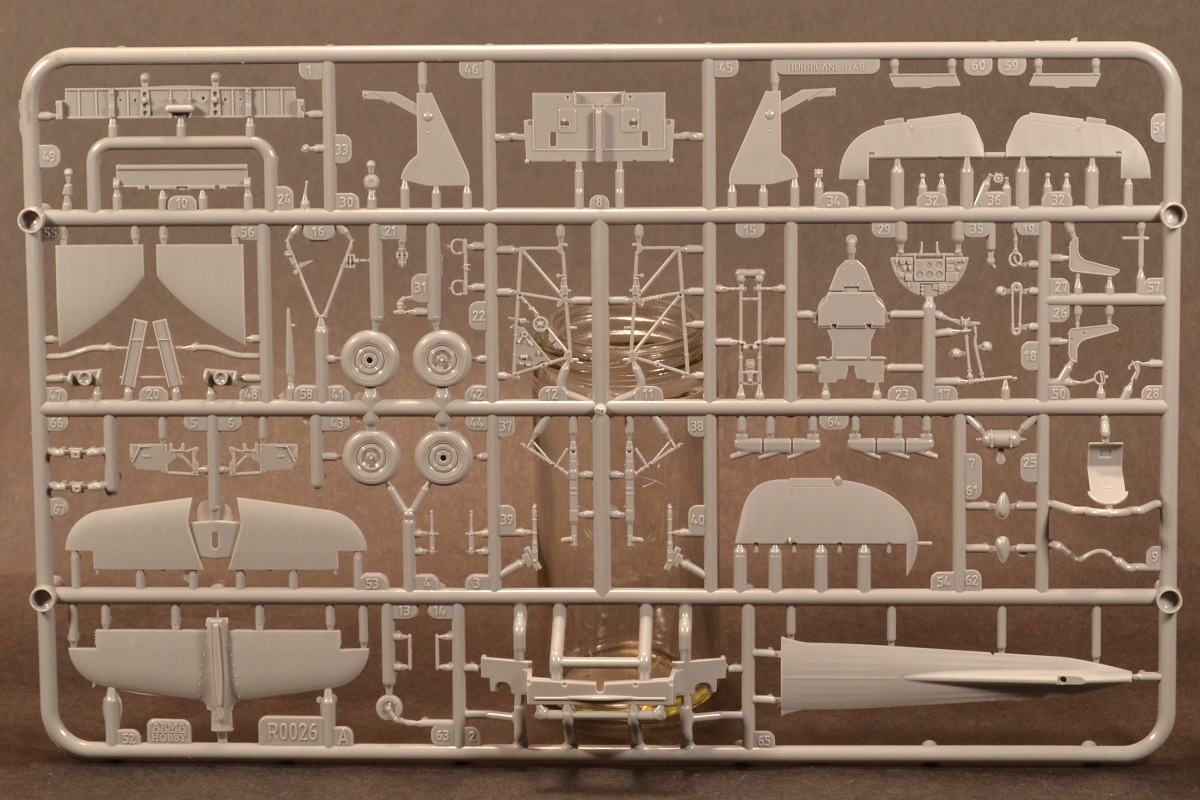
Sprues
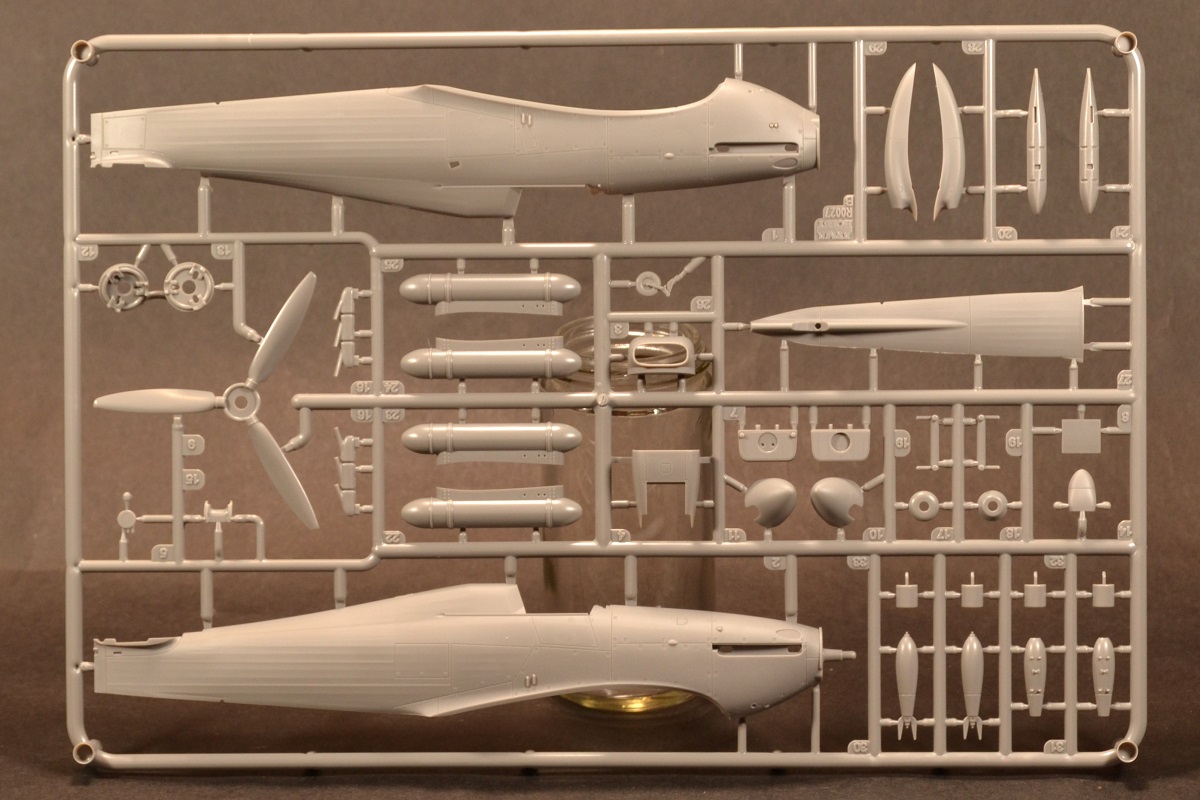
Sprues
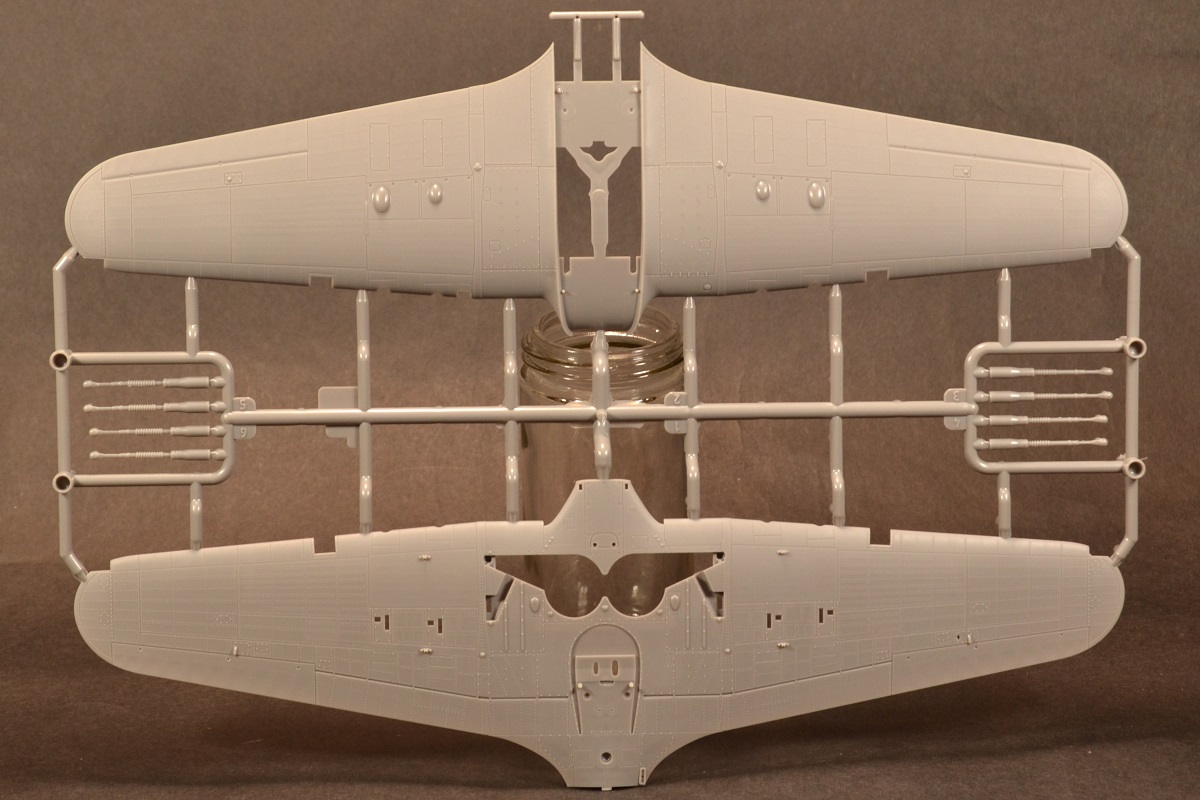
Sprues
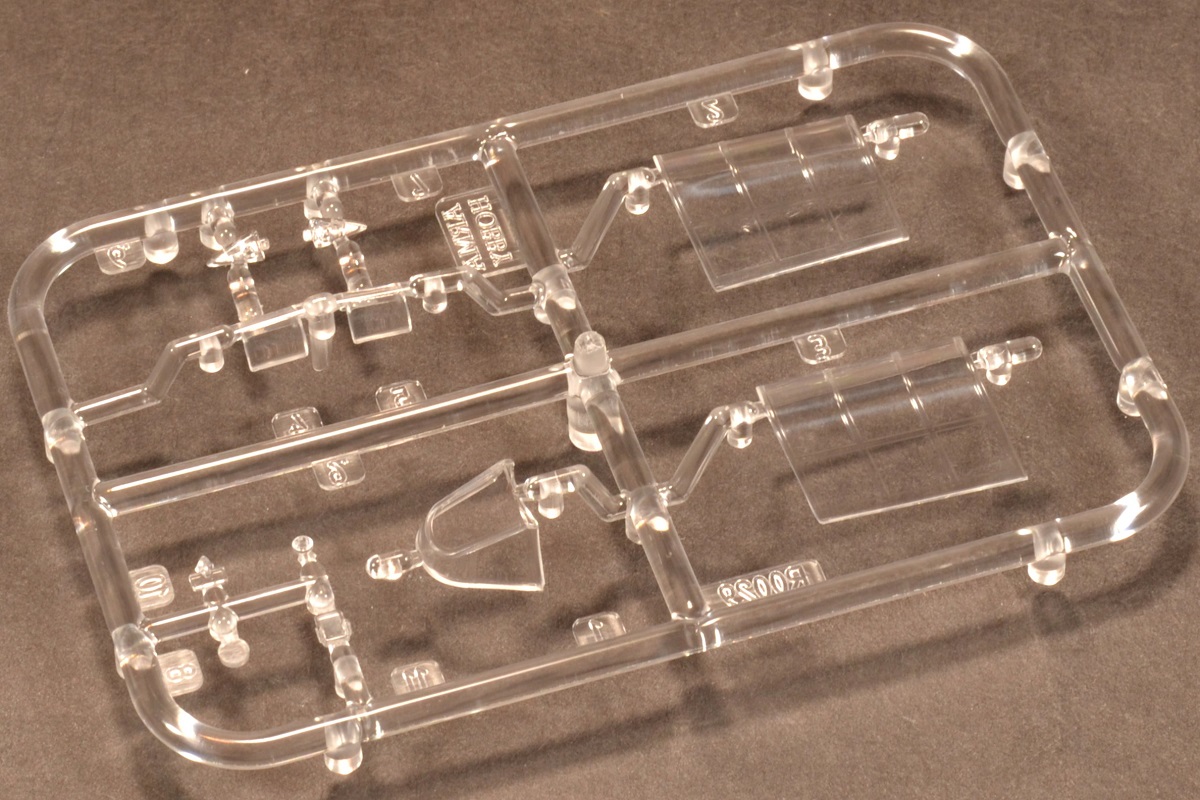
Clear Parts
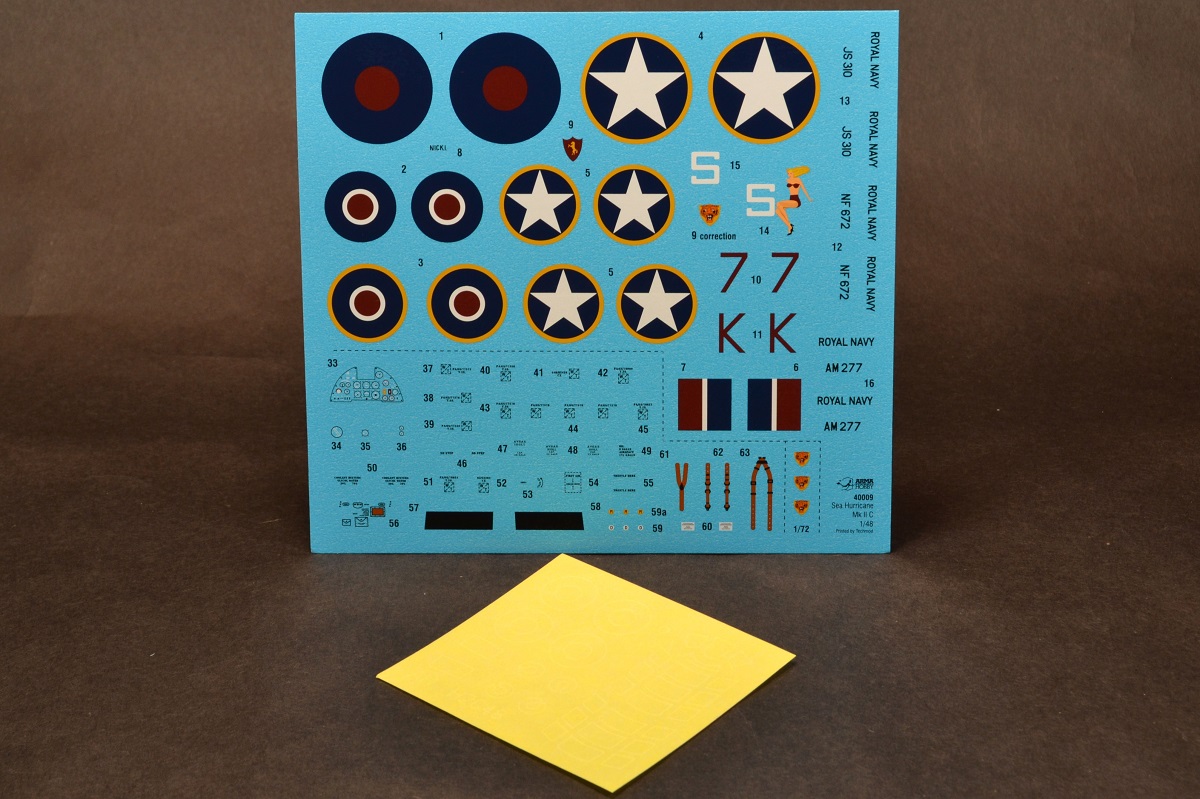
Decals
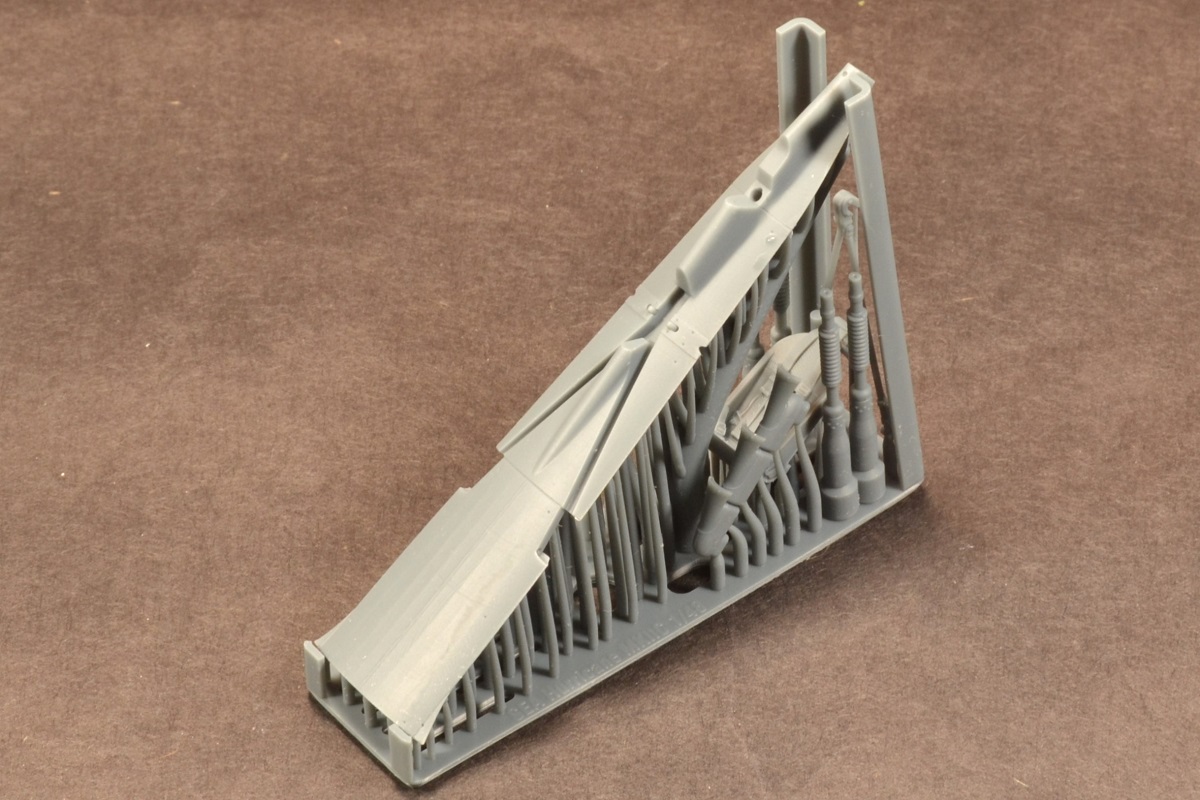
3D Printed Parts (included)
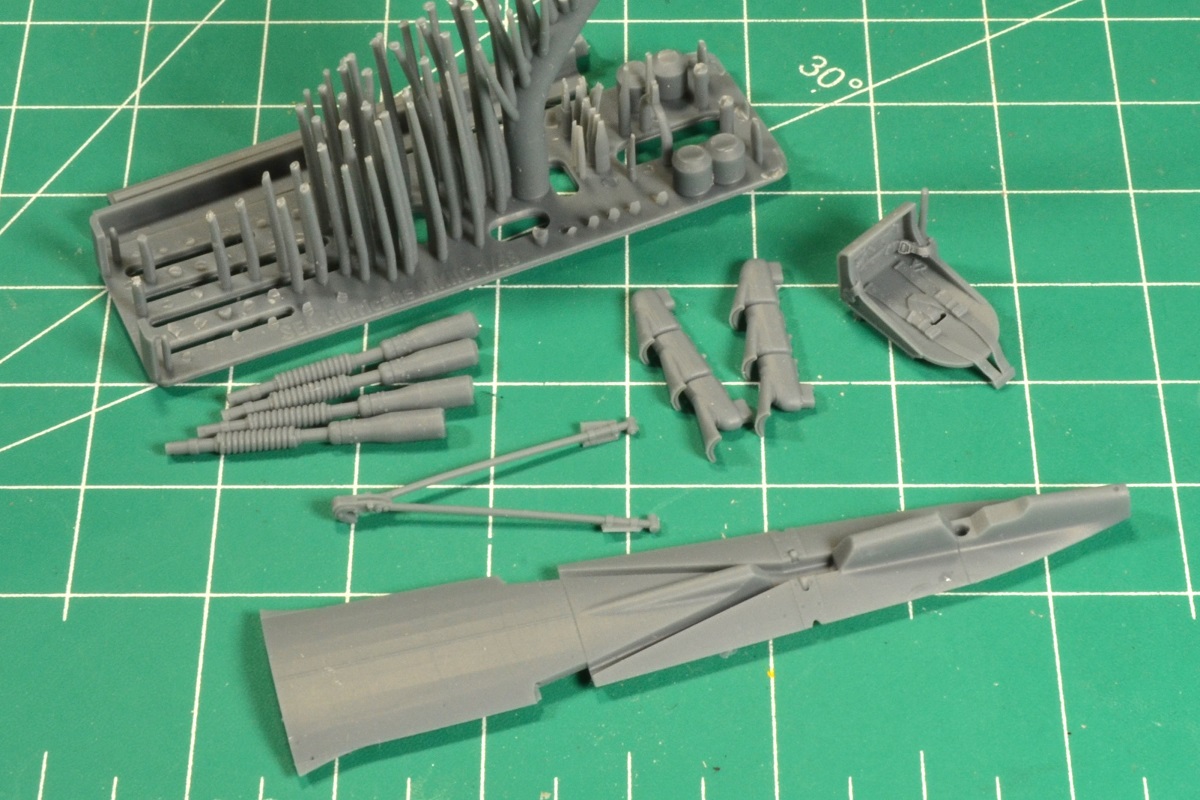
3D Printed Parts (separated)
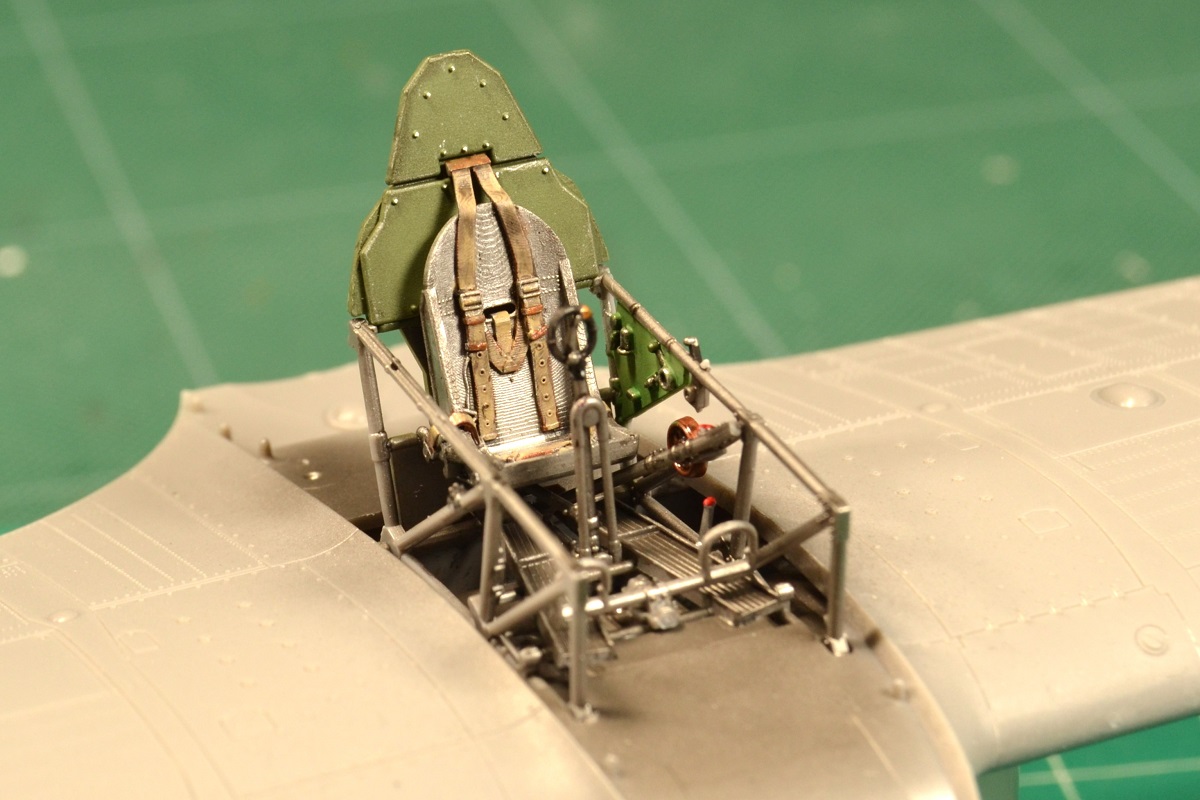
Cockpit
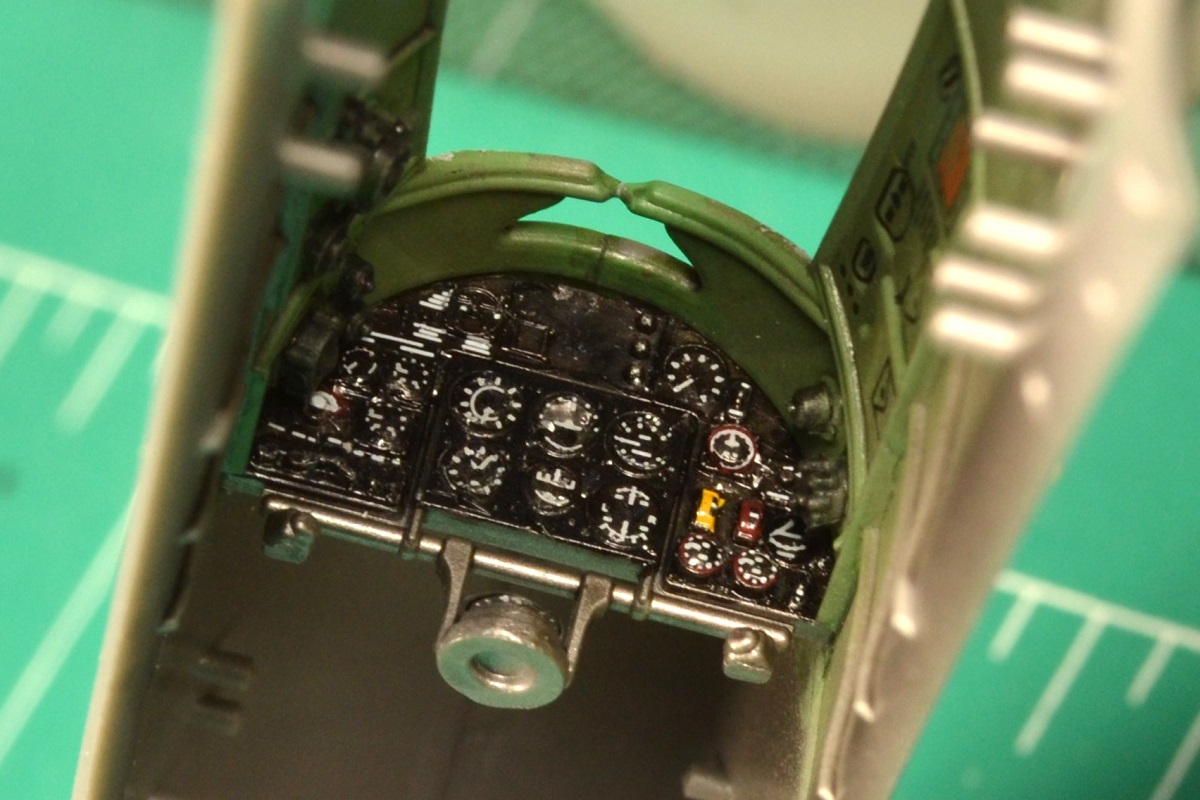
Instrument Panel
Fuselage Mismatch
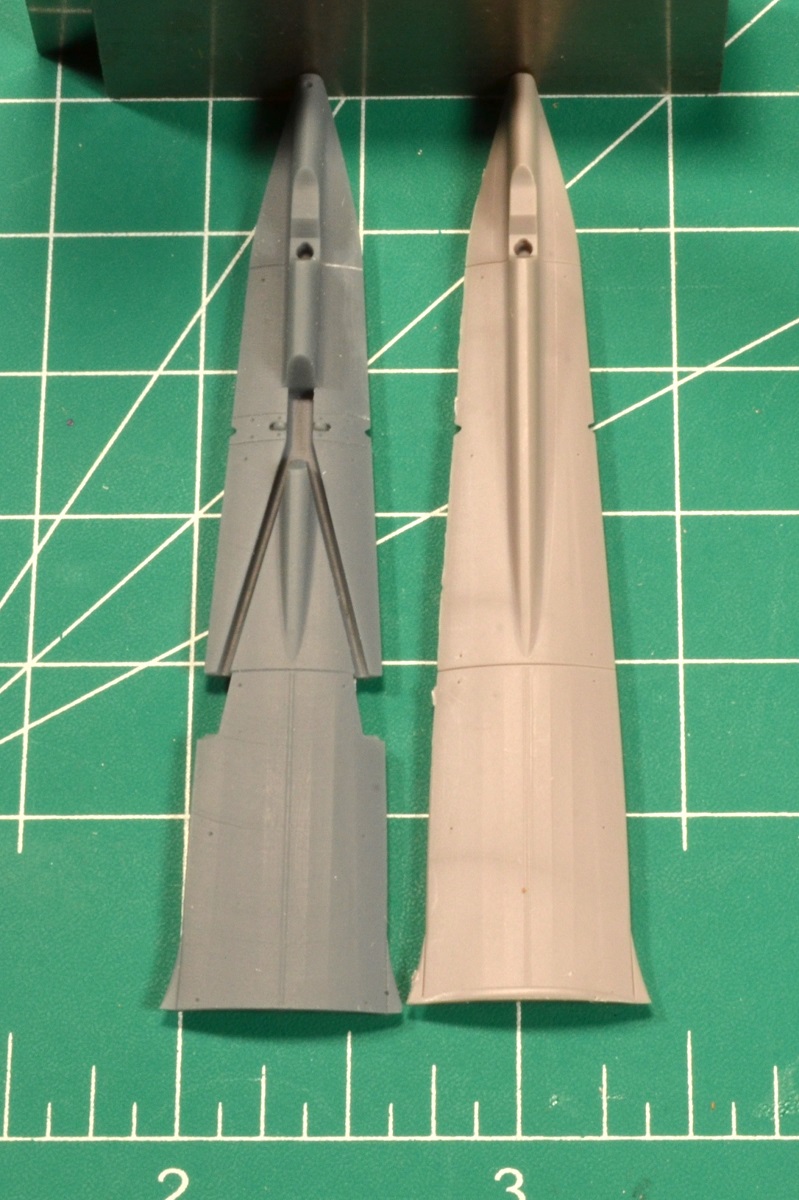
3D printed part and kit part
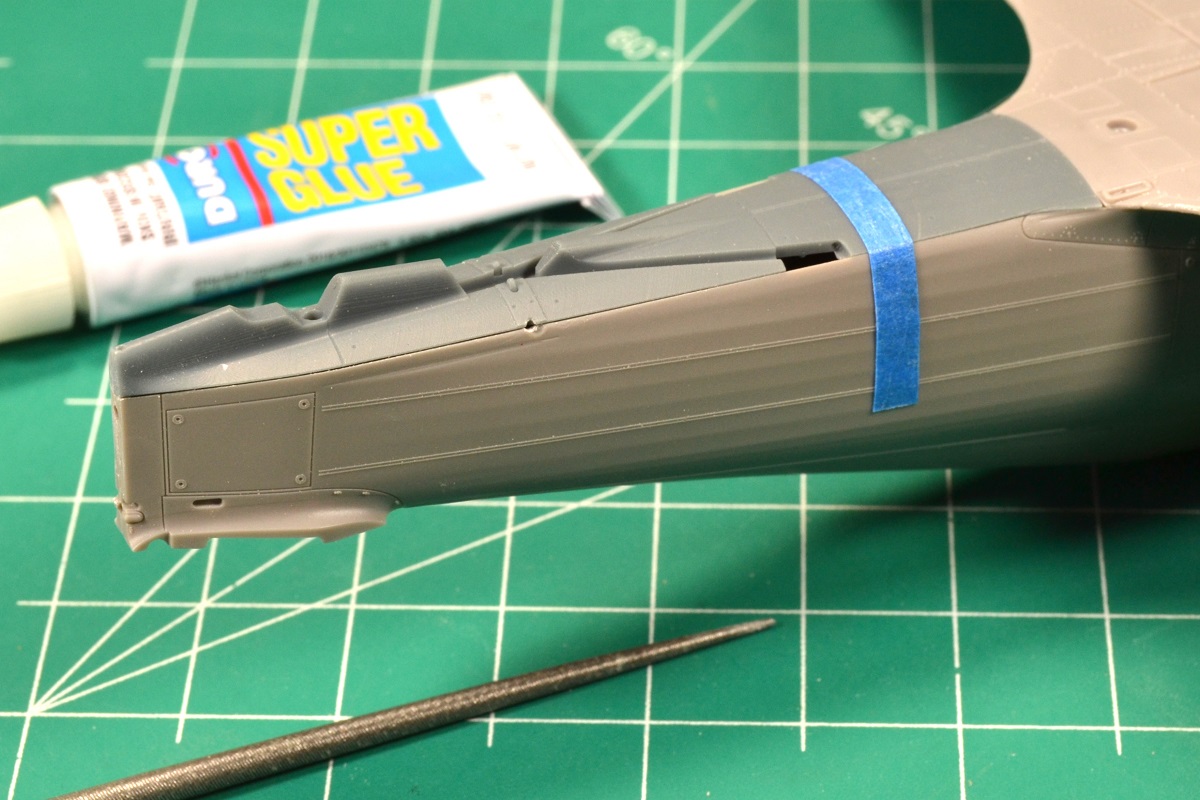
Trim, Fill, Fix
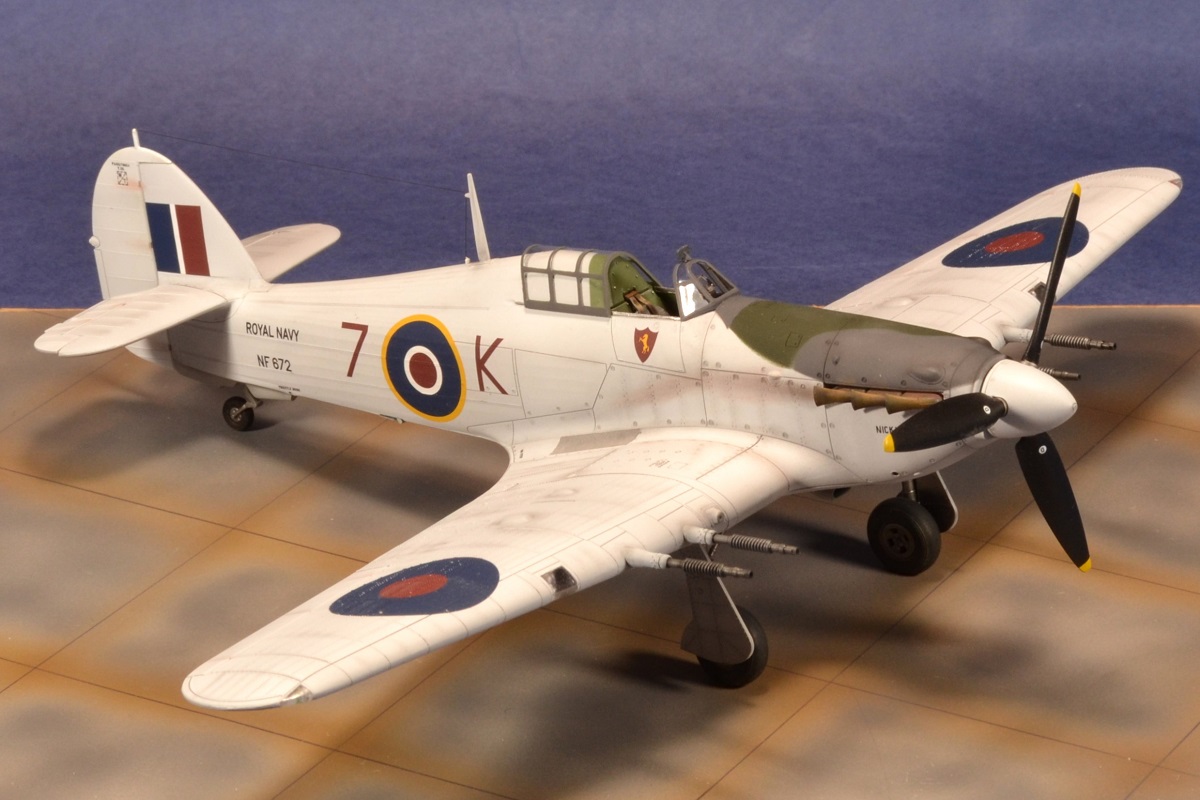
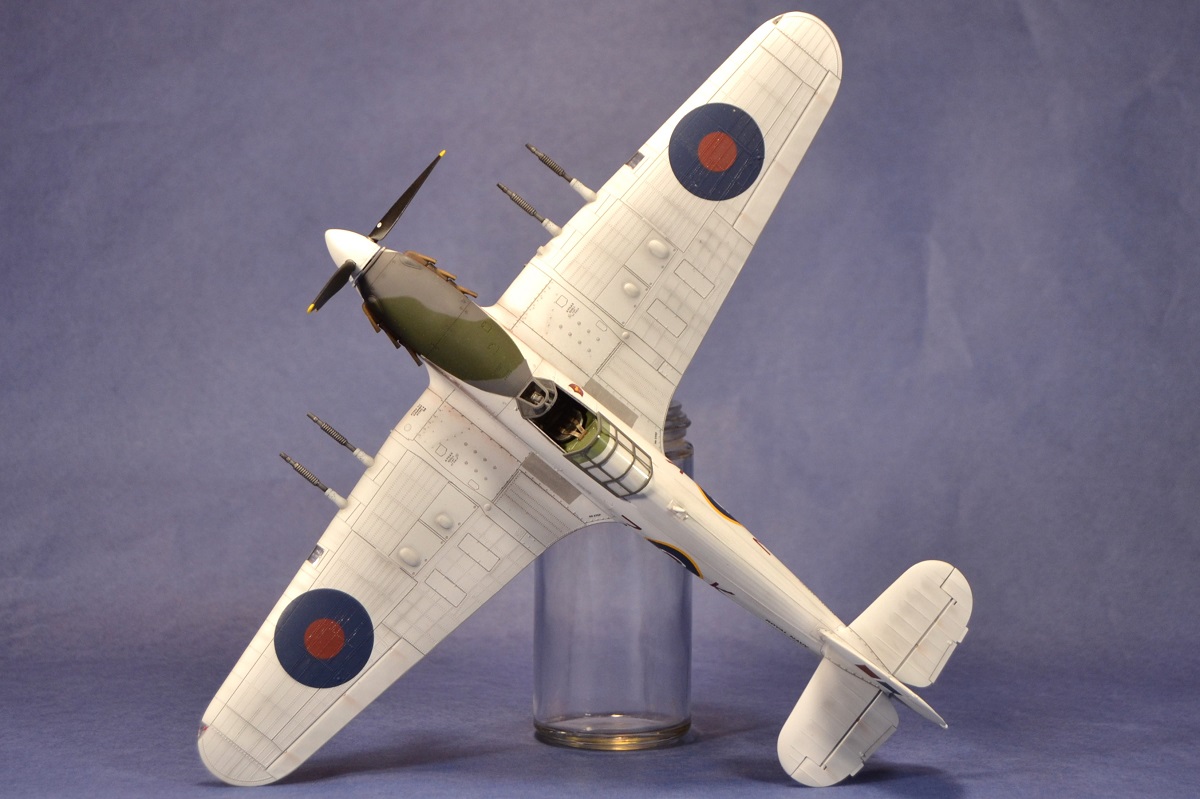
Finished Kit
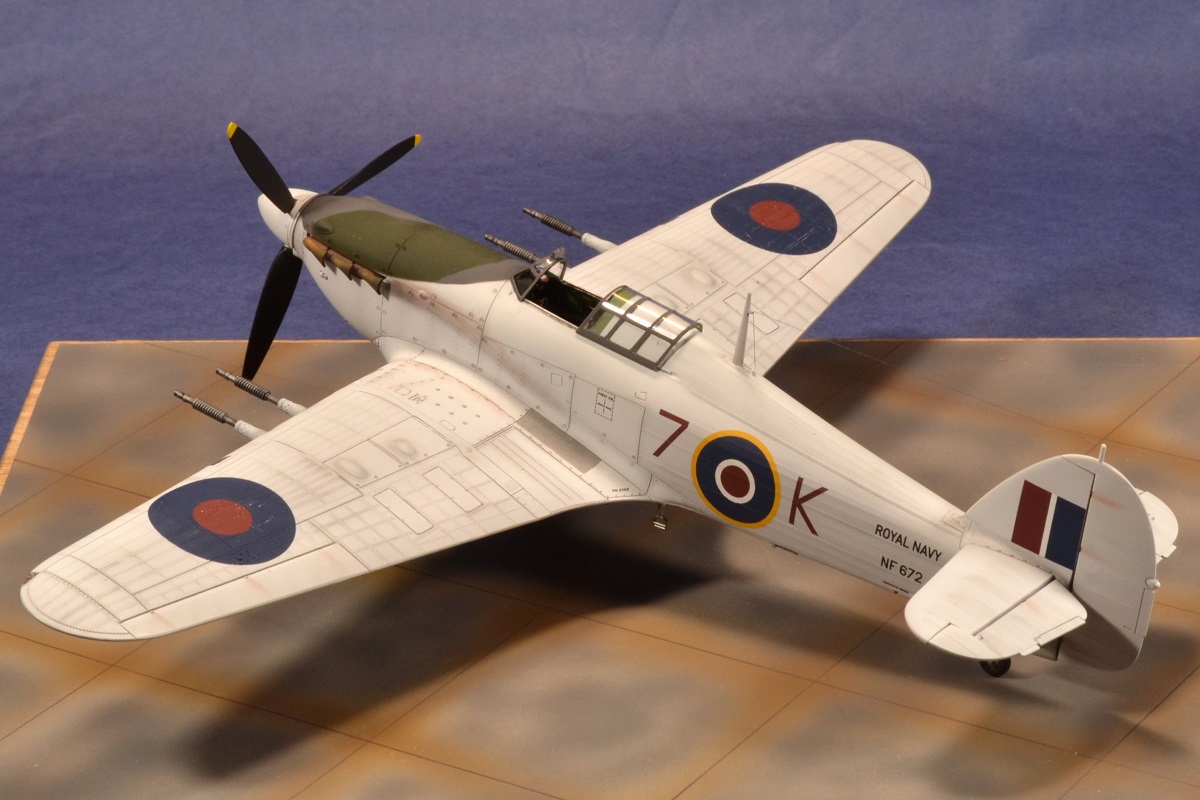
Finished Kit
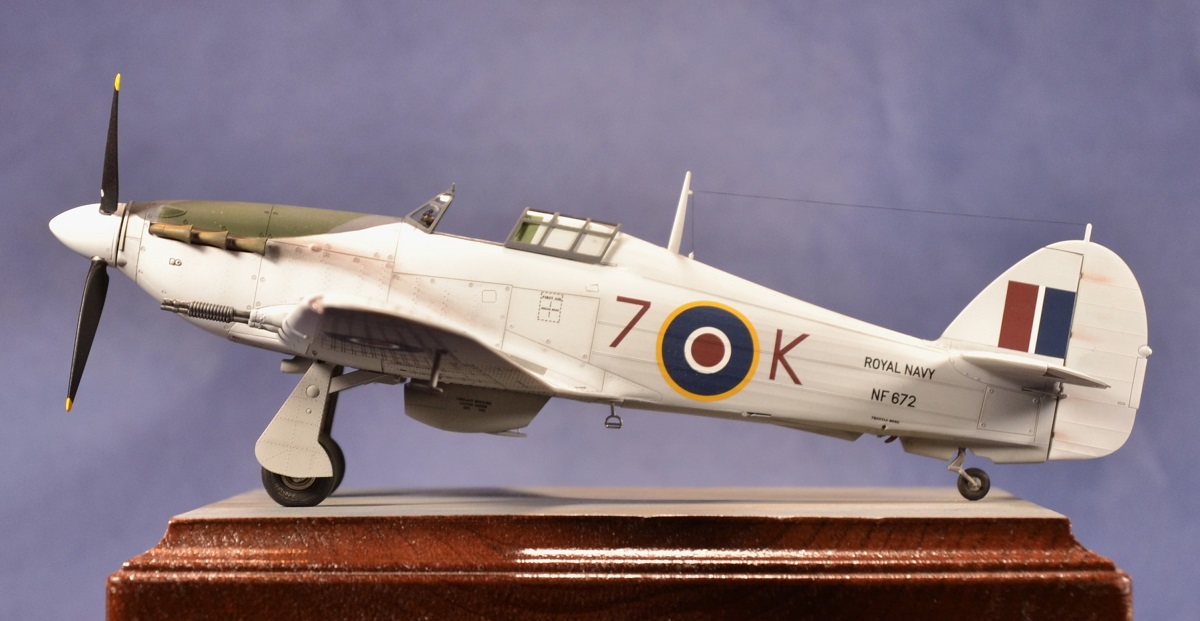
Finished Kit
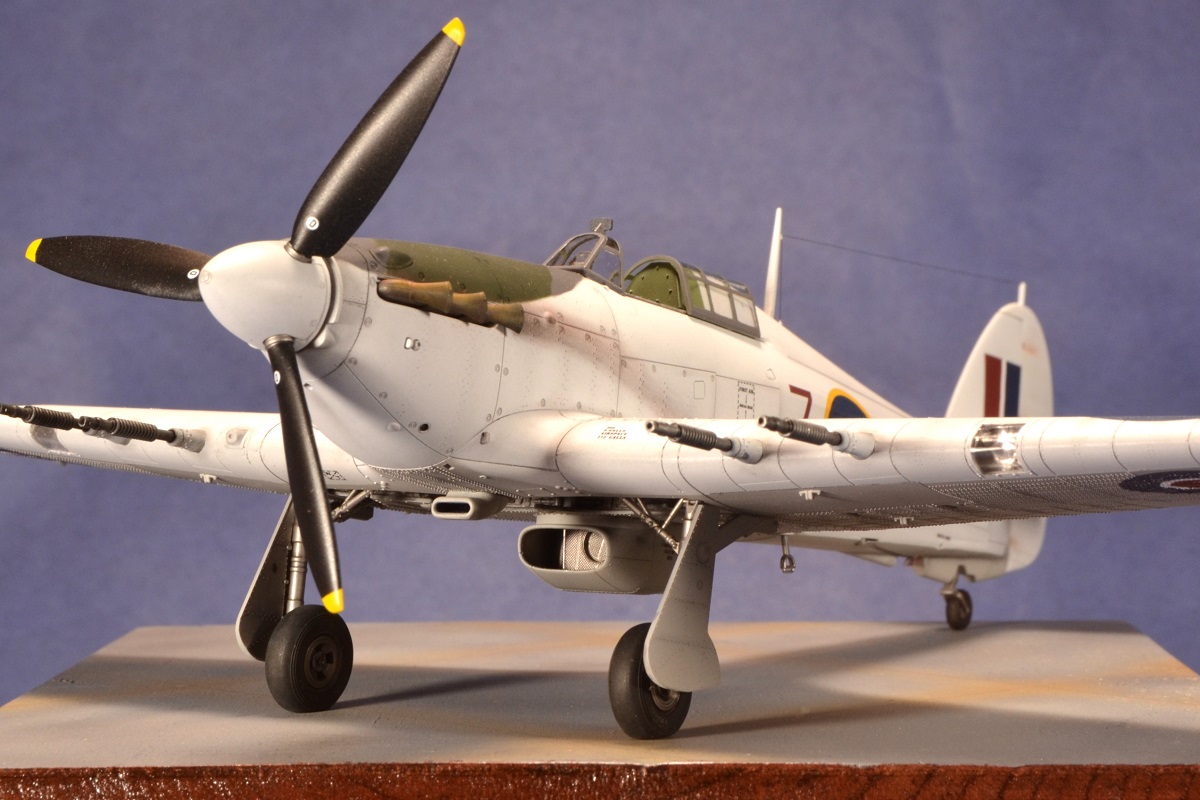
Finished Kit
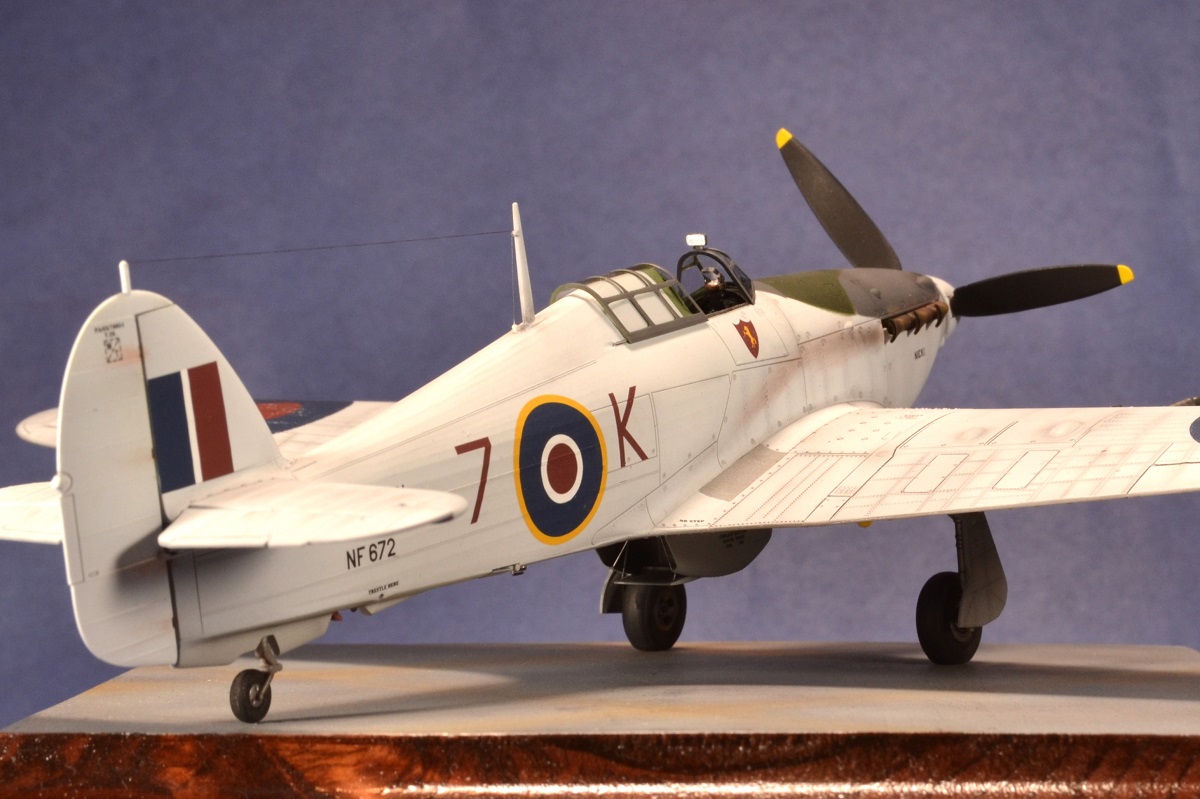
Finished Kit
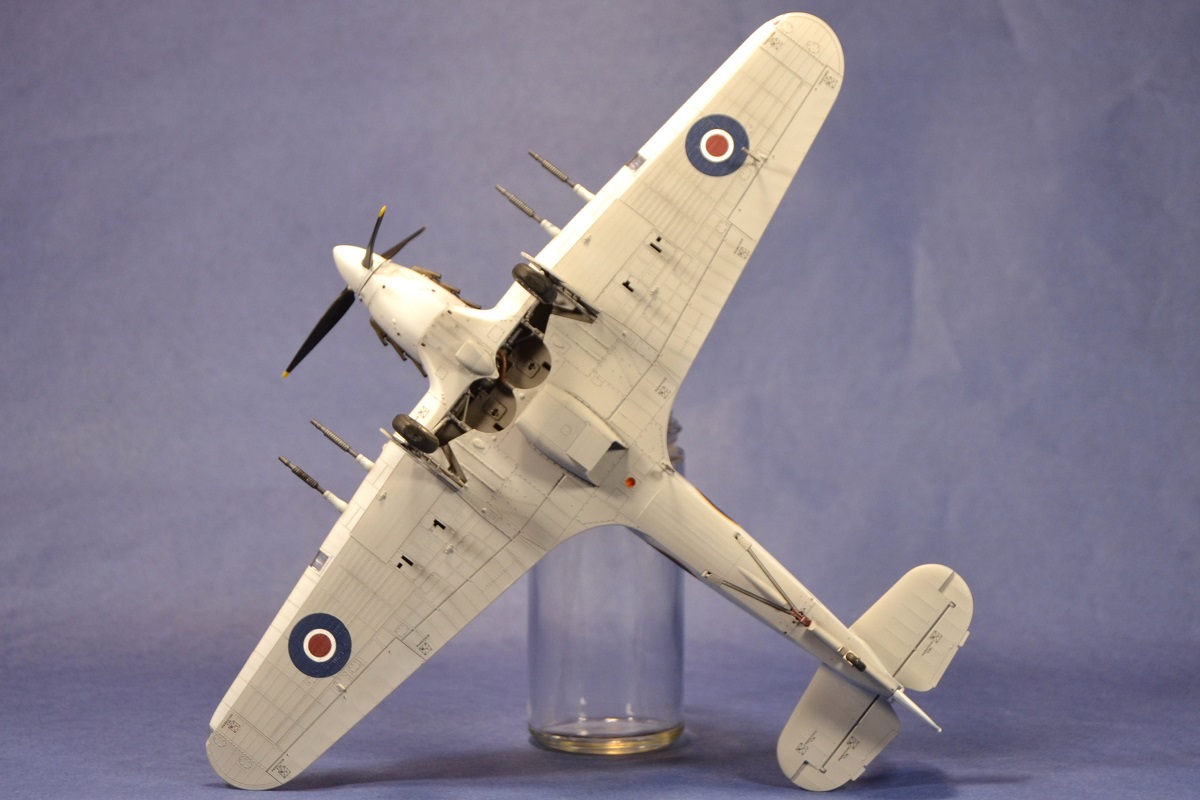
Finished Kit
Comments
Add new comment
This site is protected by reCAPTCHA and the Google Privacy Policy and Terms of Service apply.
Similar Reviews