
S-64E Skycrane with Universal Pod
ICM has provided this beautiful new release form the Skycrane Range for review, in this 1/35 scale model of the Civil S-64E Skycrane and Universal Pod. This is based on the original release Military versions..
- Twenty-two grey sprues
- Three clear sprues
- Two decal sheets
- One instruction guide
The box is very big and contains a lot of sprues and it is very daunting when you first one it up. It is only the you realize the size of this helicopter at this scale. The detail quality is excellent in every way with this kit; crisp and detailed molding has become improved with every ICM kit.
The assembly is easy but as this is such a big model there are a lot of steps.
The assembly starts at the Cockpit as always and this one has a lot of detail but it could had a little more. The assembly is covered in stages 01 to 23. The main thing I felt lacked is the instrument panel which I believe could have been a better colored decal. May be consider finding an aftermarket one. There are also some holes that should be filled in stage 20 on part E5. There is also a set of mask patterns included in the instruction book on page 39. Please also be careful cutting the Clear parts from the sprue as they can splinter a little. At stage 21 you do need to do some gap filing when joining part A1.
Stages 24 to 36 is the assembly of the main spline of the helicopter. On stage 29 I suggest you assemble the parts in stage 30 then 29. During this stage I must point out that you must be careful of the orientation of the parts D18, A5, B1, B11 and A4 as they do have chamfers on the sides which need to be in the right orientation or when mating to the cockpit assembly will not fit and mean you have to do some cutting and filing to get it to fit. This is not shown on the instructions. At stage 33, part D11 is missing from the instructions and should be added now.
Stages 37 to 85 are the assembly of the cockpit to the main spine, added the landing gear left and right legs and additional details. This was a smooth build, with no issues, as long as you have all the parts orientated correctly form earlier. The one thing I would have lie to have seen is weighted wheels included in the kit.
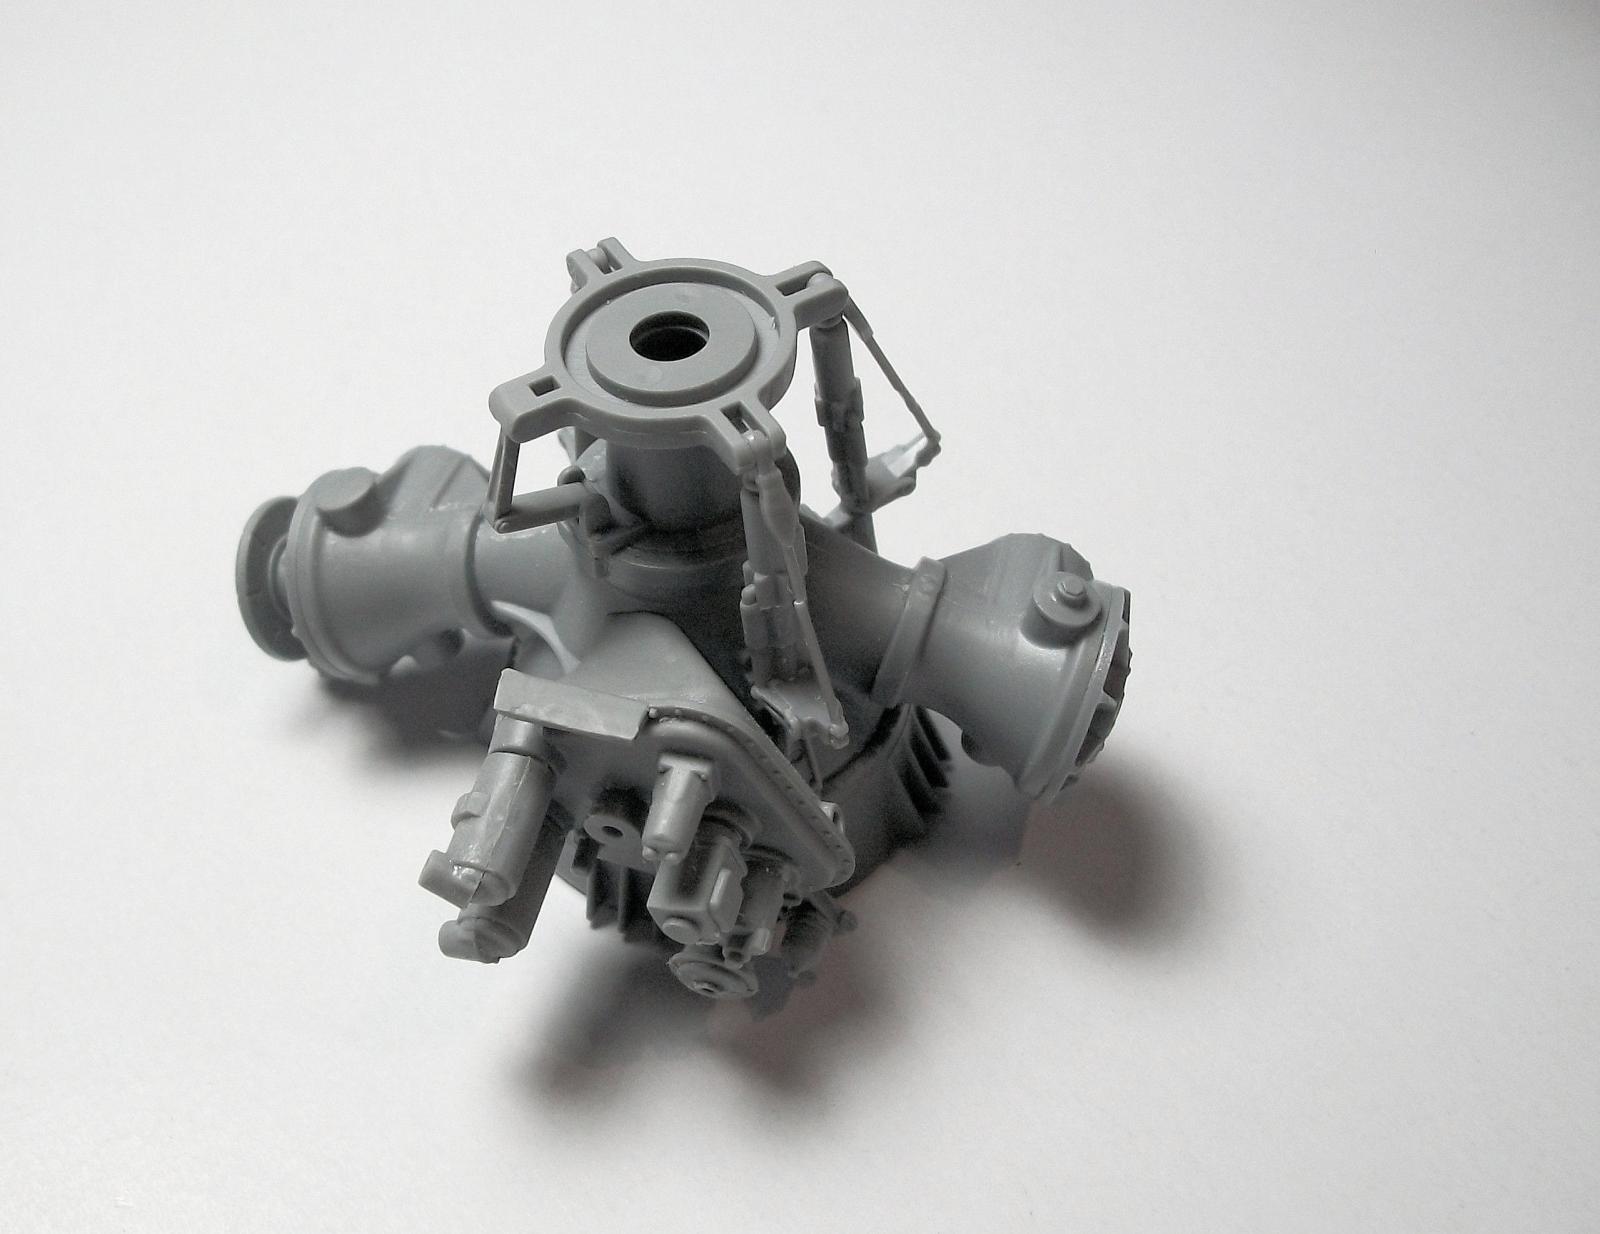
Stage 86 to 159 is the assembly of engines and associated parts and machinery. I did prime the main body at this stage Grey and then paint the main orange color using the ICM orange from their civil aircraft color set. This was an easy build also with just a few points to note. Be careful cutting parts H29 as they snap easily.
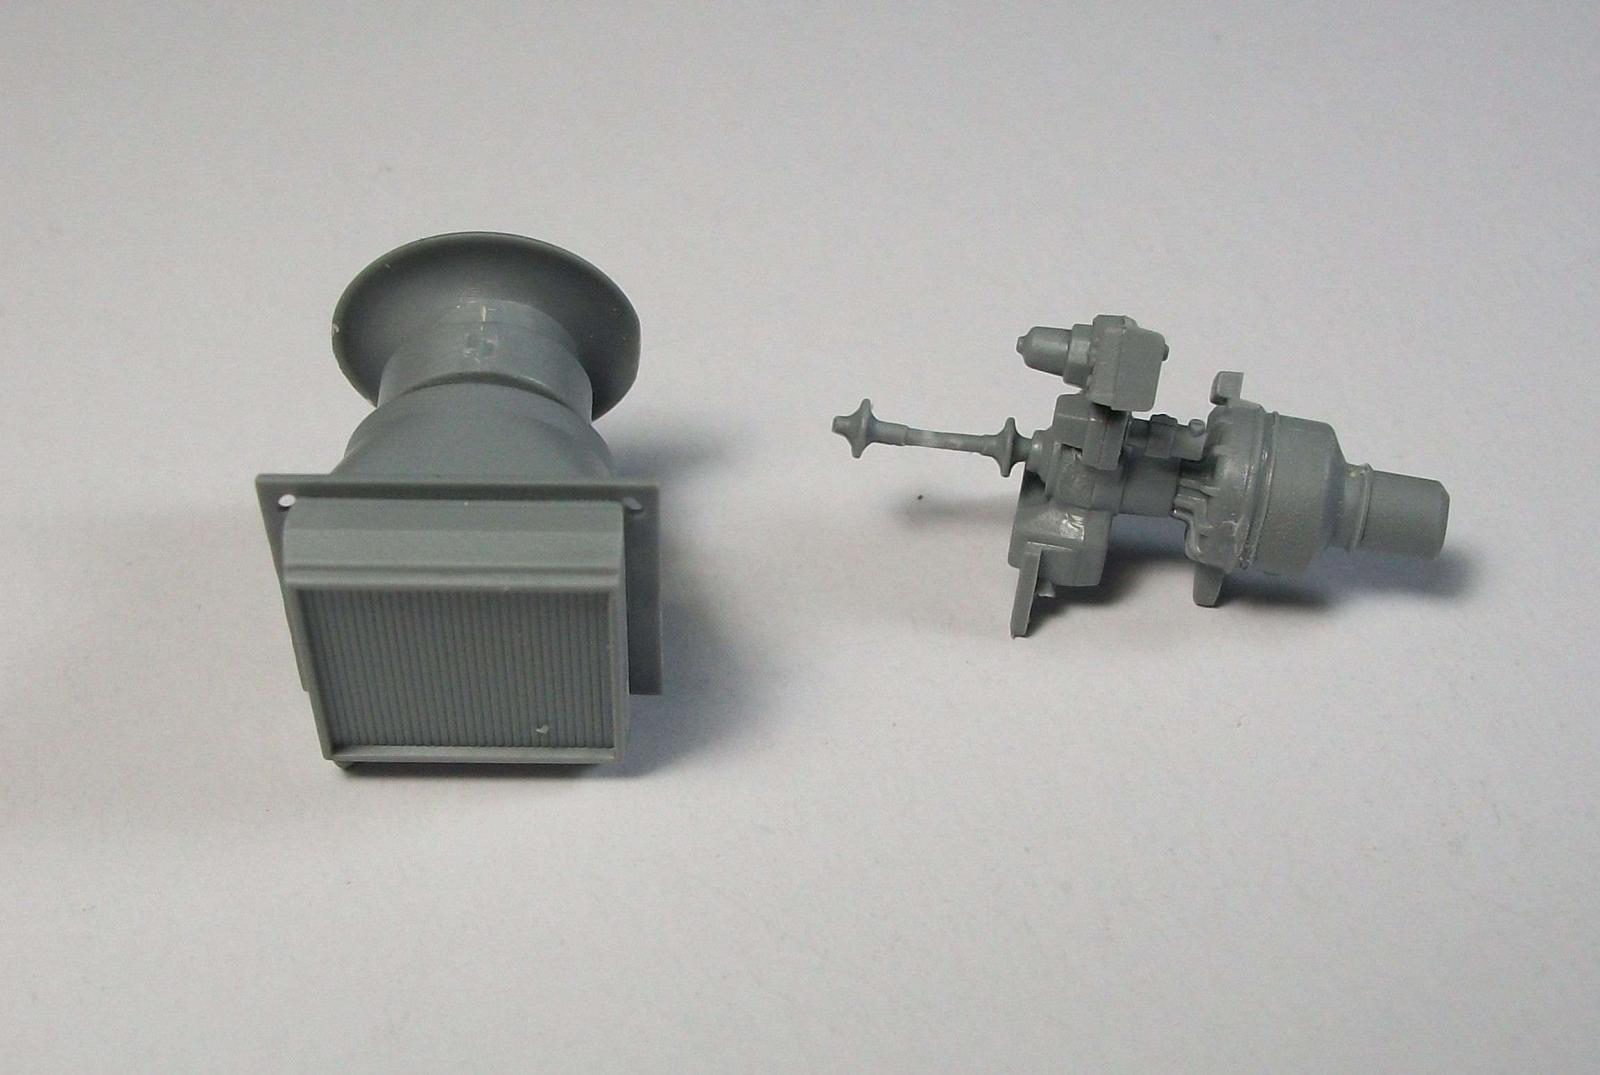
Stages 160 to 180 are more detailed parts assembled to the main body of the helicopter. You need to check the orientation for parts H91 when installing. I also found that at stage 176 you should drill two holes for positioning the struts M37 and G50 as it only shows one hole.
Stages 181 to 215 is the assembly of the Universal Pod. With this, I did pre-paint all the parts before assembly and just did some spray over where needed. There are no real issues during these stages. I do need to point out that at stages 198, the sub-assembly stage numbers are wrong and should be 196 or 197 not 203 or 203.
Stage 217 assembles the universal pod to the helicopter body.
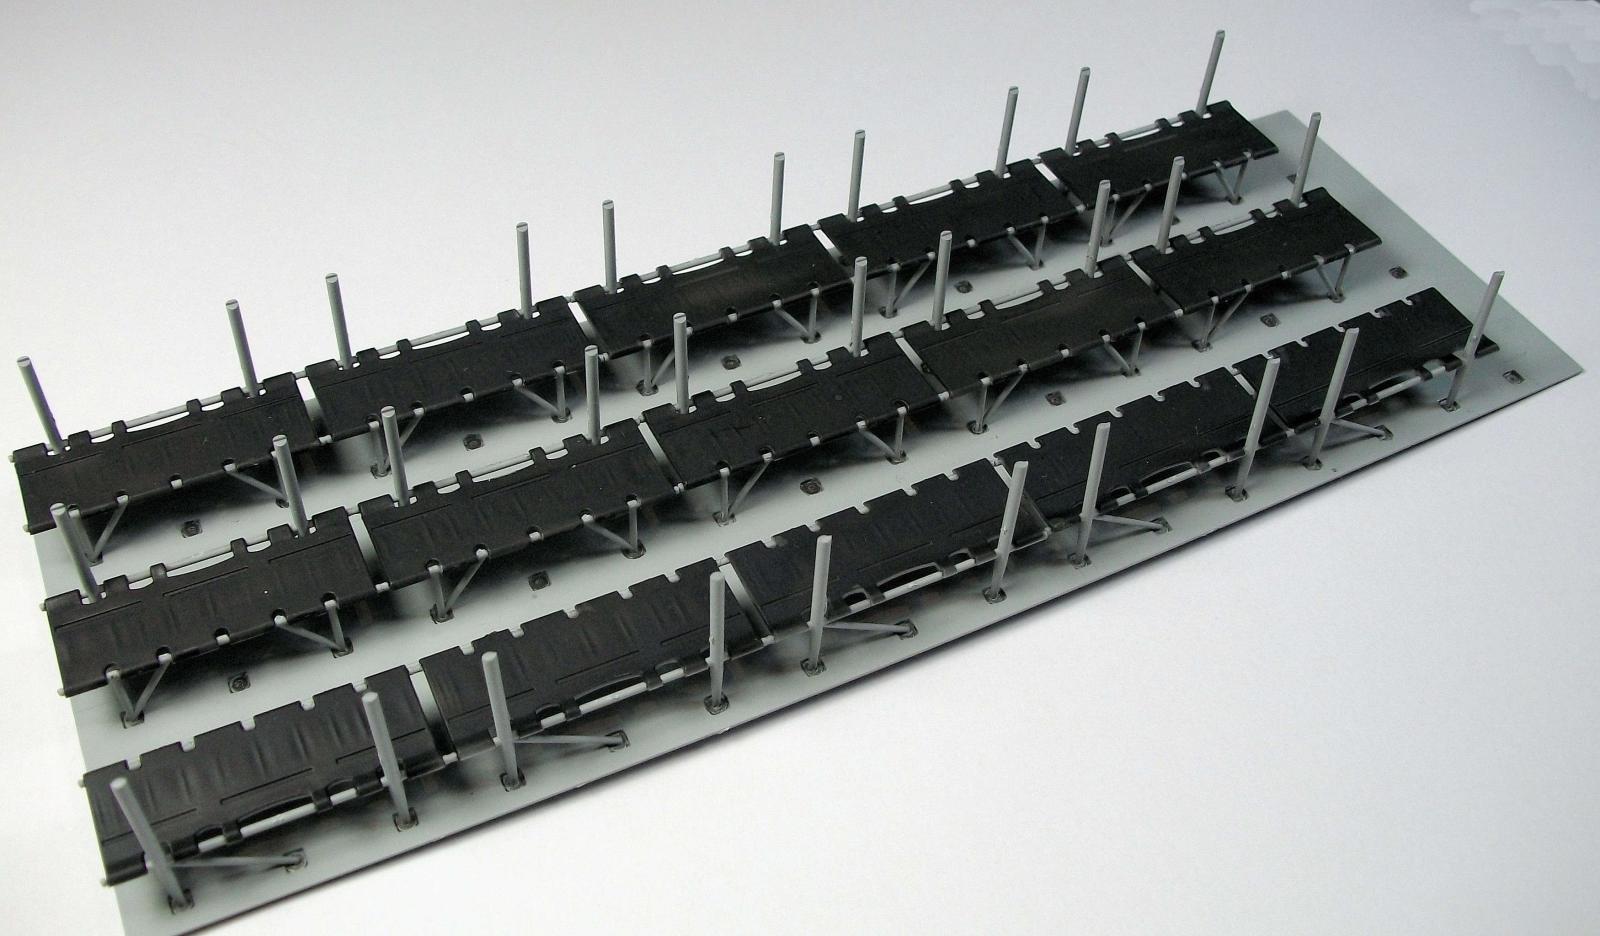
Stages 218 to 233 is the assembly of the main rotor blades. Here too in stages 220 and 233 be careful with the orientation of parts H2 these must be the right way up.
Now the final painting stages and attachment of the rotor head. I did leave the rotor blades loose as they can be pushed fit firmly. This way it can be transported more easily.
Finally, you add the decals. Now I must say the picture for the decal locations is too small and hard to read. This would have been better as a large scale loose printed page. Also, the small yellow strip decals for the rotor blades curly up when being applied.
In conclusion, this is an awesome kit and I really enjoy building it, although due to the size it is a bit unwieldy when fully assembled and trying to apply decals and paint.
Thanks go to ICM for providing this kit to review and IPMS USA for allowing me to review it for them.

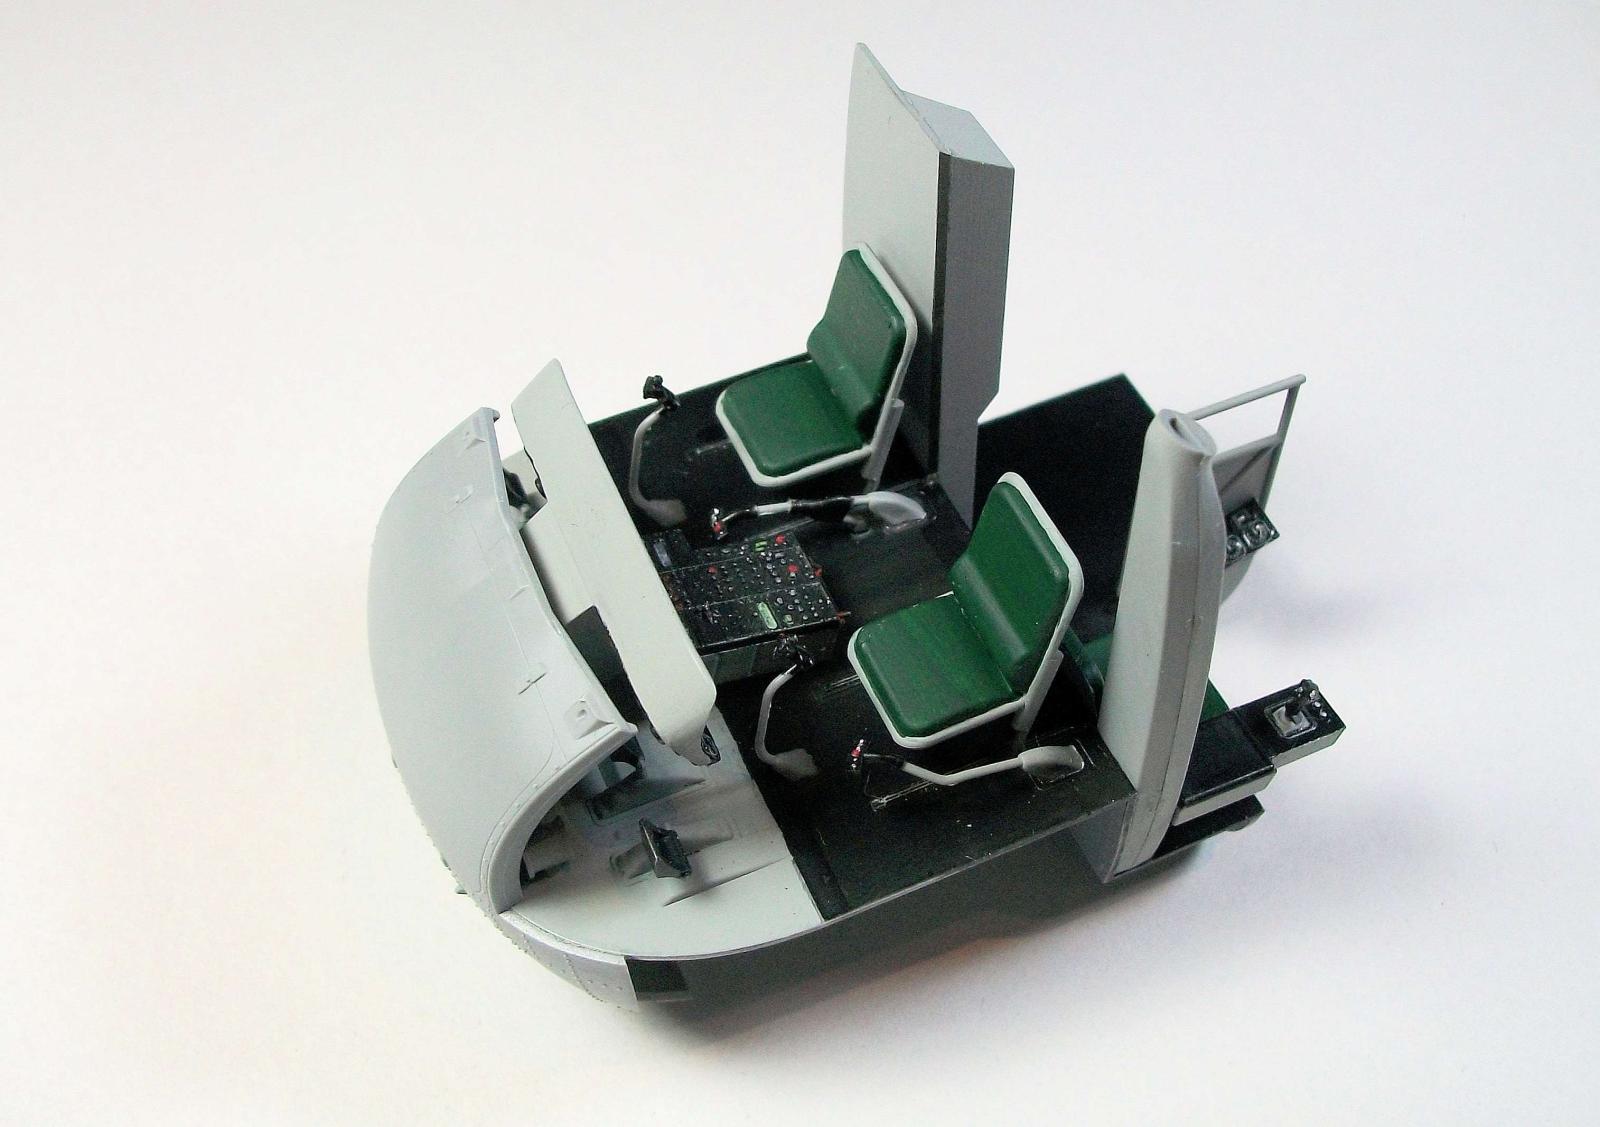
Cockpit
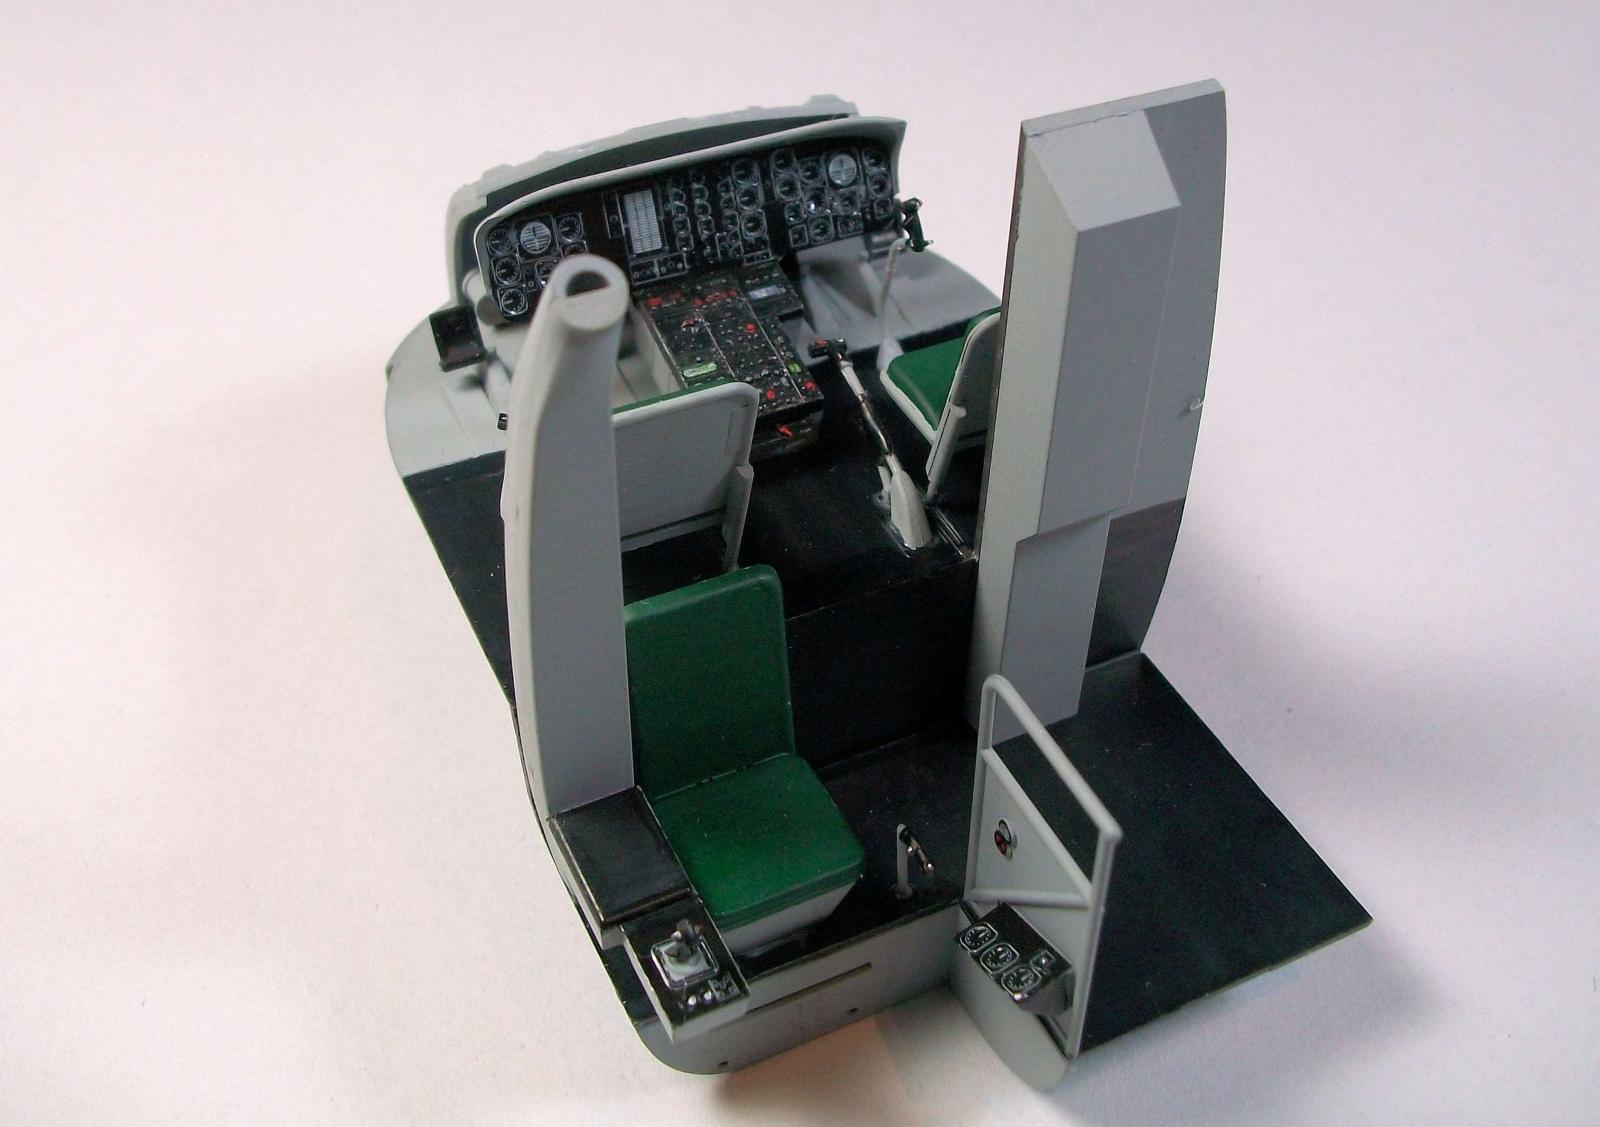
Cockpit
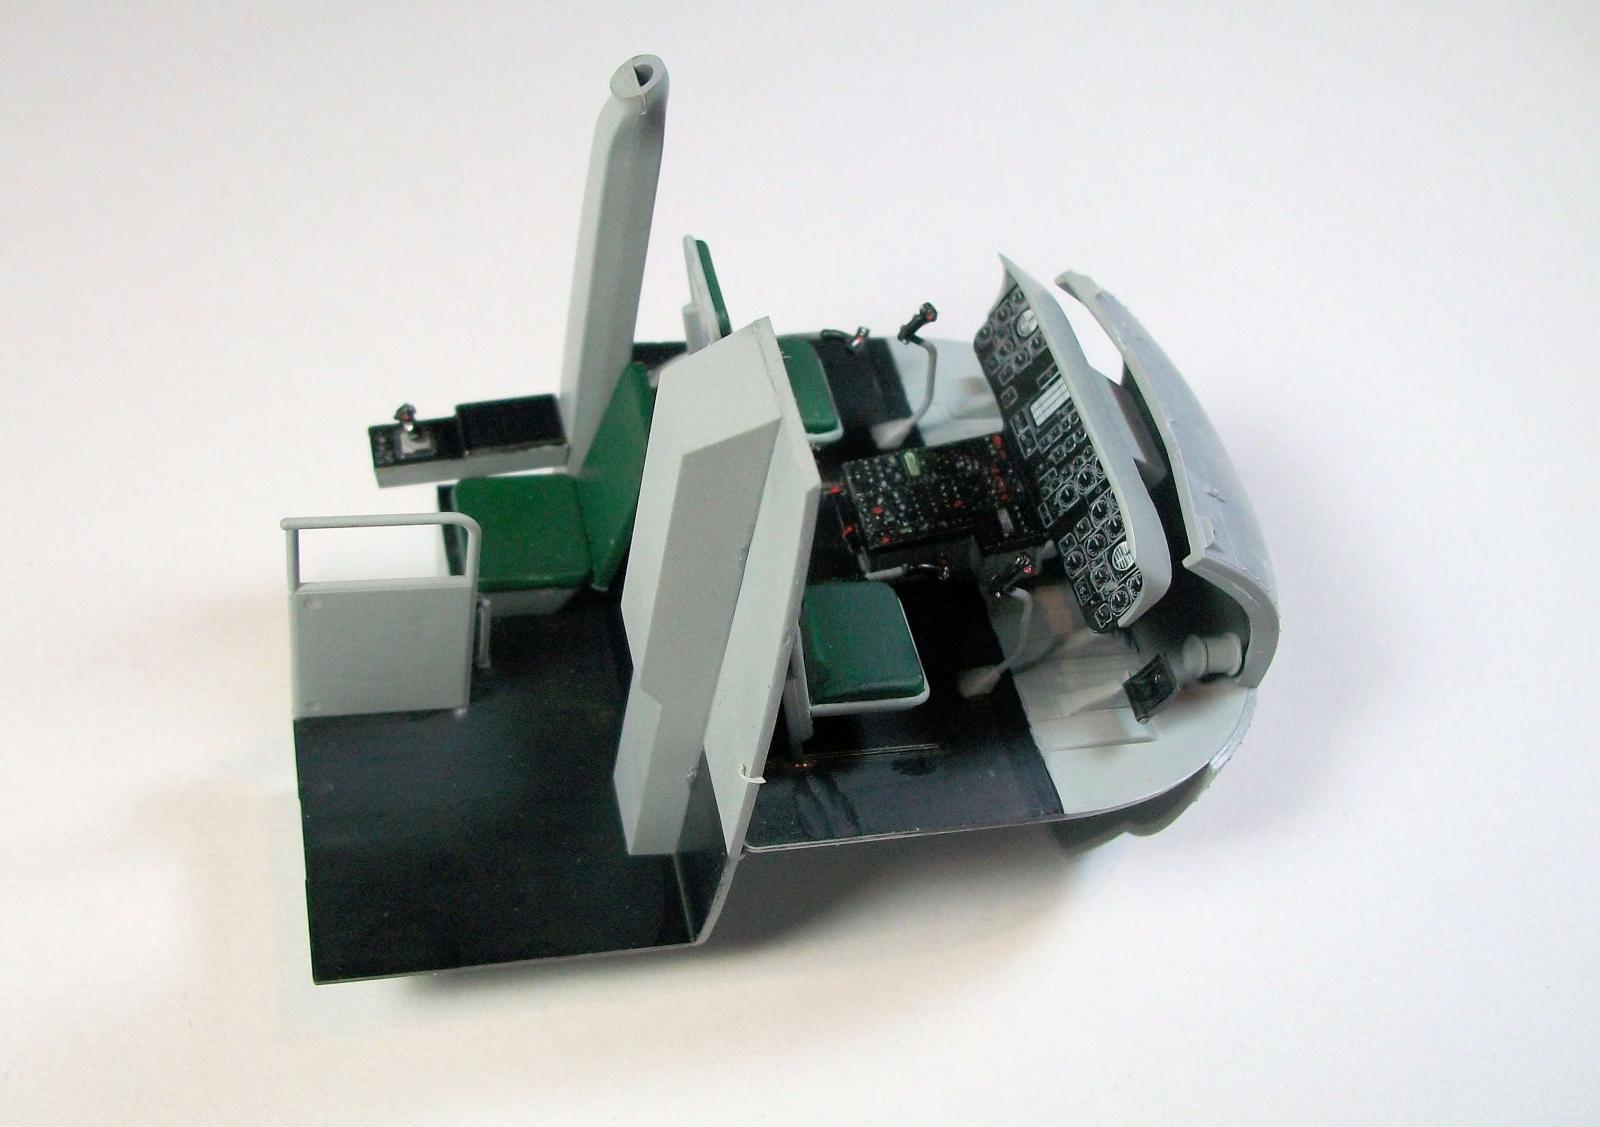
Cockpit
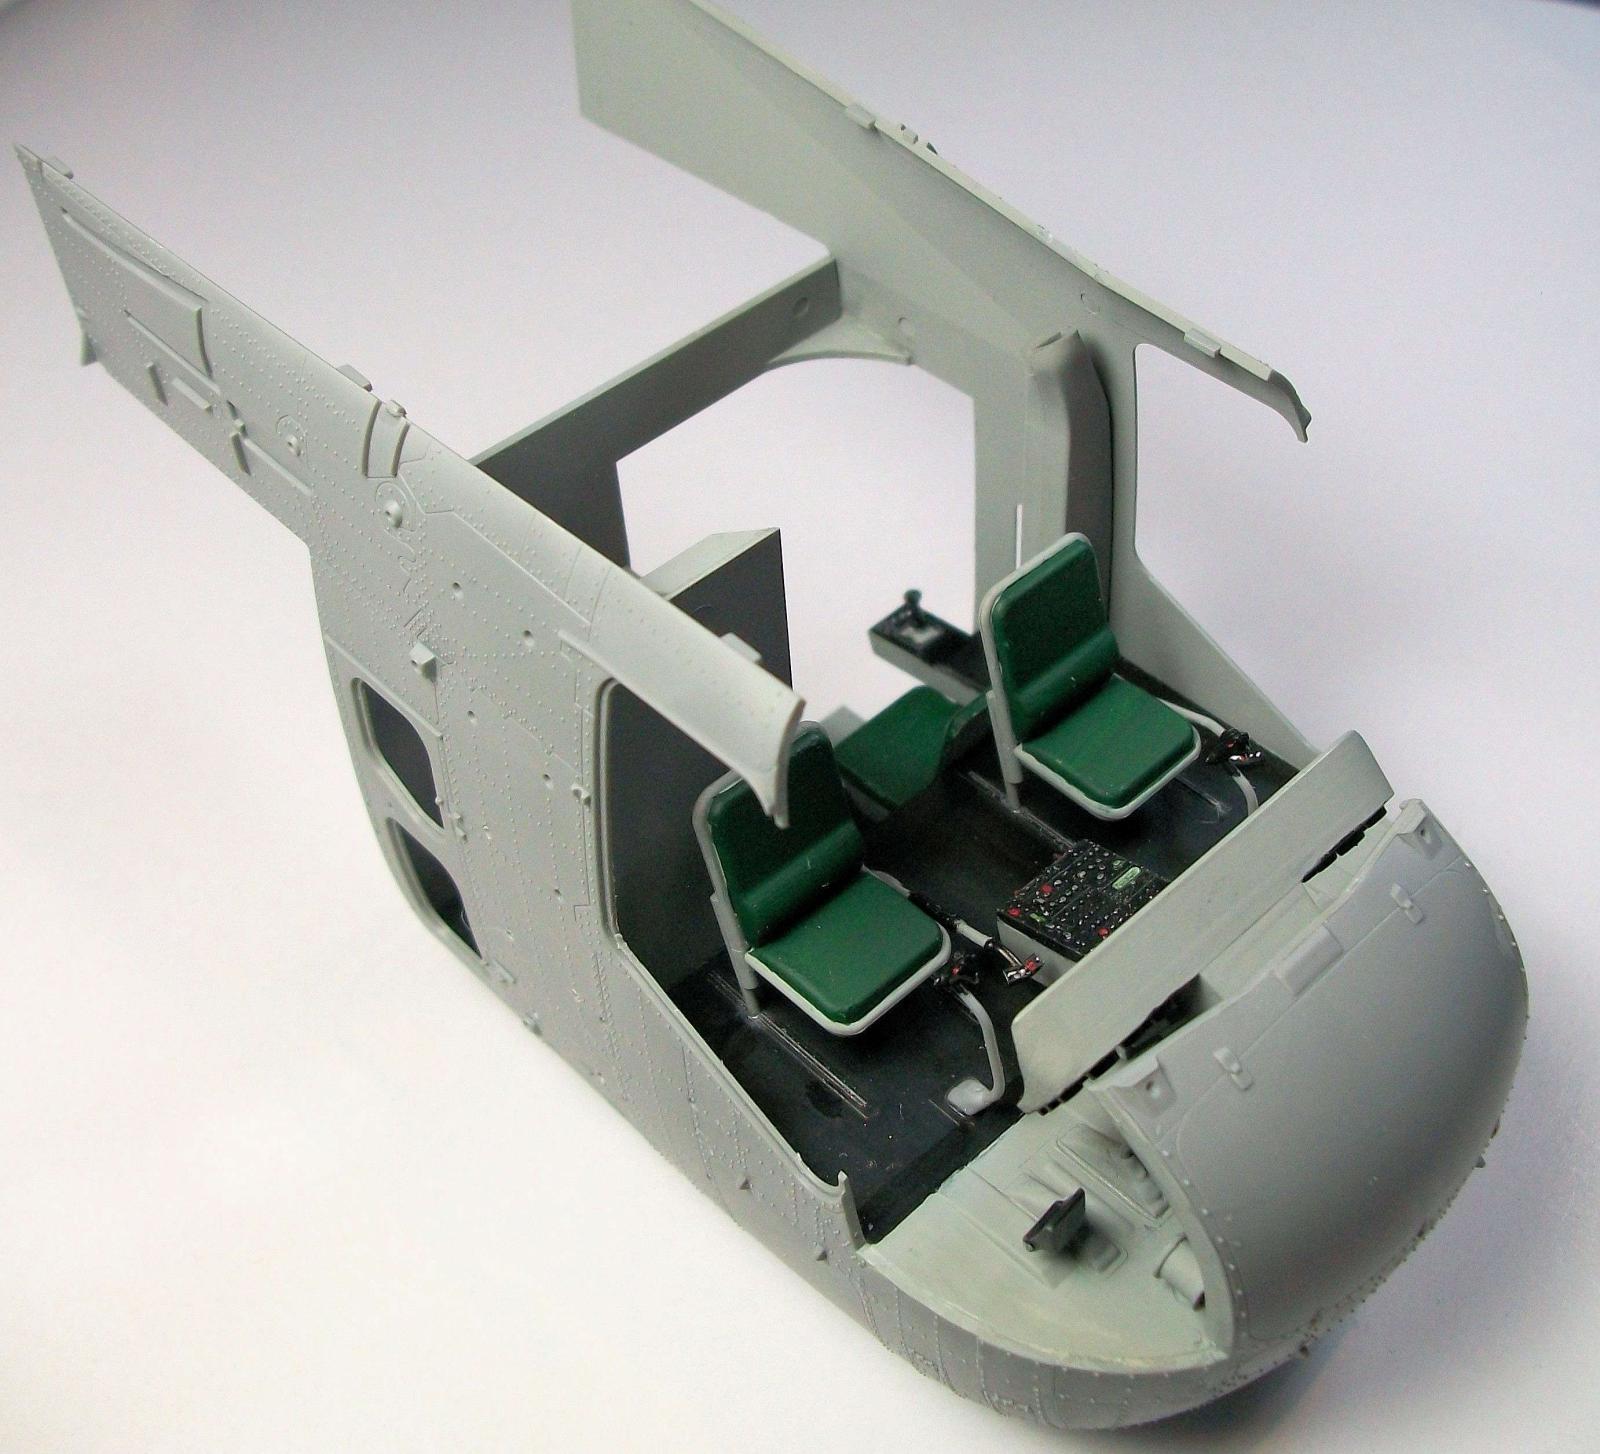
Cockpit with sides and Front

More assembly and masking

Bottom Done
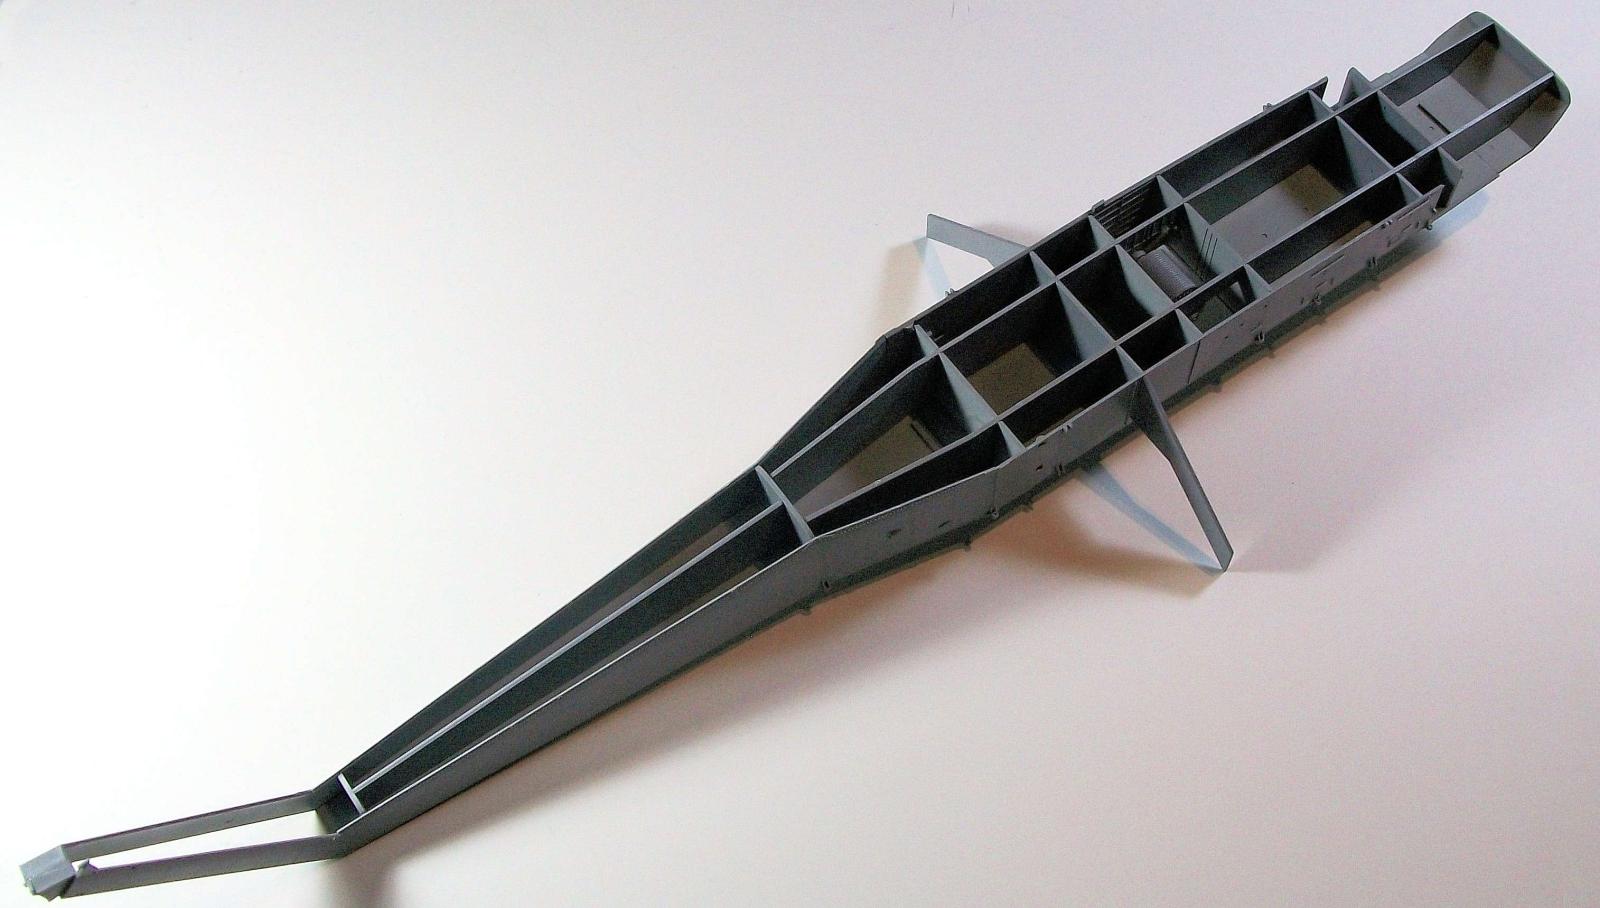
Internal Structure
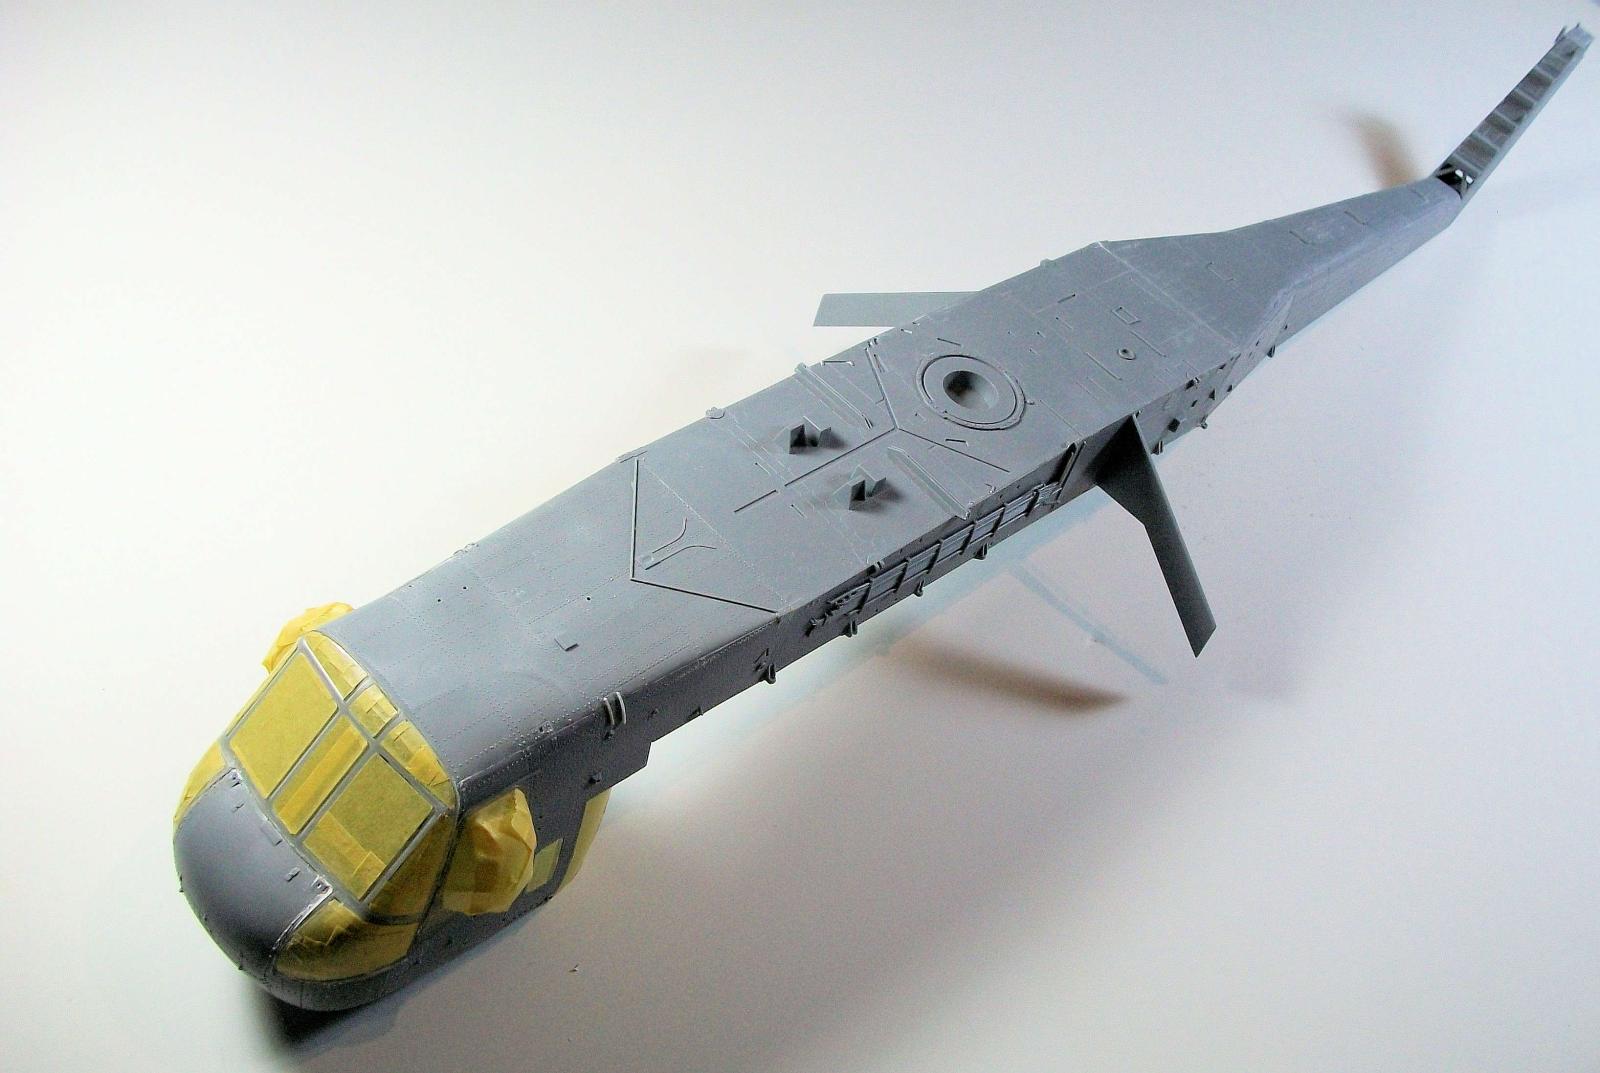
Main Fuselage Done
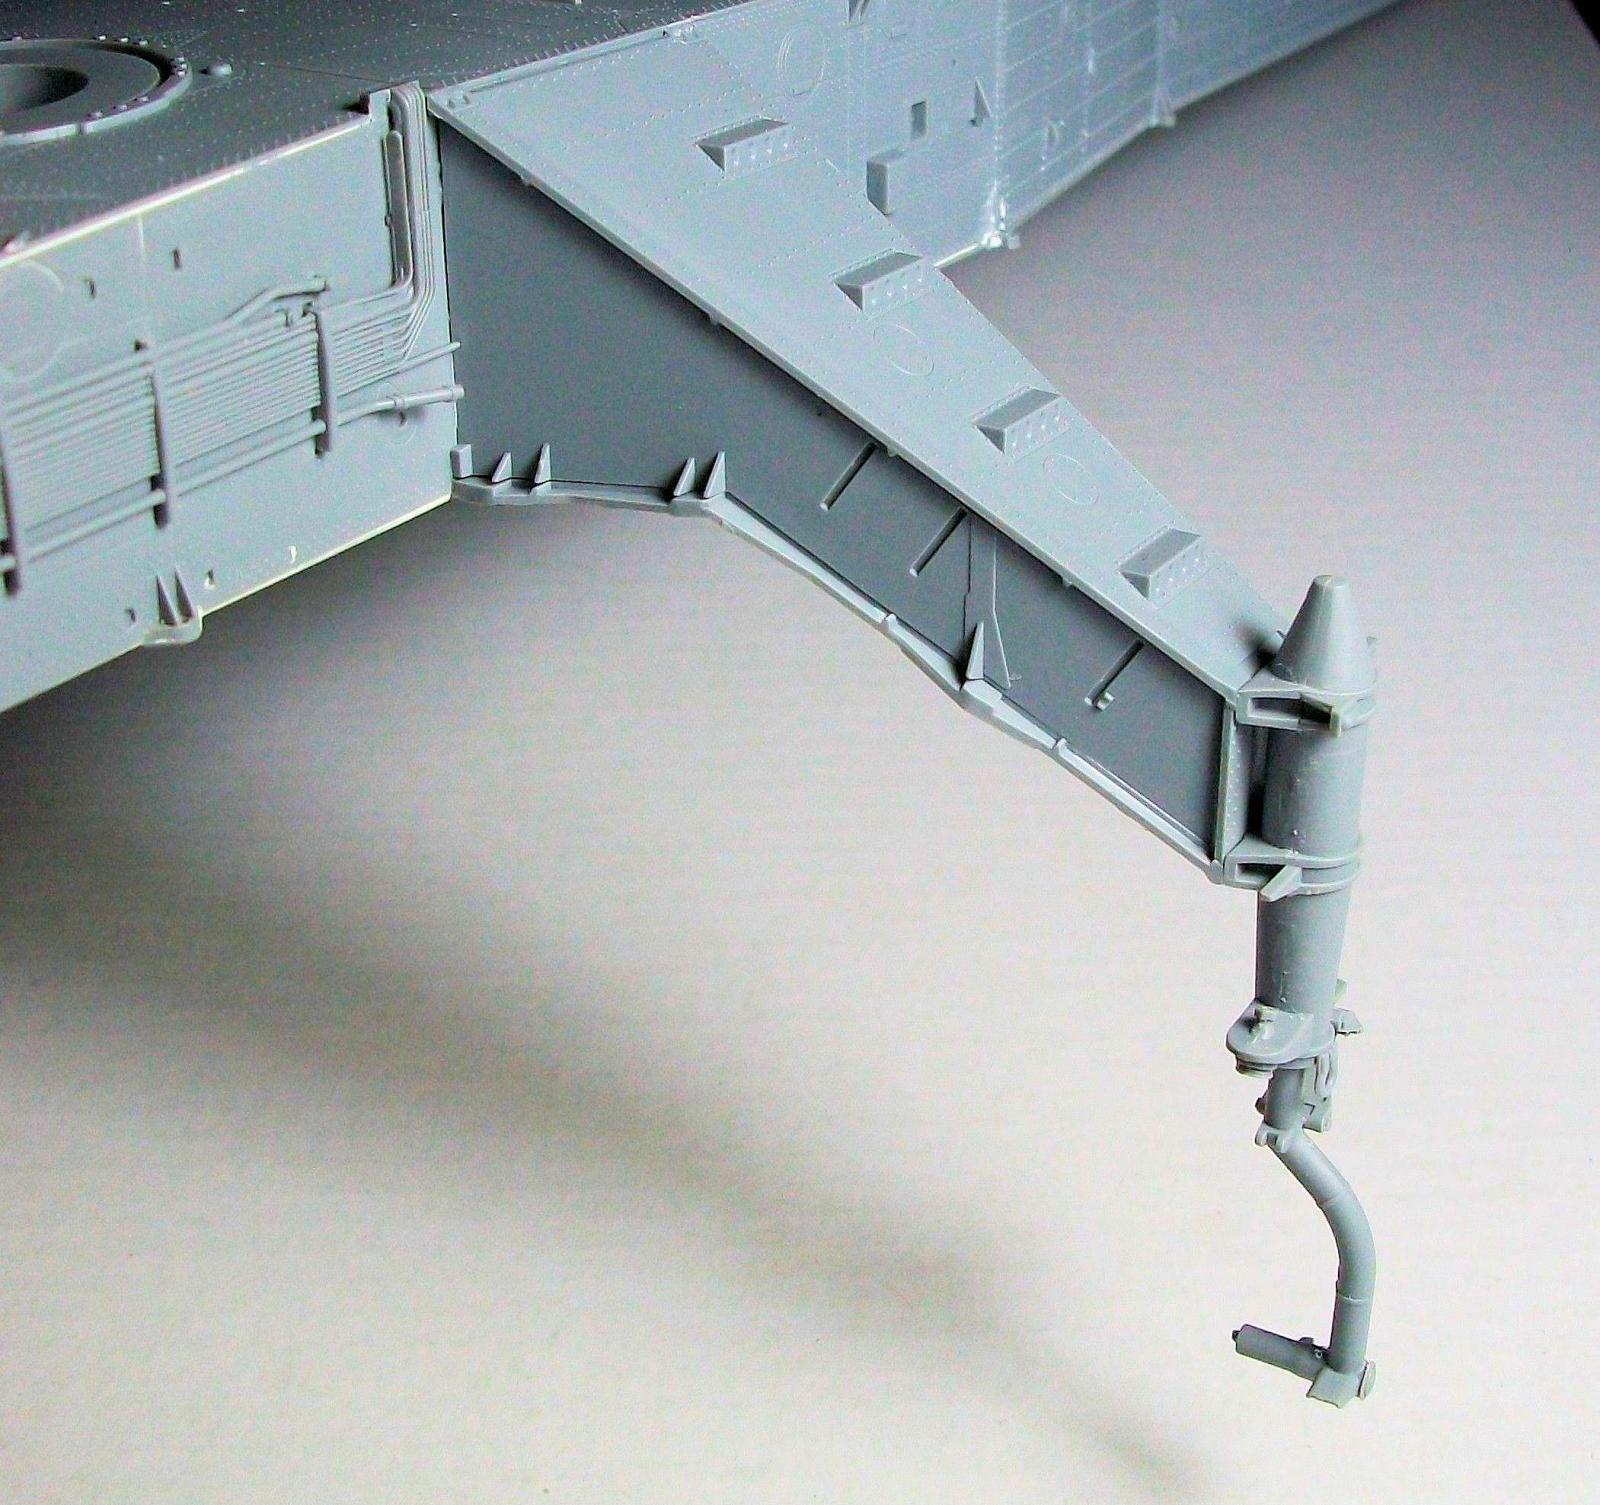
Landing Gear Leg
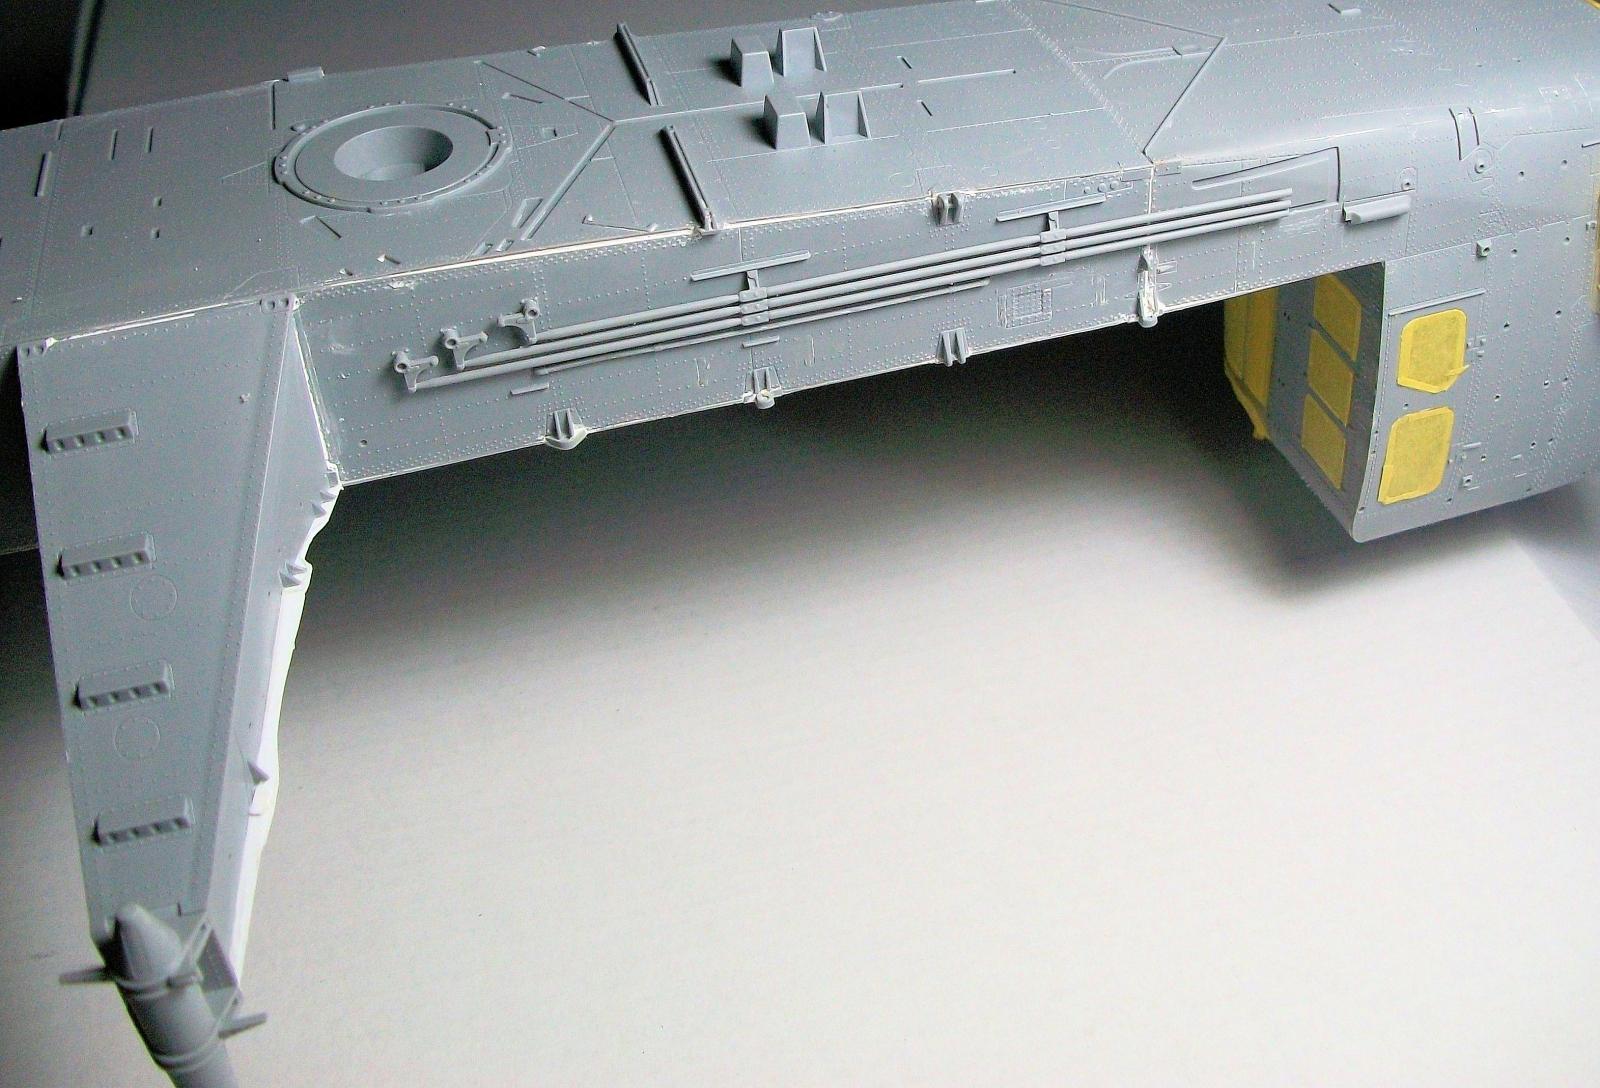
External Details
Motor Parts
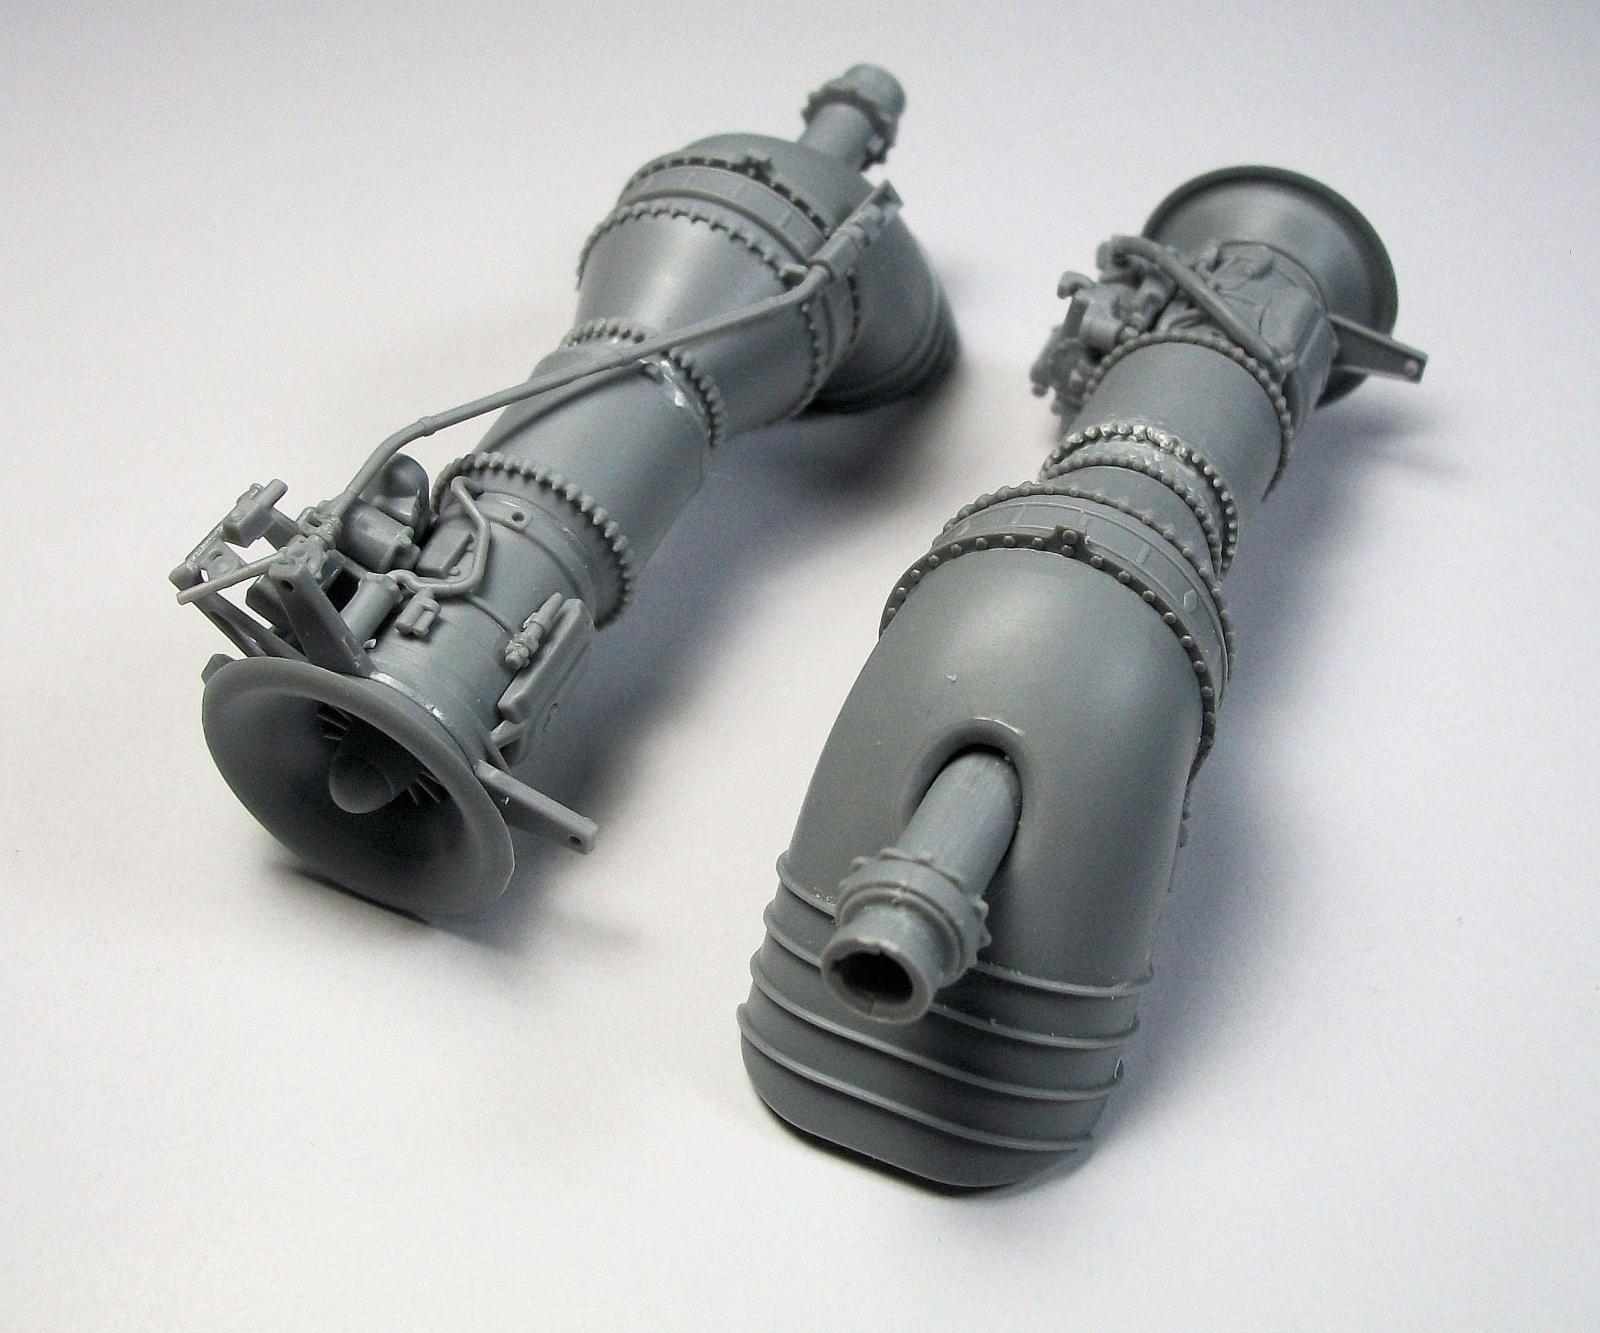
Engines
More Engine and Transmission Things
Pod Internals

Added to Pod

Tail Rotor Transmission
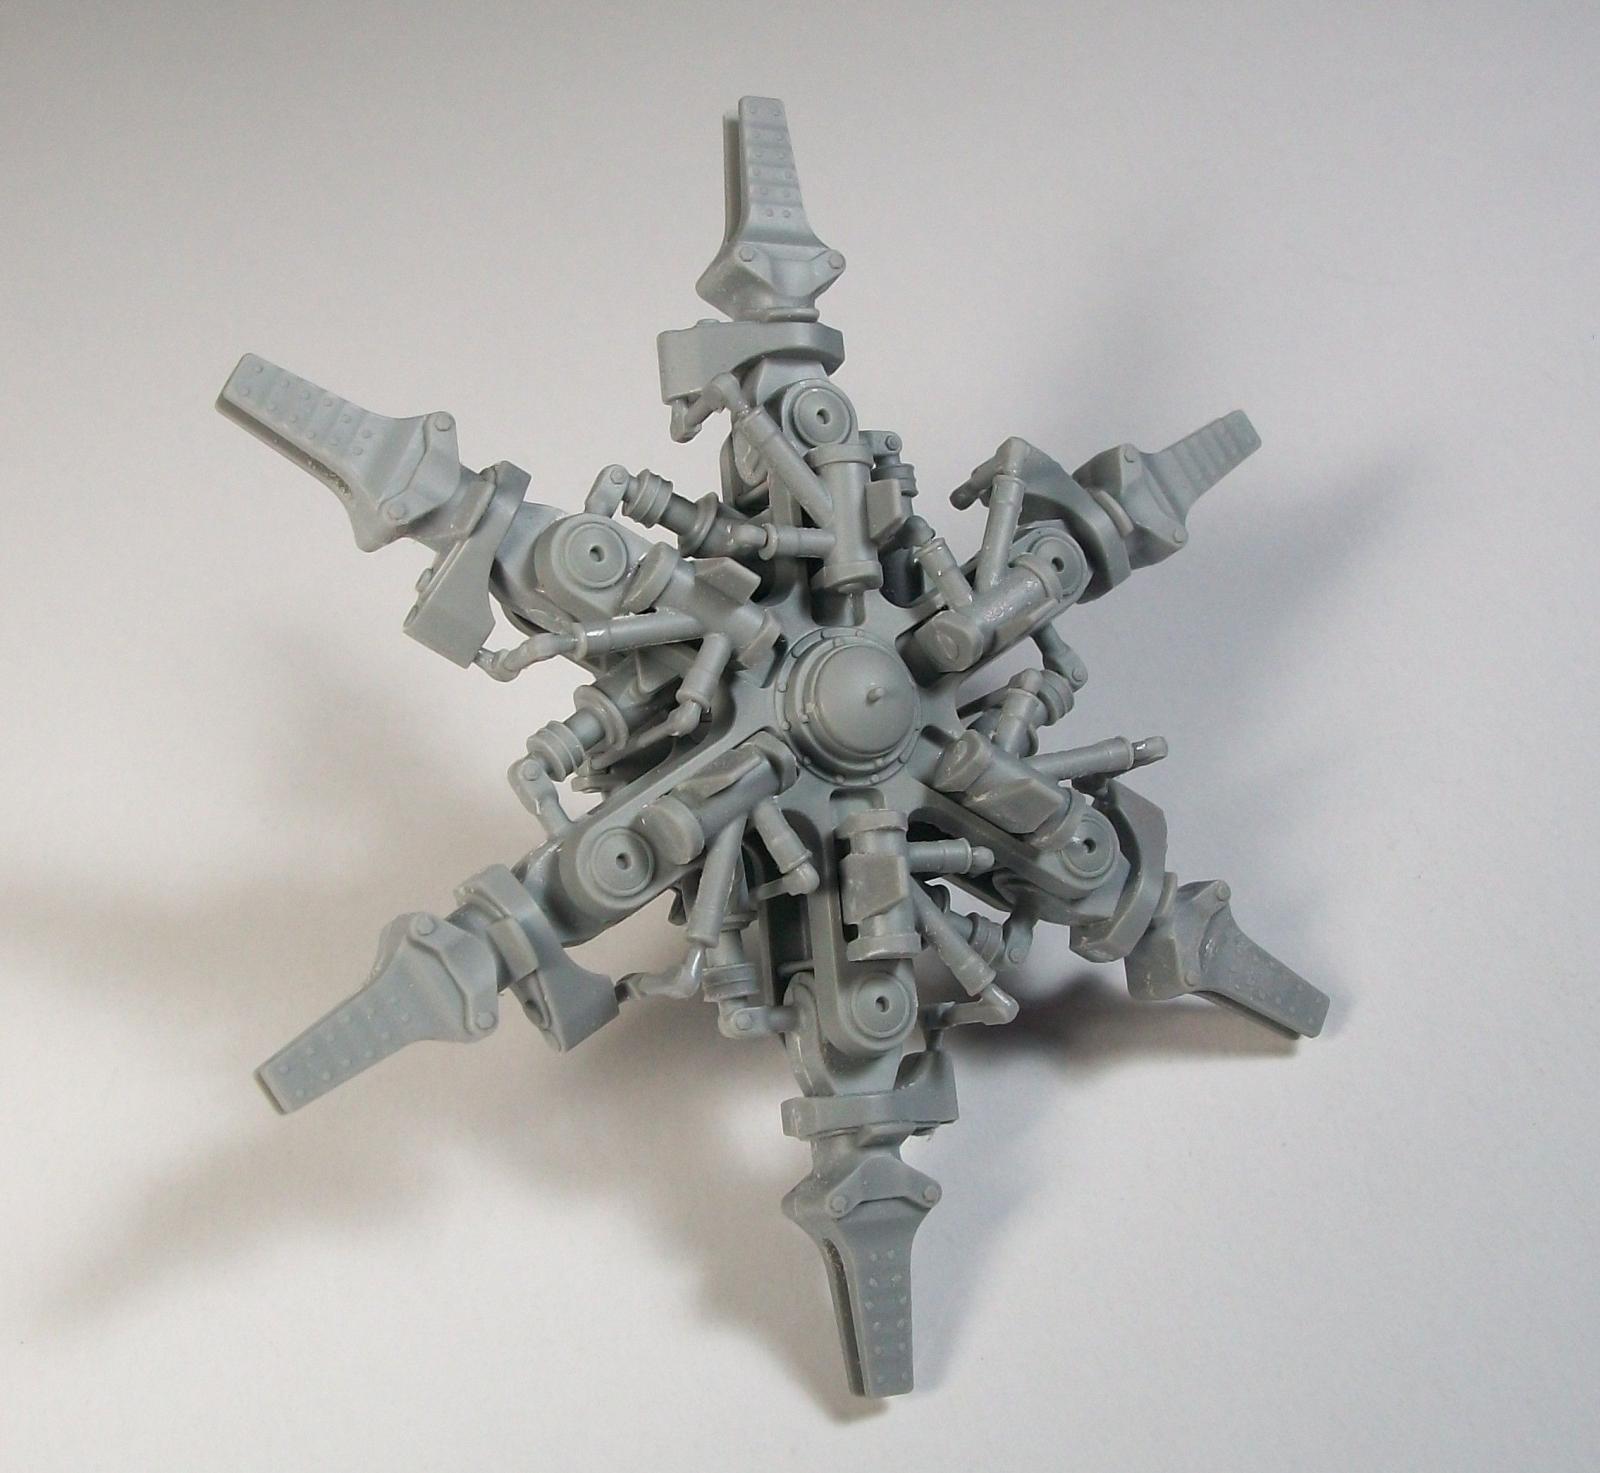
Main Rotor
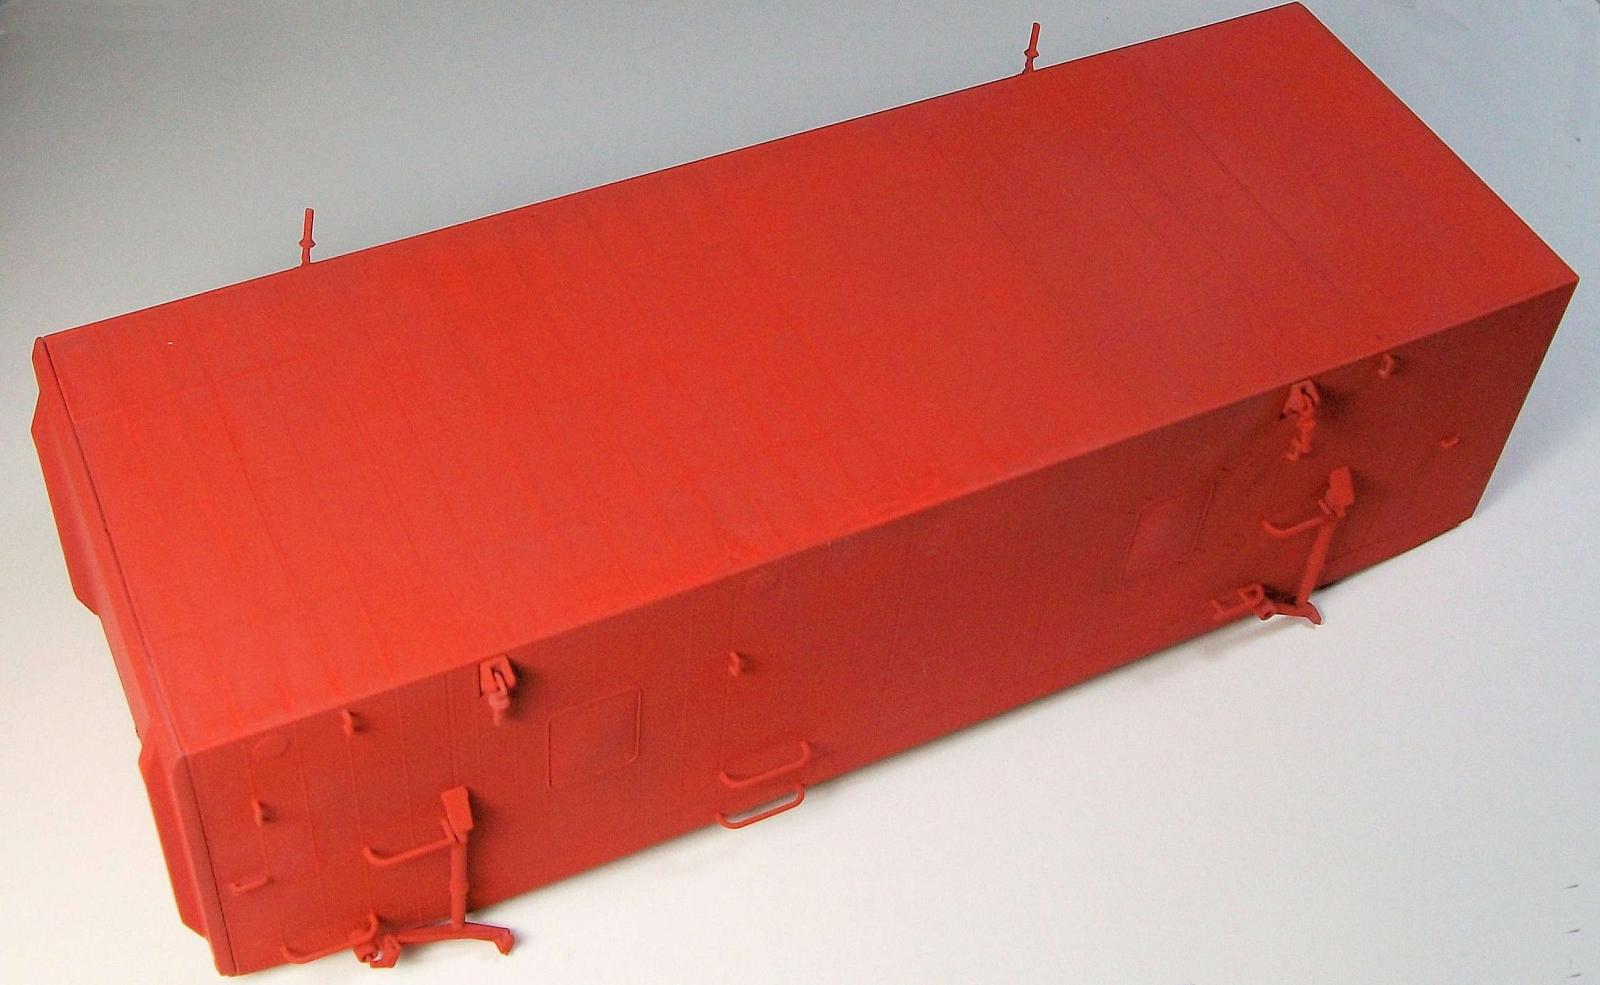
Pod Complete
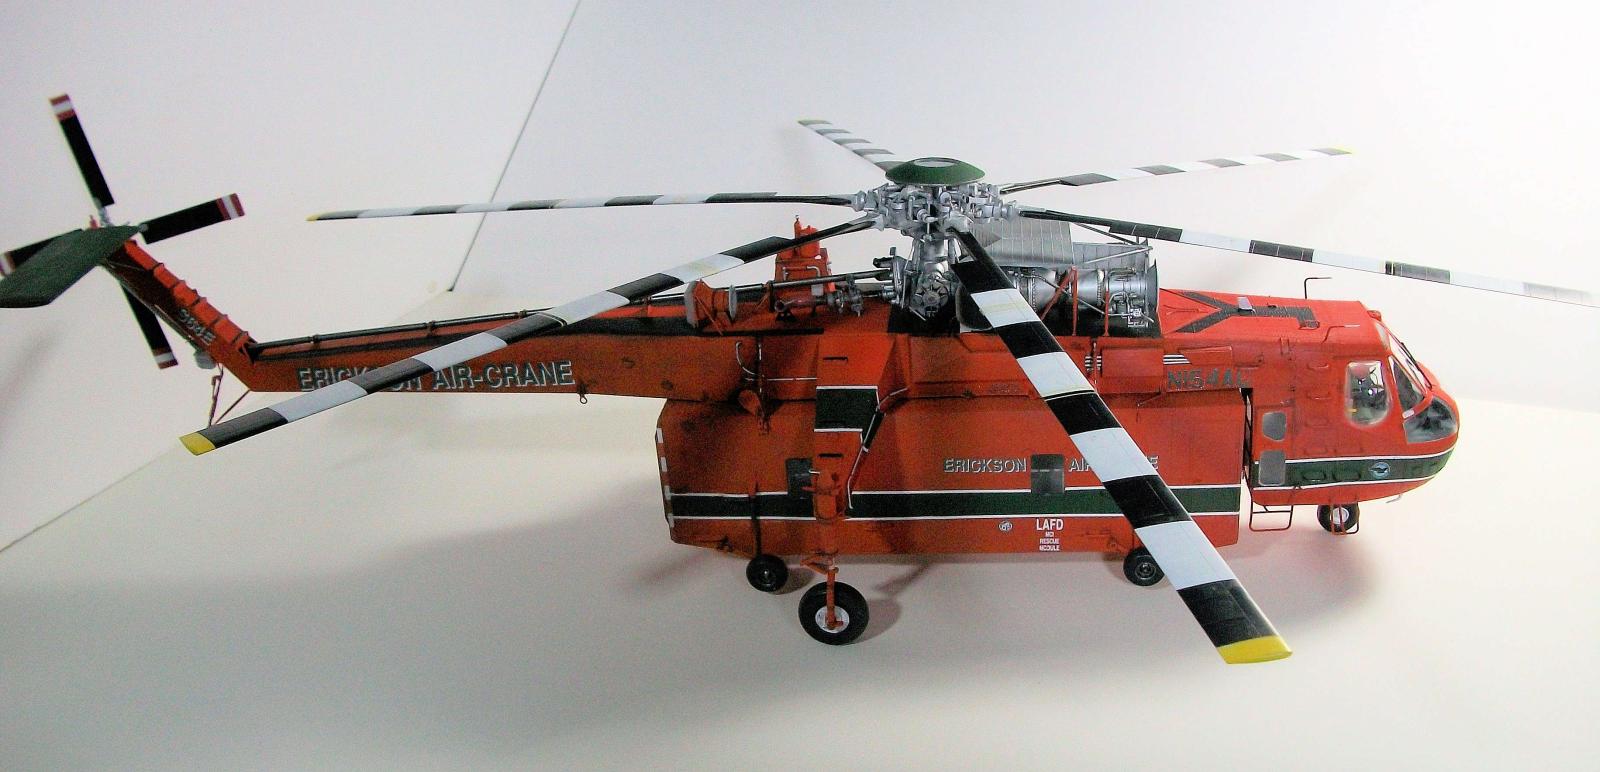
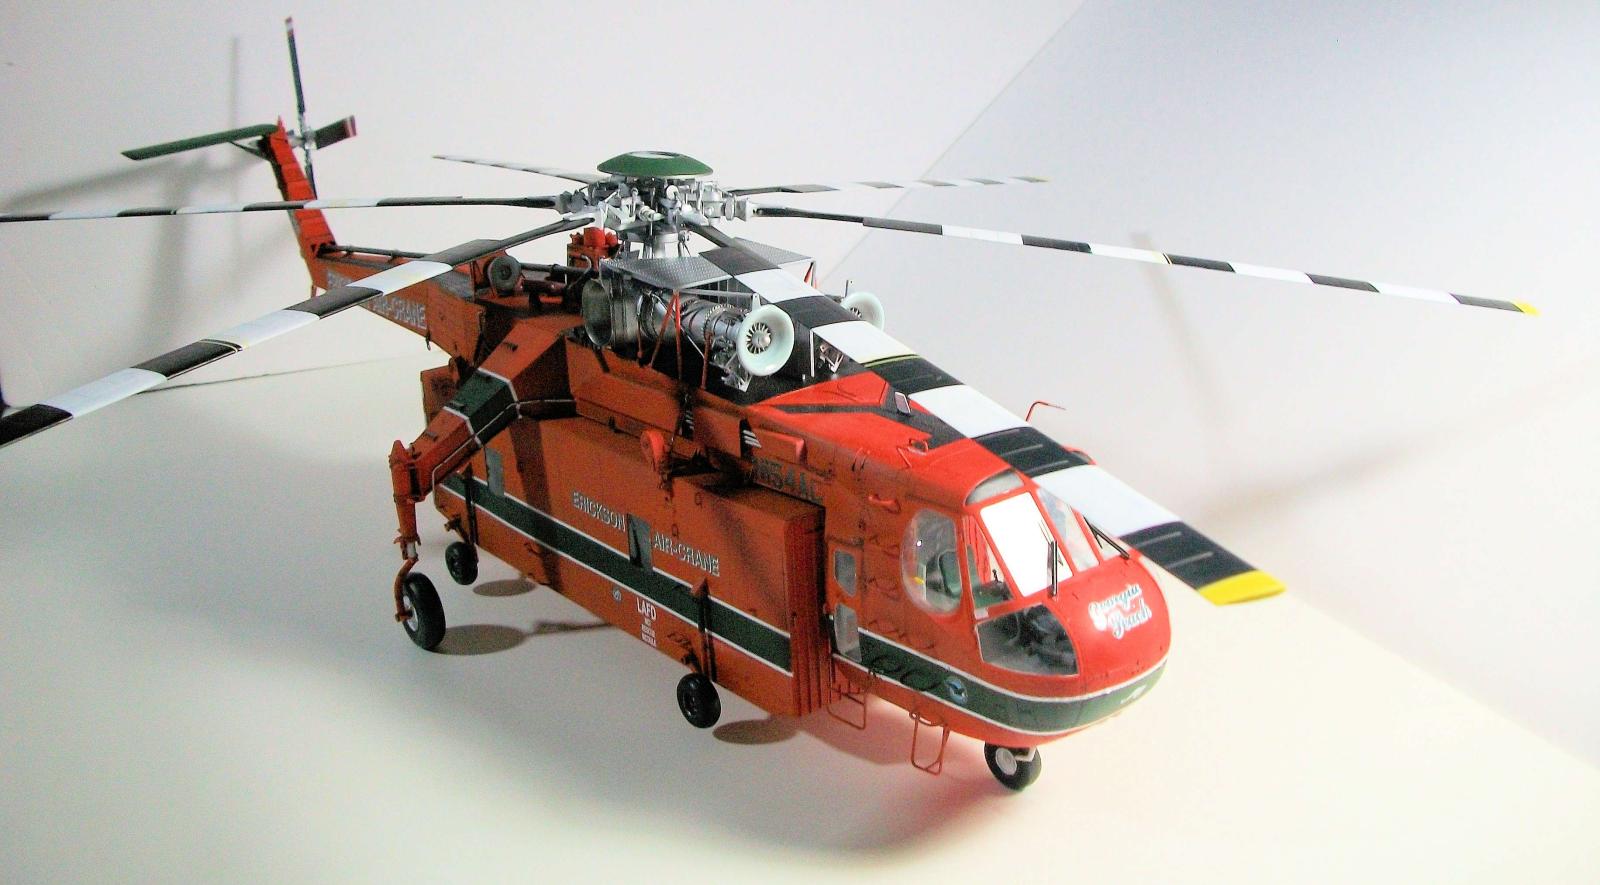
Finished
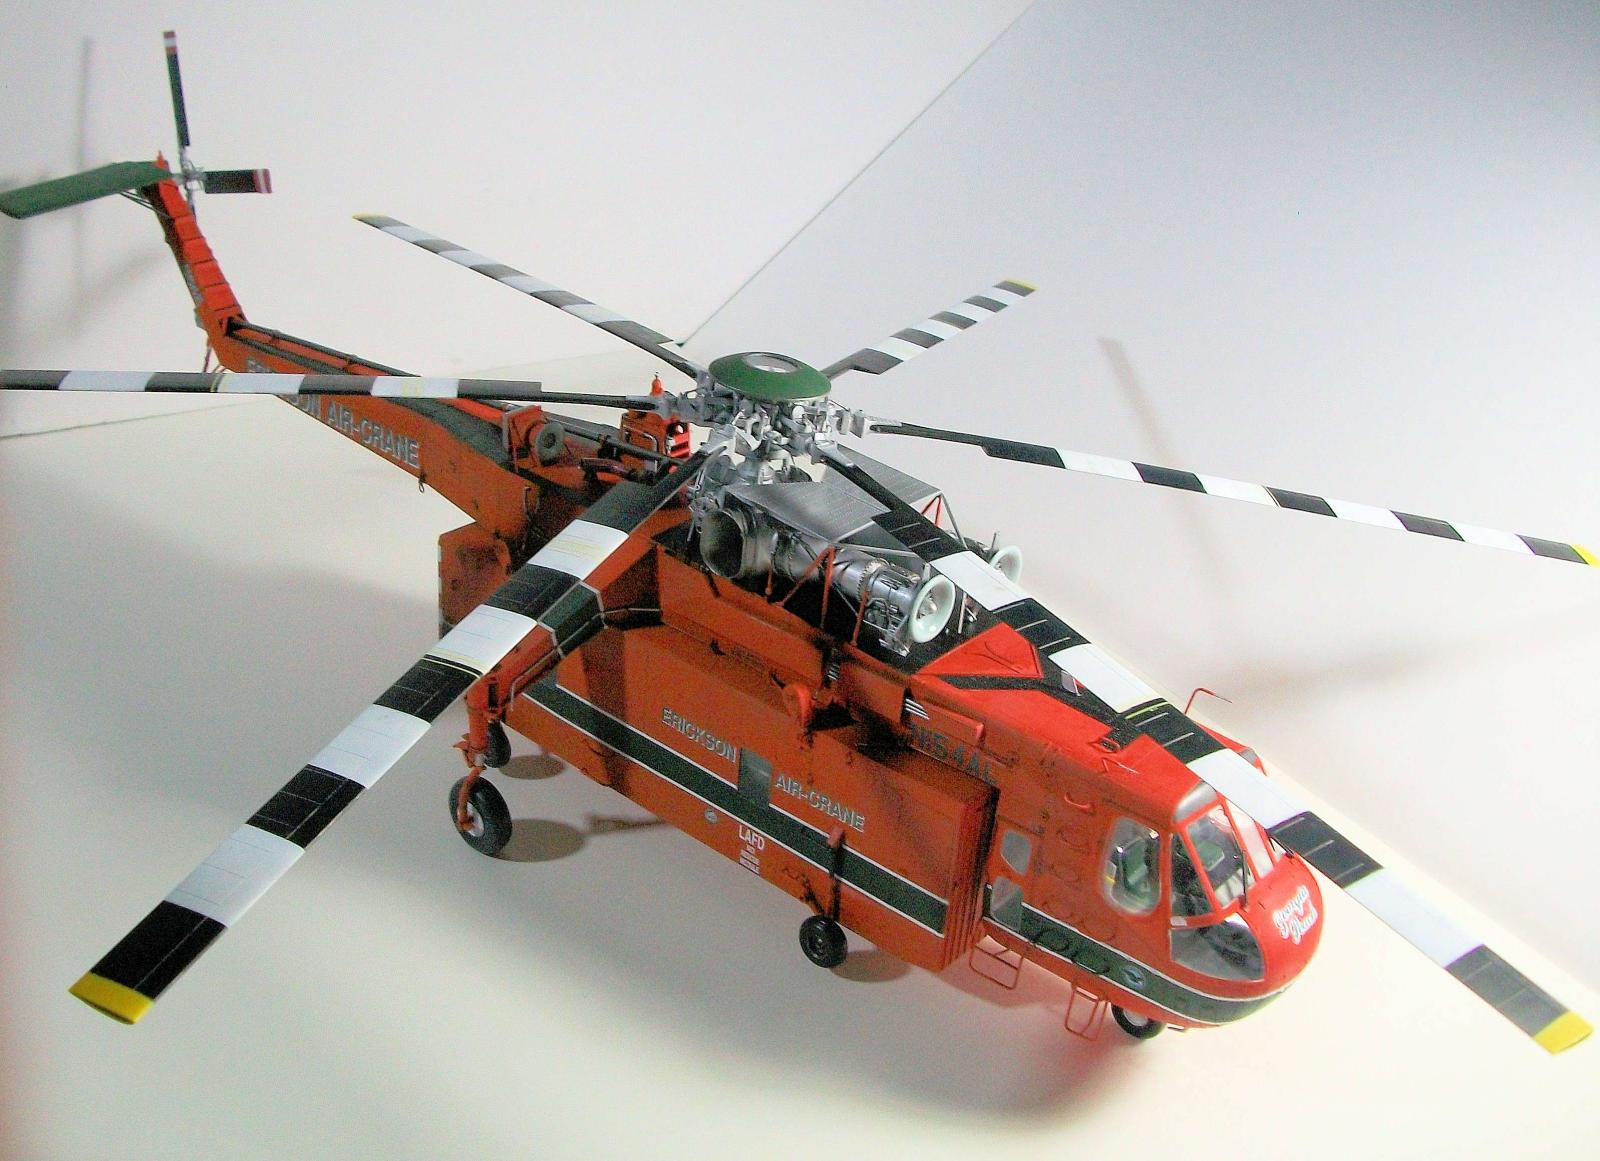
Finished
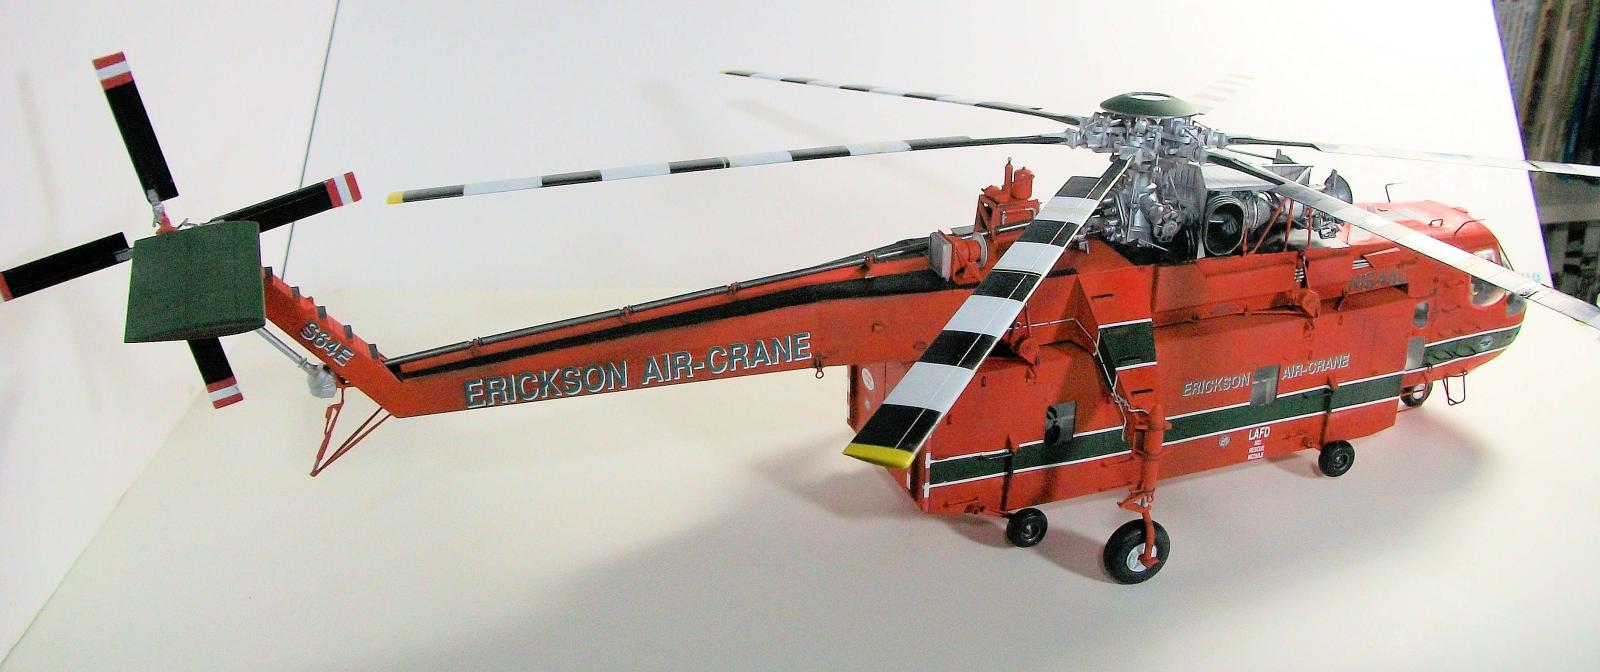
Finished

Finished
Comments
Add new comment
This site is protected by reCAPTCHA and the Google Privacy Policy and Terms of Service apply.
Similar Reviews