
F-35A Lightning II
Tamiya caught everyone by surprise with its announcement of a 1/48 F-35A Lightning II. The kit is out now and it is fantastic. Let’s take a look into the box. The sprues are classic Tamiya, perfectly formed with great panel lines, no flash and the great Tamiya plastic. Starting off with the sprues, the top and bottom of the fuselage cover the majority of the fuselage with a total count of nine gray and a clear tinted sprue. Options include:
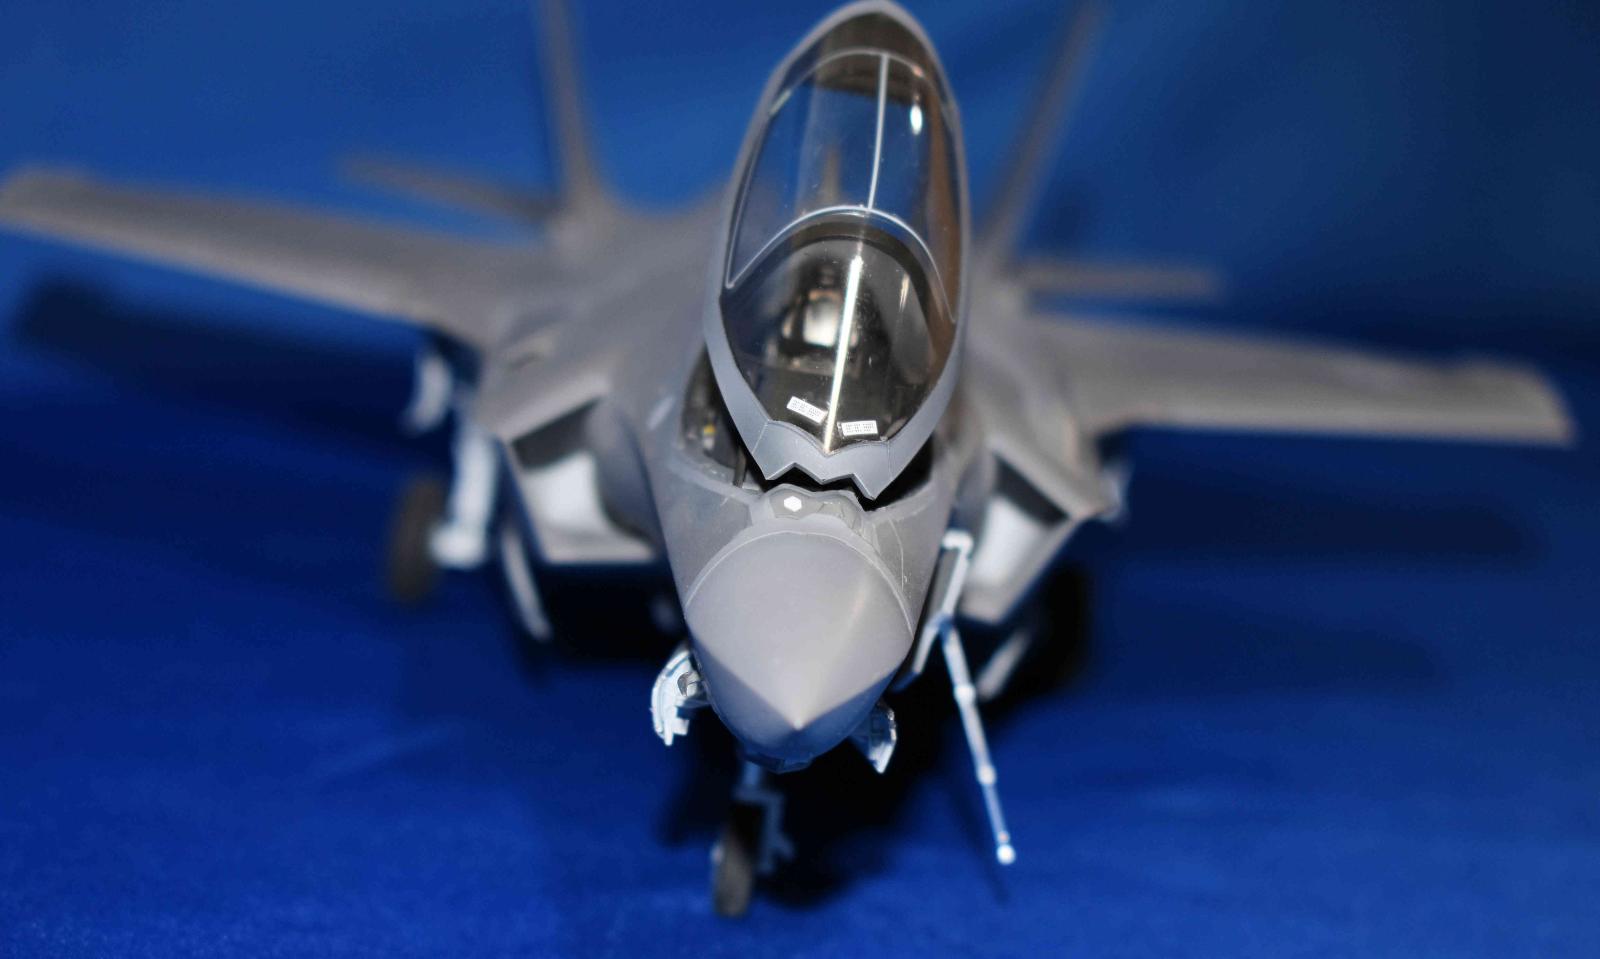
- Open or closed canopy, weapons bay, boarding ladder – there are separate doors for closed positions for all which is a great touch.
- Radar cross section enhancers
- Fully detailed pilot with HMD display.
- Clear Parts for all sensors
- A masking set
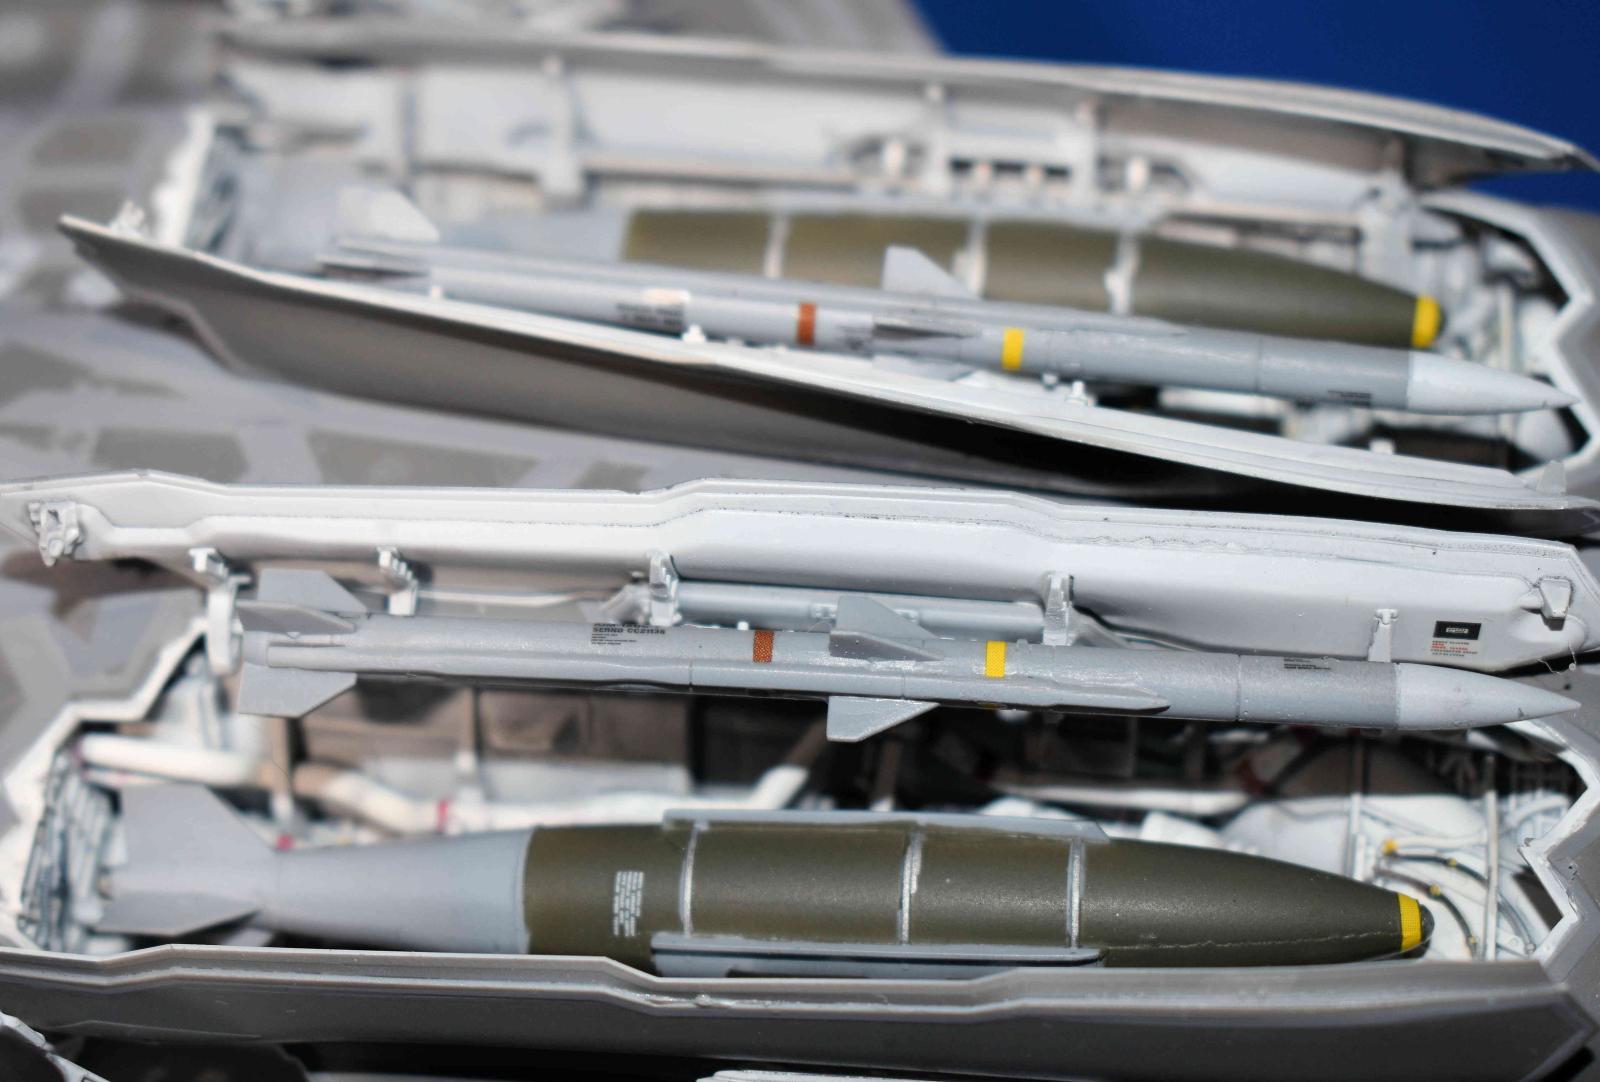
- Multiple ordnance
- 2 of AIM-9X Sidewinder
- 2 of AIM-120C AMRAAM
- 4 of GBU-12 Paveway II
- 2 of GBU-31 JDAM
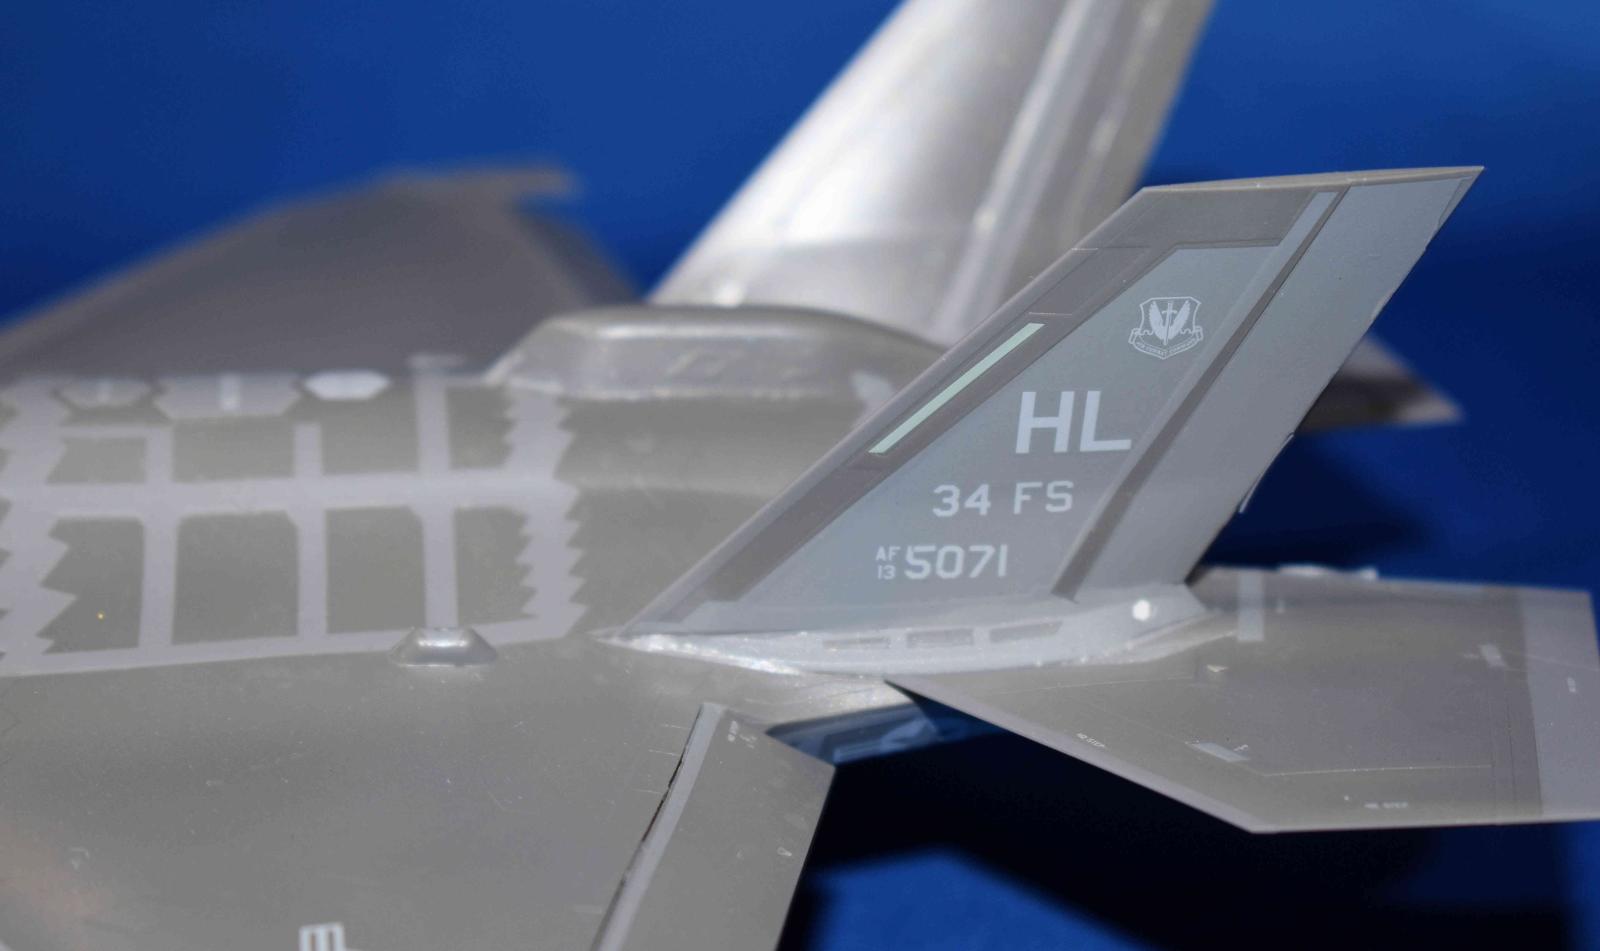
- Markings for nine aircraft and RAM panels
- US Air Force
- JASDF
- Royal Norwegian Air Force
- Royal Danish Air Force
- Royal Australian Air Force
- Israeli Air Force
- Italian Air Force
- Republic Korea Air Force
- Royal Netherlands Air Force
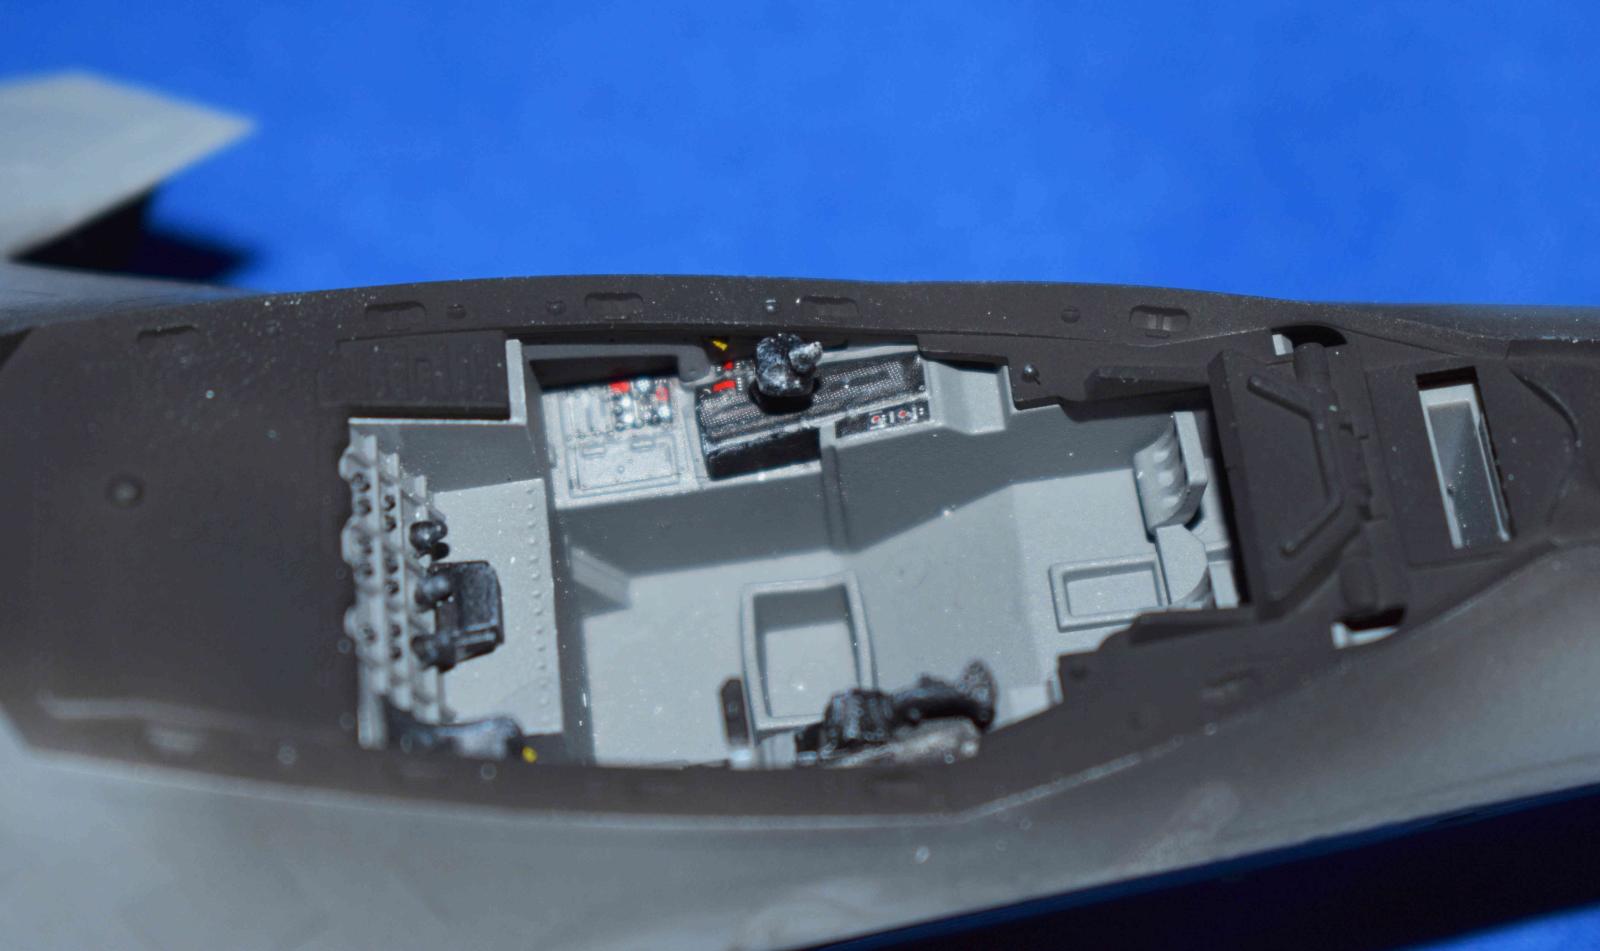
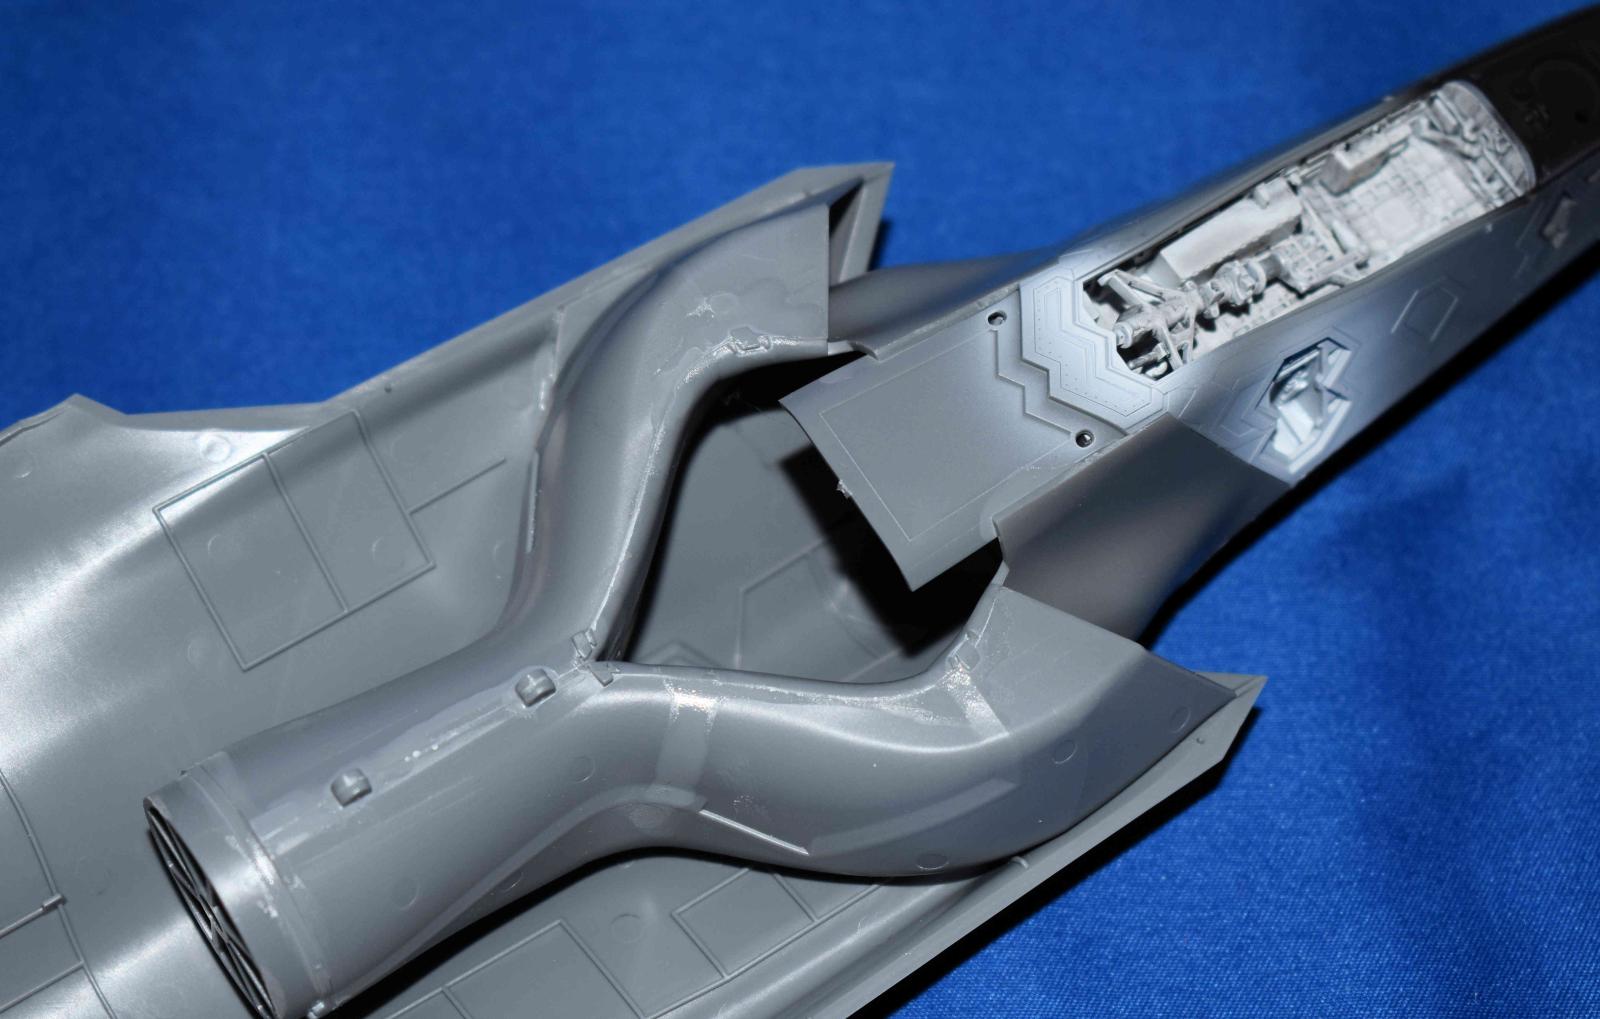
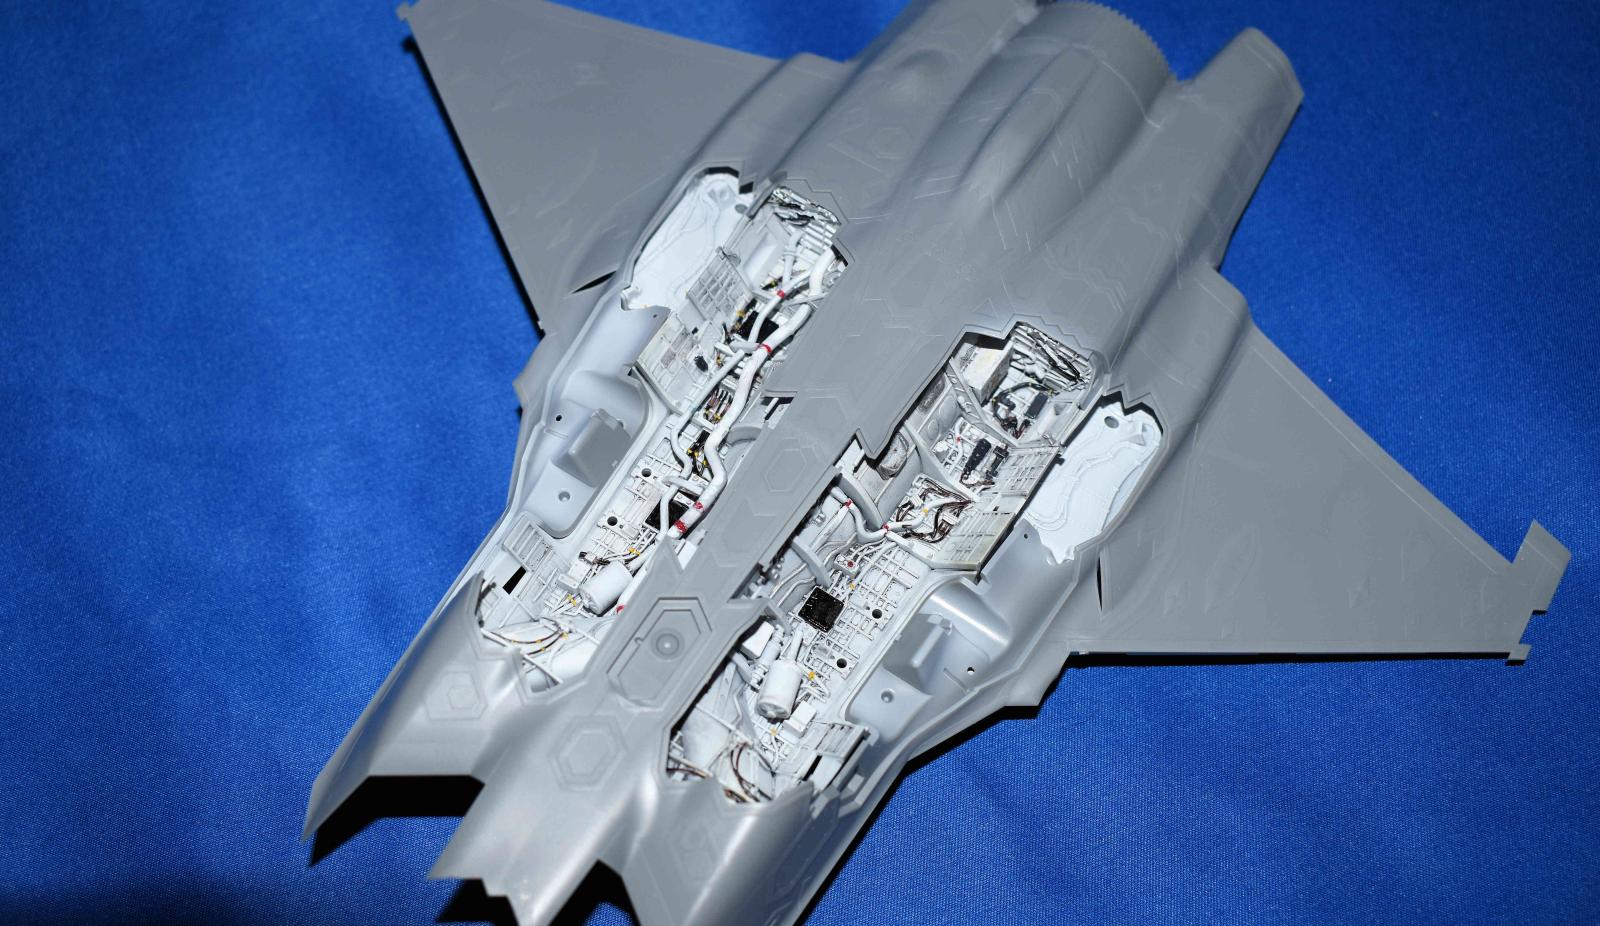
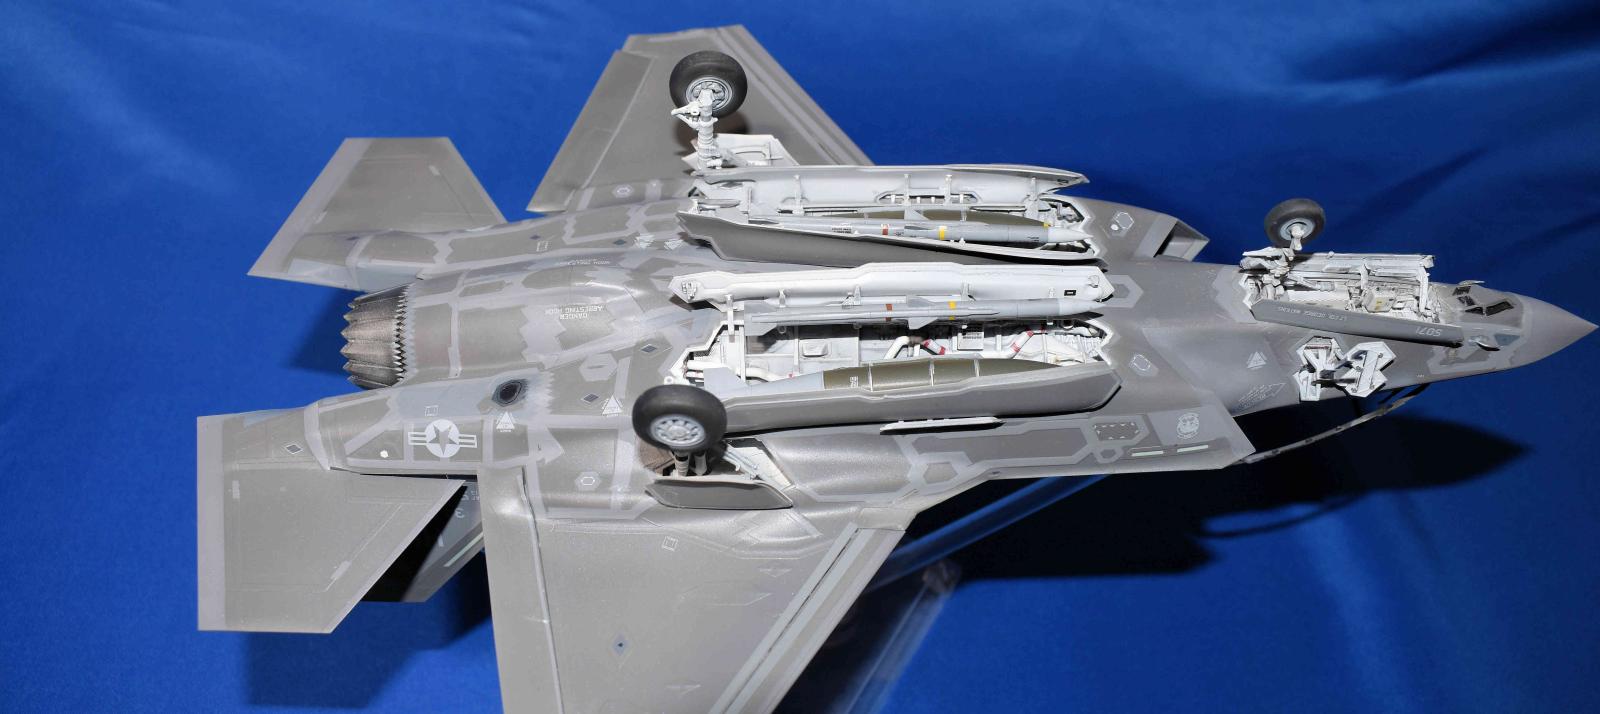
On to the build. Let me say first off that the kit has absolutely not one drop of putty, the fit is perfect. Construction starts with the top fuselage. Several holes are drilled out if adding the cross section enhancers. I added parts K1-2-5 which was a mistake as those are for the version with a parachute housing. I chose to make the USAF version with the RAM panels and using the kit decals. The next assembly is the cockpit followed by the front landing gear bay which also taps the front gear strut. A word of caution, do not get glue on the strut as it is lowered and fixed in the down position later. The wheel bay is added to the front bottom fuselage and then the assembled intakes glued to the side of the cockpit and front bottom fuselage. The cockpit is added to the top fuselage and the bottom front is glued to the top – if done right, the intakes will settle into the correct position and the fuselage will not need any filler. See the attached pictures.
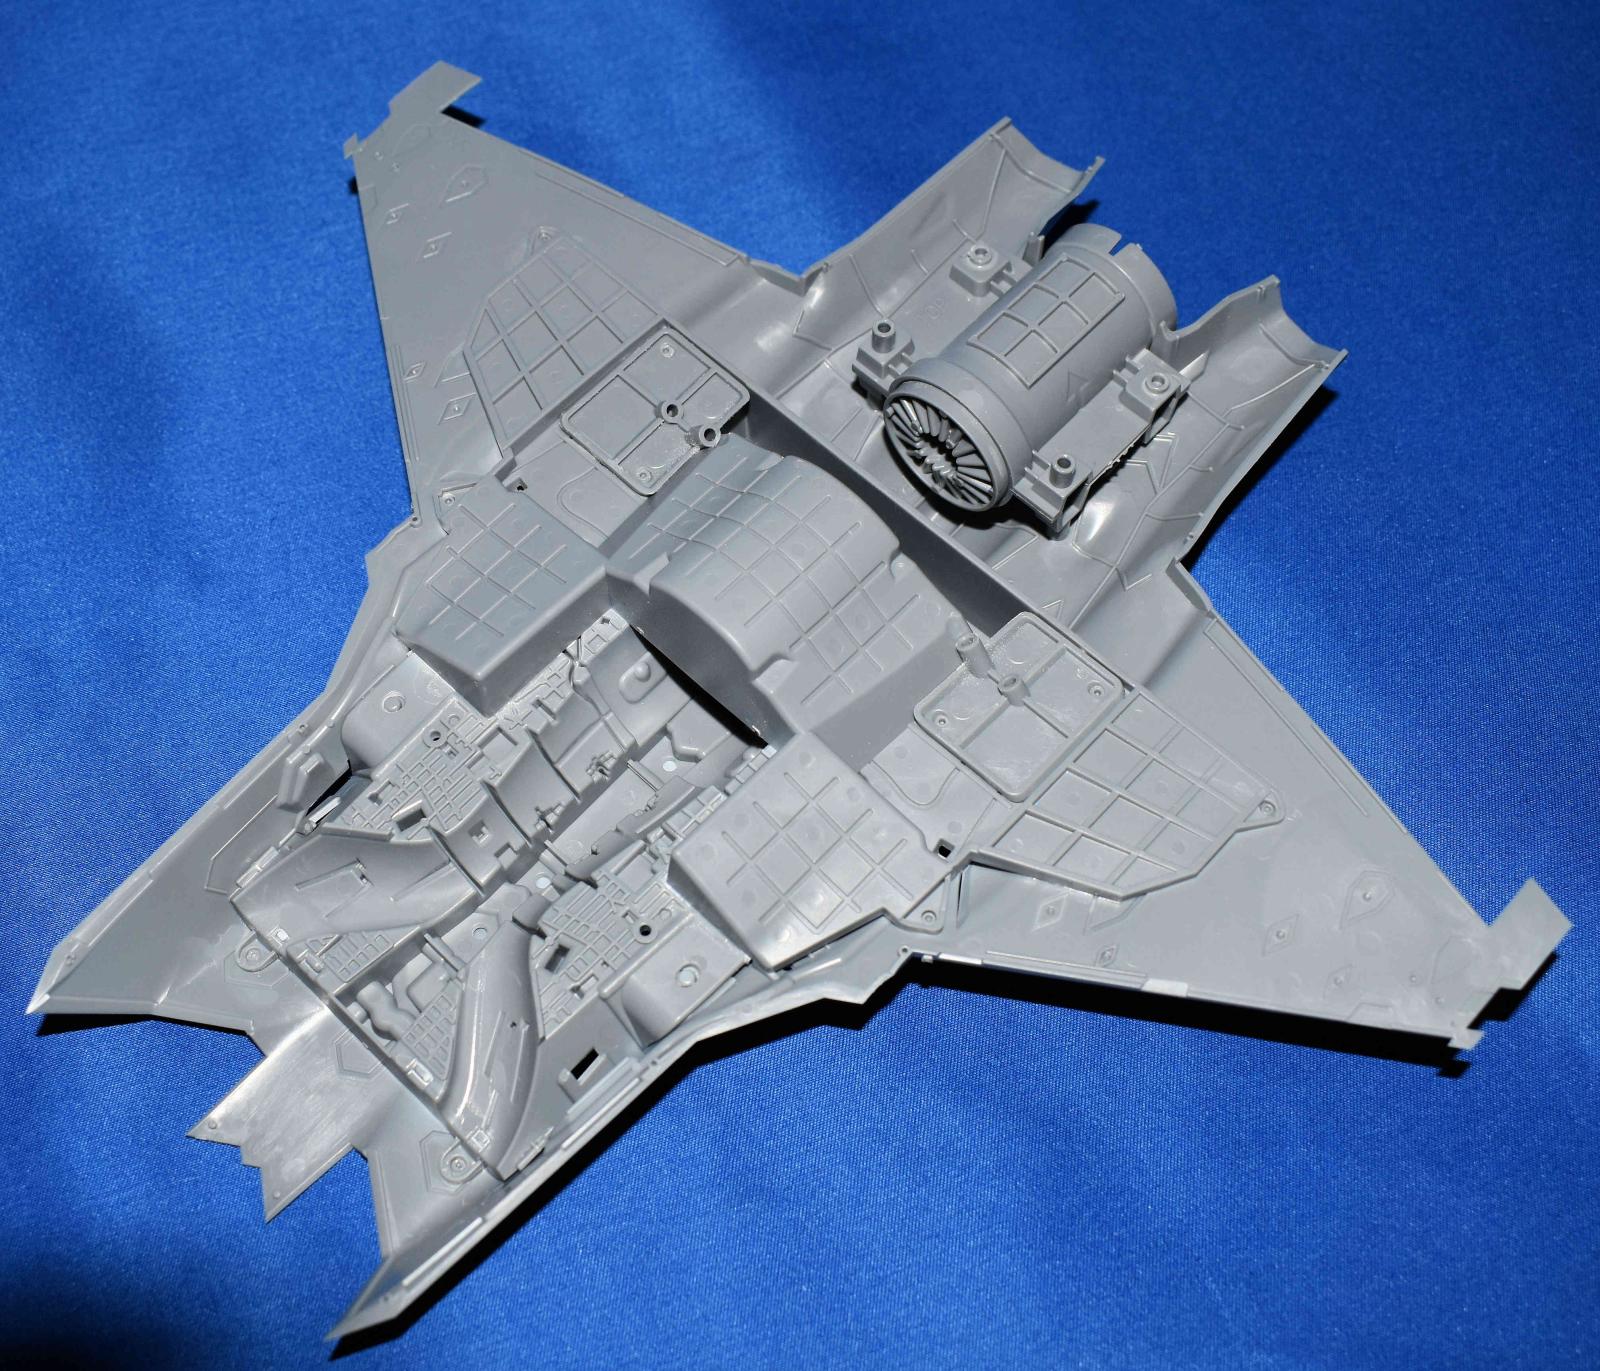
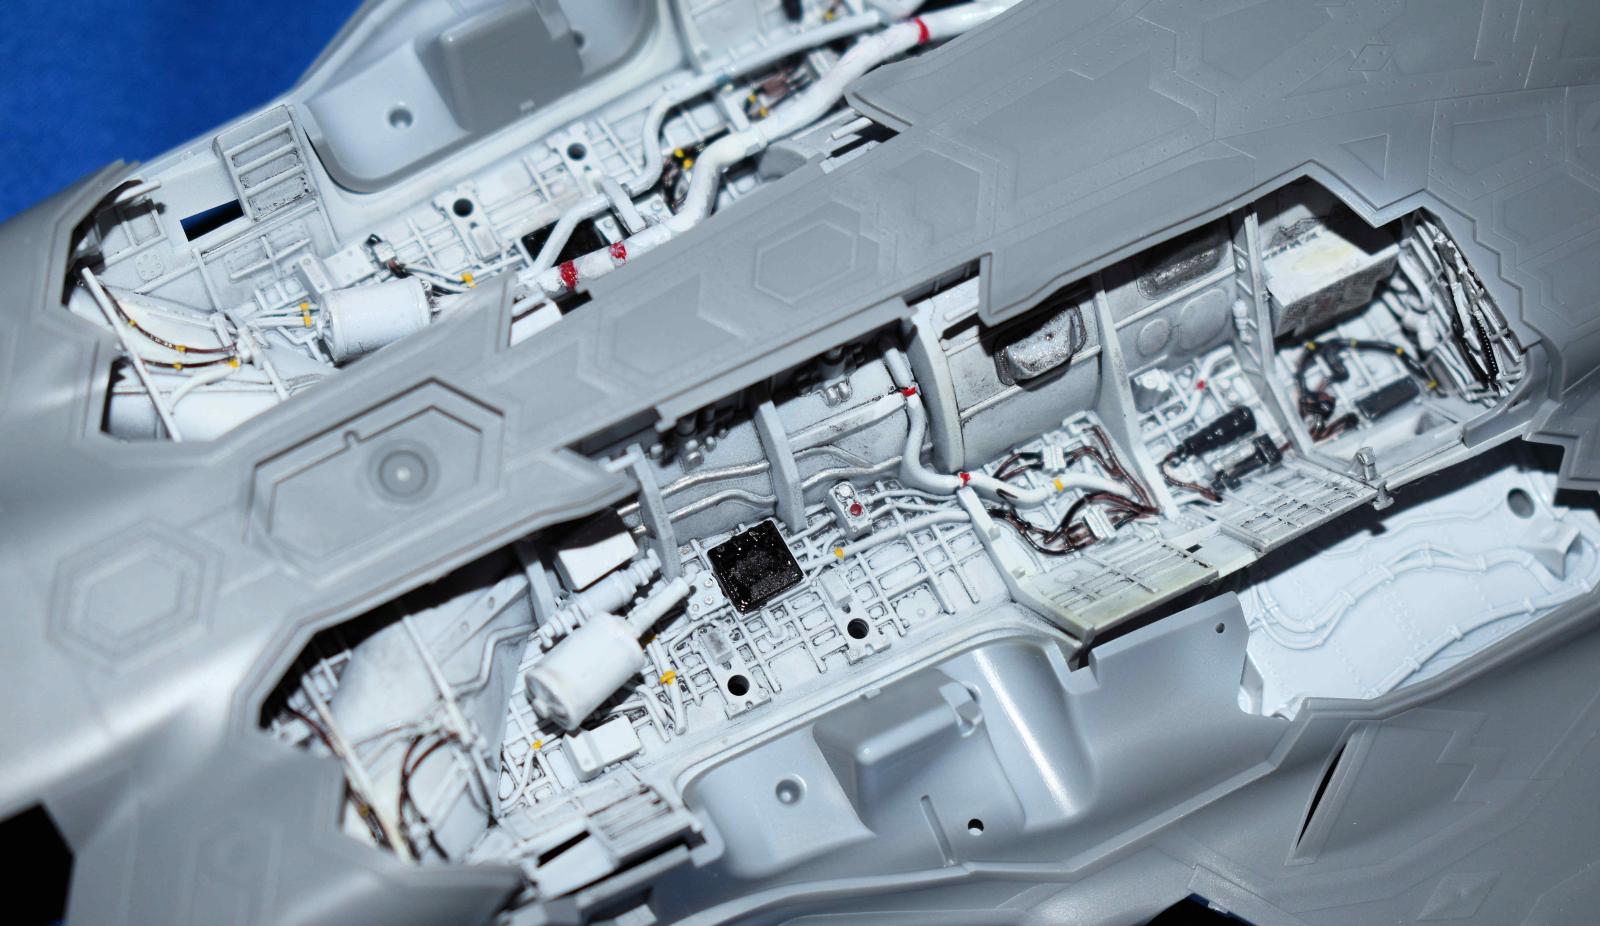
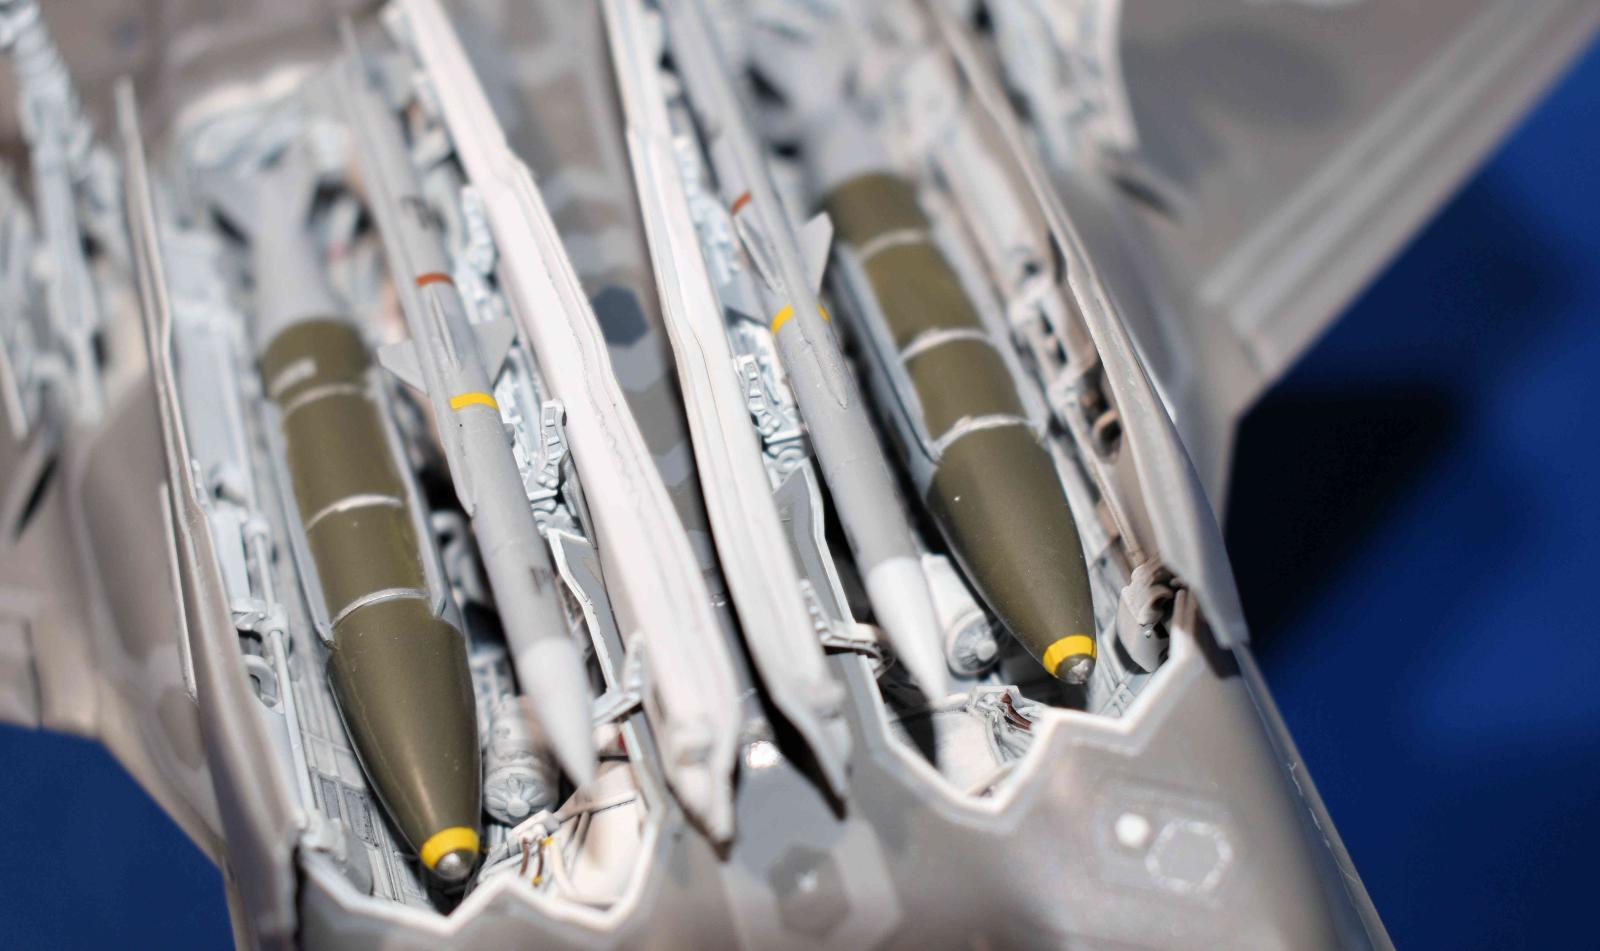
The bottom fuselage is worked on next. There are holes to be drilled out if adding pylons and some sprue to remove. Clear parts and masks also start appearing. The biggest time is the weapons bays and the parts. This is assembled from over 20 parts and also requires a lot of detail painting which is very well spelled out. If you are closing them, you can save time but the bays painted look great so I spent the time painting and decaling them. The exhaust is assembled and both parts added to the rear bottom fuselage. The main spar is painted and detailed as it includes part of the main gear well. The spar is added and the entire fuselage closed. Again…NO putty, just some light seam sanding.
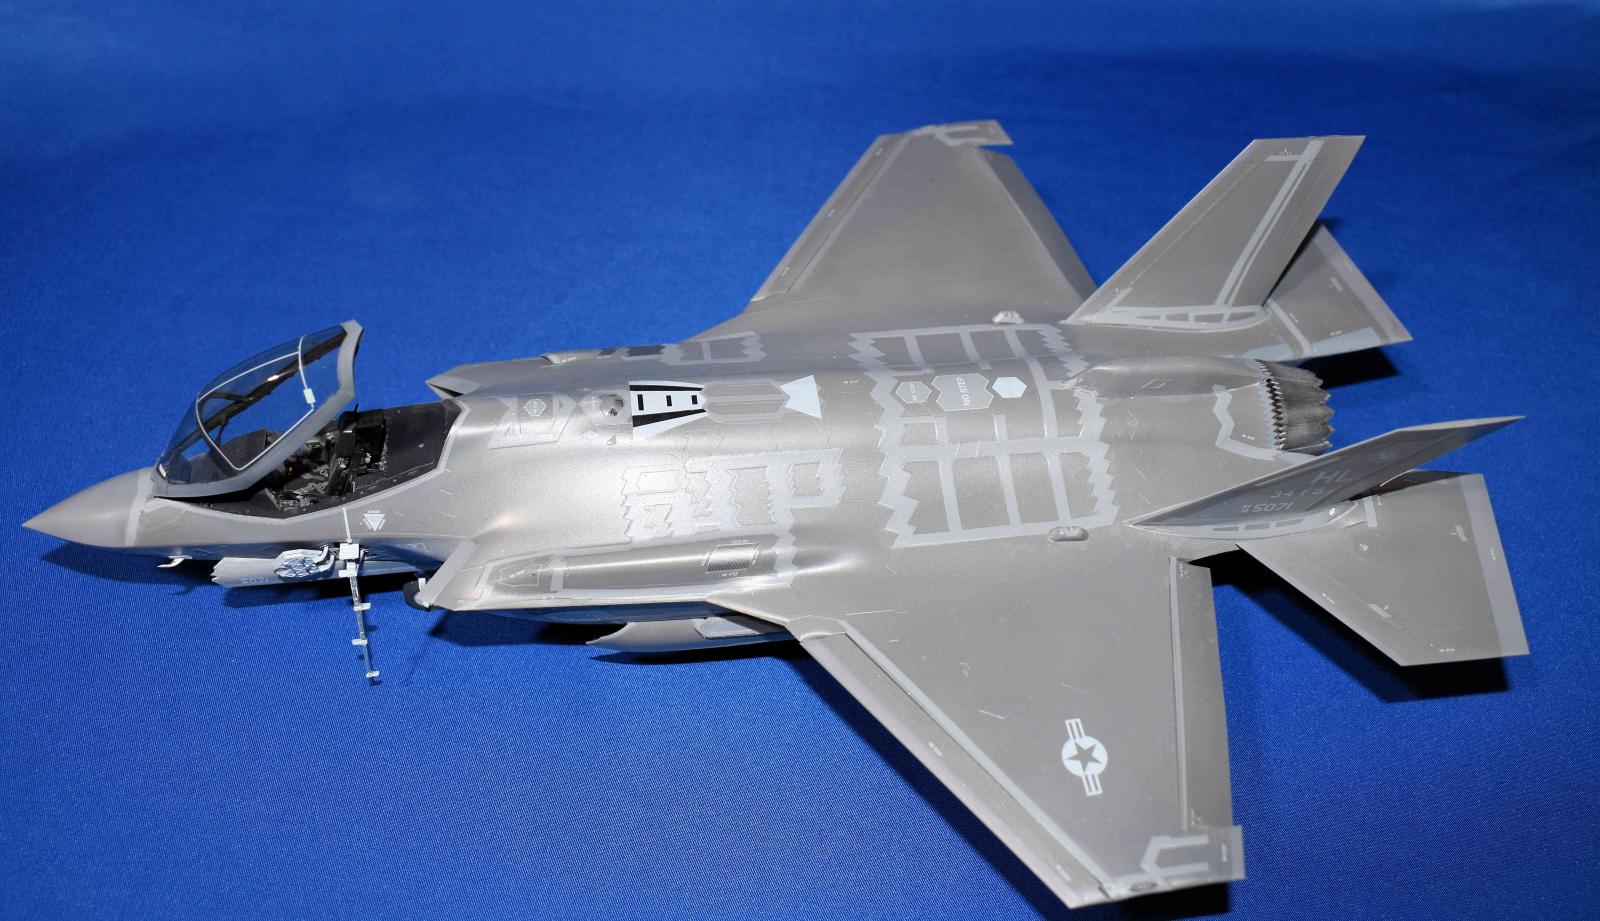
Detailing is next with construction of the eleven-part exhaust nozzle, the main gear legs and multiple gear and weapon bay doors. The EOTS sensor under the nose is also masked and added. At this point, there are lot of parts but it was time for paint. For that I followed the directions. There are only a couple colors and the Tamiya lacquers are wonderful.
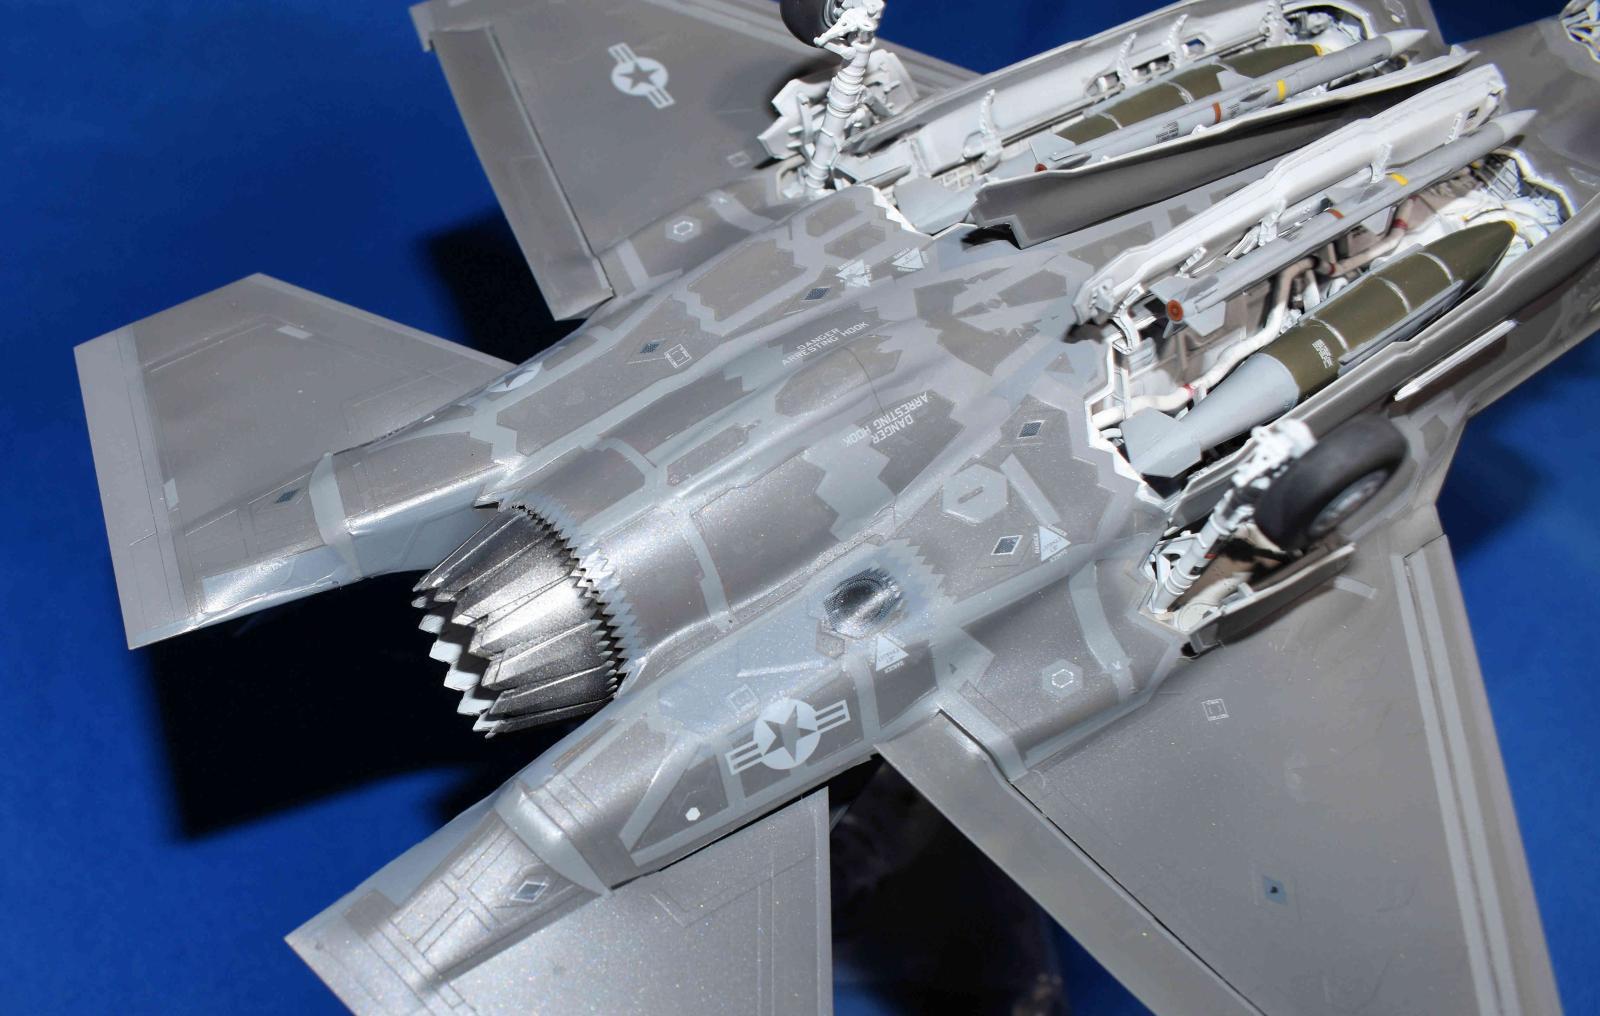
A quick gloss coat and then to the decals. A lot of decals. There is 8x11 sheet containing the RAM panels. Since I finished the kit, masking sets have also arrived. The decal applies very well and the locations are found in both the instructions and one separate sheet. Working in quadrants, it took me almost two weeks to get the RAM panels and then the stencils on and I love the way it looks. They settled well and while people are always saying Tamiya decals are thick, these settle very well and were sealed with a flat coat with no issues.
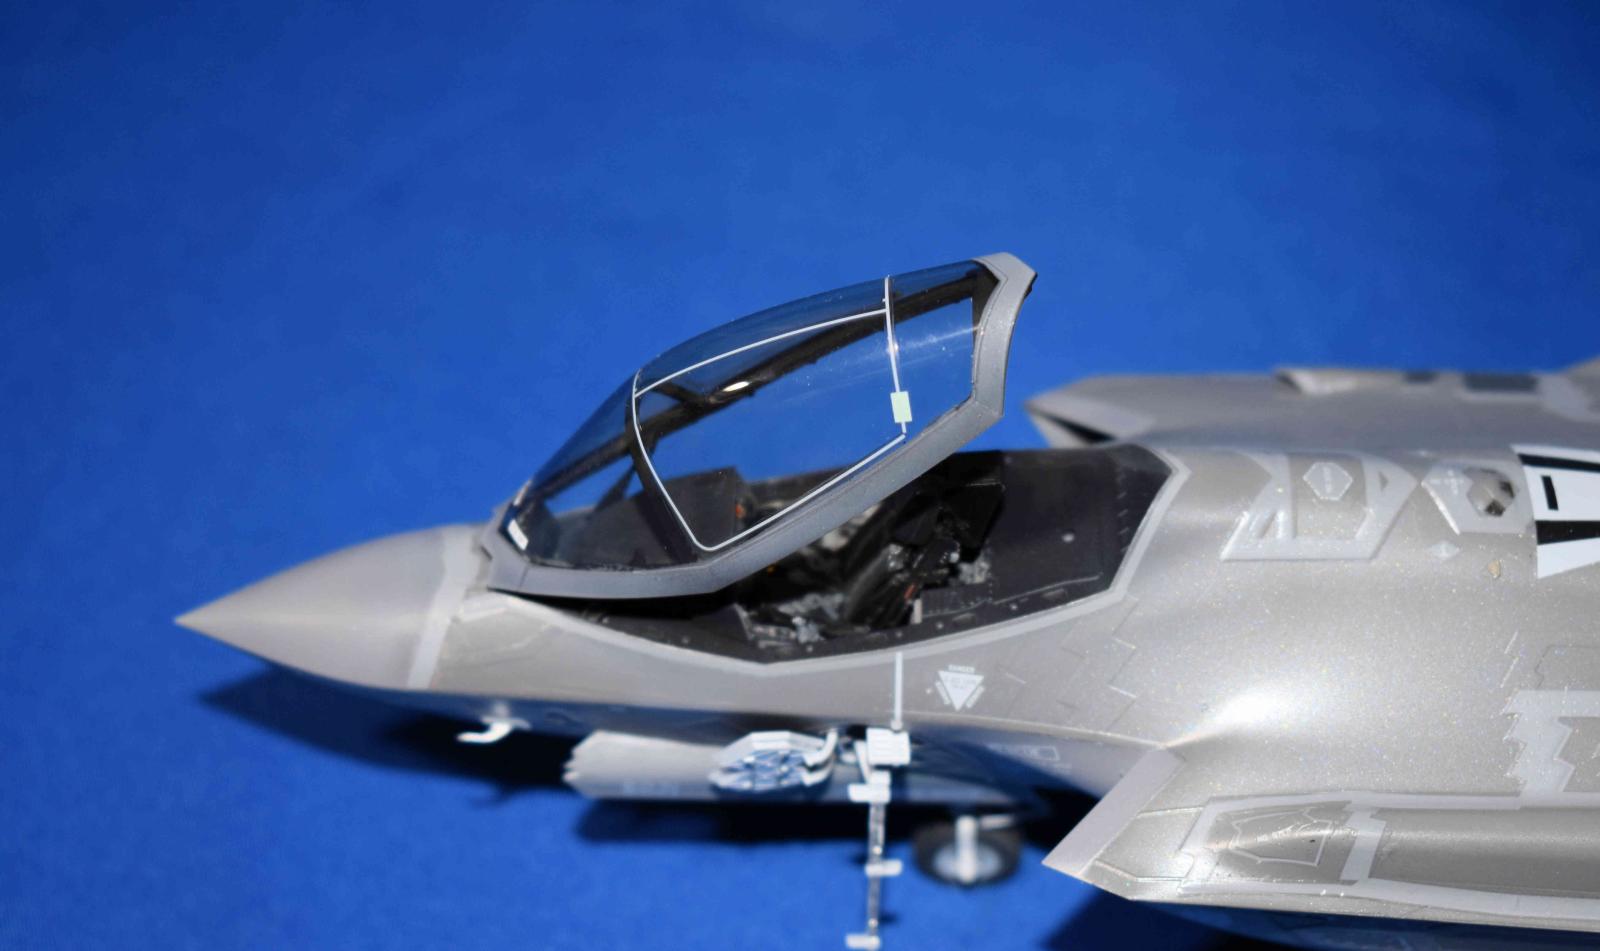
I added all the pieces and parts and used a black oil wash to highlight the weapons and wheel bays. Lastly, I built the weapons (two AMRAAM’s and two JDAM’s) and added the wheels and clear coated the entire kit with MRP HAVE Glass clear which deadens the gloss and gives it a little sparkle like the real coating. Lastly the canopy was built and added in the open position. It is wonderfully thin and looks the part. The masking was pulled off and a few minor touch ups and done.
Tamiya never ceases to amaze me. Whether it’s the P-38 versions or this wonderful F-35A, the engineering is tight, innovative and the fit allows the modeler to do nothing but enjoy the build. I can recommend this a to all modelers everywhere. Tamiya has raised the bar again. Go buy one!
My thanks to Tamiya and an apology. At the end of the build, the old computer gave up the ghost and it set me back several weeks from getting the word out about this great kit.


Comments
Add new comment
This site is protected by reCAPTCHA and the Google Privacy Policy and Terms of Service apply.
Similar Reviews