
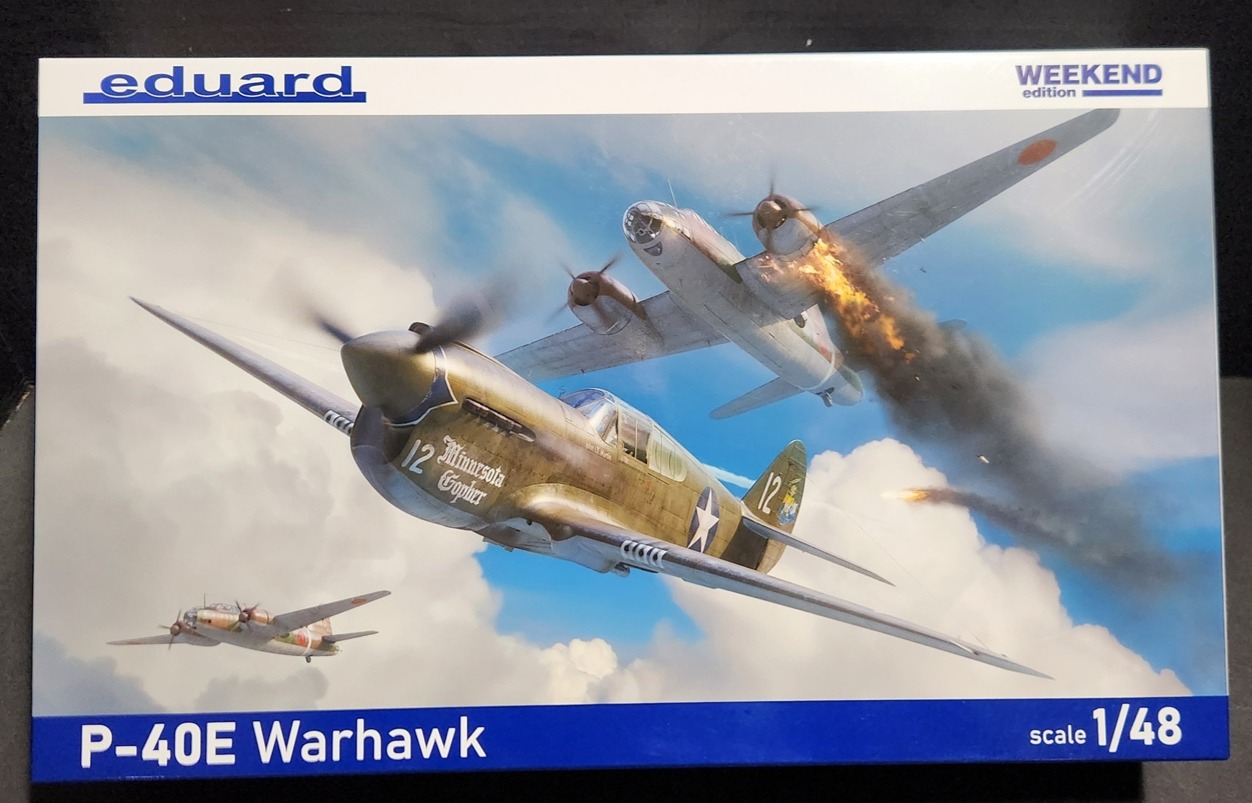
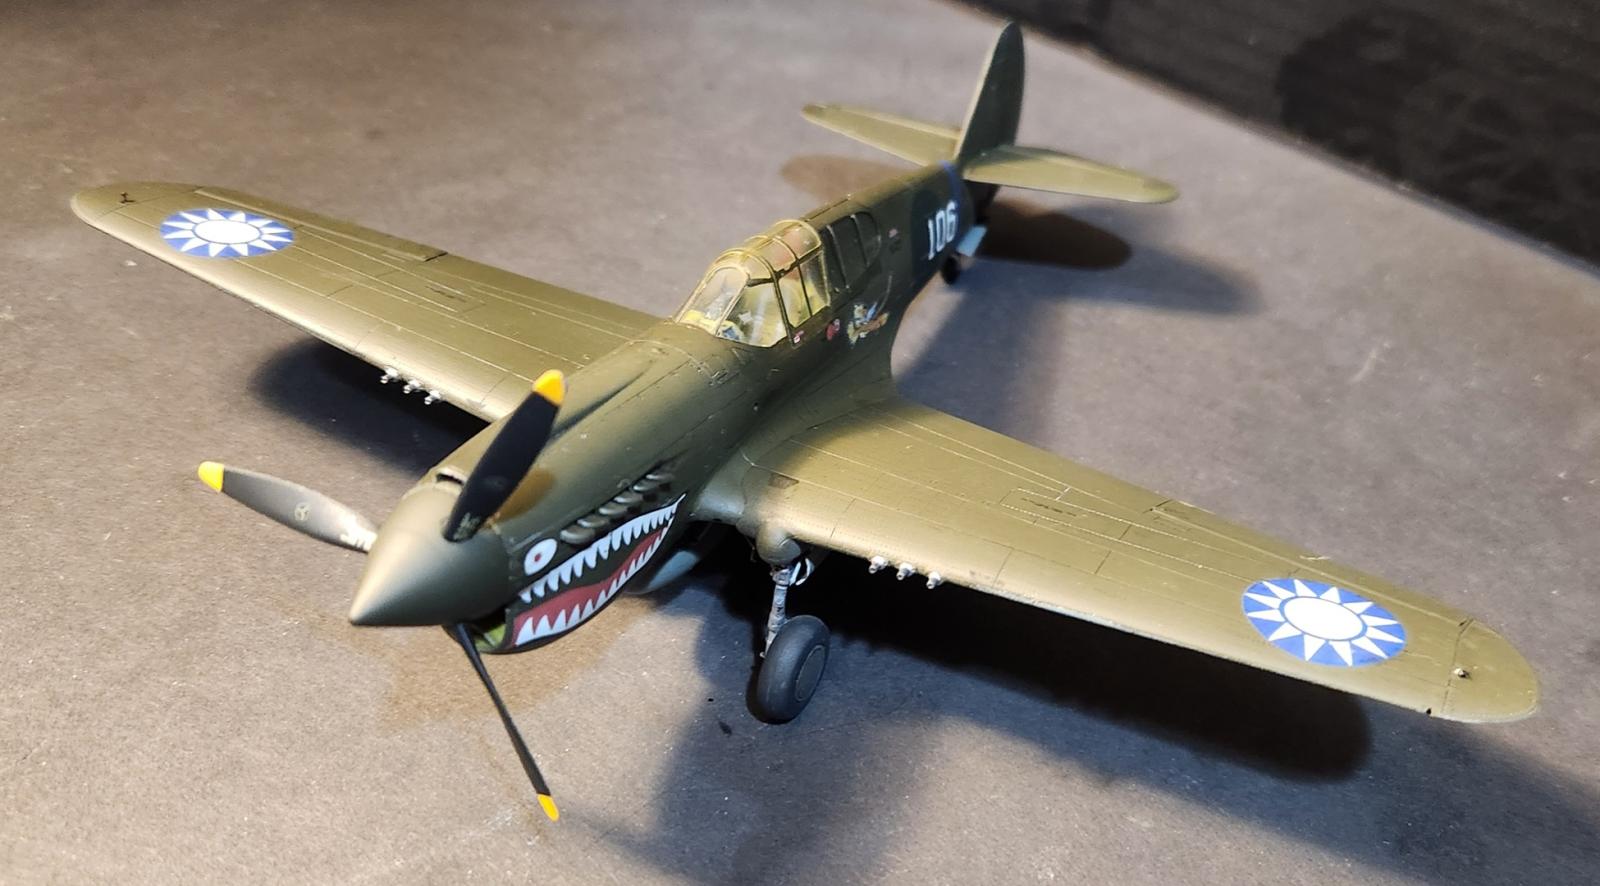
P-40 E Warhawk Weekend Edition
2025 has seen several versions of Eduard’s P-40E released. Before this year, their P-40s consisted of M & N variants. Included in the 2025 lineup of P-40E Warhawks, Eduard has released a Royal Class Dual Combo R0023, P-40E Pacific Star Combo No 11185, the Kittyhawk Limited Edition Dual Combo No. 11187, the P-40E ProfiPack No. 82241, and the subject of this review, the P-40E Weekend Edition No. 84207.
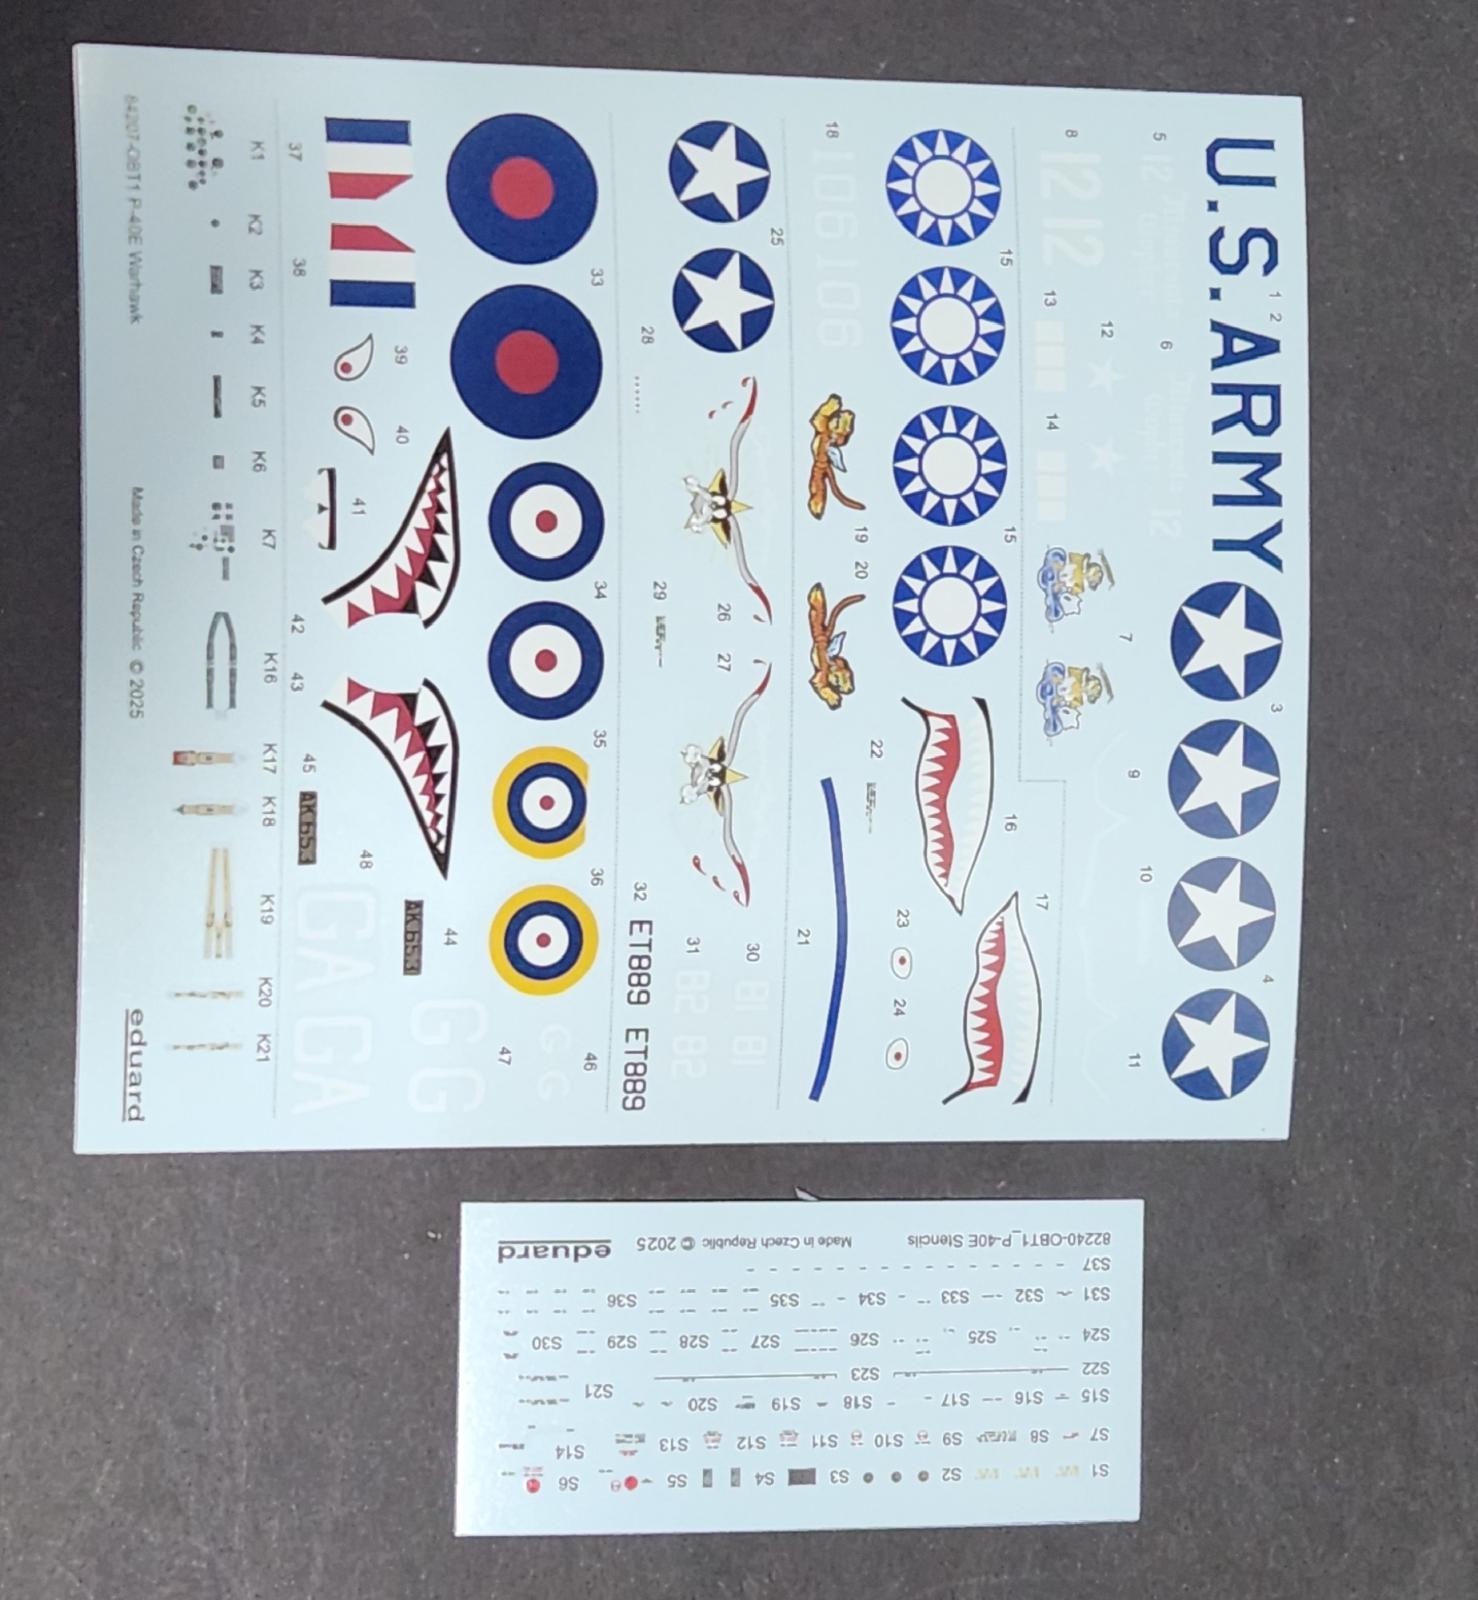
Inside of the box, five beautifully molded gray sprues, along with one clear sprue, are contained in sealed bags. There are two decal sheets – one for stencils and another for markings also provided. This kit does not contain any PE or 3D printed parts.
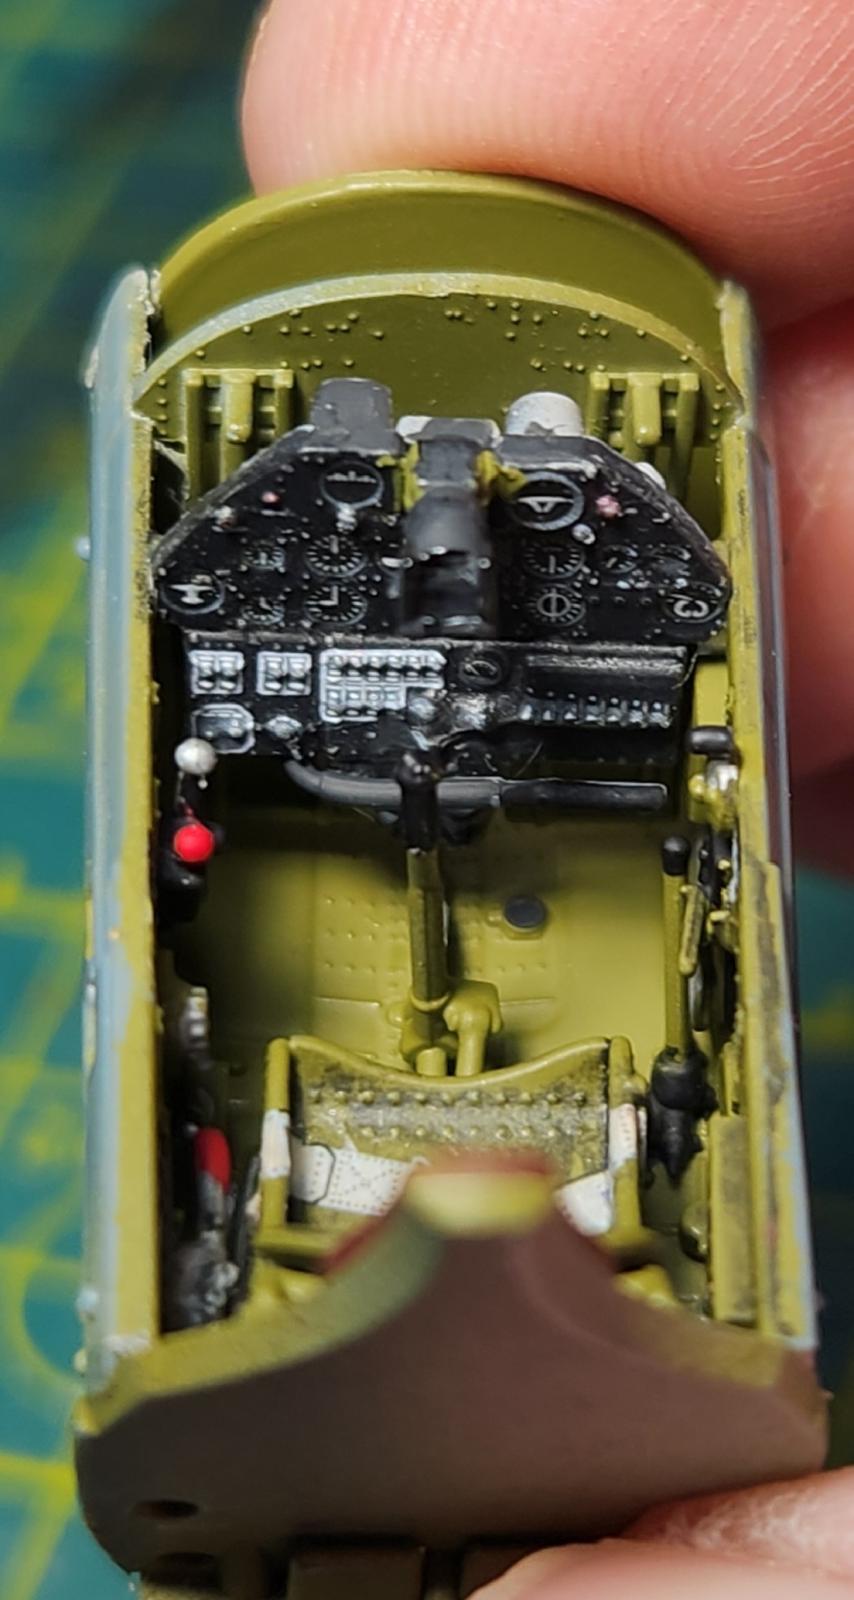
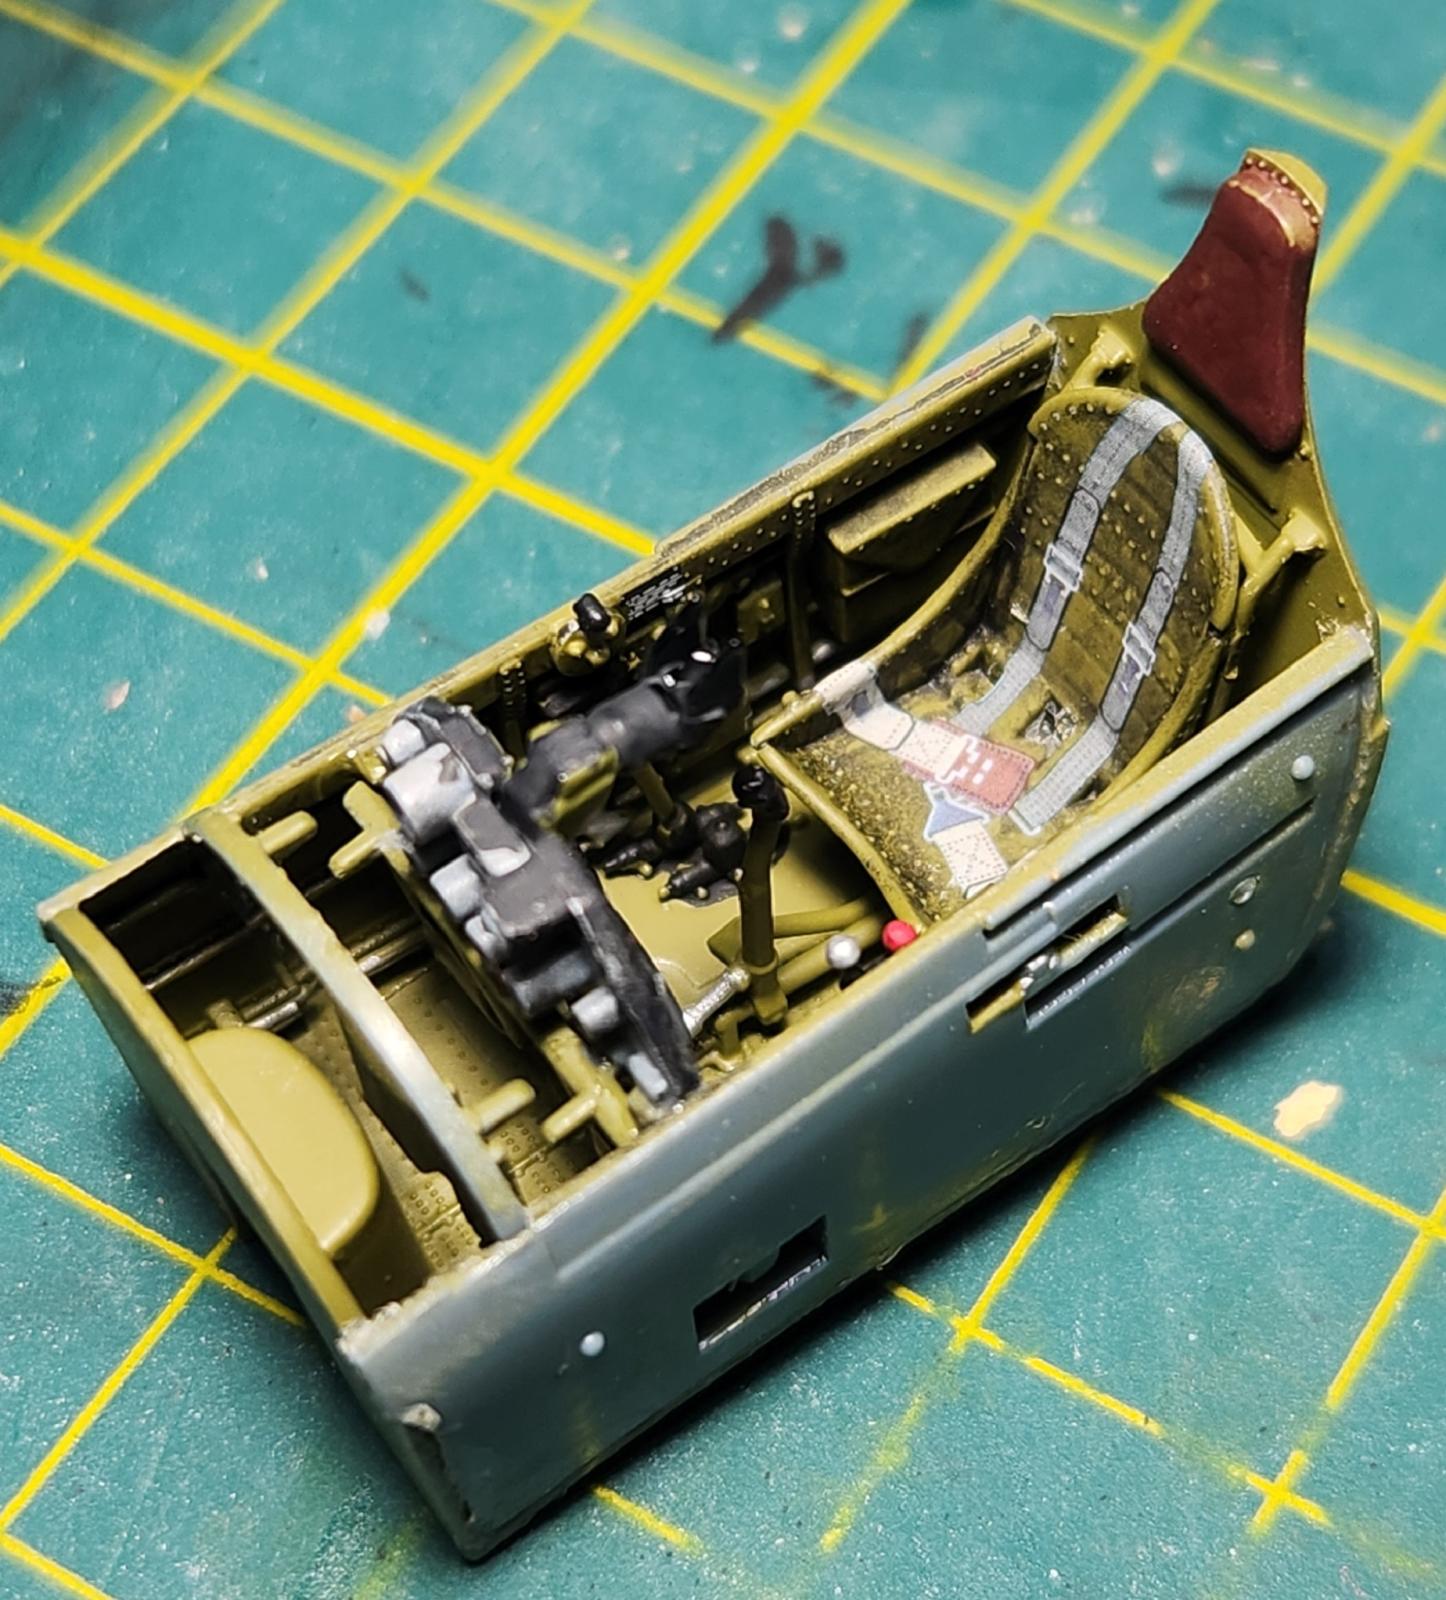
Assembly begins with the cockpit. The parts fit together extremely well, and the outcome was impressive. Of note is the color callout for the cockpit. Per the instructions, it should be an 80 to 20 ratio of Chromate Yellow and black. Using Mission Model paints, I applied 8 drops of Yellow Chromate and 2 drops of Black into my airbrush pan and mixed. Lo and behold, a beautiful green color emerged. This is a shade different from Green Zinc Chromate, so for accuracy, I would follow Eduard’s instructions to achieve the proper shade.
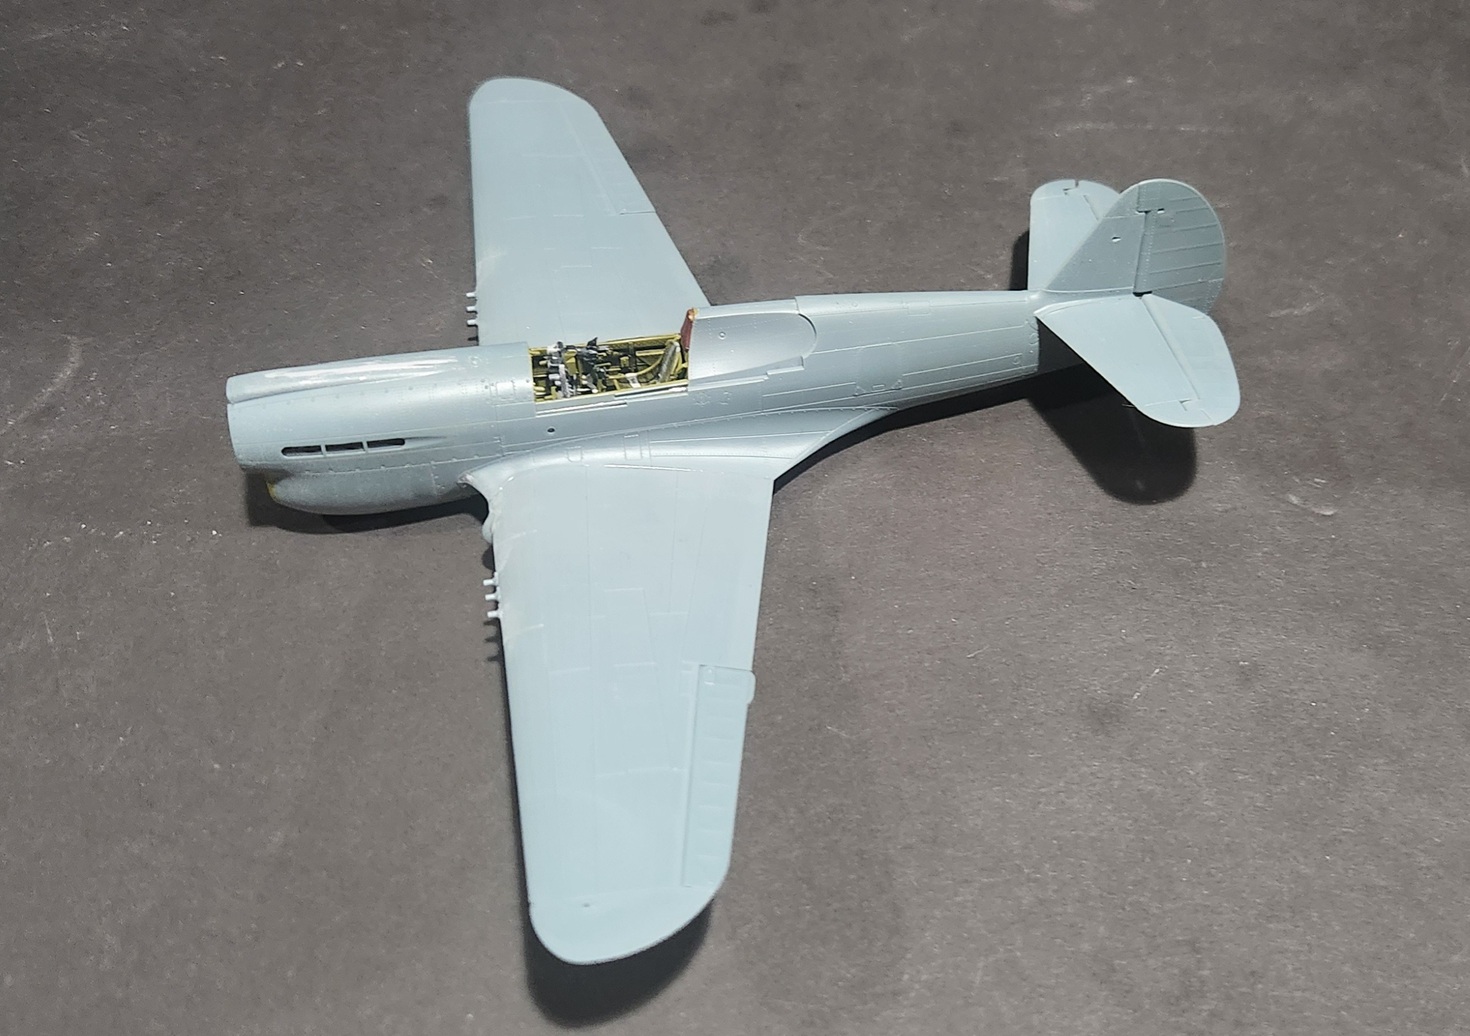
At Step G, you must decide if you want to have open or closed cooling flaps. After building this sub-assembly, the fuselage halves can be married, housing the cockpit in between. The fit was perfect; however, I would encourage test fitting before cementing. There was very little seam line to deal with. Scraping removed almost all of it.
Step H calls for another decision to be made regarding the windows, and it is based upon the particular markings you would like to build: A, B, C, or D. Pay attention to these call-outs as they appear frequently throughout the instructions. You should decide the markings really before building.
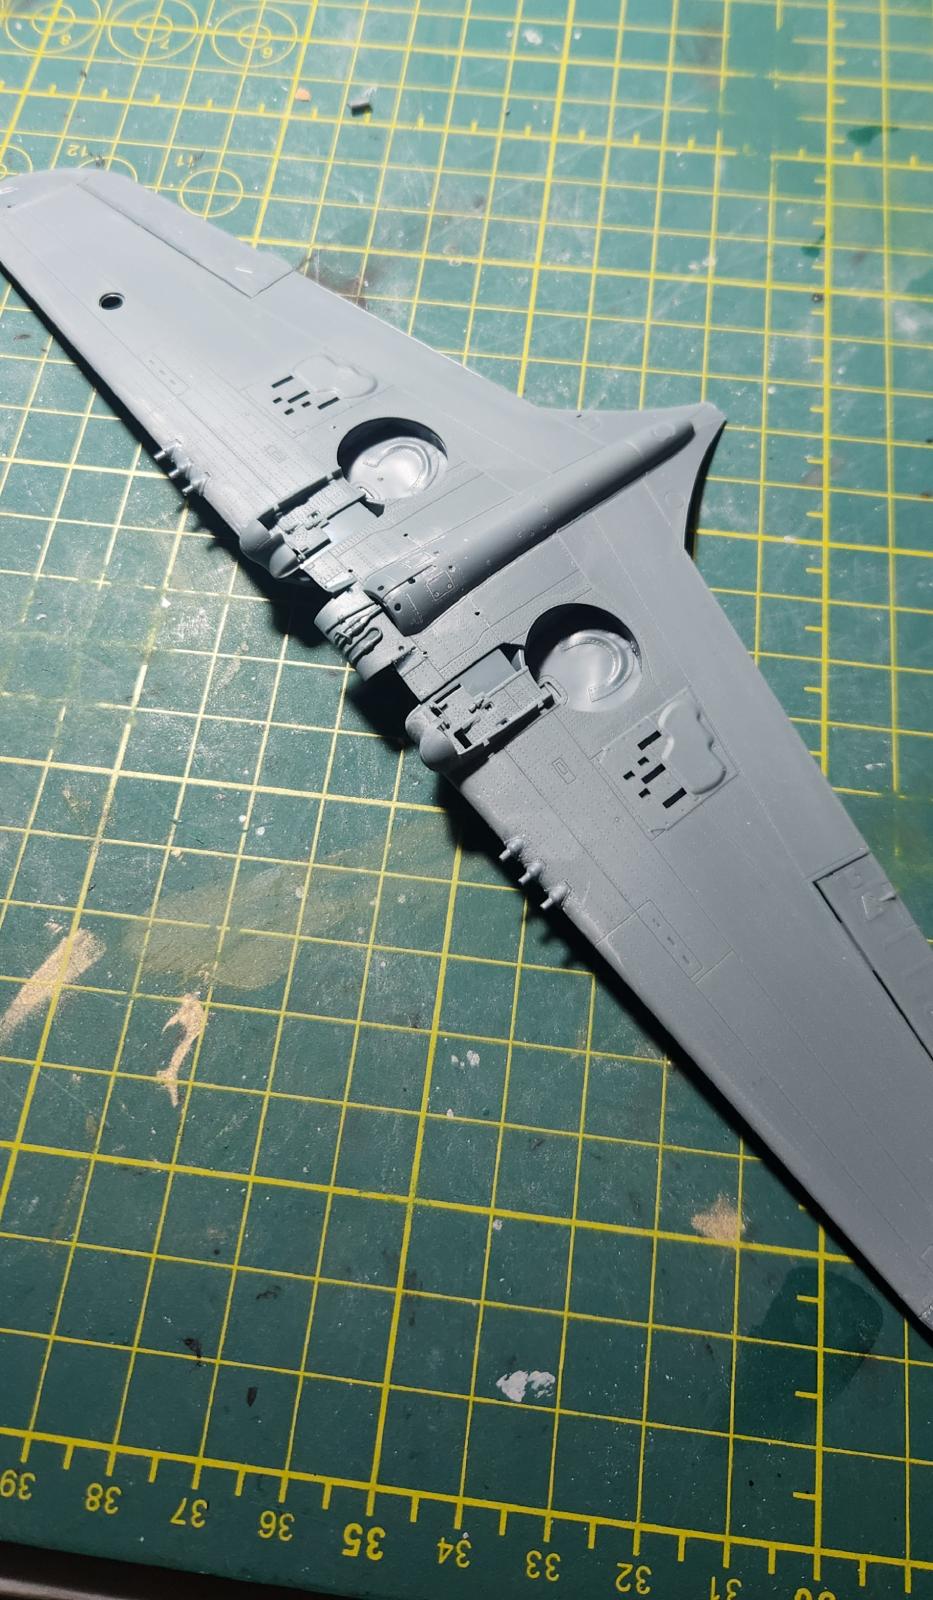
The wings, tail rudders, flaps all went together very easily. There were no seamlines to really fill – only two very small areas required attention There are instructions to attach clear parts A1 for the wingtip lights. These parts are very small, and I strongly recommend waiting until the very end to attach these.
The wheels look great, and the landing gear assemblies went together quickly. In Step N, you must decide if you want to have an open or closed cockpit. I opted for a closed cockpit. I spent a lot of time cutting masks, and after painting, I discovered an OOPS. It did not dawn on me that when the canopy is closed, there is a small gap at the rear. This allowed a slight amount of airbrush paint to penetrate the opening, and it tinted the canopy glass with a slight greenish hue. I was very disappointed, but I learned a lesson. Next time, be sure to cover the gap, even if it is barely visible.
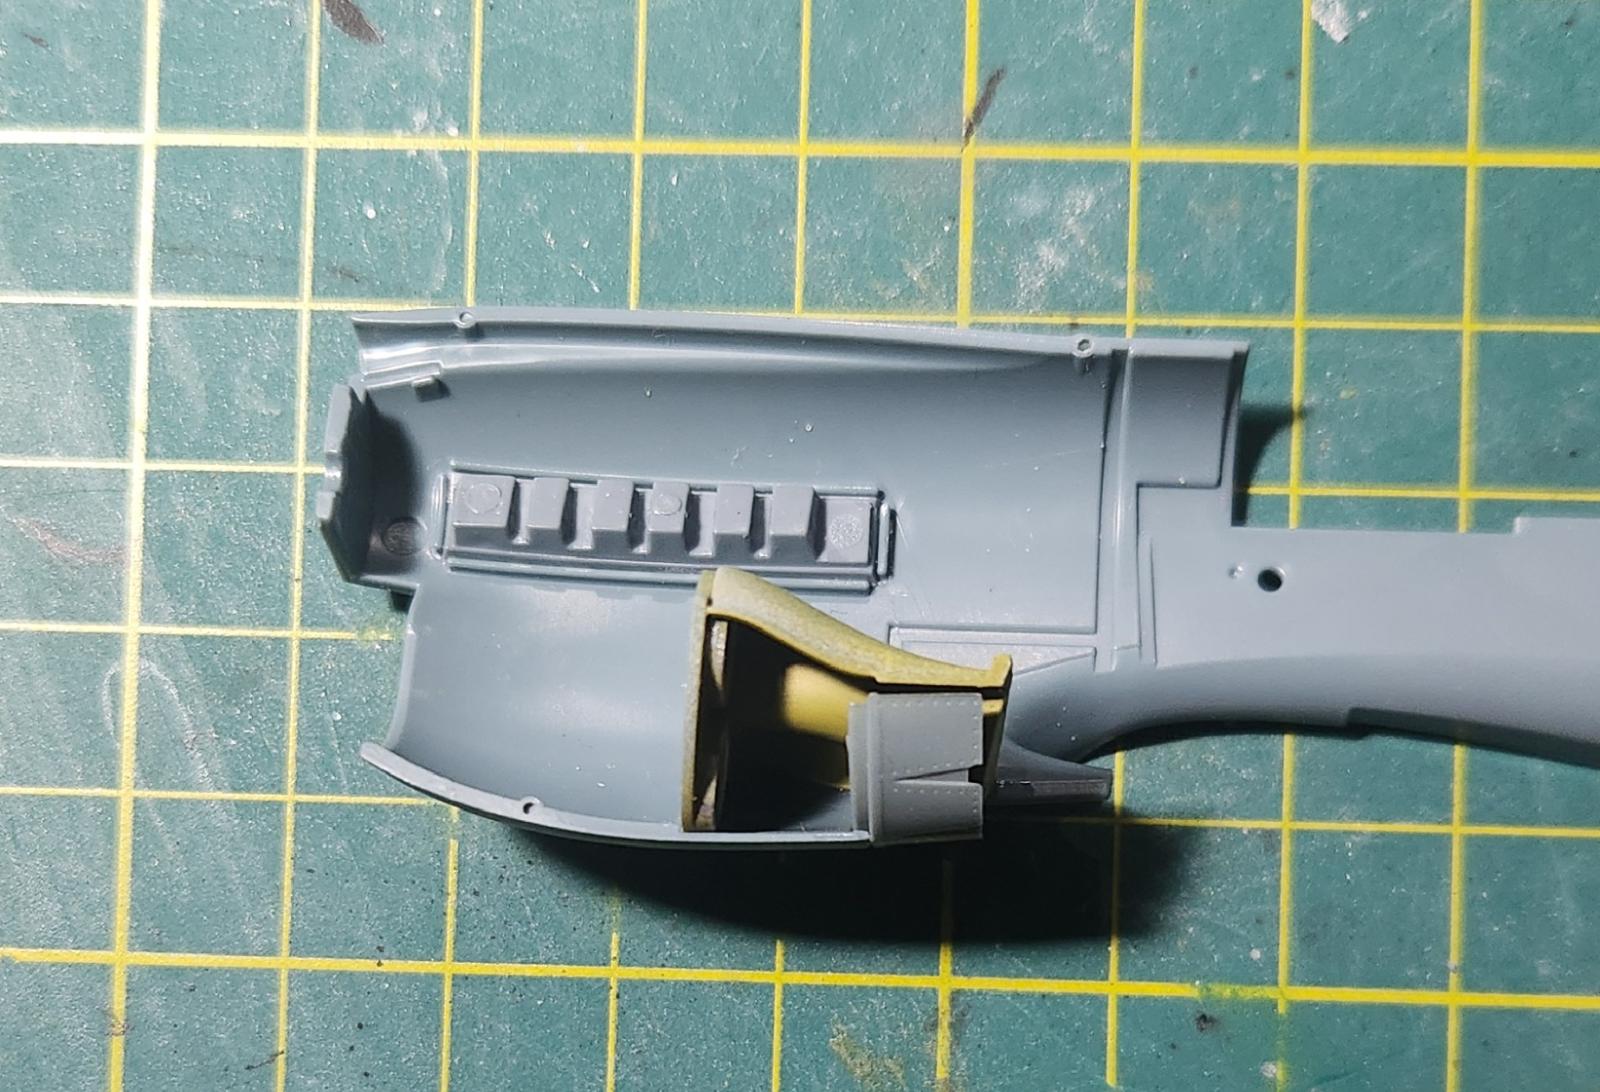
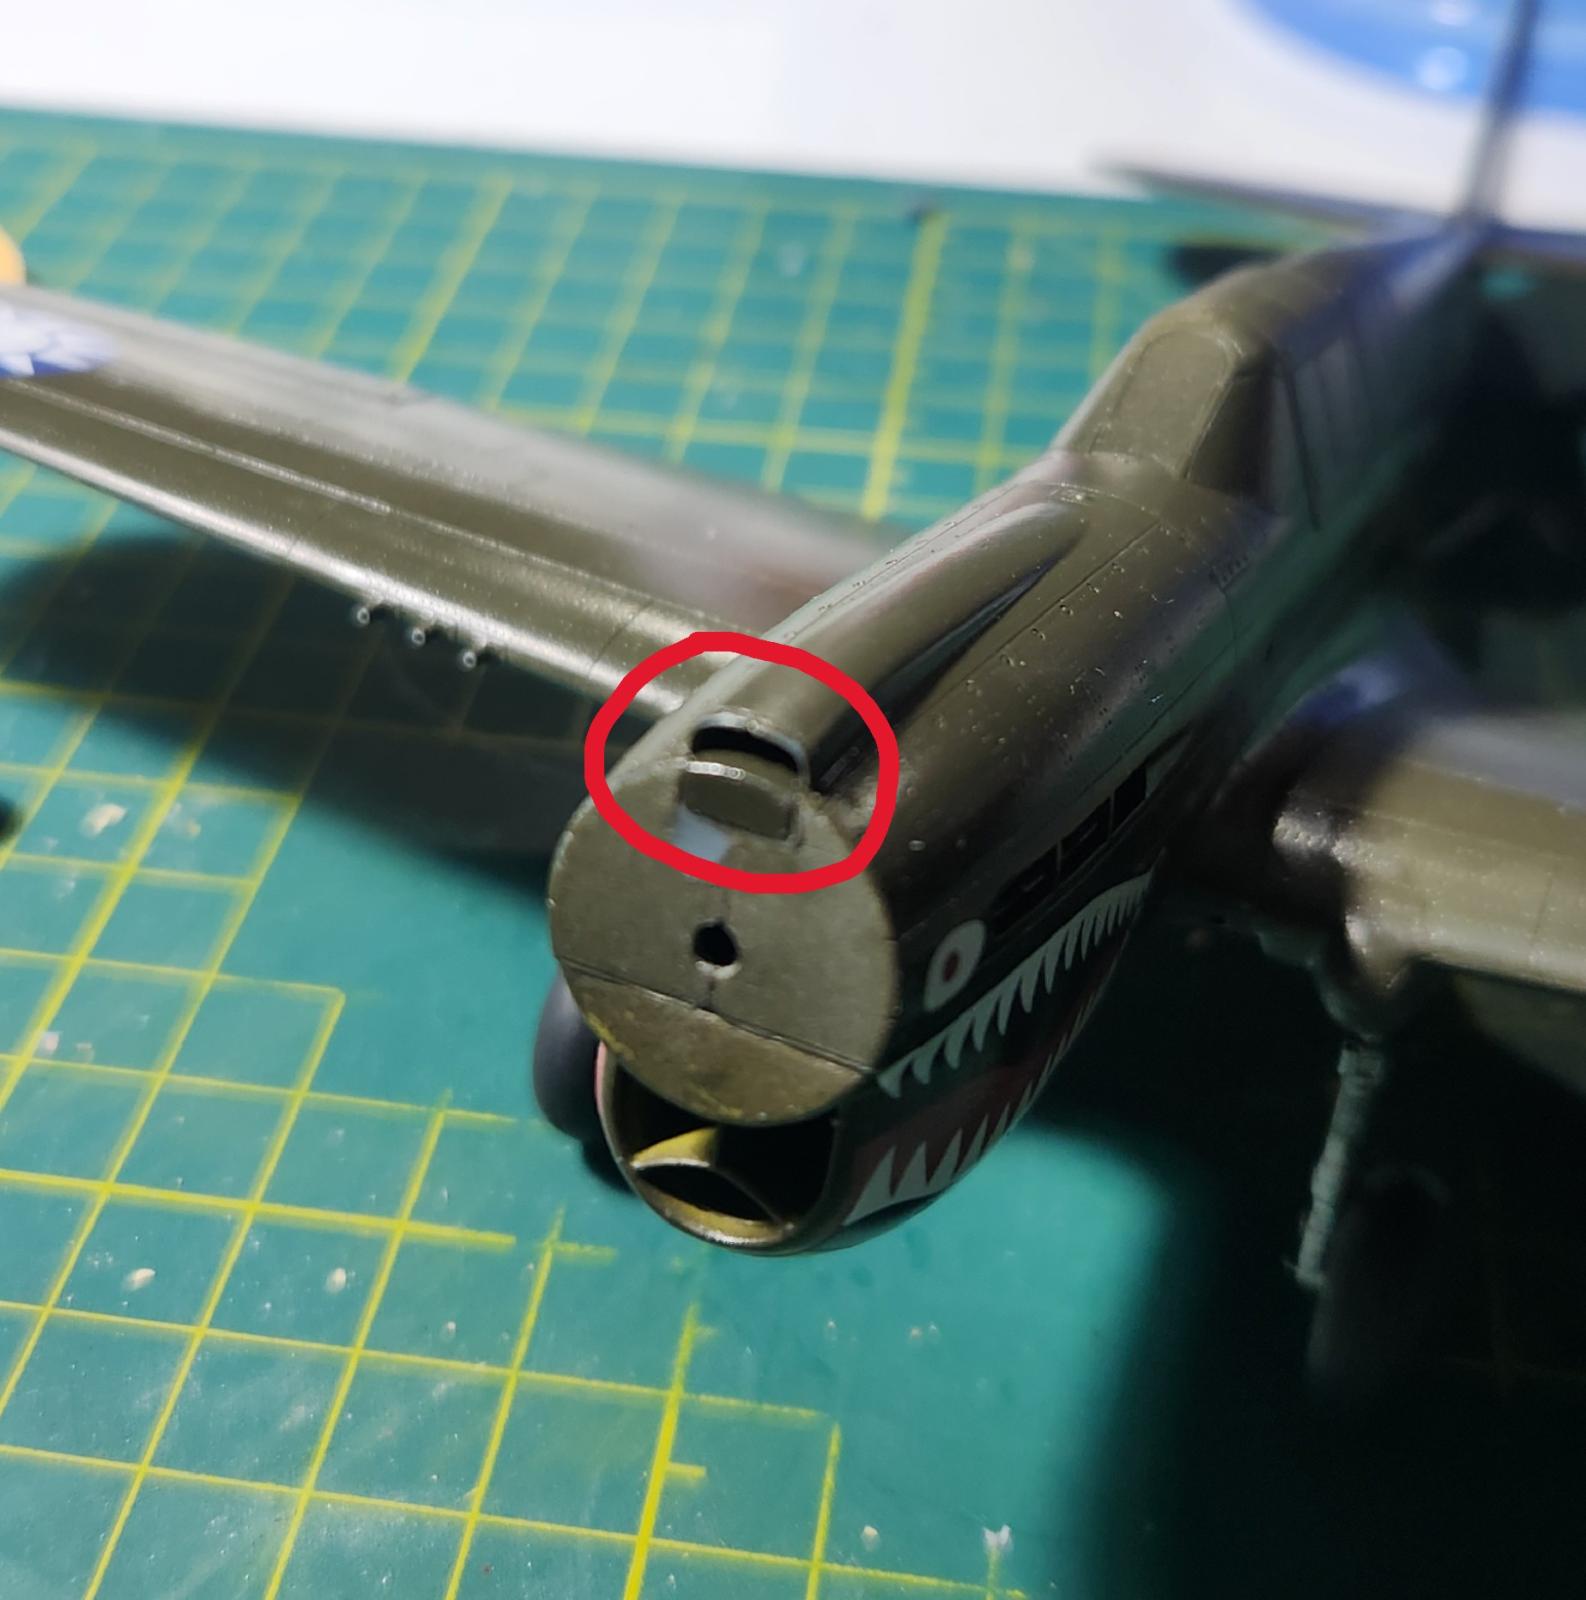
Another important step to pay attention to is Step H, which deals with part F33. This part forms the opening of the air intake above the propeller. It is a very small part, and the danger is that when gluing it into place, it is very easy for it to fall through the hole and be forever lost inside the model – and the model becomes a baby rattle. I solved it by using some Revell cement. I applied the cement along the edge of the opening and allowed it to get tacky. I then applied part F33, but it was not in its final position. I allowed it to sit for a few seconds to tack up, and then I began to slowly slide it inward until I had it in position. It worked!
The only complaint I have with this entire model is with the drop tanks. Per the instructions (Step P & R), you choose the type of tank (or bombs) to add and then you apply the mounting braces to the tank. Next, you are supposed to mount this subassembly to the belly of the plane. This is nearly impossible to do. Lining up eight fragile legs is not easy, and I spoke with several model builders who also complained about this step. I broke one piece and had to rebuild it using a spare sprue. My recommendation would be to first attach the braces to the belly and then attach the tank. I think on my next Eduard P-40 build, this is one adjustment I will make.
After painting, I applied the Eduard decals, which are a love–them, hate–them, hate–them deal. After application and drying, I was able to remove the film on the roundels, but the smaller decals were nearly impossible. So, I clear-coated and then flat-coated. Problem solved.
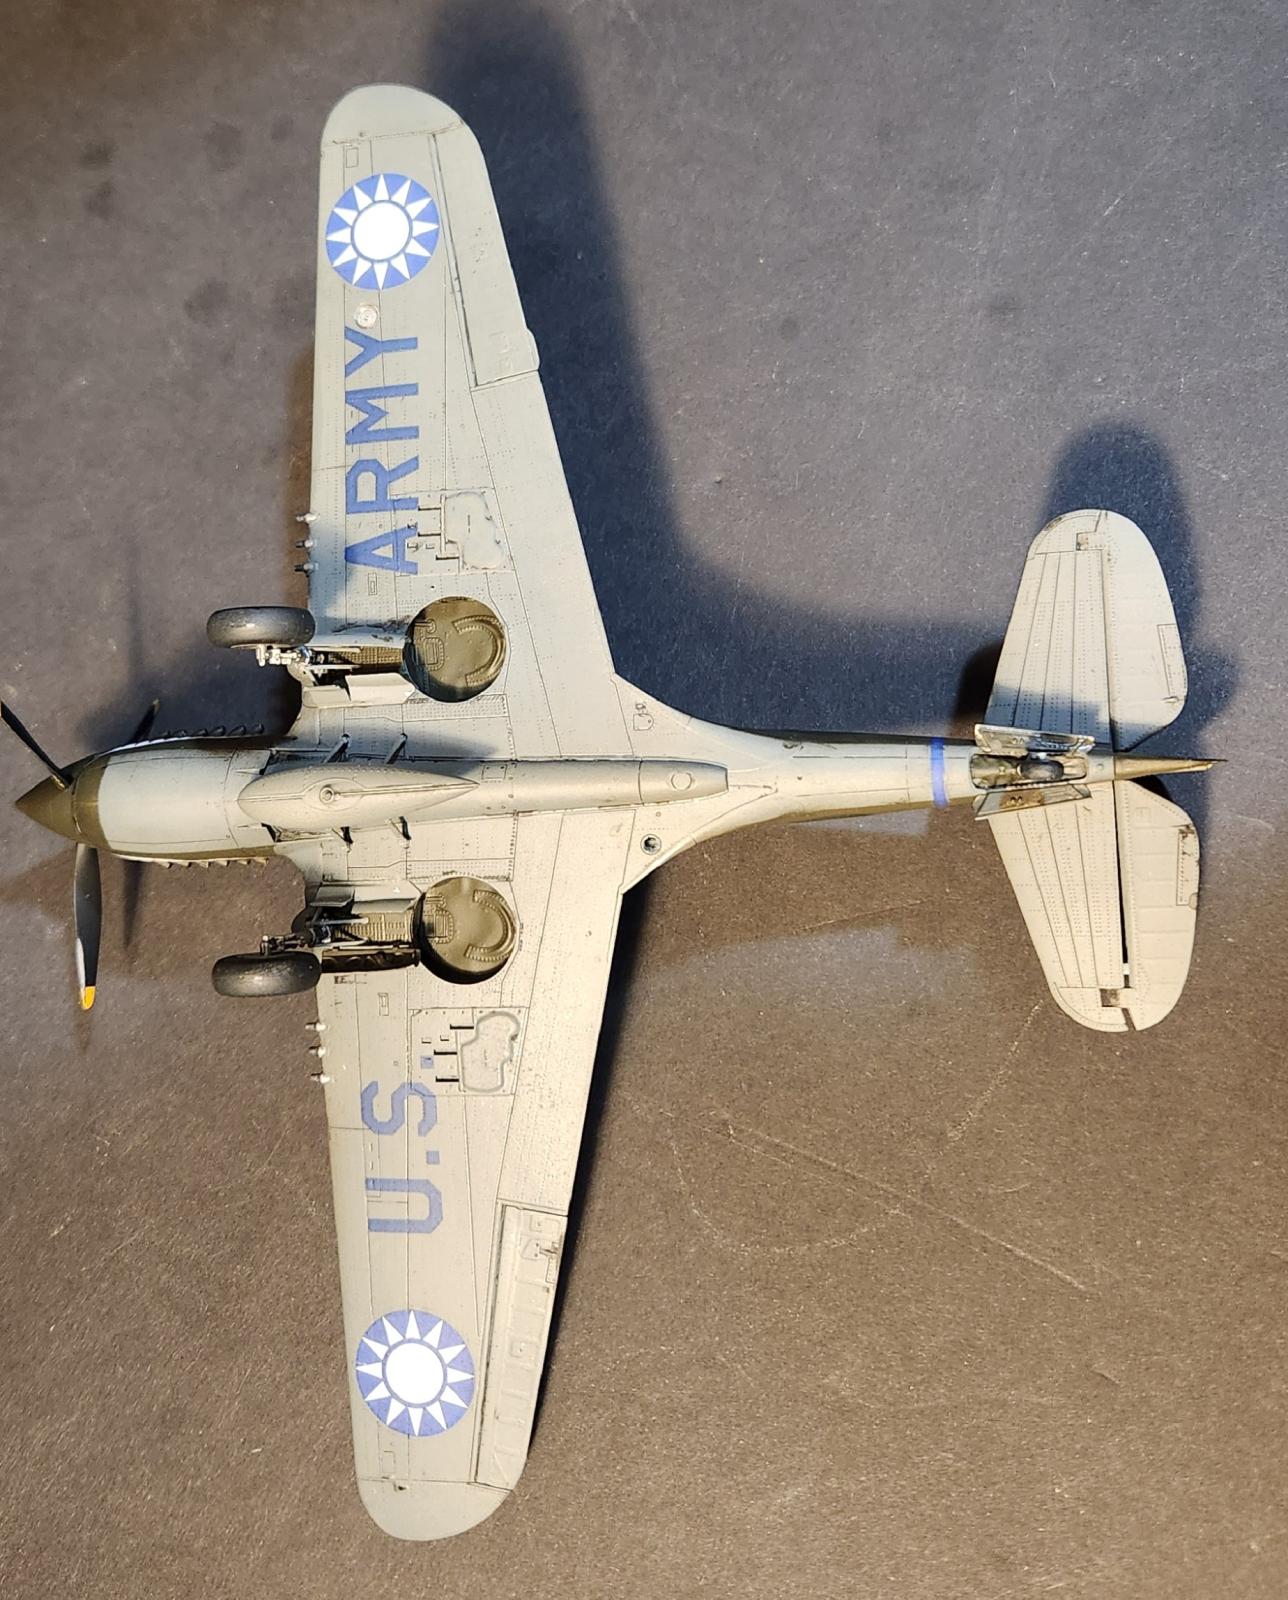
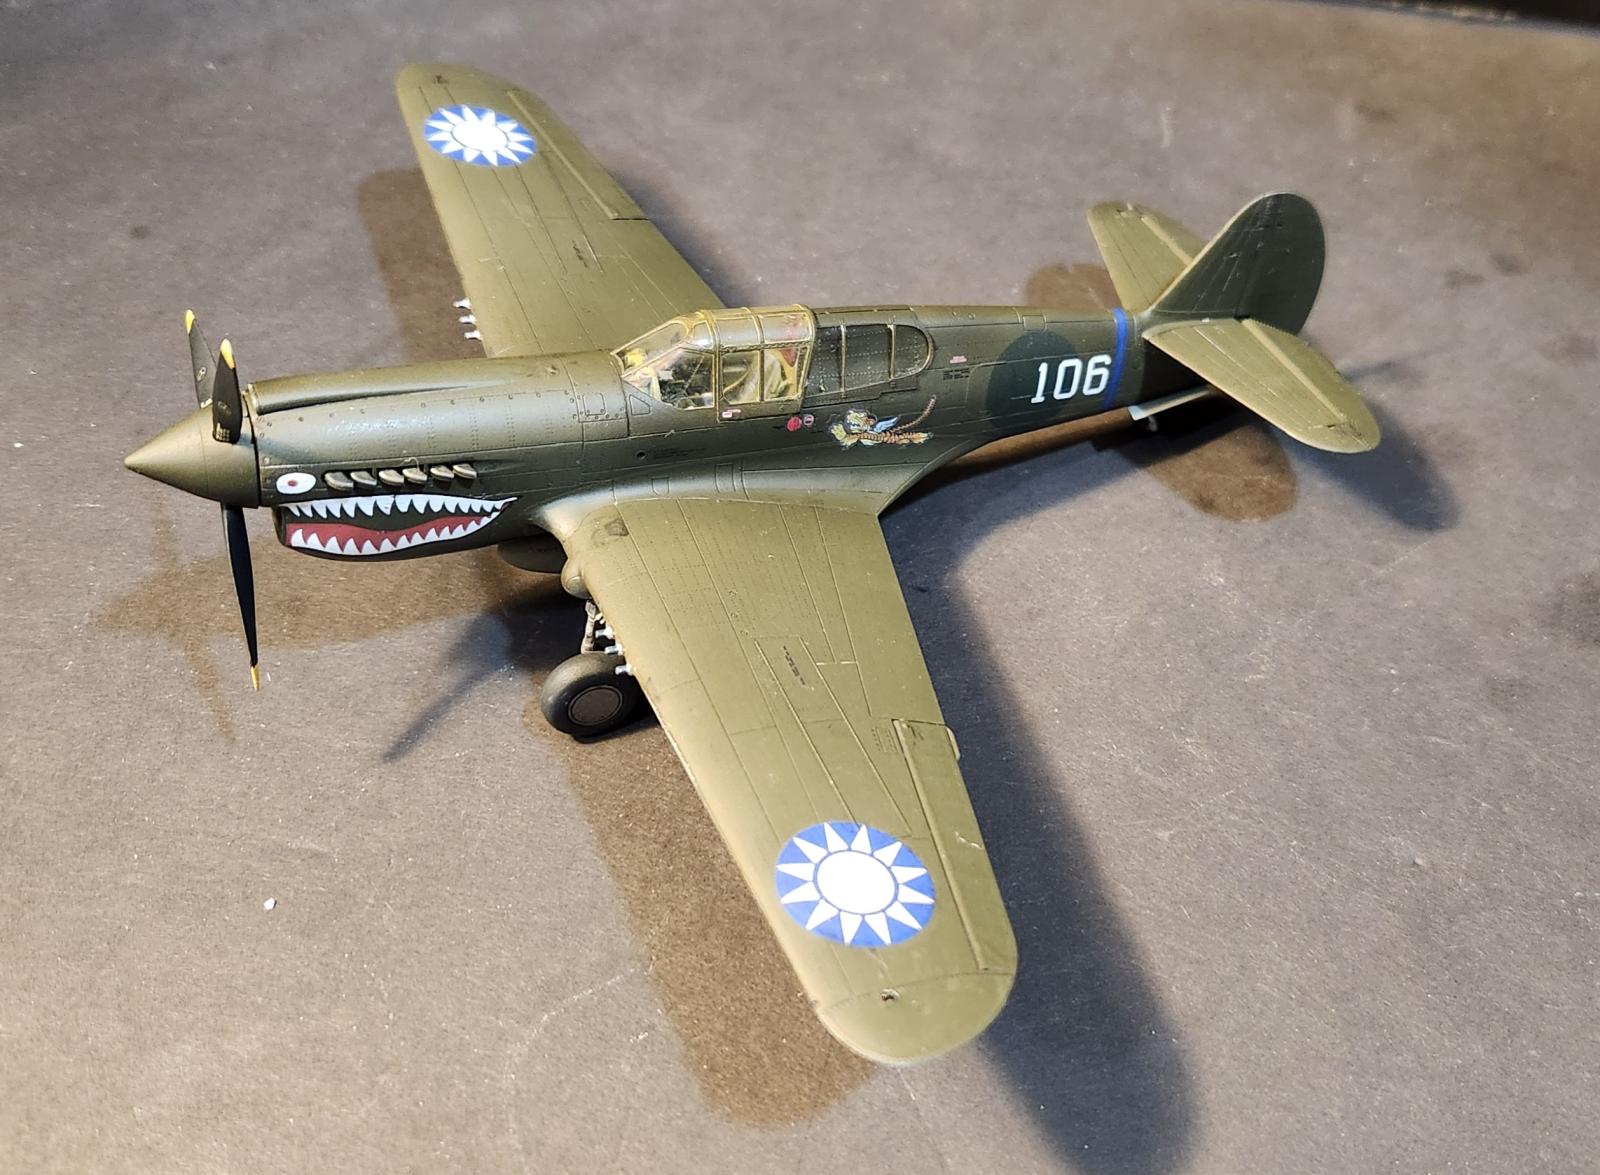
Overall, this was a very fun model to build. I had it finished in about two weekends with a little bit of extra time. It is a great-quality kit, and I strongly recommend it.
Thank you to Eduard and to IPMS USA for the opportunity to review this model.
Comments
Add new comment
This site is protected by reCAPTCHA and the Google Privacy Policy and Terms of Service apply.
Similar Reviews