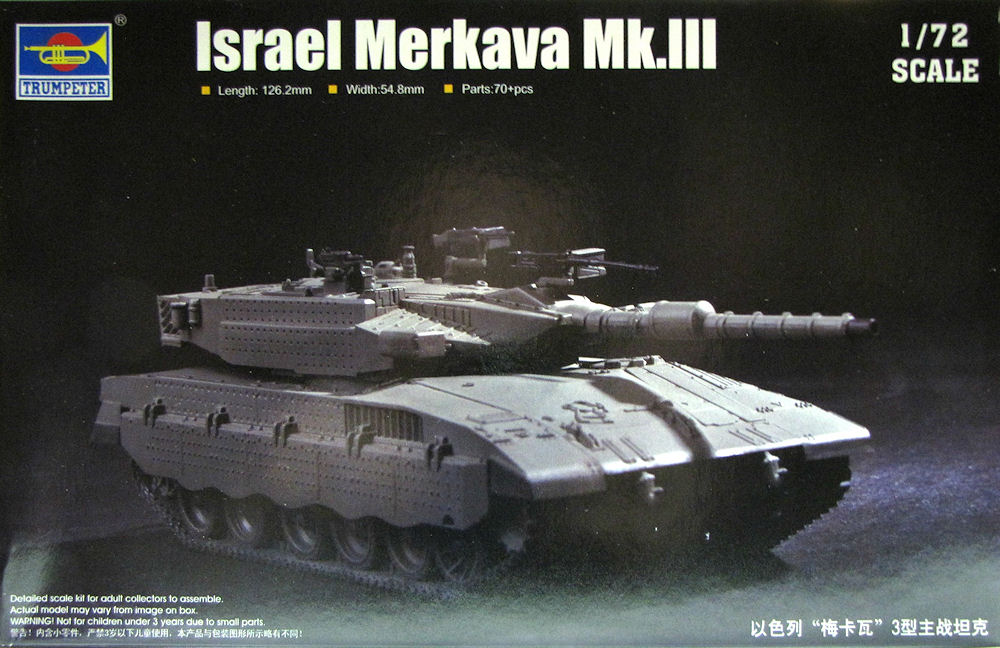
Israeli Merkava Mk. III
The Merkava began development in 1973 and entered service several years later, in 1978. Since it was originally fielded, it has gone through several iterations. Trumpeter has chosen to model the Mk. III which entered service in 1989. This model of the Merkava has several improvements from earlier models, notably the addition of a 120 mm gun produced in Israel, a larger diesel engine, and modular armor, just to name a few. Trumpeter’s kit goes head-to-head with Revell’s Mk. III which is the only other Merkava in Braille scale.
The Kit
The kit is modeled in light grey plastic and consists of three sprues, including a two-part hull, two assembled track runs, and the lower turret. Decals are for one vehicle. The tracks are interesting. They are not rubber band tracks or individual links. Instead, Trumpeter has chosen to mold the complete track runs and the front of the road wheels as one piece. The tracks are stoutly wrapped in bubble wrap to protect them from the jostling that occurs during shipping. Tools and hatches are molded into the hull, which is a bit disappointing, but the details are crisp and well formed.
Assembly
Having never assembled a 1/72 scale kit from Trumpeter, I was eager to see how it went together. The instructions start with the lower hull and tracks. Since the road wheels are already molded into the tracks, all you need to do is glue the backs and you are ready for paint. Pay attention to the order of the idler arms – there are individual arms for the left and the right. Also, the track is exquisitely molded but fragile, so handle with care!
Once the lower tracks are assembled, rear storage boxes and a radio are attached to the fenders, and the rear door are glued. Rather than putting on the tracks and mating the lower hull with the upper hull, I chose to keep them separate for ease of painting. The final step is the assembling the turret. The lower piece fits fairly snug with the upper piece of the turret. There are gaps, but since they can’t be seen, I chose not to fill them. The 120 mm cannon is one piece (whew) and looks very nice as well, as do the three machine guns that attach to the roof of the turret. The barrels are very fragile, so handle with care!
Finishing
Color call outs for Mr. Hobby, Vallejo, Model Master, Tamiya, and Humbrol paints are included. I use Tamiya most frequently. For Tamiya paint users, the exterior color is a blend of RLM 02 Grey (XF-22) and RLM Grey Green (XF-57). The exact mixture is not specified, so pay attention to your references! I used approximately 75% of XF-22 and 25% XF-57. When I looked at the box and photographs online, it seemed to be a match, though it might be a tad bit dark. Decals are included for one vehicle and they went on with no troubles. Unfortunately, the instructions call for three markings on the turret basket mounted on the rear of the turret. The basket has rails and the instructions imply that these markings should be applied to a solid surface but I went ahead and tried them out and they worked. I gave the model a wash of burnt sienna and a light dust coat.
For those who like Braille scale, this is a keeper. It was a quick build and an enjoyable one. My thanks to IPMS, Stevens International, and Trumpeter for giving me the opportunity to review this kit.


Comments
Add new comment
This site is protected by reCAPTCHA and the Google Privacy Policy and Terms of Service apply.
Similar Reviews