
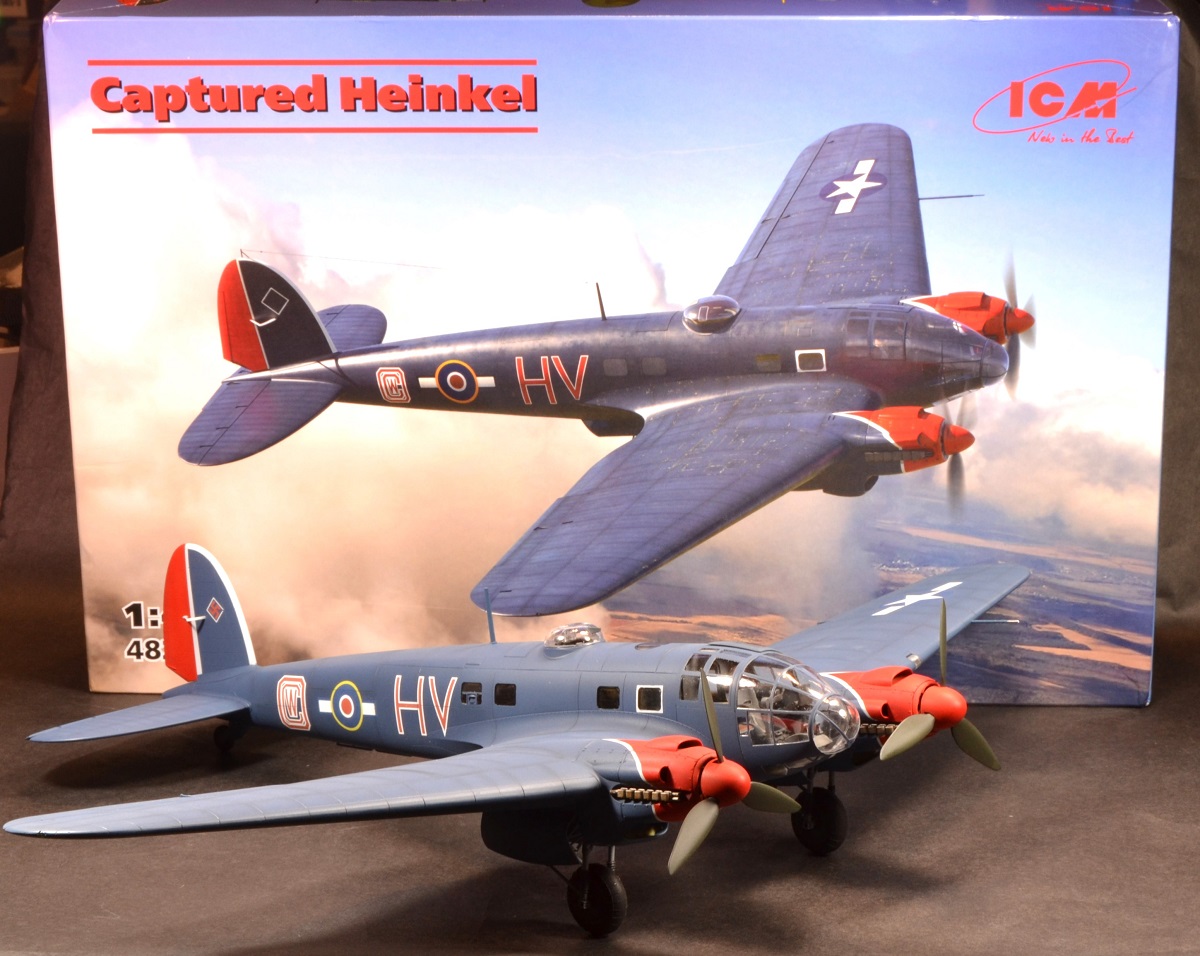
Captured Heinkel, He 111H-20, Part 2
ICM has reboxed its He 111 kit for a unique Captured Heinkel scheme in 1/48th scale. The Part 2 review is a continuation and conclusion of what was written from Part 1.
Review Process for Part 2
This is a box stock build with no aftermarket products used during the assembly process. From Part 1, we move on to painting and final assembly.
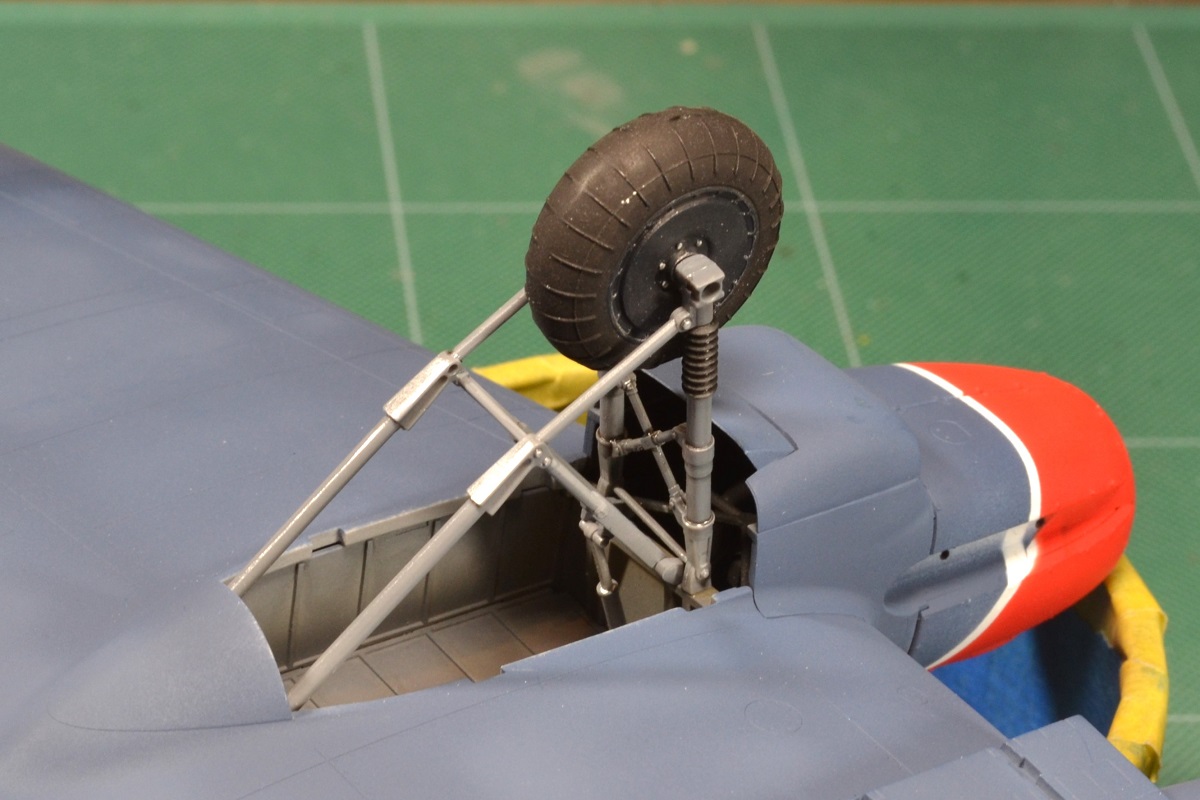
The landing gear parts are thin and fragile. It is highly recommended to use good side cutting nippers to remove them from the sprue tree. For assembly, I used the wheel wells as a jig to put the parts together but waited to permanently install them later down the road after painting.
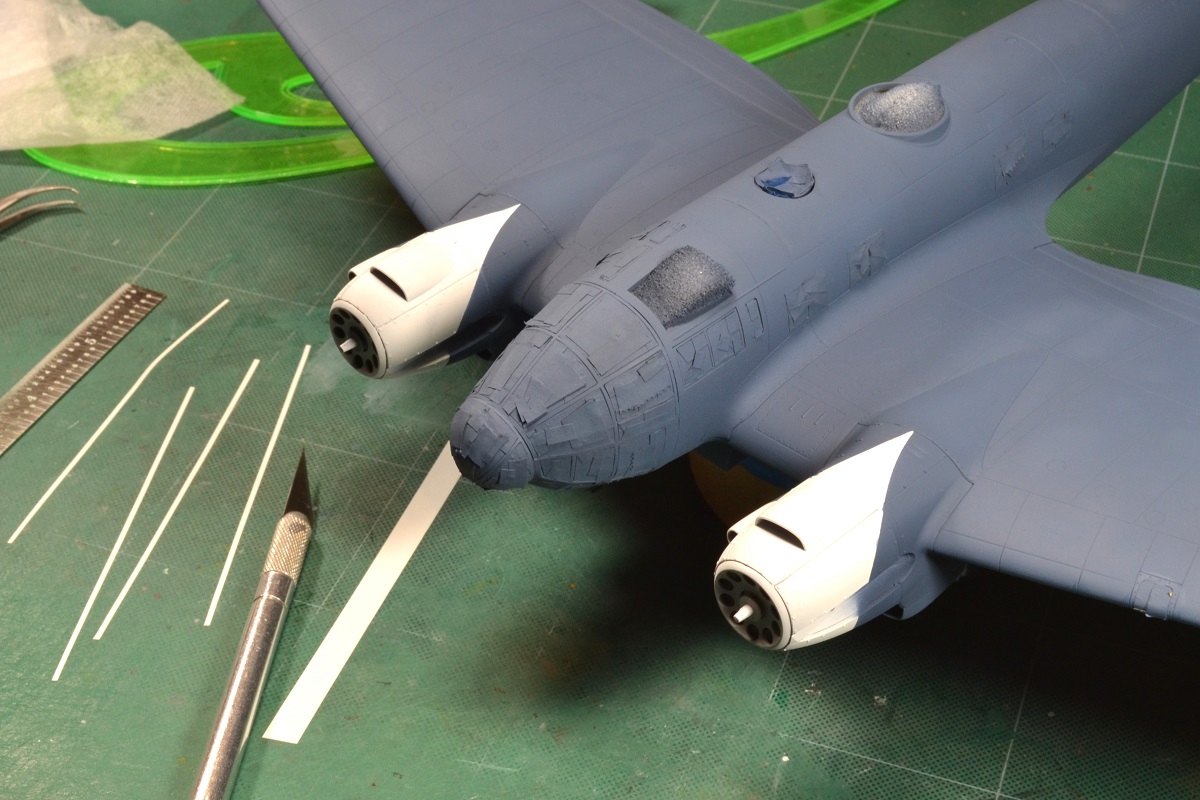
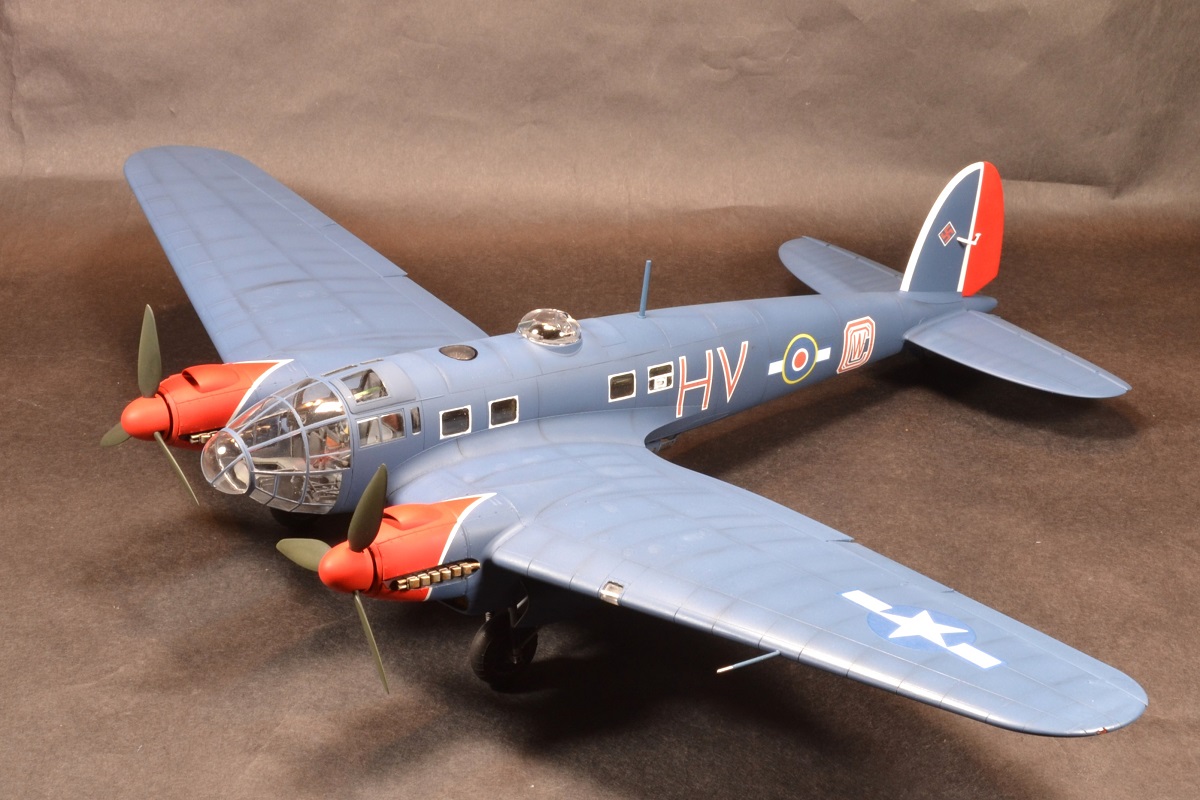
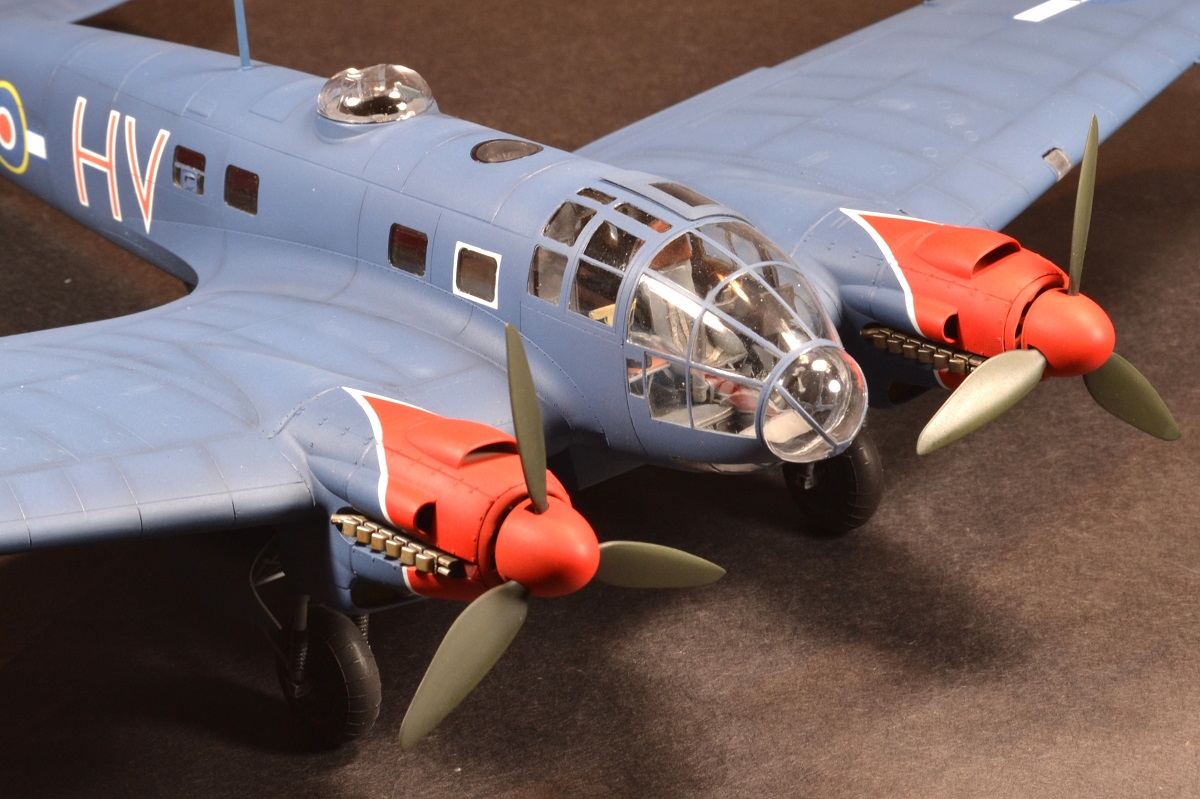
The model is primed with Mr. Surfacer 1000 gray. The engine nacelles, vertical tail edges, rudder, and some windows were painted flat white in preparation for masking to match the box illustration.
The overall dark blue color is a combination of Tamiya Medium Blue (XF-18), Flat Blue (XF-8), and Flat White (XF-2). I did not take precise measurements of the mixture, but if I had to guess ratios, I would say: 4:2:1, Medium Blue, Flat Blue, Flat White, respectively. The red color is Tamiya XF-7 Flat Red.
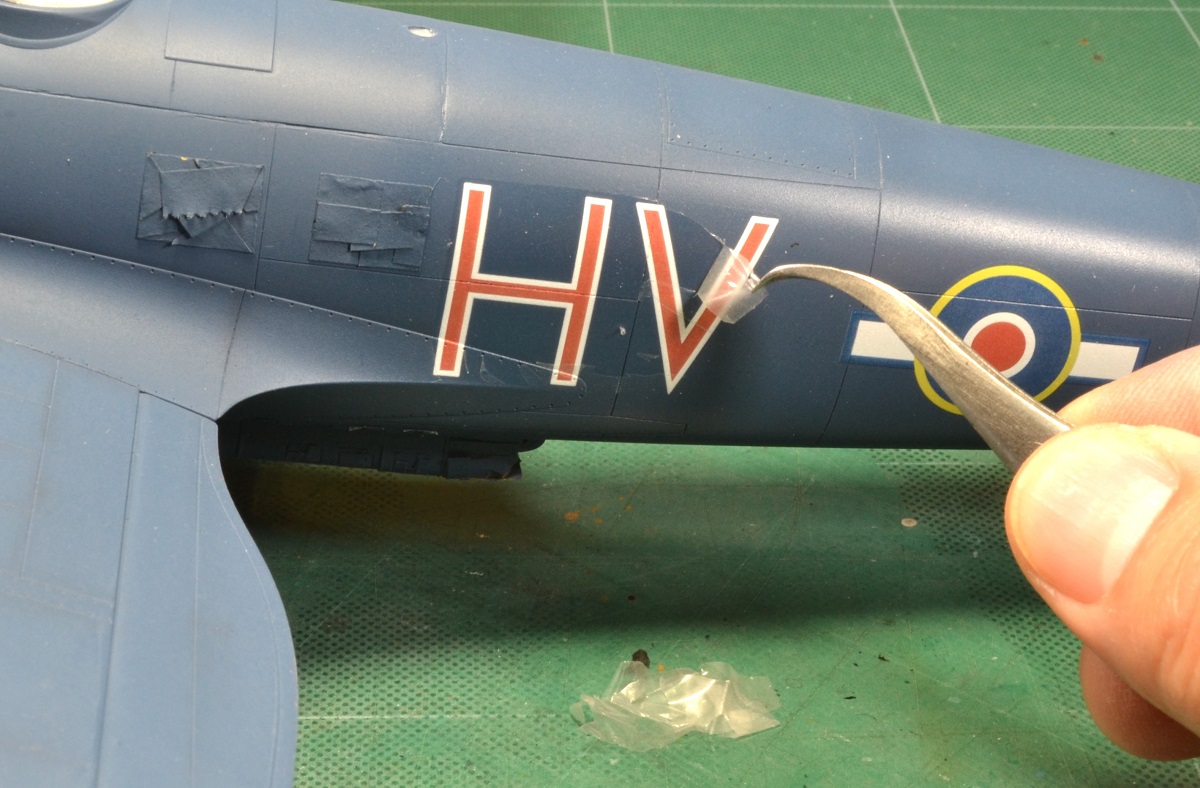
Once painting was completed, I airbrushed Tamiya X-22 Clear Gloss to areas where decals would be placed (wings, fuselage, vertical tail). I decided to use the RAE Farnborough, November 1945 markings (British markings on the fuselage). The decals are few but in good color and registry. They apply to the surface without any drama and settled down with help from MicroSol. Next day, I coated the model with Vallejo Clear Satin.
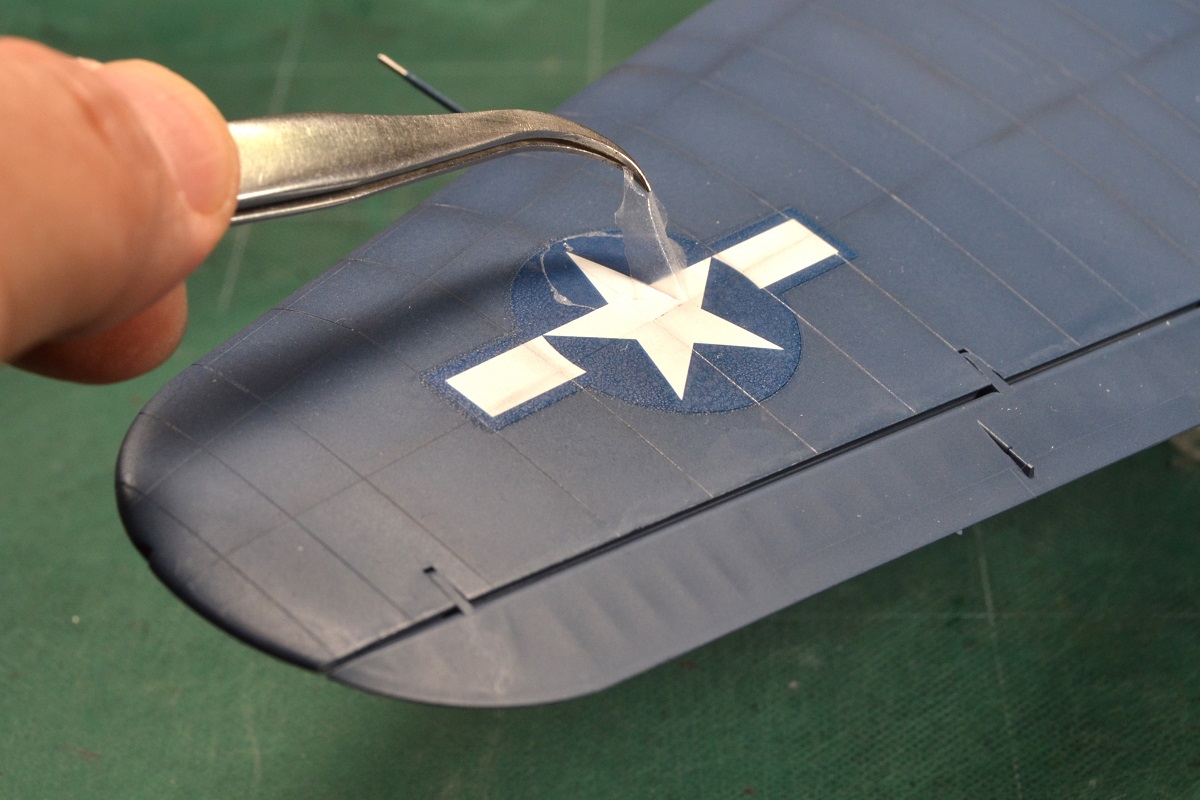
This is where I was surprised by ICM’s decals a day later. While trying to indent the decals into the panel lines, the clear top film started to delaminate from the colored part of the decal. Upon further inspection, this reminded me of Eduard’s newest decals with removable clear film. To see if this is the same system, I used a set of tweezers and began pulling off the clear film. To my amazement, it was the same system. Nowhere in the instructions does it mention this as part of the decaling process. This was a pleasant surprise and after pulling off all the clear film, the decals now look painted on.
Once all the clear film was removed, I had to recoat the decal areas with Vallejo Clear Satin. This coat gives the surface just enough bite to hold on to the ground up charcoal weathering I would be applying. Once satisfied with the weathering, I gave a final coat of clear satin to seal it. Any charcoal that disappeared from this final coat was lightly reapplied.
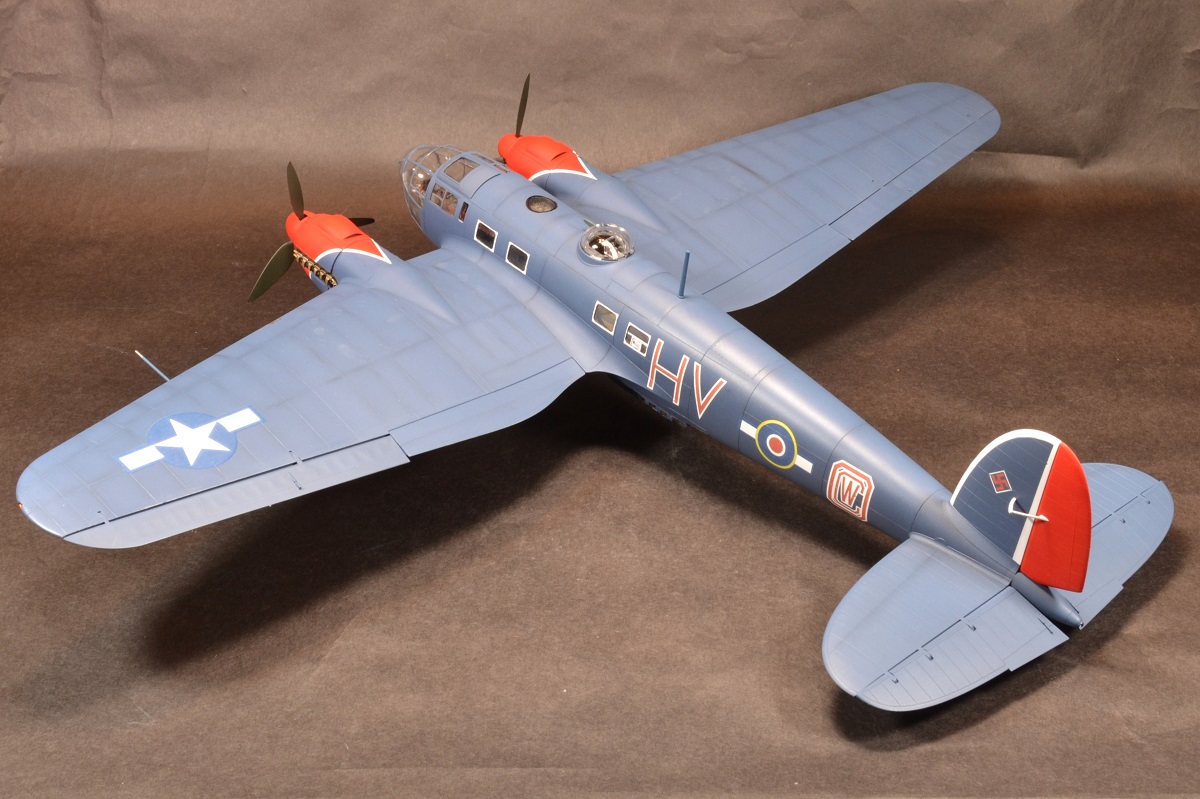
Lastly, I installed the landing gear, dorsal antenna post, wingtip lights, propellers, and removed the masking over the clear parts and called it good.
Conclusions for Part 2
This is a good kit to build. Very good detail, unique subject, eye catching paint scheme of an iconic WWII bomber. However, you must be willing to exercise patience due to some fit issues and lots of masking on clear parts. Nothing is impossible to remedy but a focused effort is needed to complete this model. Also, for a 2-engine plane it has a wide wingspan (18.5 inches) when completed. So, make sure you have reserved some shelf space to show off this He 111 in your display cabinet.
I want to thank ICM for providing the He 111 Captured Heinkel kit and IPMS/USA for allowing me the opportunity to review.
Highly Recommend to those who have few kits under their belt.


Comments
Excellent write up and…
Excellent write up and seeing it in person was a great opportunity.
Thanks
Thanks Dan. -Pat V.
Add new comment
This site is protected by reCAPTCHA and the Google Privacy Policy and Terms of Service apply.
Similar Reviews