
P-39 Airacobra
Background
Dave Johnson bought this kit from a swap meet or mail order. He let me build it and review it. Then it goes back to Dave. This saves me from taking up my already meager shelf space.
The Aircraft
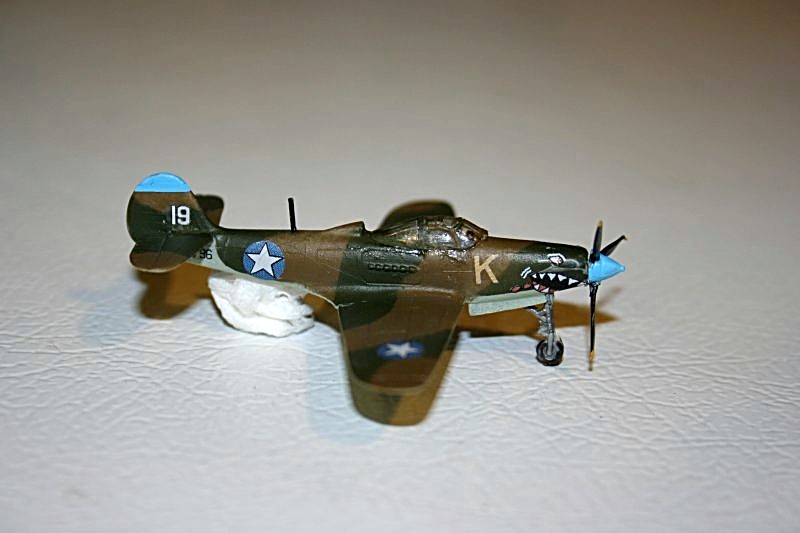
The kit calls itself a P-39, and it is. But it’s also a P-400, which was the Export/RAF version of the Airacobra.
The P-39 was notable for the engine mounted behind the pilot and the 37 mm cannon in the nose. The 37 mm made it a great strafer, and the Russians got their money’s worth out of theirs. The other great trivia fact: The cannon was built by Oldsmobile.
The Kit
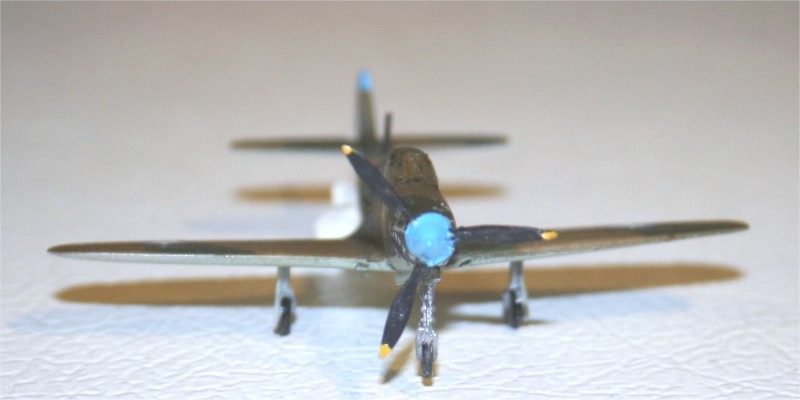
All resin, with very few parts. The decal sheet covers an Airacobra MkI and two P-400s, one Soviet and the other USAAF, Milne Bay New Guinea. The one problem I encountered was that the prop was cleverly put into a little cardboard piece with a cutout for the spinner. Unfortunately, the little tab that sticks out from the back had enough torque to break off one of the blades.
Construction
Construction is quick and efficient. The fuselage is one part, the wing is one part. With the addition of the horizontal stabilizers, the basic airframe is complete in only a few minutes. I was happy with the fit of these parts. I did use a tiny bit of filler on the wing roots at the leading edge. I was pleasantly surprised to find a seat and instrument panel. So the interior is well beyond what we expect in a 1/144 aircraft.
Painting
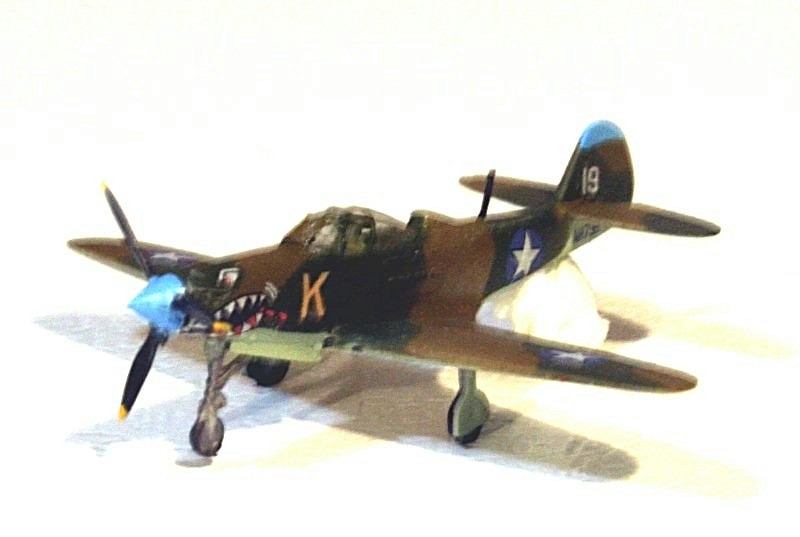
I painted the entire top of the plane Dark Earth. I scanned the painting instructions and blew them up to 1/144. I then taped them to the back of a piece of glass and used a back light to produce a mask. After applying the mask, I painted the Dark Green. Another application of tape allowed me to paint the bottom RAF Sky.
I did some brush painting on the wheels and landing gear. The main gear are one piece each, the nose gear is one piece. The nose doors are molded into the fuselage.
Finishing
After painting, I put on decals. A word of warning is due here. The decals need trimming, as the decal film is larger than I expected. The film surrounding the 19 on the tail overlapped the leading edge of the fin. The sharkmouth fit surprisingly well. I cut it at the bottom of the fuselage, and was able to get it to match up pretty well.
After decals, I installed the canopy and the landing gear. The prop was difficult for me to get to line up. Bending a resin part of that thinness is just not possible. I also had to drill a hole in the fuselage front to allow the prop pin to fit. I really lucked out, and the prop has a tight friction fit, no glue required. The last part was the antenna on the rear fuselage.
Due to the solid resin fuselage, this kit is a tail sitter. I’m sure Dave is going to glue the nose wheel to some diorama base to make it sit right. There’s no place to put any weight.
Overall
Recommended. It’s resin, but everything fits very nicely. It’s not cheap, but this kit is far superior to the old Crown 1/144 P-39Q which still resides in my stash. The interior alone puts it head and shoulders above most 1/144 WW2 fighter kits.
Thanks to Dave for lending me this kit to build.


Comments
Add new comment
This site is protected by reCAPTCHA and the Google Privacy Policy and Terms of Service apply.
Similar Reviews