
Normadie-Niemen: Plane of Roland de la Poype
The story of the Normandie (later, Normandie-Niemen) Escadrilles makes for fascinating reading. Originally recruited by DeGaulle himself, these French pilots flew for the Soviets in Soviet-made aircraft at more than typical risk to themselves. The Germans saw this development as a breach of the French Vichy government’s surrender agreement and made it a policy to execute any French pilots downed in their territory. In addition, family and relatives of the downed pilots were arrested back in France and sent to concentration camps, where few survived.
Despite this threat, the small French unit would wind up with over 30 confirmed aces and a total of 273 enemy aircraft downed by war’s end, making them the second highest scoring aerial unit in the Soviet Union. In addition, no Russian bomber under escort by them was ever lost to enemy action.
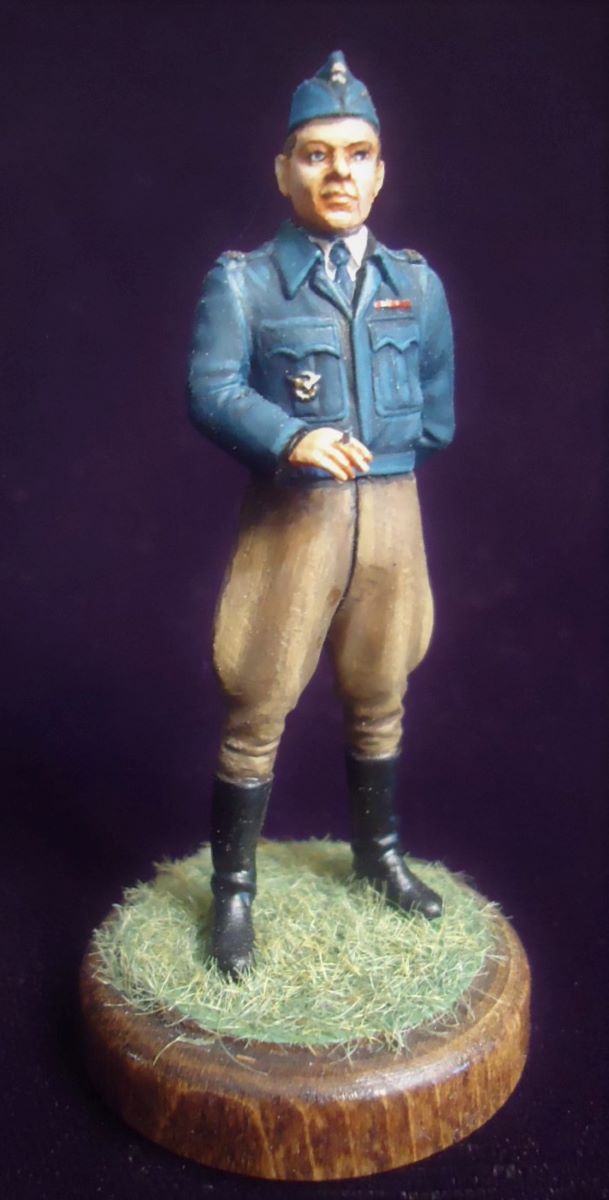
Roland de la Poype was nineteen in 1939 when he enrolled in the French Air Force. After the German invasion, he fled to England to eventually serve with the Free French Air Force in Africa flying Spitfires. He was part of the first batch of 12 volunteers who would form the nucleus of the newly created Normandie Fighter Group, and by war’s end had accumulated a tally of 16 confirmed aerial kills over the course of almost 200 missions. After the war, he set up a plastics factory dedicated to packaging materials and died in 2006.
This is the second Yak 9 that I have built from the excellent ICM kits – this one being a Yak 9T instead of a 9K, the difference being in the caliber of cannon in the nose. This kit also comes with an excellent figure depicting the French ace in field uniform. The kit has 160 parts in gray plastic (plus 6 for the figure) and 7 parts in clear plastic. A goodly portion of the parts are dedicated to the engine and gun bay, if you choose to display it open. I opted for this on my first build and was deeply impressed by the level of detail.
The build begins with the cockpit, naturally. Because of the design, part of the cockpit is assembled within the fuselage halves and part on the wing surface. Typical for ICM, no attempt is made to render the seat belt harness, so this will either need to be scratch built or obtained from another source. The instruments are wonderfully detailed, with every knob and lever being a separate part. The instrument panel is also very well-detailed, although I was disappointed with the single decal provided for this. In the past 1/32nd aircraft kits that I’ve built from ICM molds, every instrument was offered as a separate decal, making it a relatively simple process to apply them to the prepared control panel. In this kit, they’re all on a single-inclusive decal, which I found unworkable with the molding provided. I suppose one can sand the control panel flat and apply them that way, but to me that rather defeats the purpose of all that fine mold-making. I painted them by hand, which still looks presentable to my eye.
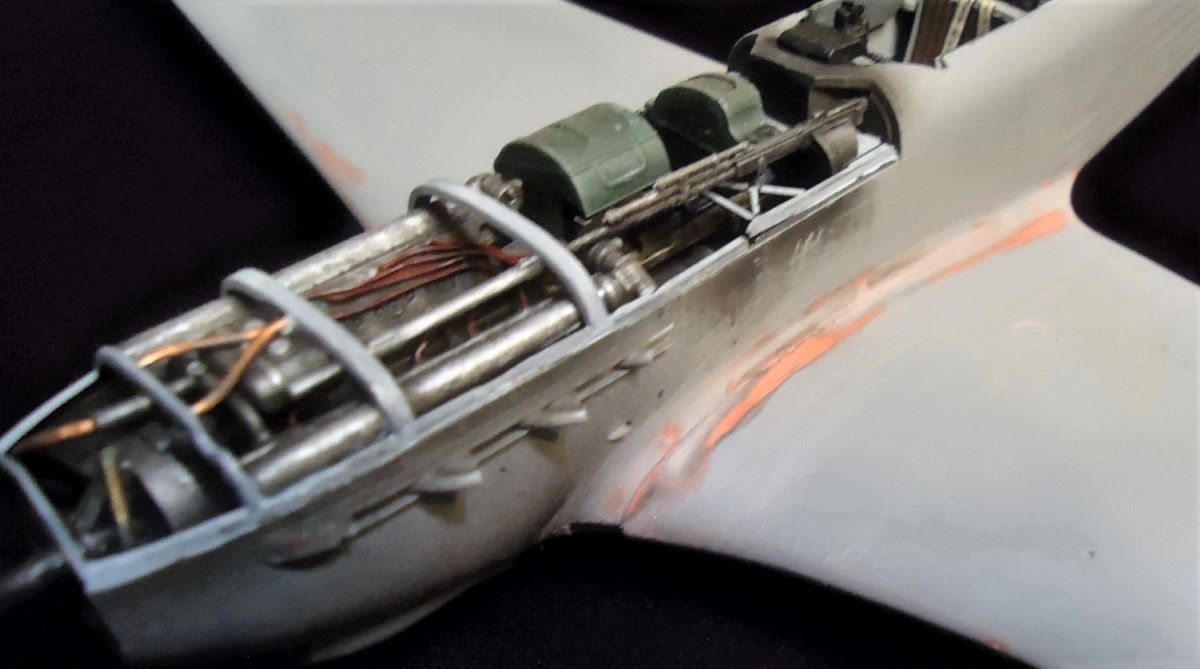
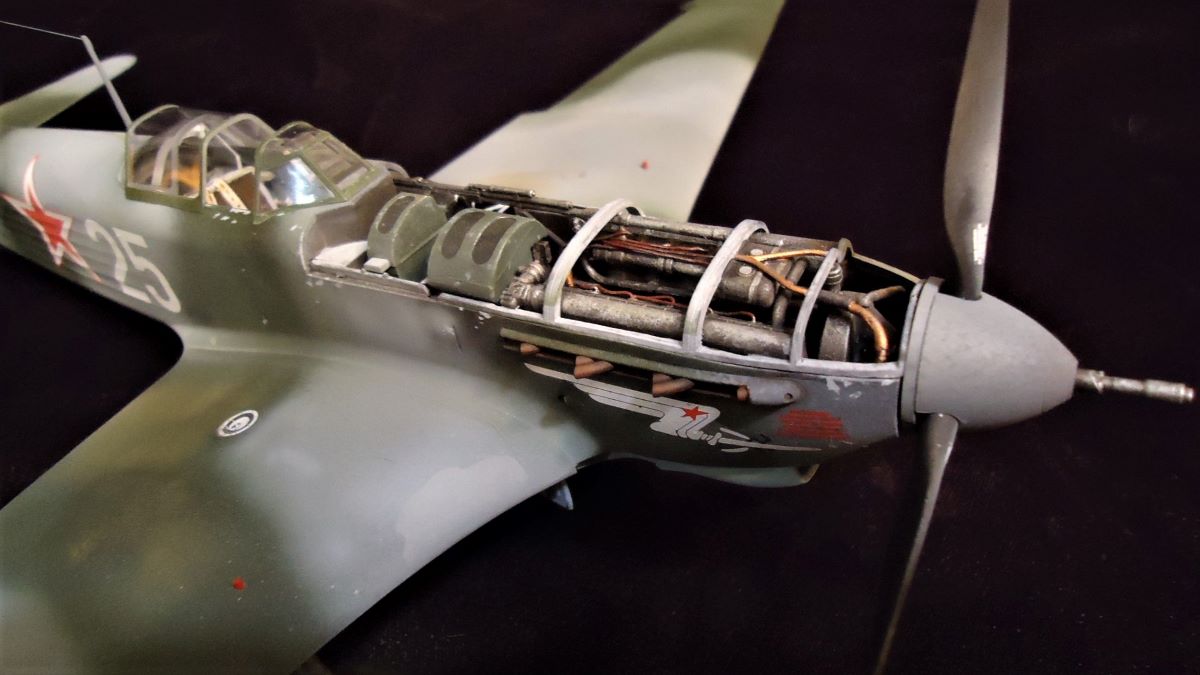
The next stage is the detailed engine and weapons set. A simplified version can be made for a closed cowl, or you can go to town as I did in my first build and complete it with all the fixings. I’ve included a couple of pics from my first build so you can see the engine compartment. In this instance, though, I chose the closed cowl option as I wanted to show off the aircraft’s sleek lines. Interestingly, the first build I did had to contend with a seriously crushed Part A8 (a delicate engine cowl framework) which took quite a bit of doing to repair. This time when I didn’t need it, the part was in perfect condition right out of the box. So at least this shows that this isn’t a consistent failure of the packaging.
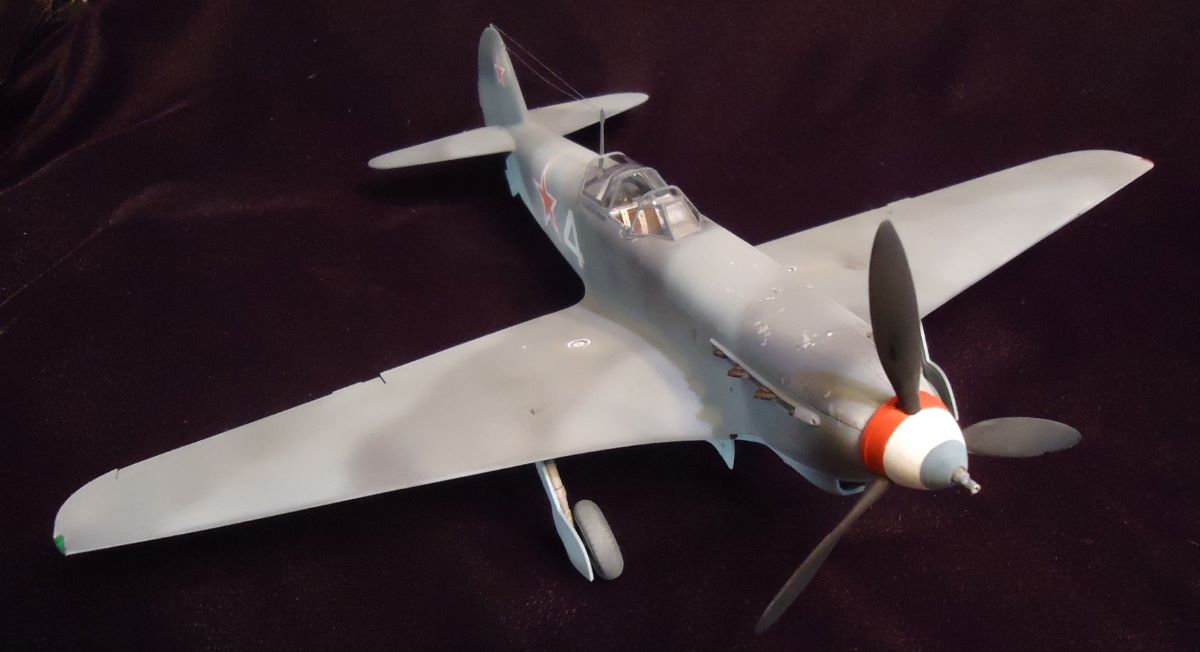
ICM would have you add the canopy to the fuselage before the wing is even mounted, but any experienced modeler will wisely leave this off until close to the end of assembly. In any case, the three-part canopy is a perfect fit to the fuselage, so no problems should be encountered if you wait.
While adding the wing to fuselage, you’ll find the fit to be almost perfect. Very little filling is needed if care is taken with assembly. I then added the stabilizers and rudder and only needed a smidge of putty where the fuselage lower rear panel went in.
A note here – as I discovered during my previous build, the landing gear is extremely fragile as designed, with only one vague attachment point for each leg. With this knowledge, I added small pieces of tube in the landing gear bays while assembling the wing to provide extra support, which turned out to be quite an effective strategy. If you glue the landing gear covers to the legs beforehand, this can also help you to set the angle of the gear correctly, as they do lean forward a bit.
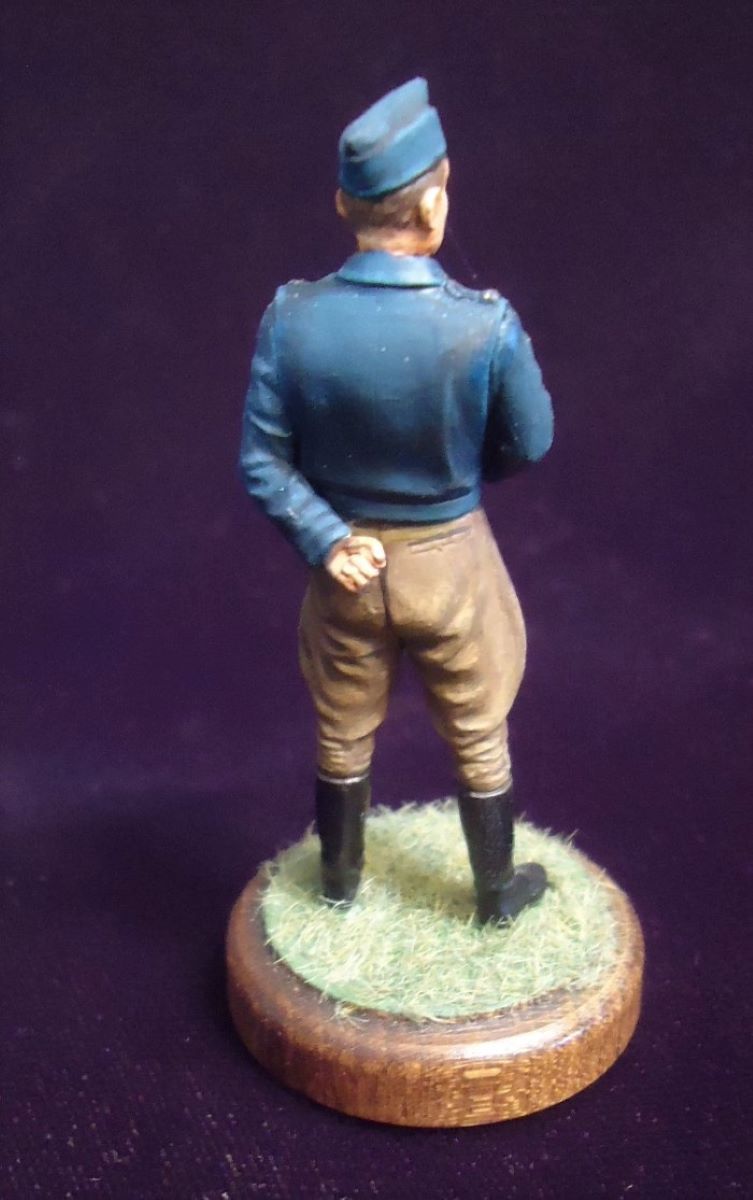
With that done, the majority of assembly is now complete. I used small bits of Evergreen rod to replicate the landing gear warning rods on the top of the wings simply to avoid having to scrape off the mold seams. At this time I also assembled the pilot figure, opting to alter the pose slightly as it seemed a bit too formal to me. ICM always does good work with its 1/32nd scale figures, and this one is no exception.
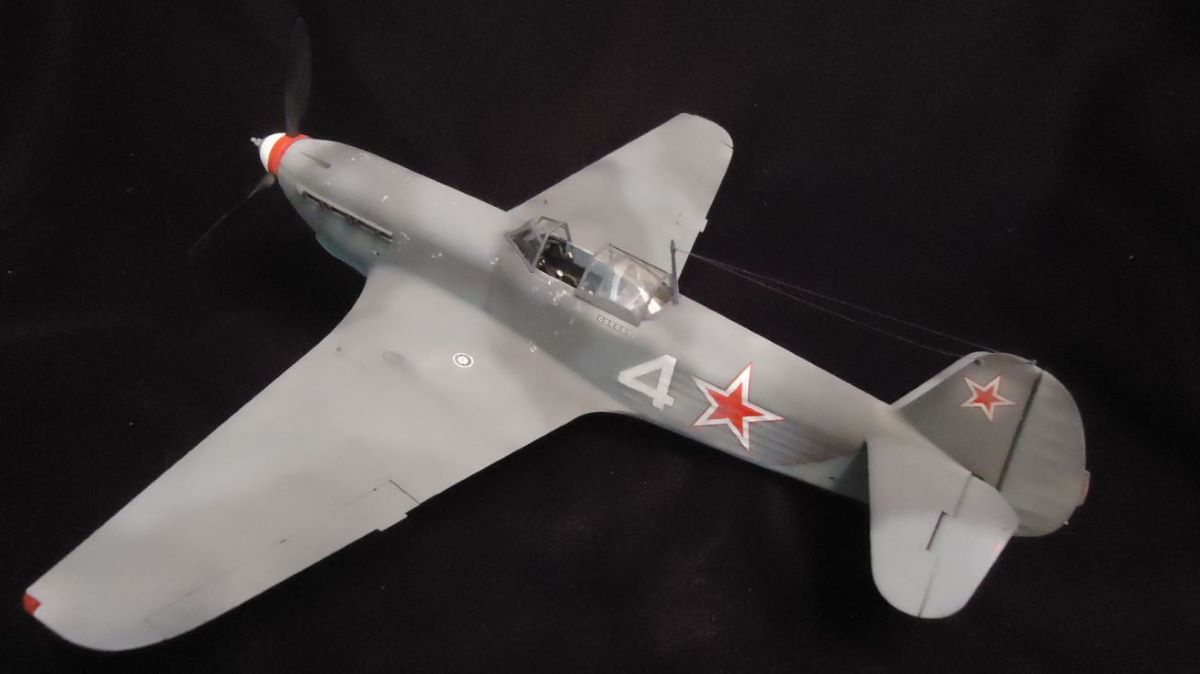
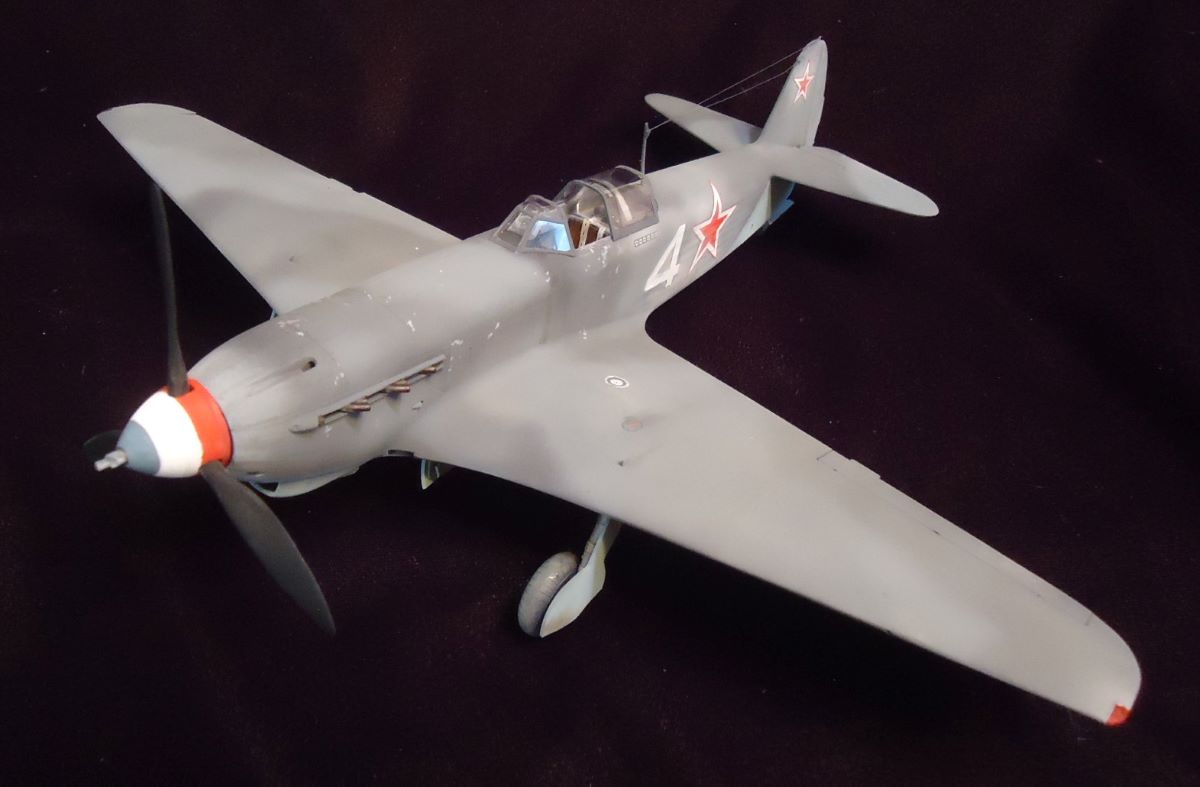
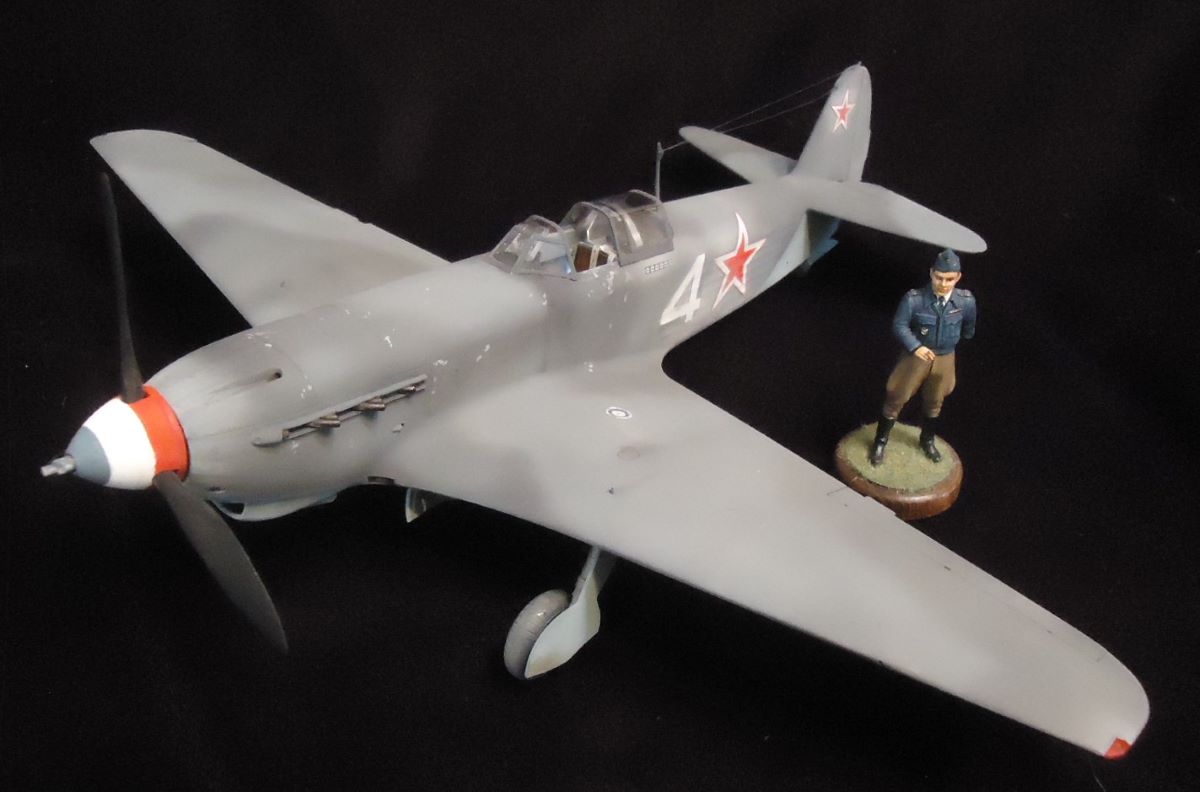
Painting was pretty straightforward, although the three-color spinner was a bit of a challenge. ICM provides a white strip decal to represent the center of this trio, but it seemed simpler to just carefully mask the whole thing off and do it by hand.
Decals are once again a bit odd, as ICM apparently chooses not to display the Russian star. either in its instructions, box top or on the decal sheet (except in halves). The locations for these are vaguely noted in the color profiles at the end of the instruction sheet but are not actually shown on the aircraft. Piecing the two halves of each star together can be somewhat challenging, as you have to carefully overlap the top one over the bottom or you get an unrealistic gap. Nonetheless, you’ll find that the correctly decaled model turns out to be a lot more colorful than the rather drab box art would suggest, so don’t be fooled. Even so, I’m surprised that ICM elected to depict Roland’s #4 aircraft instead of his far more famous number 24, which also features a dramatic lightning flash across the fuselage. ICM seems to do this a lot for some reason – opting for a more “plain Jane” version of an aircraft even when much more colorful options are historically available. In any case, the decals provided are of the usual excellent quality and lay down well.
Finally, I completed the figure supplied, opting to slightly modify the somewhat stiff (to me, at least) pose, but otherwise painting it with the excellent color guide supplied. It makes a fitting tribute to this intrepid French ace, and he looks quite good next to the aircraft.
In conclusion, this continues to be a superb kit of this interesting aircraft, whether you build it with the engine and gun compartment exposed or fully closed down to display the lovely lines of this sleek killer. All things considered, it’s pretty unlikely ICM is going to release any version of this machine with a Russian ace, but I’ve always favored the Escadrille Normandie anyway, and now I have one for my collection. Who can ask for more?
My thanks to ICM for continuing with their fabulous line of 1/32nd aircraft for aficionados like me, and to IPMS/USA for letting me take another stab at this iconic war machine. Stay safe everyone, and happy modeling!

Comments
Add new comment
This site is protected by reCAPTCHA and the Google Privacy Policy and Terms of Service apply.
Similar Reviews