
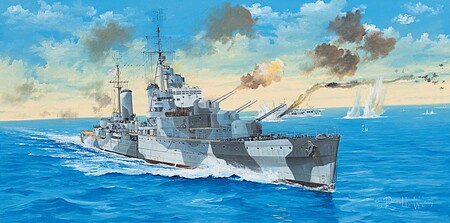
HMS Naiad British Light Cruiser
This review has been a long time coming both in build time and in life. I received the kit in October of 2024, coming off my first win at nationals that year and wanting to branch out from aircraft and turrets I quickly sent in my request for this kit when I saw it in the stash list. I was granted the kit and, in a week, or so it arrived. I started digging into it (researching the vessel checking for inaccuracies etc.) and then around Thanksgiving of that year my world flipped upside down. My father was diagnosed with Alzheimer’s. Hobbies and the like were put aside and thus Naiad stayed on the workbench. Jumping forward a year and I finally got back to taking some time for myself and got back to working on the ship and review.
Trumpeter has become the leader in ship kits, producing all kinds of classes and subclasses. This kit has one-piece hull, large parts count and decent if not a bit out of scale detail out of the box. During my time away from the kit I did pick up a 3d printed aftermarket set for Dido class cruisers and it really takes the end result to a whole new level while streamlining some of the build by replacing sub-assemblies.
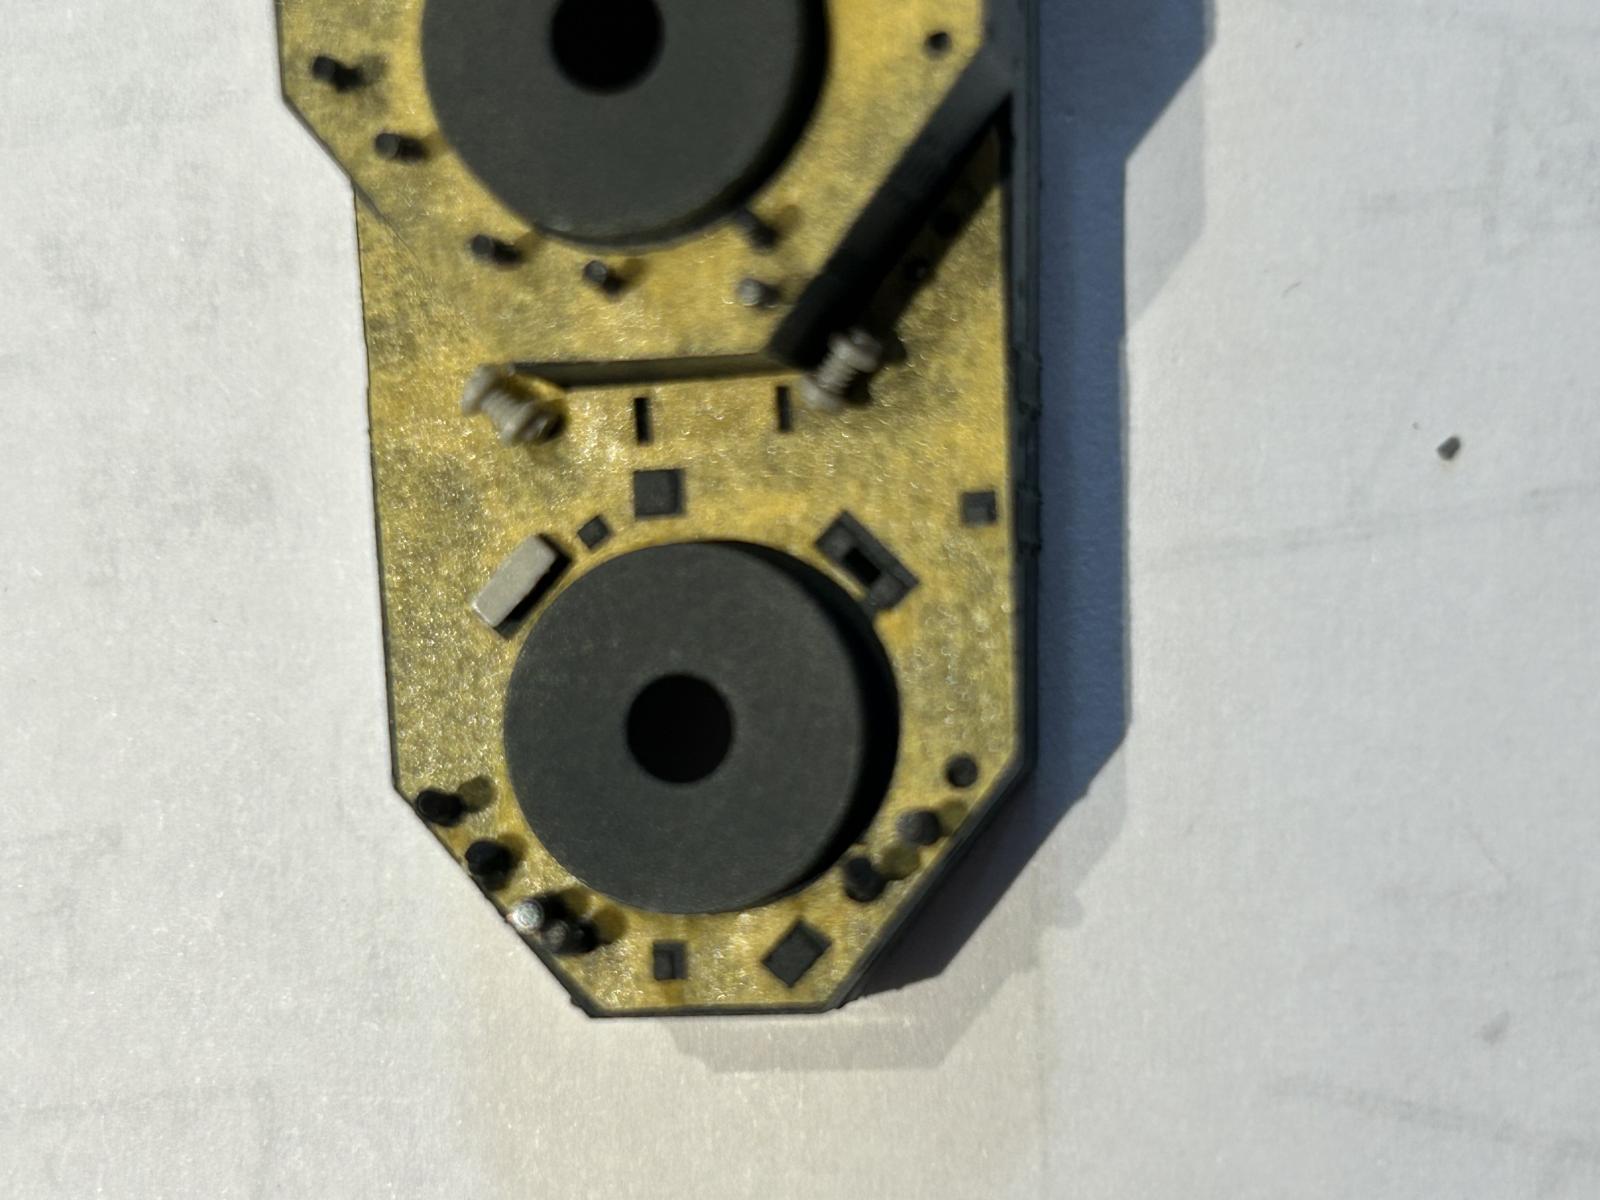
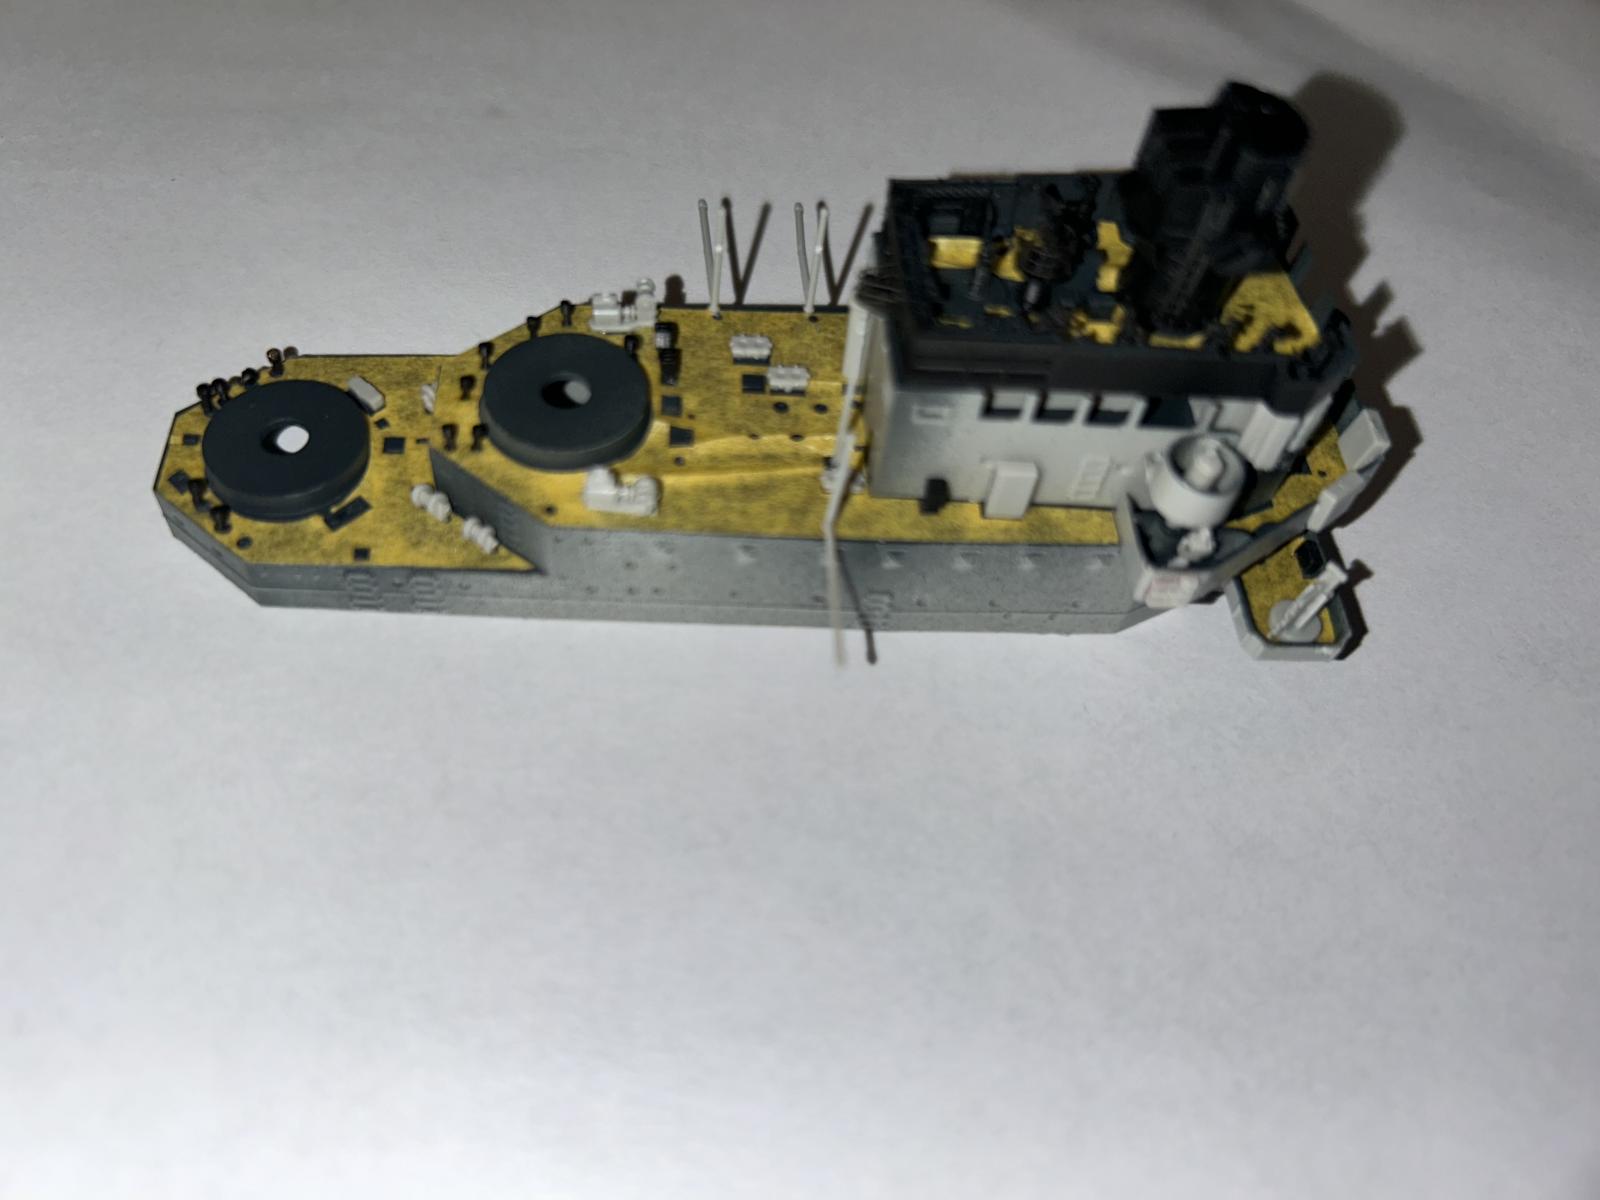
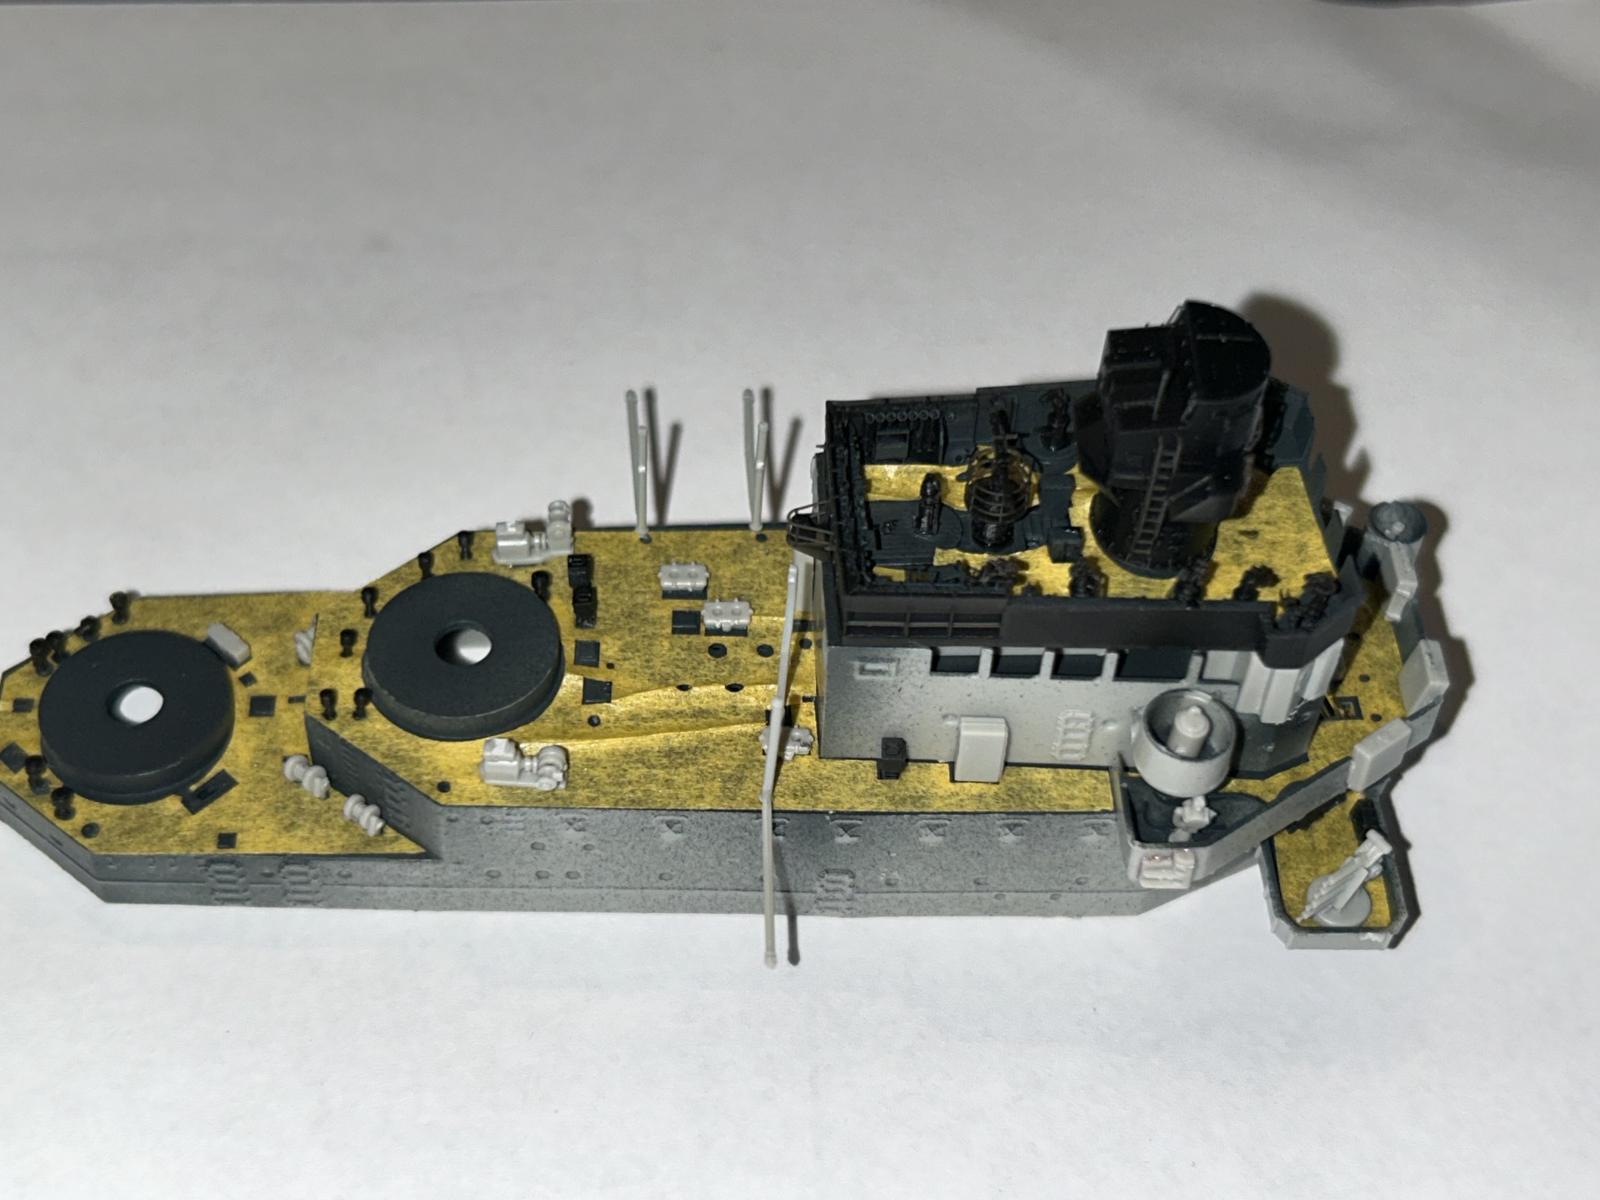
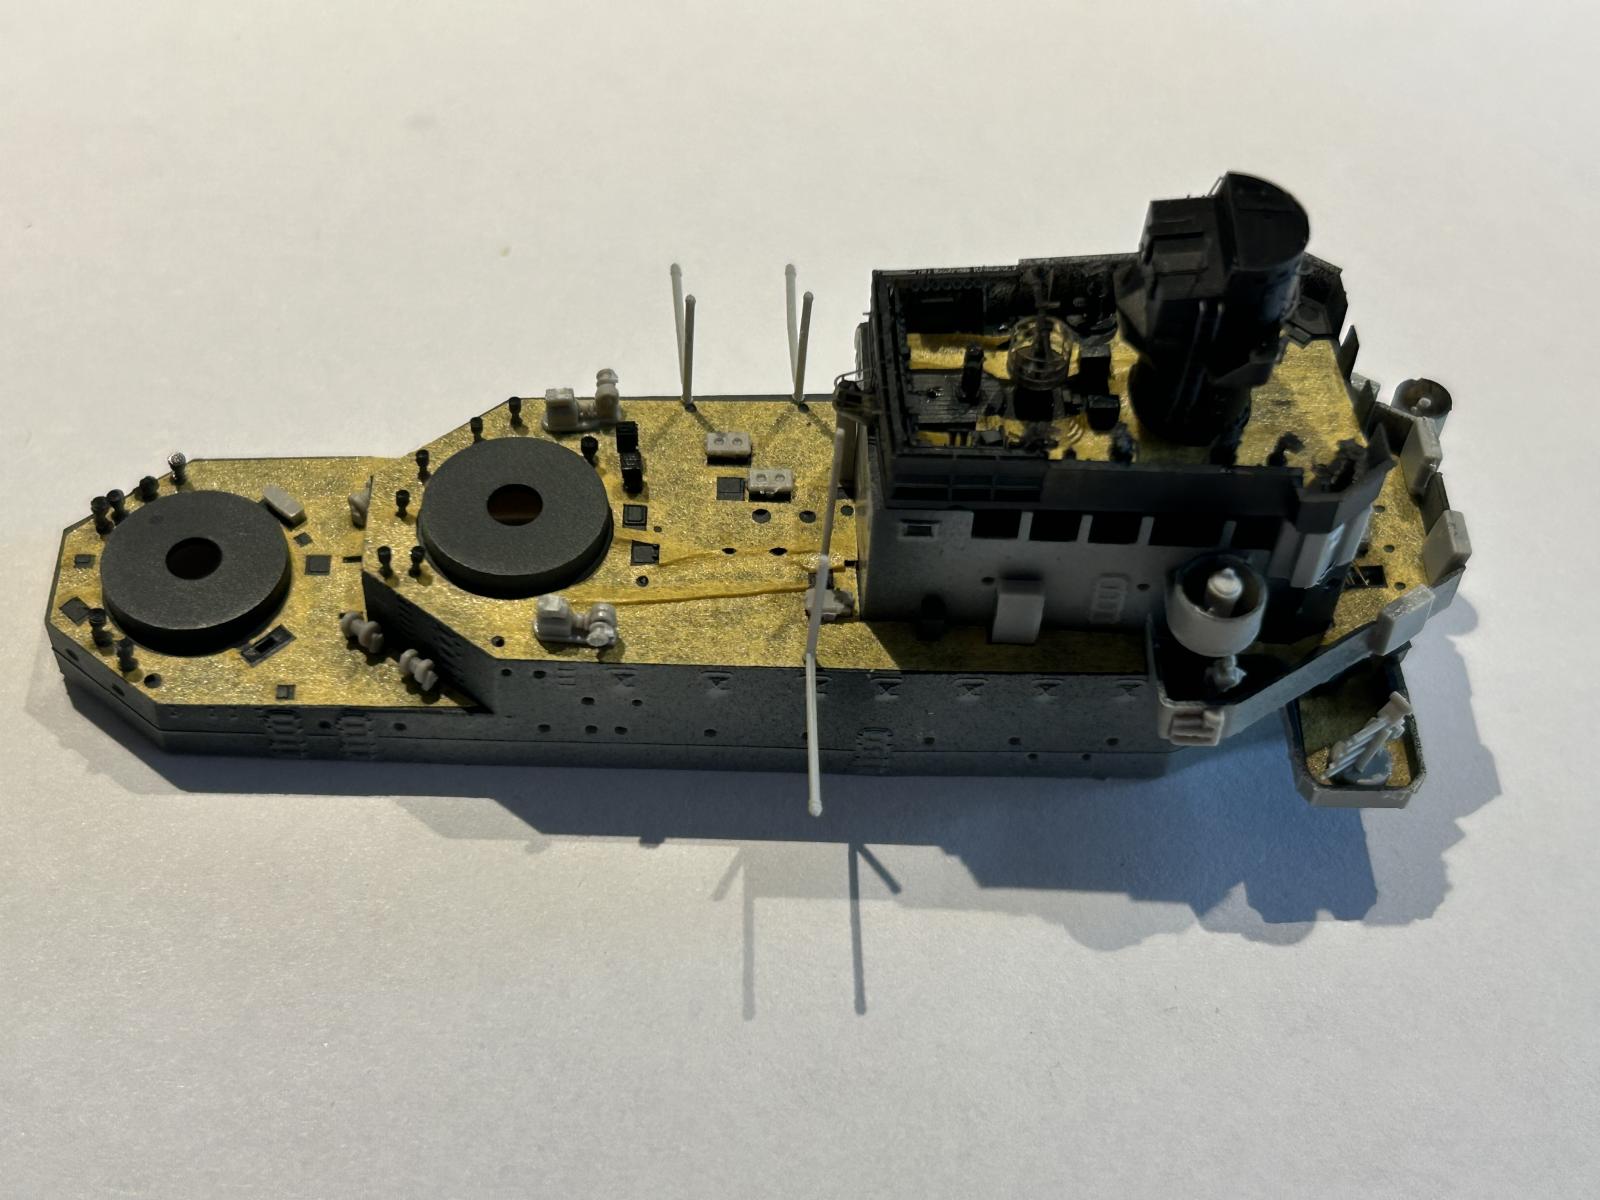
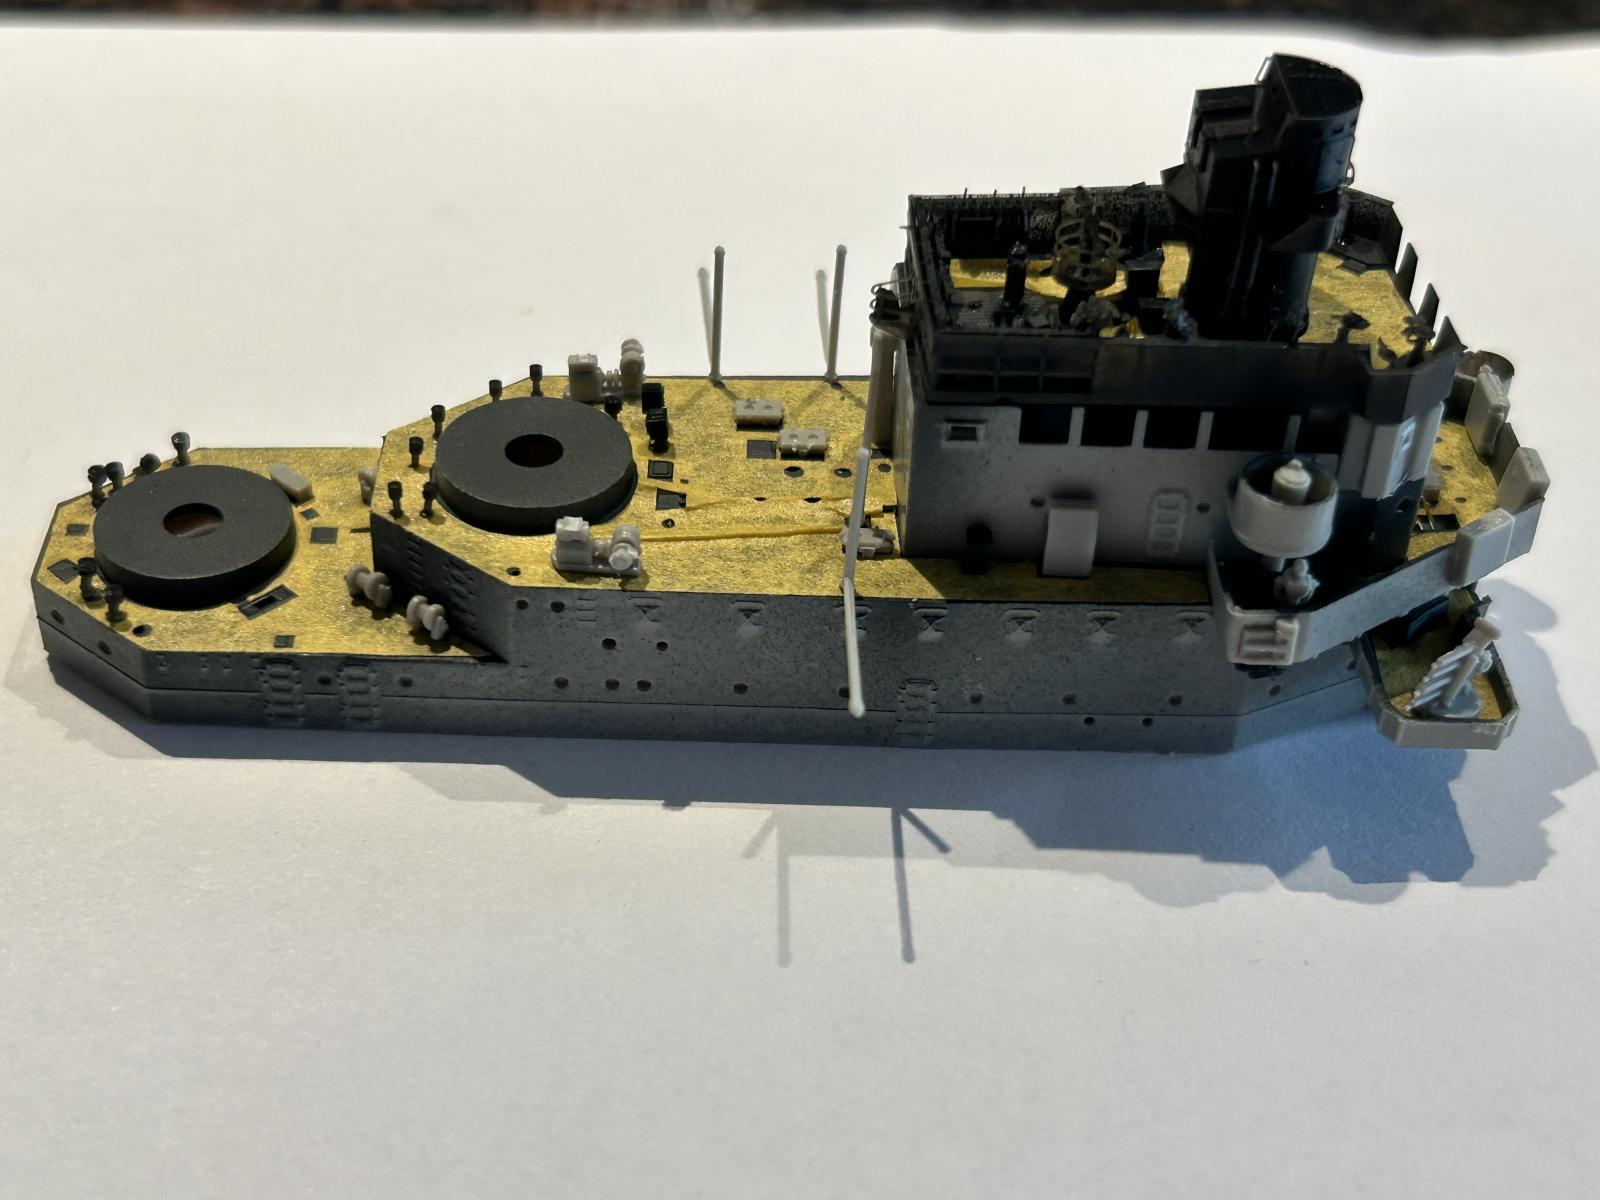
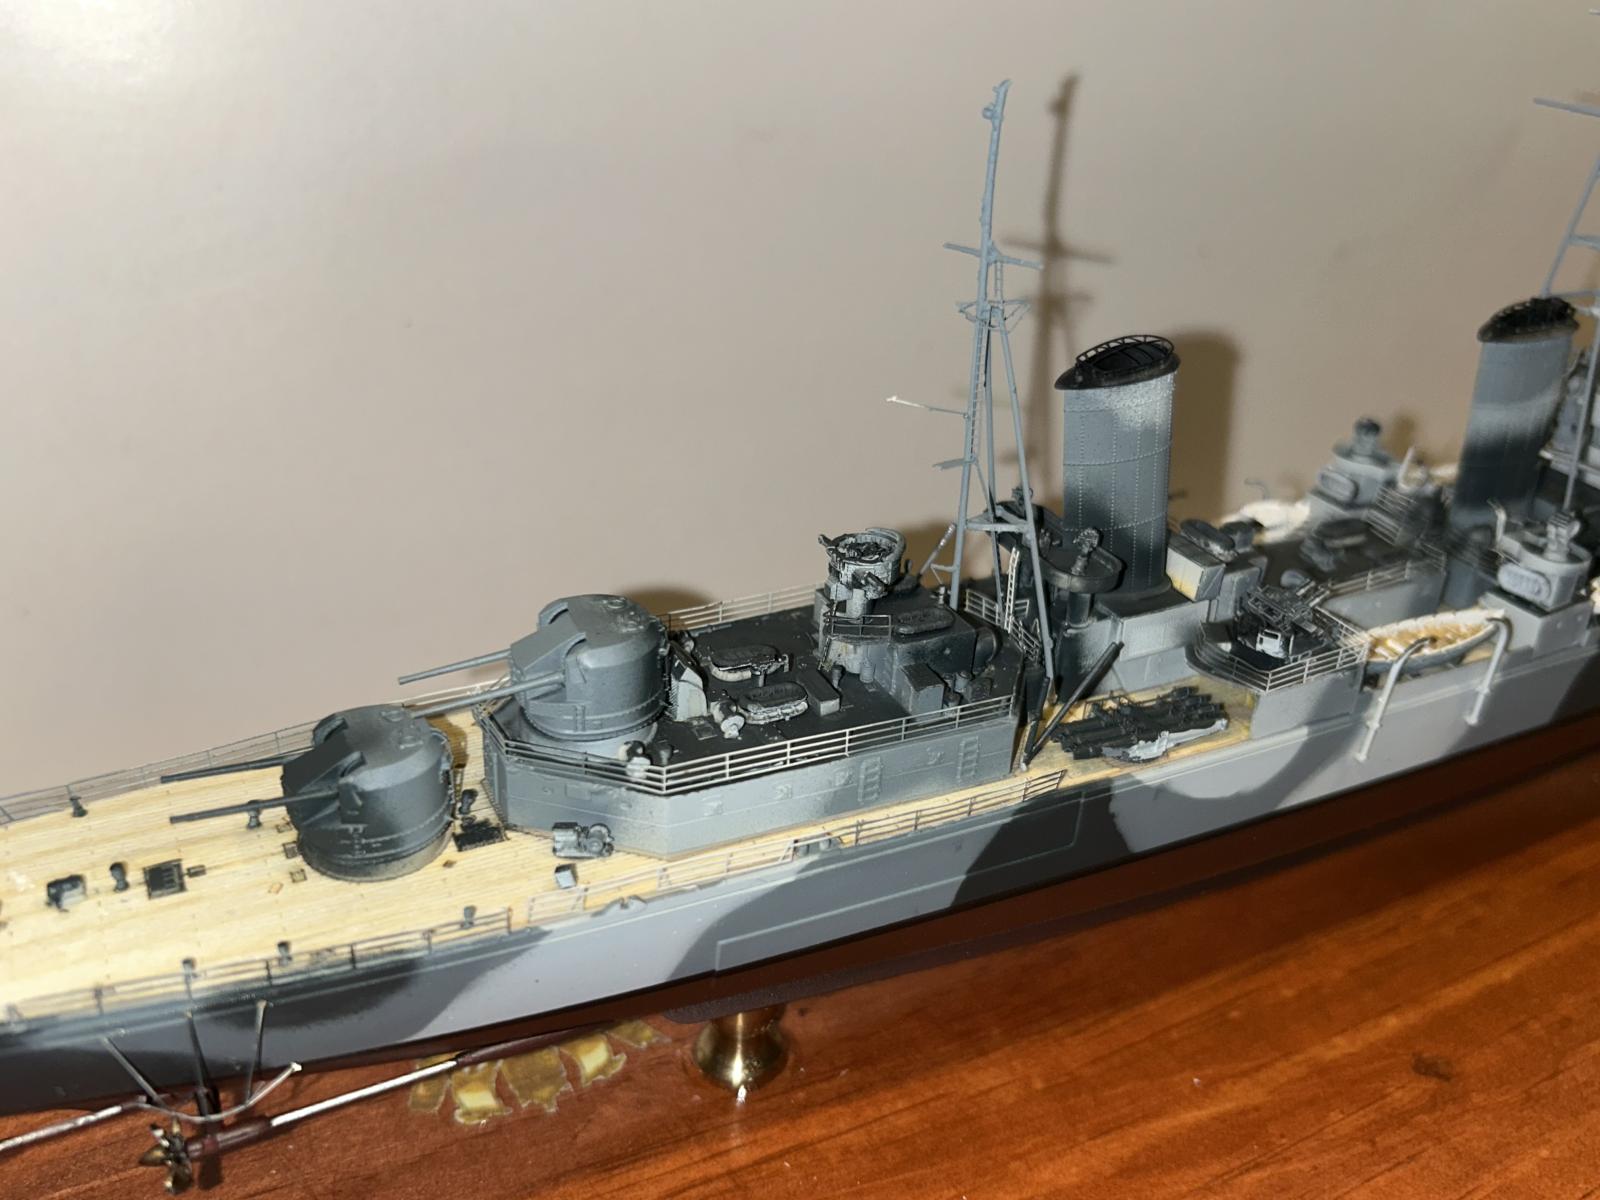
I have to admit I haven’t built many ships but looking at the directions if you follow them directly I’m not sure exactly how you’d paint everything correctly. I had talked to some of the ship guys in my local club and they said build from the top down and inside out. With this kit you really need to follow that advice. Trumpeter would have you placing the deck and the center deck housing on as the second step. In one way this is a good idea as it would help keep the hull open to the right width (the tolerances are extremely tight and the hull is just the slightest bit too tight but from an actual build and paint idea it just adds to the amount of work that needs to be done. Many of the initial steps in the build process are weapon and gun director sub-assemblies. This is where the aftermarket kit starts to come in handy. For example, the quad aa guns are 8 pieces, two plastic and 6 photo etch. The 3d printed version knocks that down to 2. Same with the gun director platforms, 9 parts to 1 and 8 to 3 along with adding extremely fine detail that plastic just can’t do. Steps 10-21 are building the forward superstructure. I have a few gripes in there. The biggest is that there are “park benches” scattered throughout the forward superstructure. Now I could very well be wrong but I HIGHLY doubt a warship had titanic style benches on it. My guess is, and after doing a lot of internet searching, that they were Carley float/life ring cages and all trumpeter came up with is they kind of looked like benches. Needless to say, I recommend skipping step 18. Another gripe is that there are these three “arms” that stick out from the upper deck of the forward superstructure but somehow have to pass through railings. Now on the hull railings there are openings for the bollards and cleats but on the upper railings there isn't any opening for these things. If you don’t cut the railing you’ll bend it out of shape and it’ll look terrible. Nowhere does it mention to do this. I also used 3d printed parts throughout this area, replacing the bridge deck, gun directors, bridge deck equipment, vents, paravanes and other equipment, they were more in scale and again added to the detail.
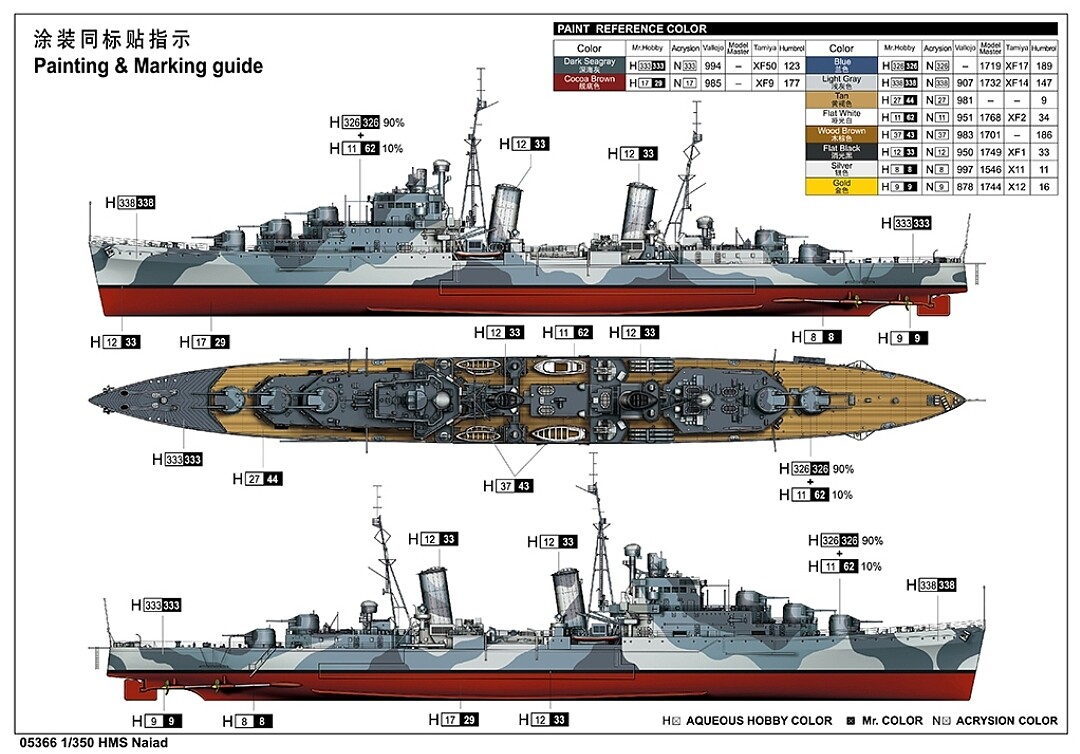
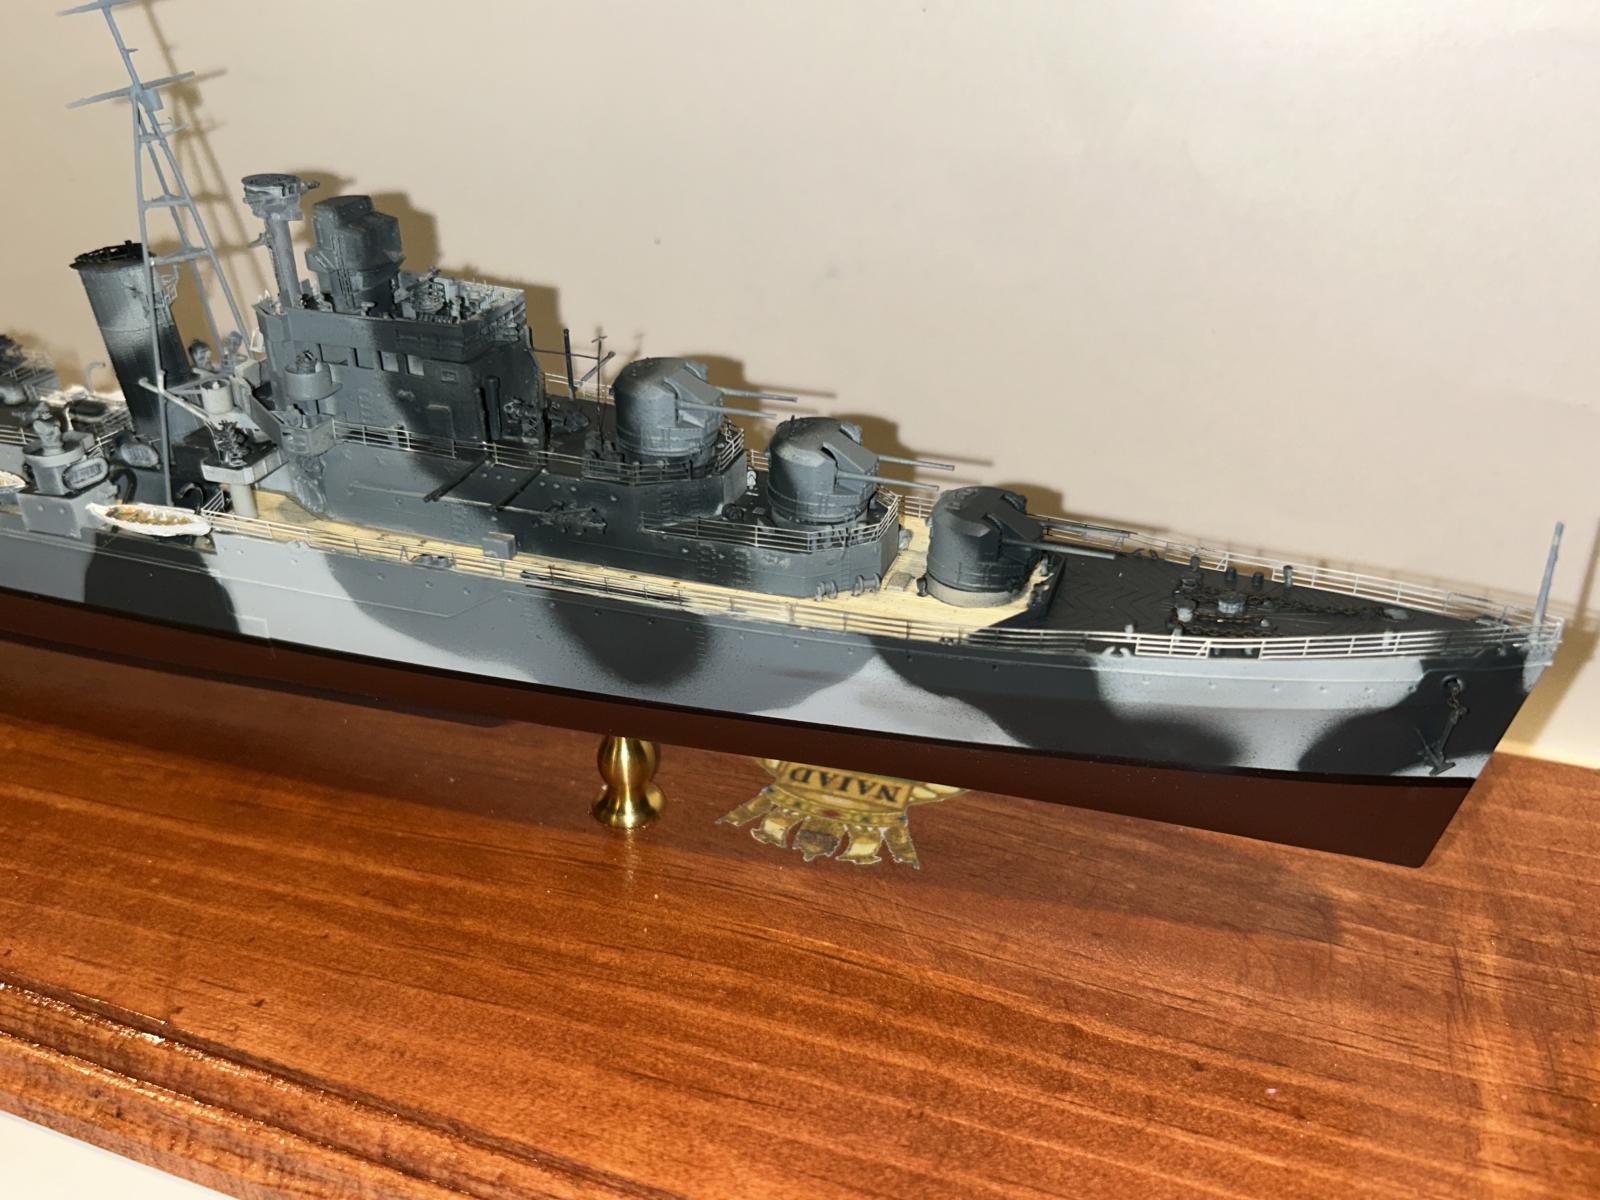
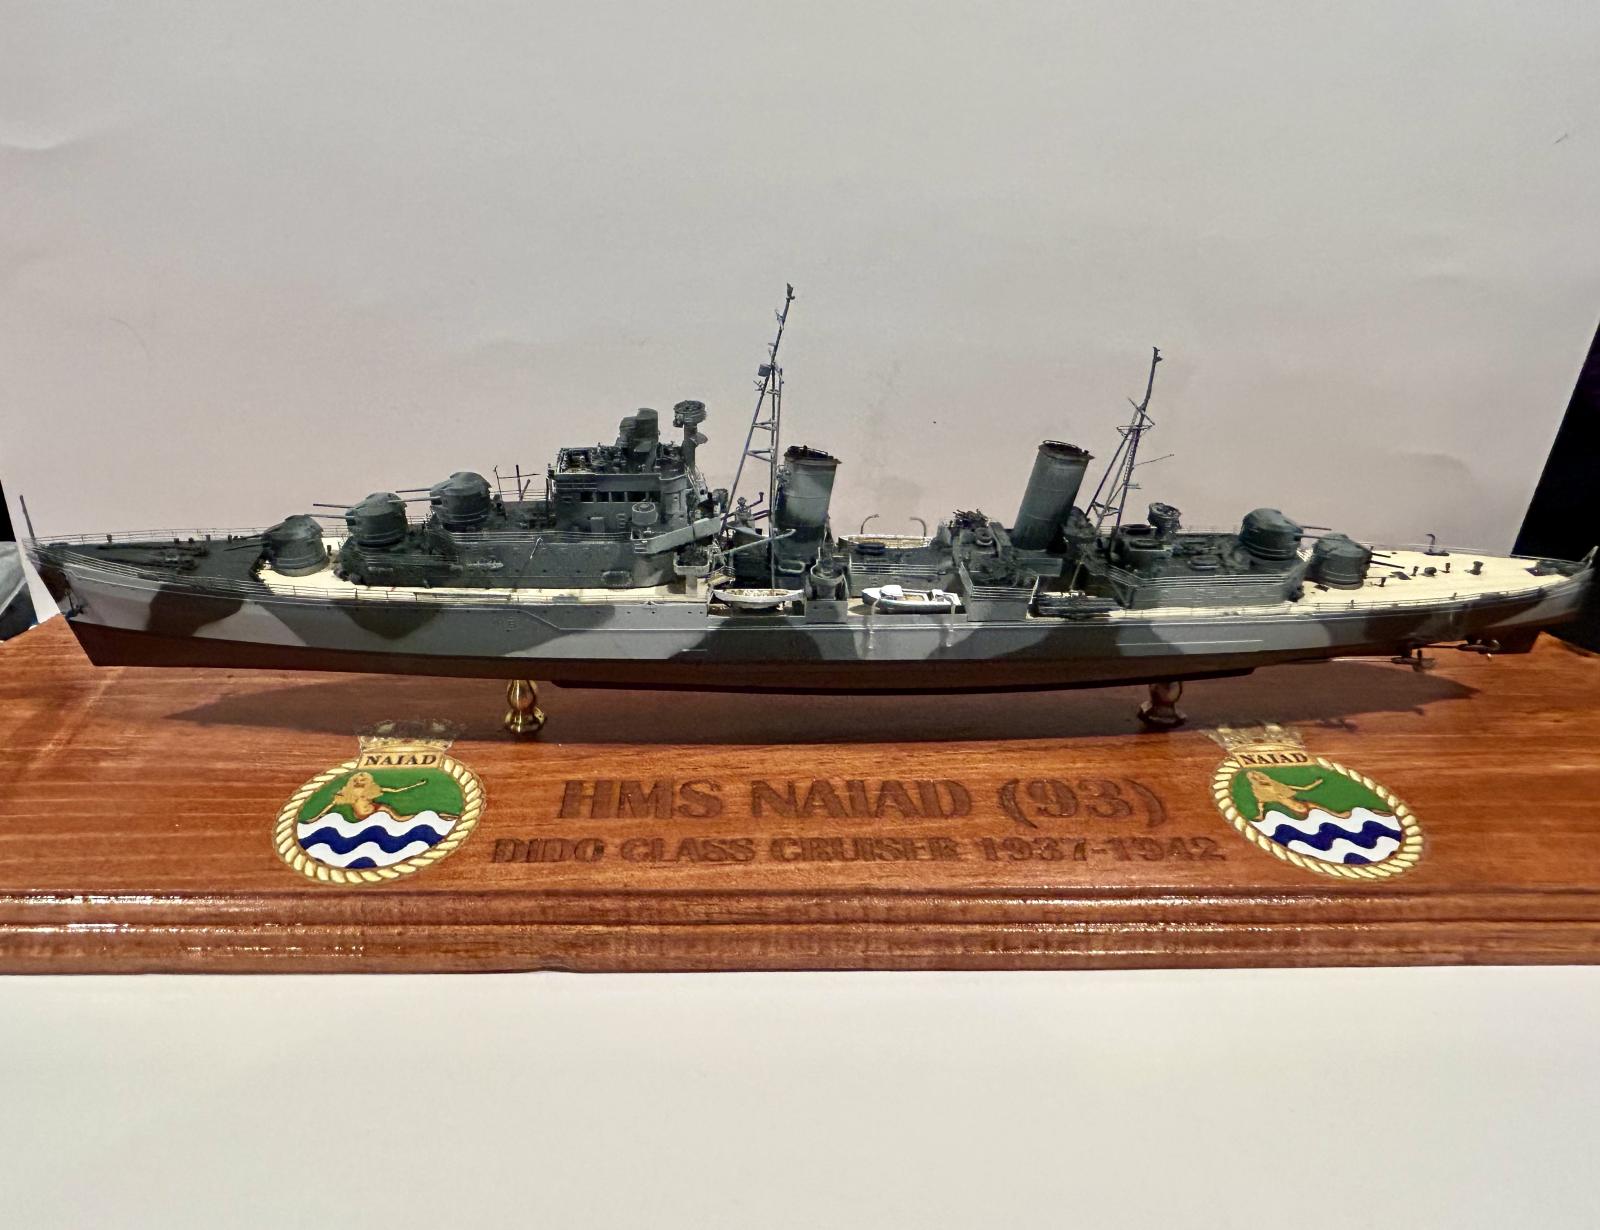
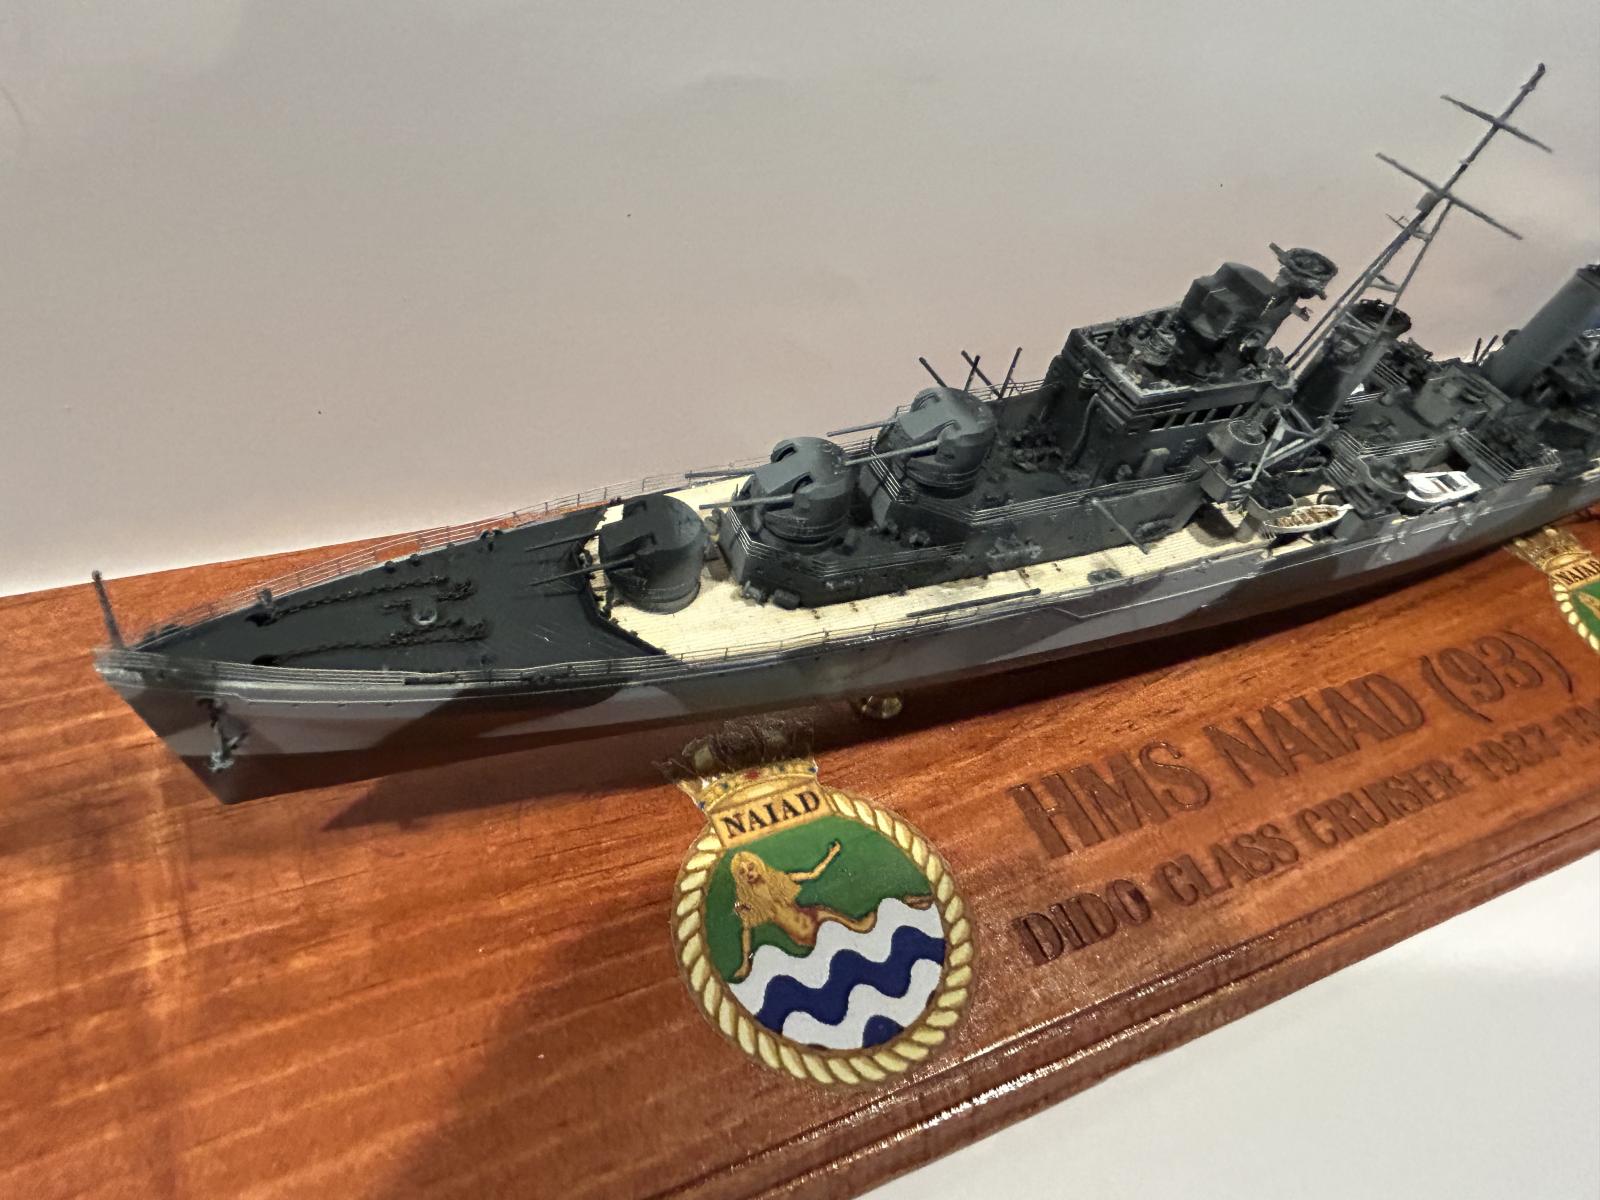
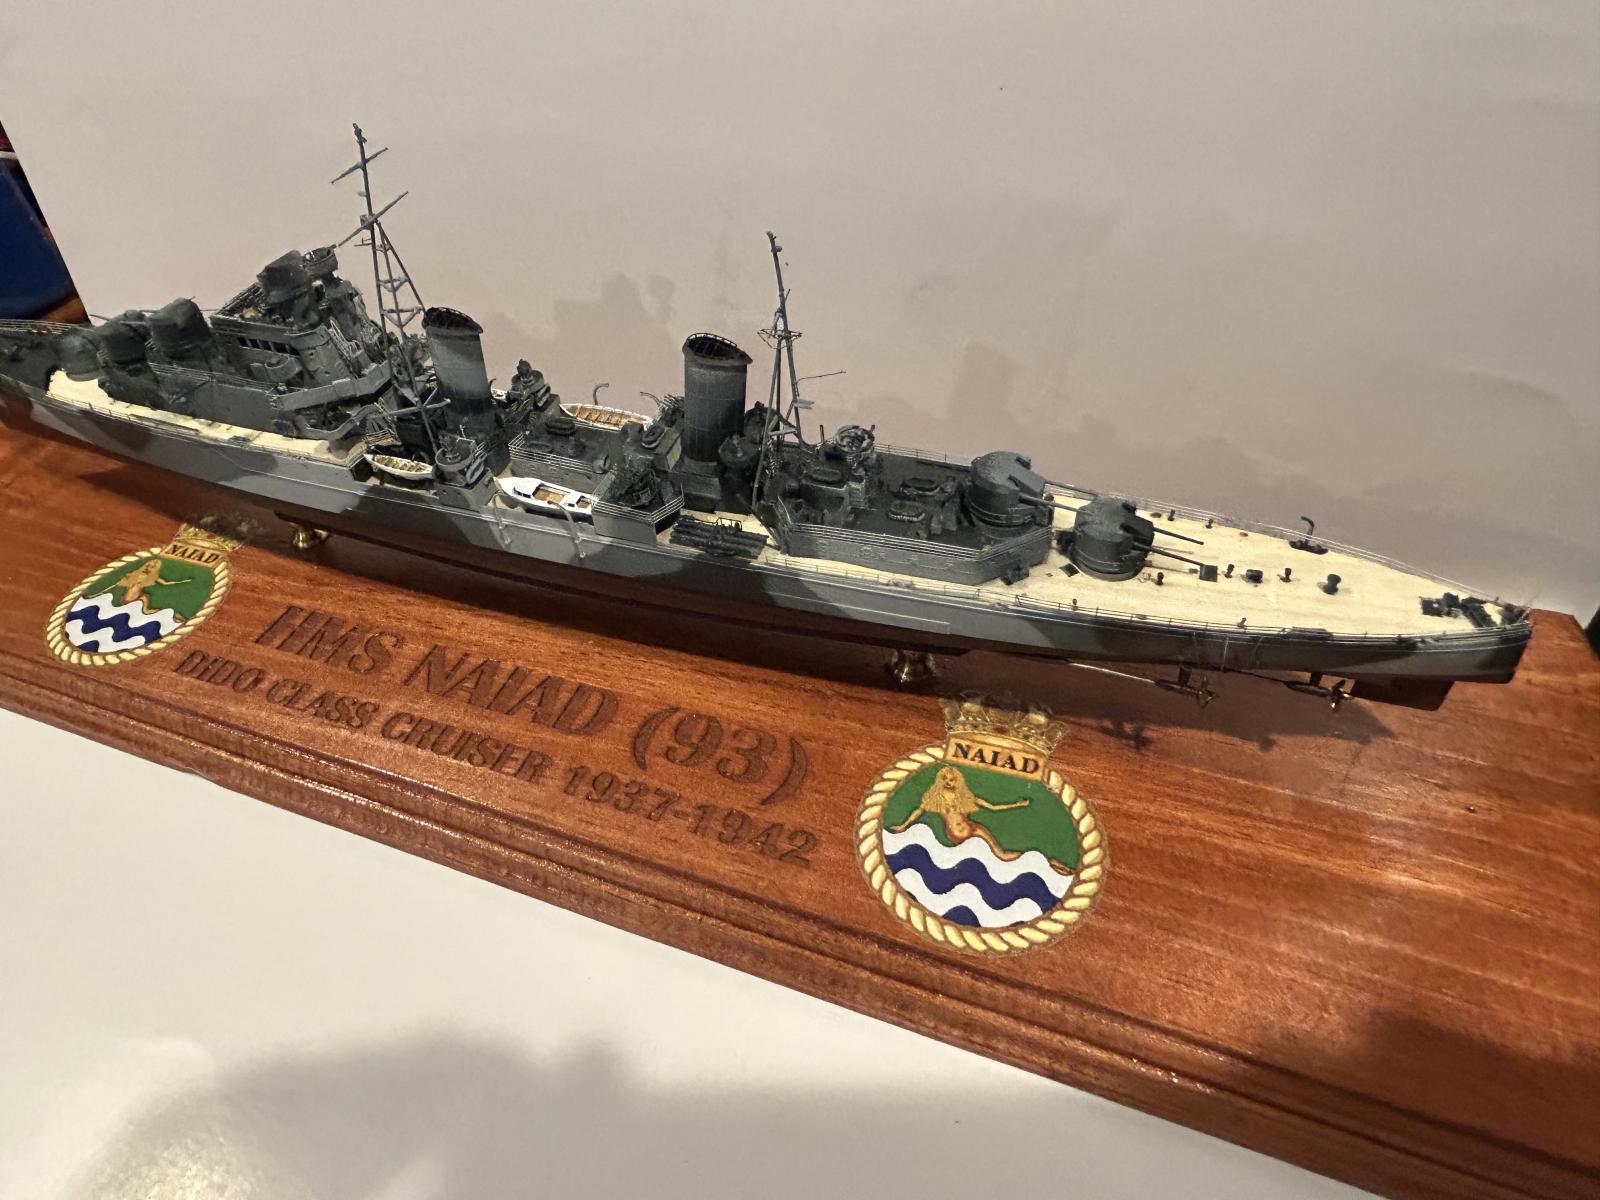
Next up direction wise is the forward and rear masts. Save these for the end, they’re extremely delicate, difficult to get all the parts level and have a lot of very small photo etch that need to be added. After that its 7 parts of photo etch and plastic to make the forward funnel. I used the 3d printed part. Moving along you attach the aforementioned quad aa guns to their bases and to the raised deck and add the various hose reels and life rafts. Rear funnel build is next but again I used the 3d printed one. Moving along you continue with the central and rear deck houses again adding various vents and boxes to the superstructures. Many of these were replaced by their 3d printed version. Before adding railings to any of this I painted the 3 color Royal Navy Mediterranean camouflage patterns onto the hull, and super structures. Turns out the colors aren’t quite right on the full color sheet Trumpeter gives you. it should be 507 A,B,and C but Trumpeter would have you using a blue for 507B and different shades of Gray that don’t quite match up to A and C. I mixed my own using Tamiya and did the best I could at replicating the pattern. I also blue tacked the superstructures on to continue the patterns onto them. It’s a tedious process but looks great when its done.
Finally, it was time to finish this ship both for my own modeling health and because it kept reminding me of the failing health of my father. I attached the desk to the hull, added the propeller shafts, props and rudder along with various main deck and hull fittings such as davits, anchors and anchor chains, windlasses, vents, prop guards and small structures. I then brought the camouflage up through those items as well. The main deck railings were added and using the “post it note” method I painted the camouflage on them as well (post it note method is just putting a post it notes behind the railing to block the spray getting through) the superstructures then went on, carefully avoiding the railings so as not to bend them. All that was left was the main weapons and masts. The masts were done carefully and gingerly so as to get them as straight as possible with all the support structures within, superglue and accelerator worked wonders here. The main gun turrets came from the 3d print set all were attached and this ship was done after they were all attached.
I had made my own base for this as the plastic rectangle trumpeter gives you is barely adequate for the kit with all the work that goes into it. I used a wooden base from hobby lobby and some finials I got from aliexpress. I also used my local library to laser into the wood the name and pennant number of Naiad.
Final thoughts.
This kit is not for beginners but if you’ve built a ship before you shouldn’t have too much trouble and if you add the 3d printed aftermarket you’ll have an even easier time. It is recommended and I want to thank IPMS and Trumpeter for giving me the opportunity to review this kit and apologize for the length of time it took to do this review.
My thanks to Trumpeter and MRC for the review sample.
Comments
Add new comment
This site is protected by reCAPTCHA and the Google Privacy Policy and Terms of Service apply.
Similar Reviews