James Binder
Reviews By Author

|
OTO Melara 76mm Naval Gun with Stealth CupolaPublished:
The 76MM Naval Gun developed by OTO Melara in the 1950’s has become the standard medium caliber gun on most western light and medium attack vessels. Pig Models has come out with there 1/35 scale version that has a “stealth cupola” as seen on Norwegian Frigates. The BuildThe build for this kit is surprisingly simple. The most complex part being the actual gun itself. The gun is made up of both injection molded, 3d printed parts, and photo etch. The injection parts make up most of the gun, including the gun shield, barrel, and barrel extension, but the plastic is a bit odd in that Tamyia extra thin didn’t really work but the “hotter” version of it did. The muzzle of the barrel is 3d printed and extremely detailed, so a drop of CA was used to attach it to the barrel itself… more |

|
Churchill Mk. VIIPublished:
The Churchill Mk. VII is AFV Club’s 14th entry in the line of Churchill tanks. Pretty much every variant you can think of has been produced by them. This kit is a dichotomy of both over engineering at times and at other times extreme simplicity. The BuildBuilding this Mk.VII begins with a highly detailed engine and engine compartment, so if you want to have all the engine access hatches open you have something great to look at. That being said there is no other interior parts for the entire kit. I chose to keep the engine out and all hatches closed. Moving on body sides, forward gun mounts, and upper panels are added to the build. AFV Club has made this kit very modular due to the large number of variants for this tank. I did not find too many extra pieces but… more |
|
Kawasaki Ki-45 Kai Ko/Hei Toryu (Nick) - Finishing the Build - Part 3Published:
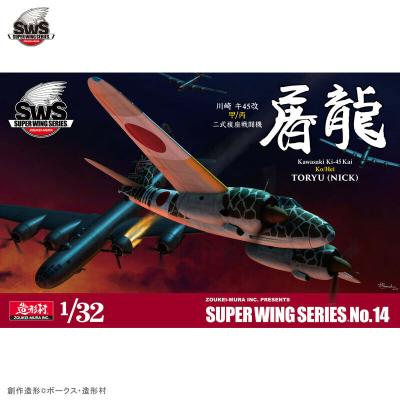
Part 3 of the 1/32 Nick build is the wings, painting, and final assembly Construction of the wings began at the very beginning when the full span spar was added but now we’ll flesh them out. The first steps are adding the landing gear well walls and then the fuel tanks and aileron linkage rods. Then attach the lower wing panels. Make sure you drill out the holes in the bottom of each wing before doing so. Next comes the somewhat complex landing gear parts. I used the kit parts here instead of aftermarket. Make sure you take your time with these assemblies and make sure each part is firmly glued in before moving on. Also, I recommend you paint them first before attaching since some of the parts would be hard to reach after being assembled. Most everything in the gear… more |
|
Kawasaki Ki-45 Kai Ko/Hei Toryu (Nick) - Fuselage and Cockpit - Part 2Published:
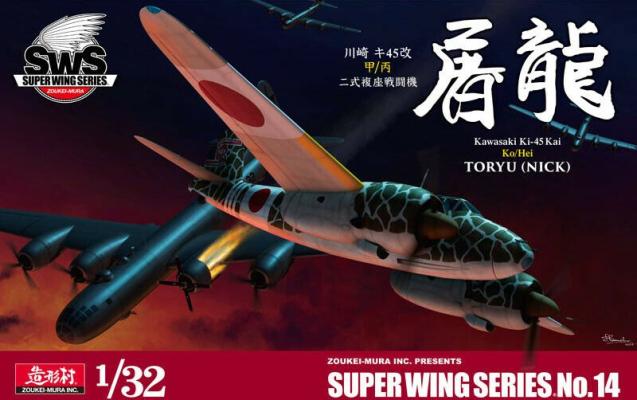
Part two begins the major work on the cockpit and fuselage interior. As with all ZM kits you are building the entire interior of the aircraft. Full cockpit, center section, and rear gunner position. The build in this part starts with the center section using the cockpit and center floor and adding in the fuel tank assembly. Forward and rear bulkheads are added along with the wing spar. This spar is not just a short piece either it’s the entire spar assembly for both wings and acts as a fuel tank cover for what turns out to be a lower tank. Lower fuel tank side supports are added along with the alerion linkage rod then work on the cockpit begins. I chose to add to this kit the ZM Photo Etch so some of the cockpit pieces will be switched out for etch. It’s a small… more |
|
Kawasaki Ki-45 Ko/Hei Toryu (Nick) - Part 1Published:
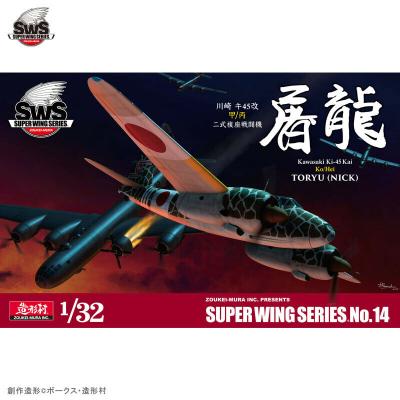
Hot on the heels of Zoukei-Mura’s new Ki-45 Late comes the Ki-45 Early edition. Giving you two choices of the Early type of heavy fighter the Ki-45 Toryu Kai Ko or Kai Hei. As with all ZM kits this one has a full interior and you have your choice of clear fuselage (to show off all the interior details) or gray plastic fuselage. The box is jammed full of both gray and clear sprues and it comes with a 59-page instruction book. First up for the build is choosing which variant you want to build. I chose to go with the Ko version, in the instructions this would be option A. I chose this version for two reasons. The alligator type paint scheme and the two machine guns in the nose as apposed to the one cannon. Opening the instruction book you see that the paint chart is… more |
|
B-18 Bolo ASW VersionPublished:
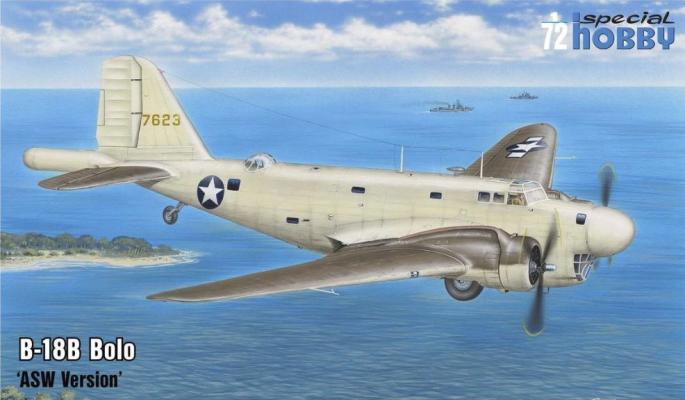
Special Hobby has issued a new release in their line of B-18 Bolos. This one is the ASW edition with radar nose and “mad” boom on the tail. It is a great addition to the B-18 series and a unique addition to any ones collection of large twin engine aircraft in 1/72 scale OverviewThis kit is the fourth in the B-18 Bolo series and is one of the more unique variants of this obscure aircraft. The kit is typical of Special Hobby in that it is a mix of styrene, photo etch, and resin parts and should still be considered “short run” so dry fitting and some slightly more advanced modeling techniques will be needed. ConstructionBefore starting I dipped all the clear parts for this build in “future” floor polish. As there are a lot of windows and clear parts… more |
|
48 Reichsverteidigung Profipack Dual ComboPublished:
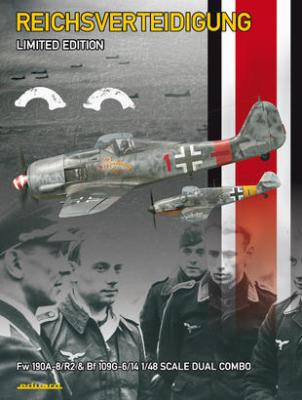
Eduard’s new dual combo Reichsverteidigung (Defense of the Reich) profipack combo set is the newest way for Eduard to show off their new tool Fw-190A and Bf-109G kits. This dual combo is a perfect way to experience the new tooling and as a bonus you get an Eduard print of an fw190 racing away from a pursuing p-51. FW190a-8/r2ConstructionAs with most kits construction starts in the cockpit and construction is very straight forward. Eduard gives you three choices for the cockpit panels: photo etch, decal or molded plastic. Since this is a Profipack kit most people will be using the photoetch. One word of warning is that the photoetch is tiny even for 1/48 scale but in typical Eduard fashion it’s top notch and looks great when used. You get a full instrument… more |
|
Riders in the Sky 1944Published:
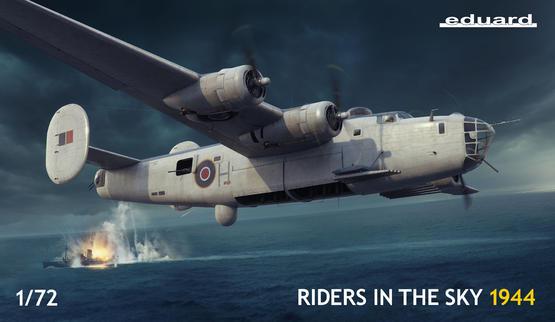
Eduard’s extensive new “Riders in the Sky 1944’ B-24 coastal command Liberator Special Edition comes packed to the gills with extras. Besides the two new sprues, photoetch, and standard Hasegawa B-24D kit. you get a book full of photos and information, though the wording in mine was in Czech(There is an English translation available in PDF format). You get an Eduard print of the cover image on the box that it all comes in. ConstructionThe main kit here is the venerable B-24D by Hasegawa. IPMS/USA has reviewed the standard kit. I’ll be reviewing the add-ons and modifications that Eduard has provided for this special edition. Unpacking the box, you will see the Hasegawa kit and then two new sprues, one in Eduard’s dark gray, and a new… more |
|
SP-2H Neptune "New Patrol Scheme" Limited EditionPublished:
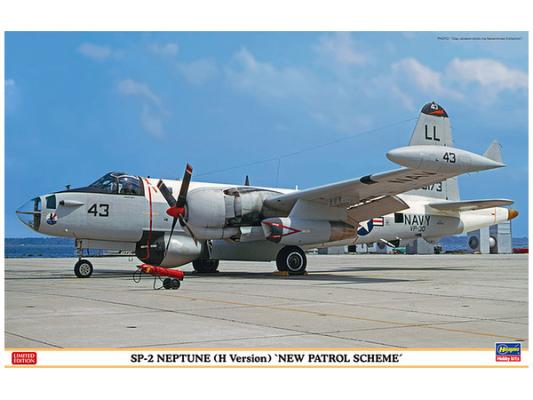
ConstructionOpening the box you’ll notice that this is the original 1970s’ mold Neptune, and the molds are starting to show their age. Many of the parts had some bit of flash to them. Thankfully though they were very easy to clean up. The second thing you’ll notice is that the directions have many photos of Neptune’s, but they are of the Japanese version of the aircraft. The build though is the same no matter what version you are doing so no need to worry that the photos don’t match the exact aircraft. Step one of the build begins in the cockpit, or should I say lack thereof. The kit only gives you two seats and a panel. You do have a choice to add pilots but that still doesn’t add much. I painted all the parts and the interior of the fuselage XF-82 and then scoured… more |
|
BF-110F Heavy FighterPublished:
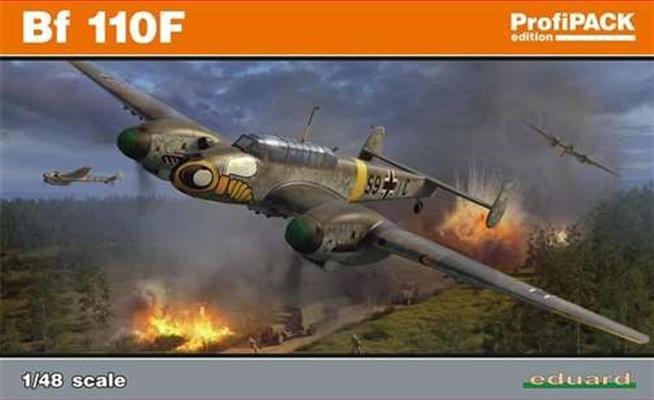
Eduard has released the latest in their great line of 1/48 scale Bf-110 kits. The Bf-110F night and heavy fighter. It follows in a long line of Bf-110 kits and is a welcome addition to the lineup. ConstructionConstruction is broken down into two major subsections, one for the fuselage and one for the wings and rudders. The fuselage comes first, starting with the cockpit. Eduard’s directions shine in that they show what parts are replaced or enhanced by the Photo Etch and what needs to be done to the part prior to PE application. The cockpit gets an overall color of RLM 66 first before adding the PE. In the cockpit the entire throttle quadrant gets enhanced as does the right side panel and seatbelts for the seat. You also need to make a decision on what… more |
