
GAZ-A in German Service
ICM keeps adding more kits than most manufacturers and extending their line.
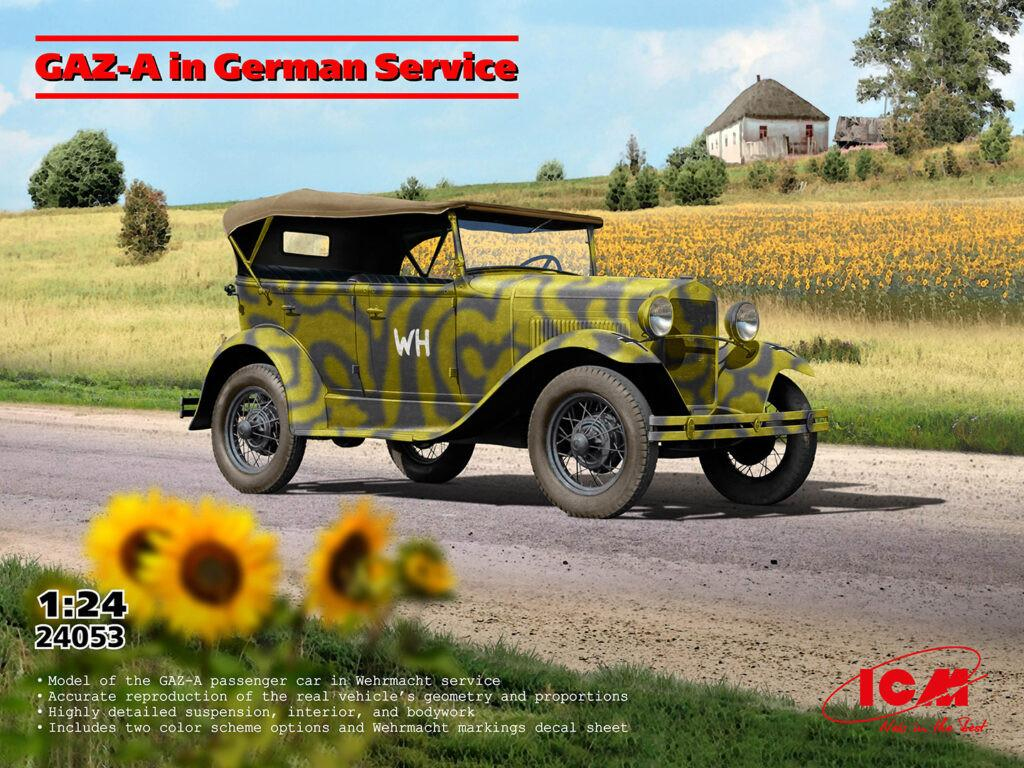
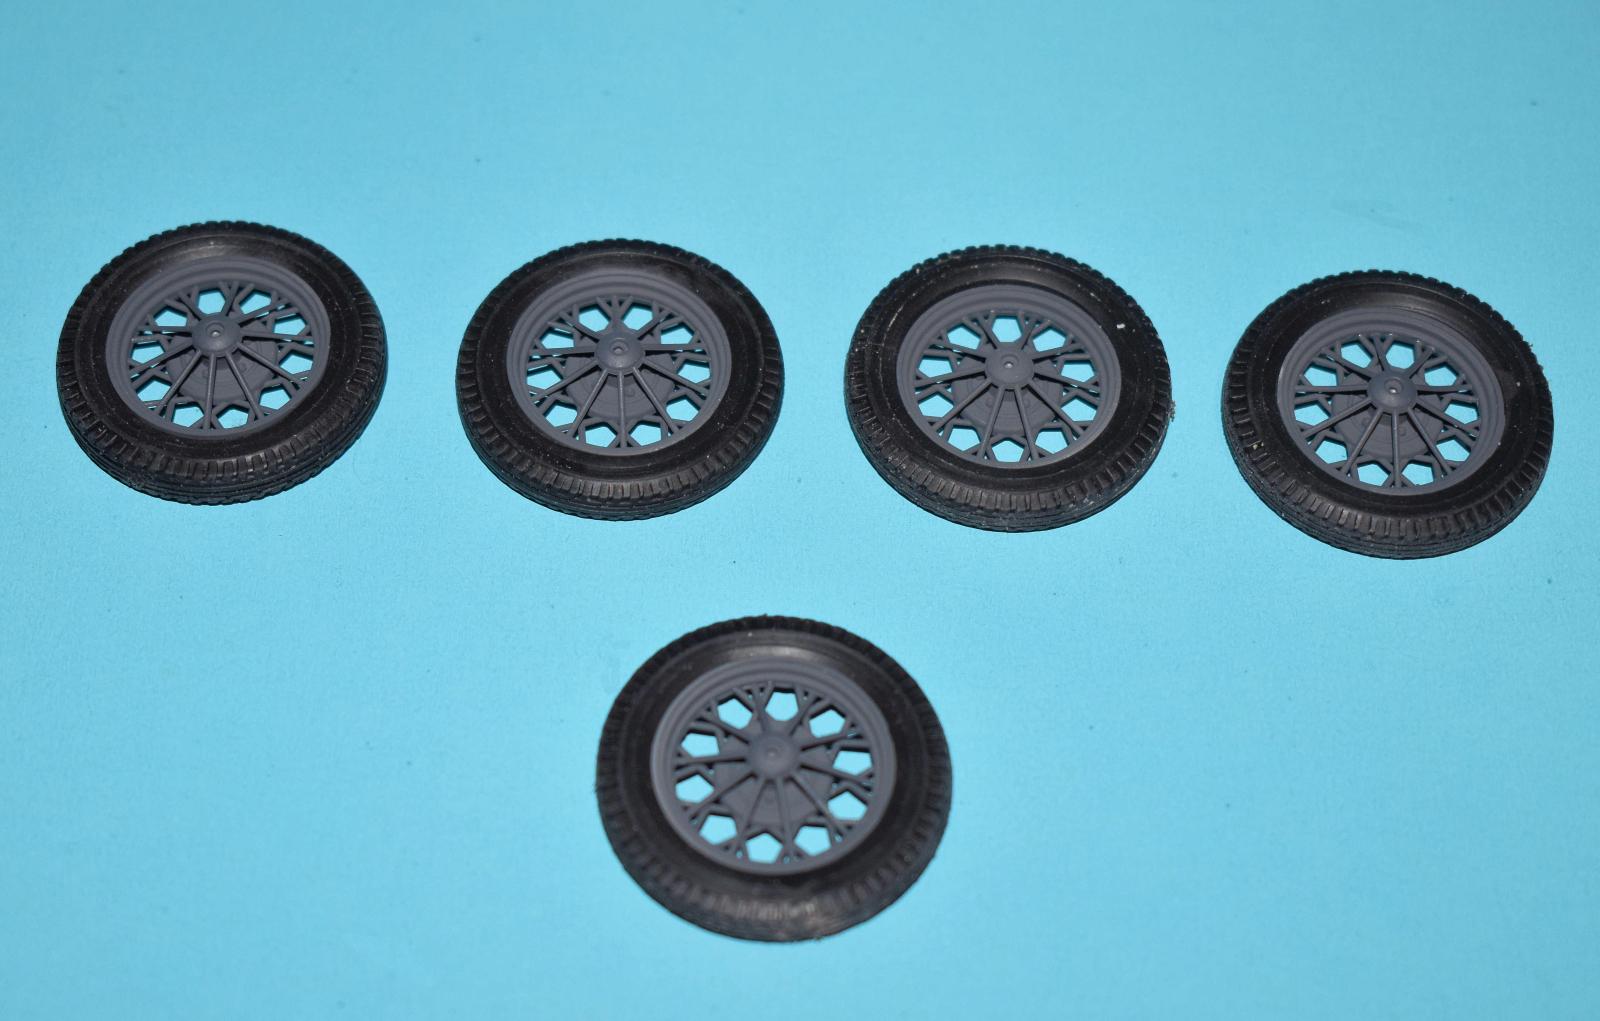
ICM has produced a kit of the GAZ-A which was produced from 1932 to 1936 in a joint agreement between Ford and the Soviet Union. It is a replica of the Ford Model A. The representation in this kit is one commandeered used by the Germans. The kit is made from 201 parts on nine gray sprues, one clear sprue and 5 rubber tires. The instructions have great sprue maps and show the unused parts. There is a small sheet of decals and two markings available both with German crosses.
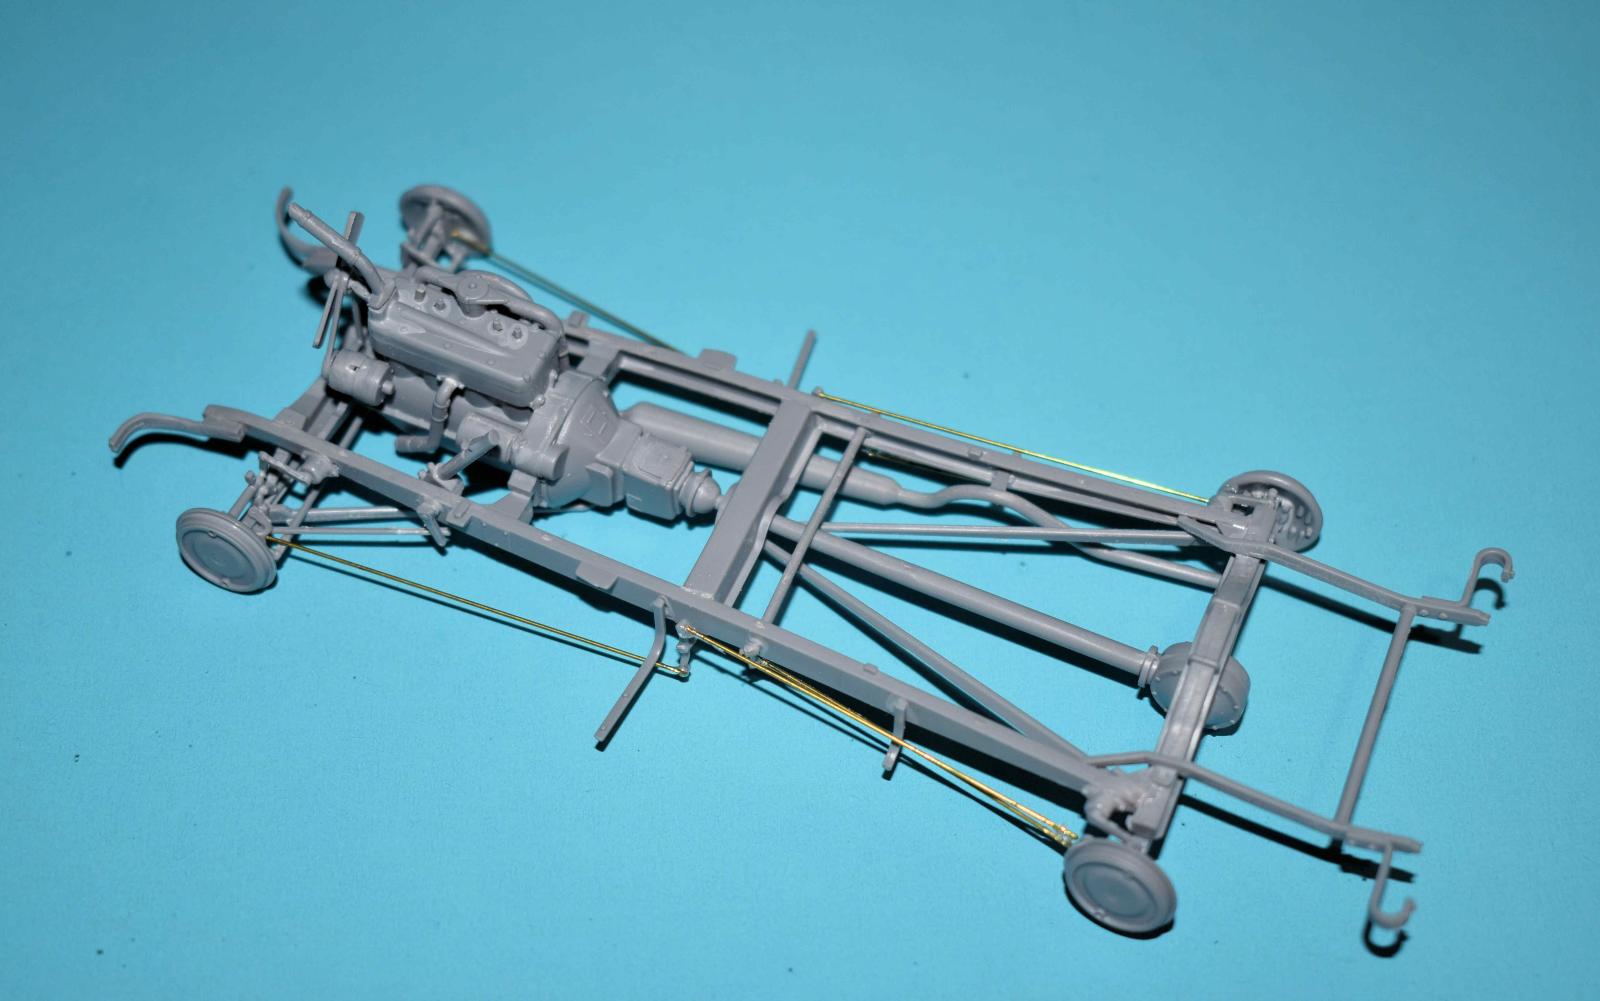
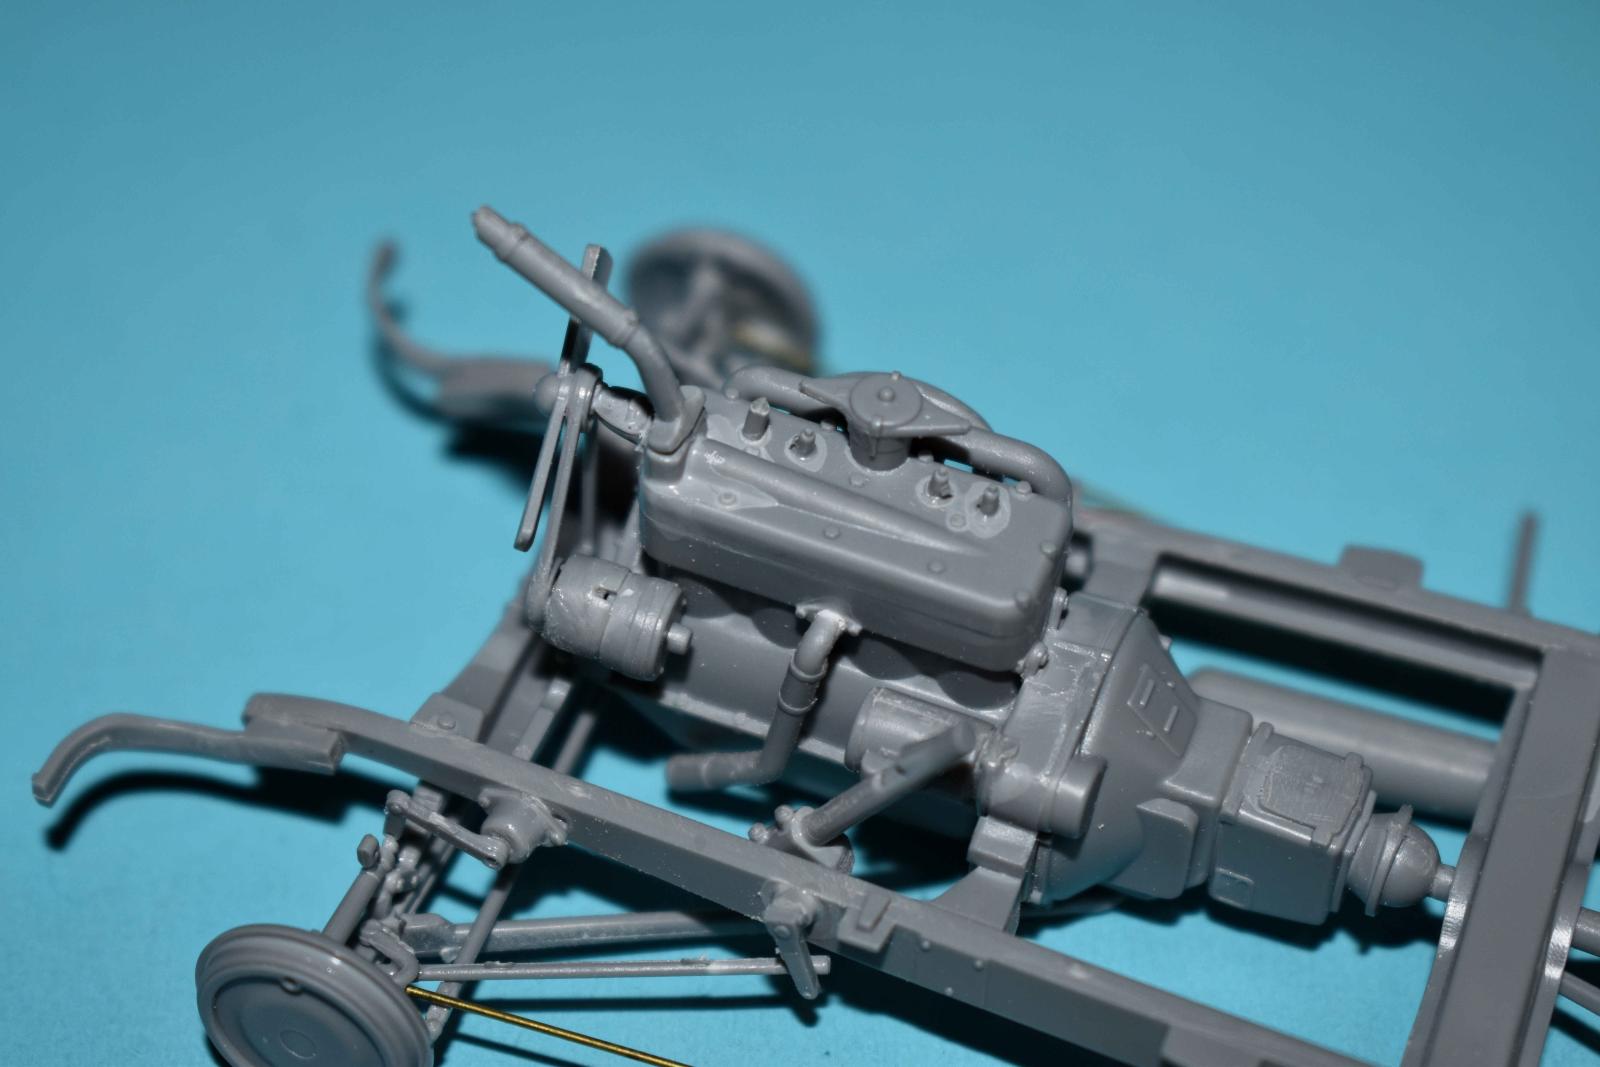
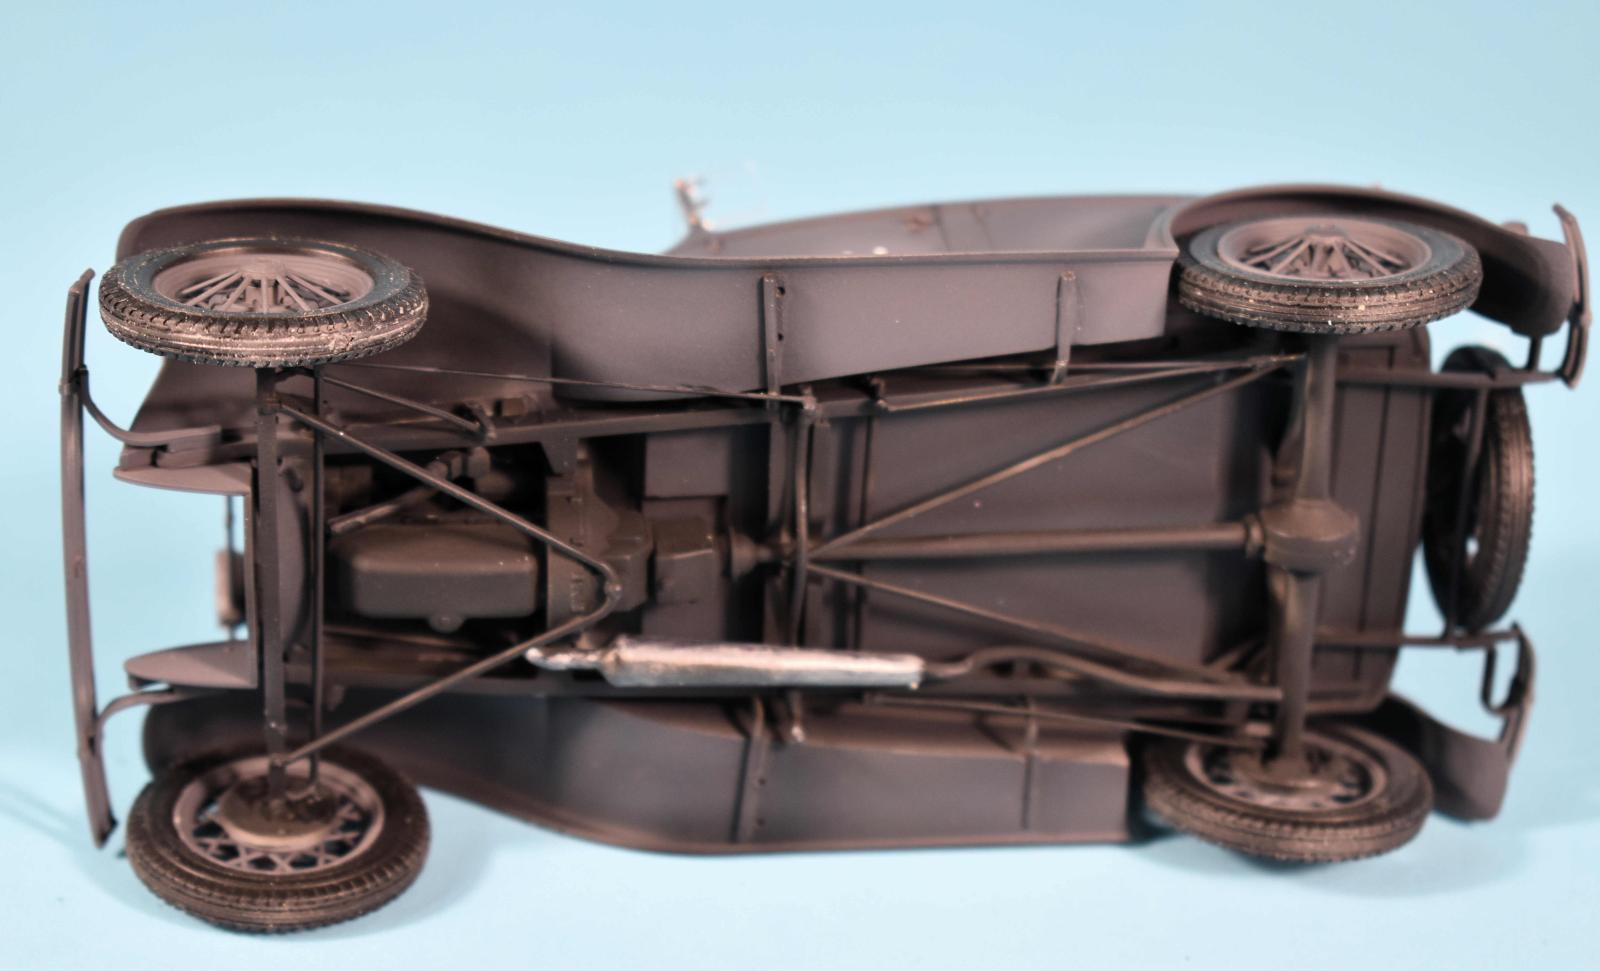
Construction starts with the frame which is constructed from eleven pieces. Make sure that the parts are squared up as the contact points are good but not keyed. The frame needs to be square and level as tis is the basis for the rest of the kit. The engine is next and is made from 31 parts and has some very small pieces. Fit is very good by the parts but there are some really small parts, especially the spark plugs. The build up is similar to a real engine with all parts except for the wiring. Painting call out are for ICM paints but not hard to change and I used Tamiya as I had them on hand. All this being said, once we get the kit done and close the front up, the only thing that you can see is the bottom oil ppan and the like.
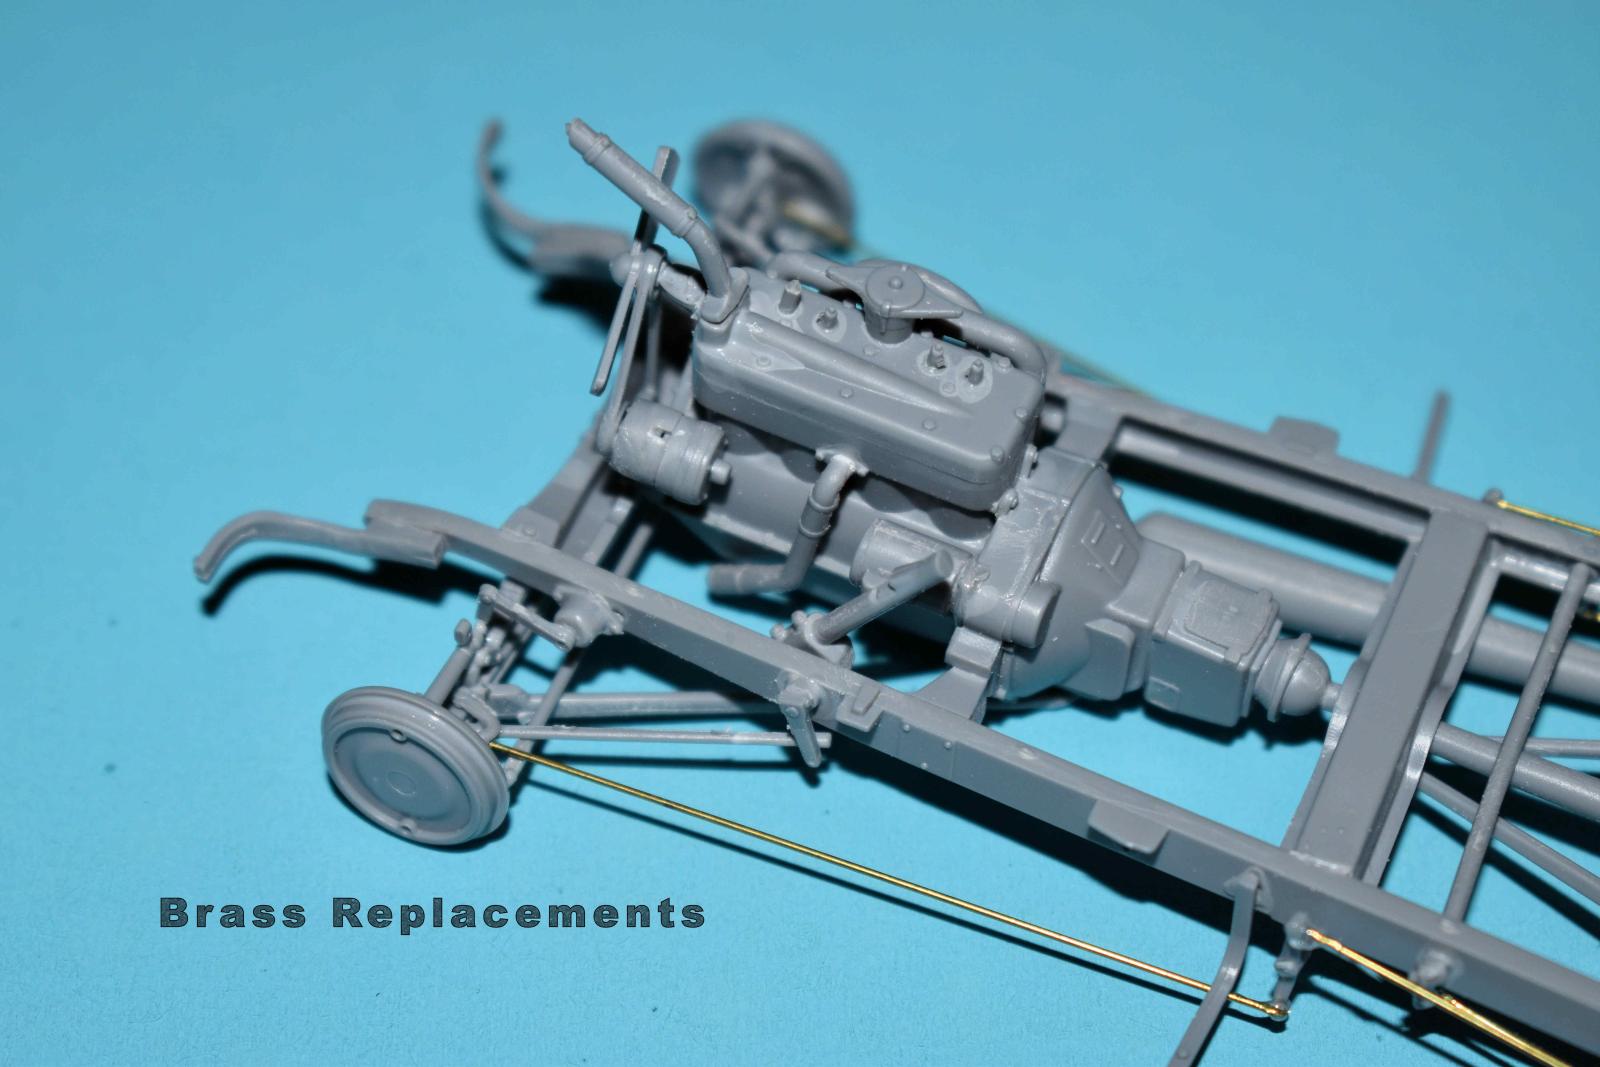
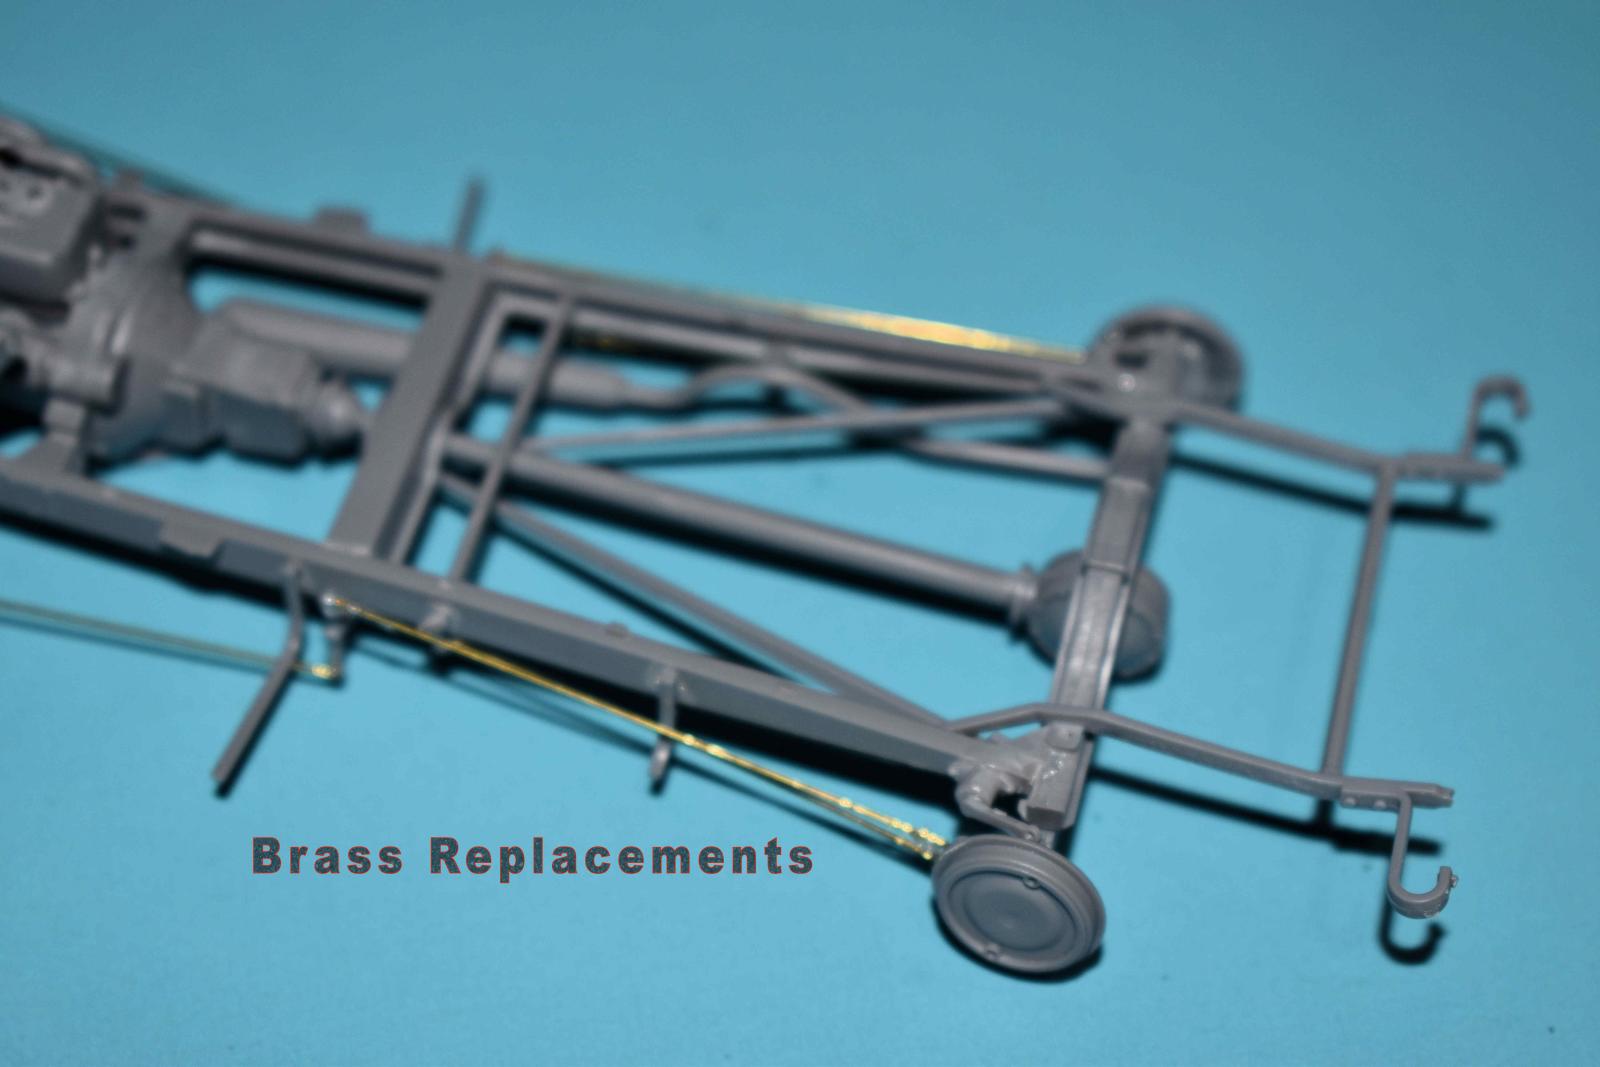
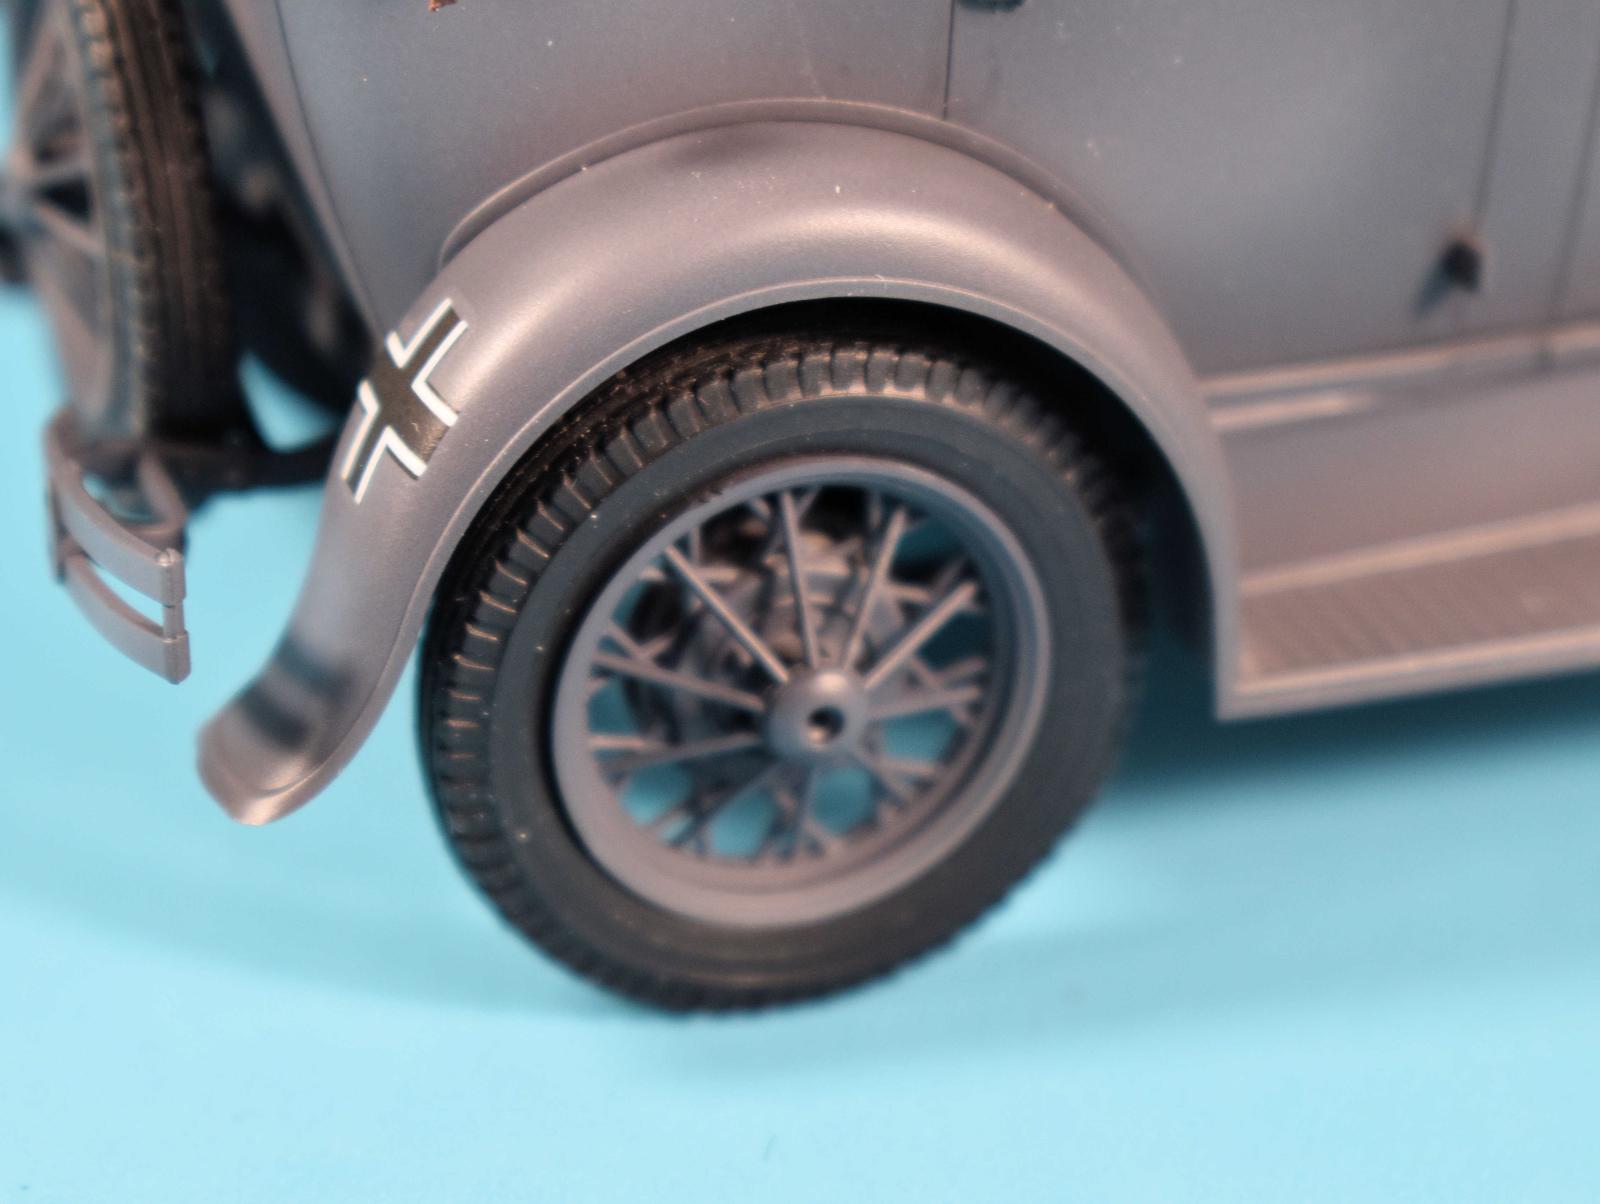
Once the engine is done, it is mounted into the frame and the axles and suspension are added. Some of the parts are very fiddly, especially the leaf springs. Once you get things aligned and then glued, things stiffen up. That being said, the kit does have complete linkages for the brakes and steering. These very small parts broke almost every time I cut them off and /or tried to sand down seams and sprue gates. In the end I replaced them with brass rod I had of the same diameter. You can see some of the replacement in the pictures. The build continues with fitting out the frame and bumper parts as well as bracing for the underside and wheel parts. I left the actual wheel off for later. The frame is basic black and looks nice once finished.
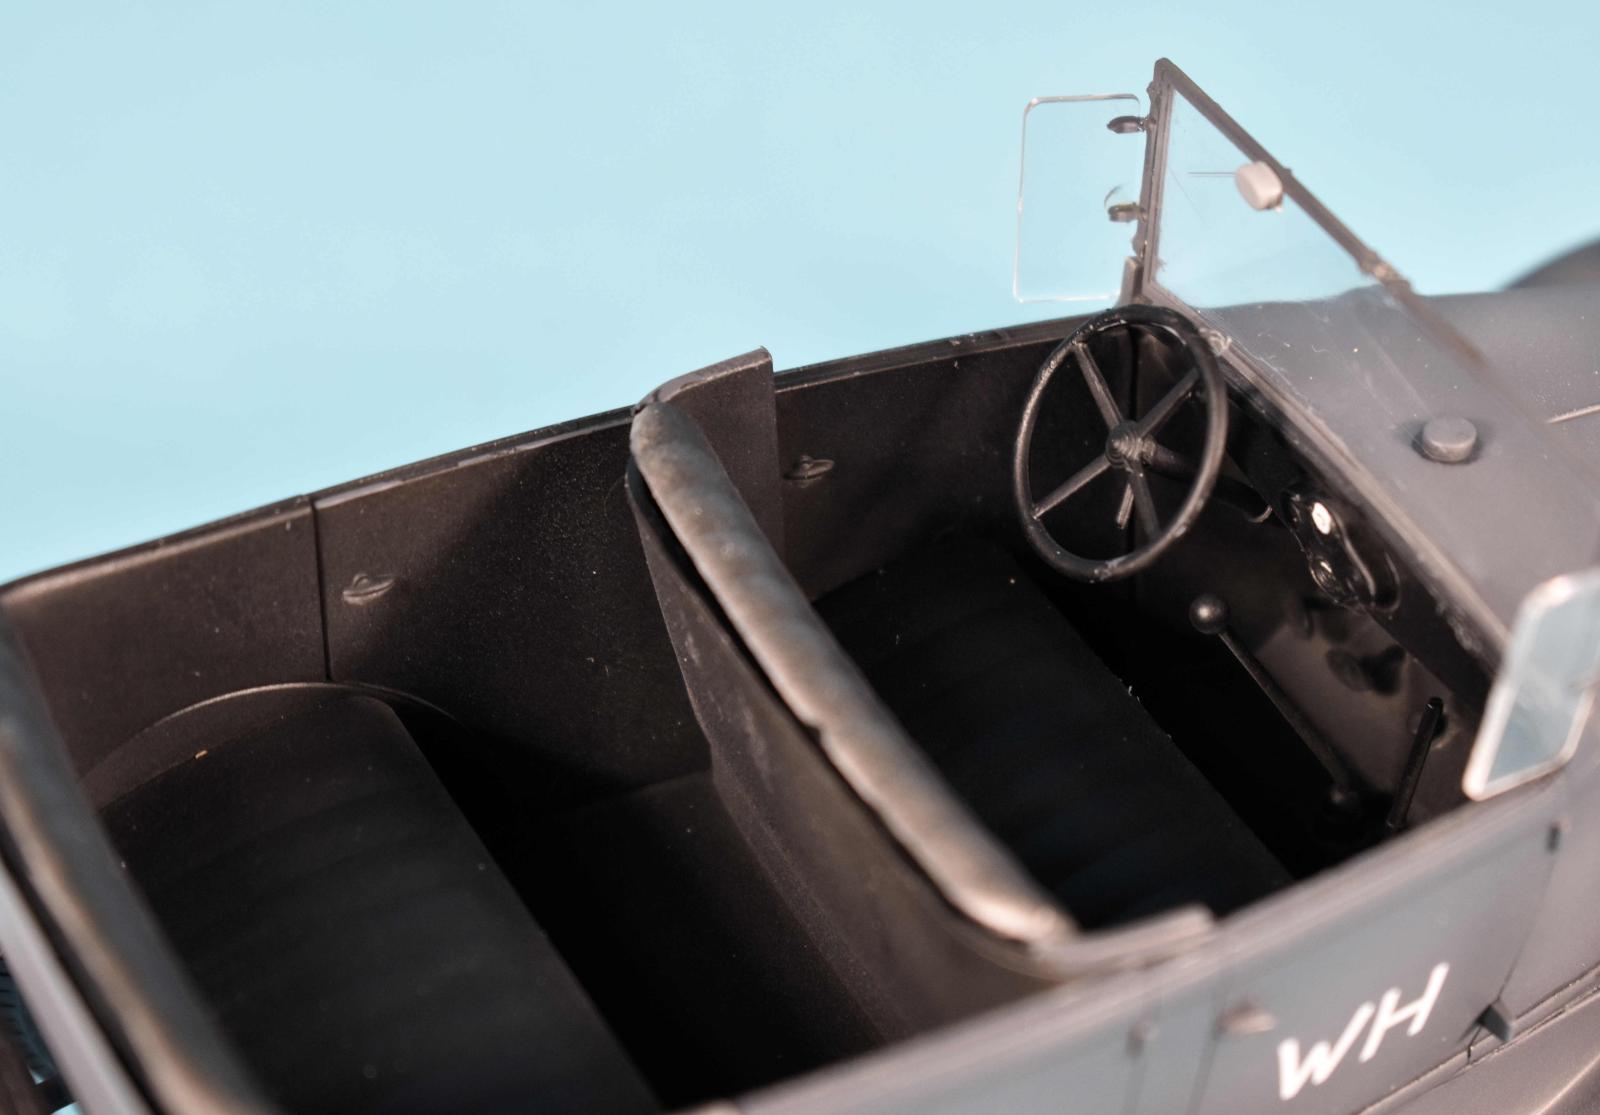
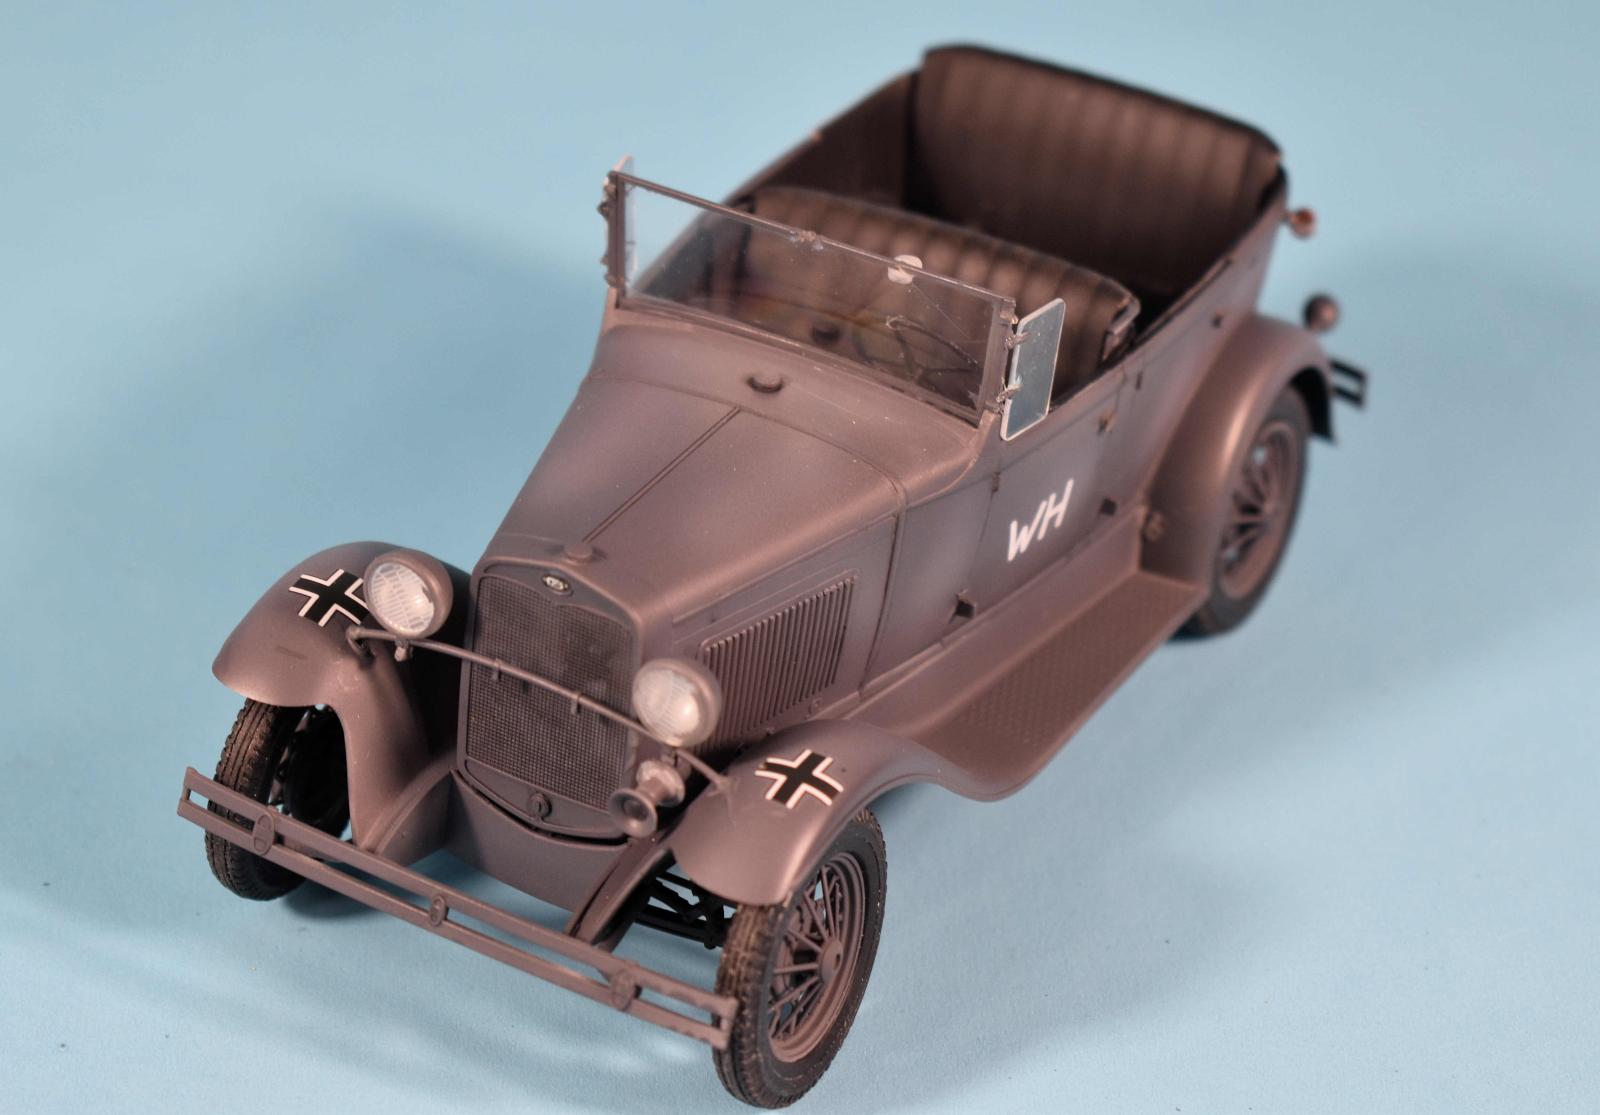
Setting aside the bottom, the body is next and builds from the ground up starting with the fenders and floor pan. Then the firewall and all the needed pedals and instruments on the inside. I left the first part with the body pan off as I assembled the rest of the car. Doors sides and back were next and the attaching everything to the body pan. Fit is good. Take your time and test fit before you commit to glue and if you get everything aligned, there is not much filler needed at all. I took my time and get the main parts aligned well. Next the radiator and front bonnet are built. This is a little fiddly but the radiator seat onto the front bumper parts. I added the two side on and got that to fit and lastly added the top hood. Took a little Perfect Plastic Putty but not much.
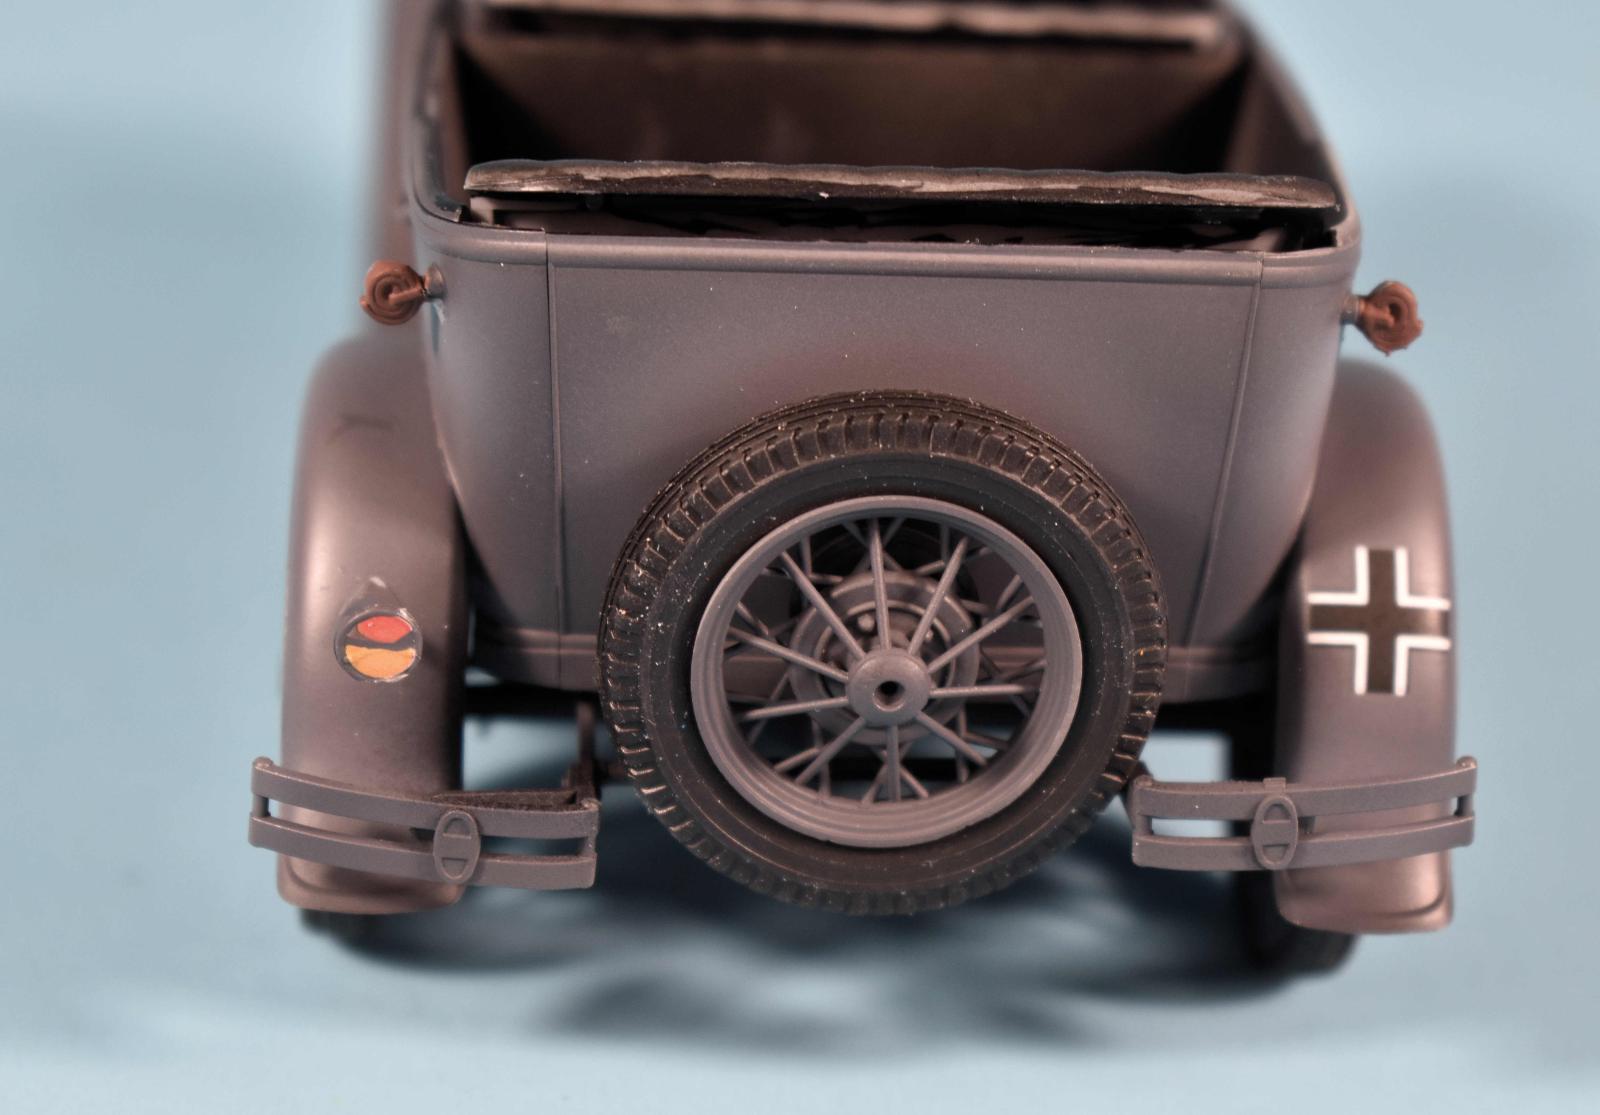
The seats are next and I thought I could add the bottom and just add the cushions later. Bad idea. I got it done but if I did it again, I would build the entire seats, build and paint them add them and them the backs and sides. Oh well, live and learn. Once this is done, there are fiddly bits (and lots of them) to add. This includes the tail light, front lights and horn. One point here. When I mention fiddly bits, there are parts to the kit that are 1mm x 3 mm long. They are well molded. IT takes some patience and putting parts back on especially when painting. And it is time for paint.
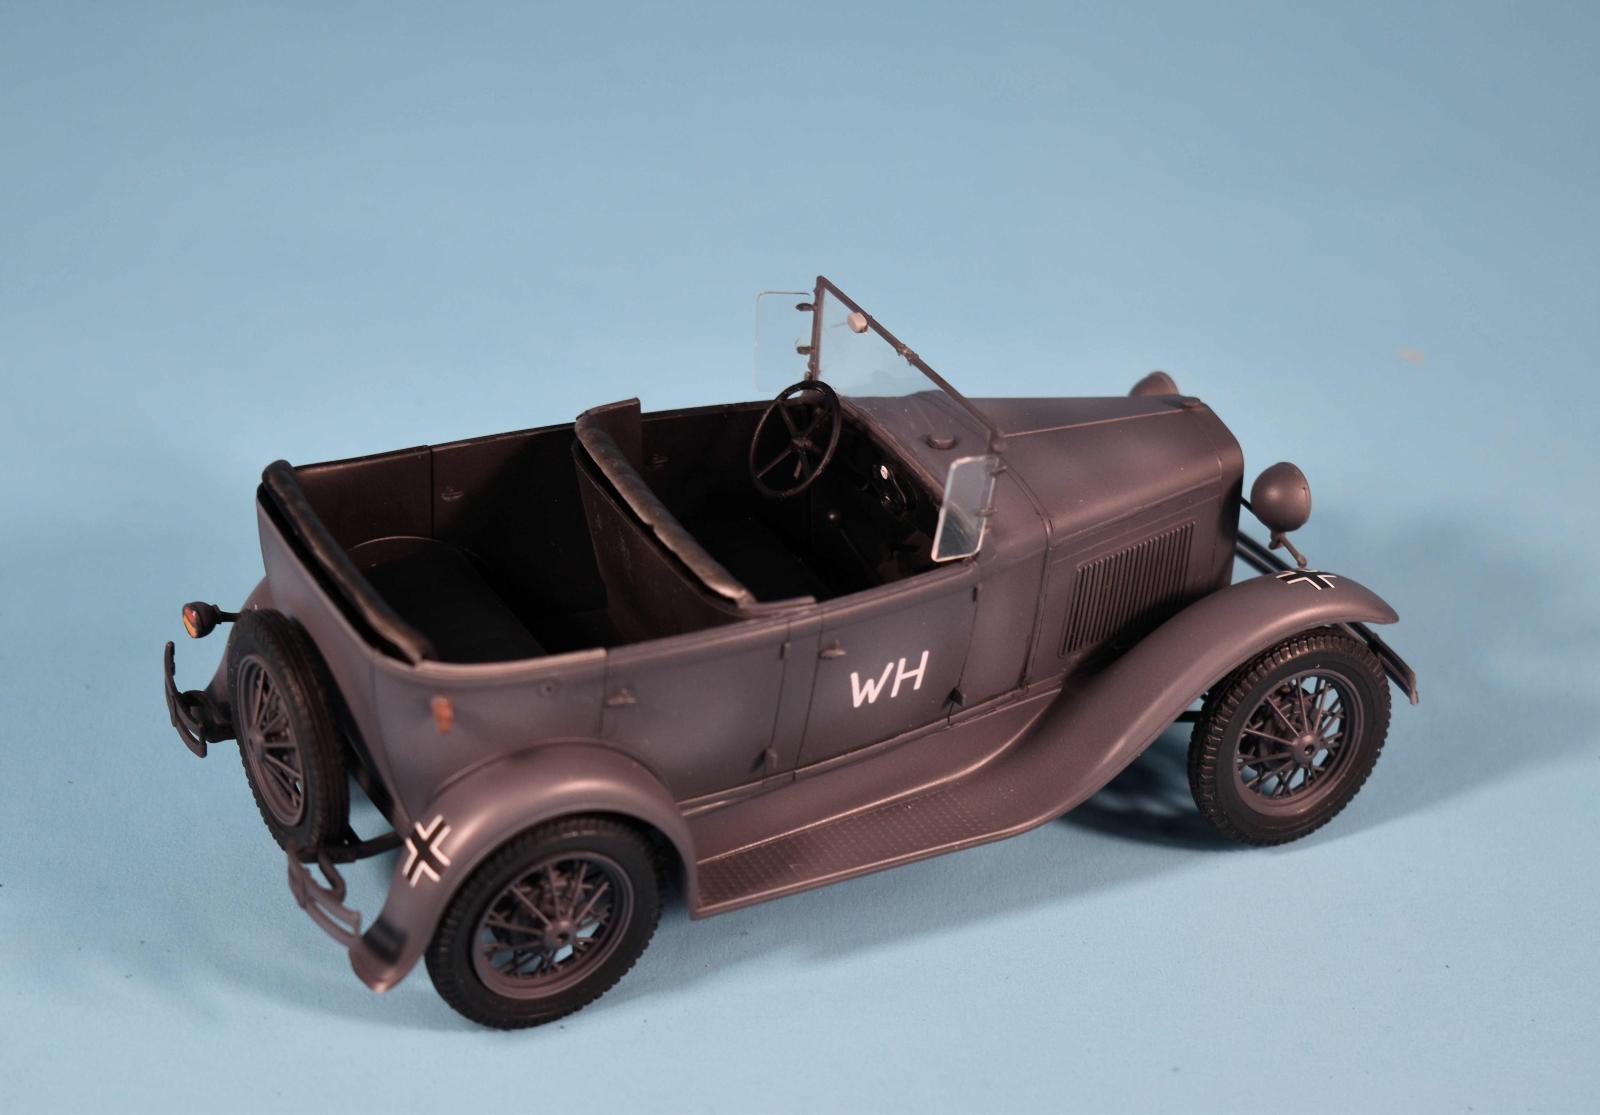
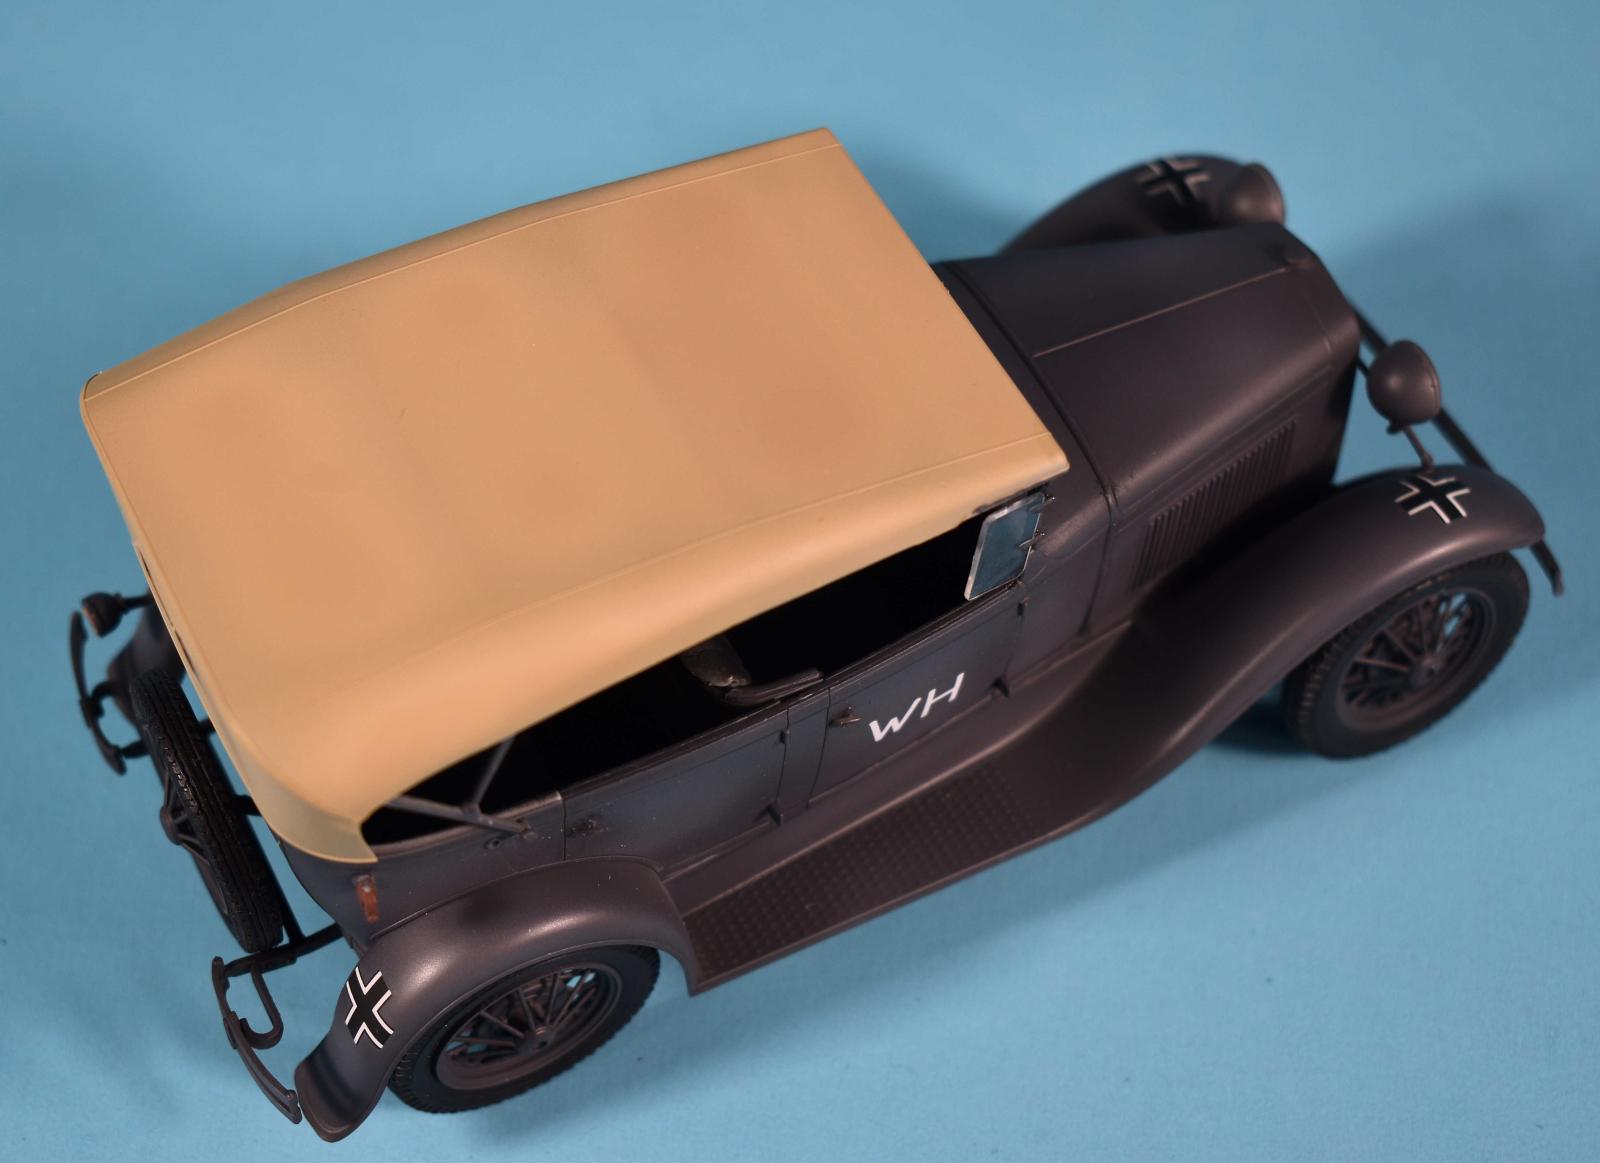
The interior is all black and I preshaded some of the outside with black also. The outside of my markings was German Gray. I took a couple rounds to get coverage and touch ups. I then lightened the gray and went back and sprayed some of the larger panels in the center to get some tonal variation. Once things were dry, I gloss coated for the few decals and they went on well. I then added some black oil spot washes to highlight seams and the like. I used some pastels to get the interior some variety. I added the tires including the spare. Lastly, I flat coated the kit.
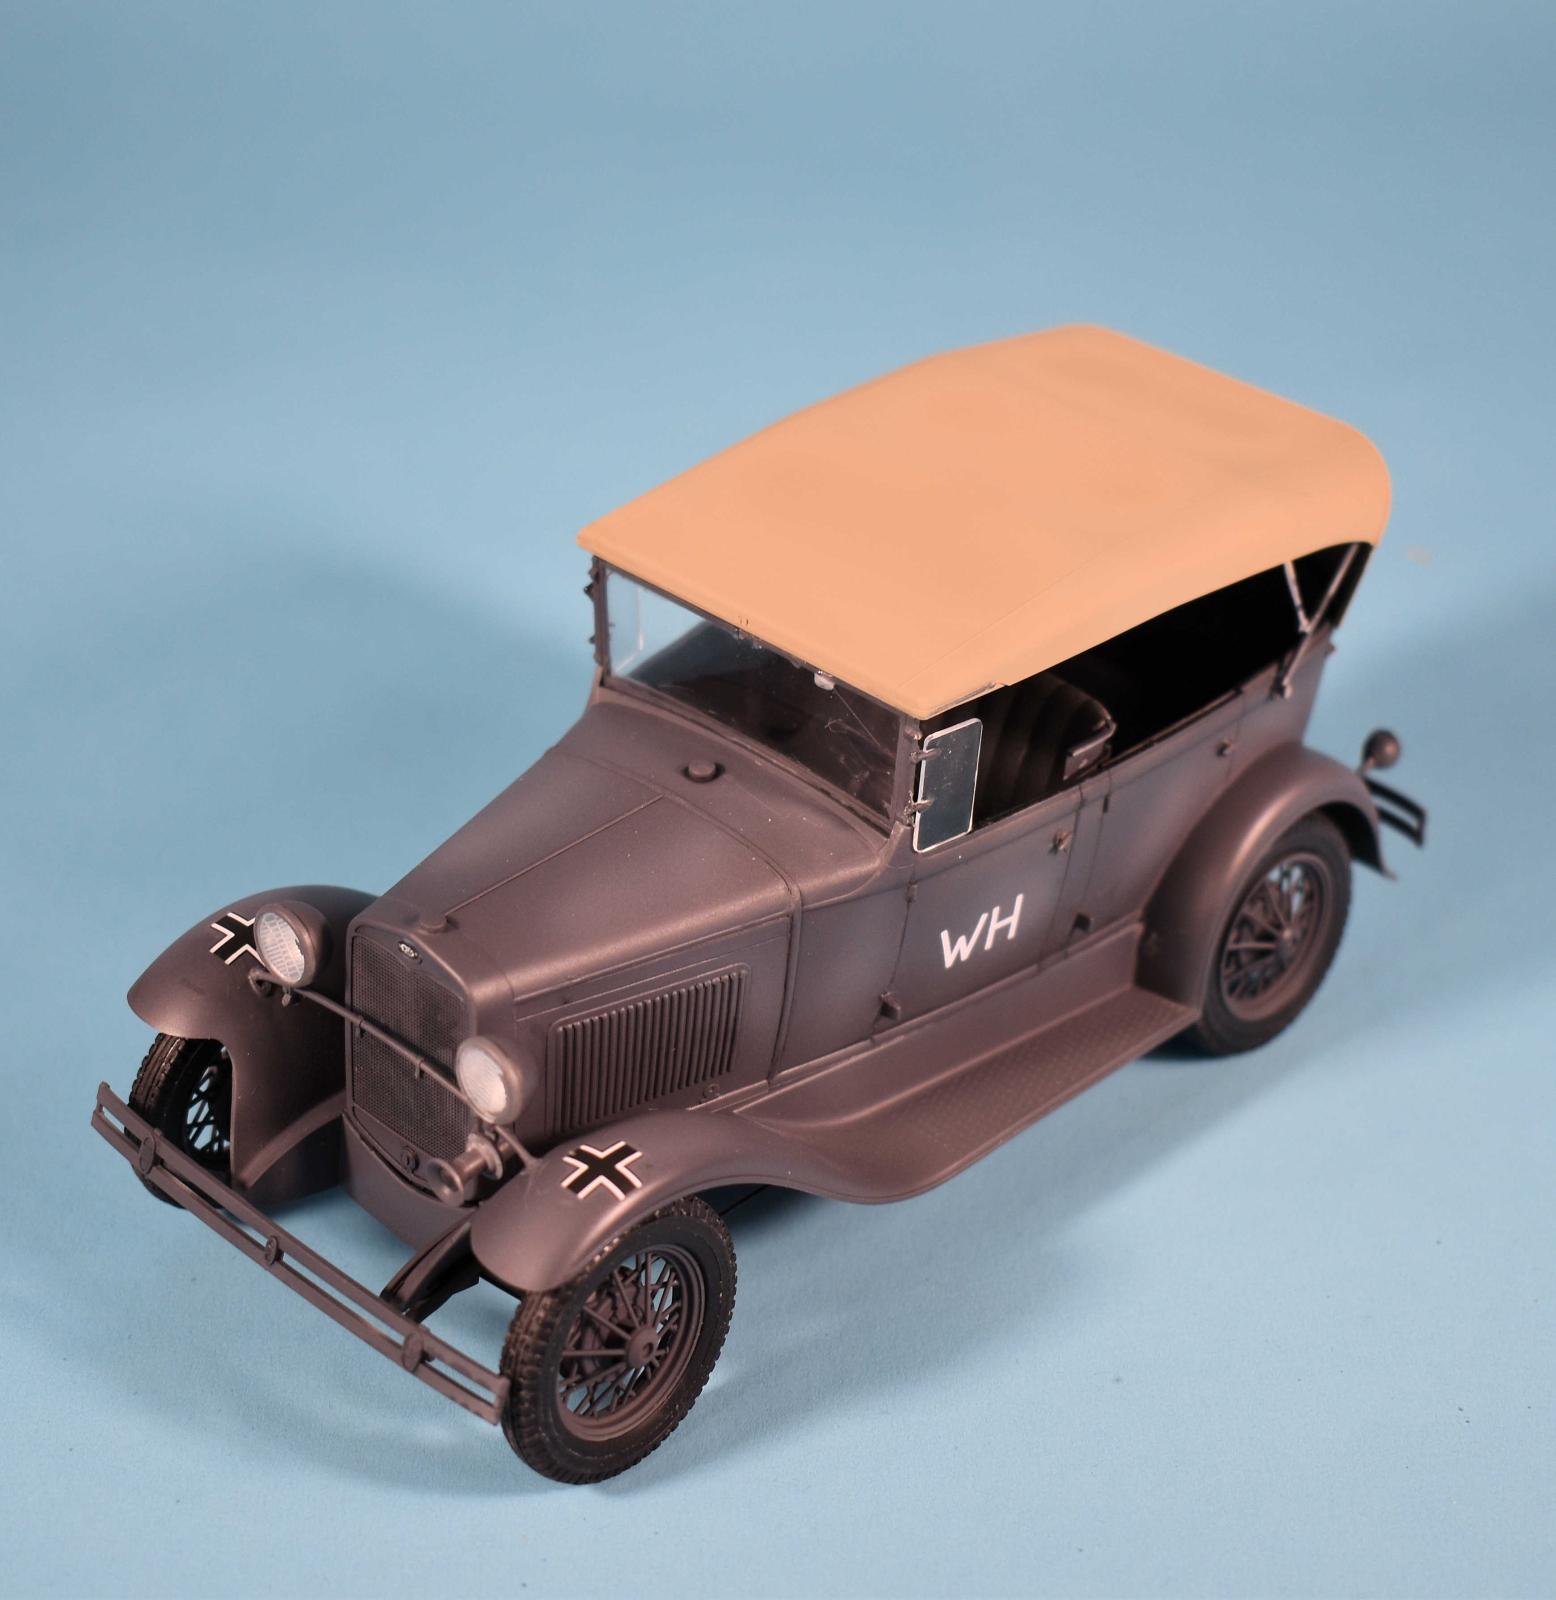
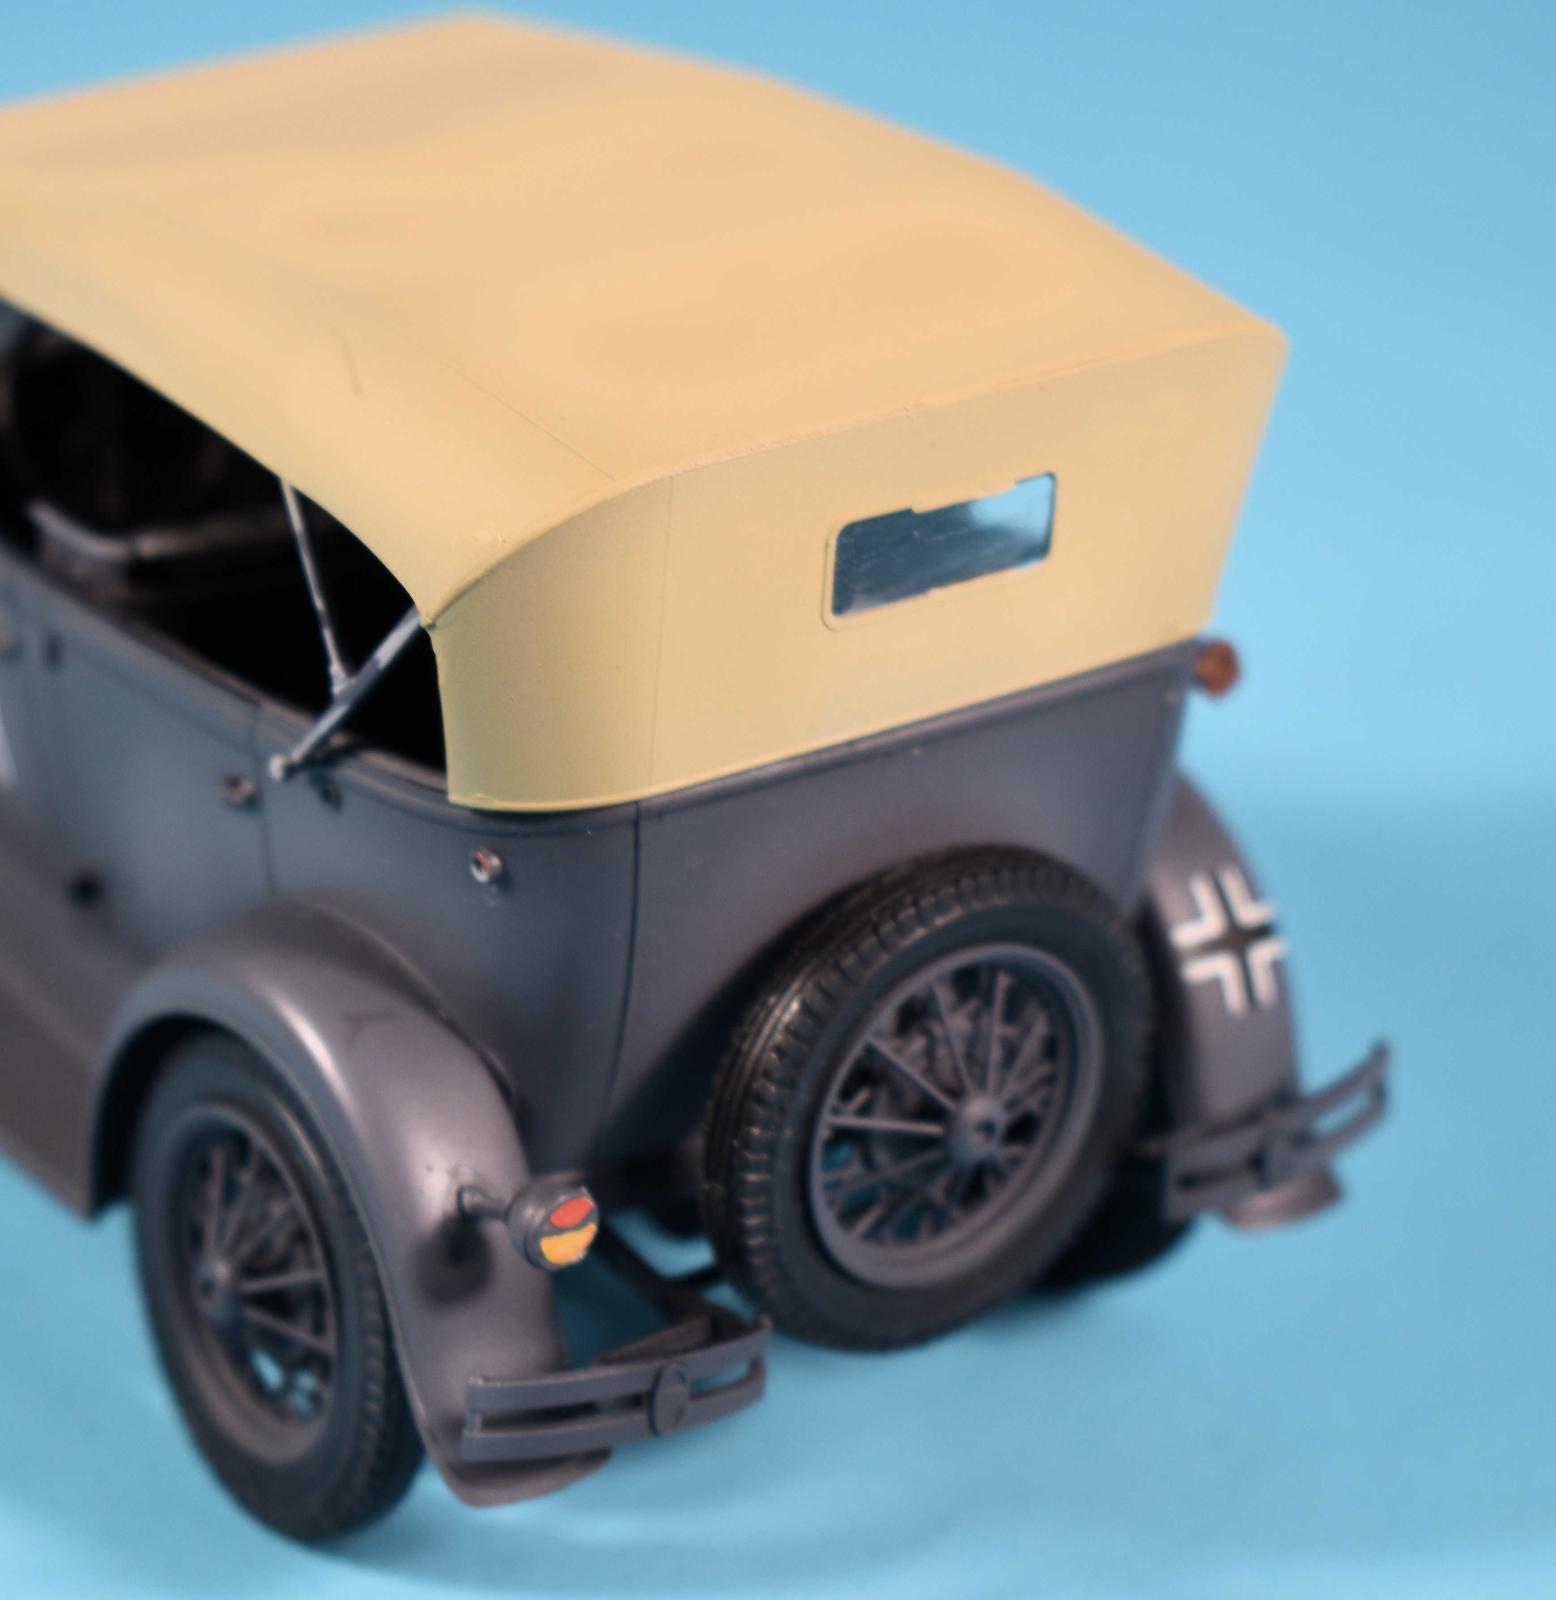
For the glass parts, you have a windshield the is masked and painted. The washer motor is separate an two miniscule parts for a rear-view mirror. This is glued in place with white glue and I took pictures as you can leave it this way but with the weather in Europe, I suspect they used the top a lot. The top is two primary parts that fit perfectly. The interior frame is another part where the smaller parts shatters when cutting loose. I added plastic strip to replace and painted the top with lightened parts also. The frame was added last and painted German Gray. I glued the top to the base and all done.
The finished product is great looking and highly detailed. Following the instructions is a good idea. Also, due to the fineness of the parts, expect some breakage and replacement. For that reason, I would recommend this kit to someone with some experience handling small parts.
My thanks to ICM for making such a wonderful and highly detailed kit.


Comments
Add new comment
This site is protected by reCAPTCHA and the Google Privacy Policy and Terms of Service apply.
Similar Reviews