
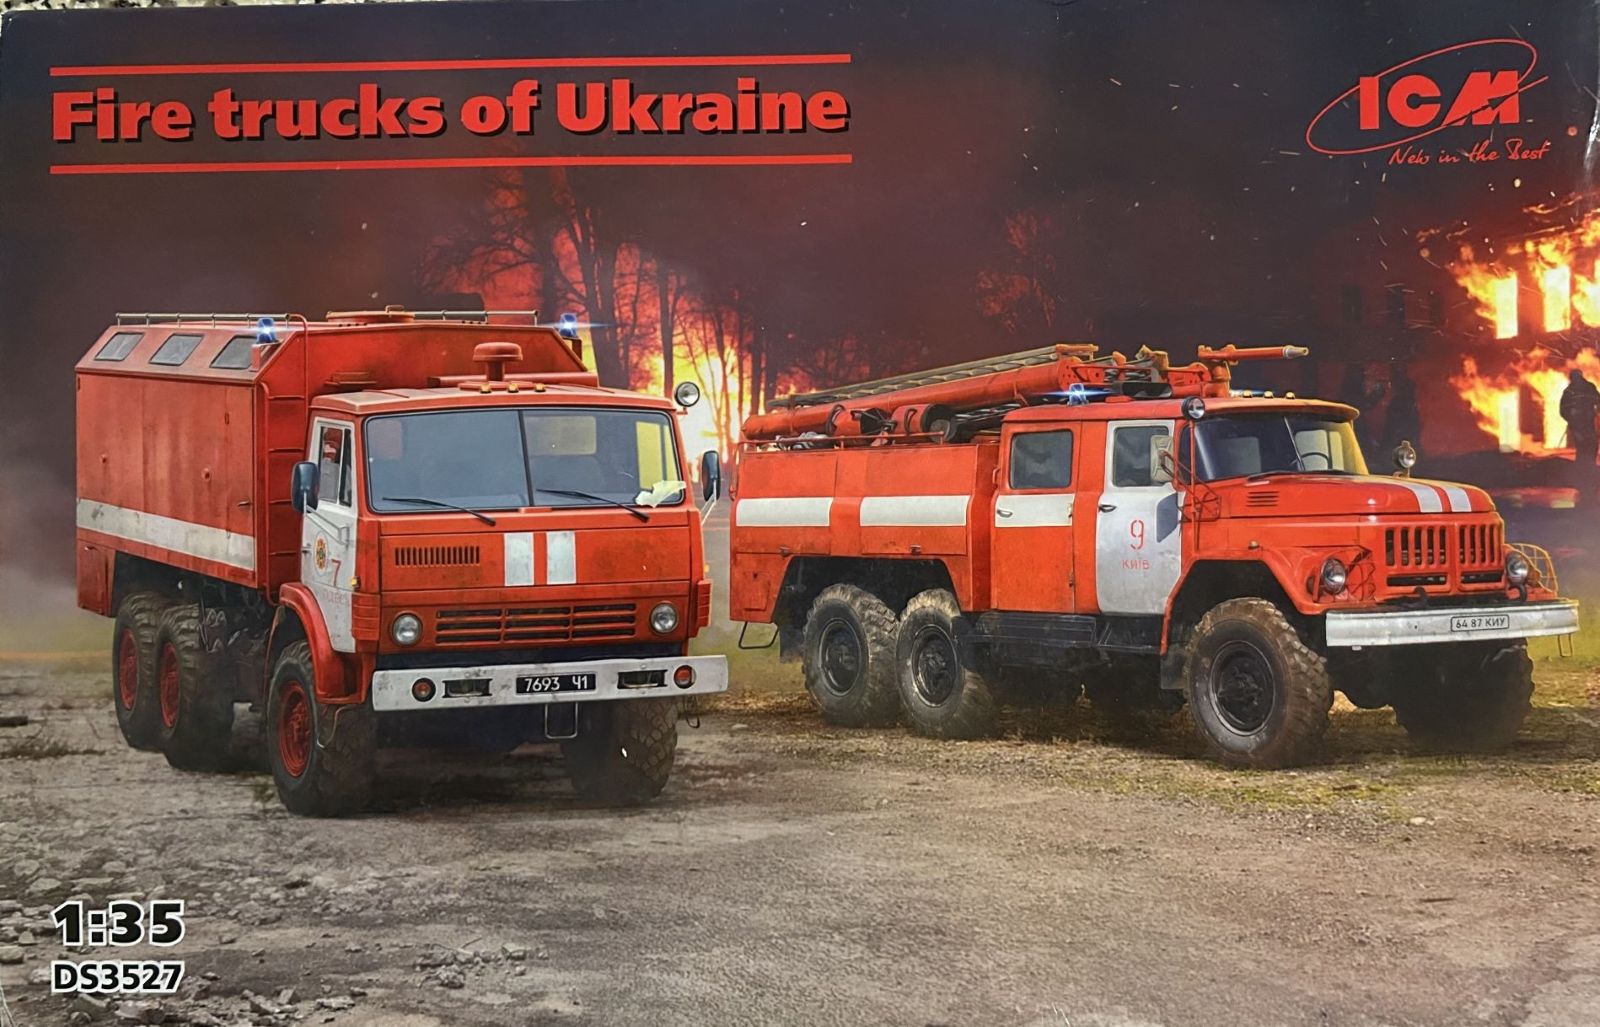
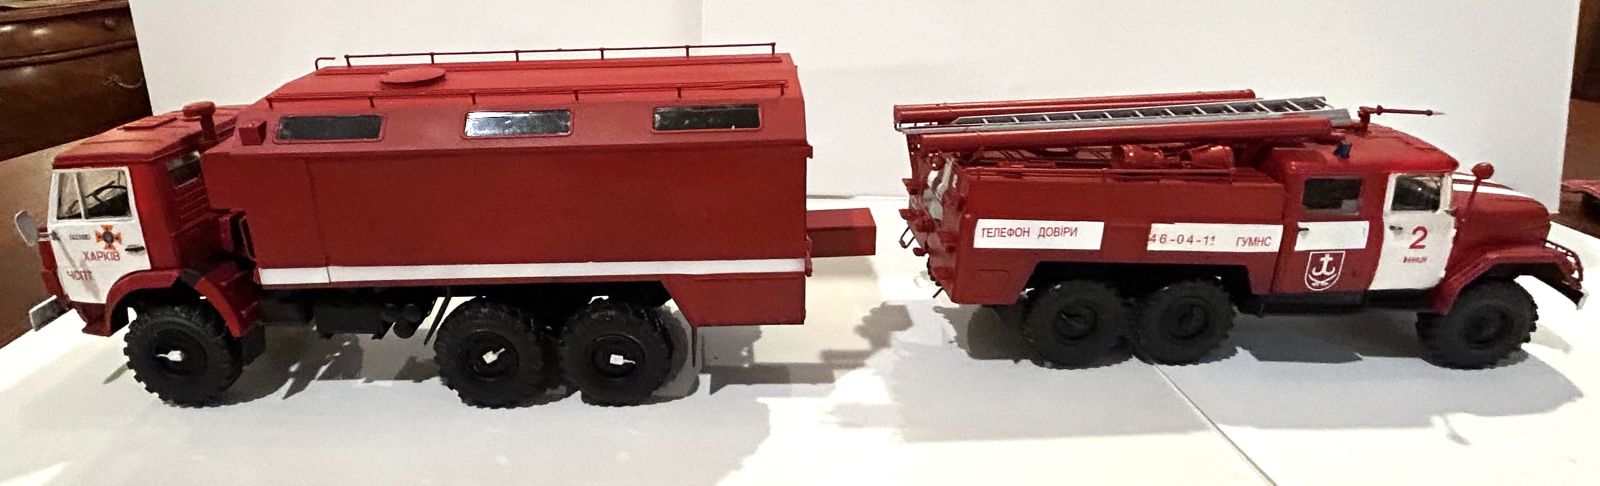
Fire Trucks of Ukraine
Manufactured by ICM, who are based in Ukraine, this is a bonus boxing of two previously released kits: the AC-40-137, which is based on the Zil 131 truck chassis, and the AR-2 that is based on the KAMAZ-43105 chassis. As ICM does from time to time, they will box kits together to create a new boxed set that is thematically similar. The AC-40-137 has seven sprues for a total of 295 parts and an additional one for clear parts. The AR-2 also has seven sprues, but with a total of 330 parts, including three sprues for clear parts. Each vehicle has a couple of color profiles to choose from that are very similar to one another, basically red and white stripes. The molding is nearly flawless. There is a very small amount of flash on some parts, but nothing that cannot be solved with the quick pass of a hobby knife.
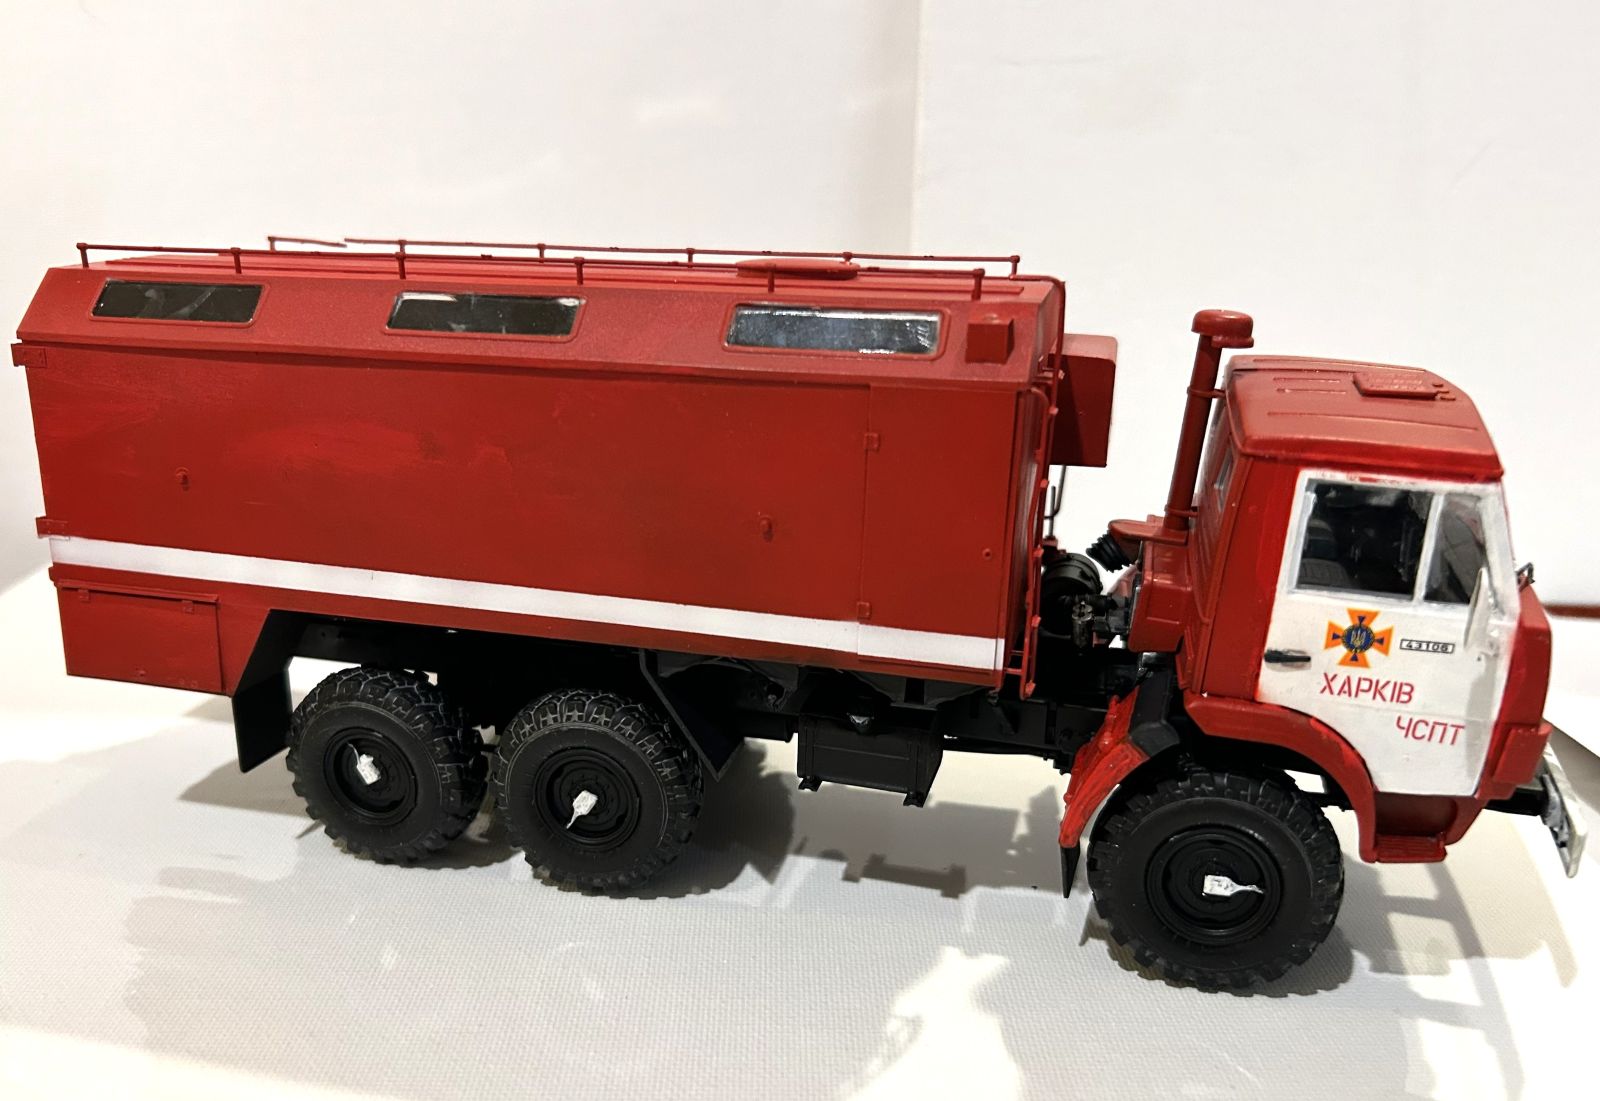
AR-2
Since I recently built a version of Zil 131, I chose to assemble the AR-2 first. As with most truck models, assembly begins with the chassis. The frame comes in two pieces. You assemble a winch and some cross braces, and they go into the frame securely and when both sides are assembled, they are square. The one issue is piece A 45, which is a cross frame that the front of the engine is attached to. As I was dry fitting it, the piece snapped. For some reason, in my experience ICM plastic tends to be both soft and brittle, so please handle them carefully. There are several pieces of the undercarriage that go on before you transition to the engine.
The engine goes together with relative ease. Unfortunately, since I broke part A 45, the engine did not fit very well into the chassis. I had to cut off what I can only assume is the oil filter to make the engine fit properly. The axles went together without much issue. Please note that parts A 9 and A 10, which are attached to each of the rear axles, have pins that must be facing out. I was not paying attention, and one of my sets was facing in.
As for the front axle, it took me a few minutes to figure out the instructions. There are two options for the front axles. At first, it appeared that there was a mistake in the instructions, but upon closer inspection, there are two separate axle assemblies with slightly different connection points to the wheels. I chose the first option, and as in the previous axle section, the instructions were a bit vague, and I assembled pieces F 37/F 38 backwards. As with most trucks of this vintage, the chassis will be painted black while the engine is largely aluminum.
Once the chassis is complete, the next assembly is the container. Perhaps the most challenging part of this assembly was building the frame that allows the box to be attached to the chassis. Using the floor as a template, I just put the pieces together that way, and it ensured a nice, tight fit. As with most ICM kits, you build up the box, one side at a time. The fit is snug and has no problems. There was some slight warpage in the parts, but with careful test fitting, the sides and roof came together without any issues. Once the sides are built, the bits and pieces that populate each side go on – a couple of boxes, grab handles, and guide rails. ICM does a great job molding these smaller pieces, but care must be taken when you remove them from the sprue. When it comes to sanding off the remains of attachment points, in particular for ladder rungs, slow and steady makes a difference. Once the box was assembled, it was left off the chassis for ease of painting.
The final assembly is the driver's cab, which must be assembled, and you must take care when putting each part of the cab together. The front part of the cab, which has the largest windshield, is very fragile. One of the windshield supports broke, and it took time to glue it back together. There are some sprue gates that must be taken care of if you want the roof to fit snugly against the cab. If you test each side of the cab, once the doors are installed, it should be strong and be able to stand up to handling. Also, the interior color is called out as neutral gray. I used the Tamiya version of that color, and it is so close to the color of the plastic, you cannot tell the difference. Outside the fit issues that come from the way the cab was engineered, it went together relatively easily. One word of caution, some of the last pieces that needed to be attached were small handles on the doors and hatches. Unfortunately, they were so small that the carpet monster ate nearly all of them. They pinged off my tweezers and I never saw them again.
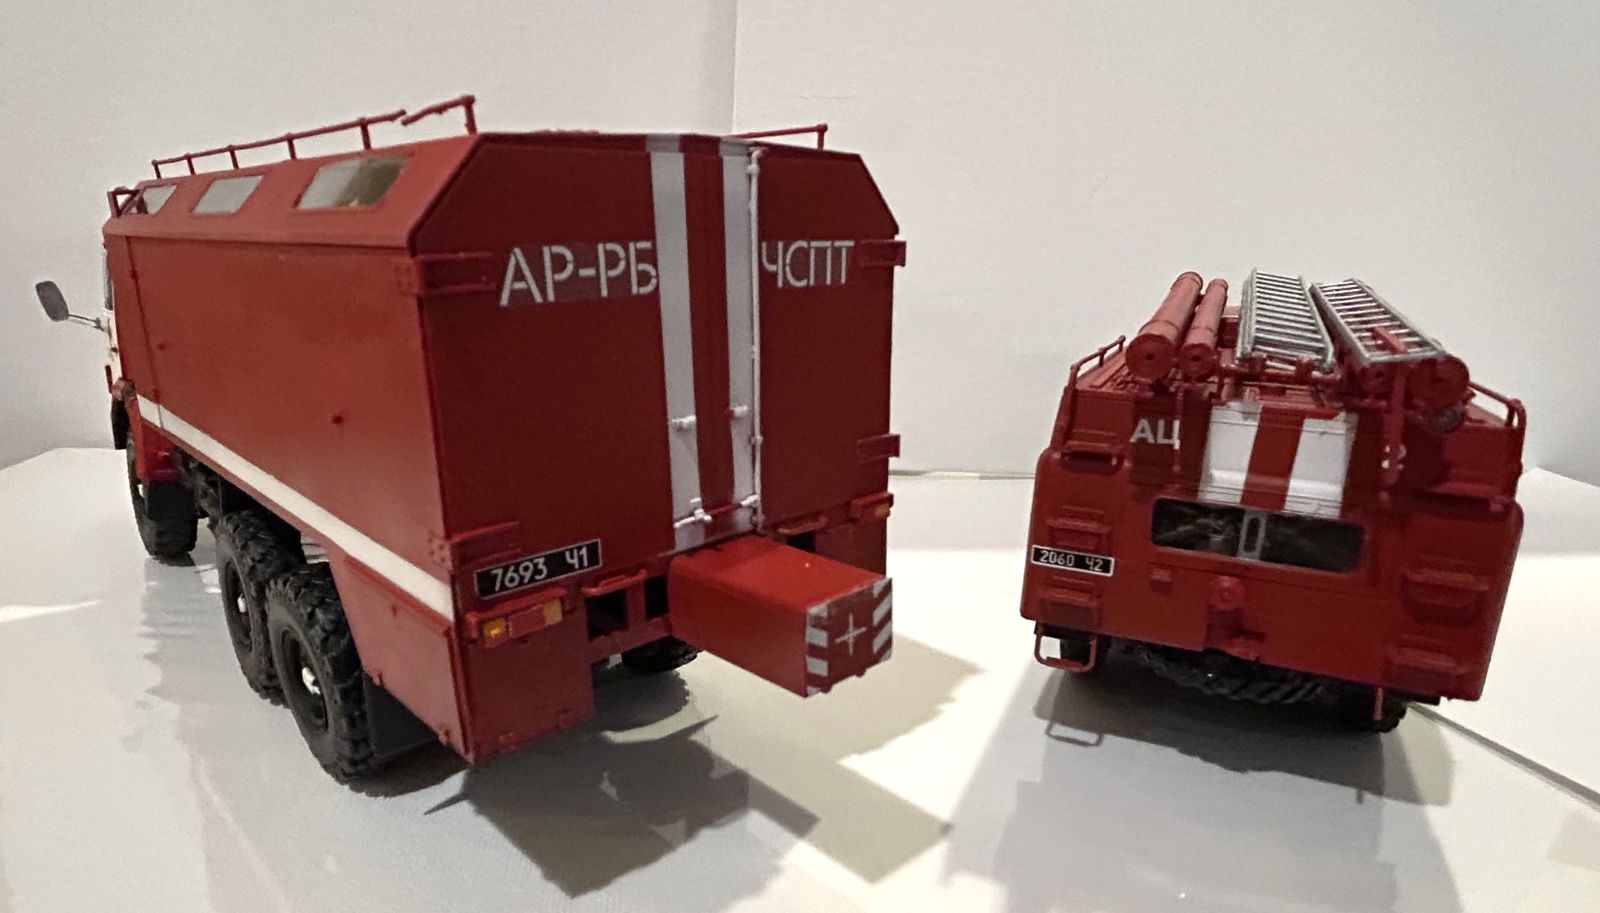
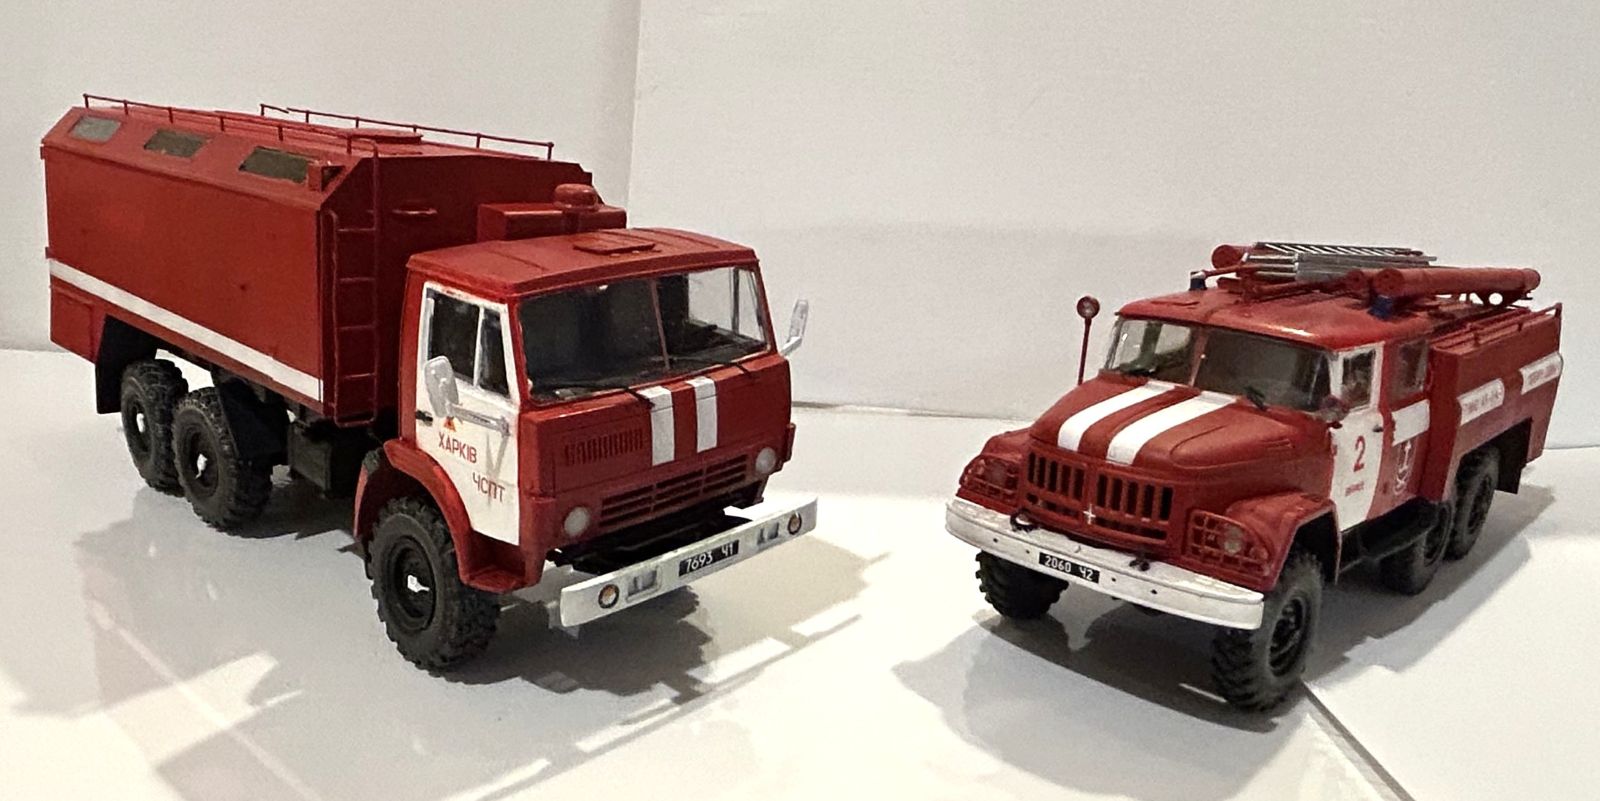
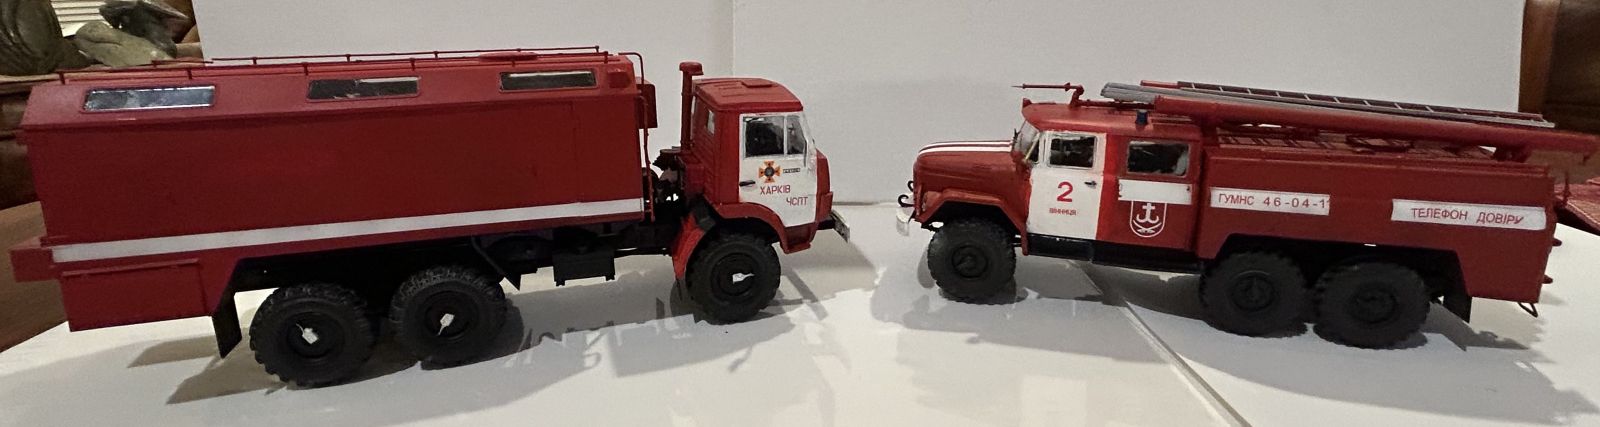
When it came to the final assembly, I also encountered some issues. The driver's cab can be tilted up, so it rests on two pegs, allowing it to be lifted. The cab has an inset, so a portion of the engine will stick out. I know that the cab was assembled correctly, but the cab does not really fit well over the engine. Similarly, when it came time to fit the larger trailer to the chassis, there were four tabs that go into four slots on the chassis. Suffice to say, they did not fit well. I should have cut off some of the tabs, but instead I forced them in, leading to a less than satisfactory fit. There is only one scheme to choose for this vehicle from 2015. It is red with some white highlights on the doors of the cab and the trailer. I used Tamiya XF-7 Red for the main body and Tamiya XF-2 Flat White for some of the highlights. These highlights needed to be masked and several coats of white applied, which was not an easy task. The decals went down fine, but there were also some challenges with the next kit.
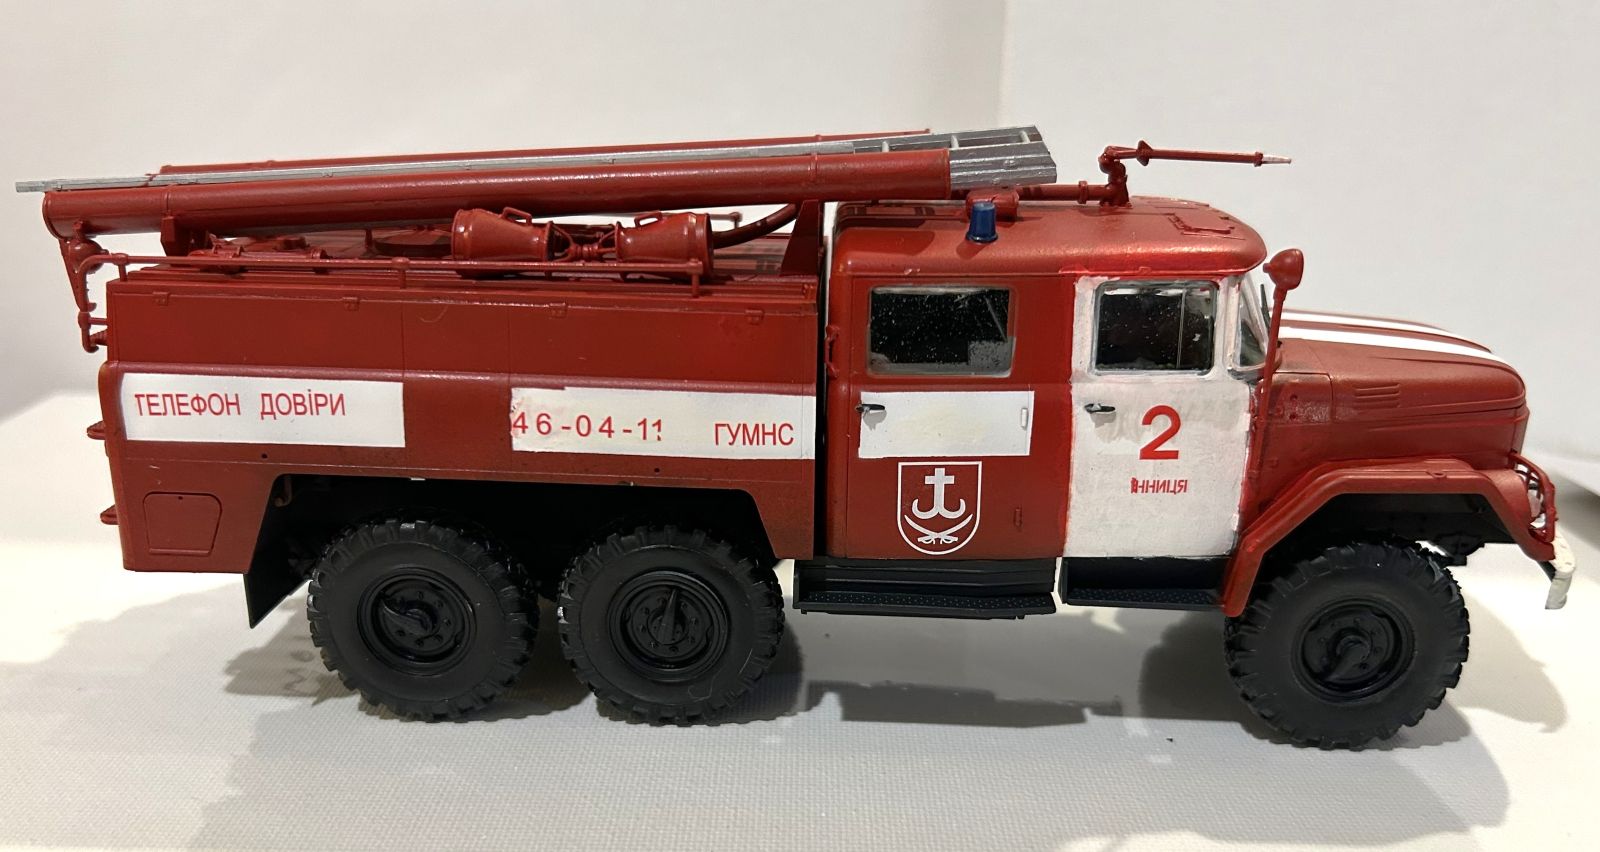
AC-40-137
The second kit in this collection is the AC-40-137, based on the Zil-131 truck. ICM has made the most of their Zil-131 mold, and this is another iteration, of course, as a fire truck. As with the previous model, the chassis goes together first, and as with most ICM trucks, the chassis comes in separate pieces and must be put together. The attachment points are well engineered, and the various cross braces went together smoothly. The only issue encountered was when I removed part B 70 from the sprue, it snapped but was an easy fix. At the front of the frame is another cross brace, part A 68. After studying the instructions, it is confusing as to where the attachment points are. Unfortunately, I noticed that it was crooked after the glue set. Otherwise, the chassis is straight forward. Once the chassis is complete, it is time to move on to the engine.
The engine and transmission are composed of several pieces. There is some slight flash that needs to be taken care of and many of the pieces are small and fragile and need to be removed from the sprues with care. As I have mentioned several times, while their molding is exquisite, pieces can be very small and must be tended to with care. If you assemble the engine carefully, it drops into the chassis without an issue, though in my case, the drive shaft did not quite reach the crankcase. I am not sure if it is operator error or a design flaw. Once the engine is secure, the remaining components can be assembled, notably the exhaust and front bumper. If you closely follow the instructions, the exhaust pipes will fit perfectly. They do take some test fitting, and the connecting tabs need some finesse, otherwise there is not an issue. I have saved putting the wheels on until the chassis is painted. As with most vehicles of this vintage, the chassis is painted black.
Once the chassis was complete, it was time to move to the driver and passenger cab. As with most cabs in ICM kits, it comes in its own component pieces. There were some sprue gates at the joints, but with careful cleanup, each piece slid into place. The interior was painted before assembly. One issue of note it to please pay attention to the passenger cab windows. The front window pops in from the front of the cab, and the back window pops in from the passenger side of the cab, and you need to pay close attention to that. In addition, for some reason, one of the sides of the passenger cabin was a tiny bit higher than the other side. It required some sanding and the removal of a tab to get the sides square. Similarly, when it came time to insert the cabin on to the frame, the tabs on the left side would not fit, so I cut them off and it was fine.
The last assembly is the water tank and pump. As with the cab, this is not a bathtub molding but comes in separate pieces. The molded gates slightly interfere with the surfaces that need to be bonded, so they need to be removed carefully and cleaned. Test fit each piece or it will not fit together, so pay attention. My parts were slightly warped, so it took some sanding to make sure that they were going to fit together. Once the sides were placed together, much of the warp disappeared, but not completely. When it comes to putting the back hatch on, again, pay attention to the little pieces. Once the water tank is finished, there are several pipes and houses that are glued onto the top of the tank. Several of the brackets that link two of the smaller pipes together are very fragile and one of mine broke.
There are several examples that can be chosen for painting and decals. For this version, to match it up with its partner, I chose the scheme from 2010. They are all red overall with white stripes on the cab and the container on the back. As with the previous kit, I used Tamiya XF-7 Red overall and Tamiya XF-2 Flat White, for highlights. These highlights needed to be masked and several coats of white applied. As with the previous vehicle, white on red is not an easy combination. The decals for this kit were well printed, but so thin, I had difficulty laying them down without tearing them. The last bits and pieces, mainly the rear view mirrors, were unusable. The plastic frames were so fragile, that when they were removed from the sprues, they broke apart, so they remained off of the vehicle.
I have reviewed many ICM kits, so I will sound like a broken record, but these more recent kits, while not necessarily for beginners, go together very well with patience and care. Their molding technology is first-rate, and they get such fine detail in something as small as the door handles on the cabs, though there was some slight flash that had to be taken care of on mine. Often though, despite how exquisite their molding is, many of the pieces are so fragile, they break in the box or when removing them from the sprue. Their plastic is soft, and from time to time can be brittle, so that should be considered. Given the recent events that have affected their facility, I am thankful that no one got hurt and that they can continue to produce a quality product. This is a great set of kits, and I wholeheartedly endorse them! Thank you to ICM for providing this kit and thanks to the IPMS/USA for letting me review this kit.
Comments
Add new comment
This site is protected by reCAPTCHA and the Google Privacy Policy and Terms of Service apply.
Similar Reviews