
Combustion Engine
The Kit
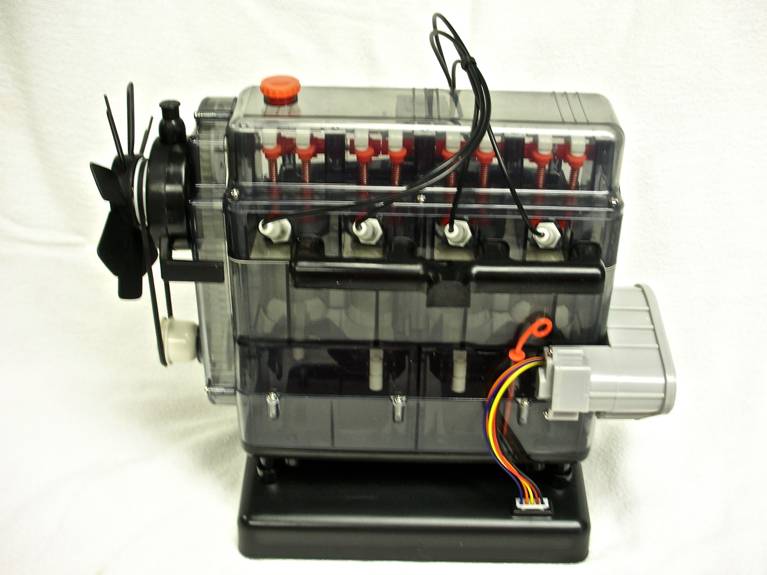
This is one of the kits in the Airfix Engineer line and is designed to teach, so it’s not really a model of a real combustion engine. Rather, it is a representation, and as such is much simplified. That being said, the kit consists of 92 parts, excluding screws. No glue is required for assembly with everything either being pressure fitted or screwed into place. In addition, no painting is necessary. As a matter of fact, it may not even be possible as all parts that are pressure fitted are of a soft, almost vinyl plastic and getting paint to stay put on them could be problematic. But again, this is a representation, not a model of a real engine and the parts are modeled in several colors to make them stand out.
The kit is motorized and has many moving parts and there is even sound and light. The instructions are in a 22-page booklet, but only ten pages of it are actual assembly instructions. The other pages are dedicated to a parts list and eight pages of information about how an internal combustion engine works.
Assembly
Normally, what a modeler does is take a quick look at the instructions and then lay them aside and get started. We usually change the order of assembly to facilitate painting and/or detailing, but that’s neither necessary nor even possible with this kit as stated above. It’s not that it’s a difficult kit or complicated, it’s just that things have to be done in a certain order and if you don’t, you’ll wind up backtracking and disassembling stuff to get things right, so stick to the instructions. The parts are either clearly marked or obvious from the illustrations, so you shouldn’t get anything confused. However, pay attention to how things are oriented and how they actually go together because if you get it wrong, the thing won’t work. Make sure you trim off all the attachment points and any flash (I only saw one or two places with flash on my sample) to make sure everything moves smoothly. In each step that involves moving parts, before you move on, check to make sure everything works as it should.
The only glitch, it you can call it that, was when screwing into the parts made of harder plastic, the self-threading screws were a little hard to drive home. You need a screw driver with a substantial handle and at that, the tip may barely fit into the hollows where some of the screws are located. Actually, that’s like a real engine as well. Why do they put those bolts way in the back behind the whatchamacallit so you have to practically stand on your head to get a tool on them?
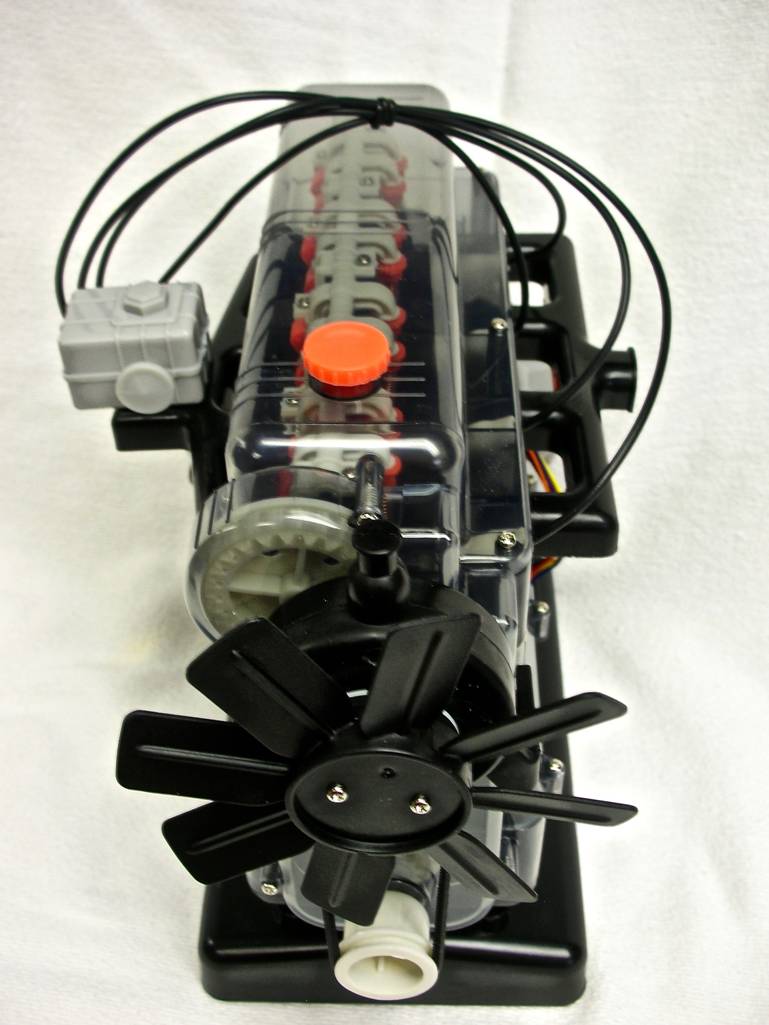
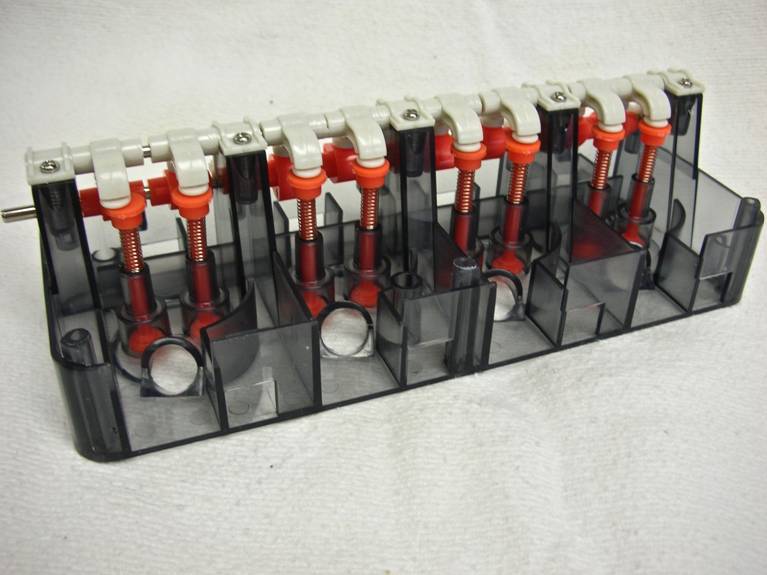
The pressure fitting parts slid together easily and are usually held in place by another piece. The trickiest part was getting the lower timing belt pulley (part #21) onto the exposed end of the crank shaft. There’s a small inset drawing in the instructions showing how it fits, but you’ve got to look at it and the parts carefully to see how to align it so it can be seated correctly. The motor that powers the whole thing is self-contained and requires no assembly nor wiring. It just screws in place and the wiring plugs in like a computer cable. Add three AA batteries, and you’re done.
Conclusion
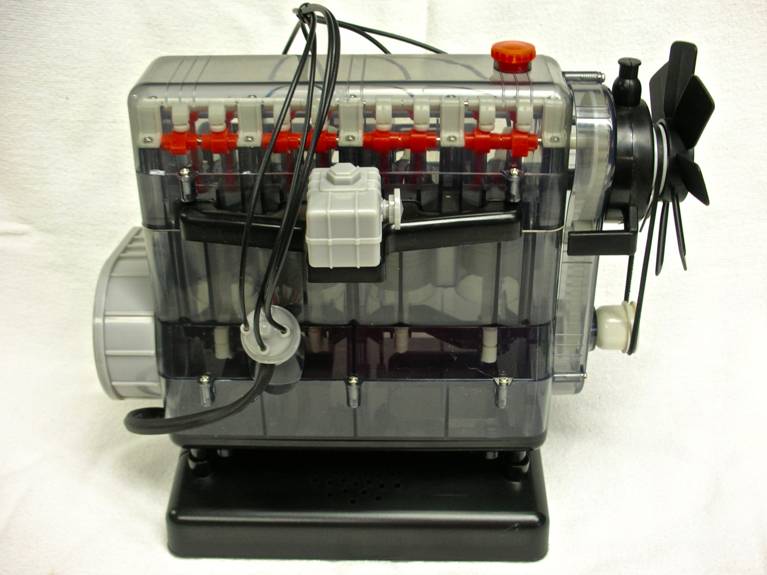
It took me about 90 minutes to put this thing together and it worked perfectly. Don’t expect it to whirr along, however. If a real engine runs at 3000 RPM, this one goes at around 3. But, you get to hear the starter motor rev up, and then each spark plug lights as the sound unit makes a noise not unlike a 5” gun going off. The valves open and close and the cylinders go up and down. Quite the action toy.
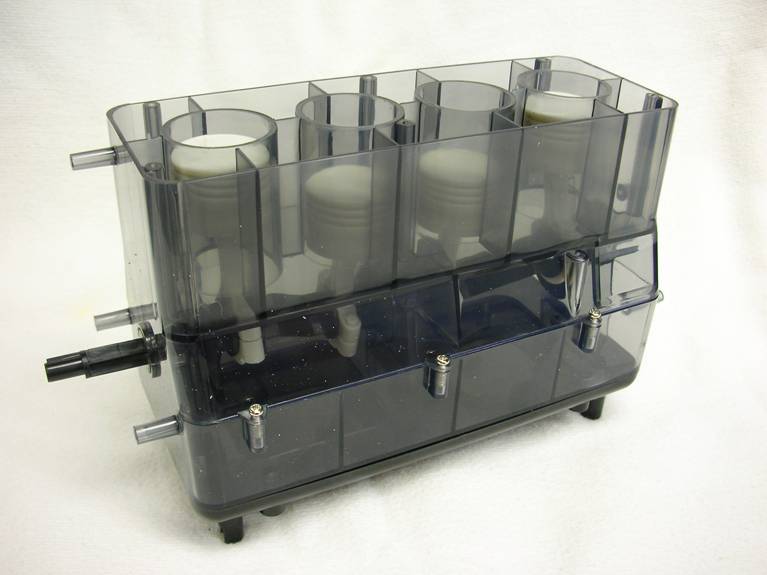
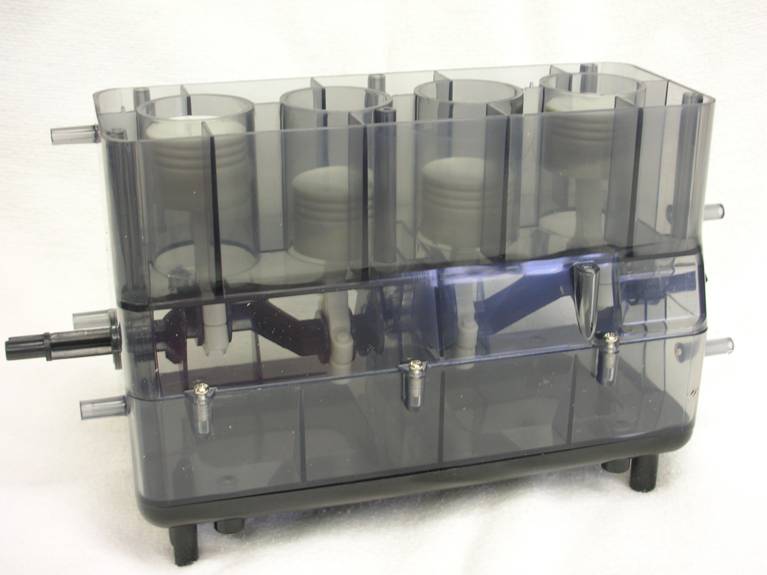
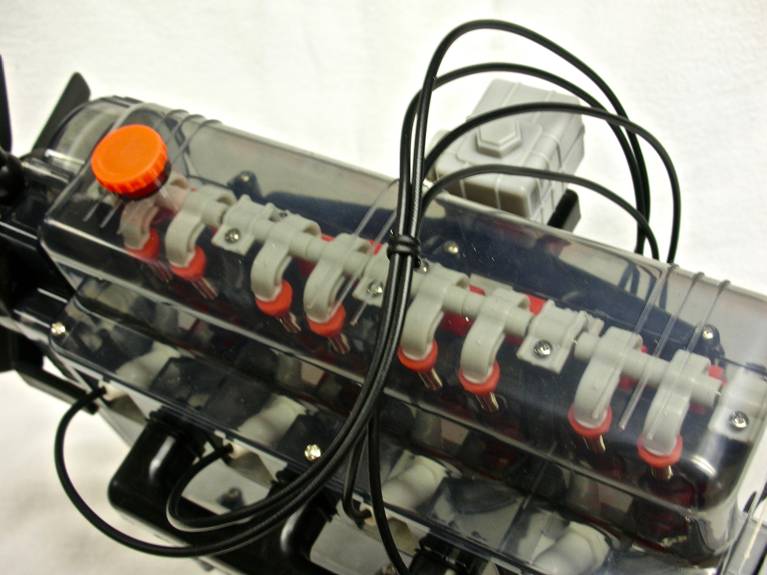
As a teaching aide, this kit would be good to show your kid how the car works, but you’d need them to pay attention along the way while you’re building it because when done, while the parts are visible through the clear plastic engine block, it’s smoky in color, not really crystal clear, and with all the intervening “stuff” like other parts, it might be confusing for a child to figure out what’s doing what.
I wouldn’t recommend this as a kit for a young inexperienced modeler. The screw assembly can be fiddly in some places and as I’ve said if you don’t get the parts in the correct orientation/order, it won’t work. However, as a project for an adult to show a child how a car or tractor or whatever engine works, it would be good. It’s much simpler than the old Visible V-8/Slant Six models and probably easier to build. However, it is not cheap, running at around $60 list price. Maybe good for a scout group or school project.
Thanks to Hornby America for supplying the sample kit and to IPMS/USA for the chance to review it.

Comments
Add new comment
This site is protected by reCAPTCHA and the Google Privacy Policy and Terms of Service apply.
Similar Reviews