
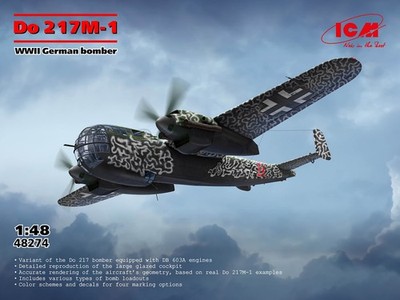
Do 217M-1 WWII German Bomber
After previously reviewing a 1:700 Ship model from ICM (Kaiser’s Steel Fist) I have decided to return to something that better fits my skill set, and have chosen the ICM Do 217M-1, which I will do in a “Night Bomber” scheme.
Unboxing
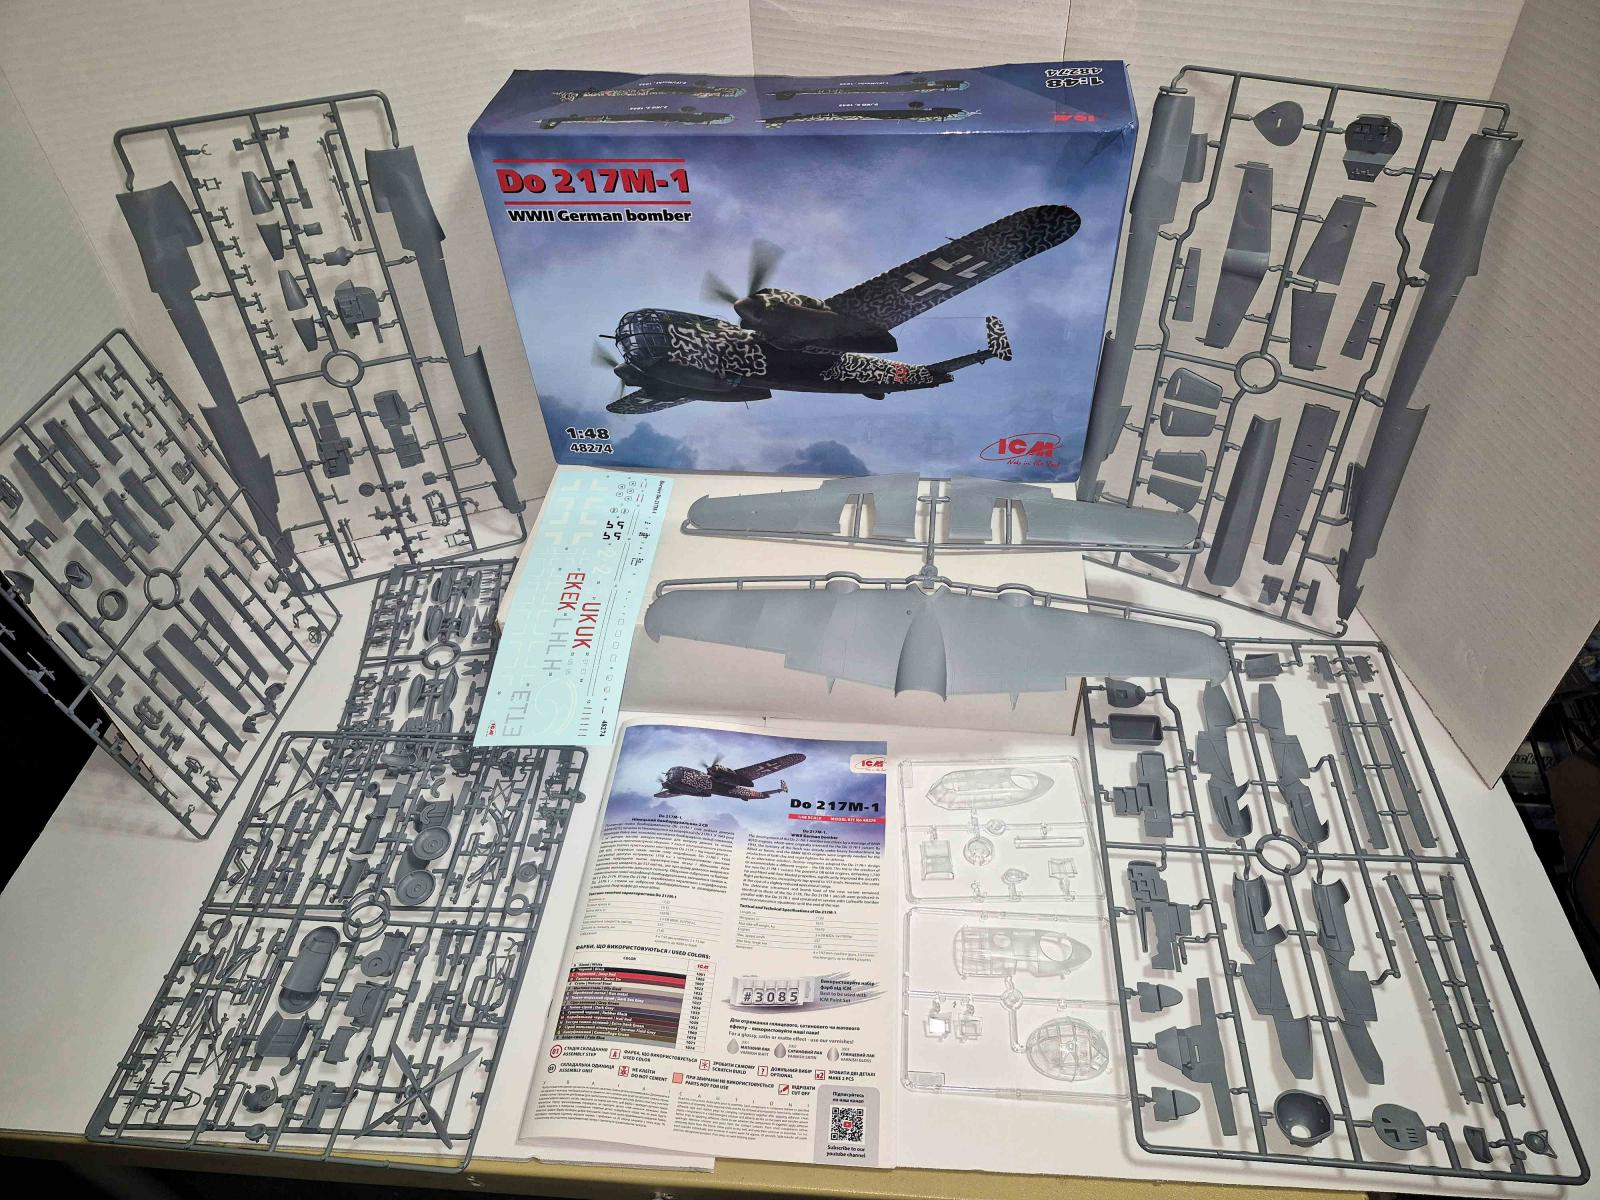
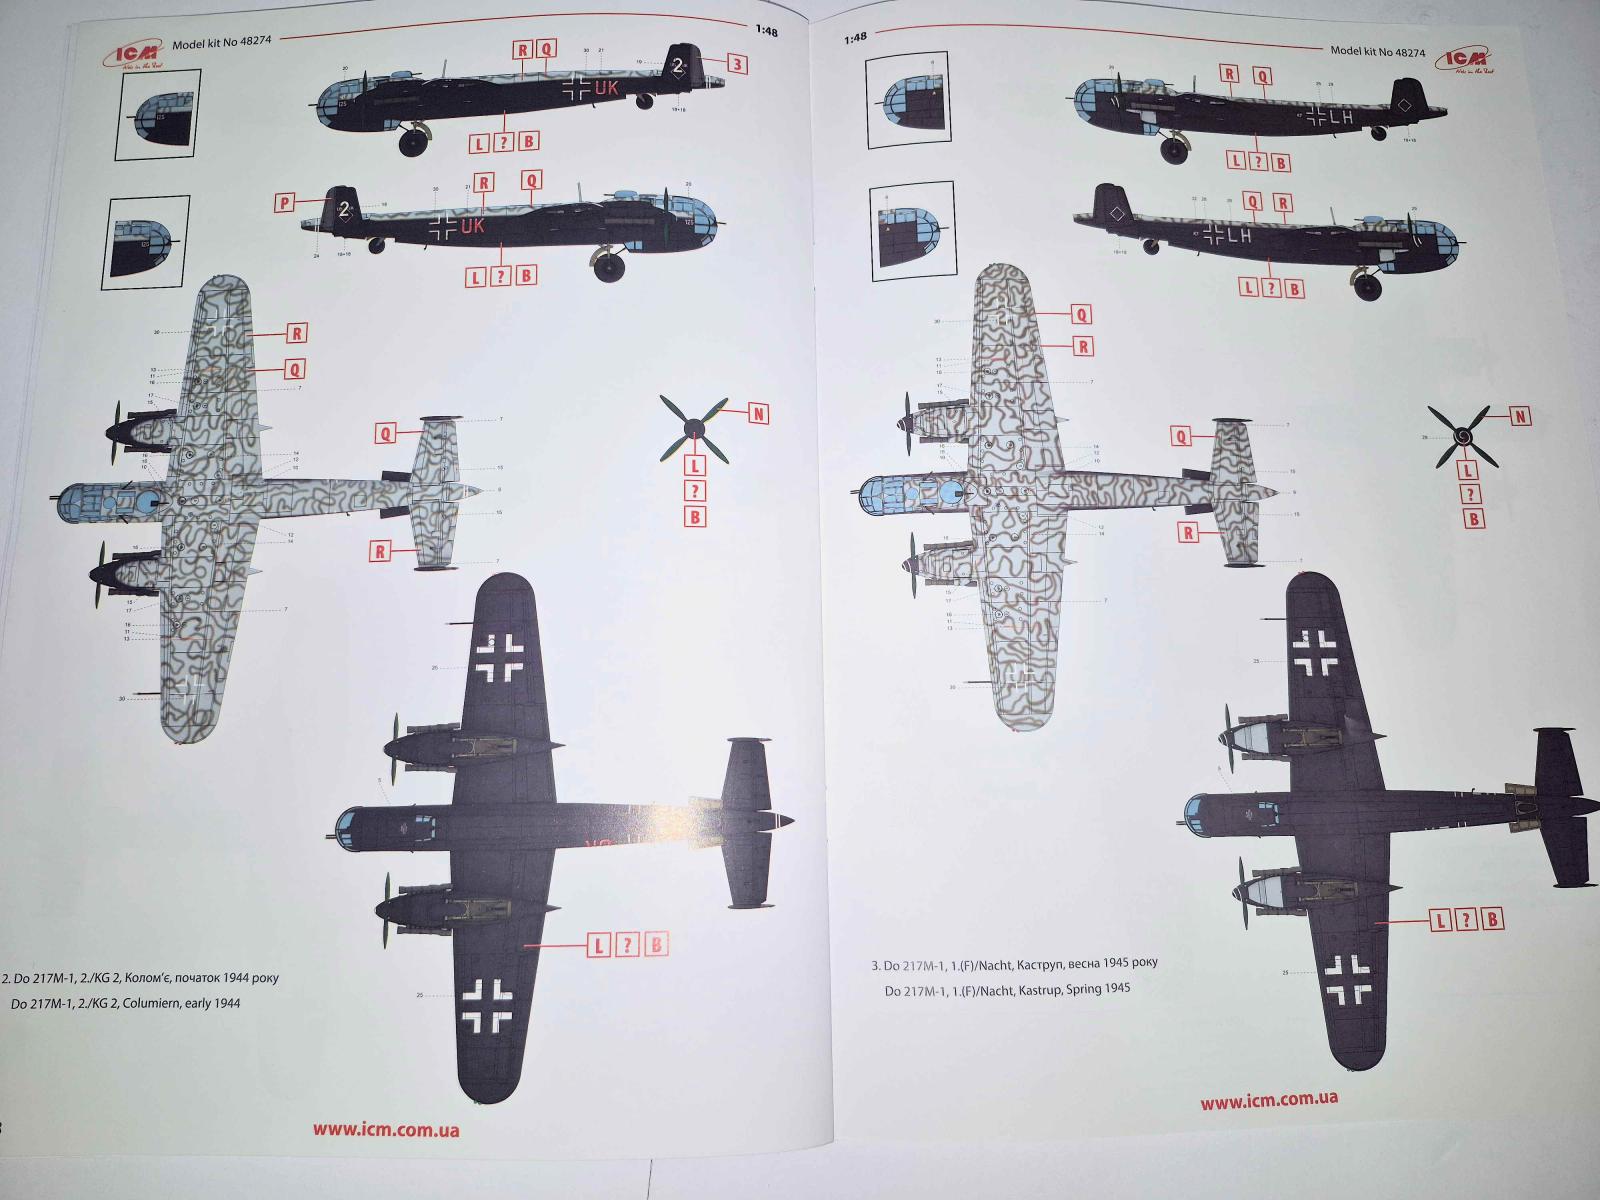
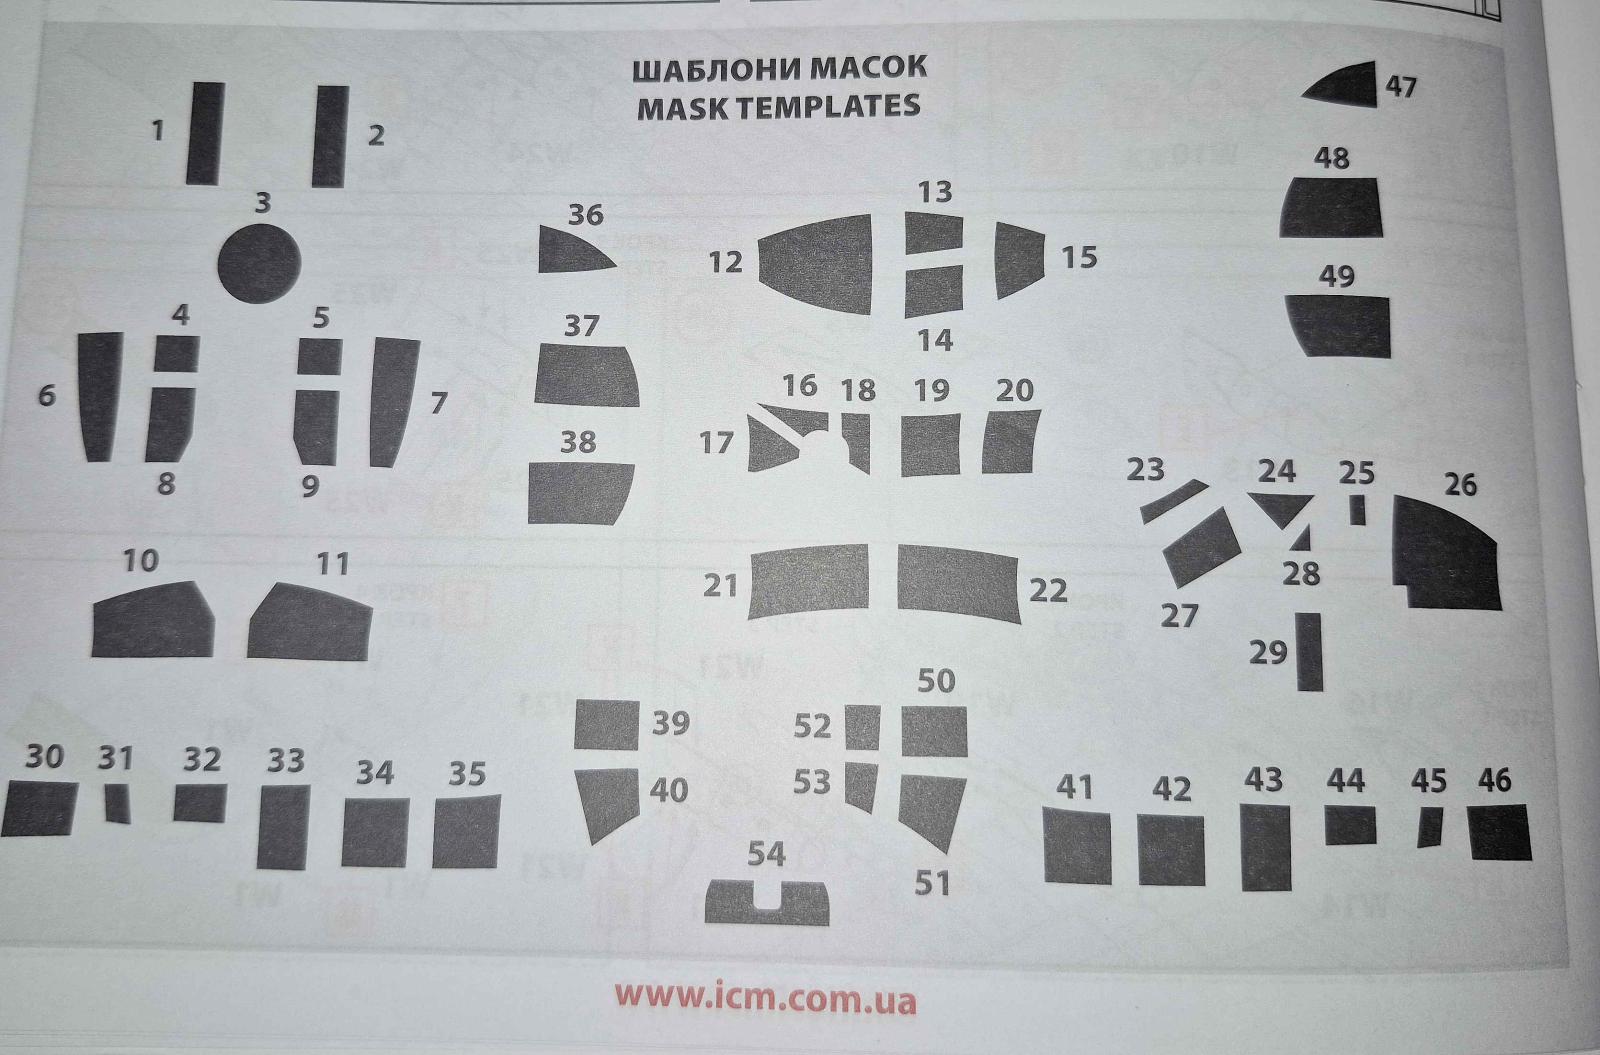
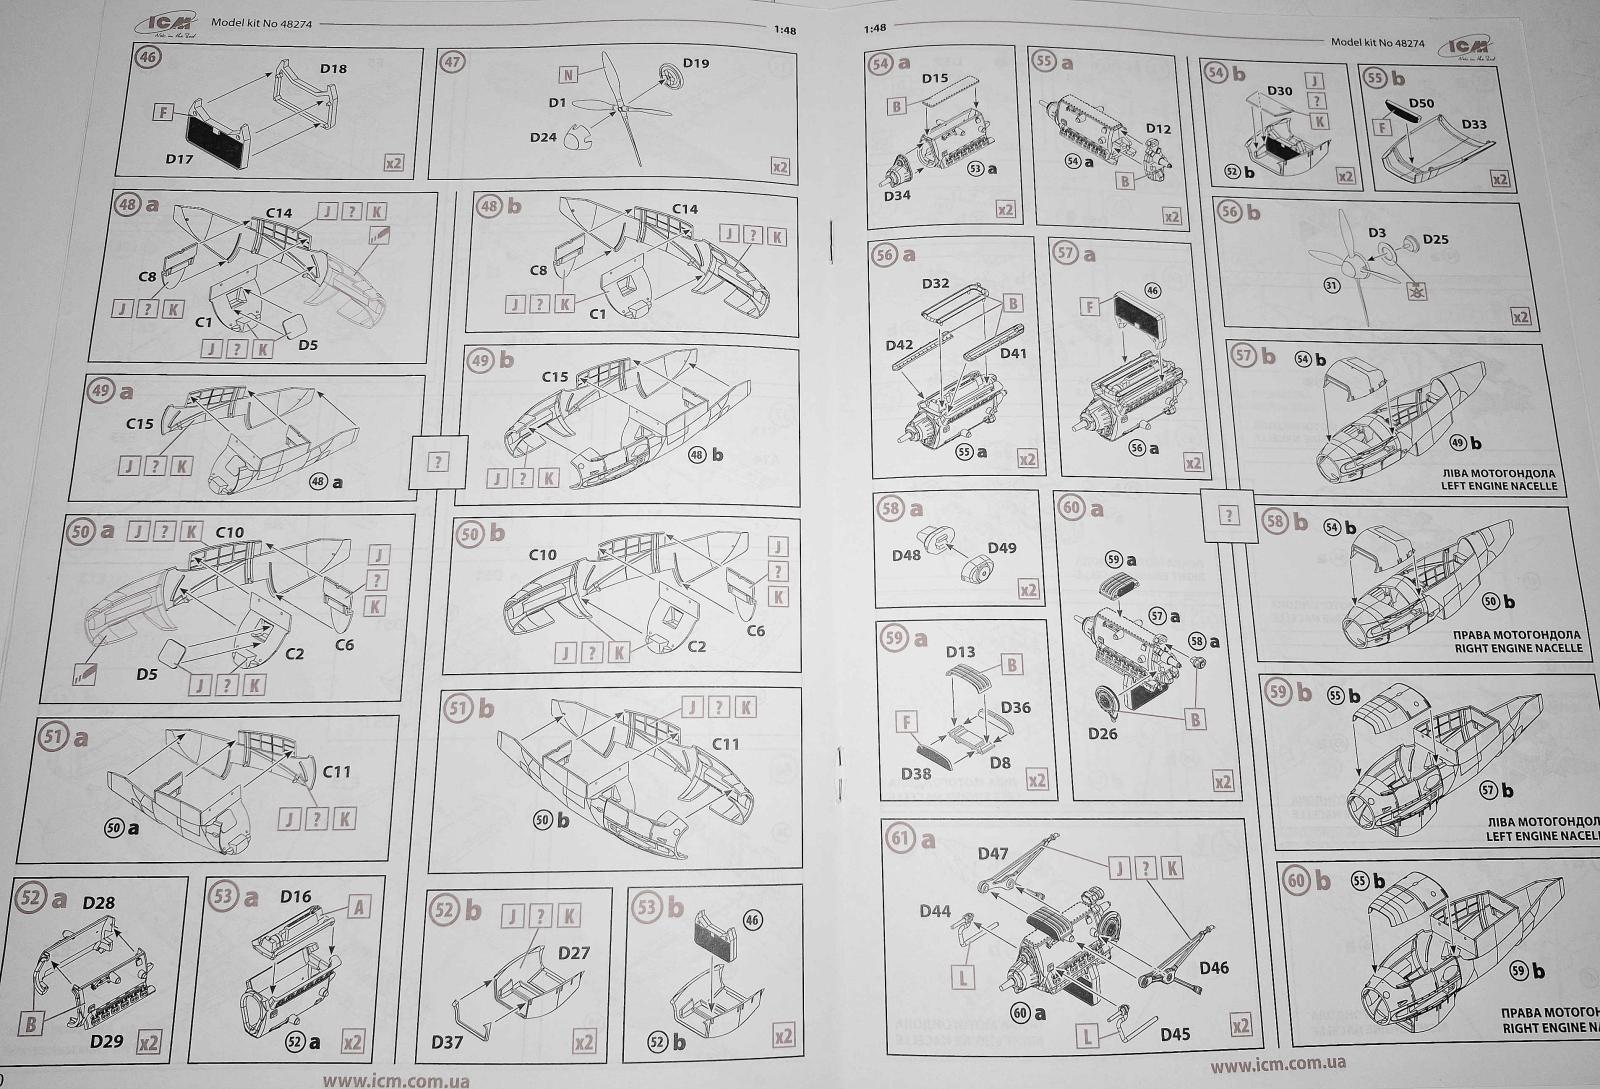
This kit includes 11 highly detailed sprues of parts. 9 of them are molded in their usual light grey and there are 2 clear canopy sprues. All of them are very highly detailed, which has become the expected norm for ICM kits for me. I am always impressed by how clean the sprues are and how highly detailed the parts are. There is 1 decal sheet and the instruction book. Once again, I have to point out how clear and precise the instructions are. This particular instruction book also includes masking templates for the canopies which will be EXTREMELY helpful as the masking will be a LOT!! This also gives 4 different color schemes to use, all in full color.
History
Just a quick touch on the history of this aircraft, which I always like to find out. It helps me understand the build of the model kit when I have in mind the use of the actual aircraft.
The Do 217M-1 entered service in 1943 and was used a medium bomber and was used extensively in night bombing runs over the United Kingdom. They were primarily used in the “Little Blitz” operations in the late war, between 1943 and 1944.
The Build
Issues (and Solutions)
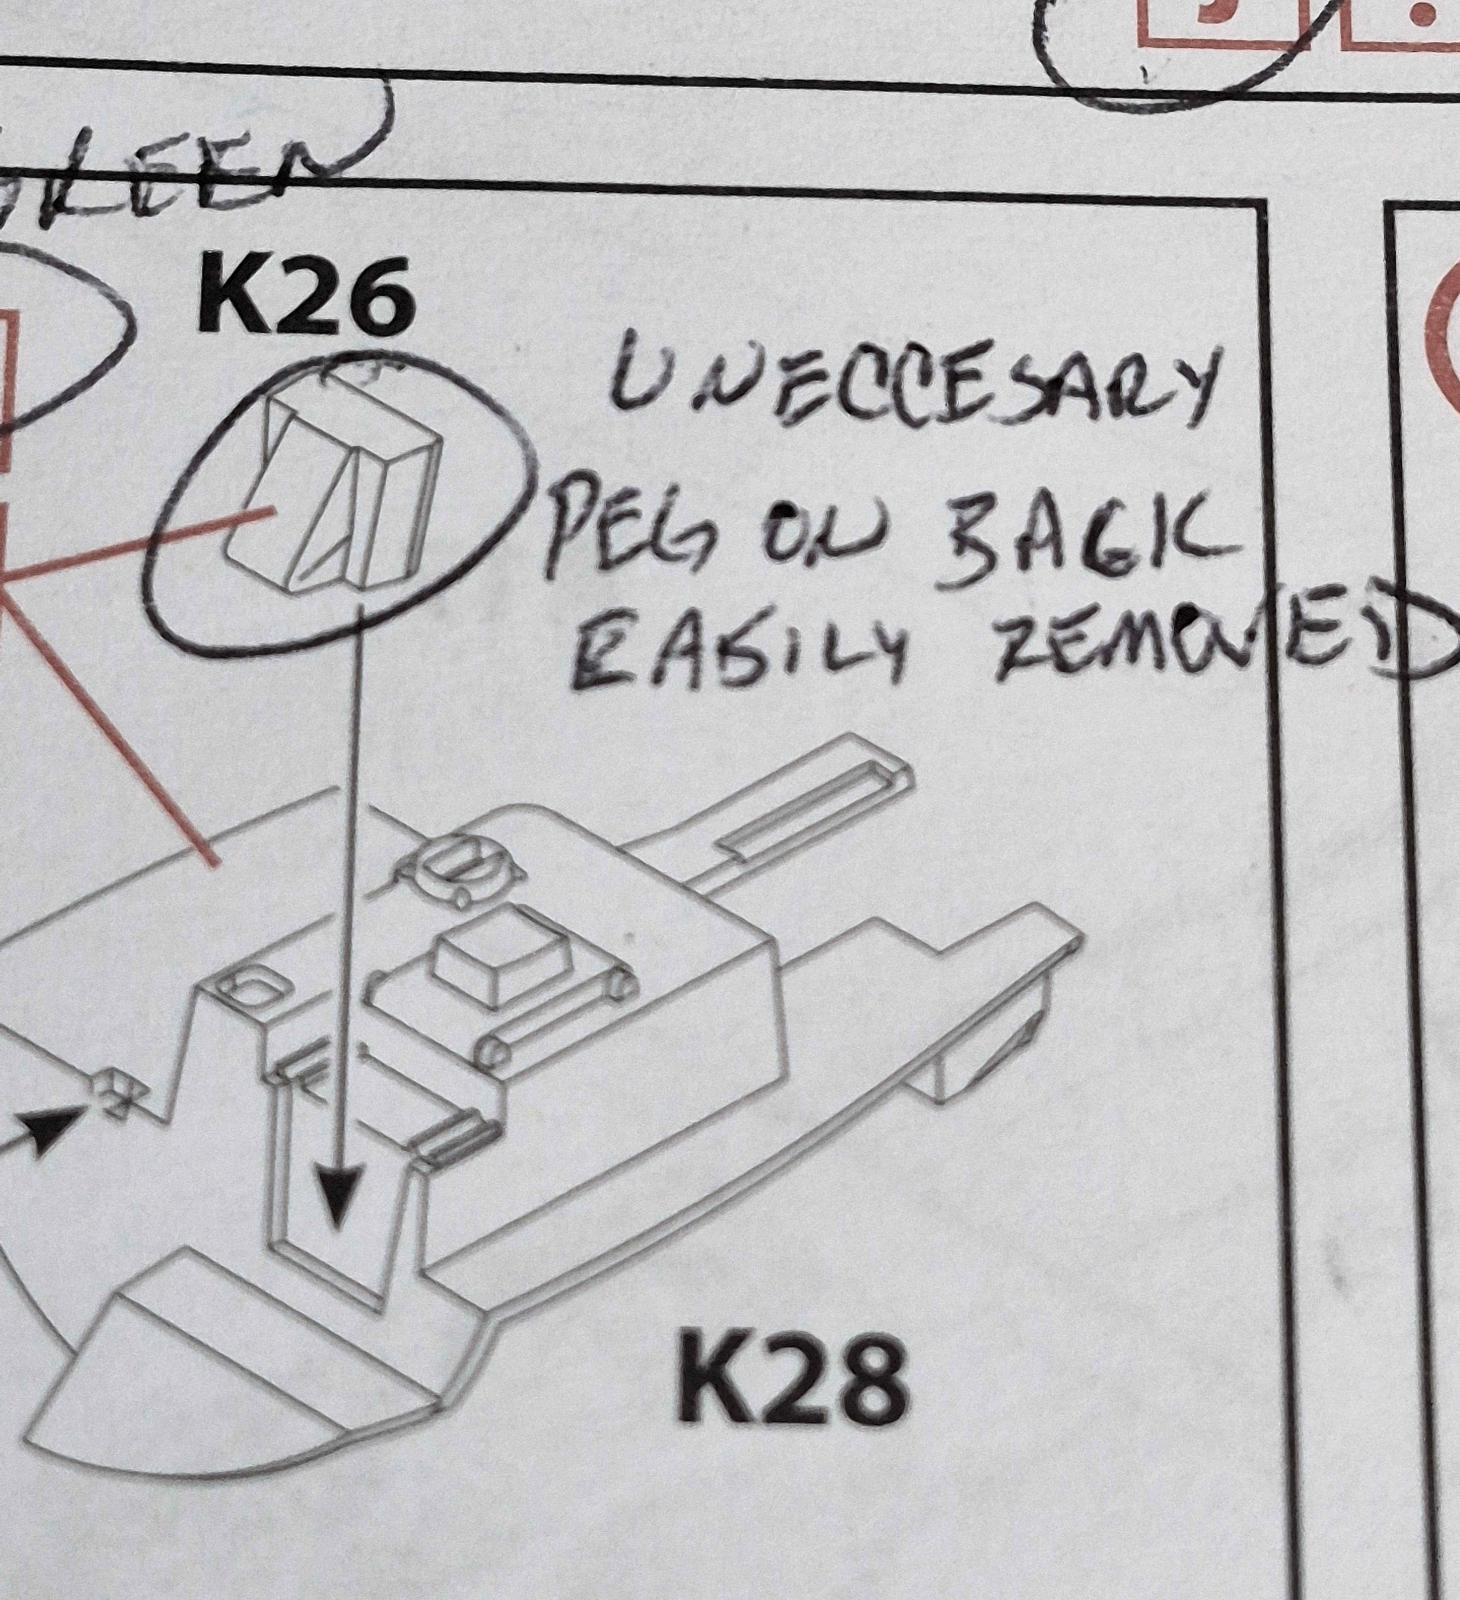
- Part K26 has an unnecessary peg on the back side with no corresponding hole on part K28. You can either drill a hole or, as I did, simply remove the peg and file it down for a perfect fit. There is enough surface for the glue to hold with no problems.
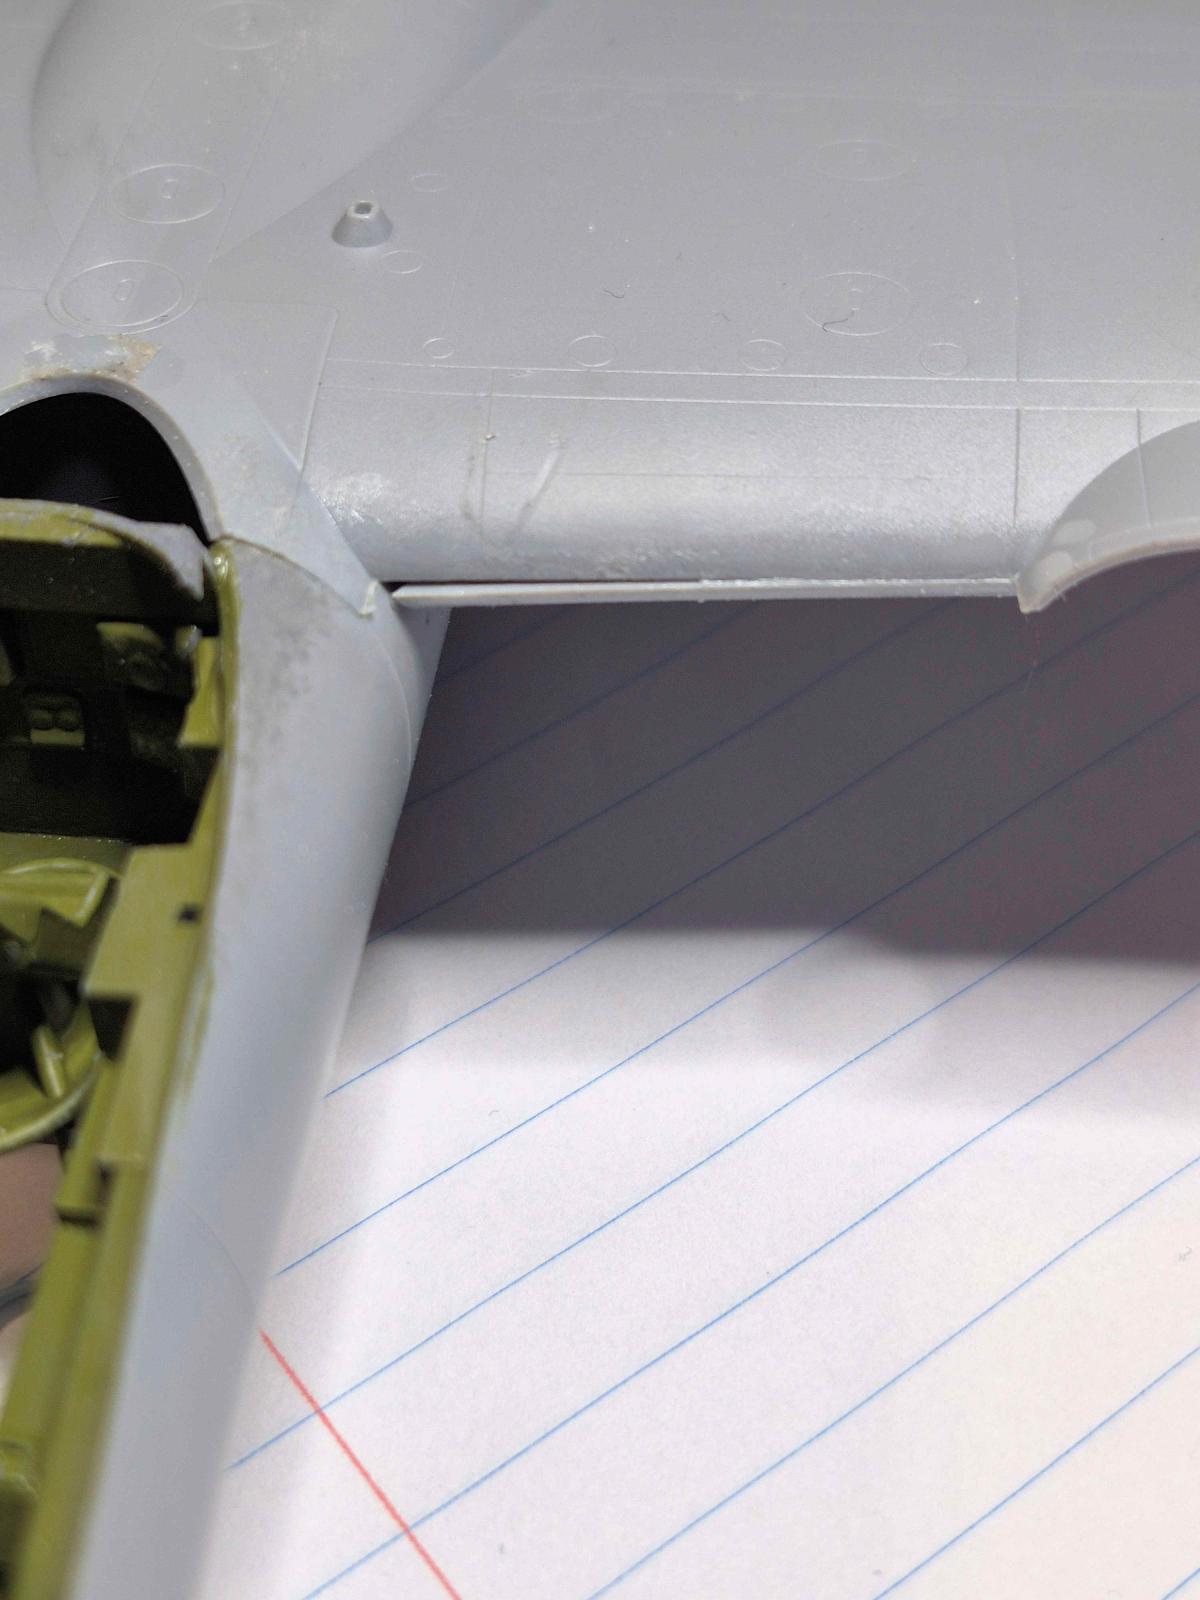
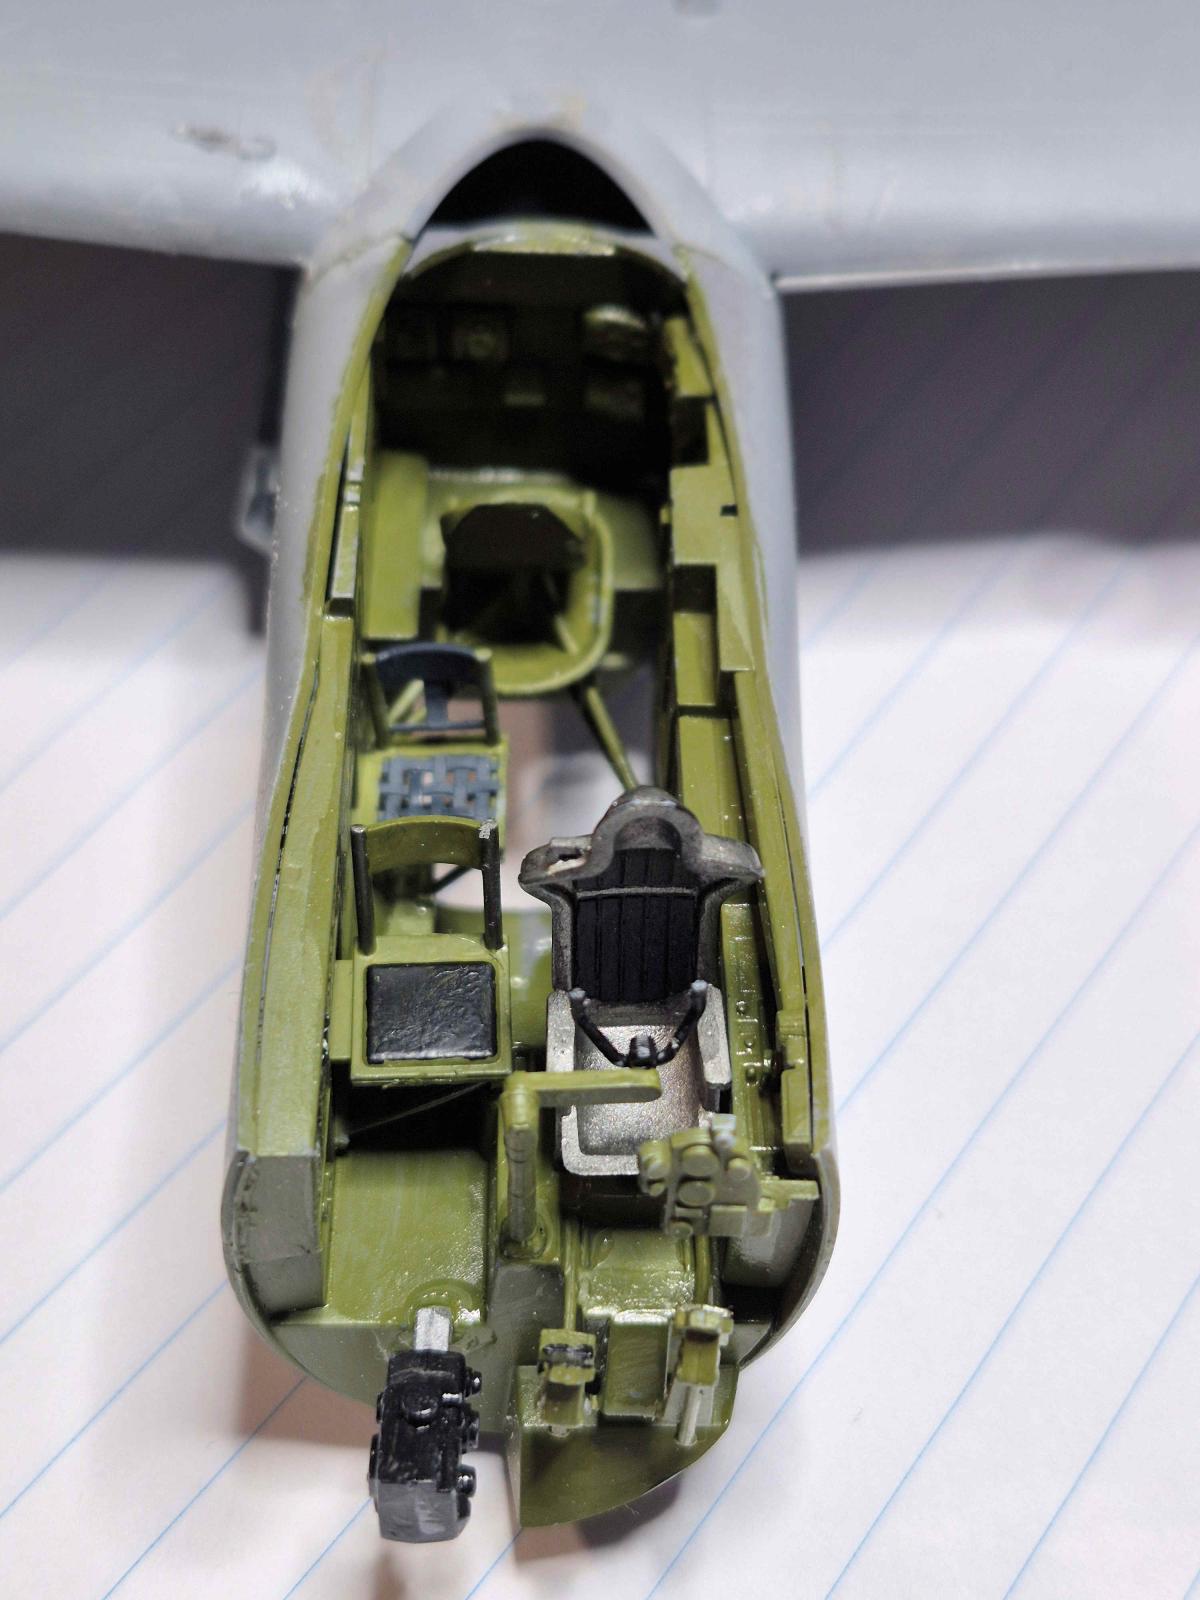
- There are “guide lines” that are in the cockpit area of the fuselage. For perfect fit, these should be concealed by the part when gluing into place. I placed some parts against these (to the inside of the line) and the fit was off. Many kits by other manufacturers intend these to be on the seen edge. This is a much cleaner application.
- While dry fitting the 2 gun halves in step 22 for the MG81Z Machine gun, there is a tab on the K4 half that goes in the middle of the 2 joined halves. It would not fit through the hole in the canopy so I trimmed that tab off and now it fits perfectly.
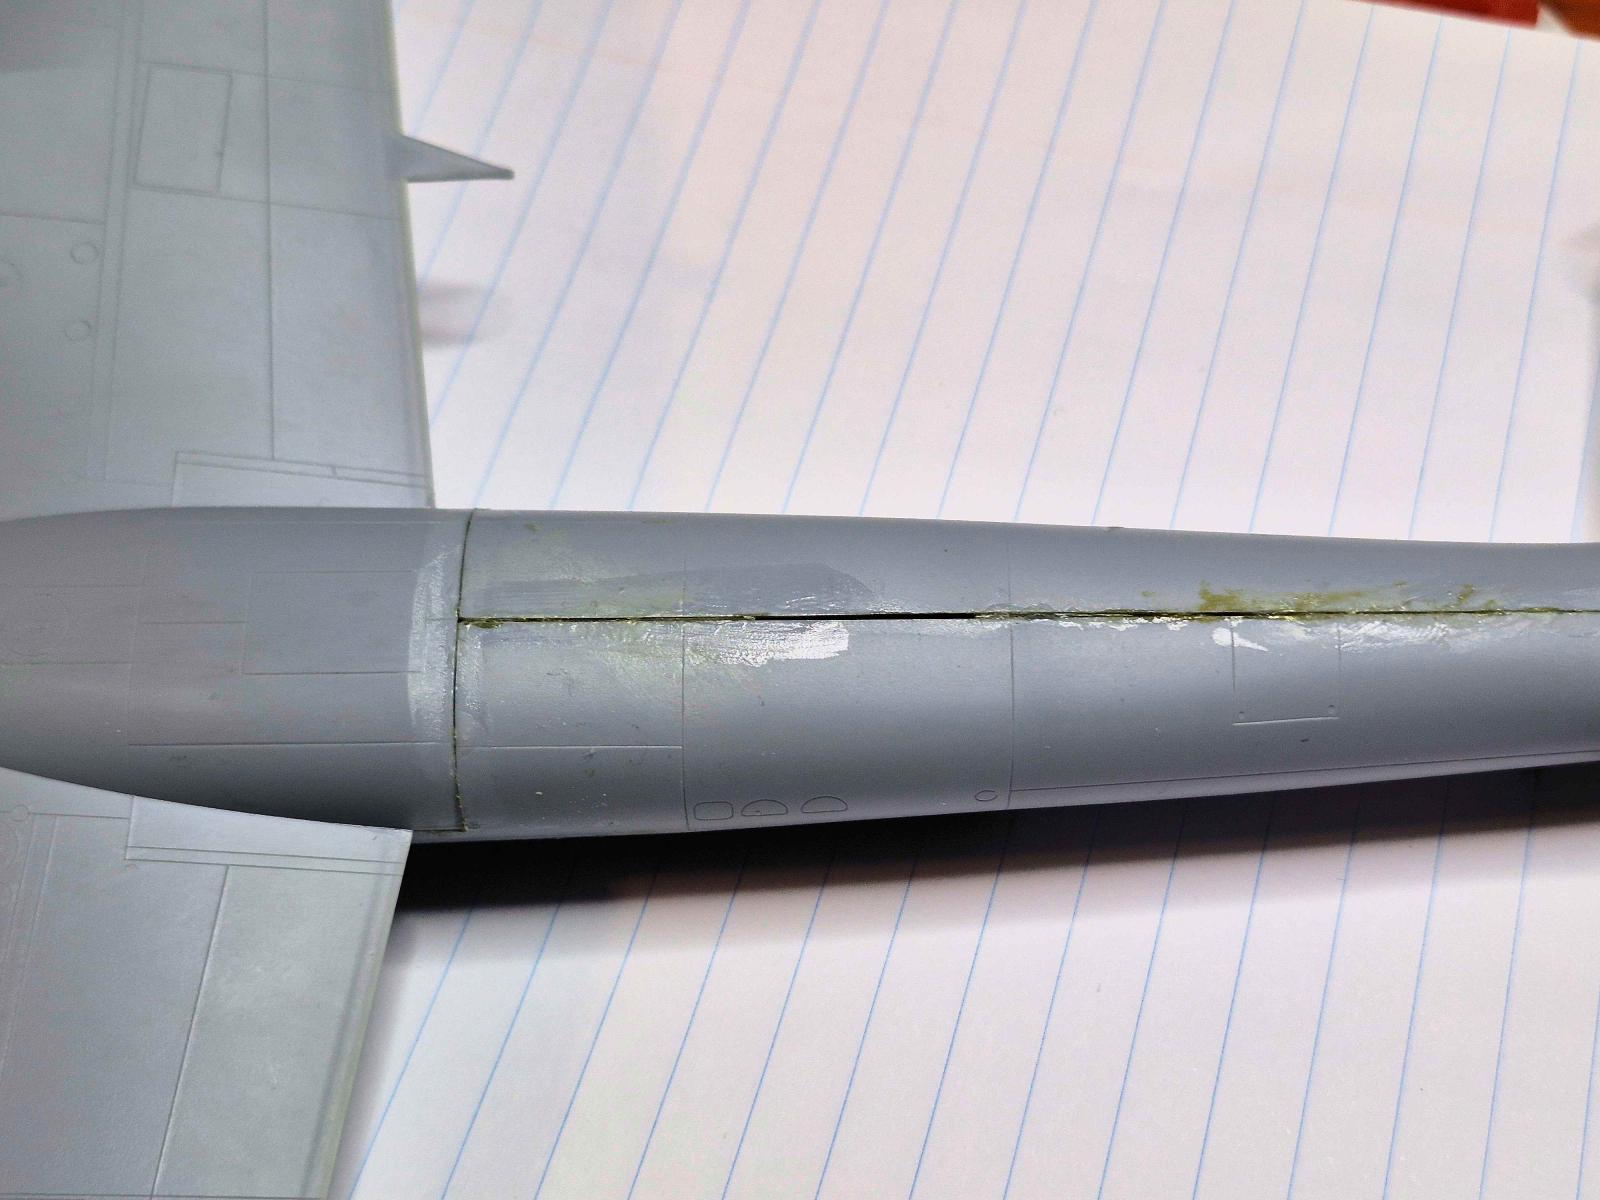
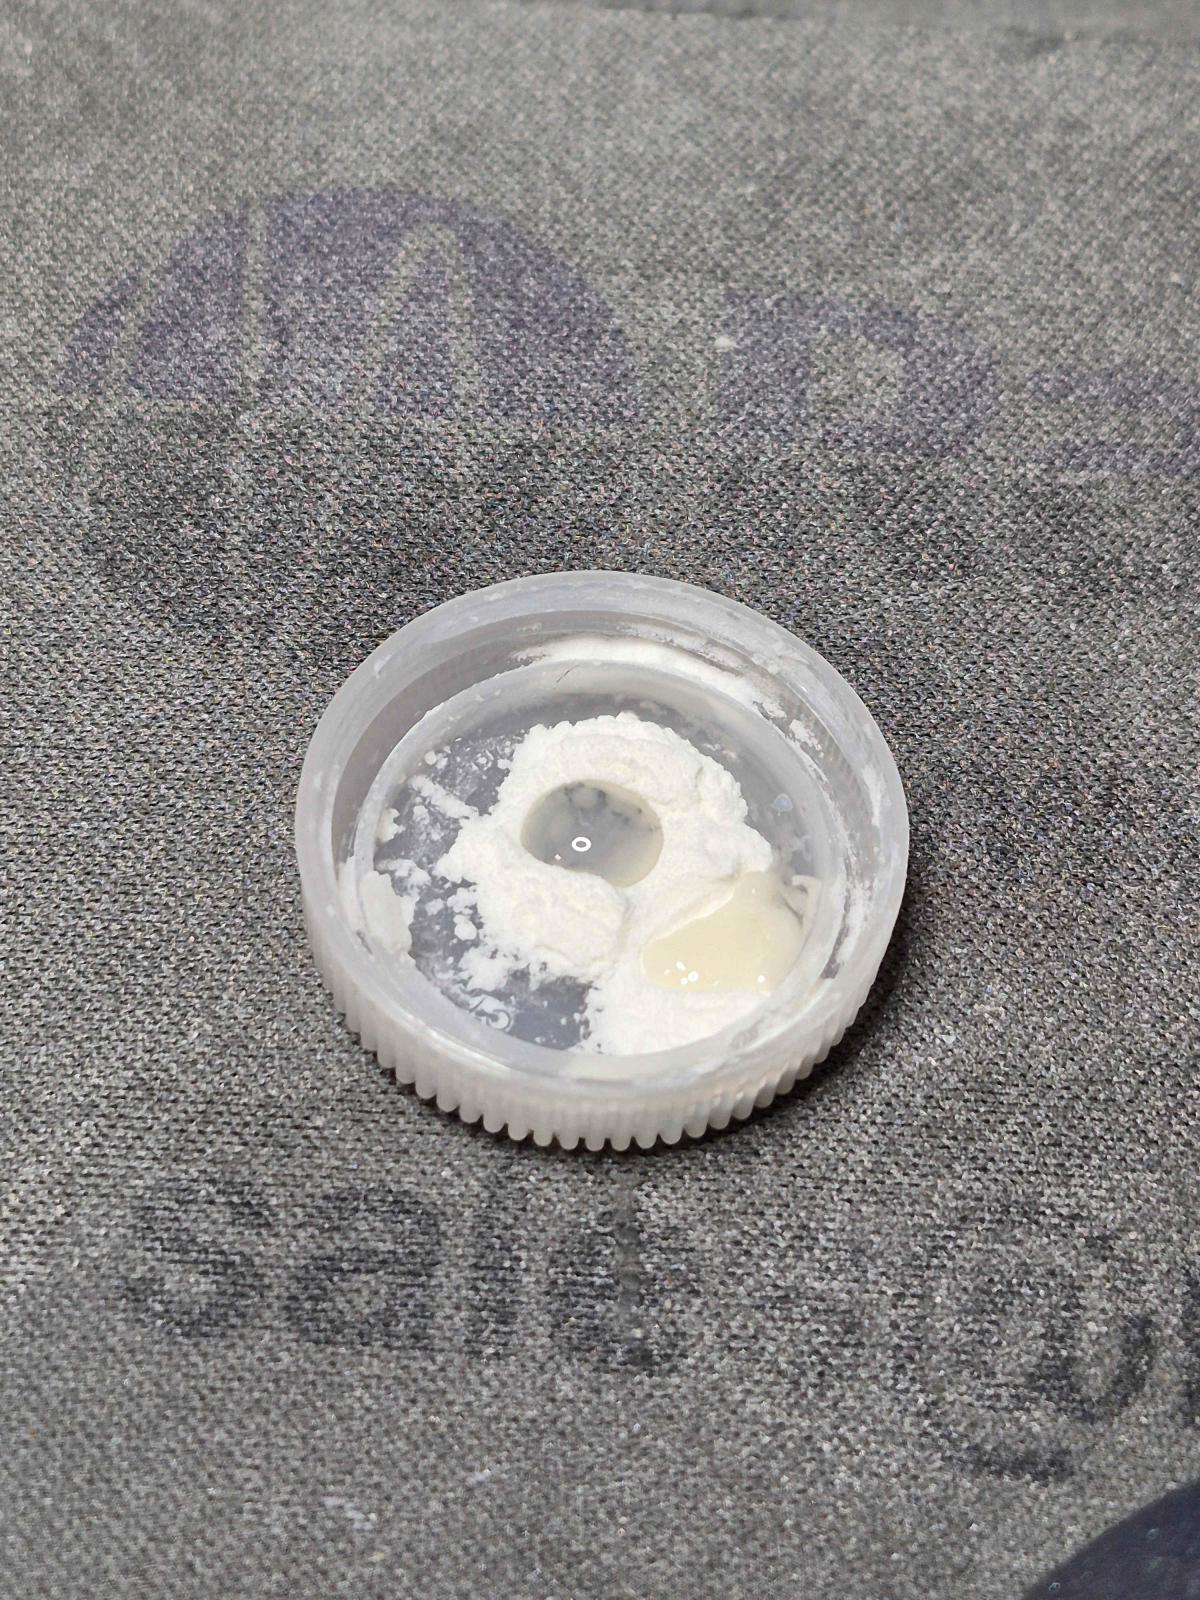
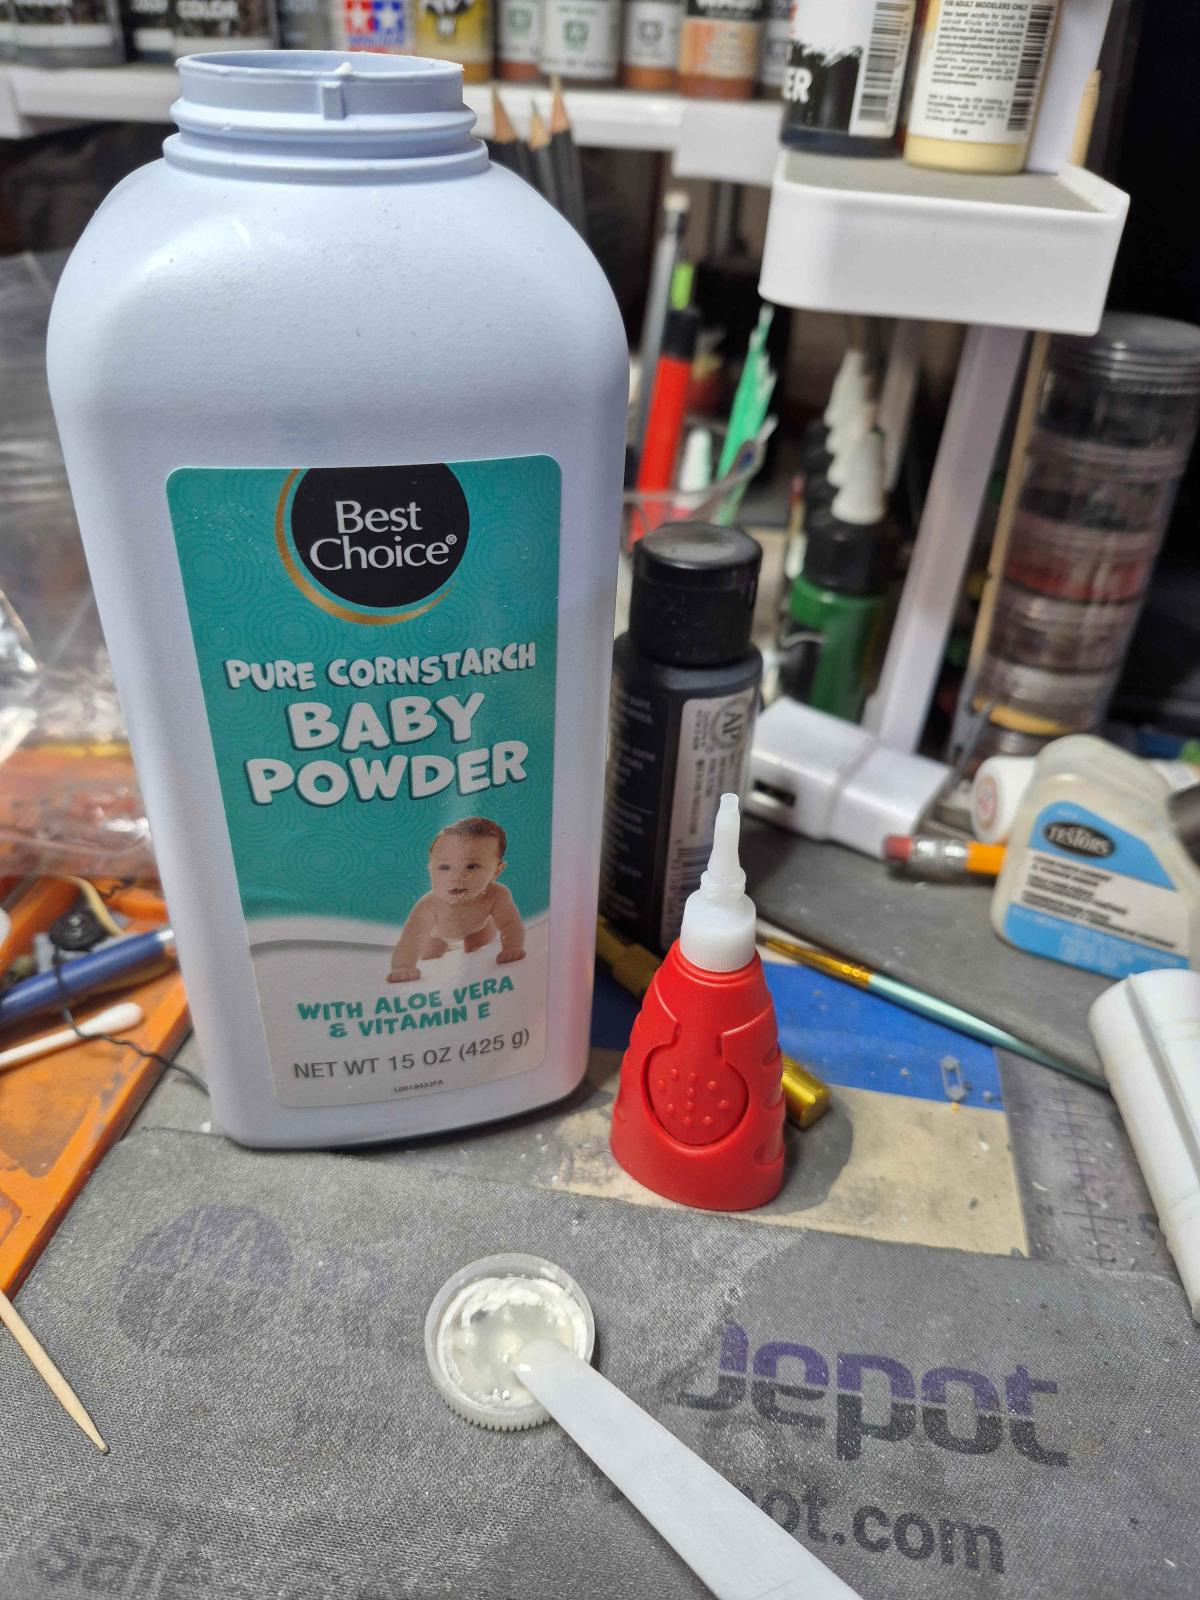
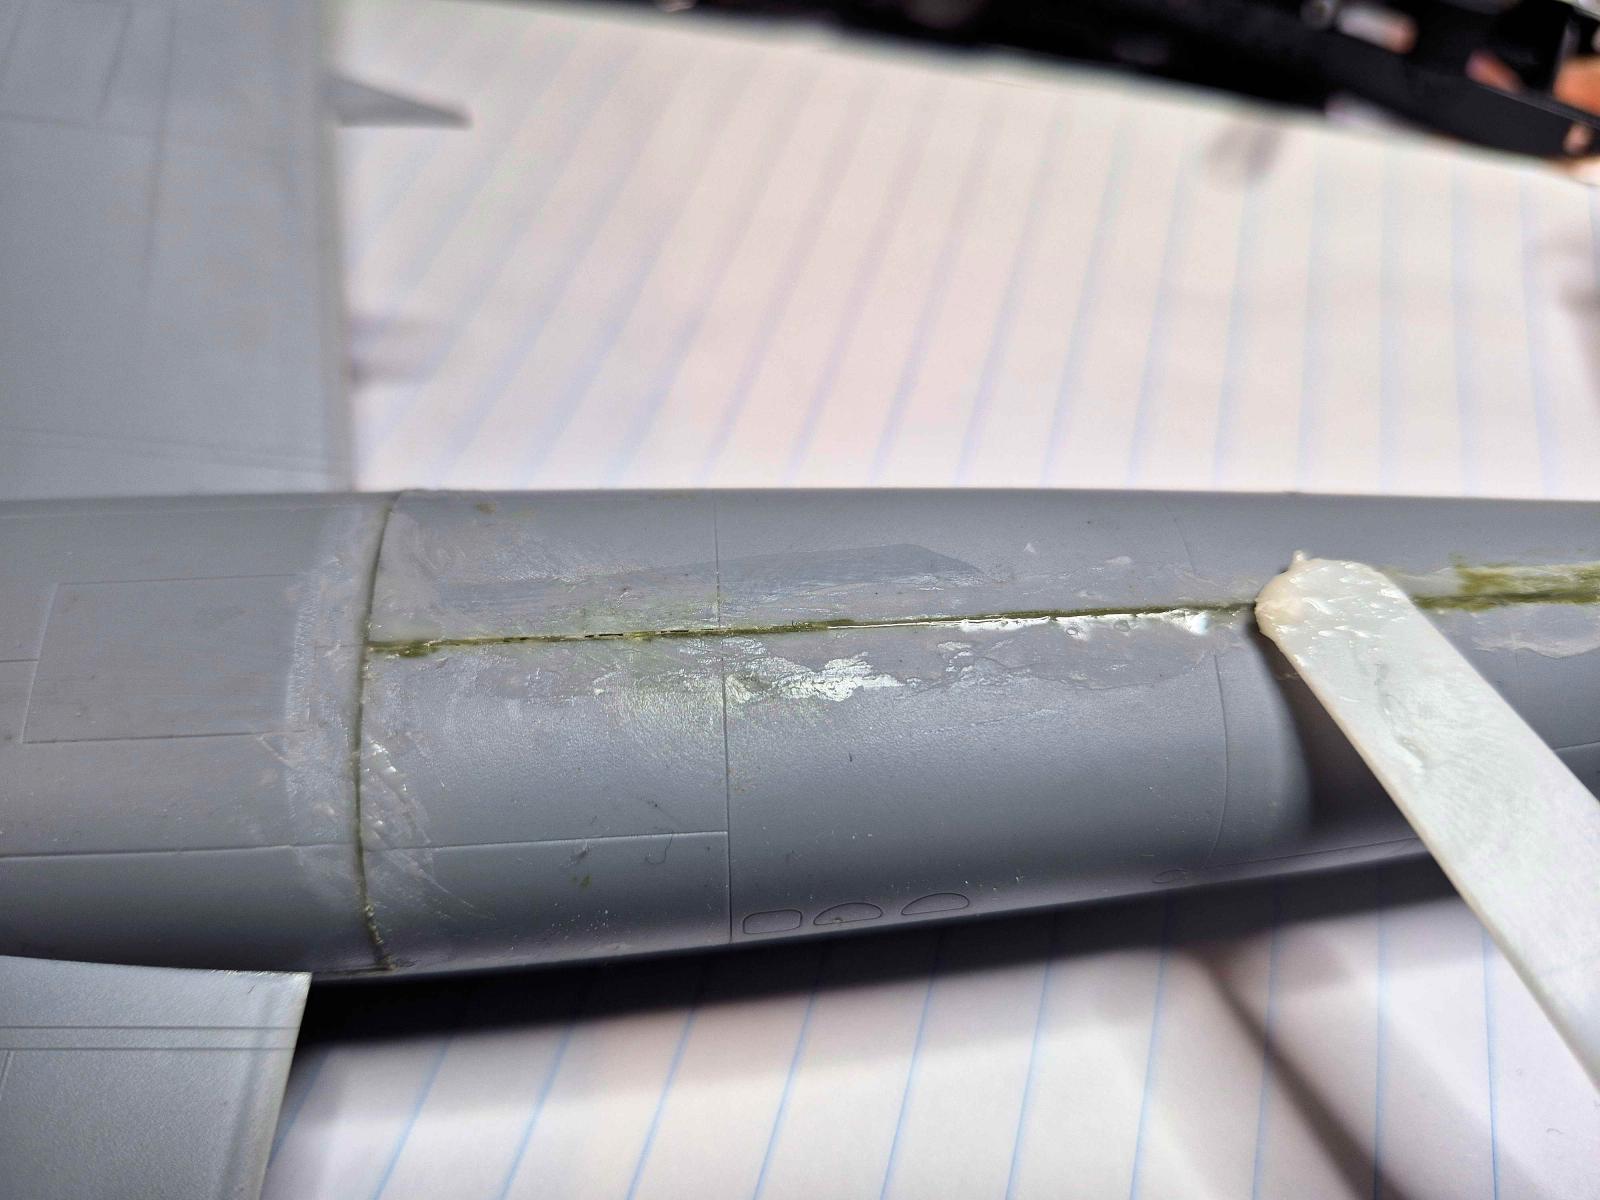
- When putting the fuselage halves together I had to trim up some of the pieces that went across both parts to get the fuselage to close flush. Even then, I had to use a bit of filler putty to close a few very minor gaps. This is not a negative on the fit of the kit, everything went together beautifully with just a very minor alteration work. I used a mixture of baby powder and super glue (a few small drops) to make a putty to fill the gaps. This mixture is easily applied with a toothpick and can be sanded easily. When you apply this before painting, you will still see the seam very clearly, but after it cures and is sanded, you can run a fingernail across it and not feel it at all.
Highlights
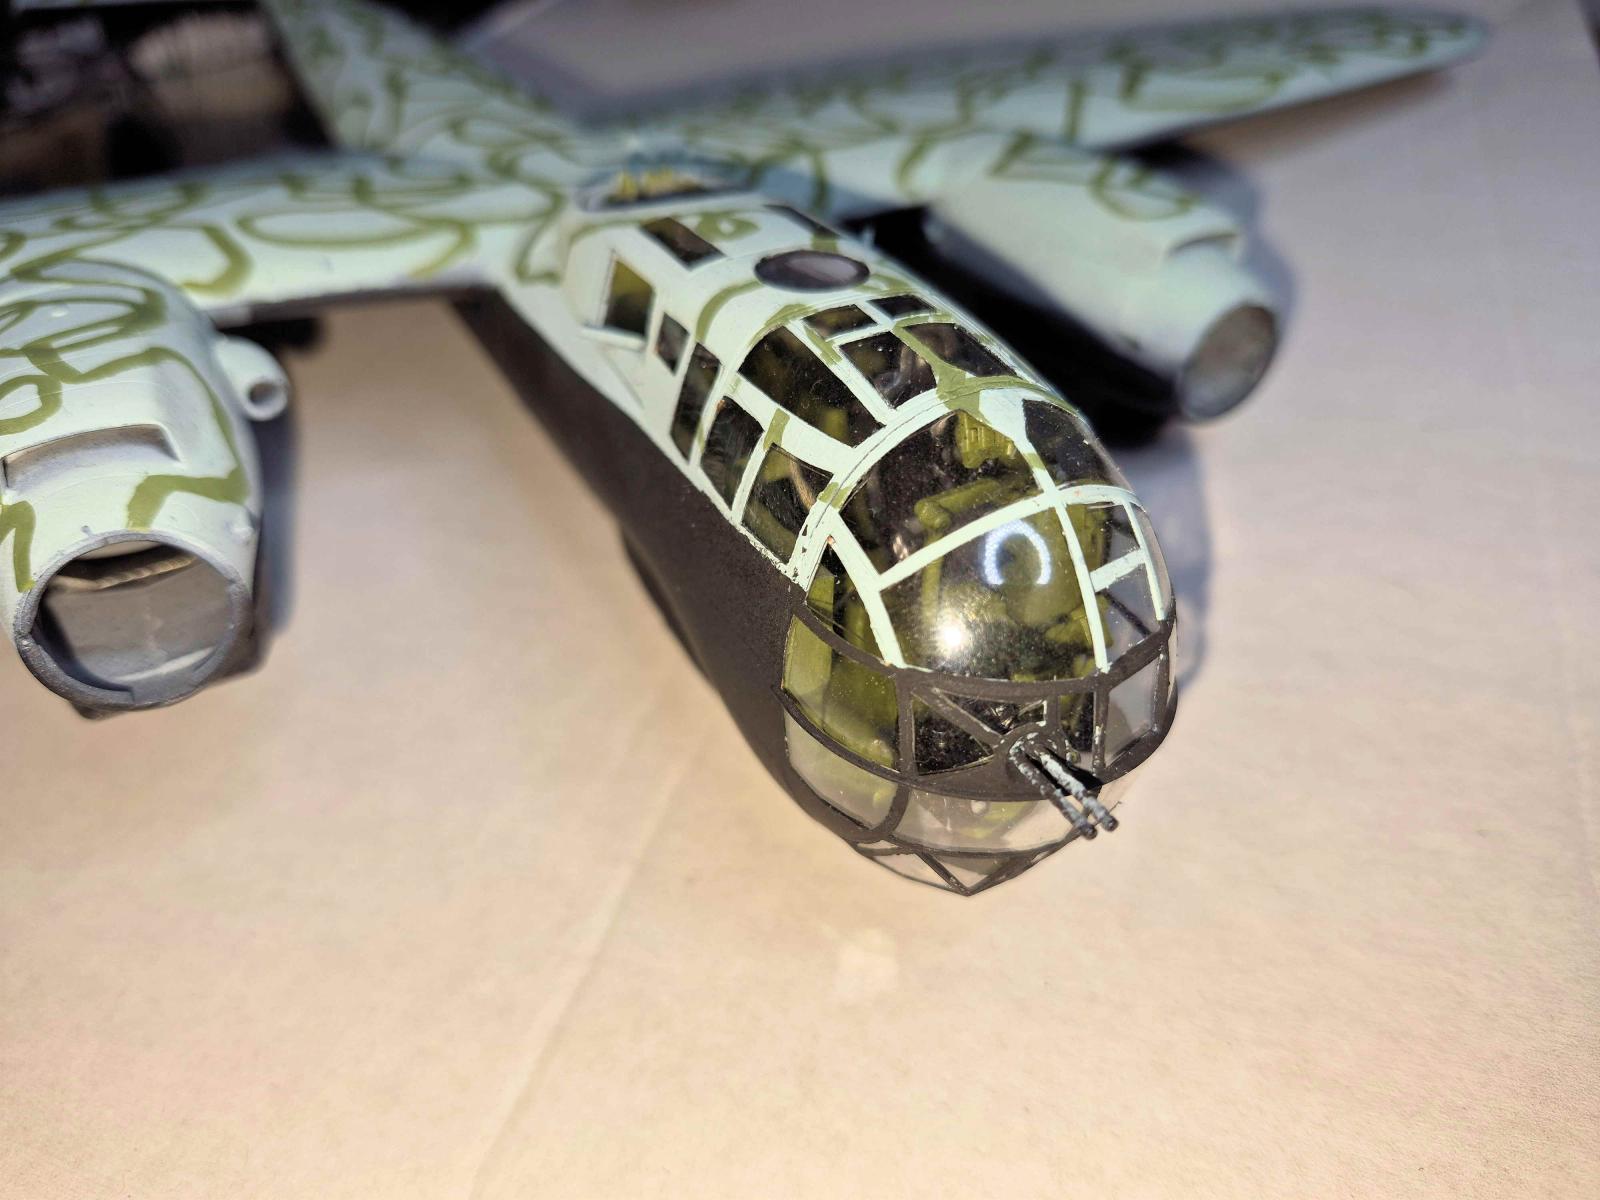
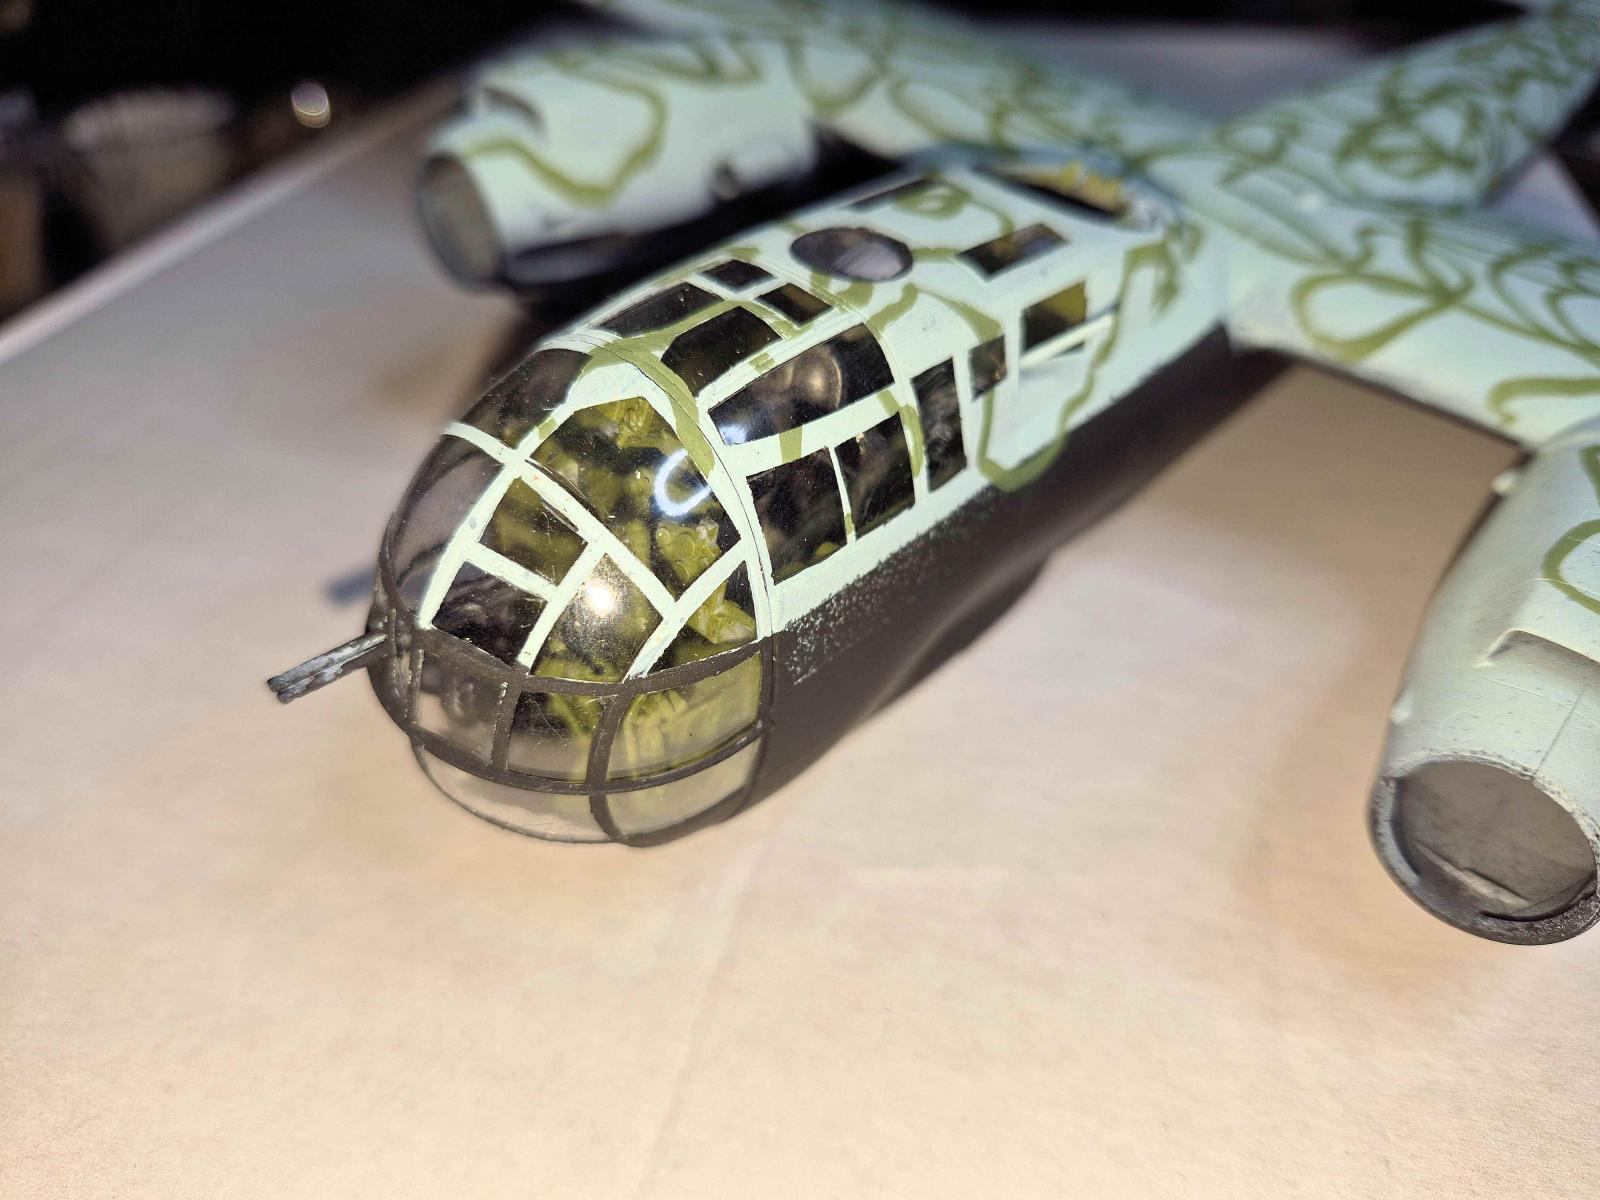
Many of you may think I have lost my mind with this statement I am about to make. My favorite part of this build was masking off the canopies. There was so much to do but it was a very enjoyable challenge, and I am quite pleased with the result. The saving grace was the masking templates that were provided in the instructions. This is by far the most intense masking task I have ever taken on, but using the templates made it my most successful masking attempt.
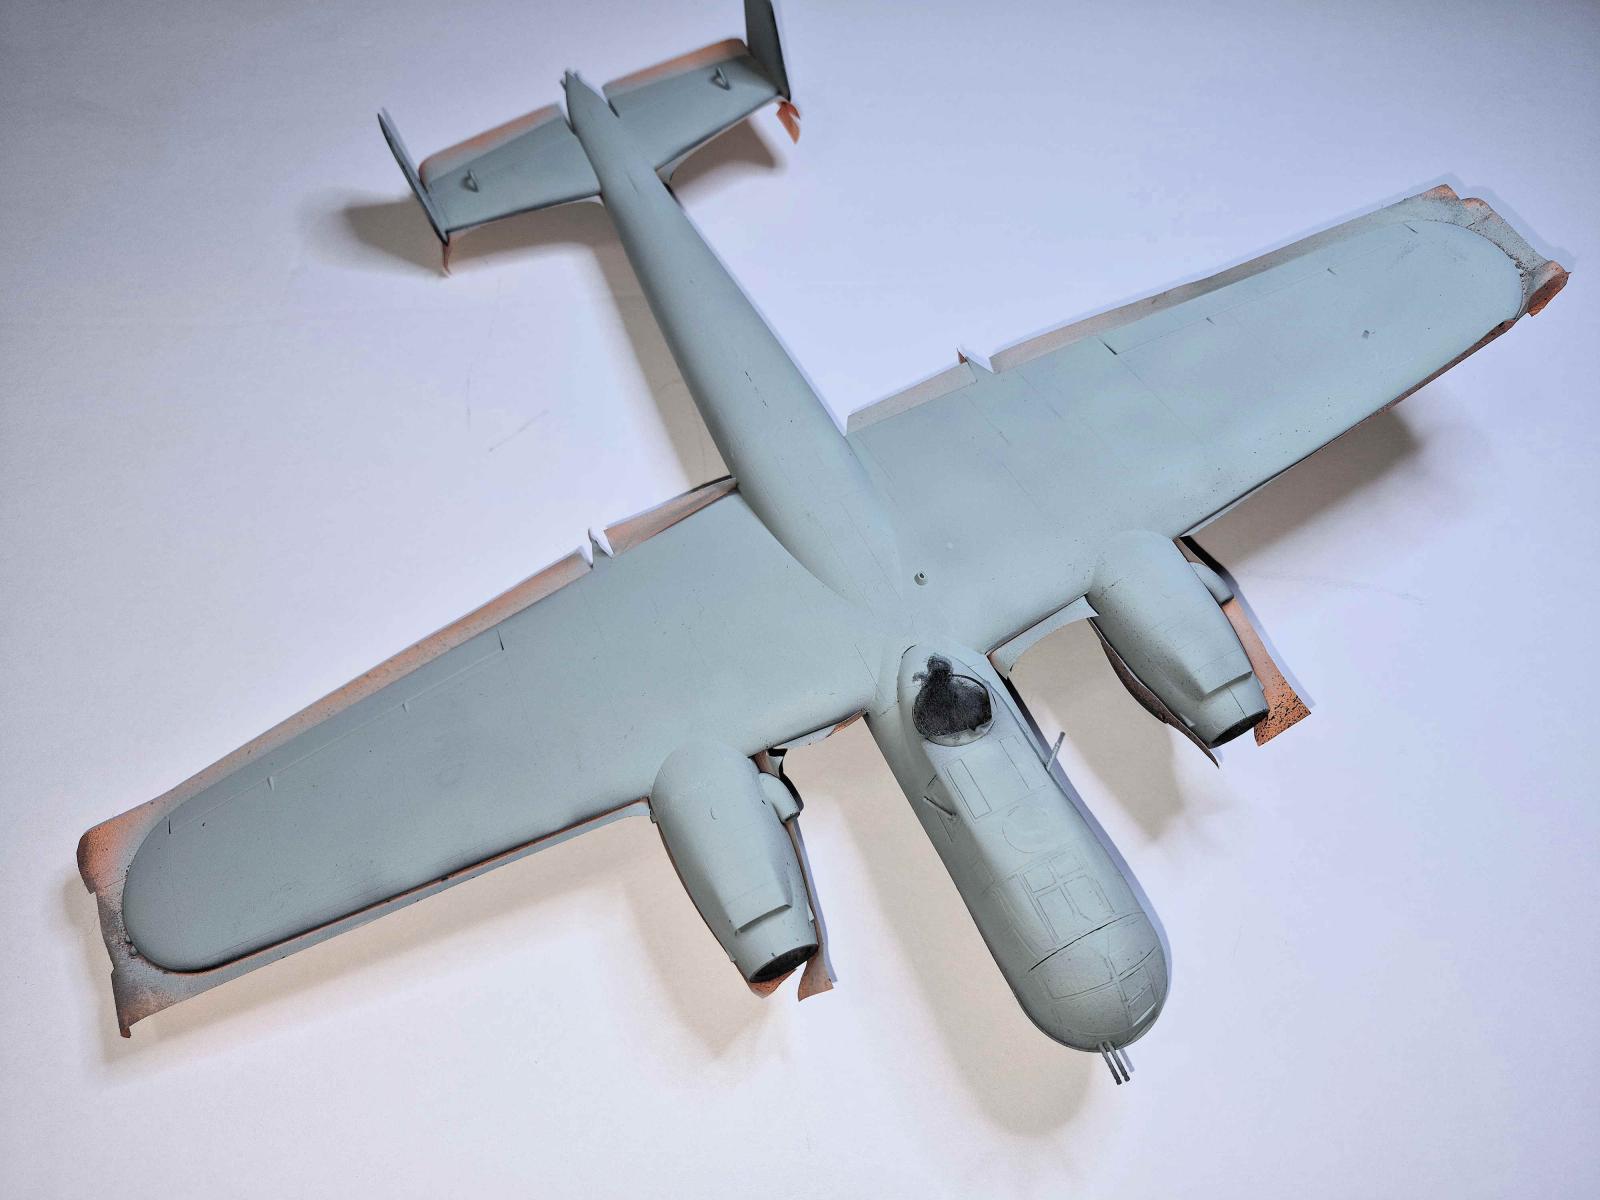
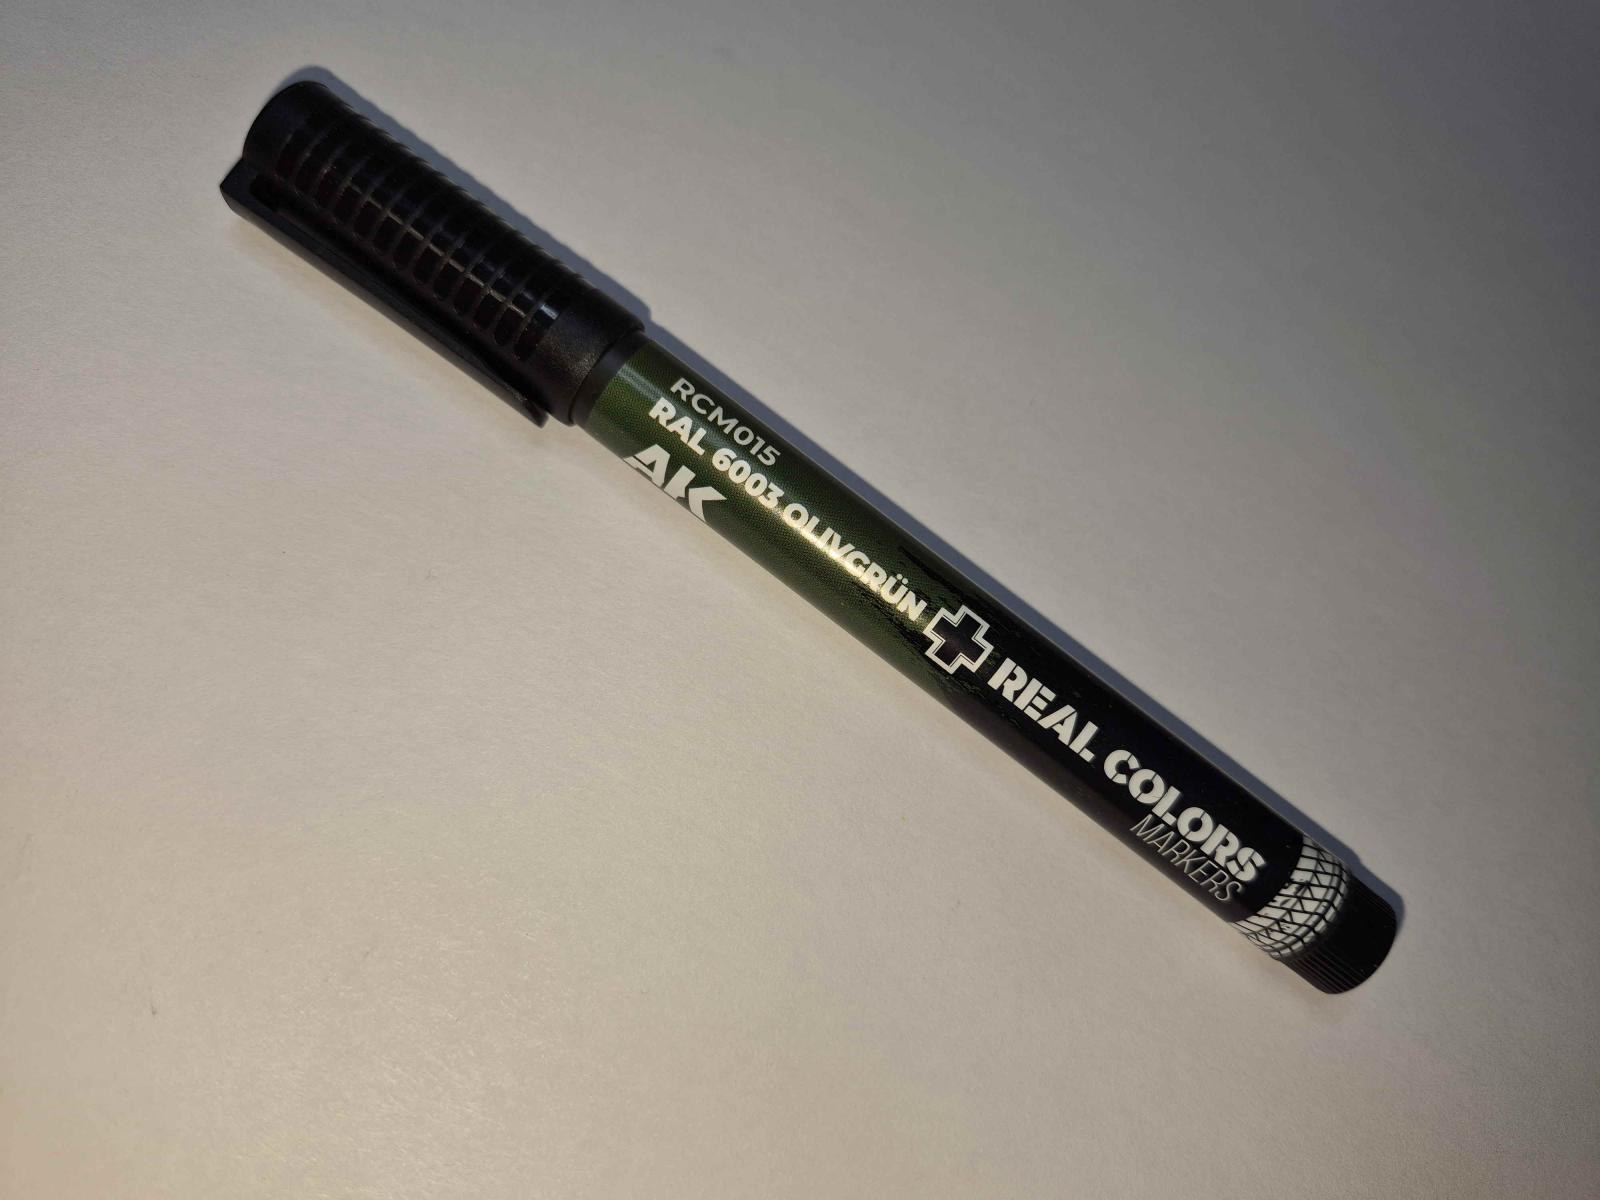
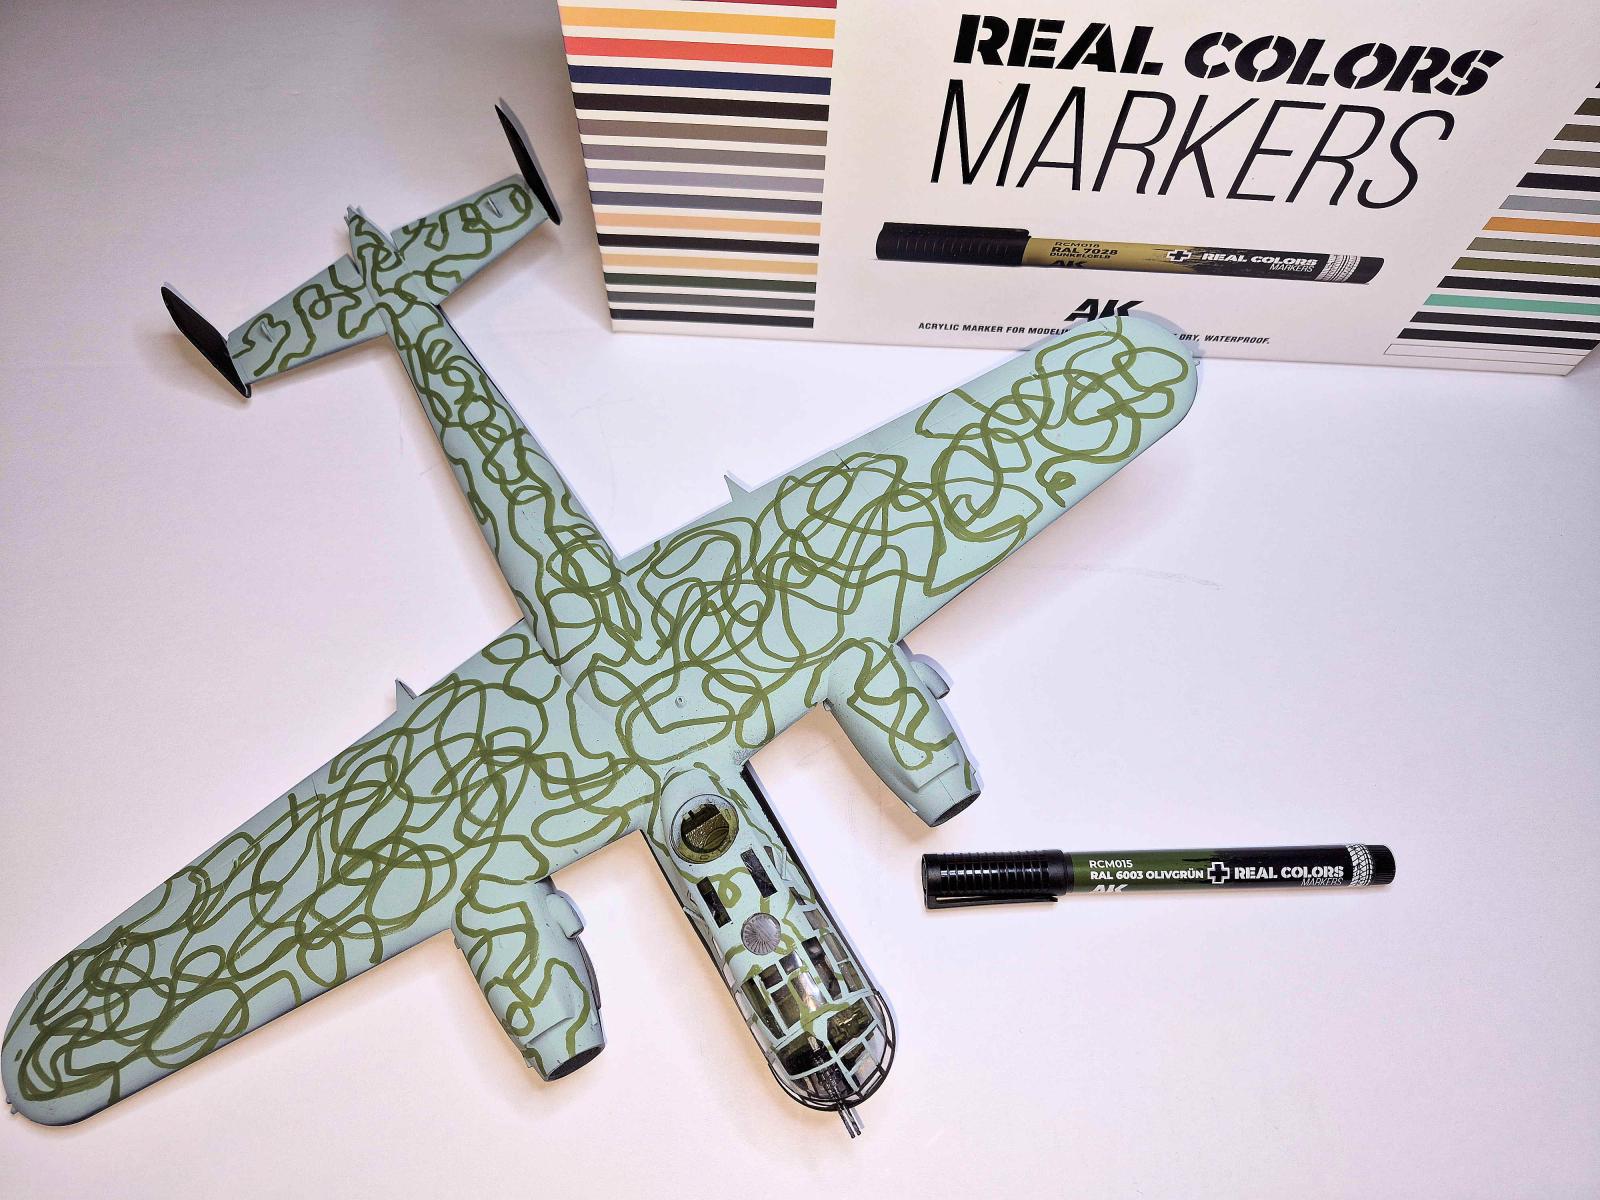
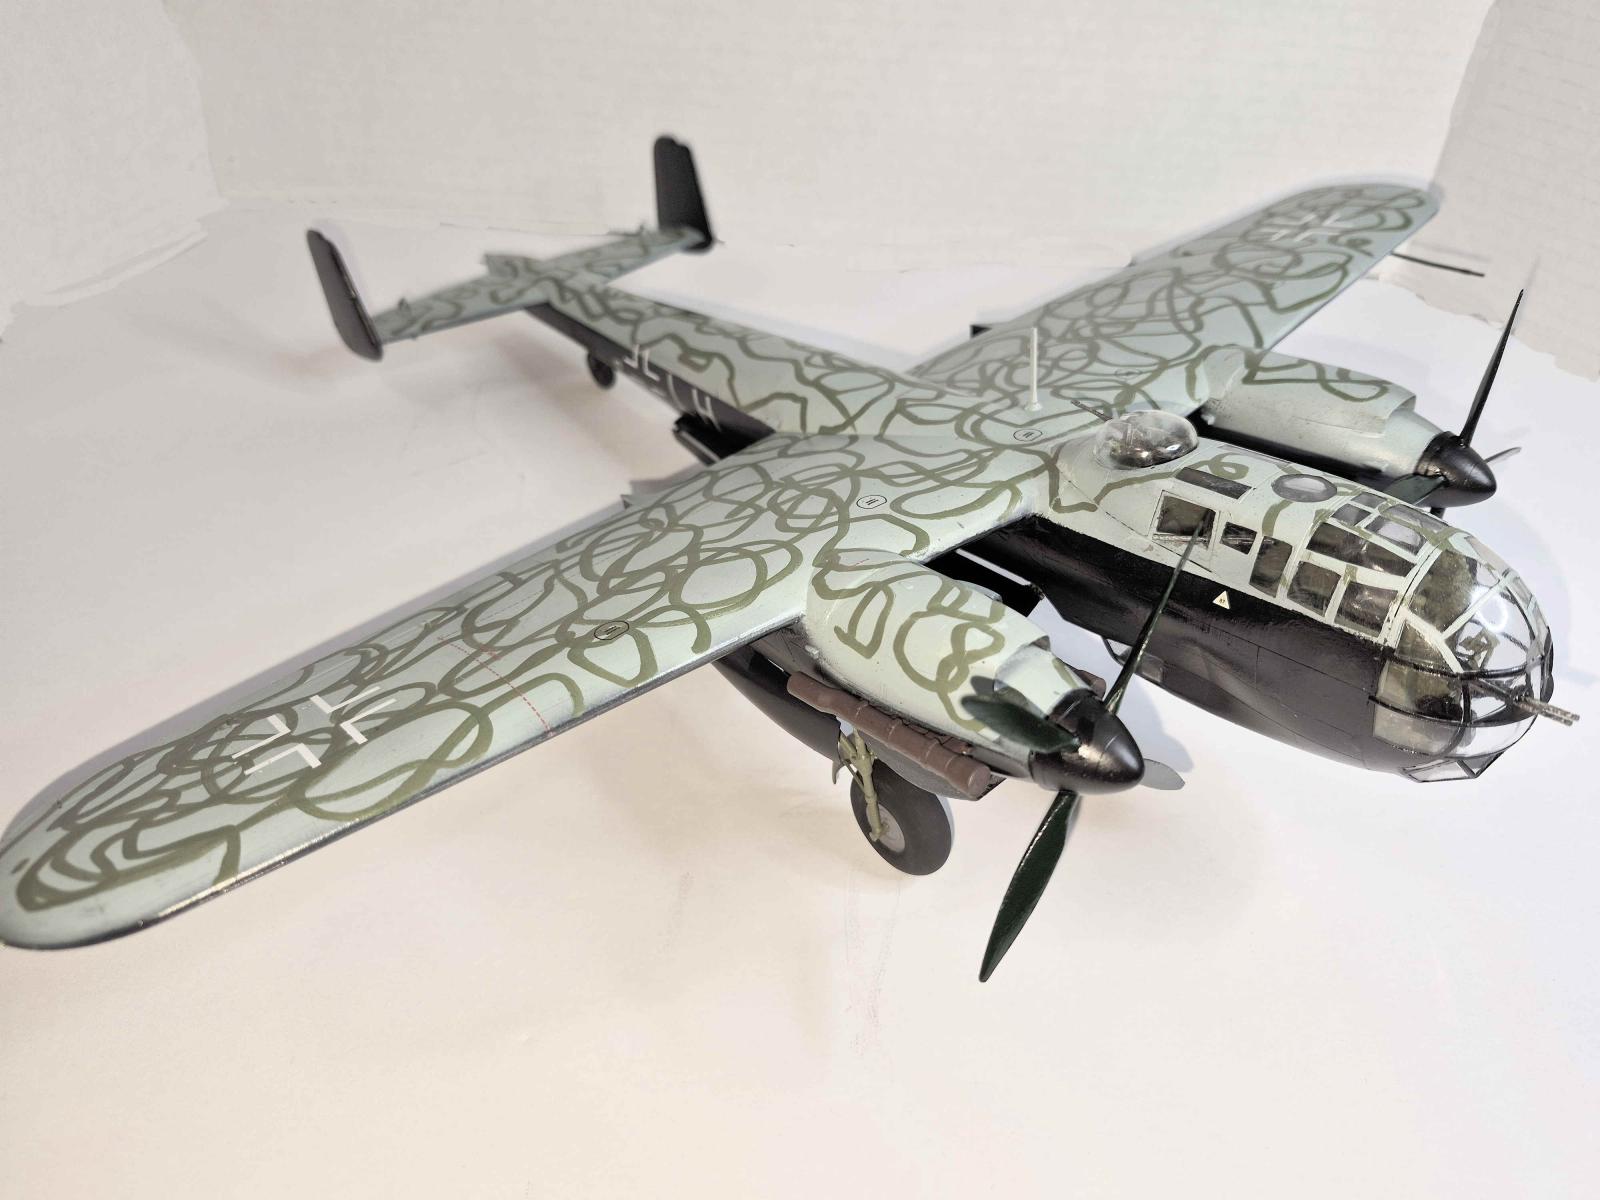
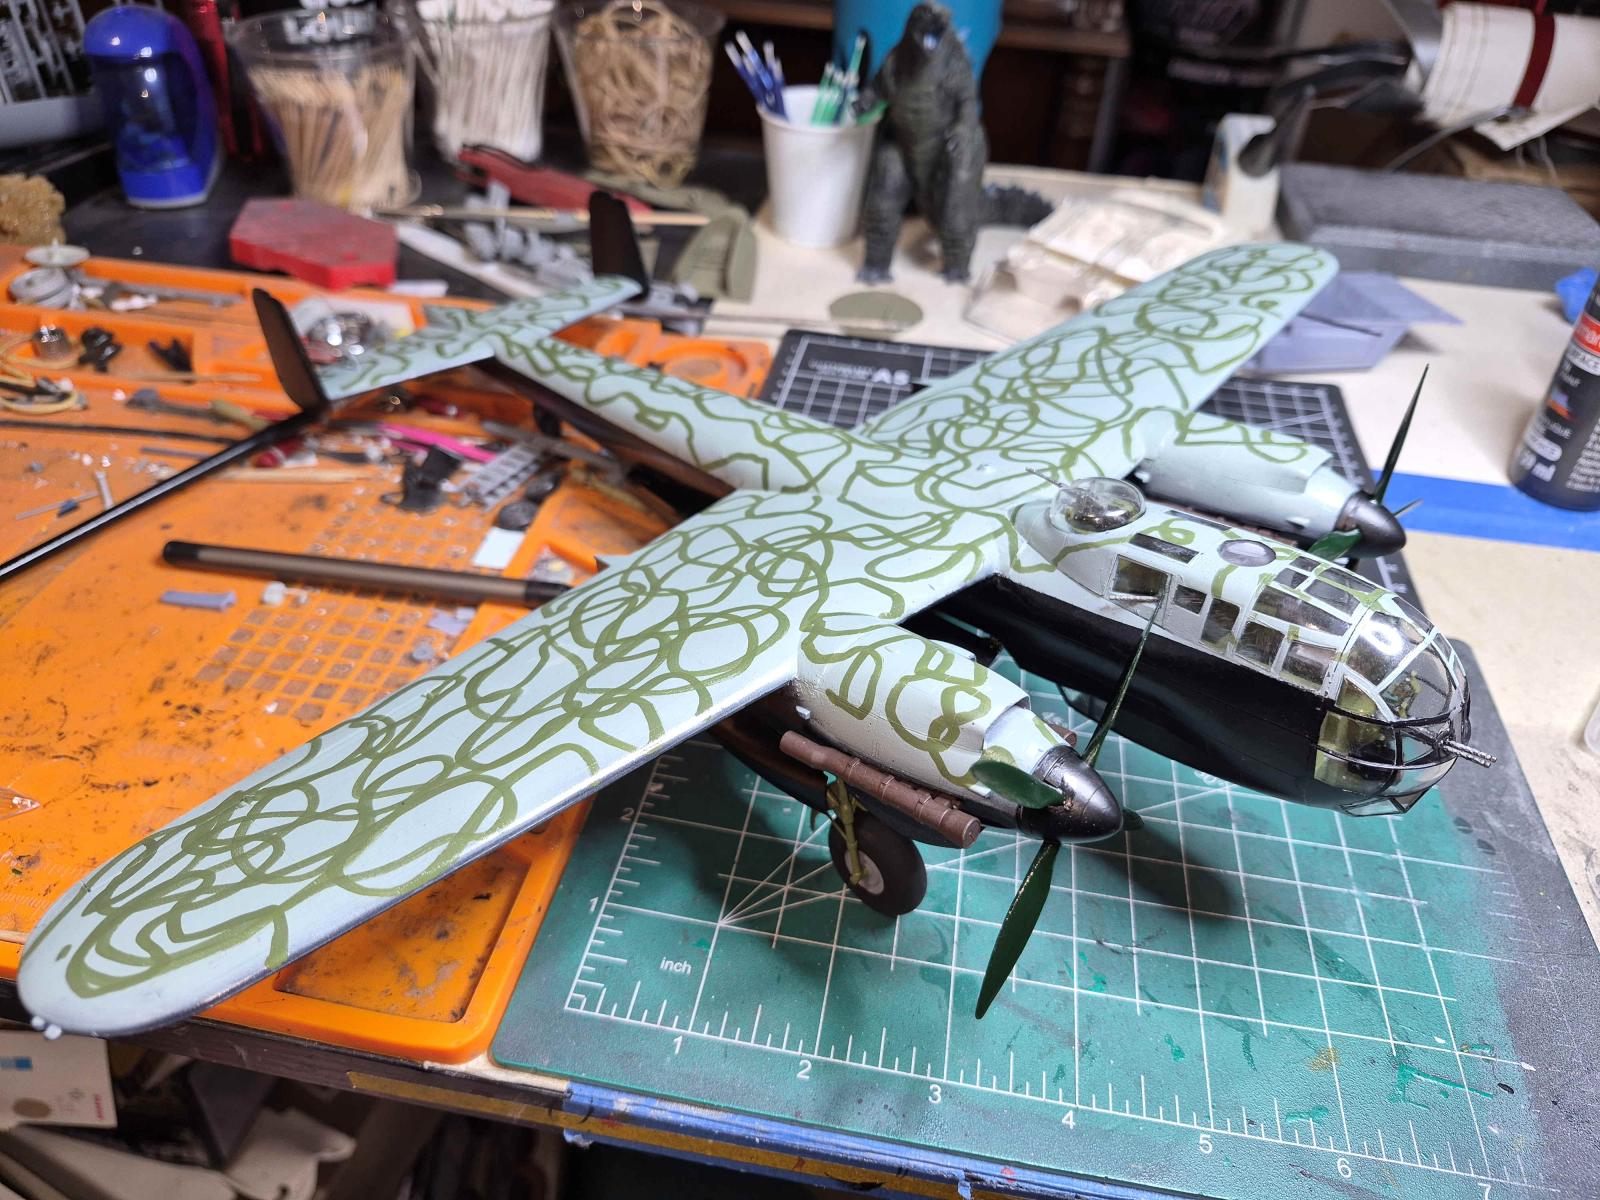
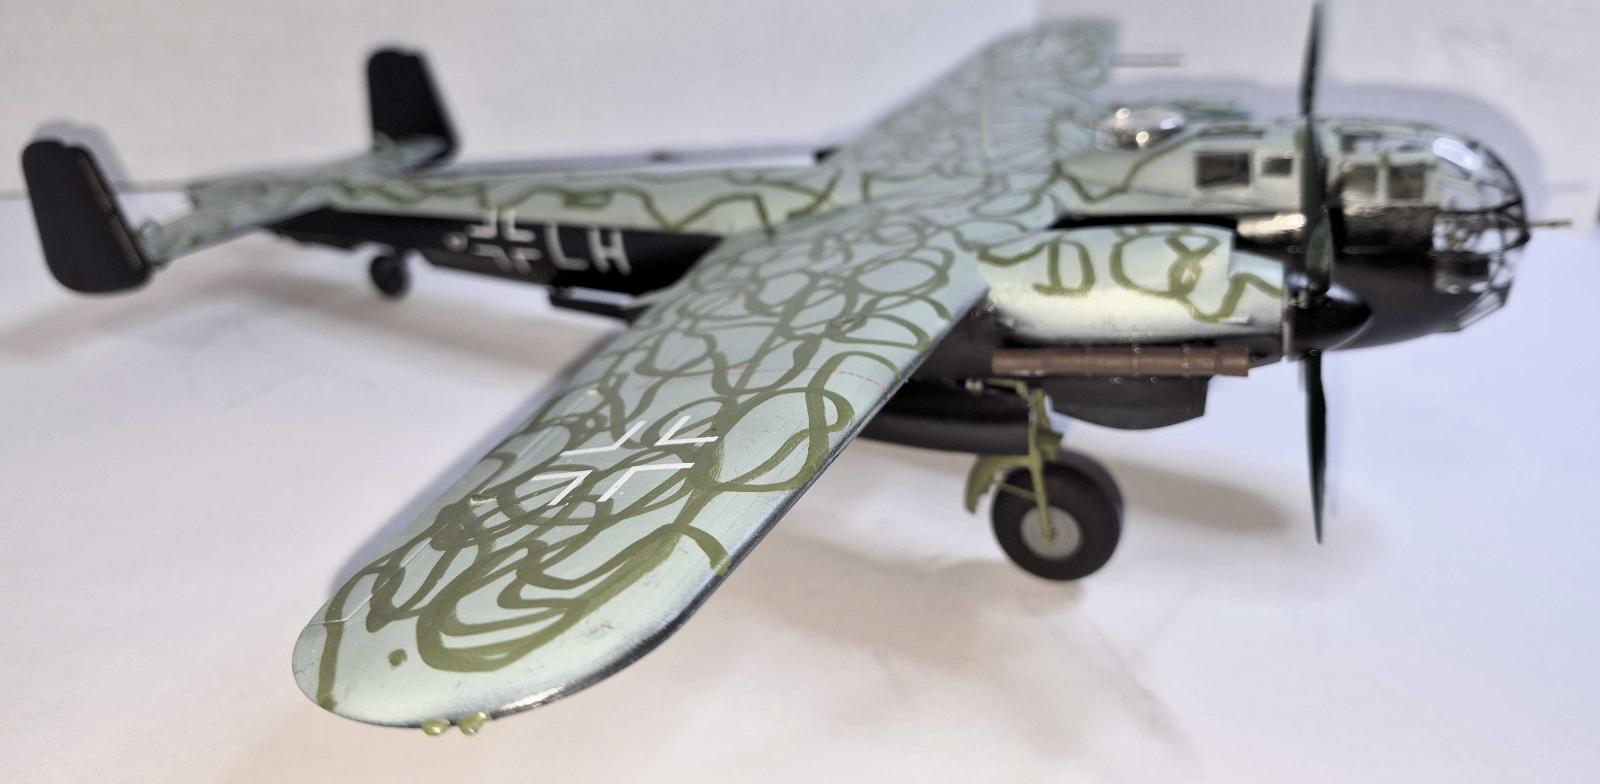
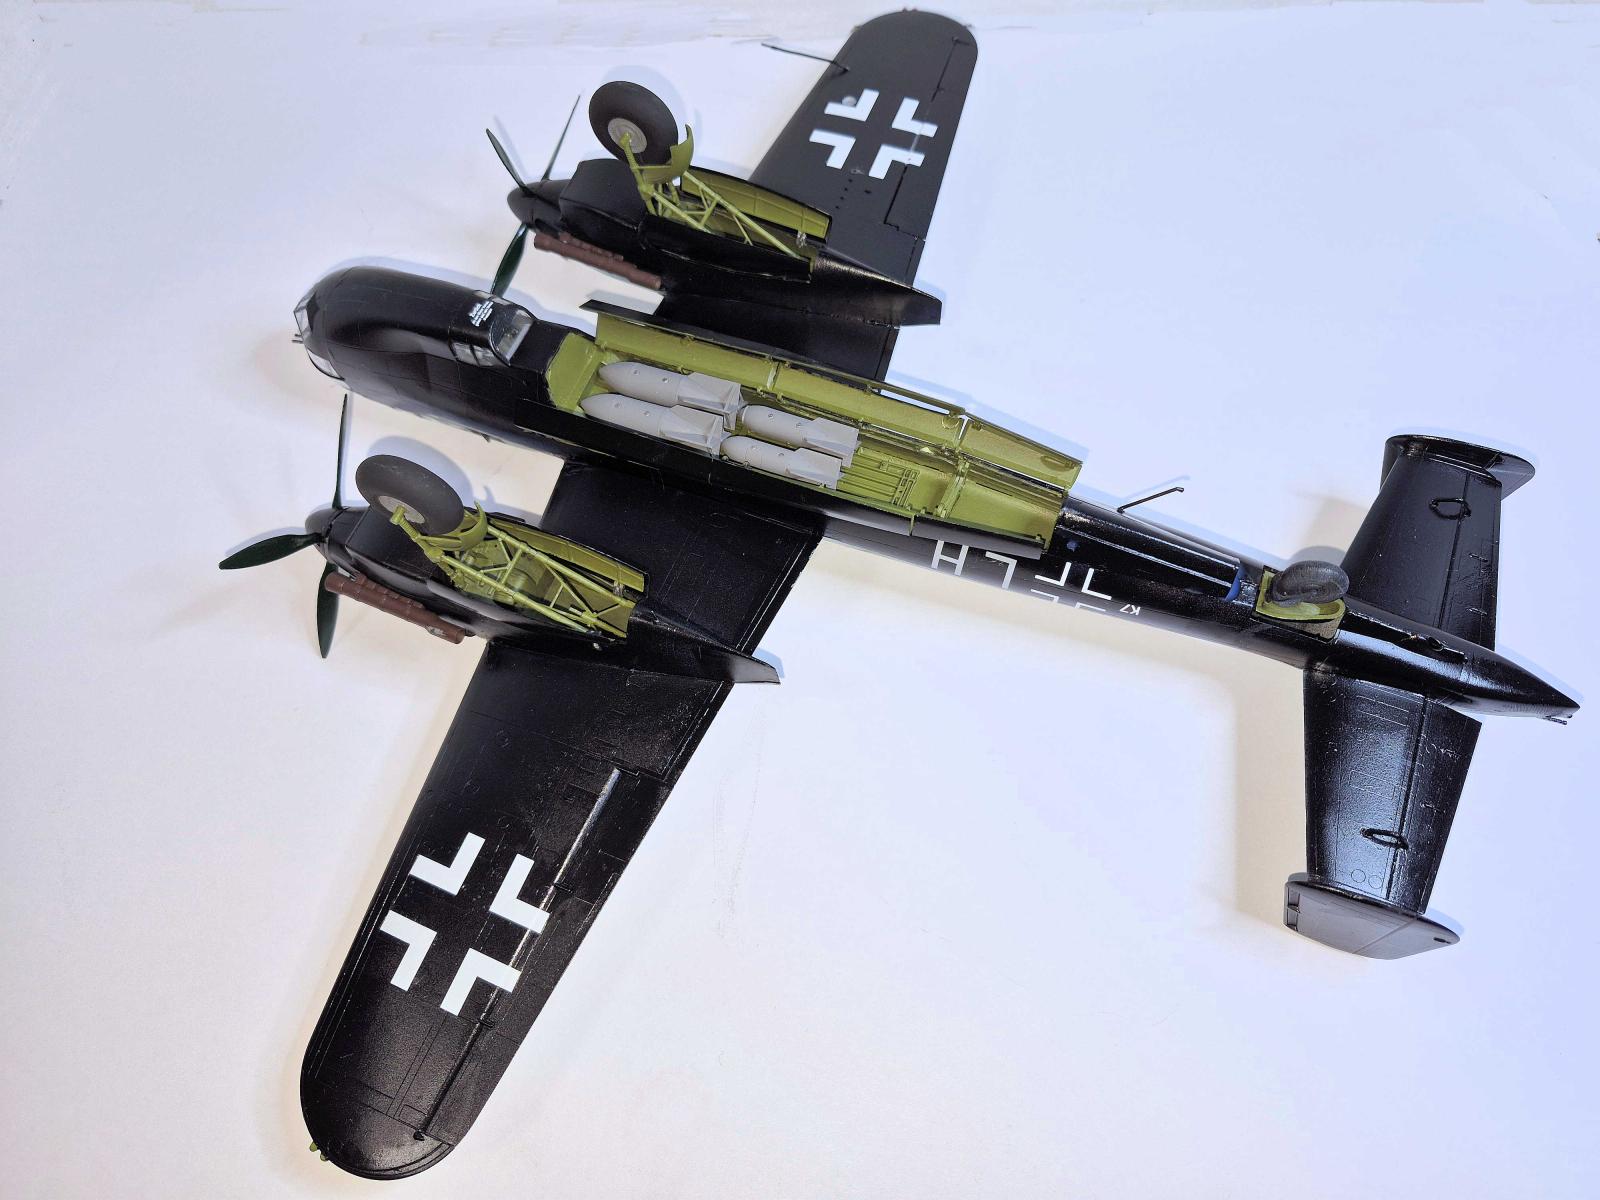
After masking and assembling the rest of the bomber (minus the bombs) I gave everything a black base then a little “loose” masking for the Pale Blue (ICM 1074) on the top of the aircraft, which I airbrushed on. I followed that by free-handing the green lines on the pale blue with the Olivegrun RAL 6003 marker out of the Real Colors Marker set. After that set, then it was time for the most pleasing or aggravating part, depending on the results: the removal of the masks.
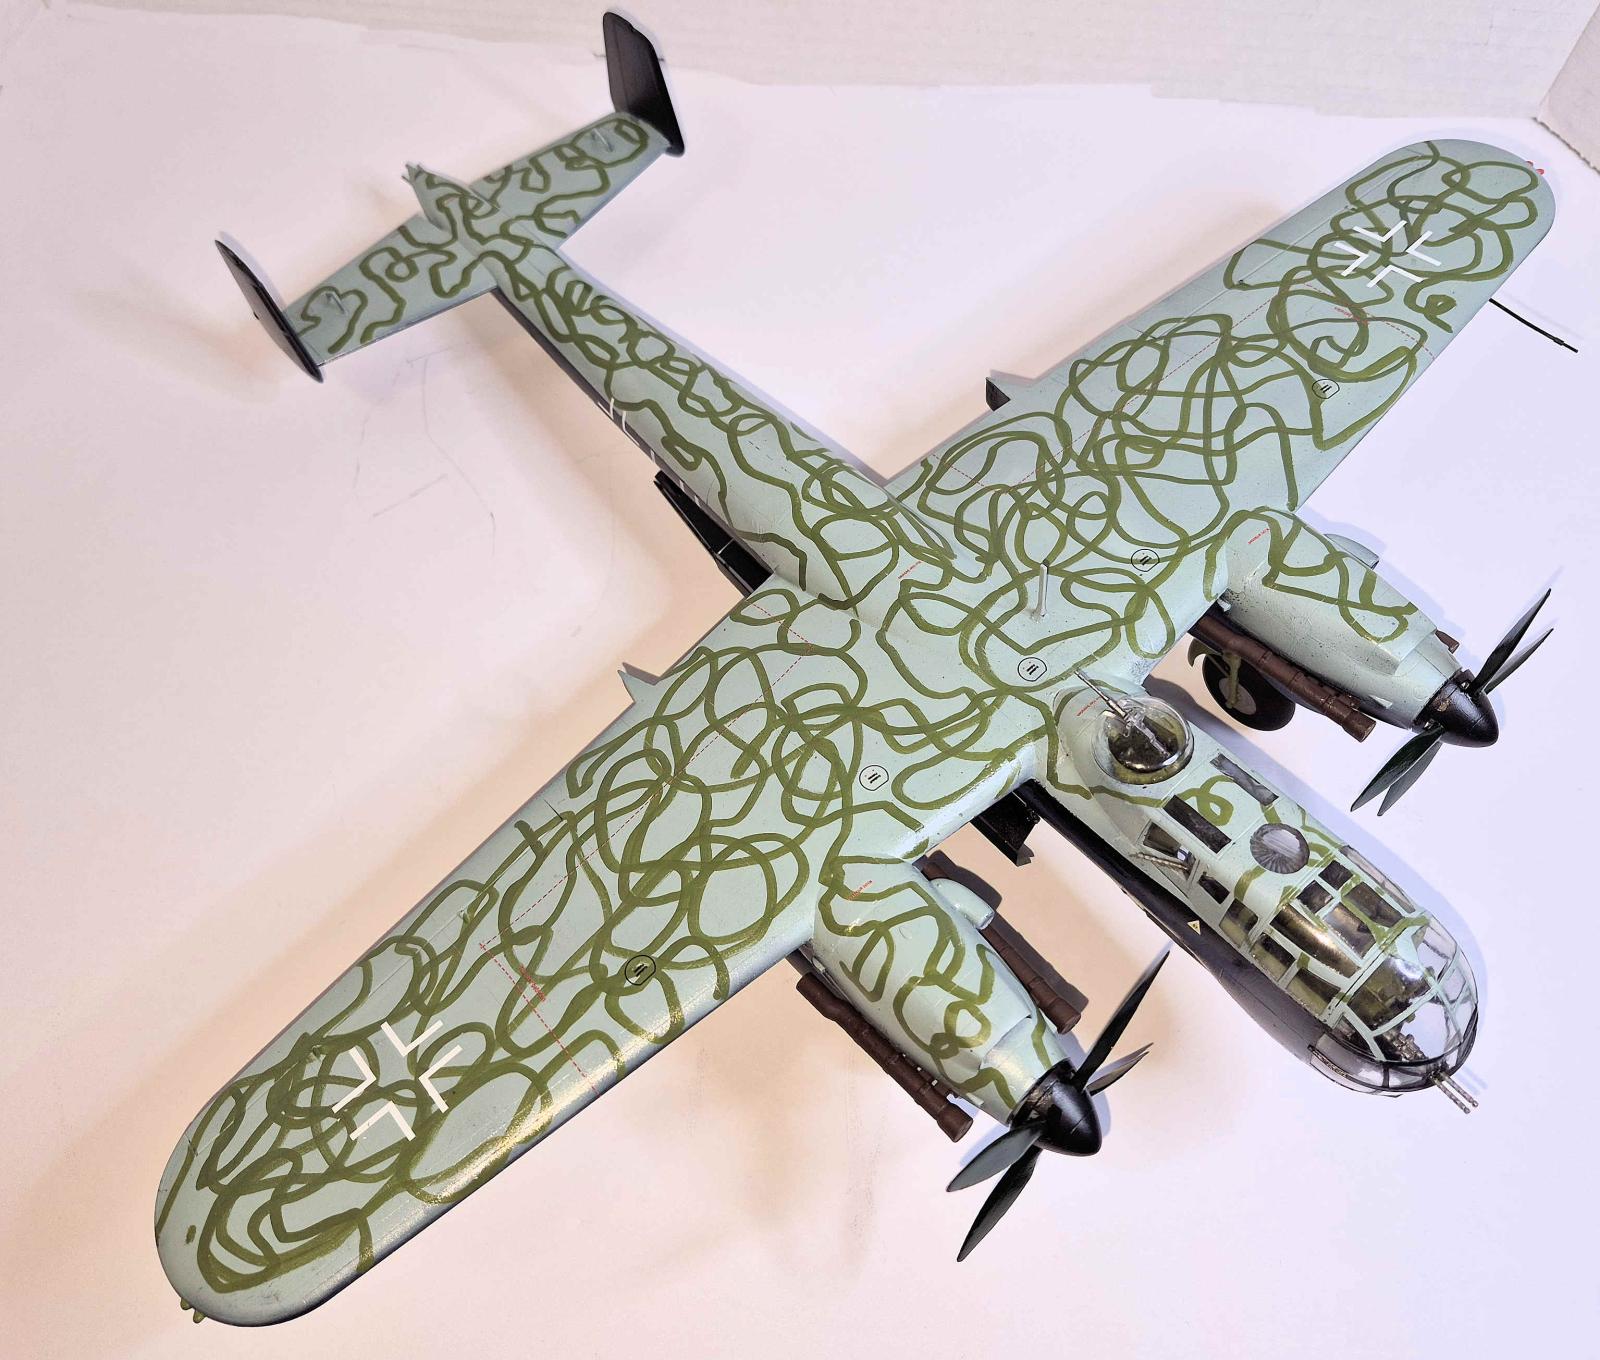
Success!! The masks came off and I only had 1 little issue in that one of the masked areas got a little clouded, but overall I am pleased with the results. All that is left now is the final parts and touch-ups. And, of course, the decals.
Conclusion
Once again, ICM has given me a wonderful and challenging experience with another beautifully manufactured kit. This is my first German bomber. The Germans came out with some uniquely designed aircraft, and ICM has captured this one in wonderful detail and craftsmanship.
My thanks to ICM for the opportunity to review this kit.
Comments
Nice review, Brad!
The notes about the various issues you encountered are very valuable! Thanks for taking the time to do this.
Greetings
Thanks. Glad it could help
IPMS USA
Add new comment
This site is protected by reCAPTCHA and the Google Privacy Policy and Terms of Service apply.
Similar Reviews