
Nakajima Ki-84 Hayate Expert Set
What is in the Box
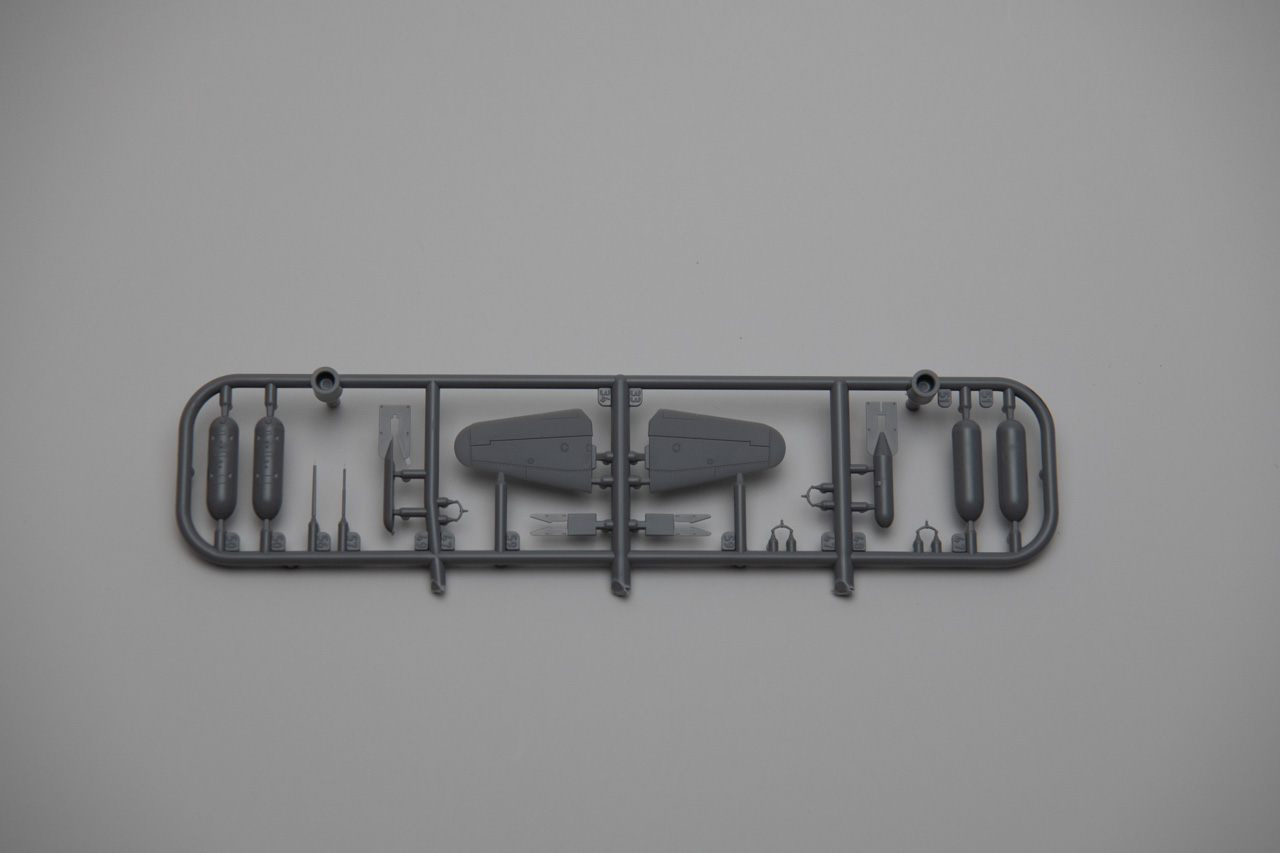
- 2 gray injection molded plastic sprues
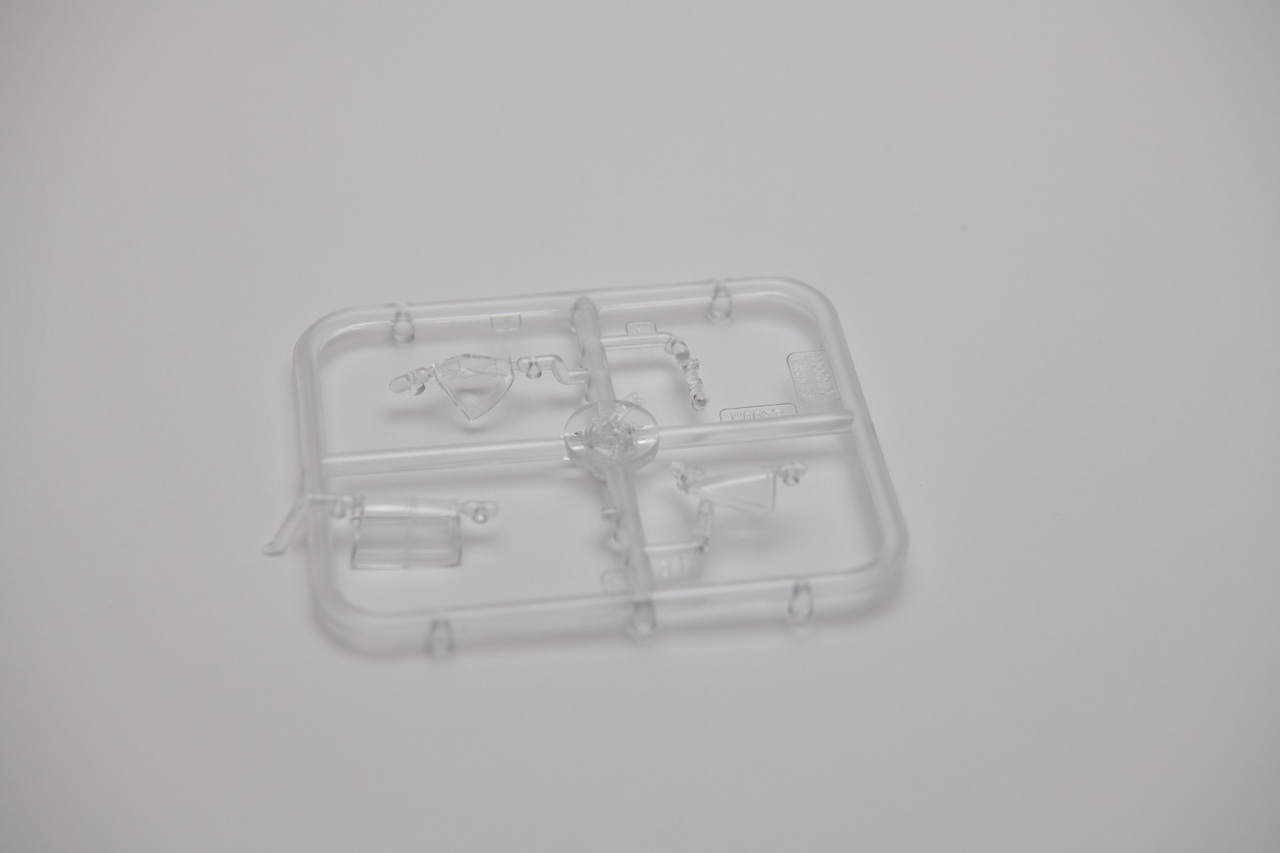
- 1 clear sprue
- 1 photo etched brass fret
- 1 set of pre-cut masks
- 1 decal sheet with 6 markings options
- 1 instruction book
Construction
Construction of this kit starts with the cockpit. The cockpit features a separate cockpit floor, rudder pedals, throttle, and two control sticks. The control sticks are inserted through the bottom of the cockpit floor. The seat is attached to a seat mount, which is then glued to the cockpit floor. Decals are provided for the instrument panel and for the photo etched brass seatbelts.
The next step is engine assembly, which consists of six parts, and a photo etched ignition harness. The ignition harness requires considerable attention to install correctly, but adds a significant amount of detail. The cockpit and engine are captured between the fuselage halves, the upper and lower wings parts are assembled and joined to the fuselage. The engine cowl is in four parts and the fit is nearly perfect. The upper fuselage around the cockpit is a separate piece, two parts are supplied, one for an open canopy and one for a closed canopy. I chose the open Canopy which fit perfectly.
This kit fit so well that I only had to lightly sand the fuselage seam. A very small amount of filler was required in the area where the lower wing met the forward fuselage near the cowl. I used Bob Smith Industries IC-2000 Black CA as filler.
The Cowl flaps and exhaust are separate parts. The exhaust stacks are glued in place, followed by the cowl flaps. These parts also fit perfectly.
Construction wraps up with the undercarriage, and underwing stores. The wheels are weighted, and have a flat contact patch. An extra pin is molded to the landing gear strut which aligns with a second hole in the wheel just above the main mounting hole. This ensures the wheels are in the correct position to sit flat, another great feature which makes final assembly much easier.
All gear doors have a defined mounting location and have enough surface area to securely cement in place.
If you want to install the bomb shackles, you will need to drill a hole in the mounting area. This is a well detailed part of the wing, but the instructions do not indicate the need to drill a hole.
Painting and Weathering
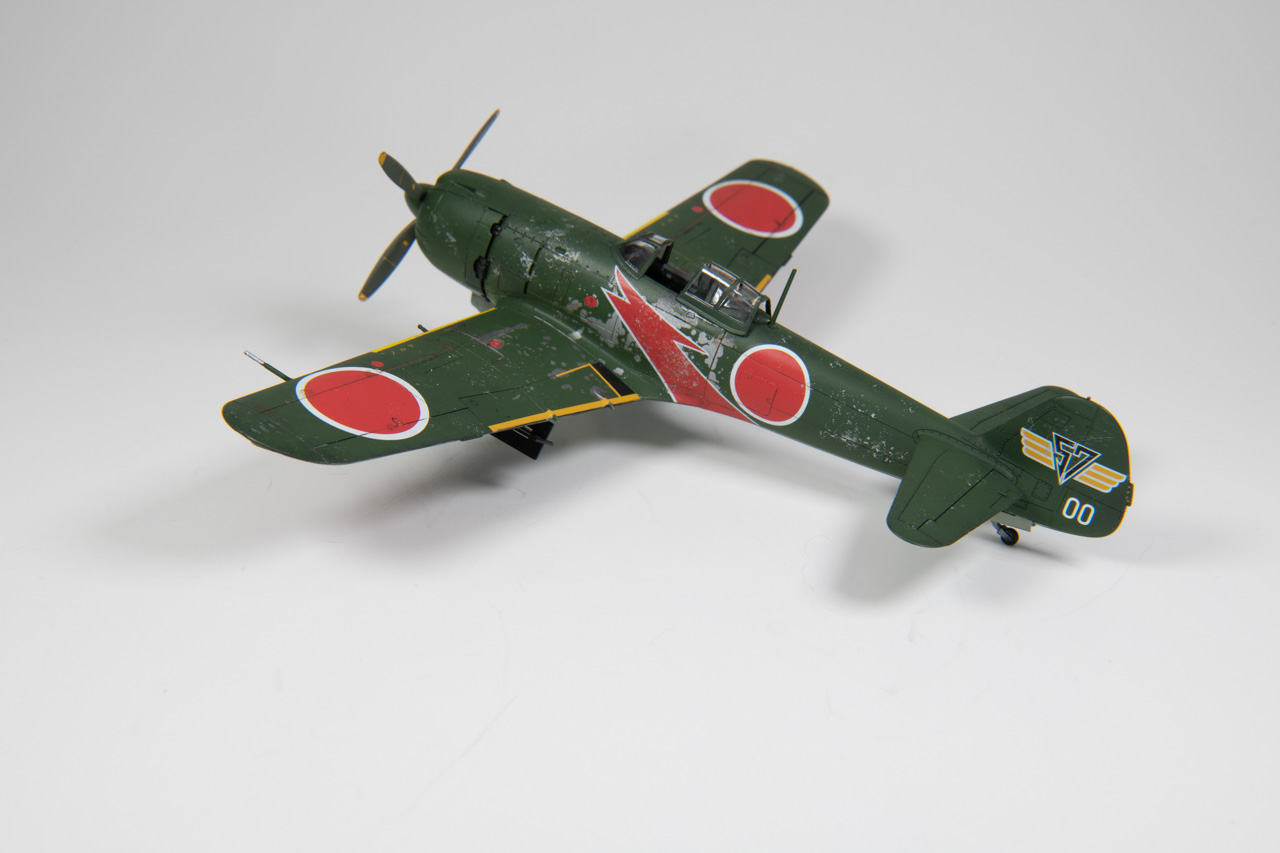
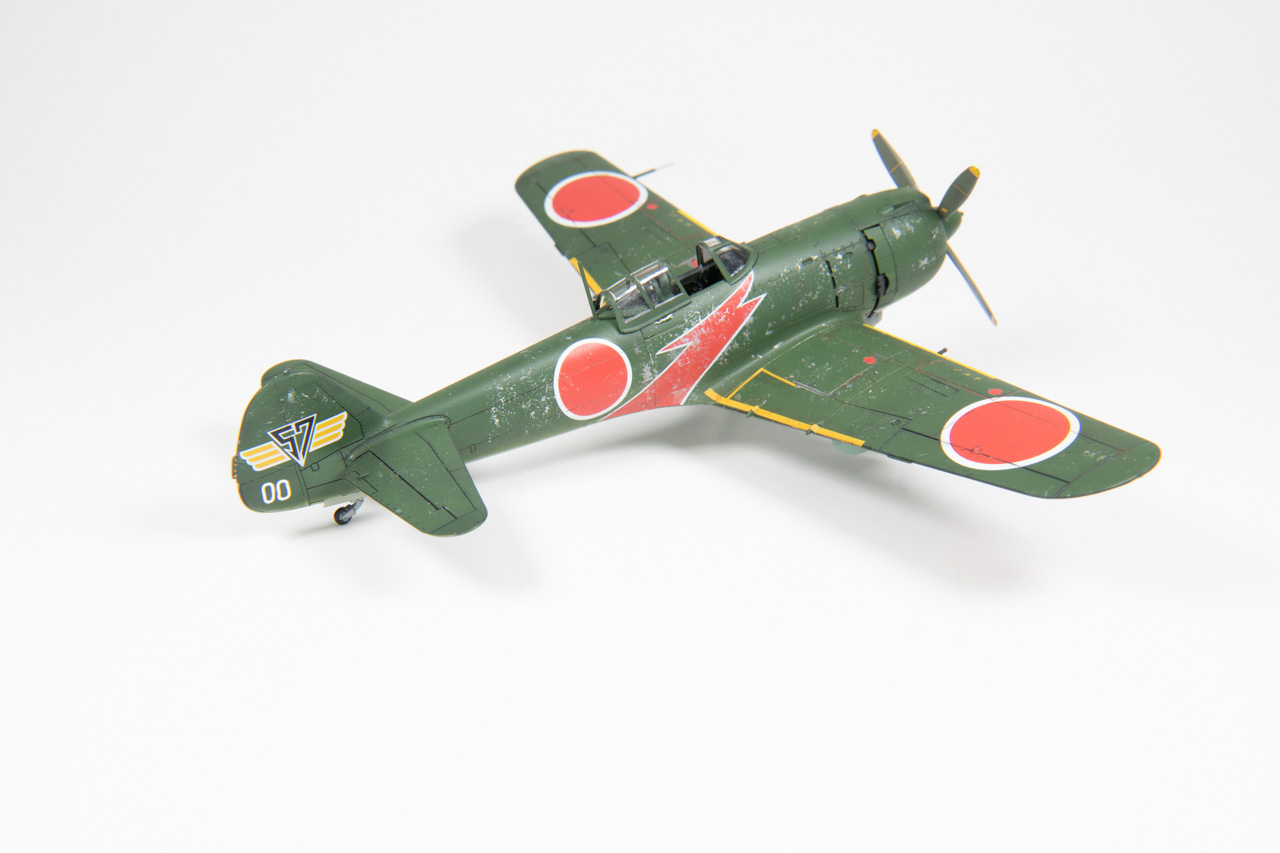
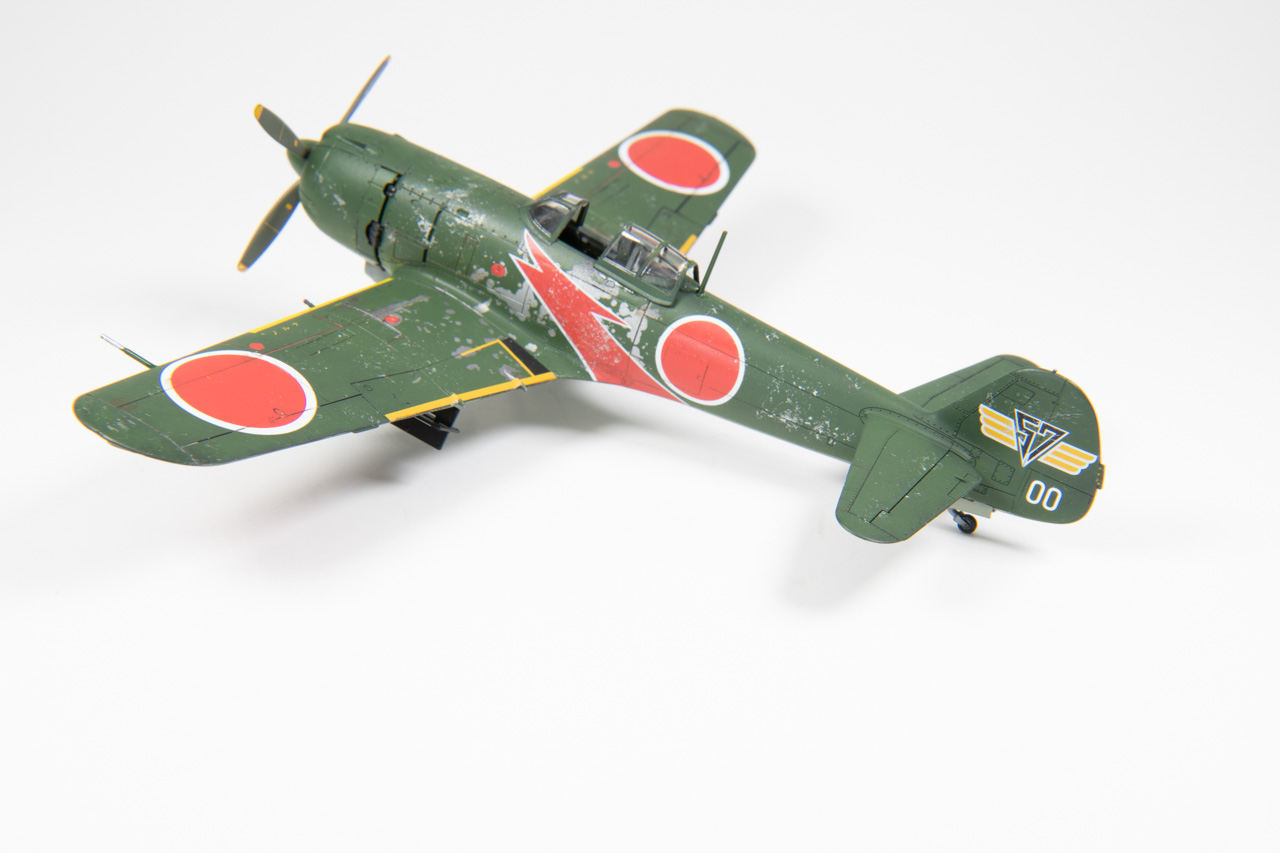
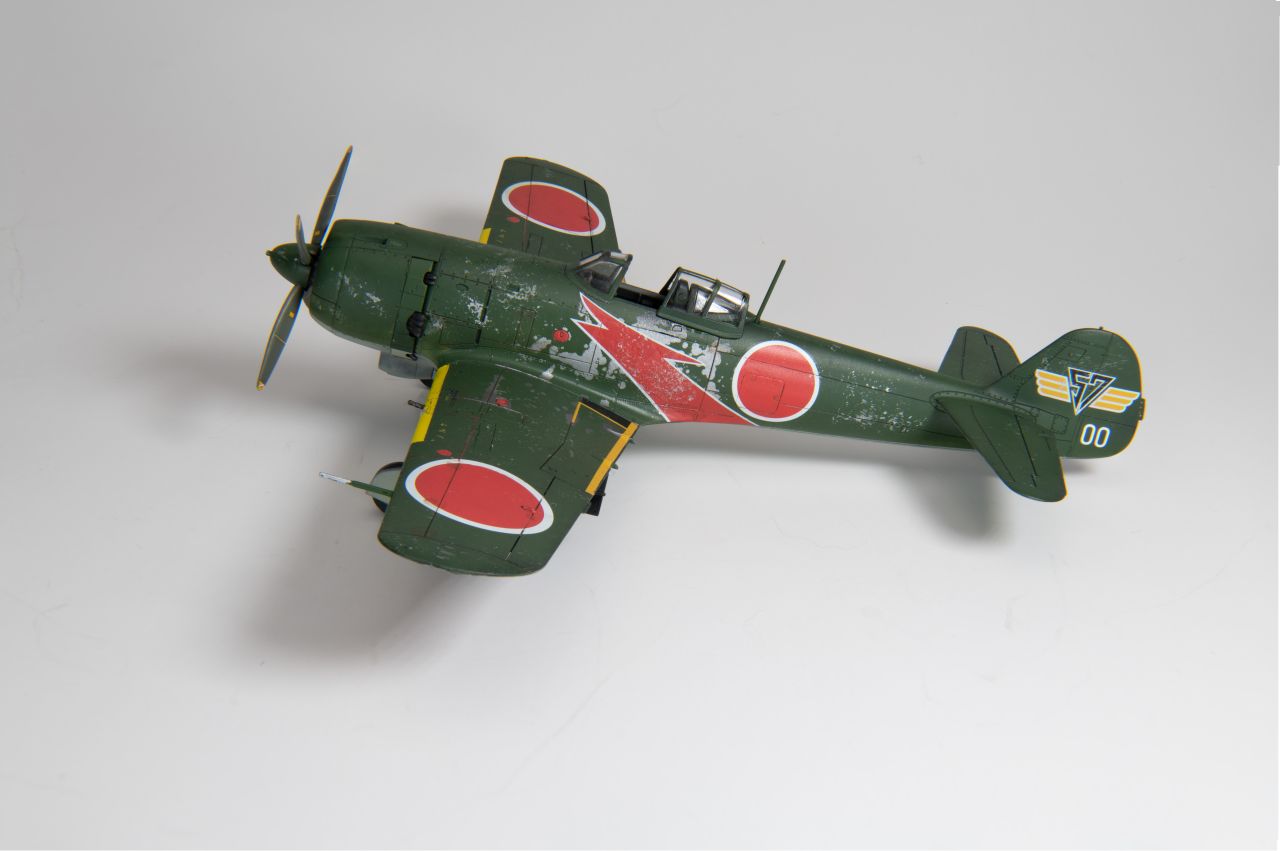
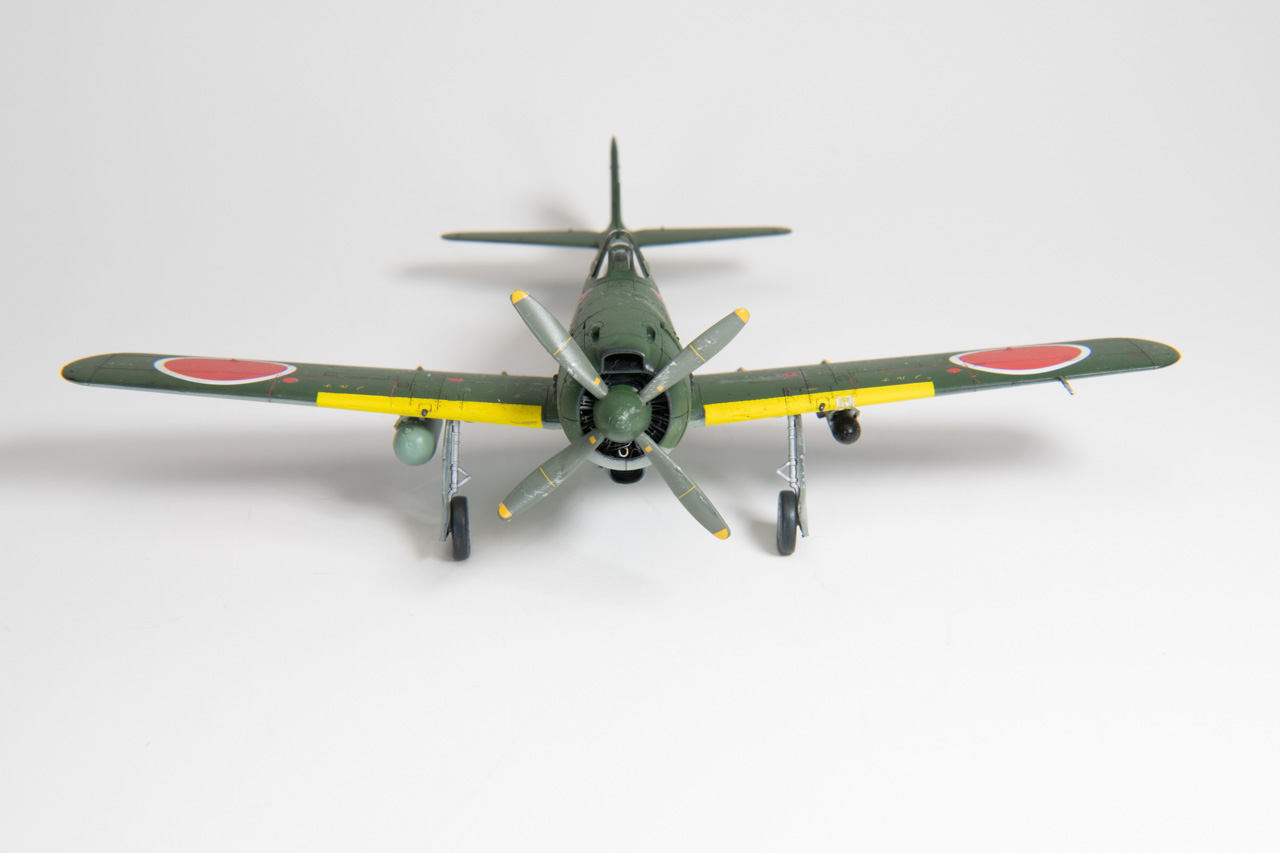
The kit provides six markings options: four are green over gray, one natural metal scheme, and one natural metal with green patches.
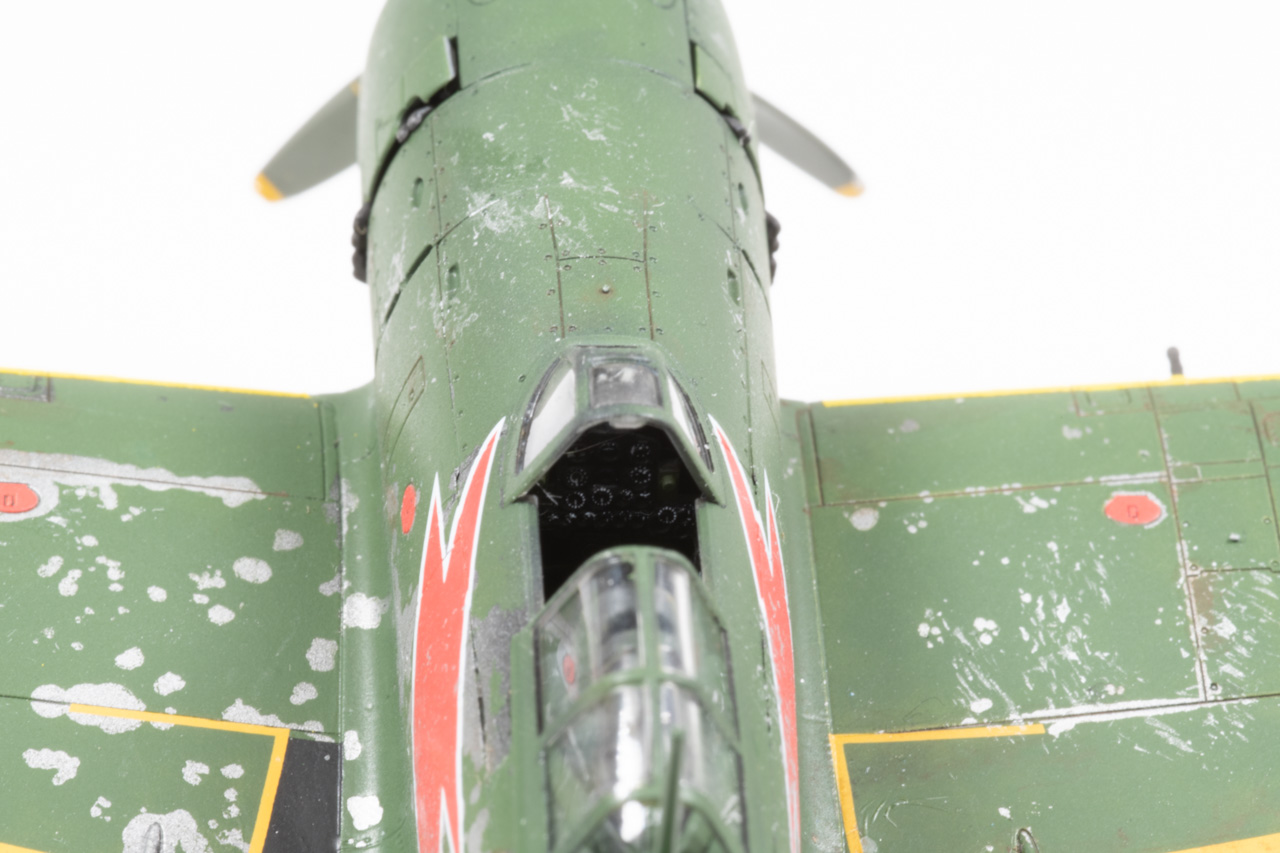
I chose Option 5, which depicts an aircraft of 57: Shiumbu-tai Mijokonojo Airbase during the battle of Okinawa. This scheme features a large red lightning bolt on the side of the fuselage. I also wanted to replicate the chipping often seen on dark green Japanese aircraft.
The model was primed with Mr. Surfacer Finishing Surfacer 1500 Black. Areas to be chipped were painted with Mr. Color Super Silver. As a chipping layer, the silver was oversprayed with decanted Tresemmé Extreme Hold hair spray sprayed through an airbrush and allowed to dry.
The underside of the model was painted using the black basing method of a marble coat, followed by a blend coat of Mr. Color C128 Gray Green. The top side was similarly painted with Mr. Color 129 Dark Green (Nakajima).
The yellow wing leading edges were painted with Mr. Color C4 Yellow. This color appears to be too pale.
I tried chipping the green using a stiff paintbrush and water, and the paint did chip, but the chips were round, and not what I hoped for. The decals were then applied directly to the paint with no clear coat. The decals were thin and easy to apply. I used Mr. Mark Setter and Mr. Mark Softer Decal solutions, and the decals snuggled into the recessed detail.
Tamiya Black panel liner was applied to the control surface detail, and Tamiya brown panel liner was used for the rest of the panel lines, again directly on the paint and decals.
Further chipping was applied with a torn piece of foam and Vallejo model air aluminum paint. Looking back, I feel like I overdid this technique.
Testors Dullcote was applied as a final flat finish.
Conclusion
There is much to like about this kit. The parts are very cleanly molded with beautiful detail. There was no flash, the parts are molded with no sink marks, and what few ejector pin marks I did see were all in areas that were not visible on the model. The sprue attachment points are cleverly located to avoid marring the parts, and in many cases to facilitate painting the parts while still attached to the sprue. Everything fit very well, and very little sanding and filling was required. I am a very slow builder, but this kit came together so easily, I was able to finish it in just over three weeks.
I wish to extend my sincere thanks to Arma Hobbies for the review sample and to IPMS for the opportunity to review this kit.


Comments
Add new comment
This site is protected by reCAPTCHA and the Google Privacy Policy and Terms of Service apply.
Similar Reviews